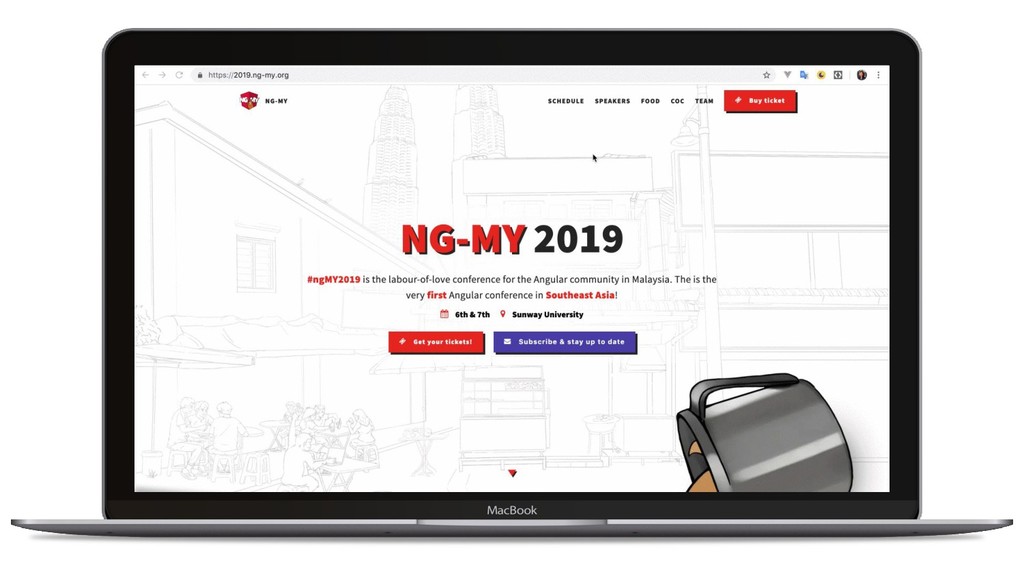
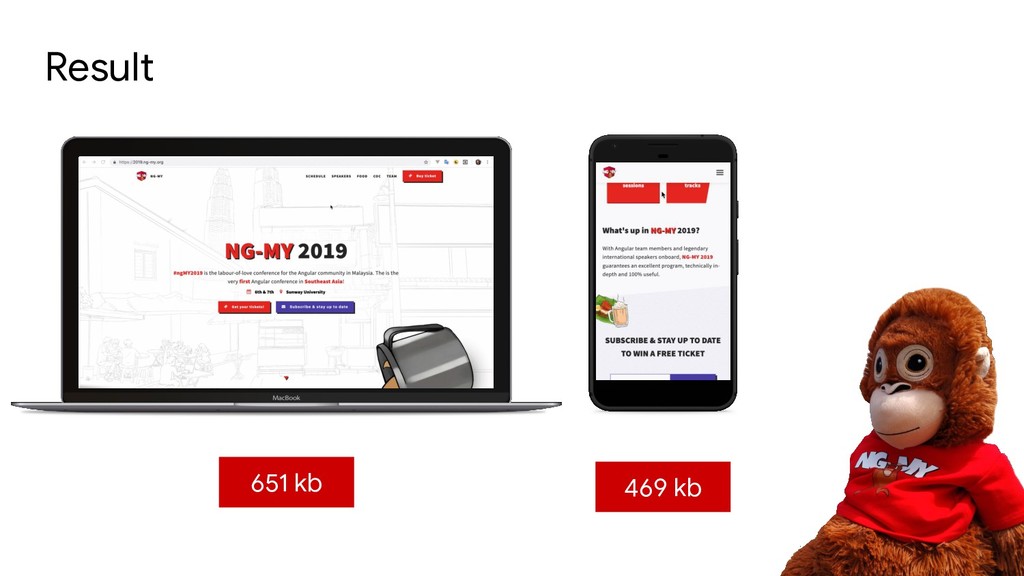
NG-MY is a speedy SPA, SEO friendly website and built with Angular.
In this talk we will share some techniques we apply in building NG-MY Website, you can apply these techniques in your website too!
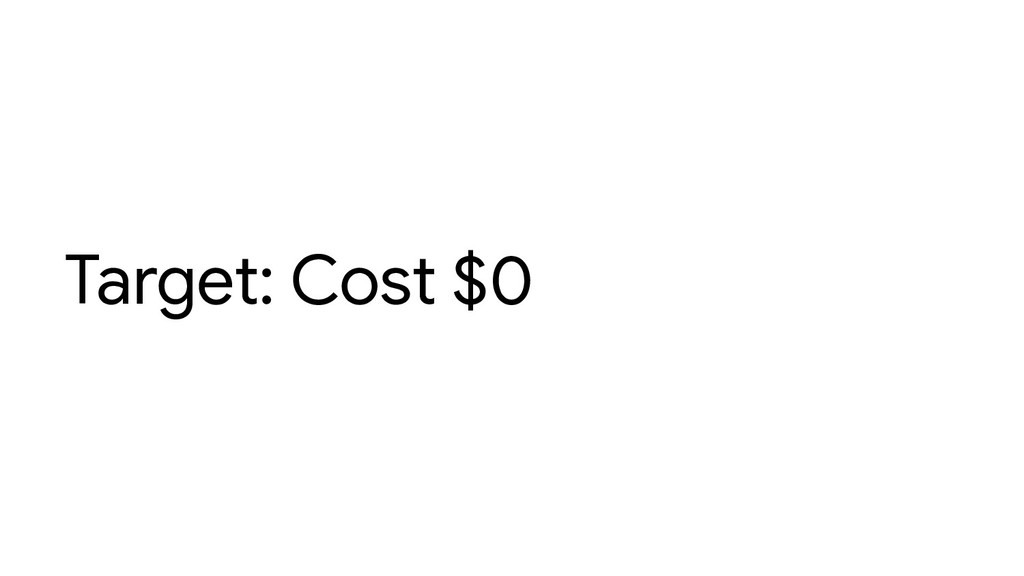
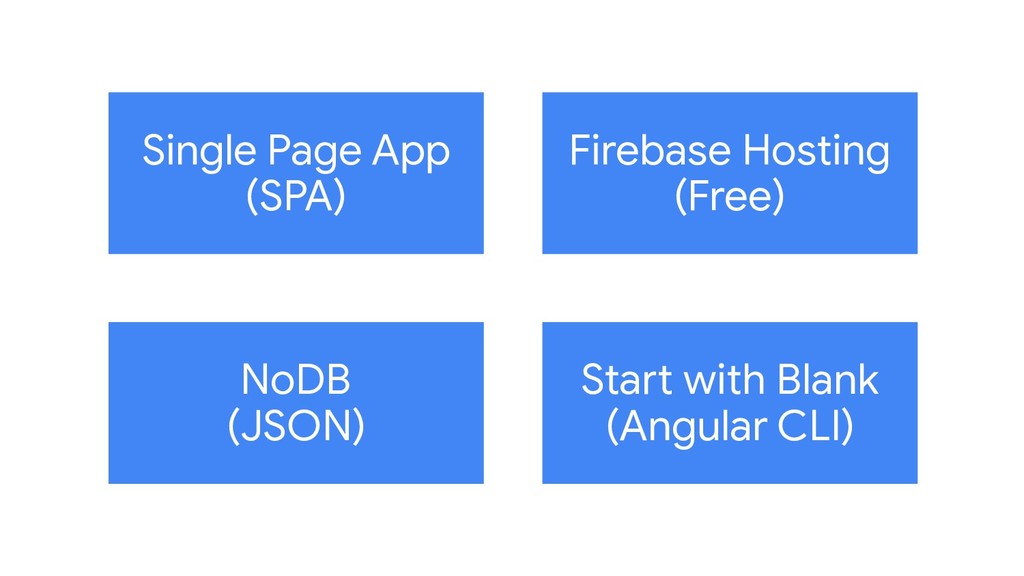
- Cost
- Collaboration
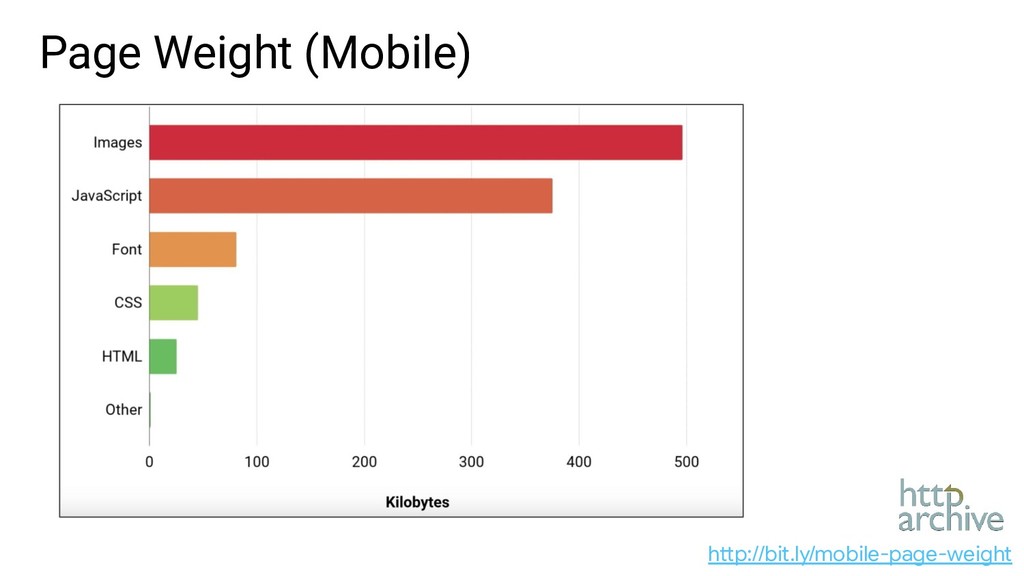
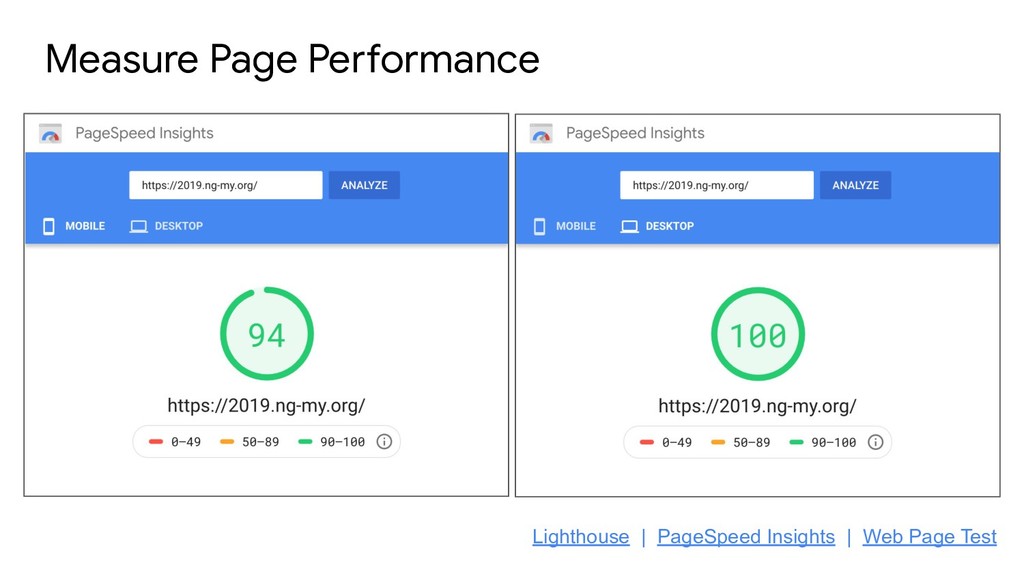
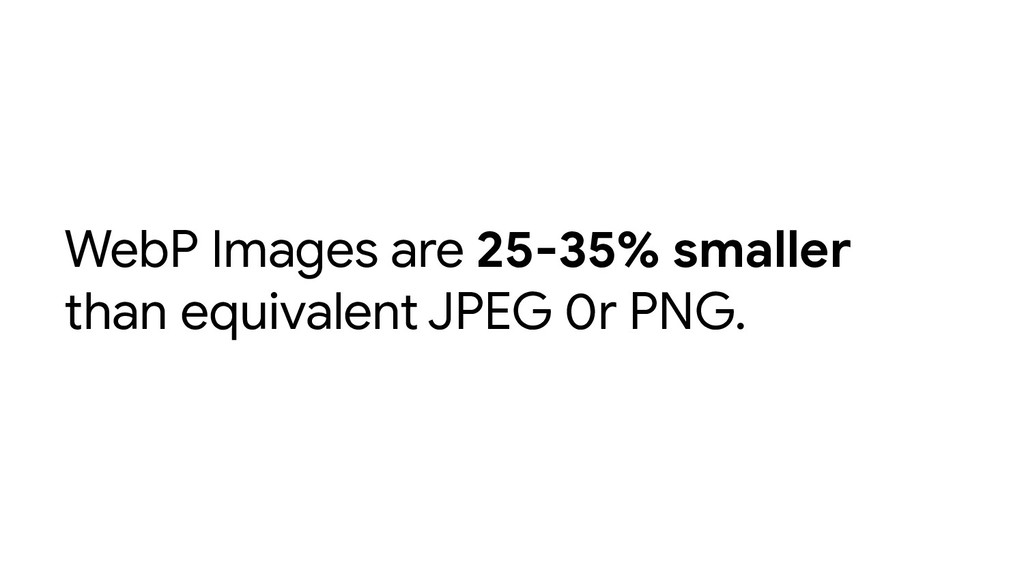
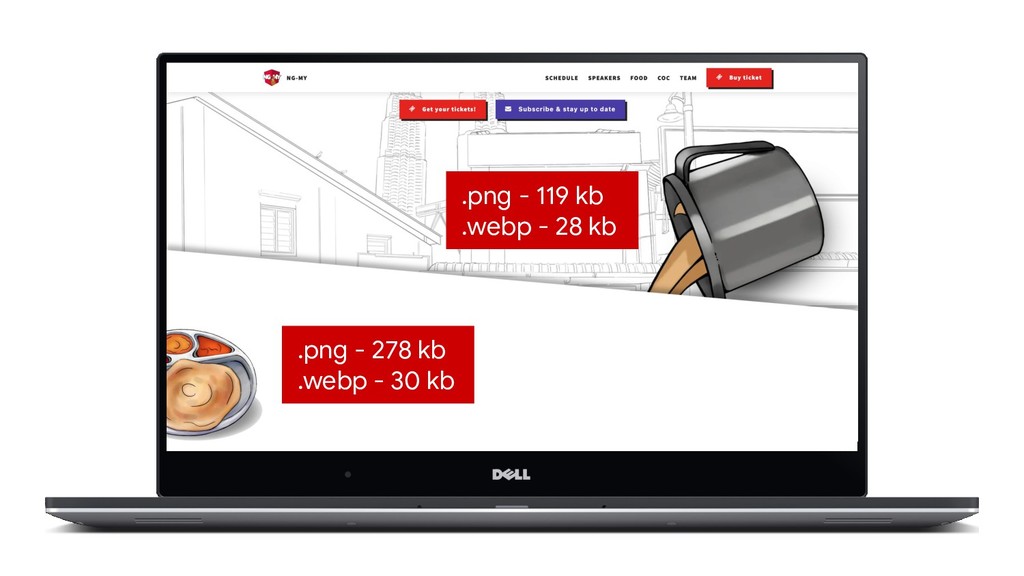
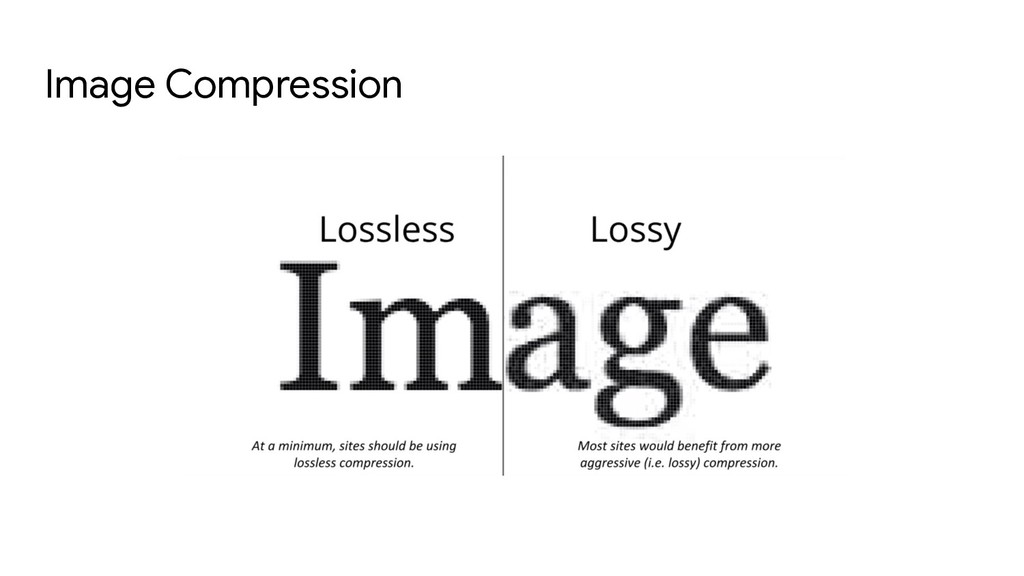
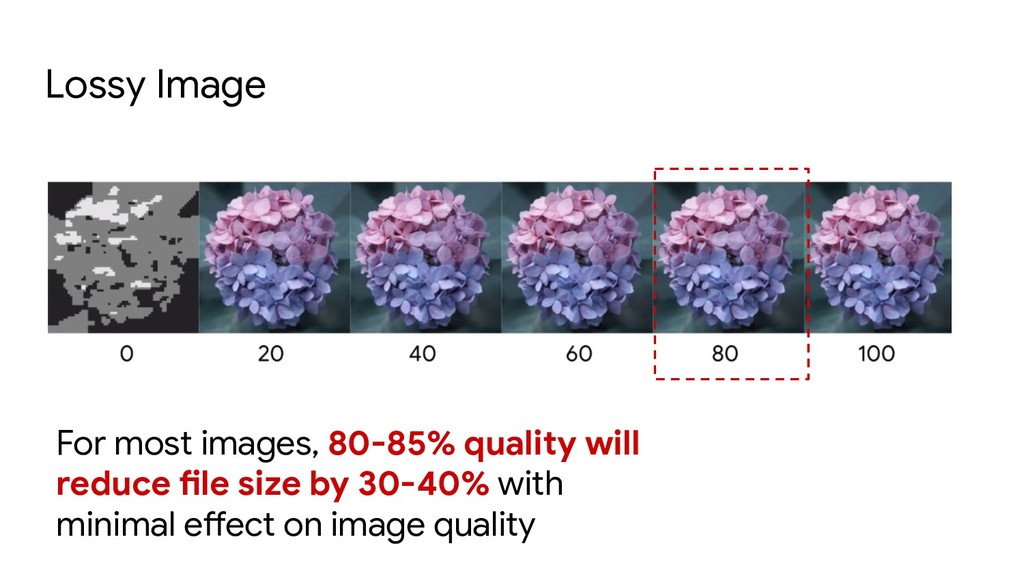
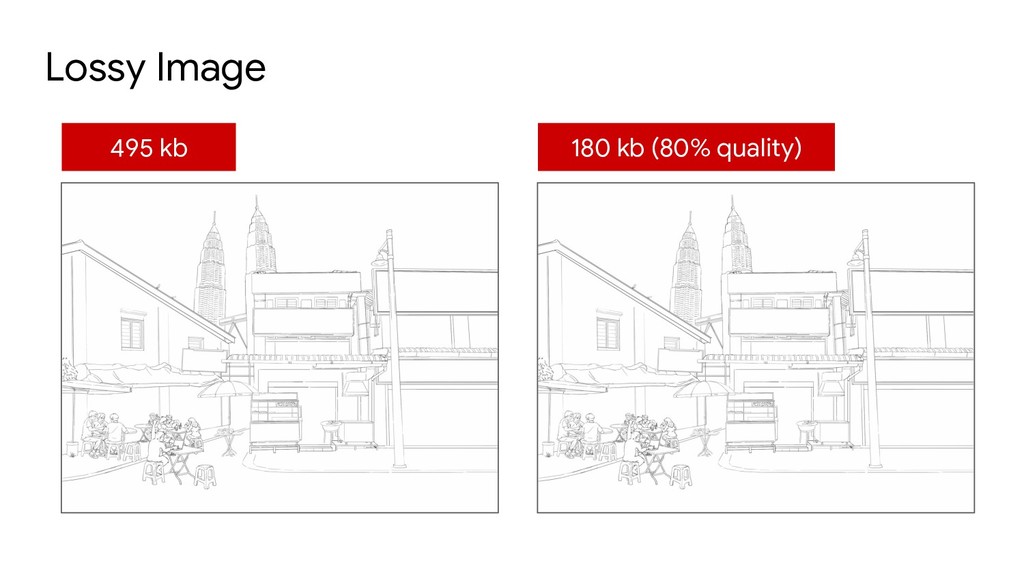
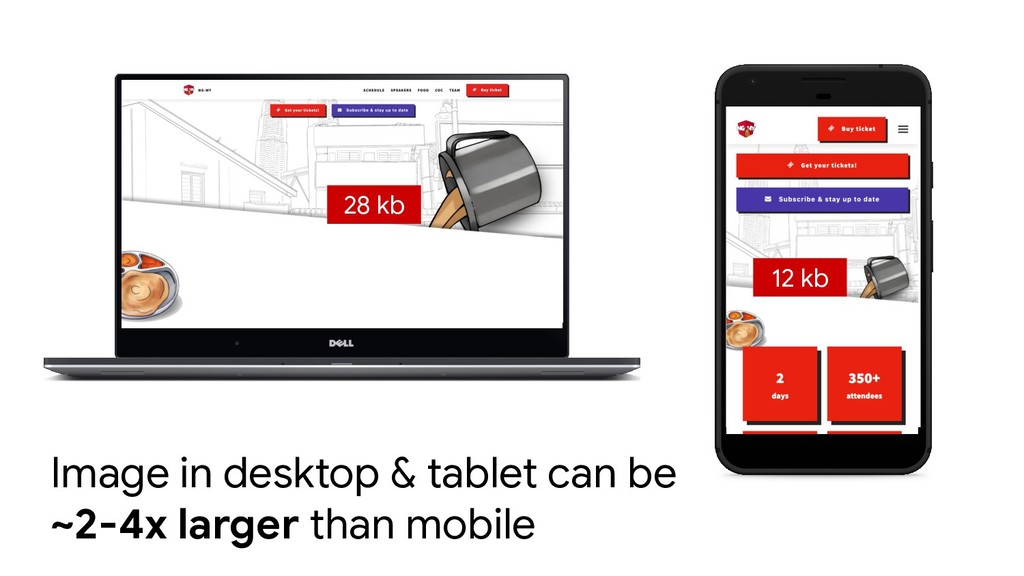
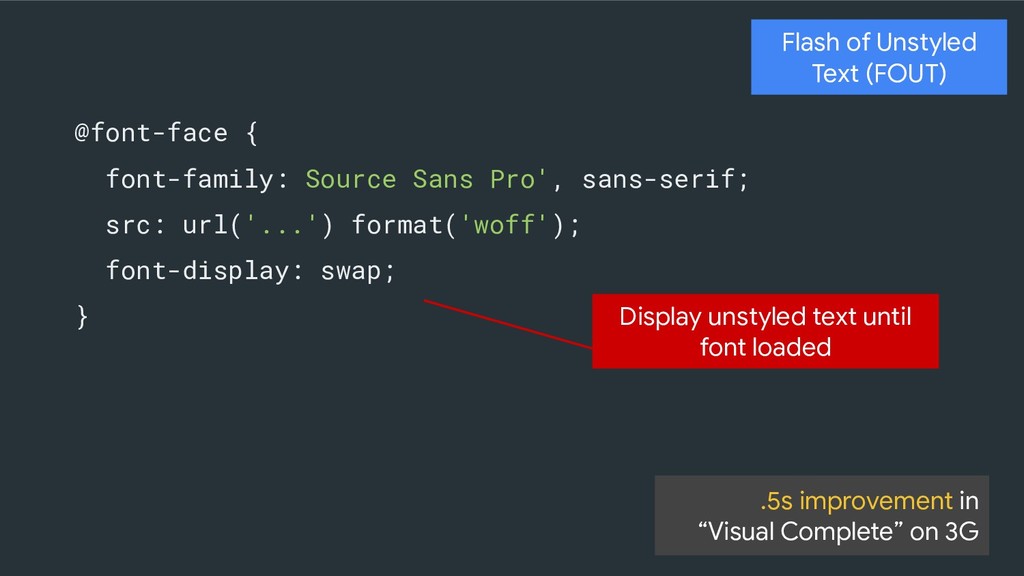
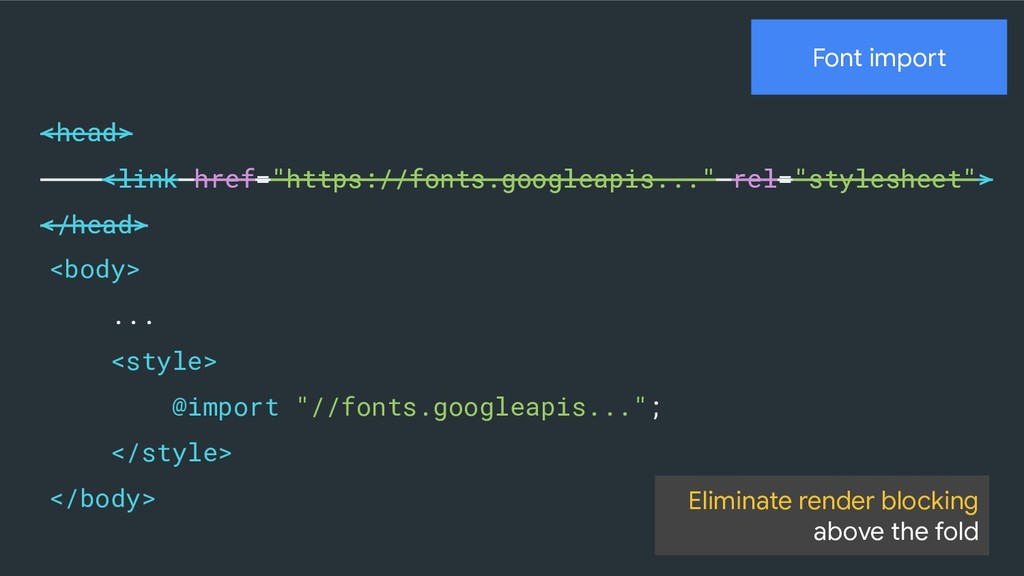
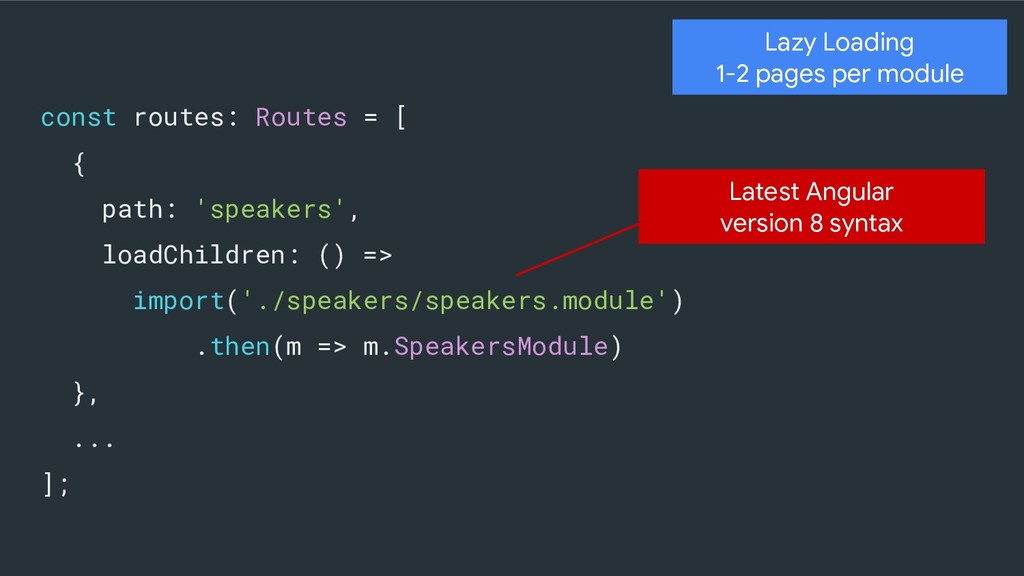
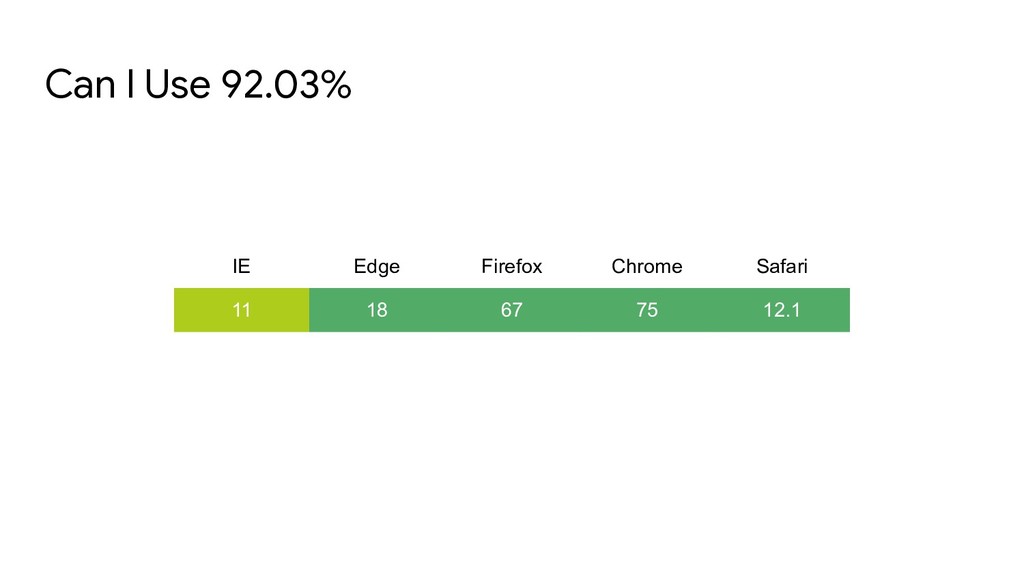
- Performance
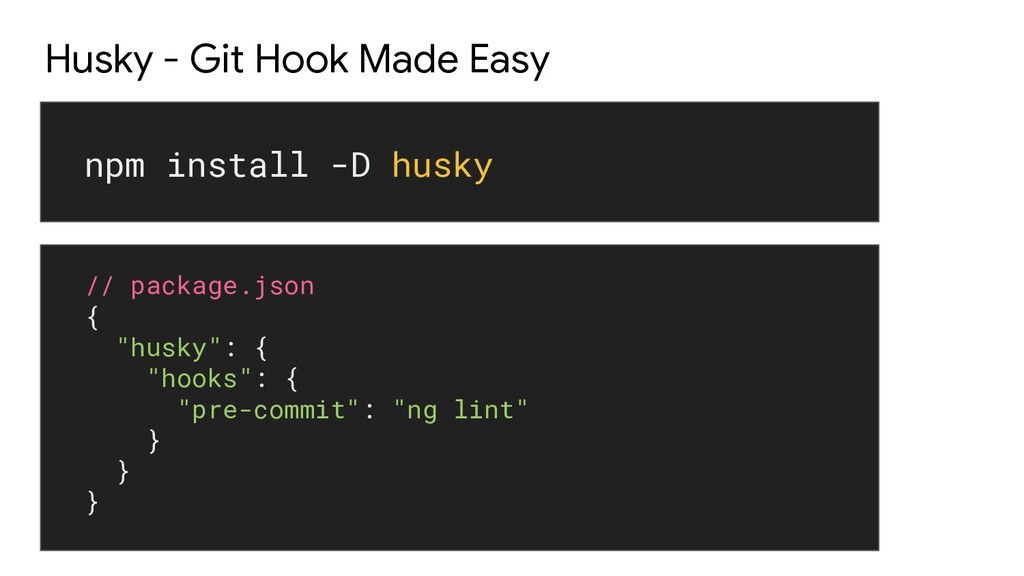
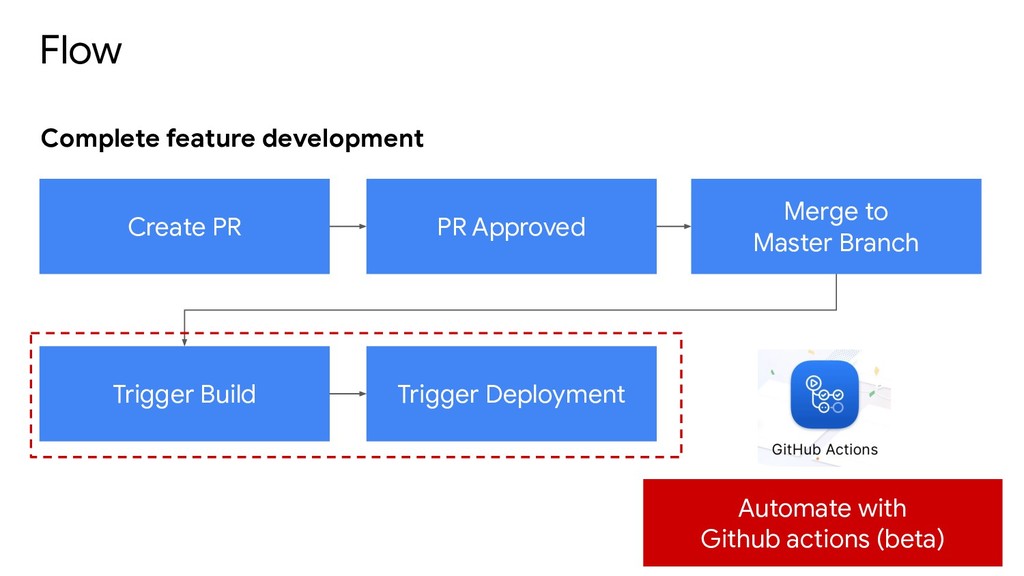
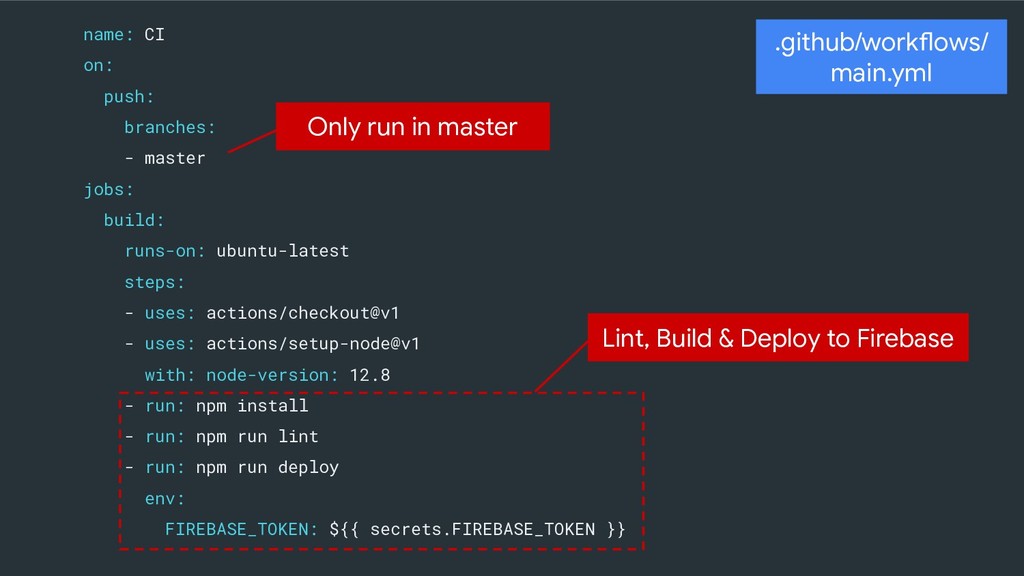
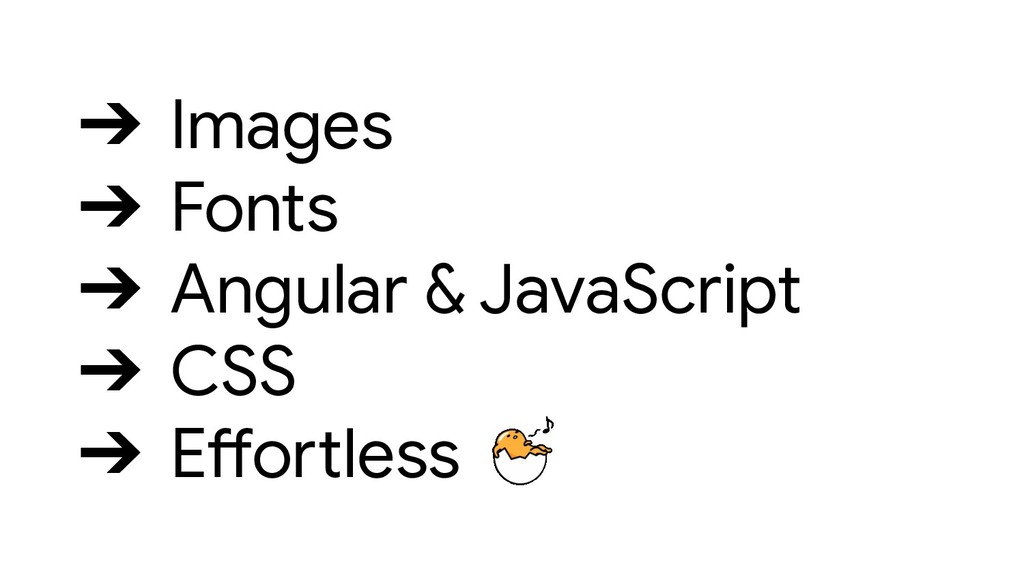
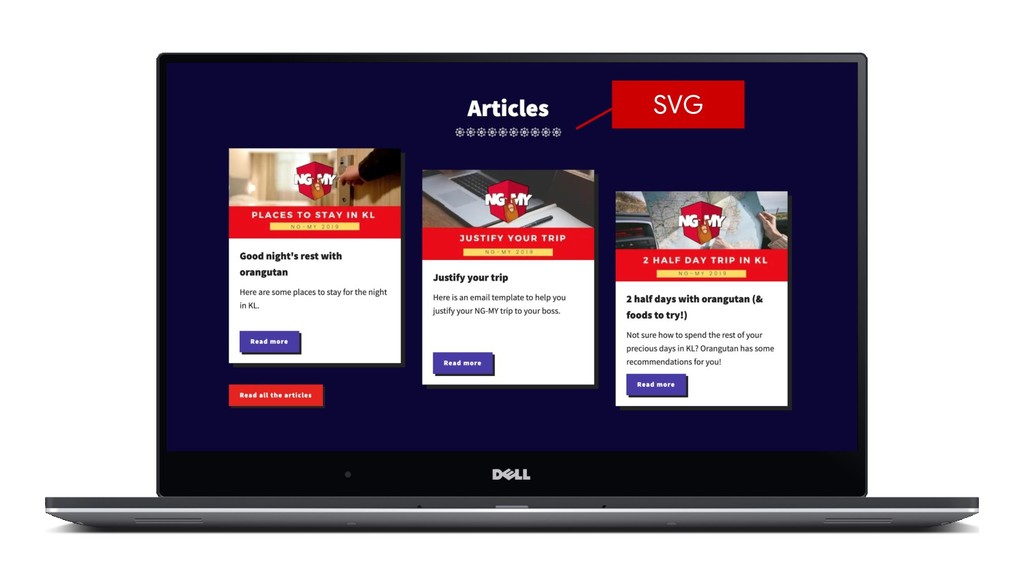
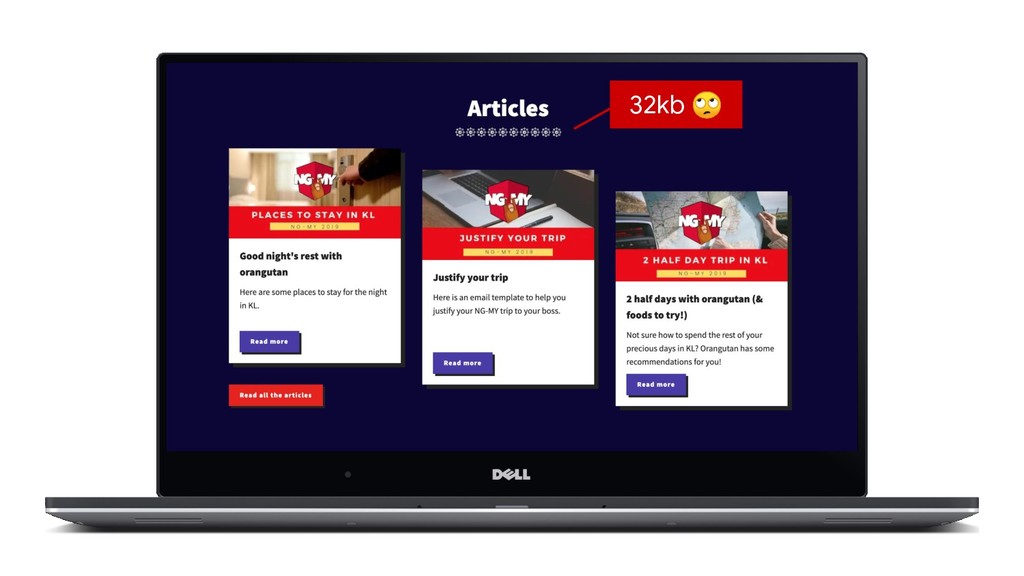
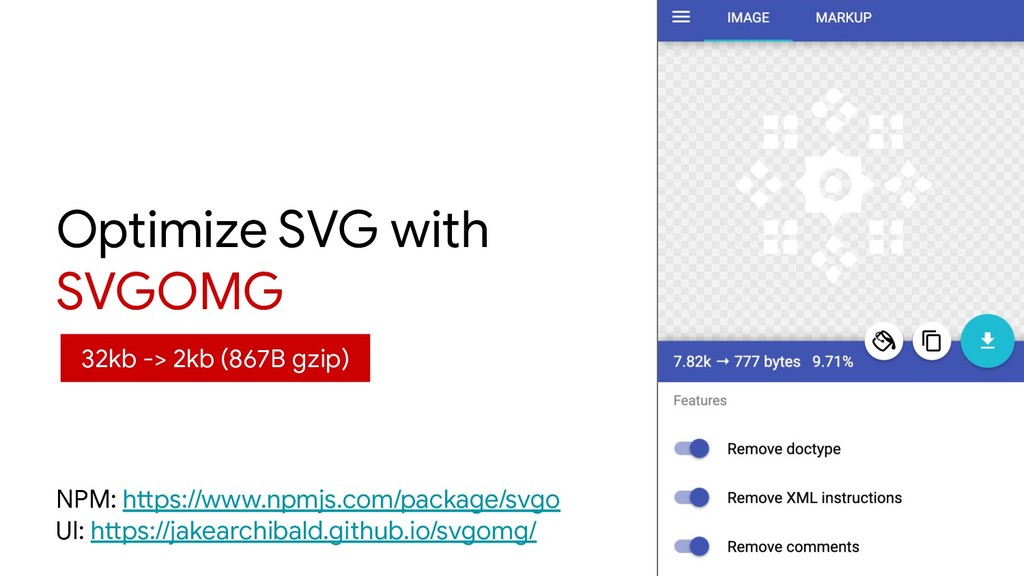
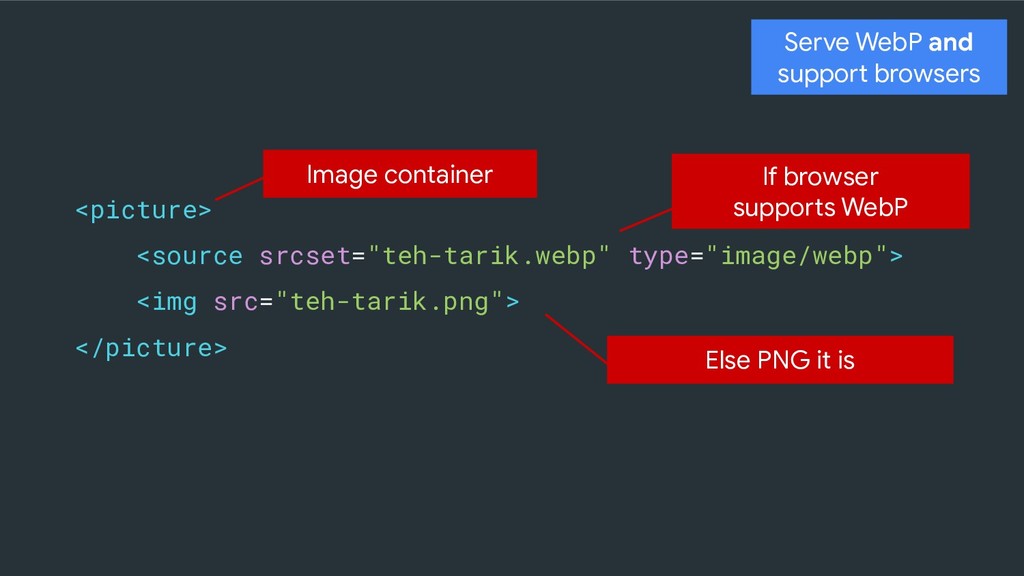
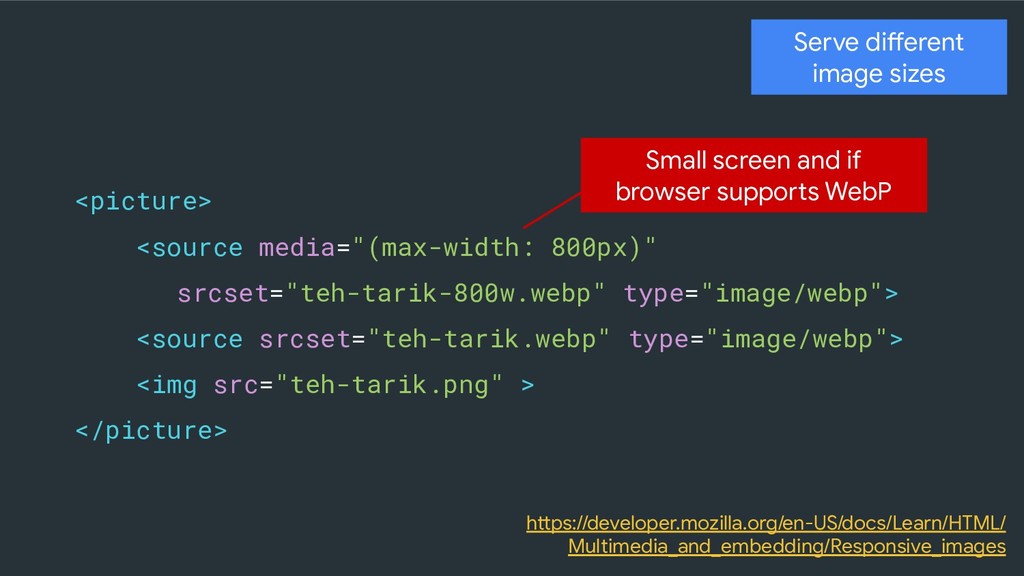
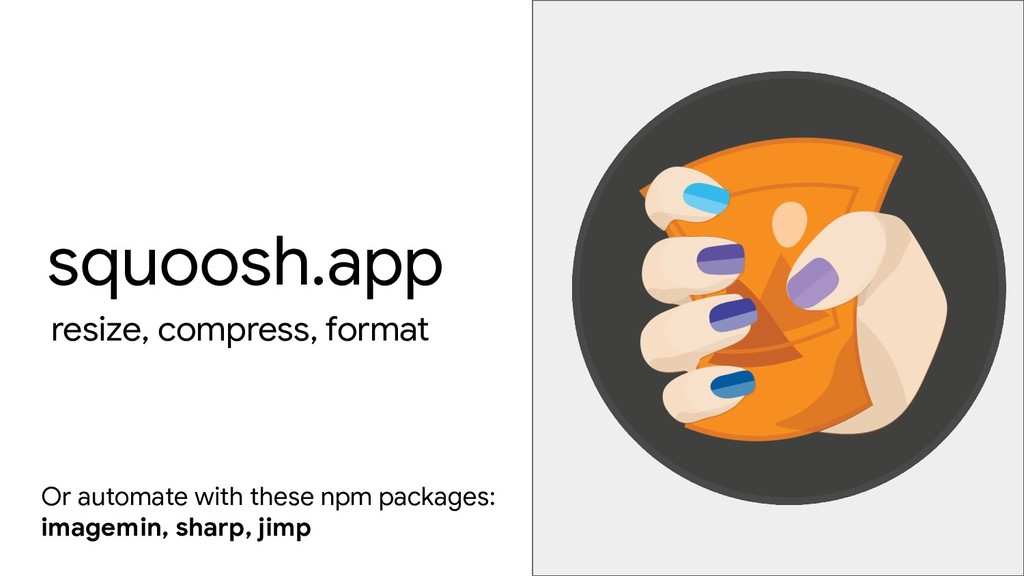
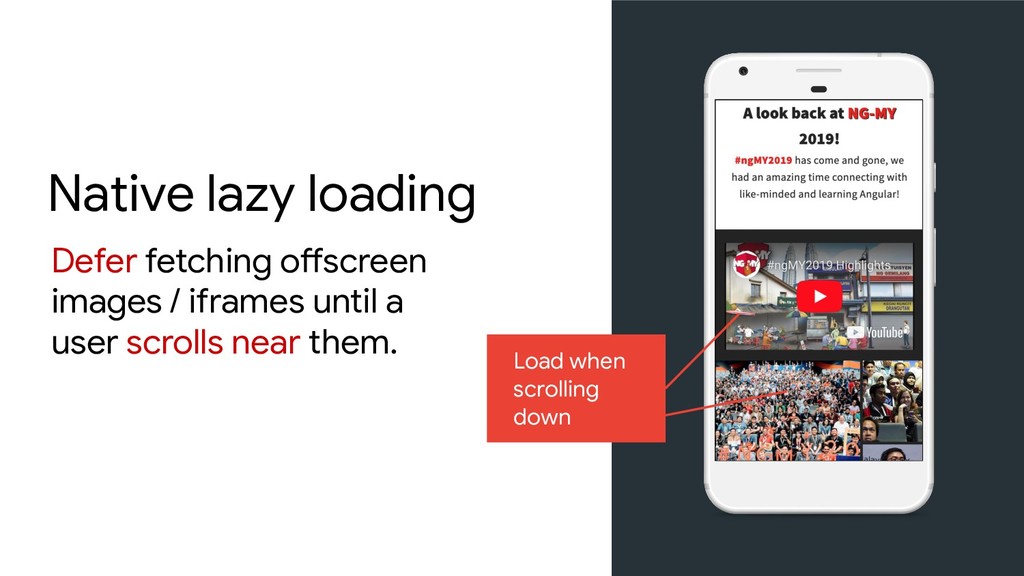
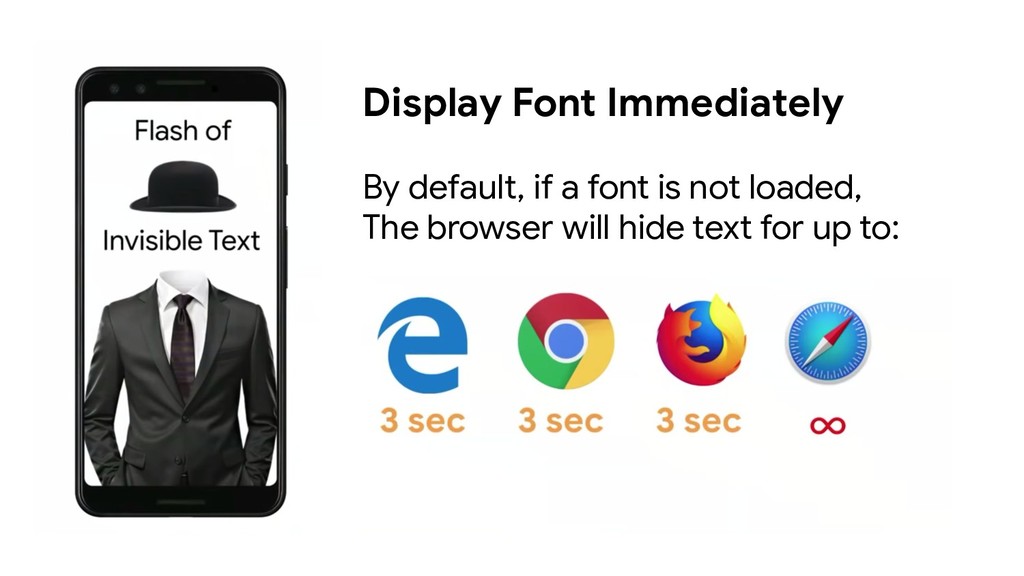
- Techniques
![... "architect": { "build": { "assets": [ ..., "projects/site2019/src/robots.txt" ]](https://files.speakerdeck.com/presentations/45c0010c1f2a4fad95fe7d8d9e0d874d/slide_18.jpg)
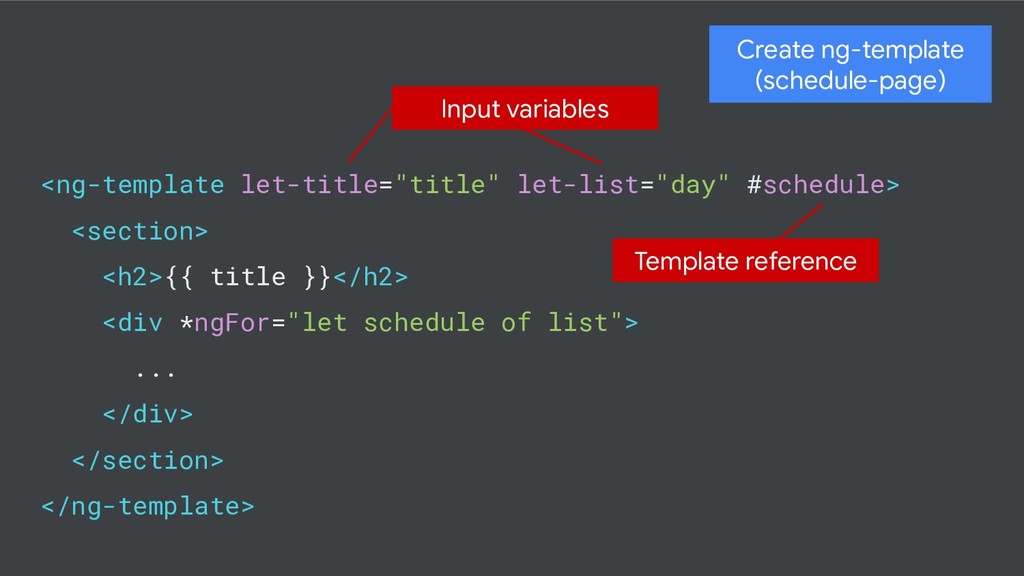
![<section> <ng-container [ngTemplateOutlet]="schedule" [ngTemplateOutletContext]="{ day: day1, title: 'Day 1' }">](https://files.speakerdeck.com/presentations/45c0010c1f2a4fad95fe7d8d9e0d874d/slide_106.jpg)
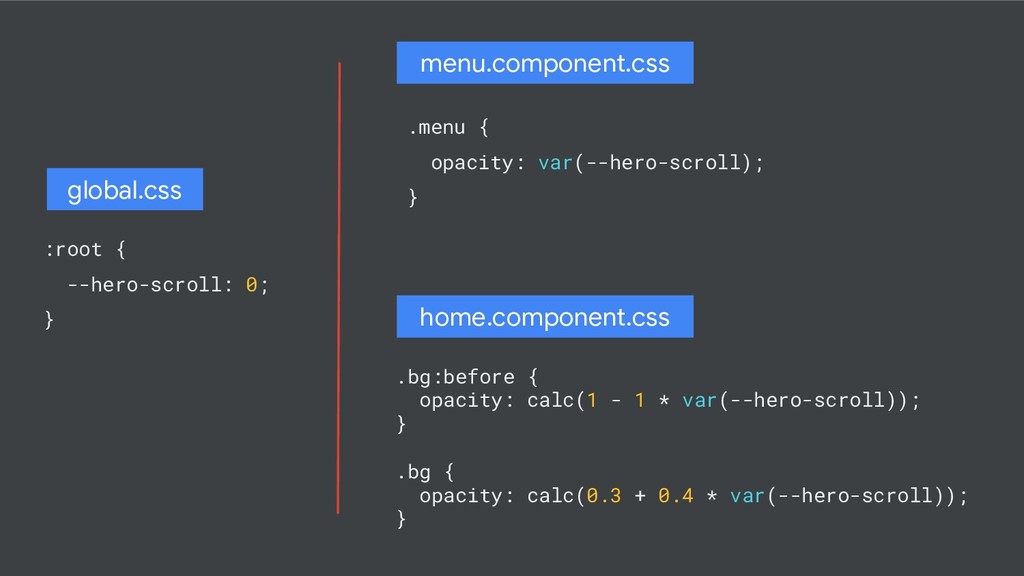
![@HostListener('window:scroll', ['$event']) onScroll(e) { const opacityValue = ...; // calculation](https://files.speakerdeck.com/presentations/45c0010c1f2a4fad95fe7d8d9e0d874d/slide_114.jpg)