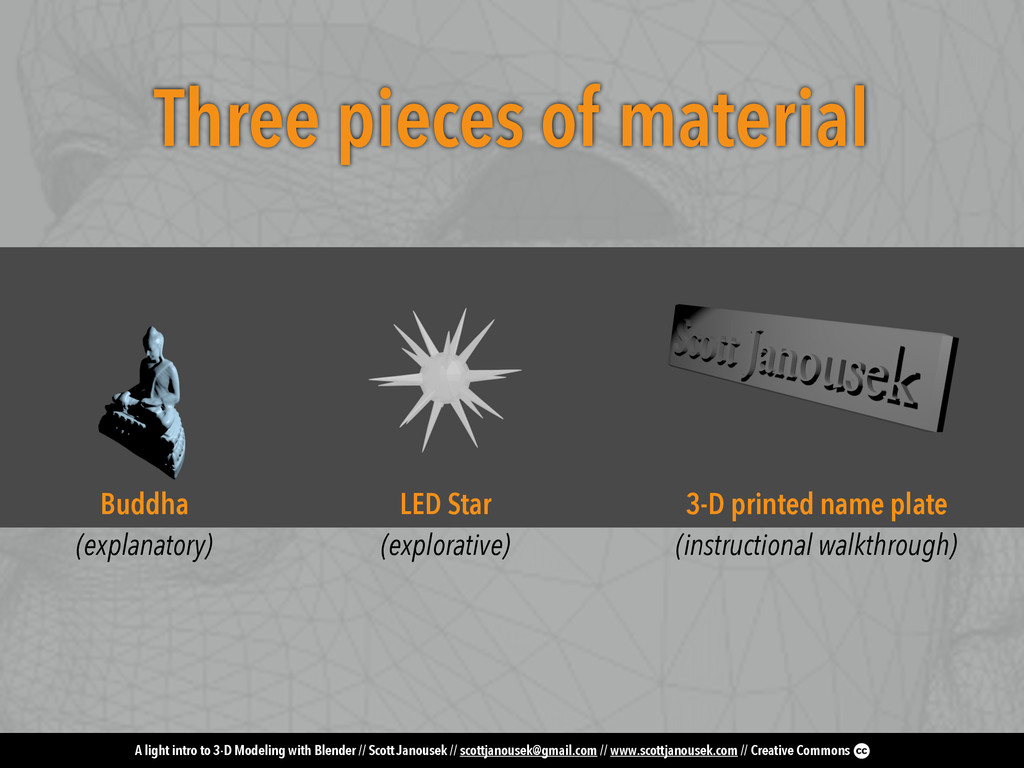
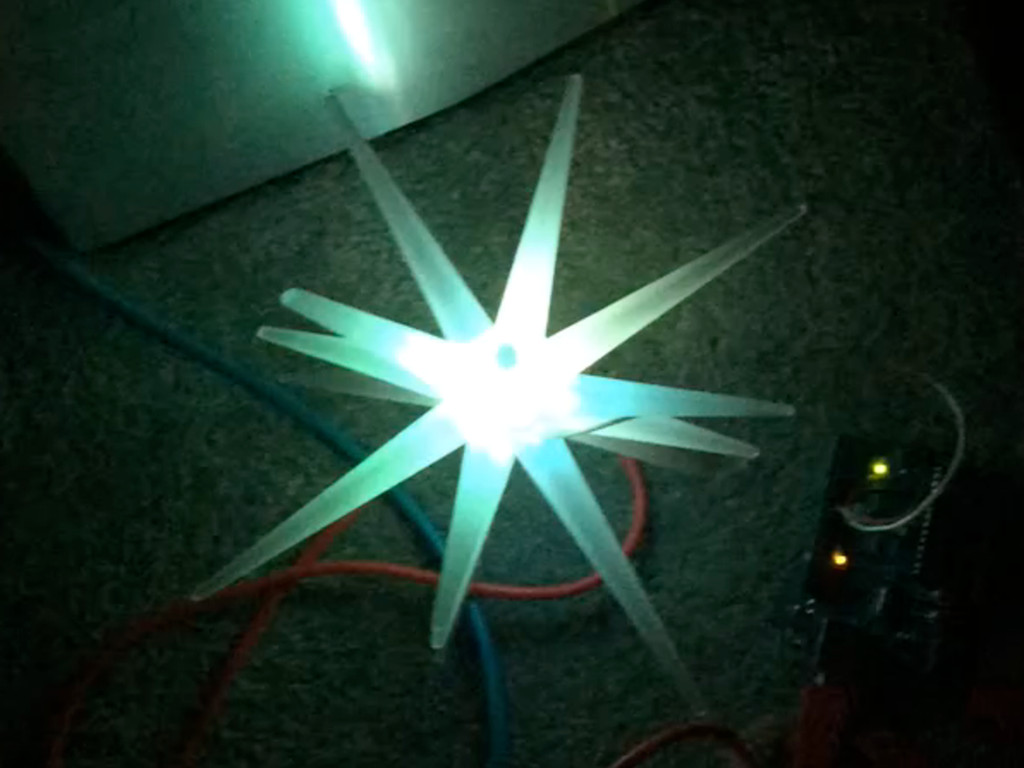
Janousek // [email protected] // www.scottjanousek.com // Creative Commons Three pieces of material Buddha (explanatory) LED Star (explorative) 3-D printed name plate (instructional walkthrough)
Janousek // [email protected] // www.scottjanousek.com // Creative Commons Please copy the folder on the USB flash drive to the desktop on your computer station
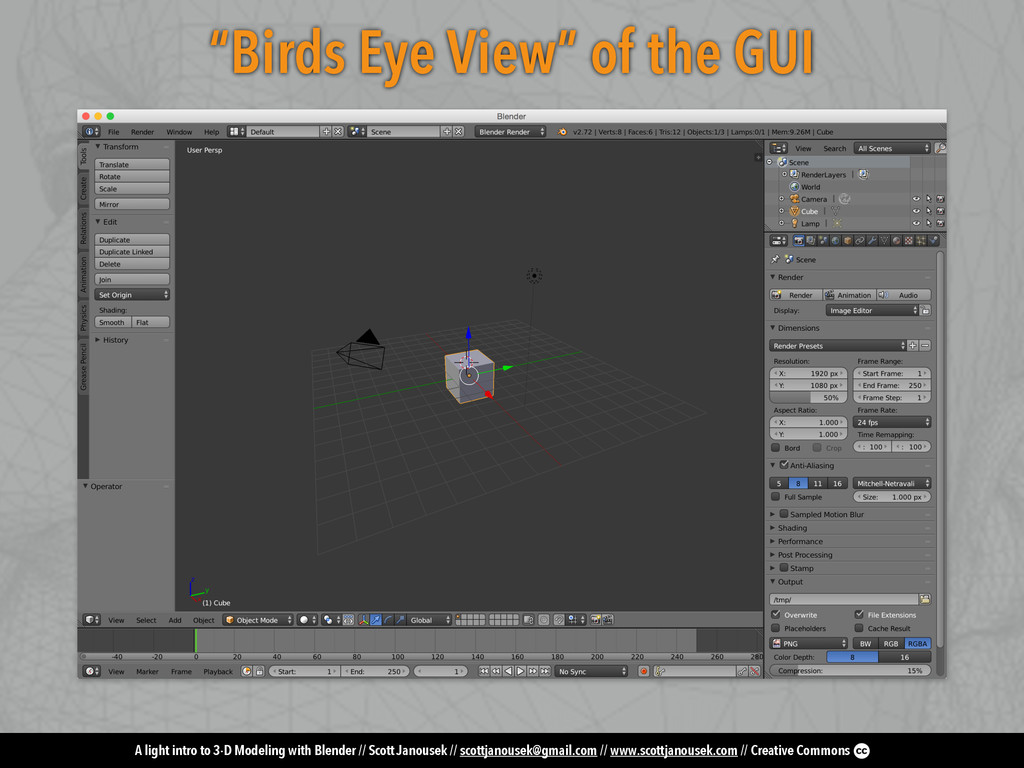
Janousek // [email protected] // www.scottjanousek.com // Creative Commons I work a lot with parametric modelers for mechanical things (e.g. SolidWorks). Mesh/“organic” polygonal modelers for 3-D scanning, as well as complicated surface modeling.
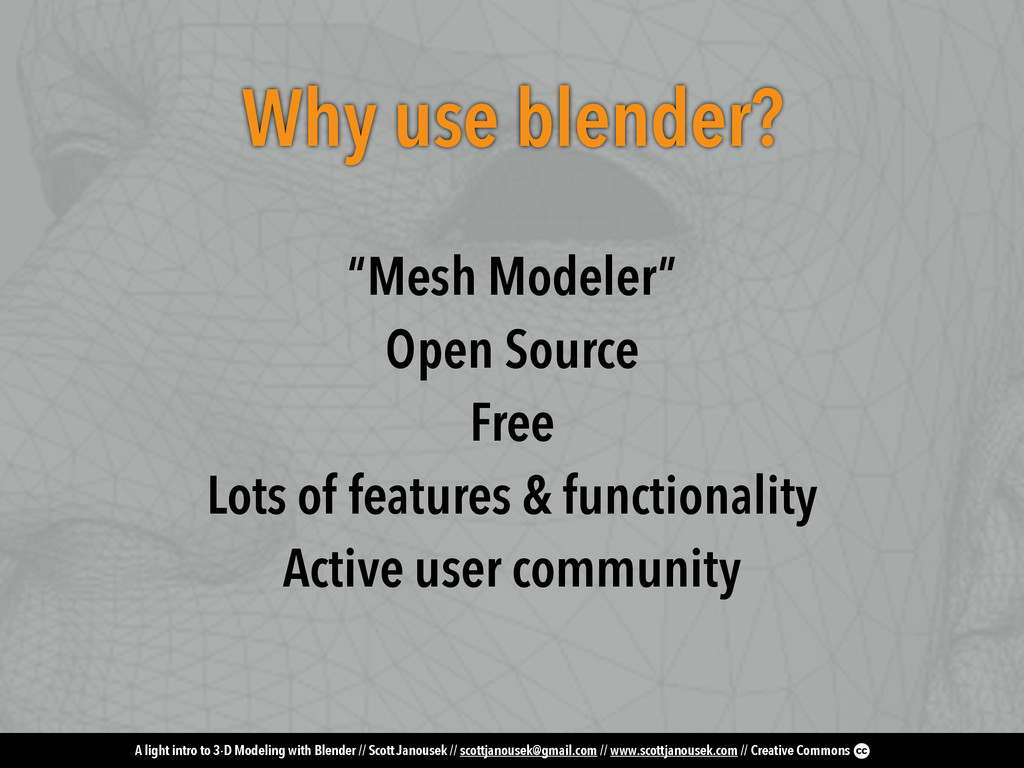
Janousek // [email protected] // www.scottjanousek.com // Creative Commons “Mesh Modeler” Open Source Free Lots of features & functionality Active user community Why use blender?
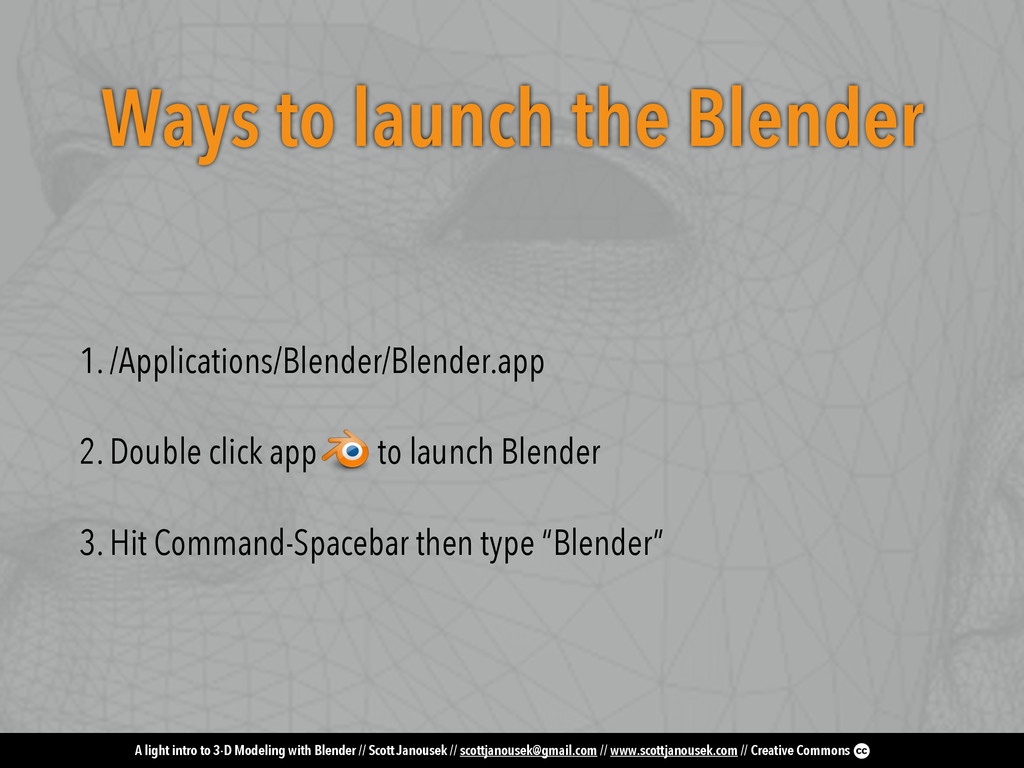
Janousek // [email protected] // www.scottjanousek.com // Creative Commons Ways to launch the Blender 1. /Applications/Blender/Blender.app 2. Double click app to launch Blender 3. Hit Command-Spacebar then type “Blender”
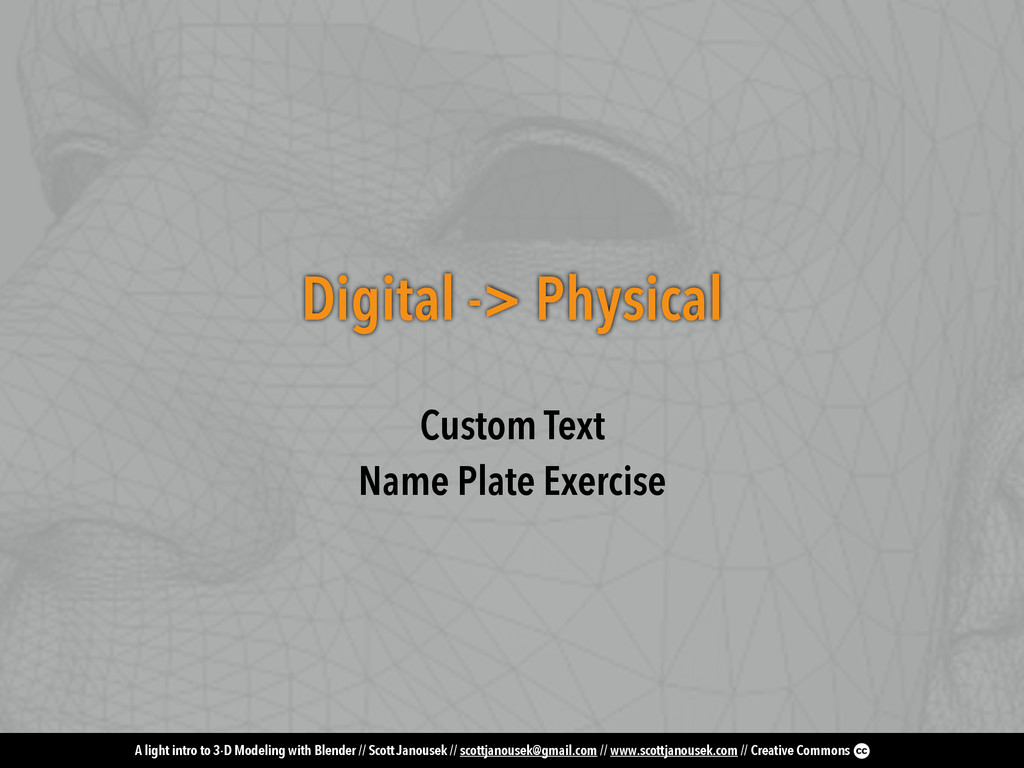
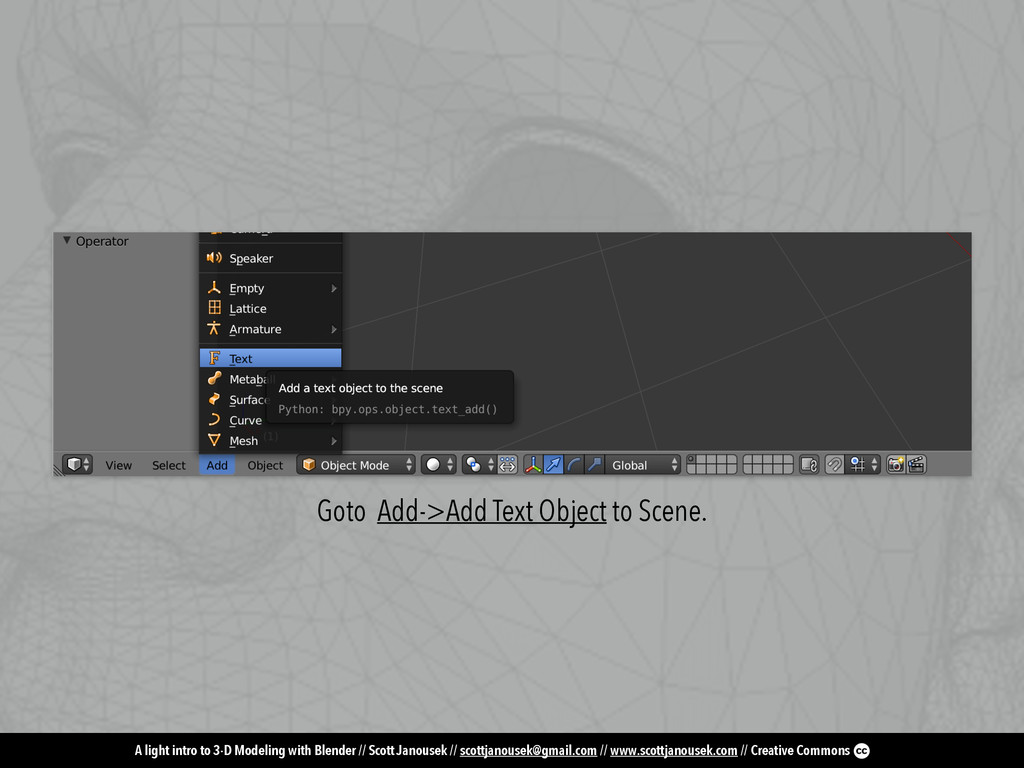
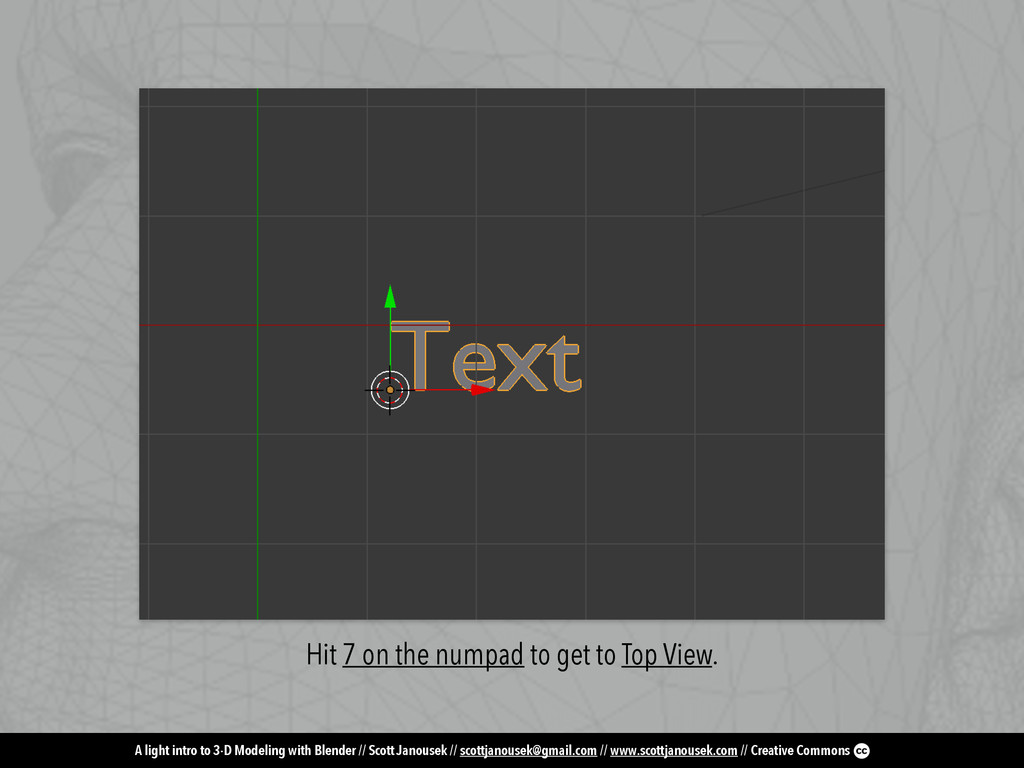
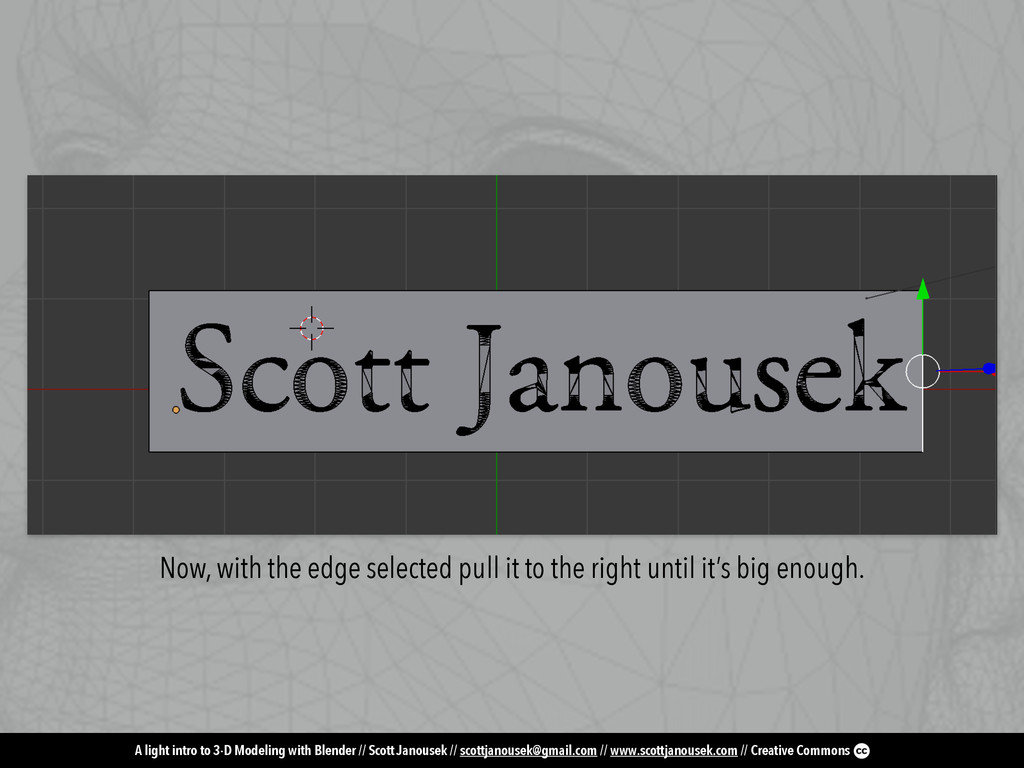
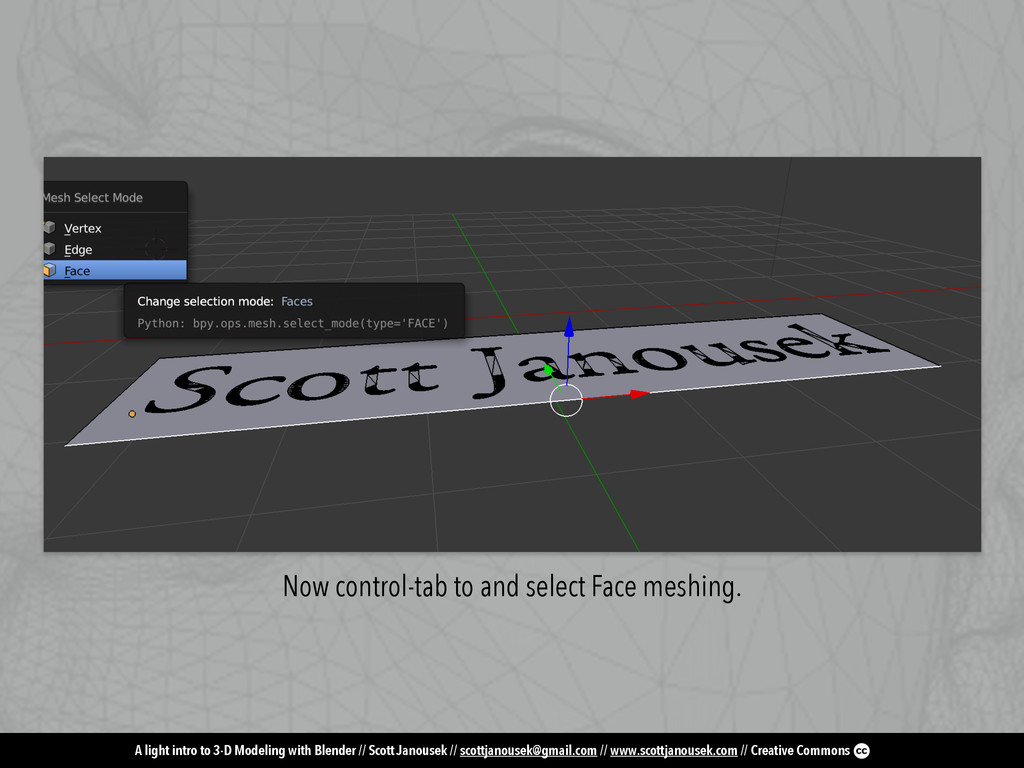
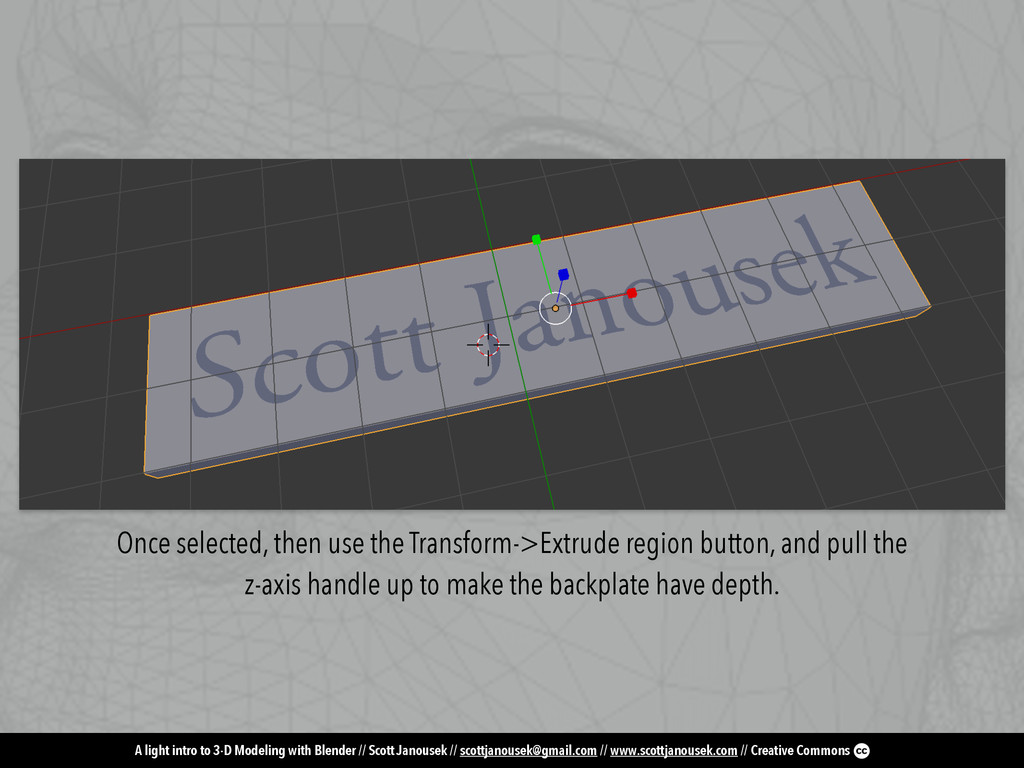
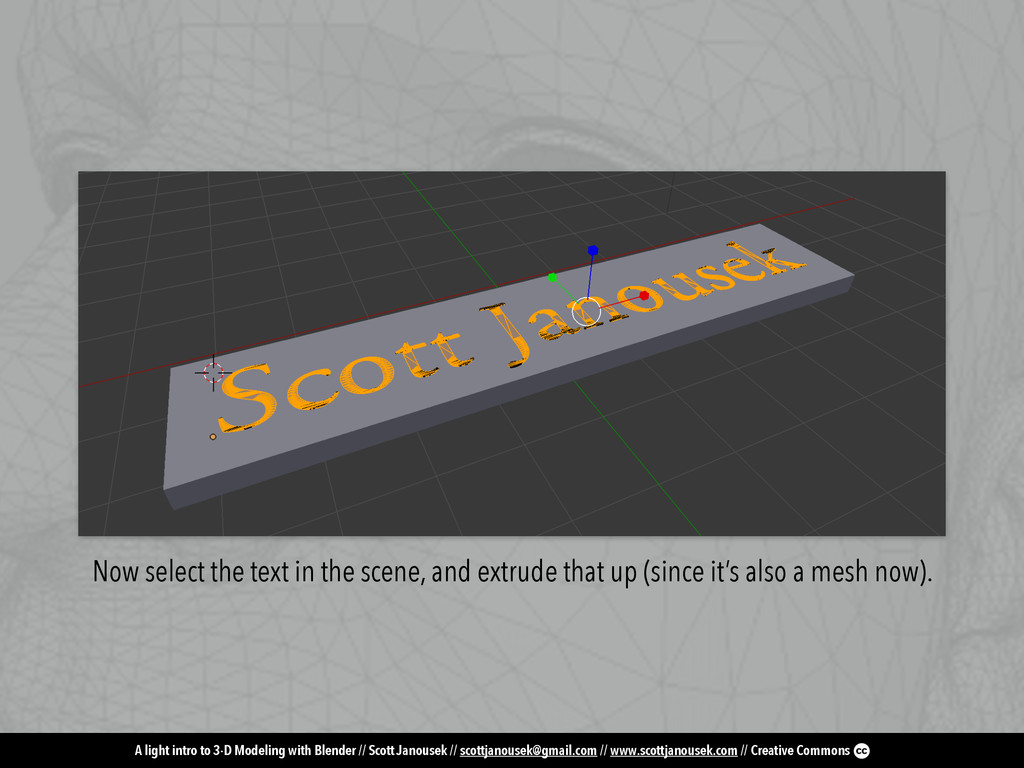
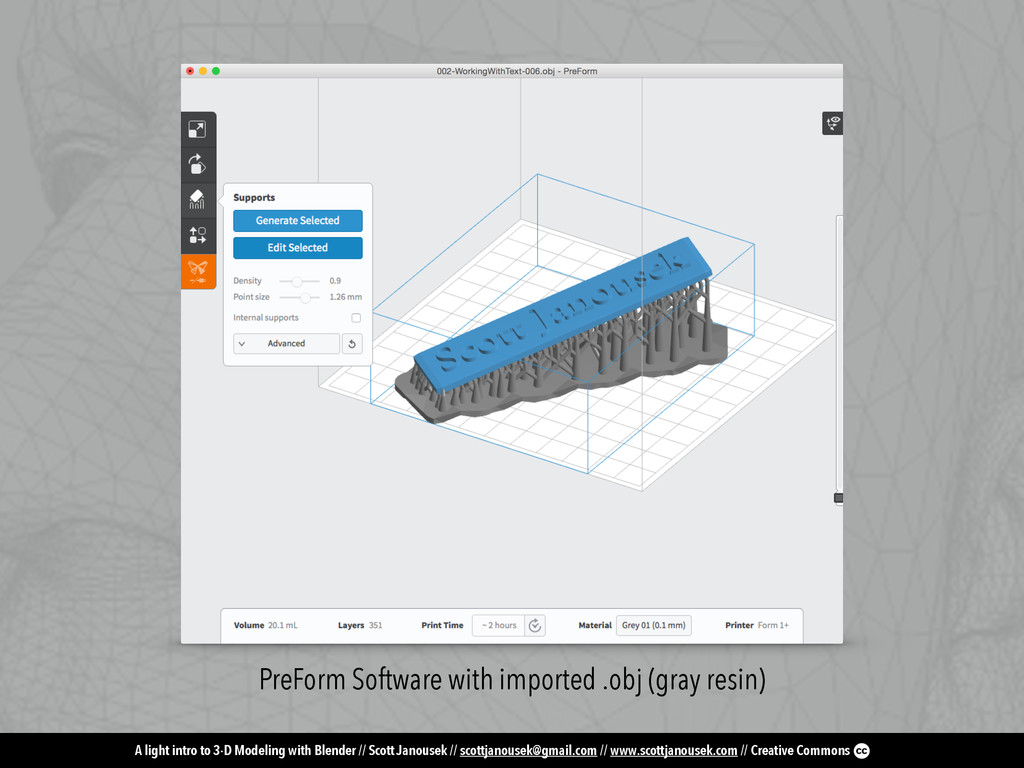
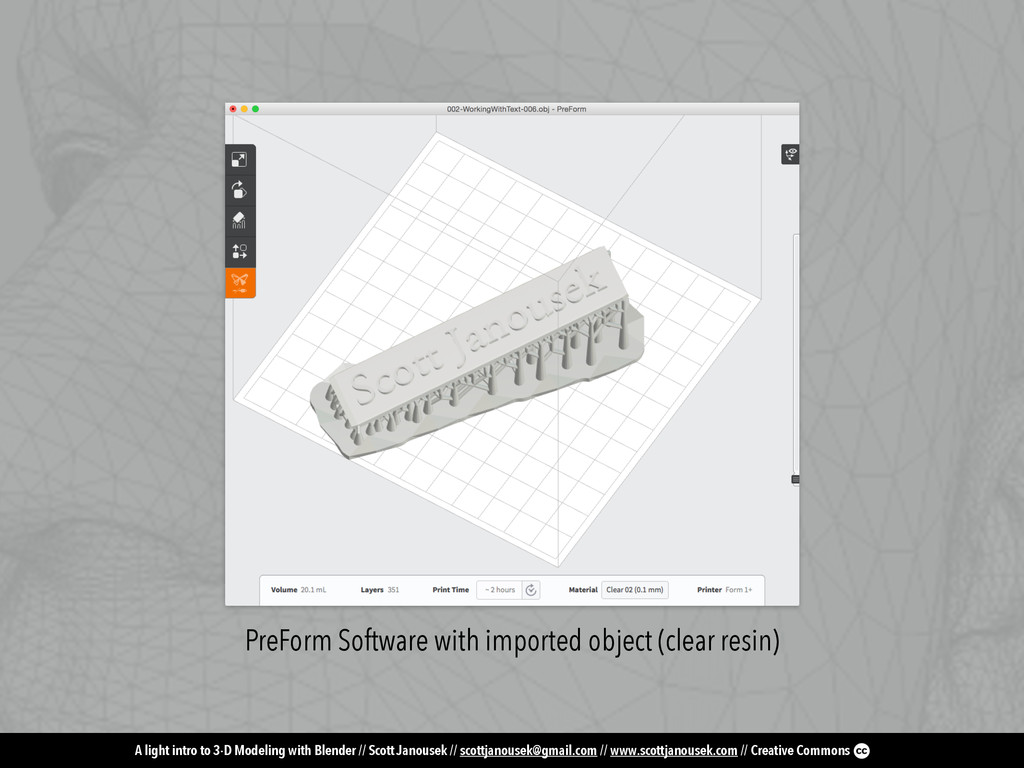
Janousek // [email protected] // www.scottjanousek.com // Creative Commons In this interactive walkthrough, you’ll model your own custom nameplate for animation (digital), and 3-D printing purposes (physical).
Janousek // [email protected] // www.scottjanousek.com // Creative Commons Exercise Goals Learn basic blender tools and manipulation within the UI Learn to use Text within Blender Learn how to animate Your Name Plate Learn how to export and reimport to a 3-D printer your nameplate
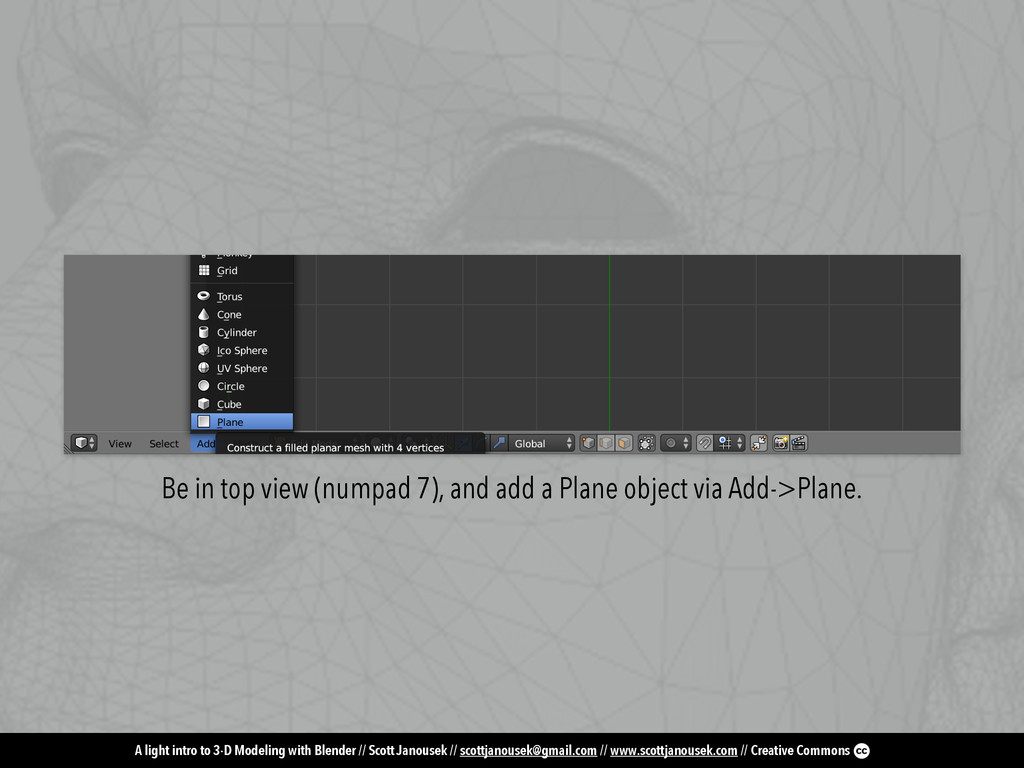
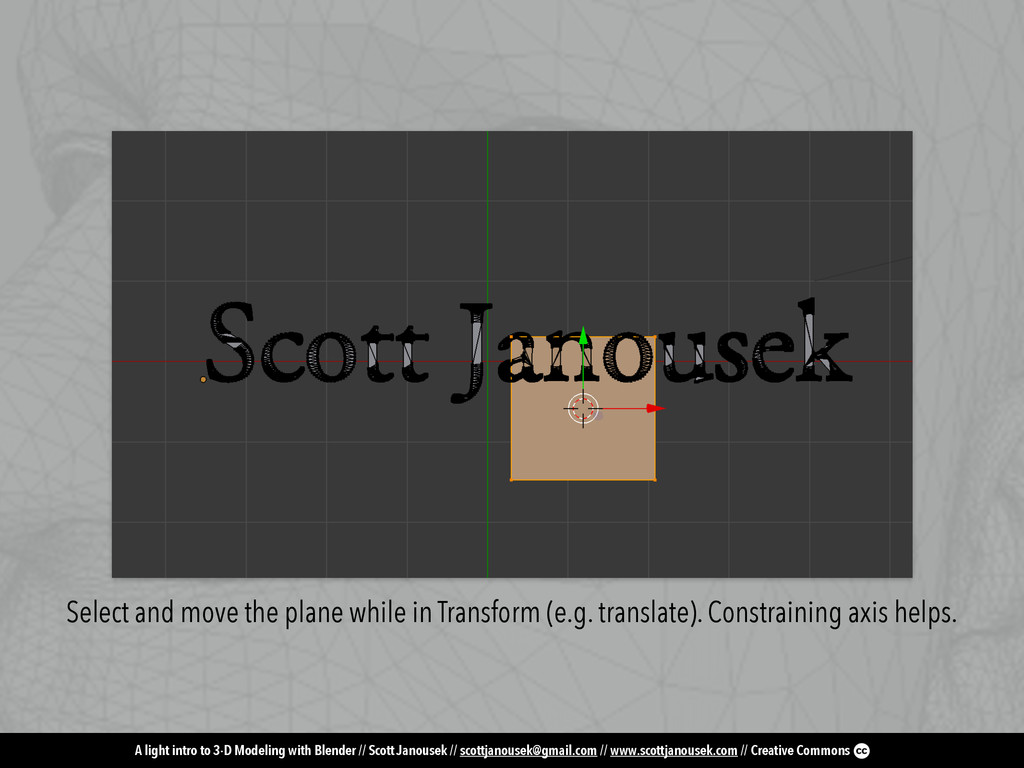
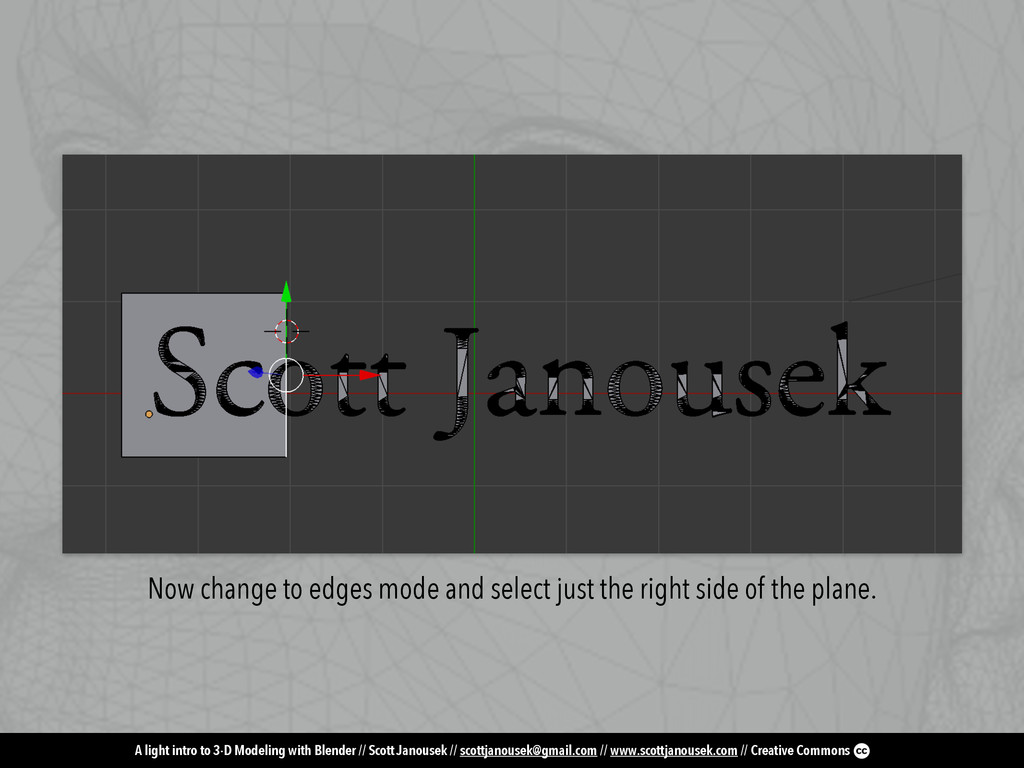
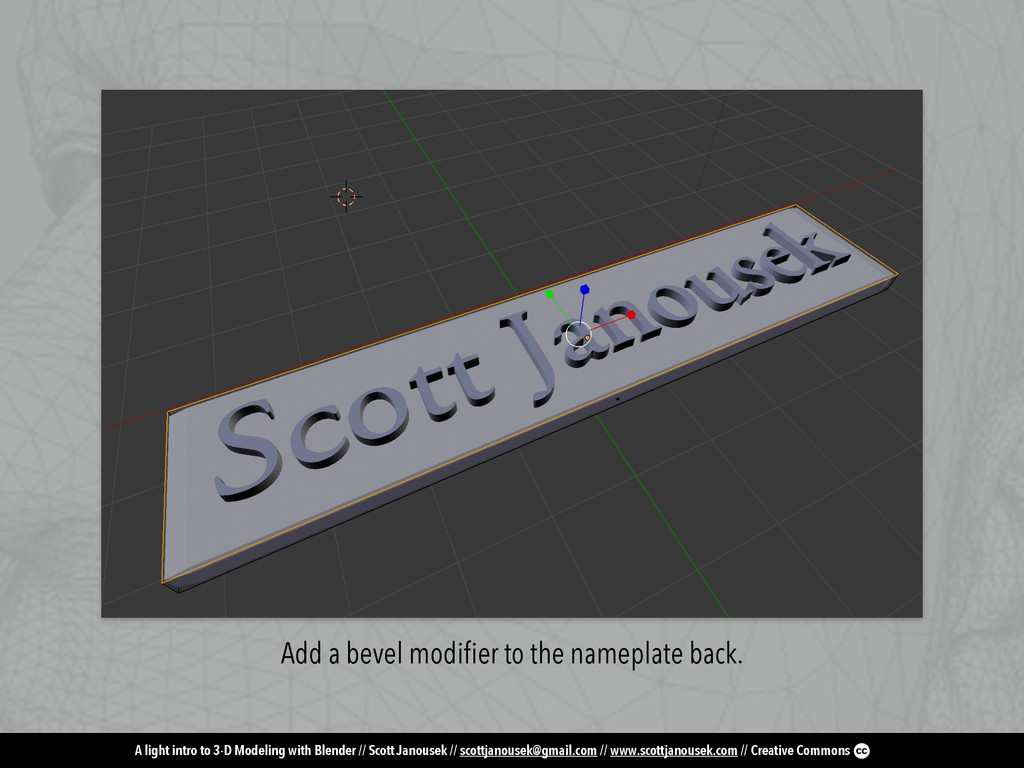
Janousek // [email protected] // www.scottjanousek.com // Creative Commons Once selected, then use the Transform->Extrude region button, and pull the z-axis handle up to make the backplate have depth.
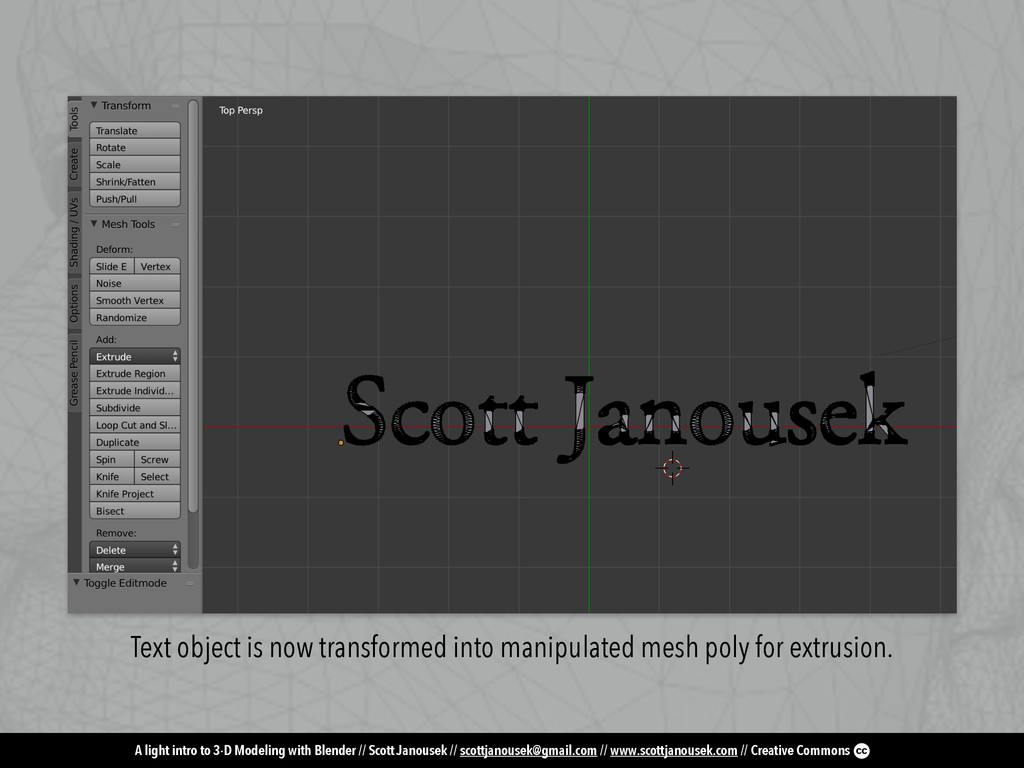
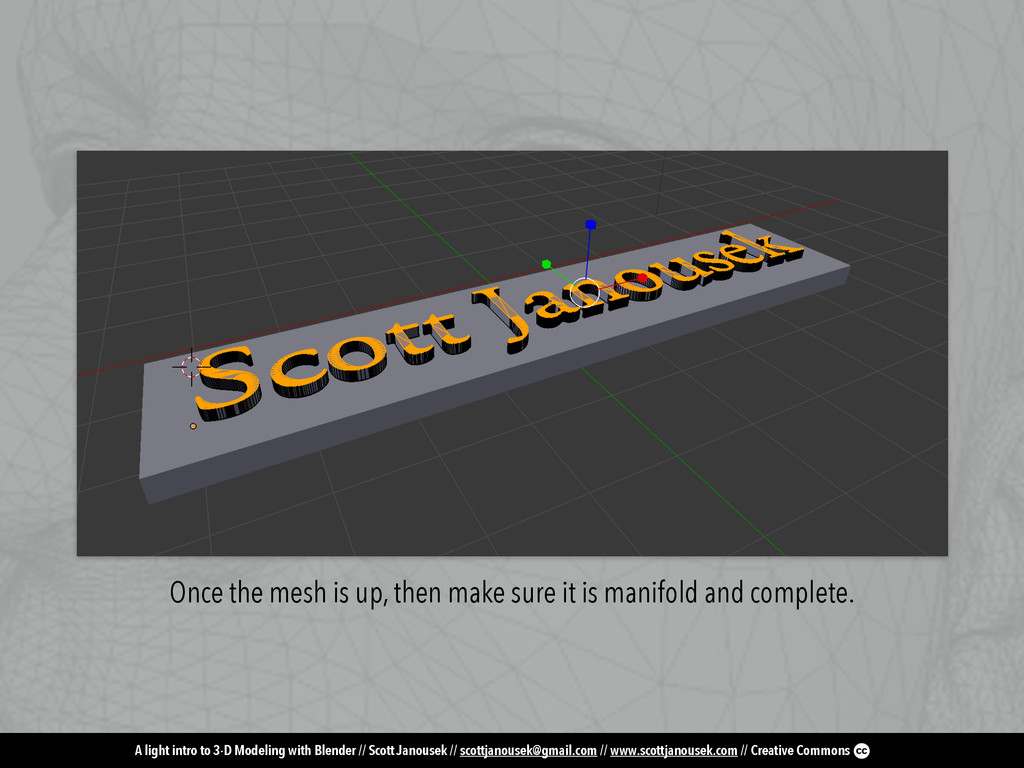
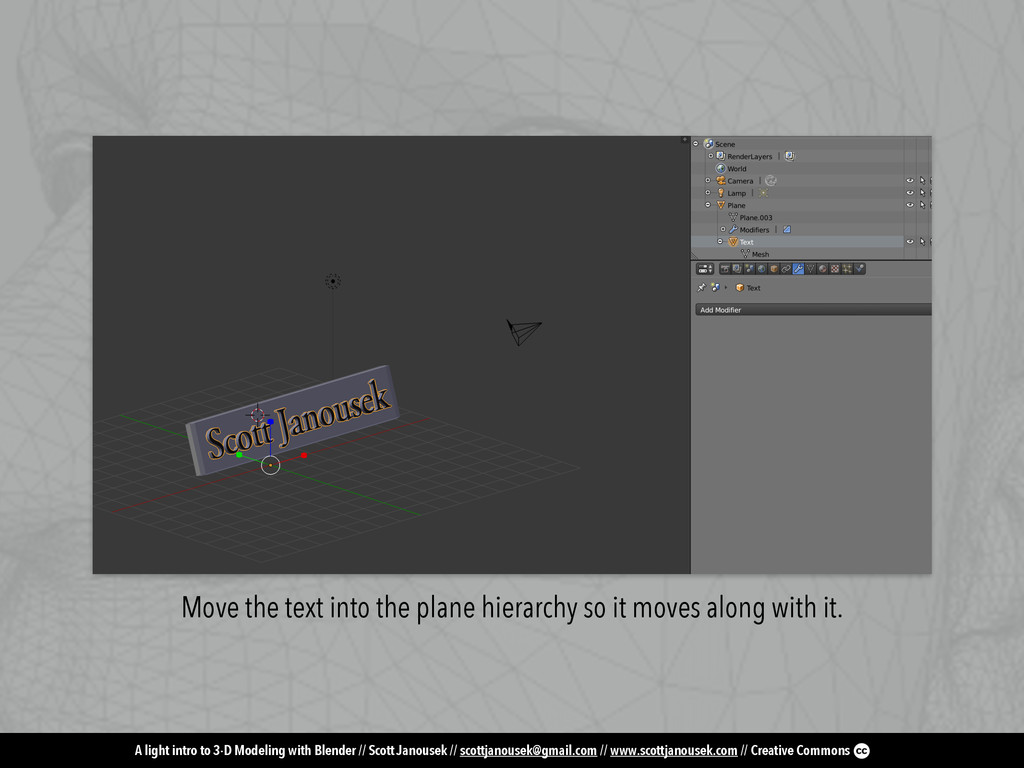
Janousek // [email protected] // www.scottjanousek.com // Creative Commons Now select the text in the scene, and extrude that up (since it’s also a mesh now).
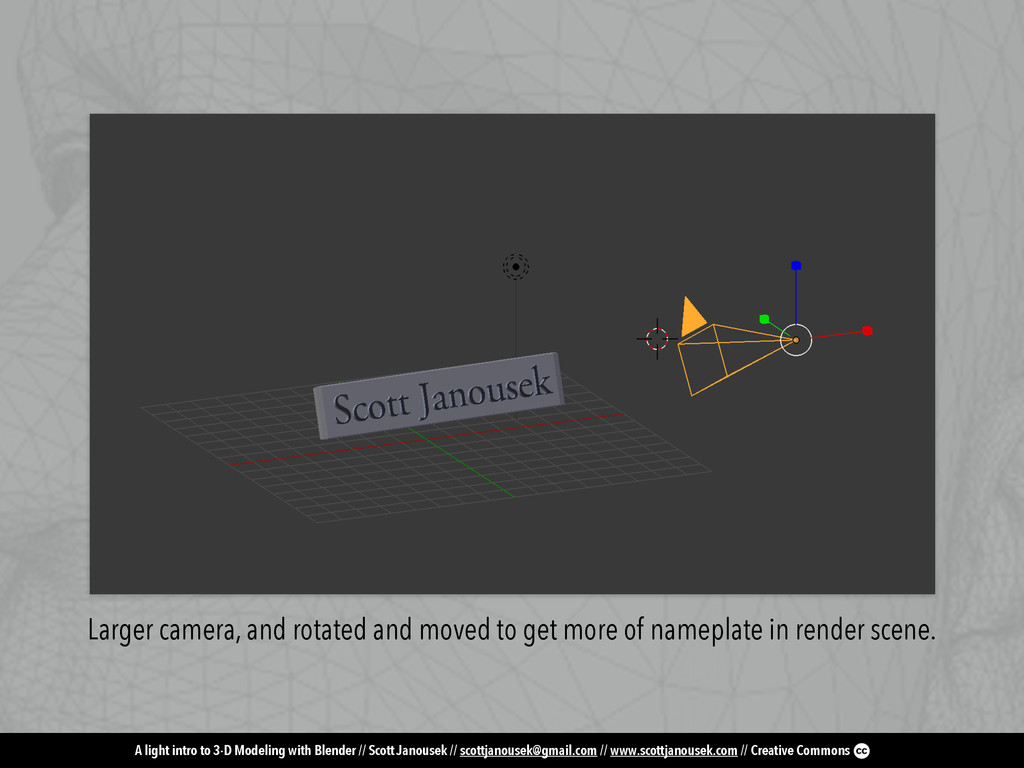
Janousek // [email protected] // www.scottjanousek.com // Creative Commons Larger camera, and rotated and moved to get more of nameplate in render scene.
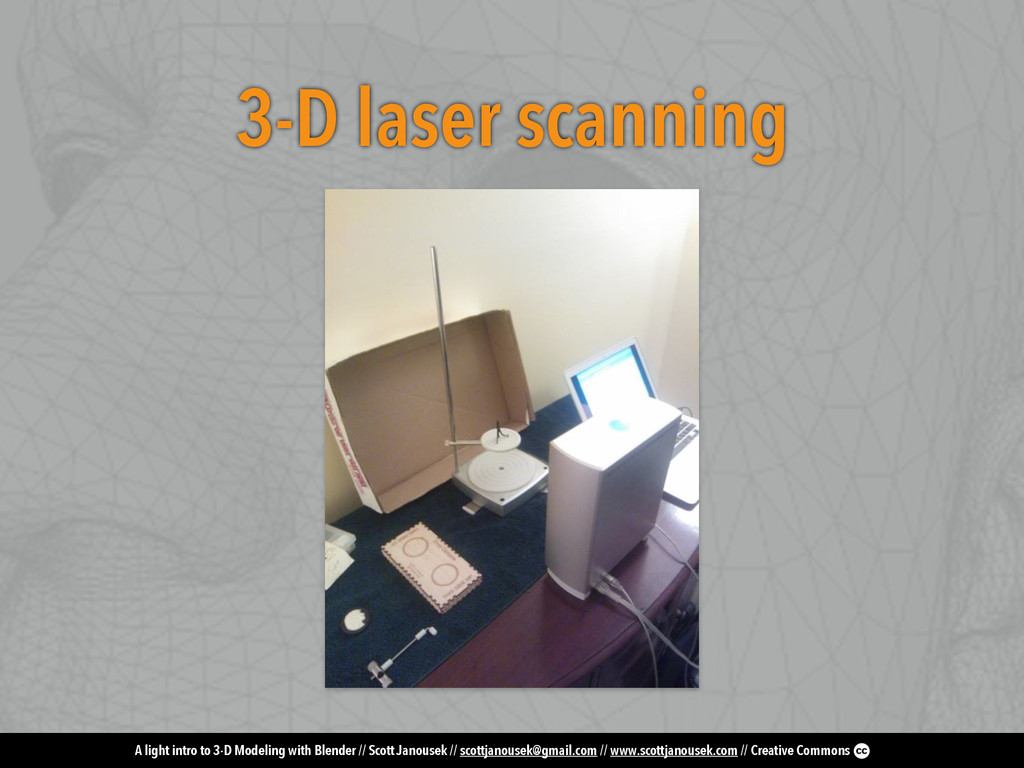
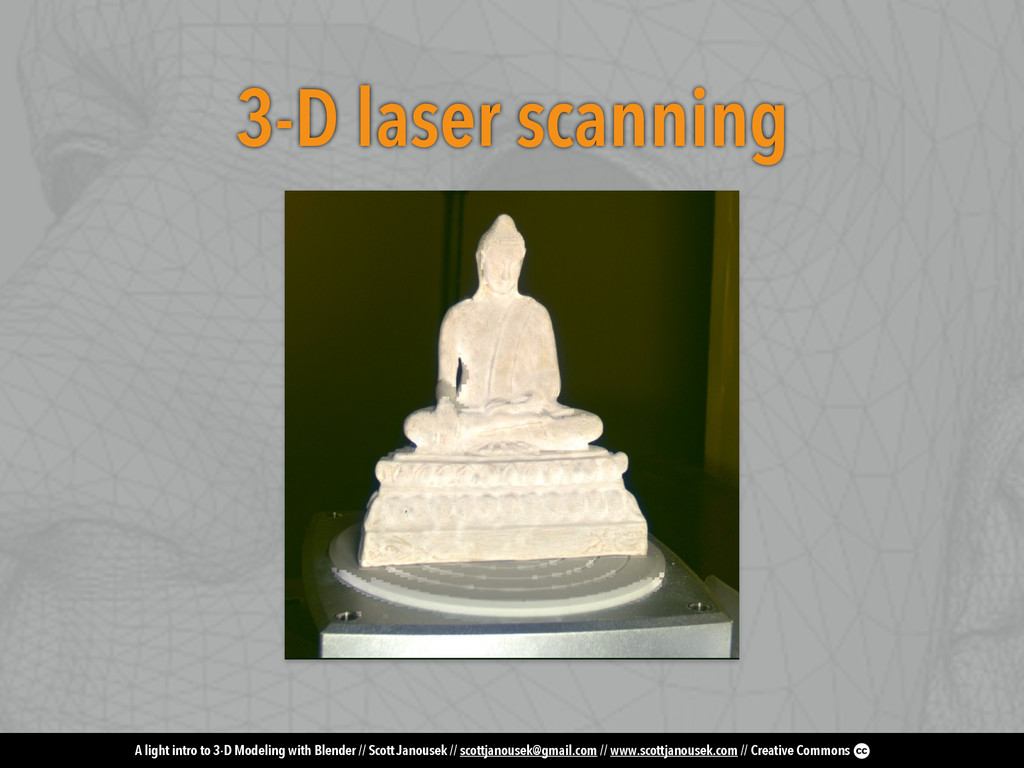
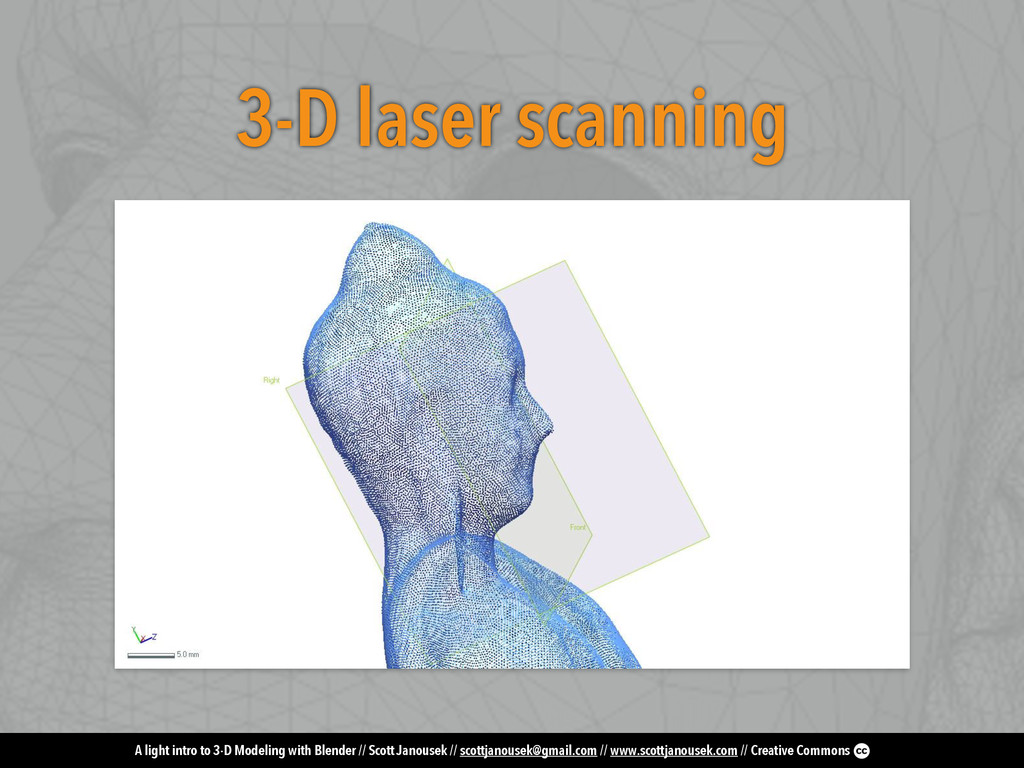
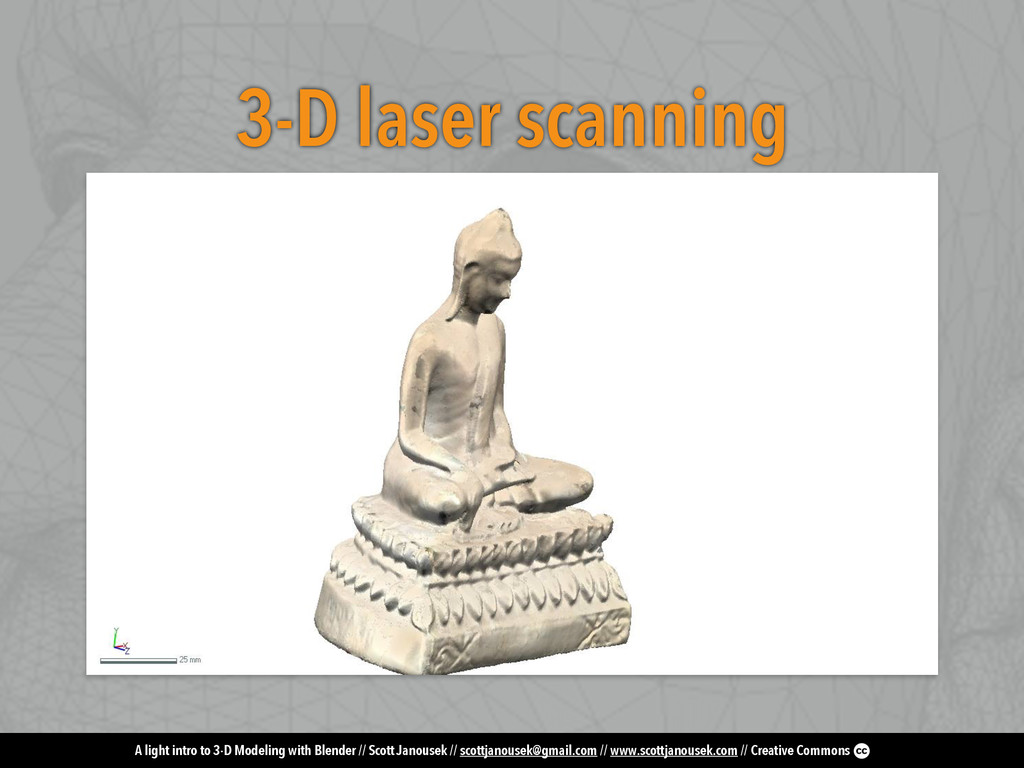
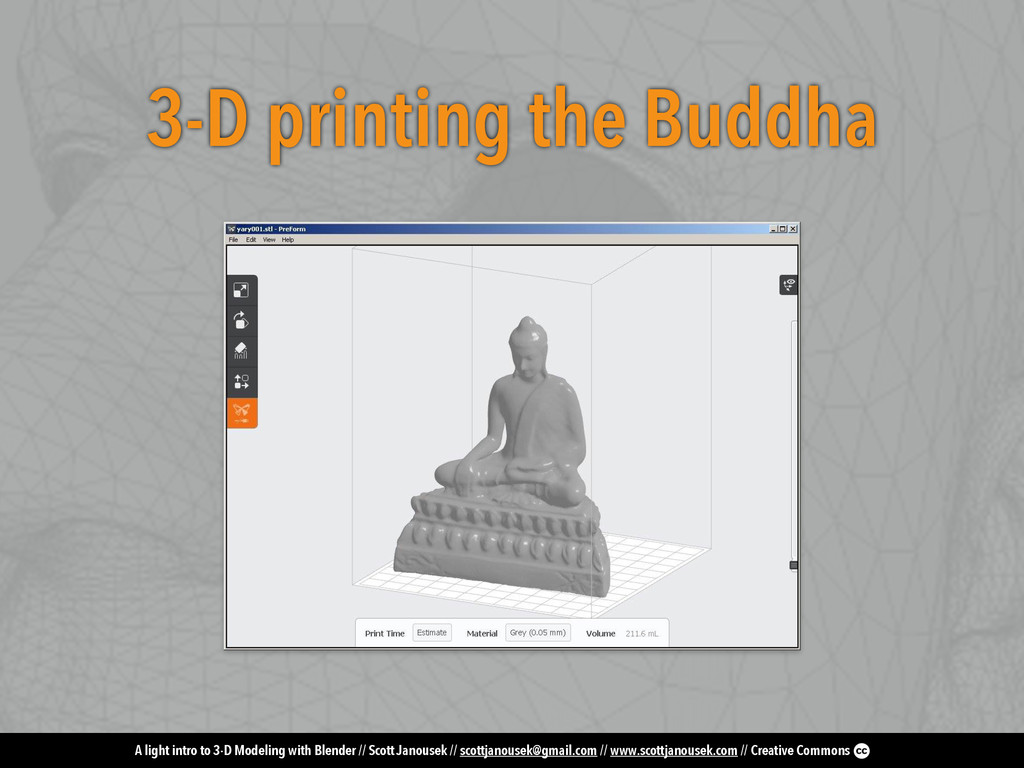
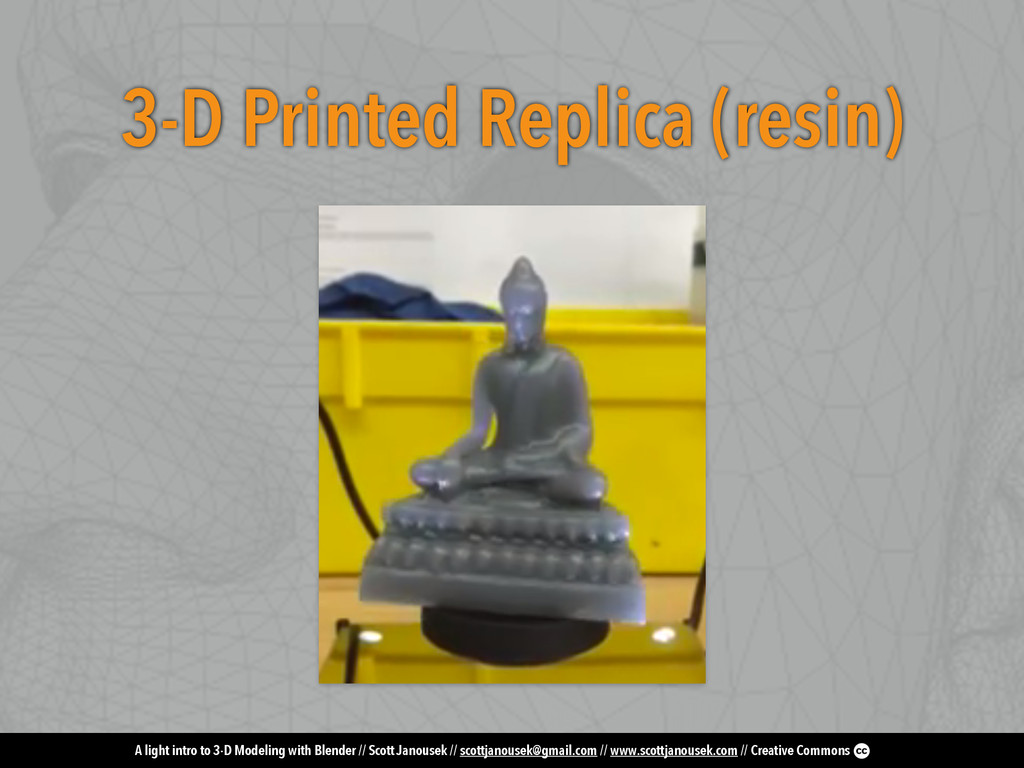
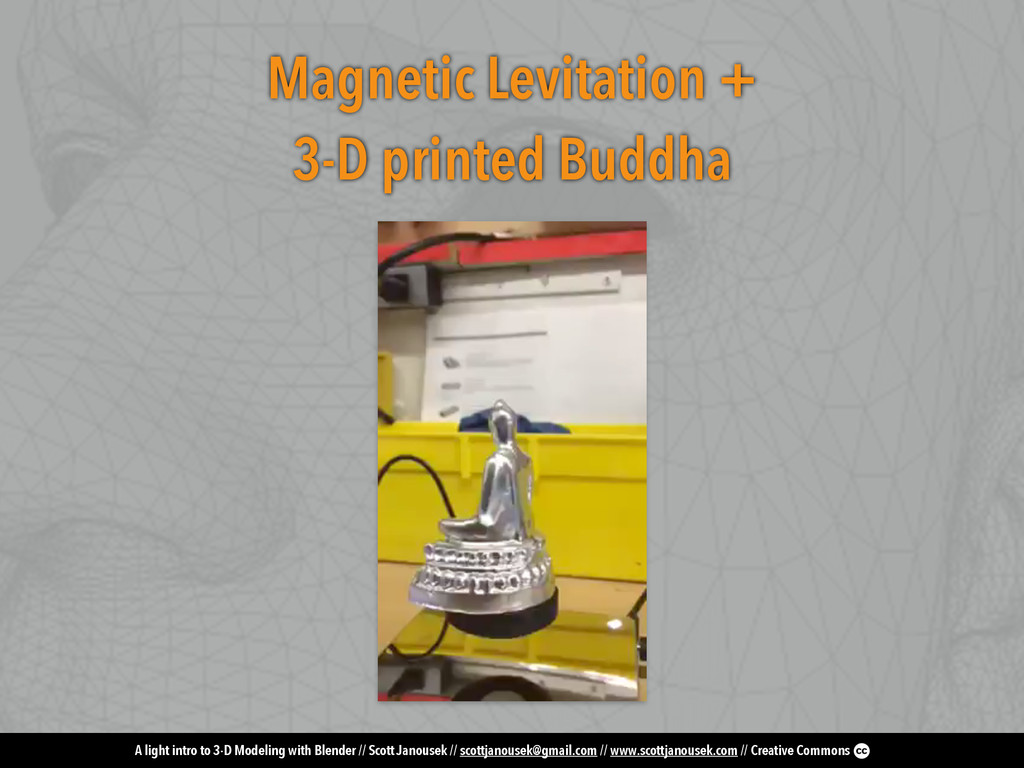
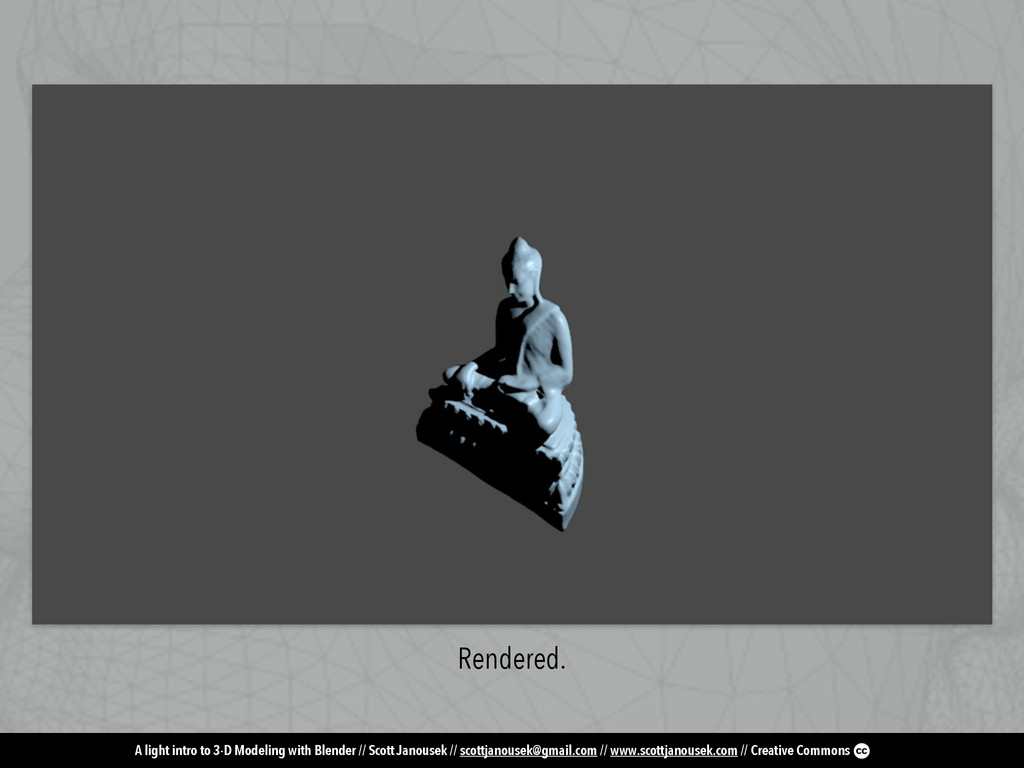
Janousek // [email protected] // www.scottjanousek.com // Creative Commons Project - Yari Statue Was approached by a friend to help Yari - a sculptural artist from New England that makes religious influenced Cambodian art. This was pro-bono work.
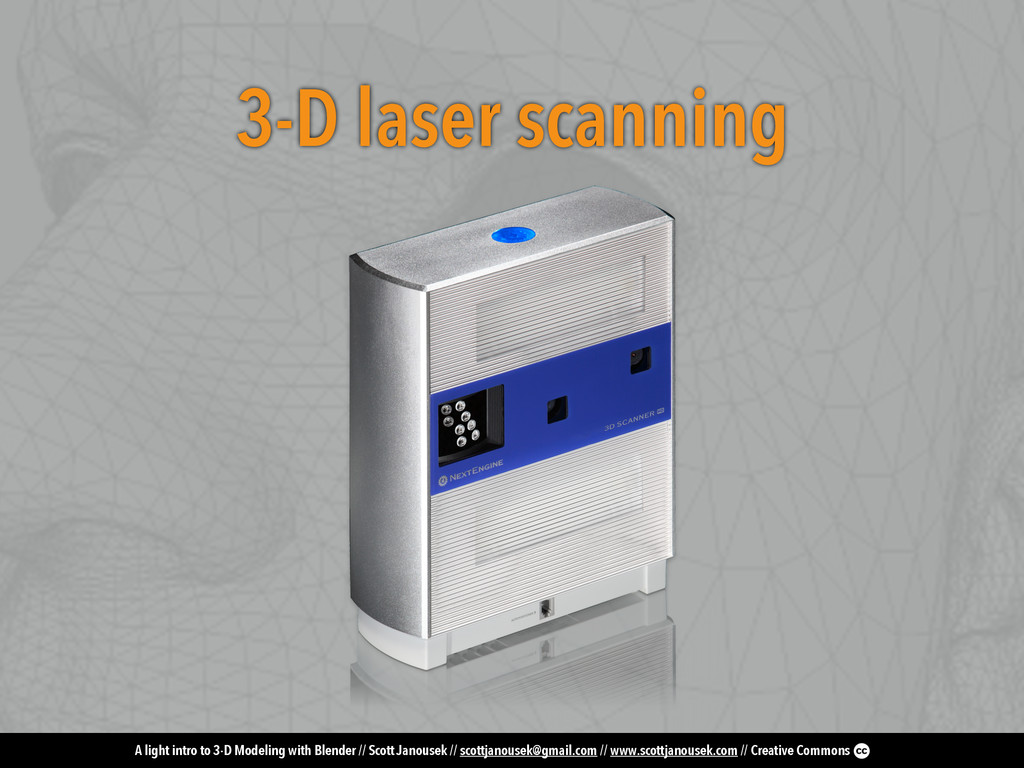
Janousek // [email protected] // www.scottjanousek.com // Creative Commons Goal To 3-D laser scan the original ceramic buddha at small scale, export mesh, scale it 5-7’ tall, CNC it out of a material, and then cast it in bronze or another metal using a custom forge.
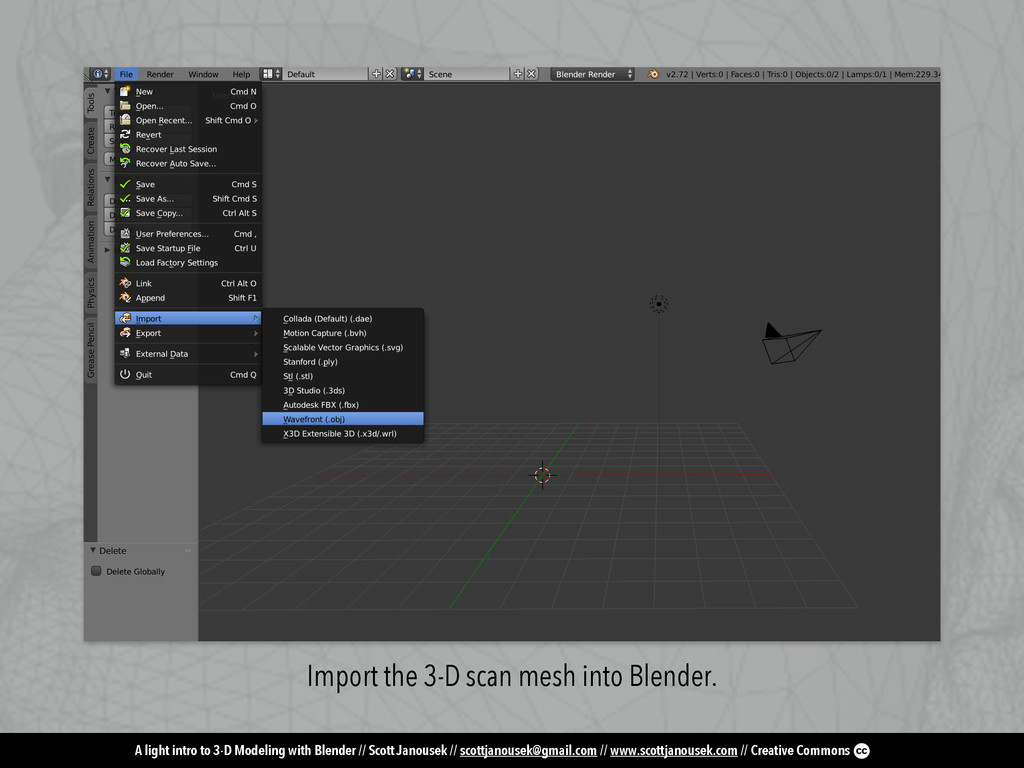
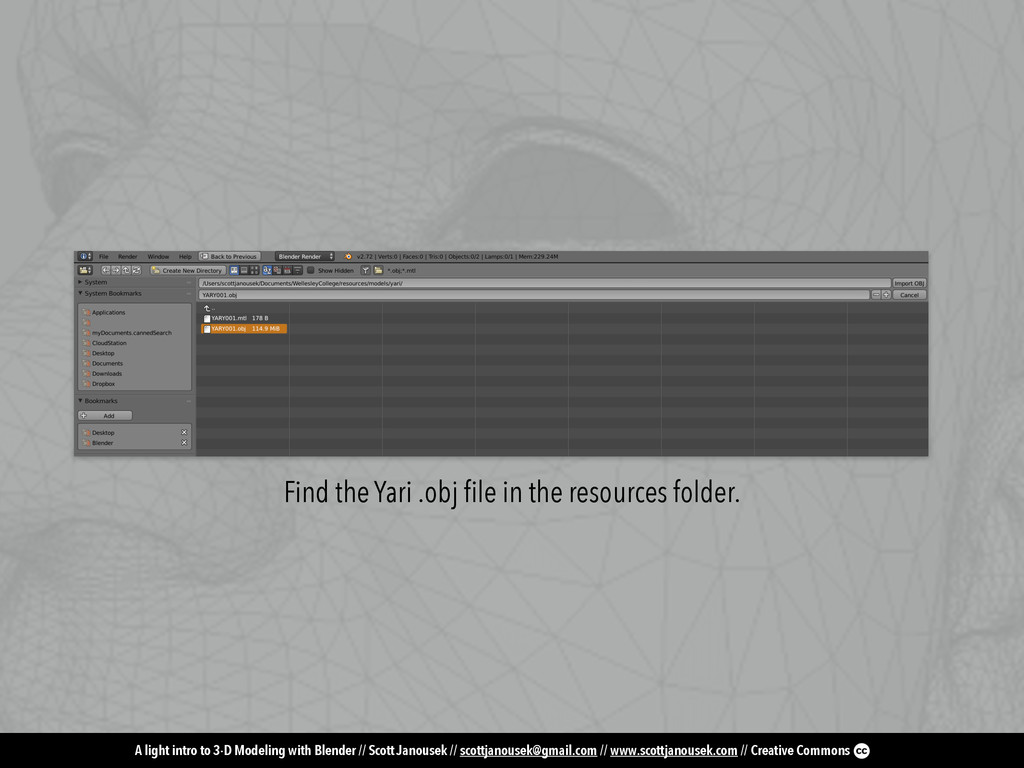
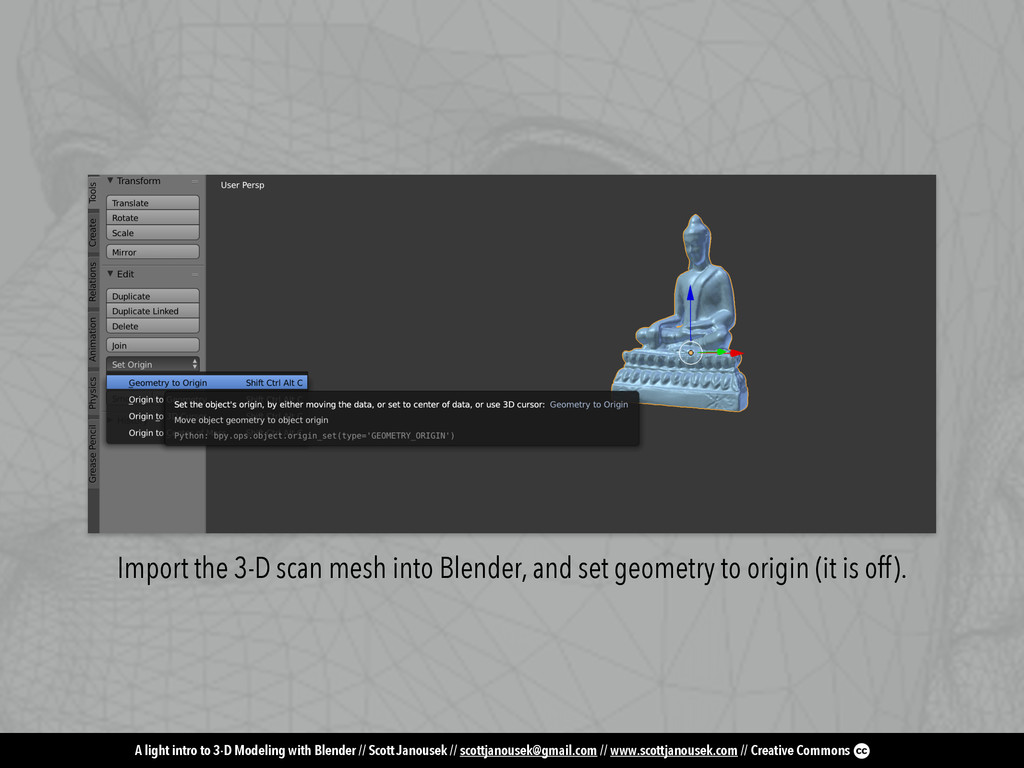
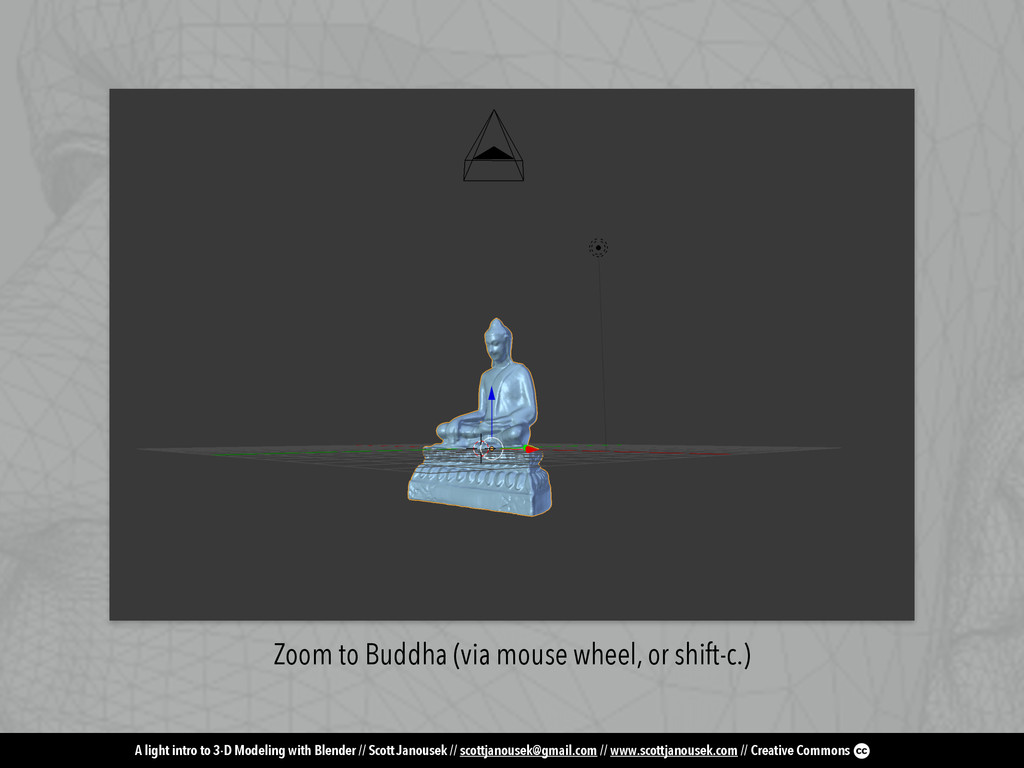
Janousek // [email protected] // www.scottjanousek.com // Creative Commons Import the 3-D scan mesh into Blender, and set geometry to origin (it is off).
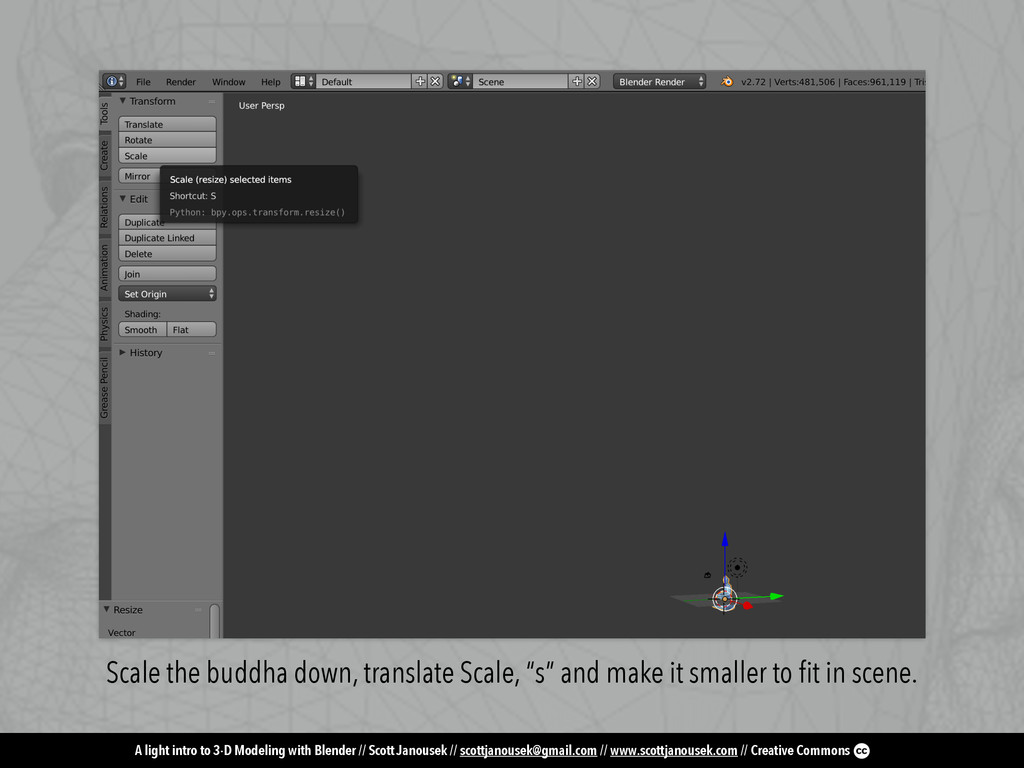
Janousek // [email protected] // www.scottjanousek.com // Creative Commons Scale the buddha down, translate Scale, “s” and make it smaller to fit in scene.
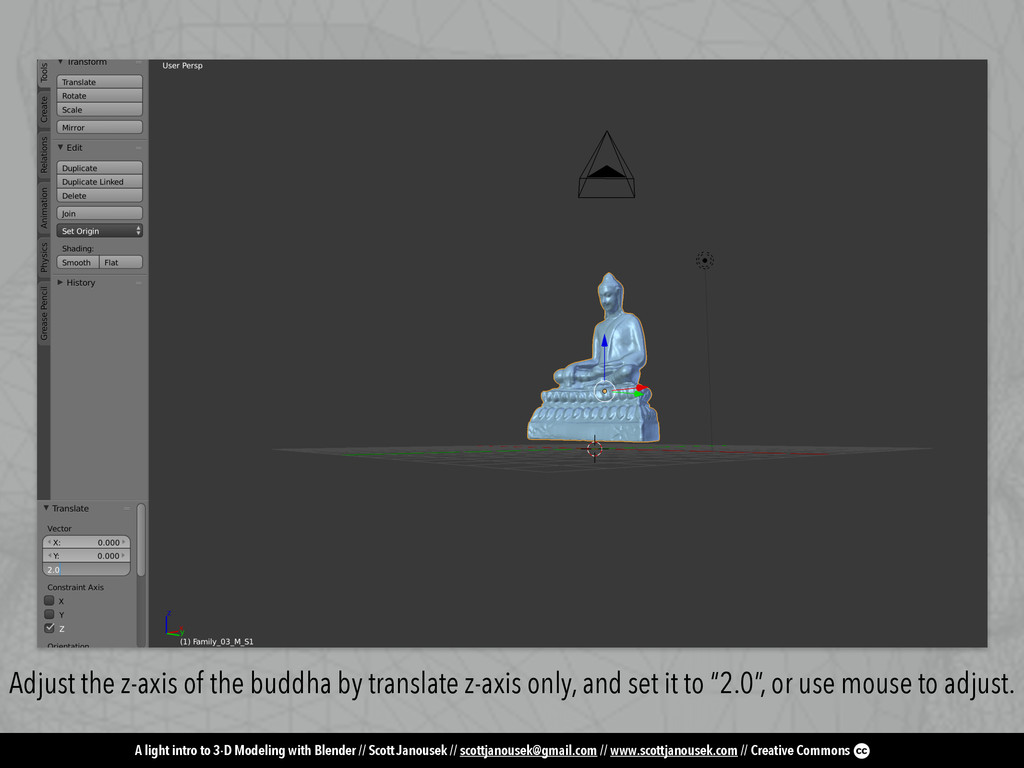
Janousek // [email protected] // www.scottjanousek.com // Creative Commons Adjust the z-axis of the buddha by translate z-axis only, and set it to “2.0”, or use mouse to adjust.
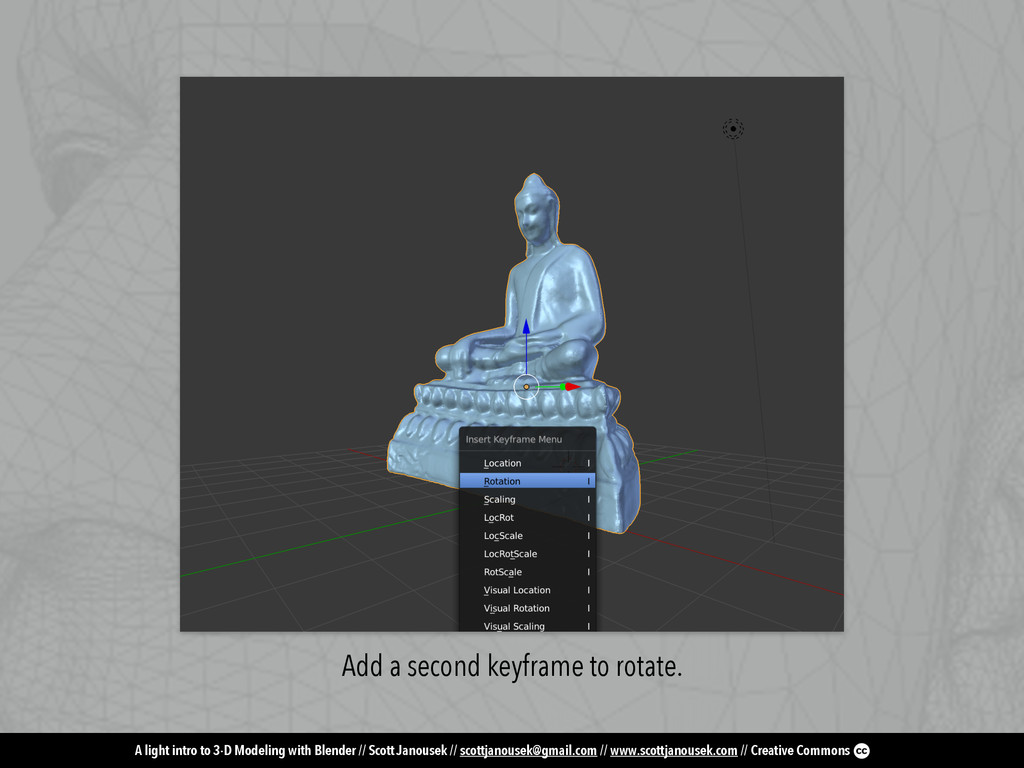
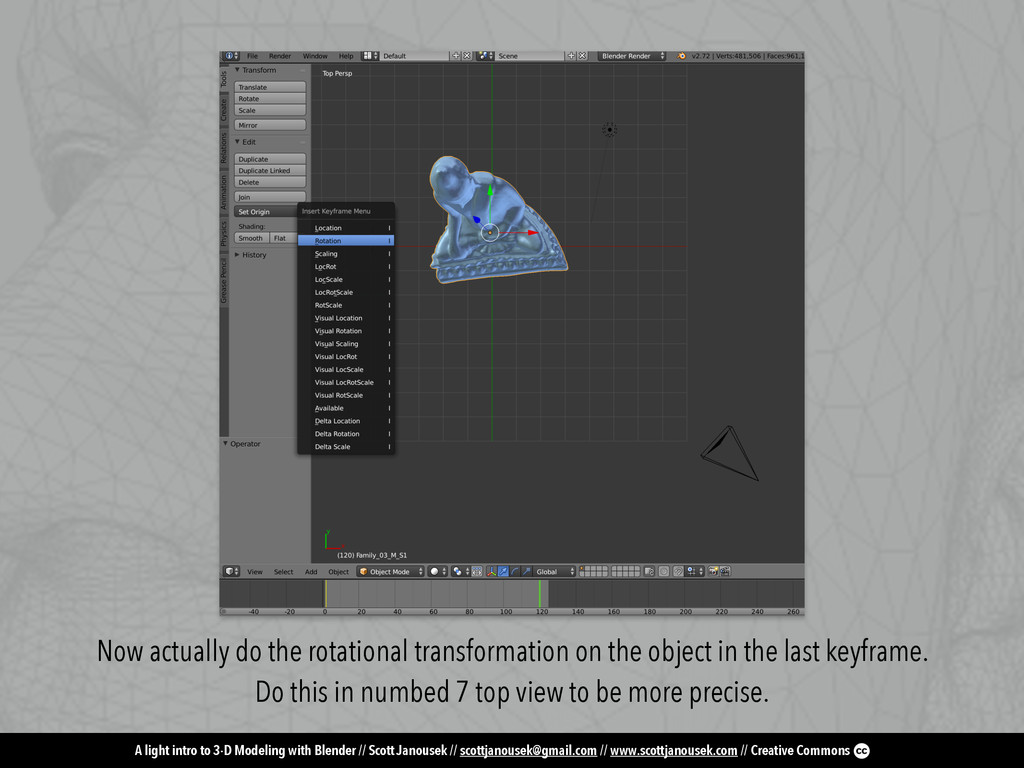
Janousek // [email protected] // www.scottjanousek.com // Creative Commons Now actually do the rotational transformation on the object in the last keyframe. Do this in numbed 7 top view to be more precise.
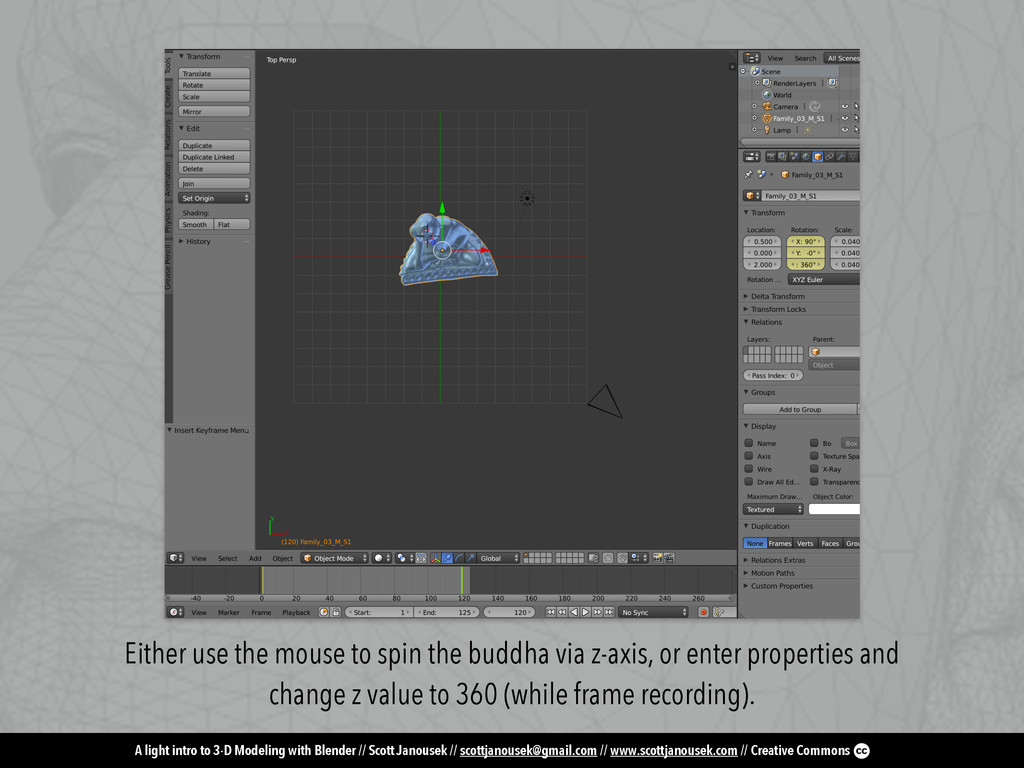
Janousek // [email protected] // www.scottjanousek.com // Creative Commons Either use the mouse to spin the buddha via z-axis, or enter properties and change z value to 360 (while frame recording).
Janousek // [email protected] // www.scottjanousek.com // Creative Commons Trim the values from the start and end frames so there is no delay, and the buddha spins freely.
Janousek // [email protected] // www.scottjanousek.com // Creative Commons Insert keyframes on 0, 60 and 120. Value for 0 something like 2, value for frame 60 like 4, and value for last frame back to 2 again (i.e. “hovering in place”).
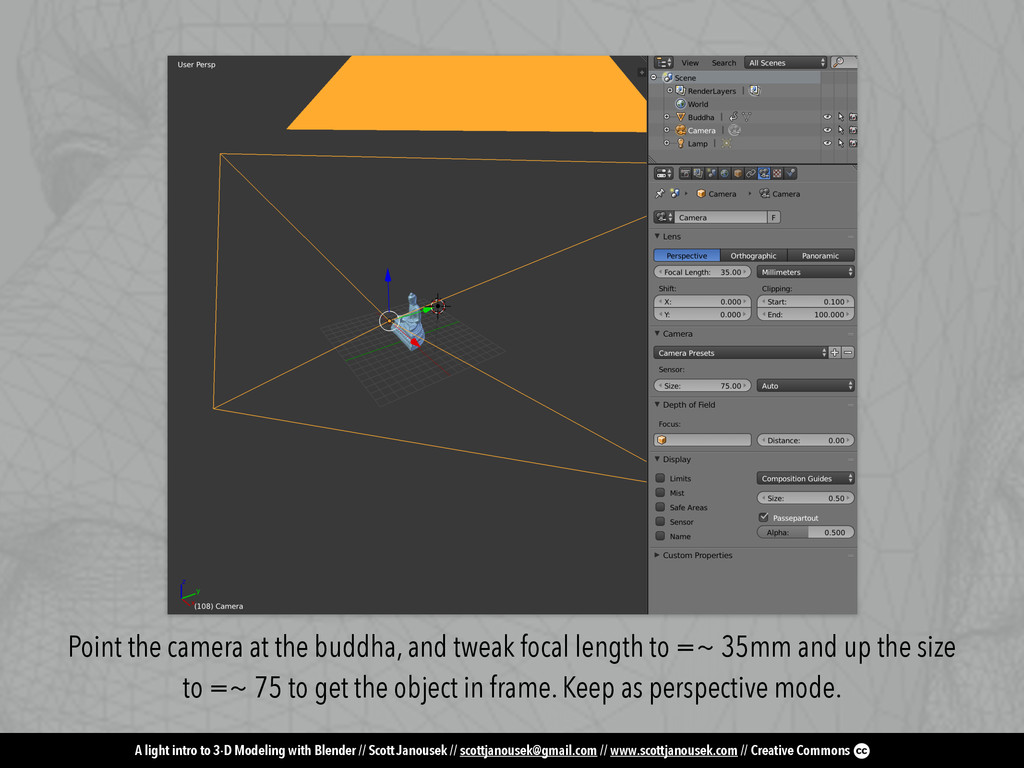
Janousek // [email protected] // www.scottjanousek.com // Creative Commons Point the camera at the buddha, and tweak focal length to =~ 35mm and up the size to =~ 75 to get the object in frame. Keep as perspective mode.