= = = = = = = = = = = = = = = = = = = = = = = = = = = = = = = = =
Liz Quilty:
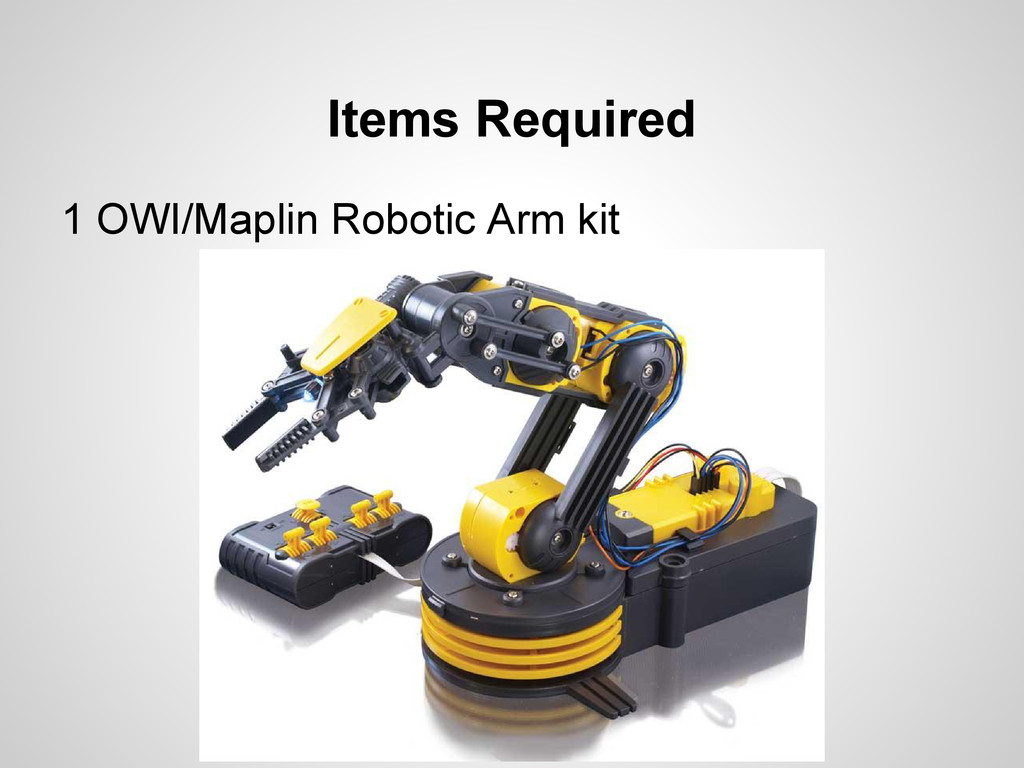
Hacking the OWI robotic arm bot
= = = = = = = = = = = = = = = = = = = = = = = = = = = = = = = = =
@ Kiwi PyCon 2013 - Saturday, 07 Sep 2013 - Track 1
http://nz.pycon.org/
**Audience level**
Novice
**Description**
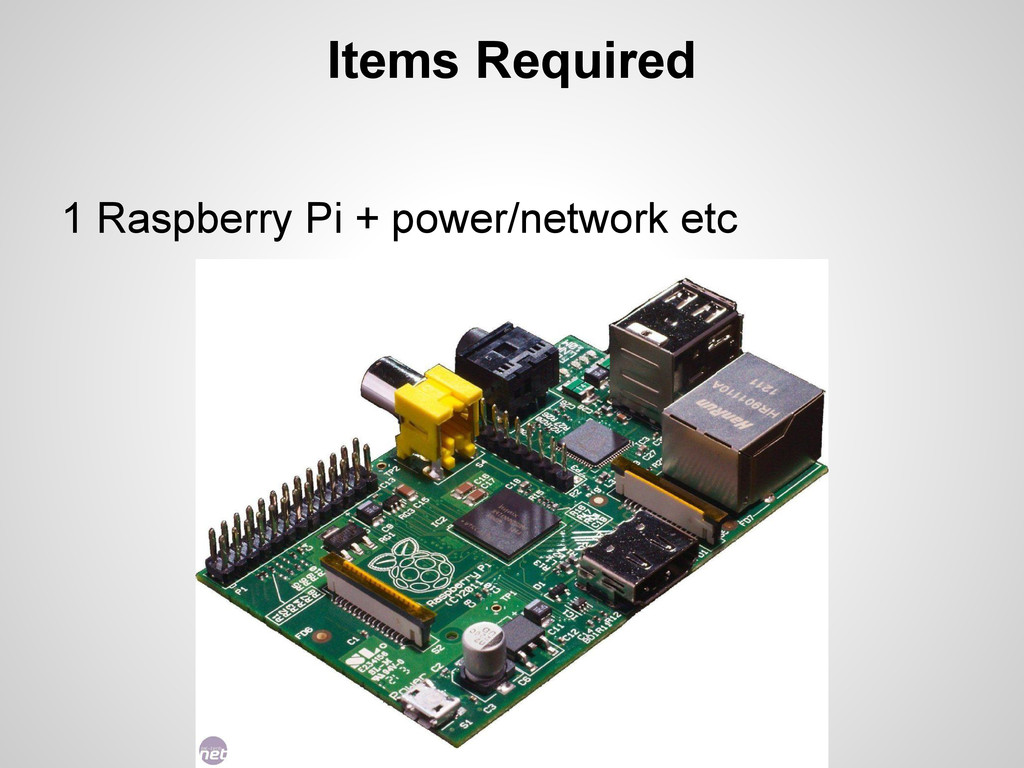
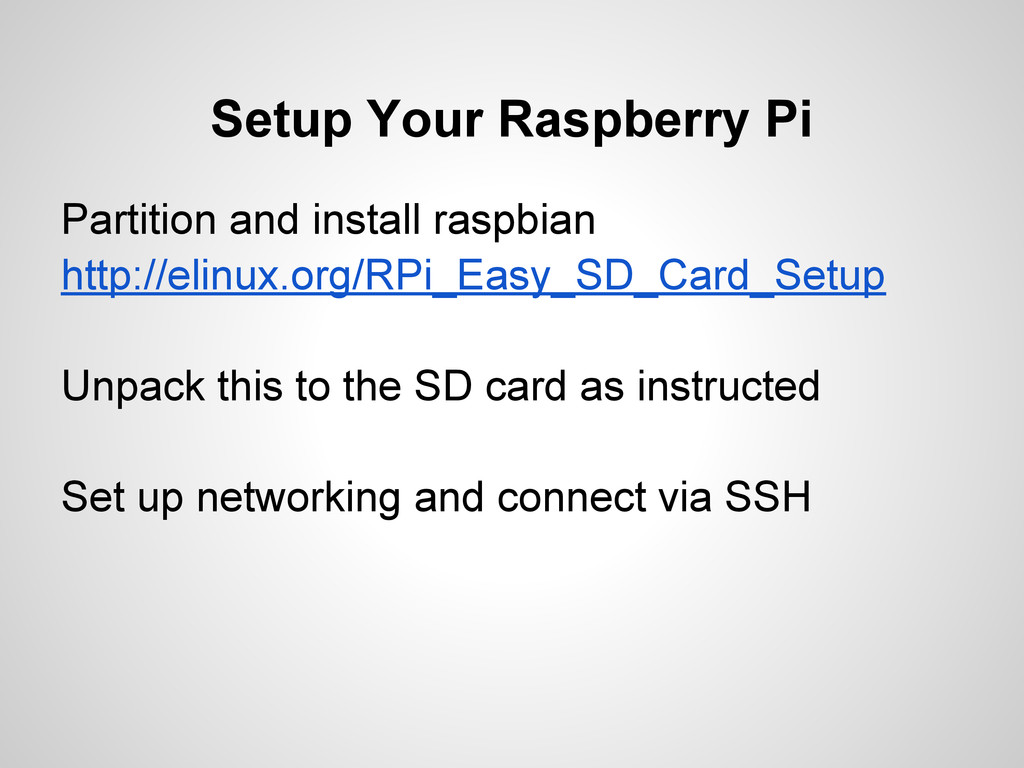
Demonstrating the OWI robotic arm running automated with a Raspberry Pi and some python code.
**Abstract**
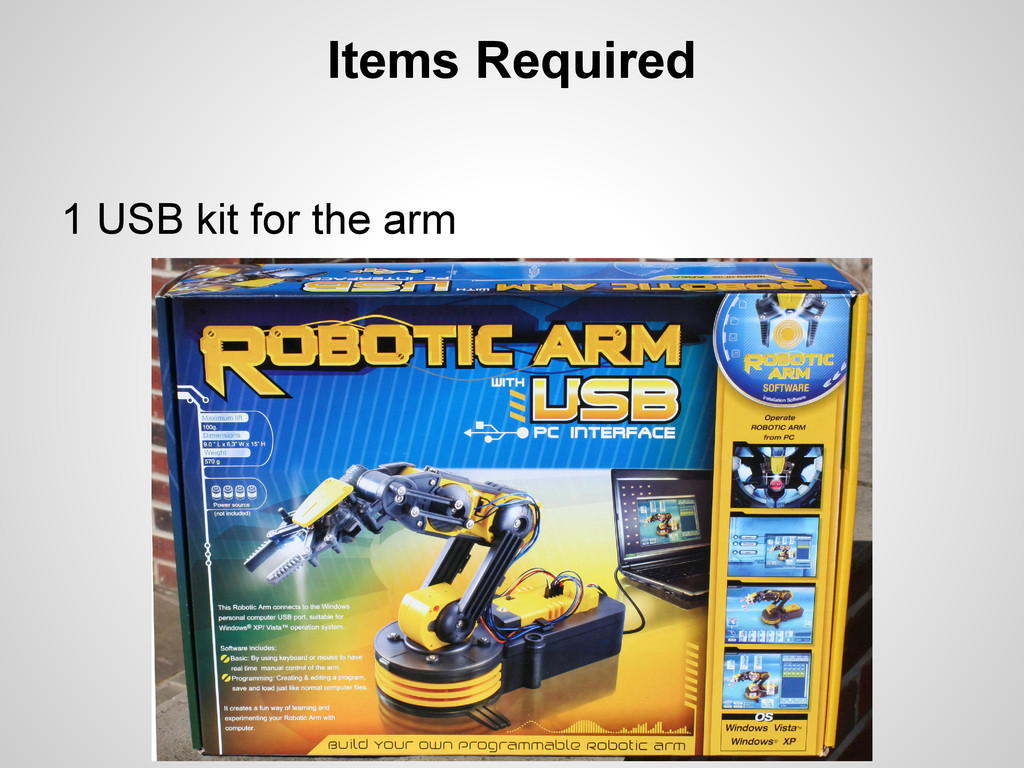
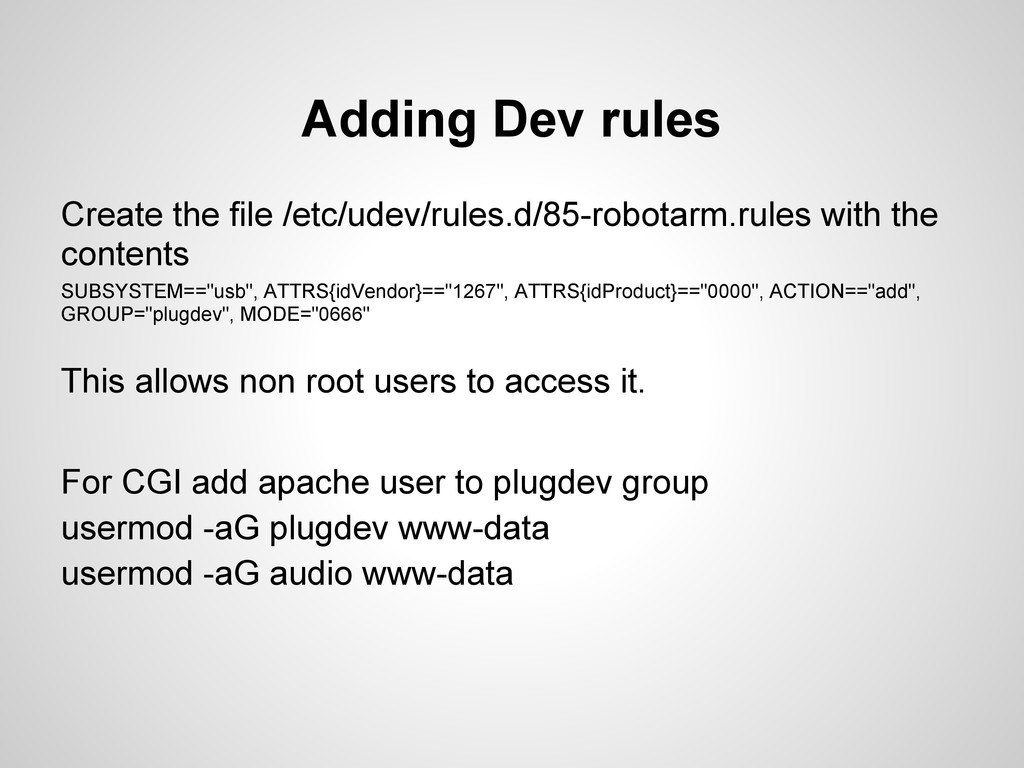
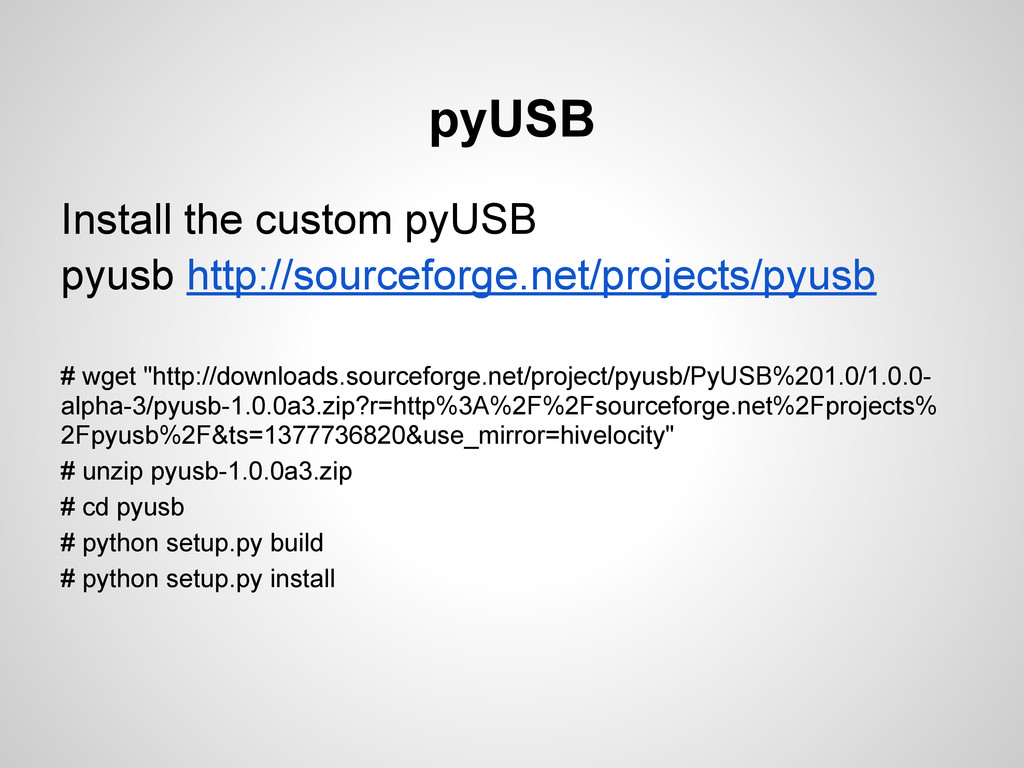
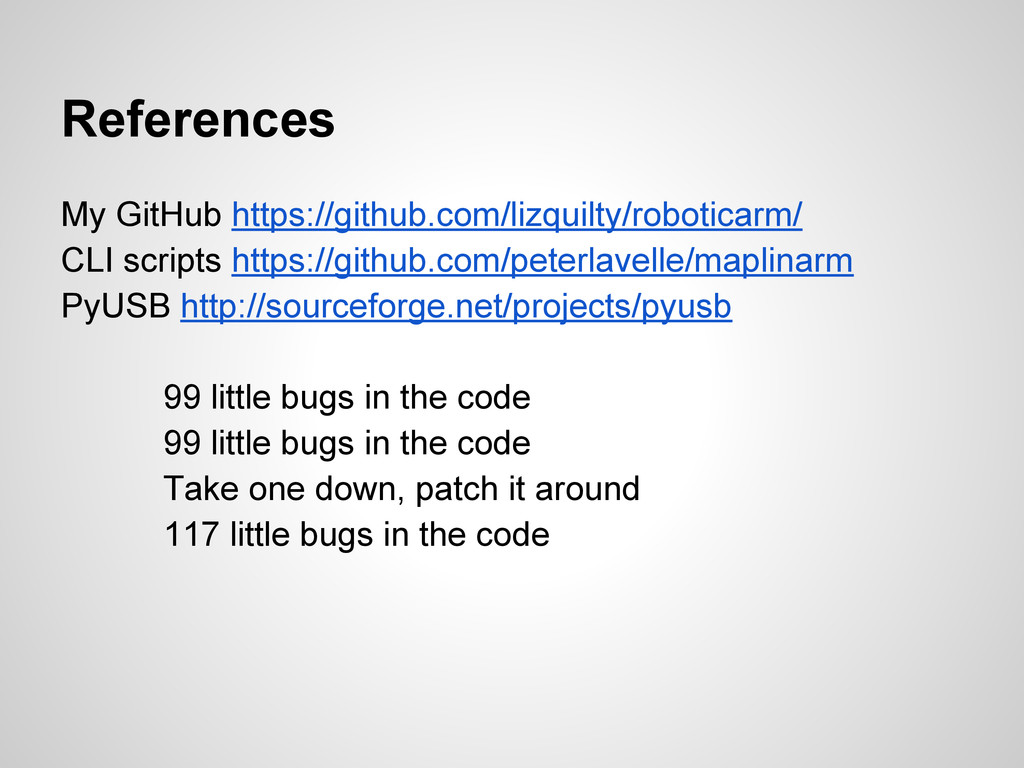
After buying my son an OWI robotic arm,we decided to see if we could do more with it than use the remote controller. We quickly found you can buy a USB interface, however it only came with windows drivers. After some googling we found we could control this with python scripts which led to even more fun!
**YouTube**
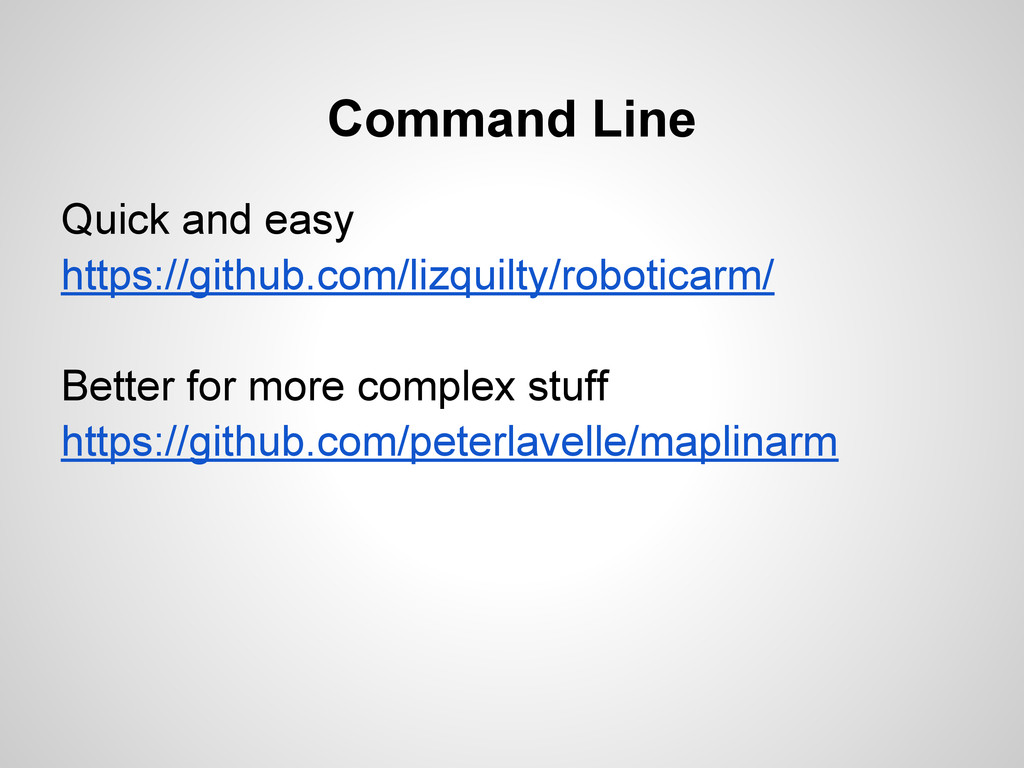
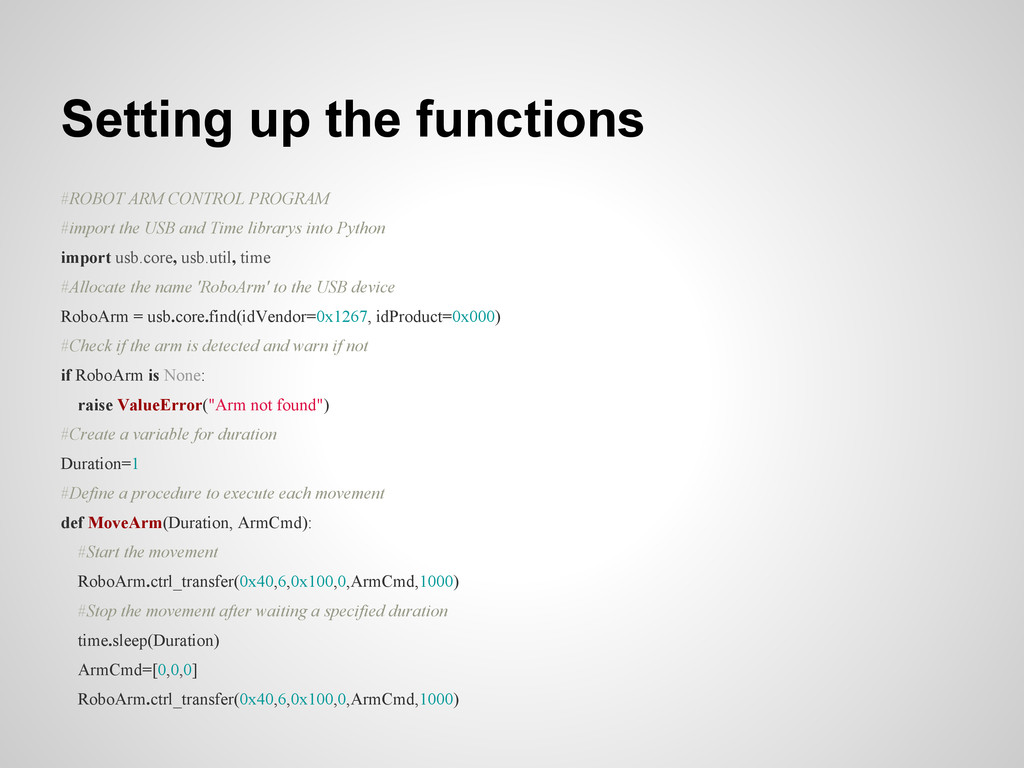
![Moving MoveArm(1,[0,1,0]) #Rotate base anti-clockwise MoveArm(1,[0,2,0]) #Rotate base clockwise MoveArm(1,[64,0,0])](https://files.speakerdeck.com/presentations/846347d0ff7a0130efc322879cf5ef46/slide_11.jpg)