refers to uniquely identifiable objects and their virtual representations in an Internet-like structure. Kevin Ashton proposed the term Internet of things in 1999, though people have discussed the concept since at least 1991. Today however, the term Internet of things (commonly abbreviated as IoT) denotes advanced connectivity of devices, systems, and services that goes beyond the traditional M2M and covers a variety of protocols, domains and applications. Source: Wikipedia
server-side and networking applications. Node.js applications are written in JavaScript, and can be run within the Node.js runtime on Windows, Mac OS X and Linux with no changes. Source: Wikipedia
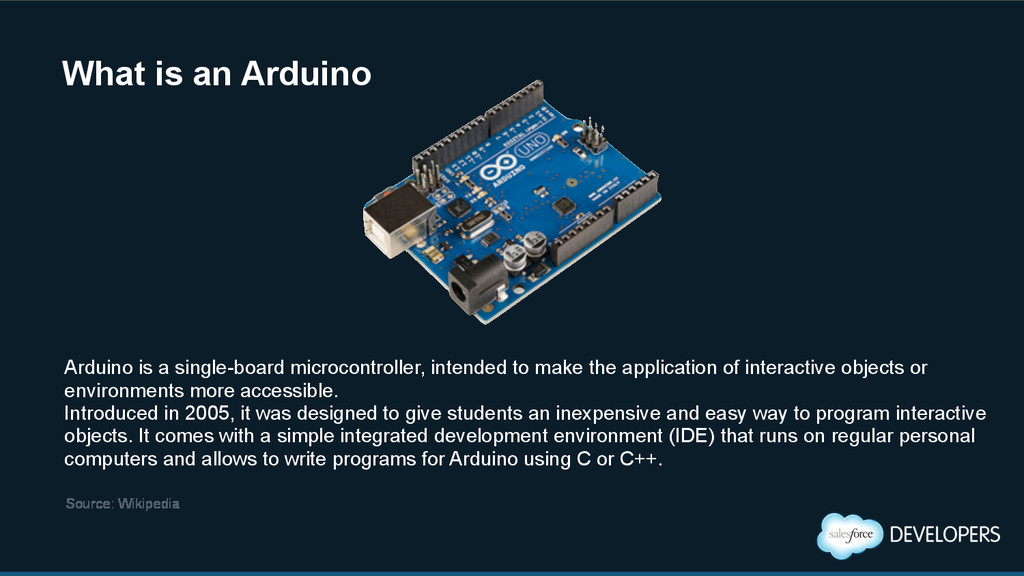
of interactive objects or environments more accessible. Introduced in 2005, it was designed to give students an inexpensive and easy way to program interactive objects. It comes with a simple integrated development environment (IDE) that runs on regular personal computers and allows to write programs for Arduino using C or C++. What is an Arduino Source: Wikipedia
allows incredible freedom for ISVs, developers, administrators, and every user to innovate. ! This approach to unlocking mobile app development for organizations is built for today’s needs: mobile and social solutions delivered in days or weeks. ! Designed for scale with open APIs for extensibility and integration, and powerful developer tools, there’s no limit to what developers and ISVs can build on the platform. What is Salesforce 1 Source: SF1 Developer guide
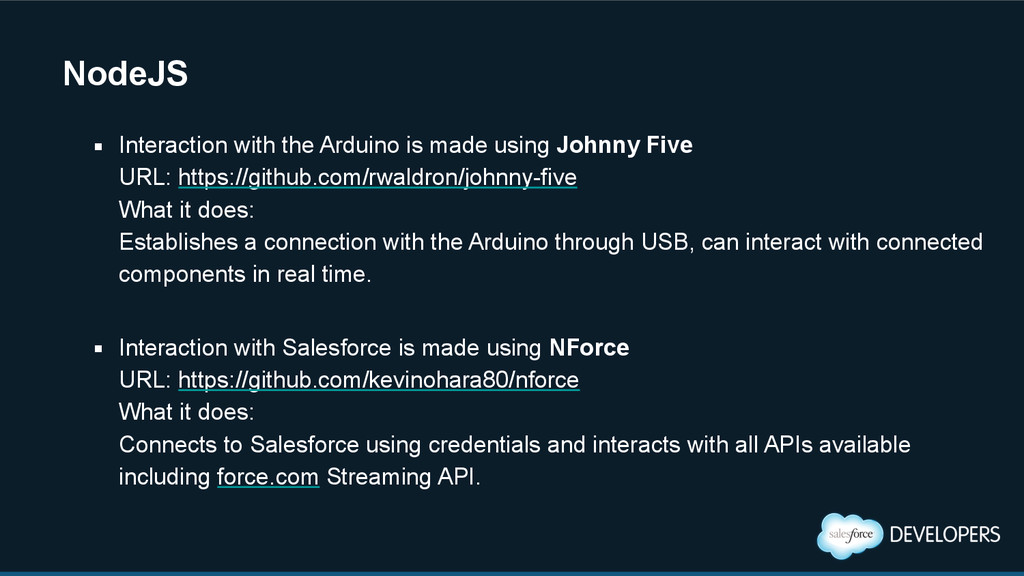
Five URL: https://github.com/rwaldron/johnny-five What it does: Establishes a connection with the Arduino through USB, can interact with connected components in real time. ▪ Interaction with Salesforce is made using NForce URL: https://github.com/kevinohara80/nforce What it does: Connects to Salesforce using credentials and interacts with all APIs available including force.com Streaming API.
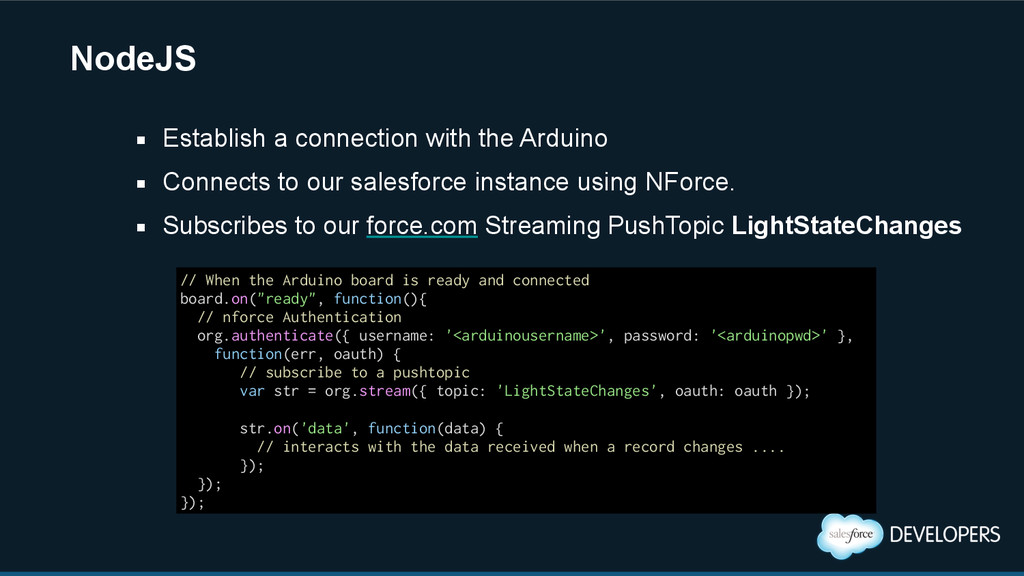
Subscribes to our force.com Streaming PushTopic LightStateChanges ▪ Establish a connection with the Arduino // When the Arduino board is ready and connected board.on("ready", function(){ // nforce Authentication org.authenticate({ username: '<arduinousername>', password: '<arduinopwd>' }, function(err, oauth) { // subscribe to a pushtopic var str = org.stream({ topic: 'LightStateChanges', oauth: oauth }); str.on('data', function(data) { // interacts with the data received when a record changes .... }); }); });
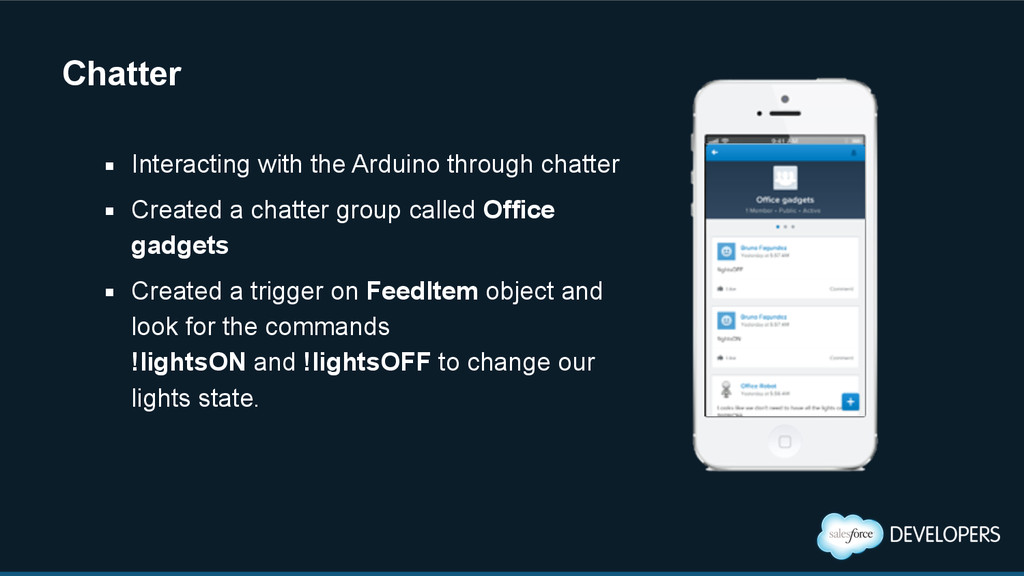
a chatter group called Office gadgets ▪ Created a trigger on FeedItem object and look for the commands !lightsON and !lightsOFF to change our lights state.
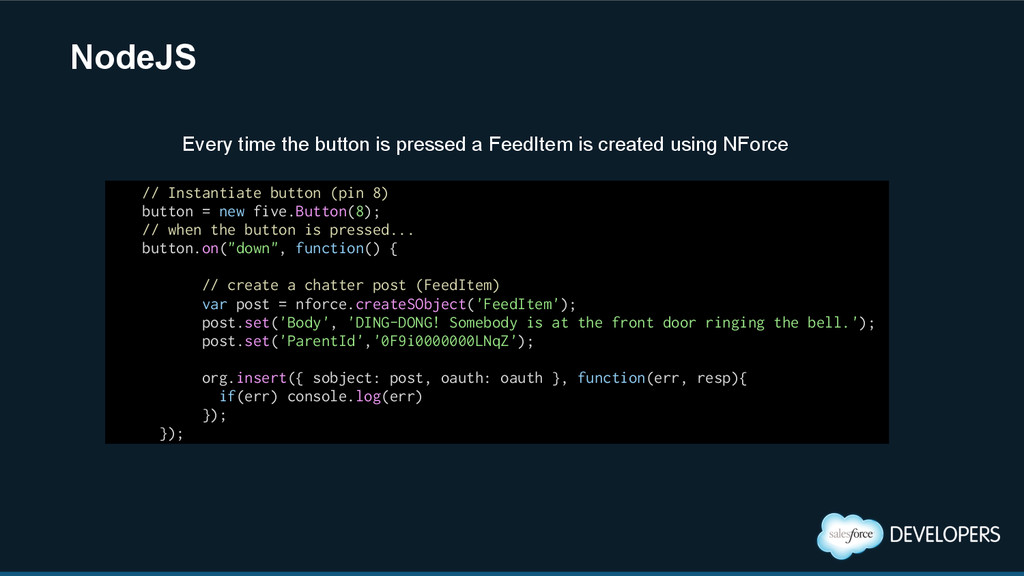
// when the button is pressed... button.on("down", function() { ! // create a chatter post (FeedItem) var post = nforce.createSObject('FeedItem'); post.set('Body', 'DING-DONG! Somebody is at the front door ringing the bell.'); post.set('ParentId','0F9i0000000LNqZ'); ! org.insert({ sobject: post, oauth: oauth }, function(err, resp){ if(err) console.log(err) }); }); Every time the button is pressed a FeedItem is created using NForce
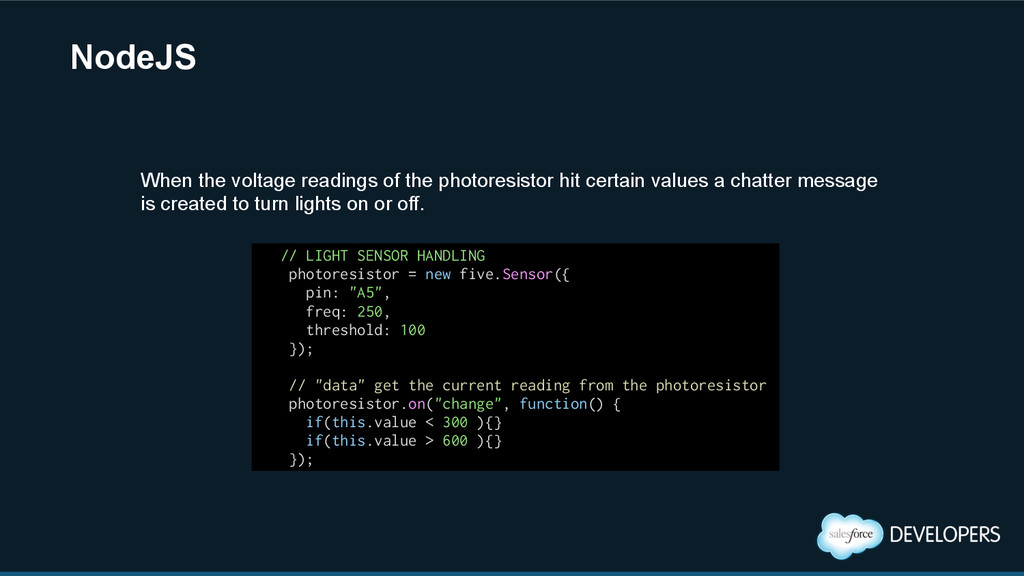
"A5", freq: 250, threshold: 100 }); ! // "data" get the current reading from the photoresistor photoresistor.on("change", function() { if(this.value < 300 ){} if(this.value > 600 ){} }); When the voltage readings of the photoresistor hit certain values a chatter message is created to turn lights on or off.
![Bruno Fagundez! Developer/Consultant @geekymartian! www.geekymartian.com! [email protected]](https://files.speakerdeck.com/presentations/e45926e0b530013170892a9df2099e30/slide_1.jpg)