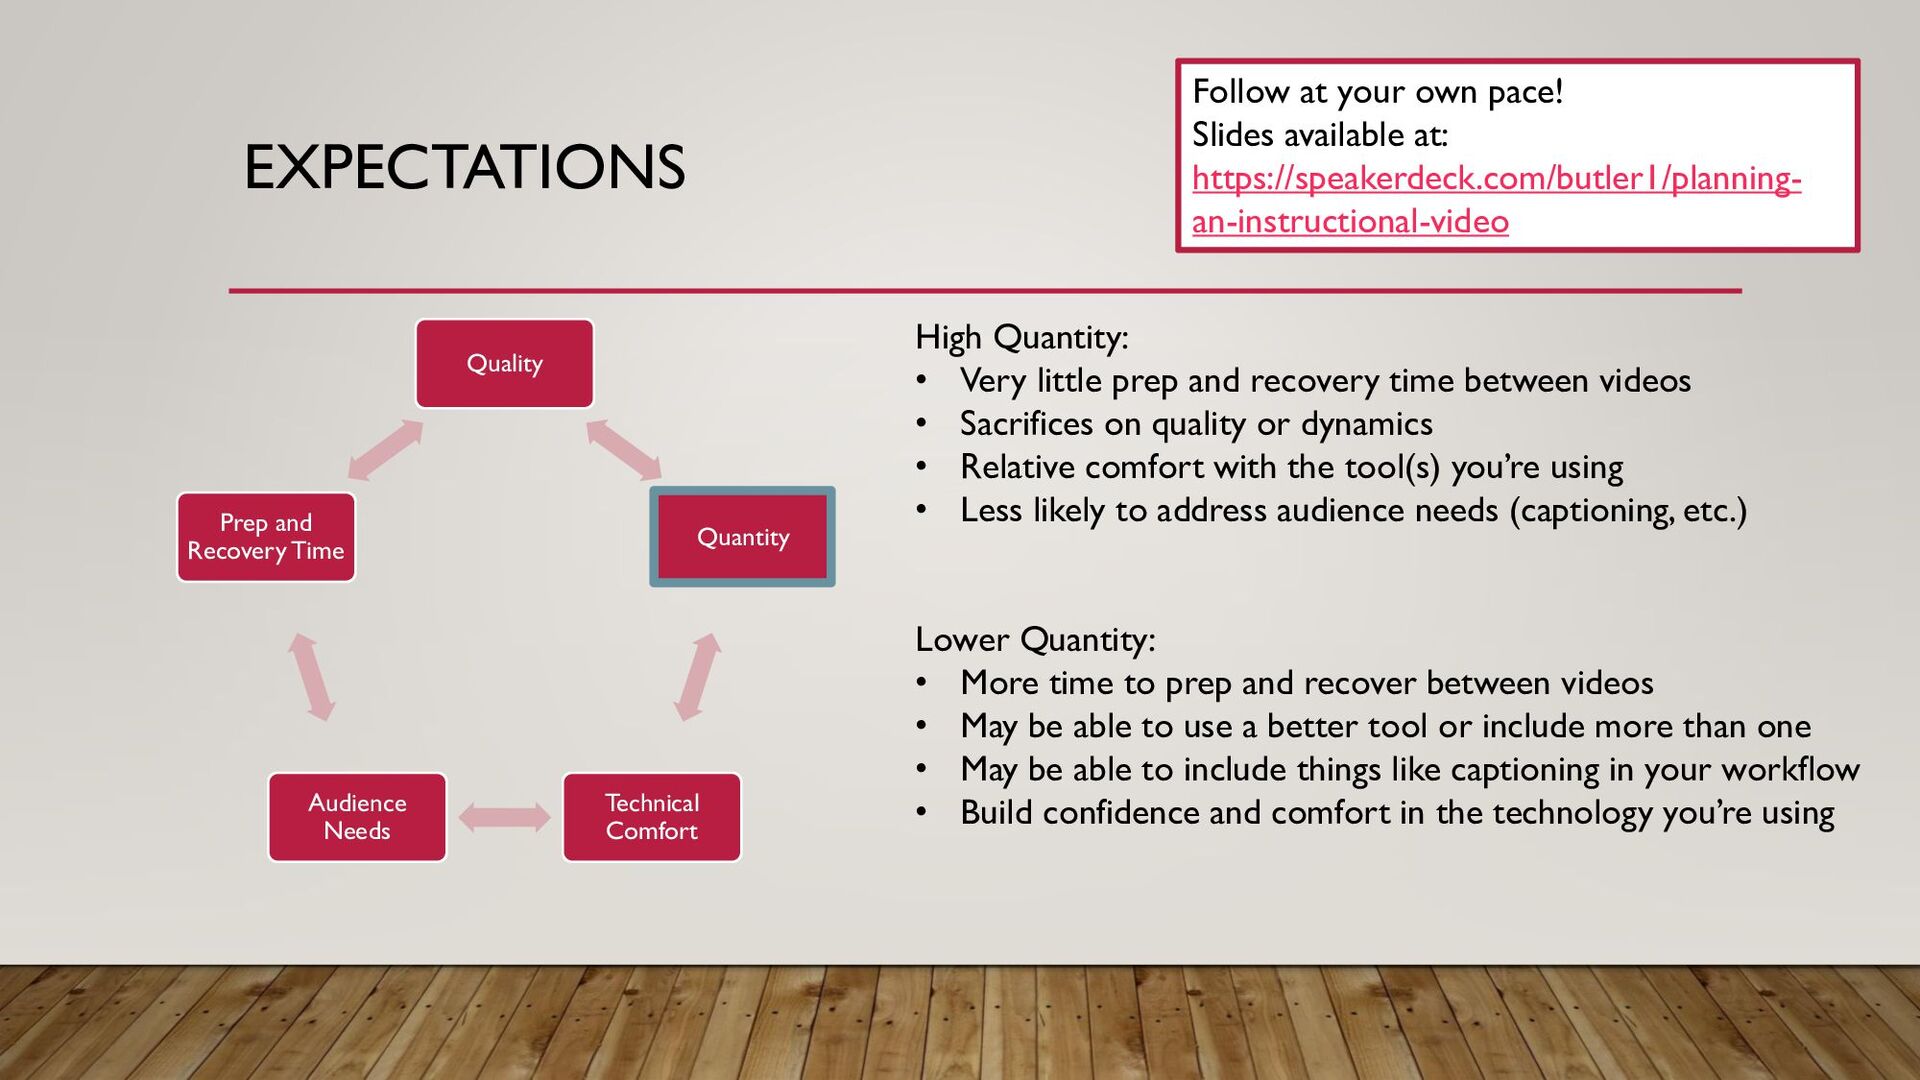
Time High Quantity: • Very little prep and recovery time between videos • Sacrifices on quality or dynamics • Relative comfort with the tool(s) you’re using • Less likely to address audience needs (captioning, etc.) Lower Quantity: • More time to prep and recover between videos • May be able to use a better tool or include more than one • May be able to include things like captioning in your workflow • Build confidence and comfort in the technology you’re using Follow at your own pace! Slides available at: https://speakerdeck.com/butler1/planning- an-instructional-video
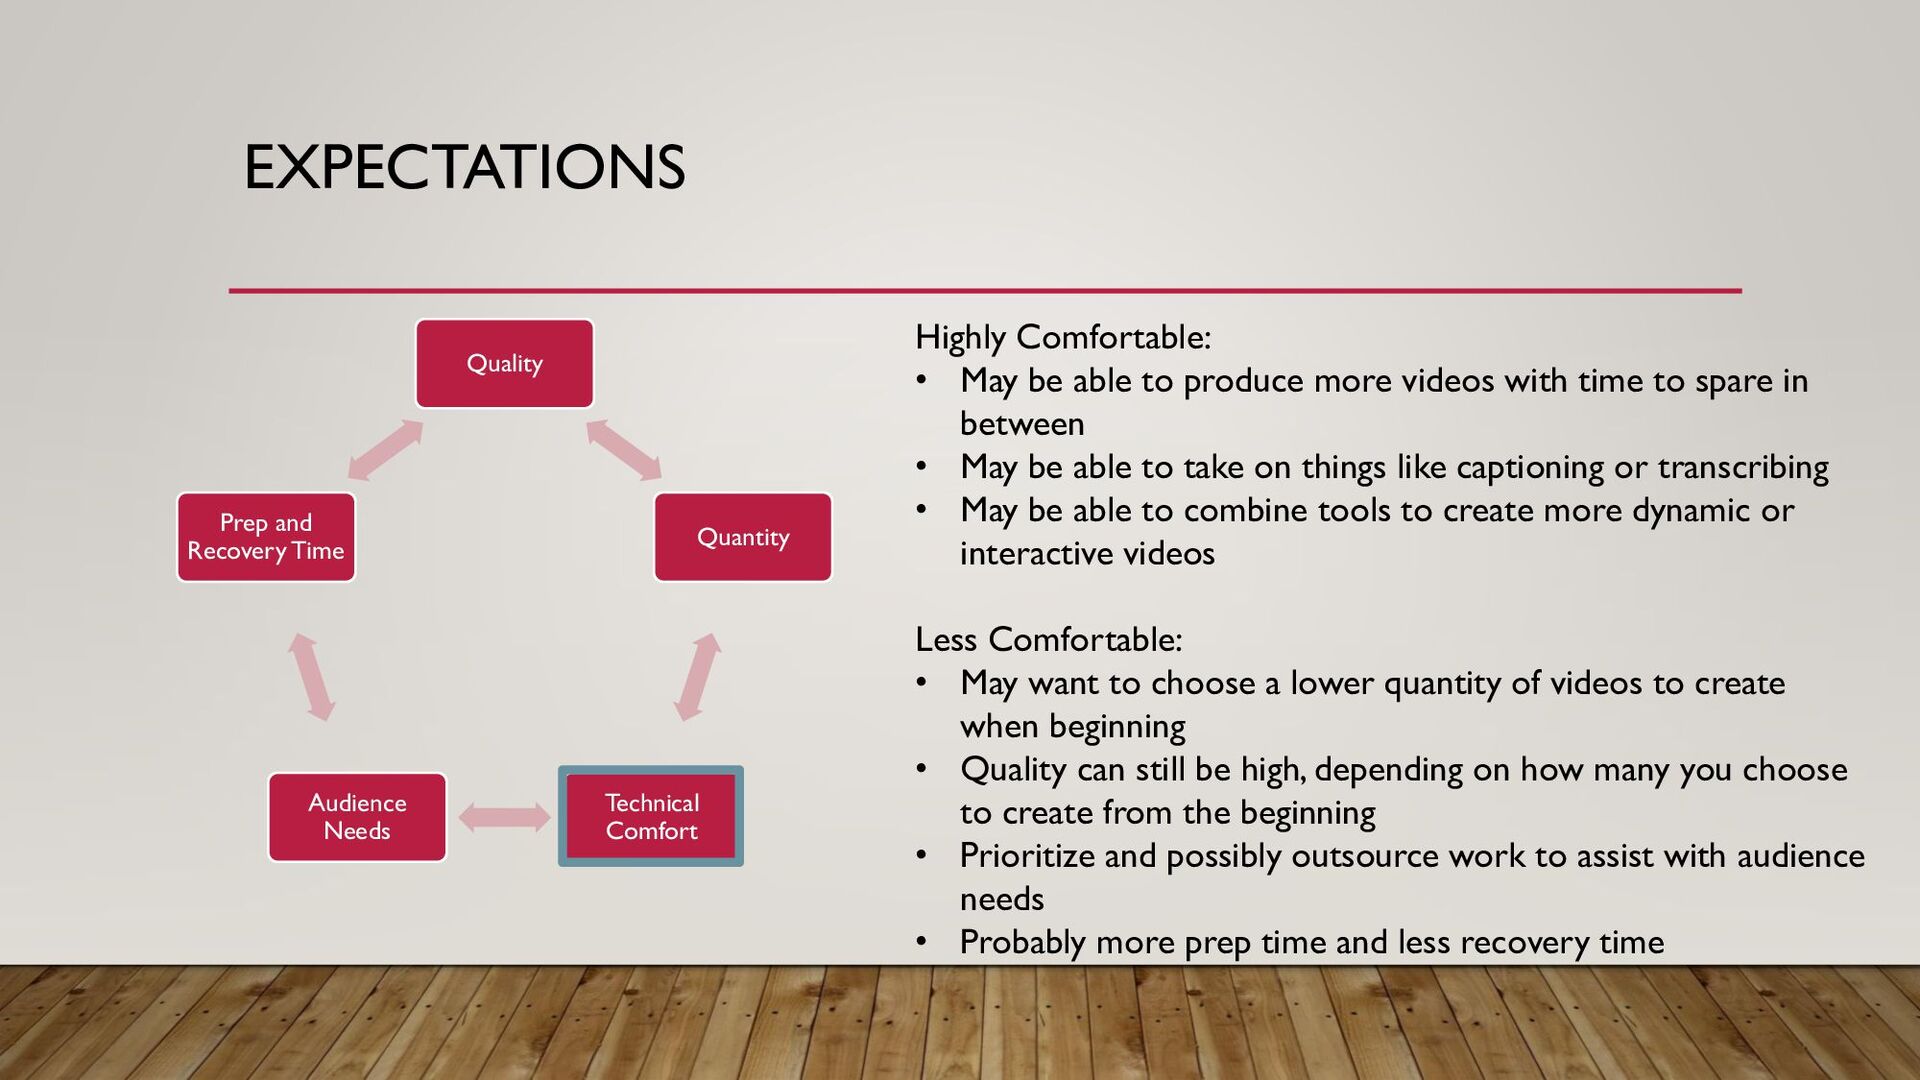
Time Highly Comfortable: • May be able to produce more videos with time to spare in between • May be able to take on things like captioning or transcribing • May be able to combine tools to create more dynamic or interactive videos Less Comfortable: • May want to choose a lower quantity of videos to create when beginning • Quality can still be high, depending on how many you choose to create from the beginning • Prioritize and possibly outsource work to assist with audience needs • Probably more prep time and less recovery time
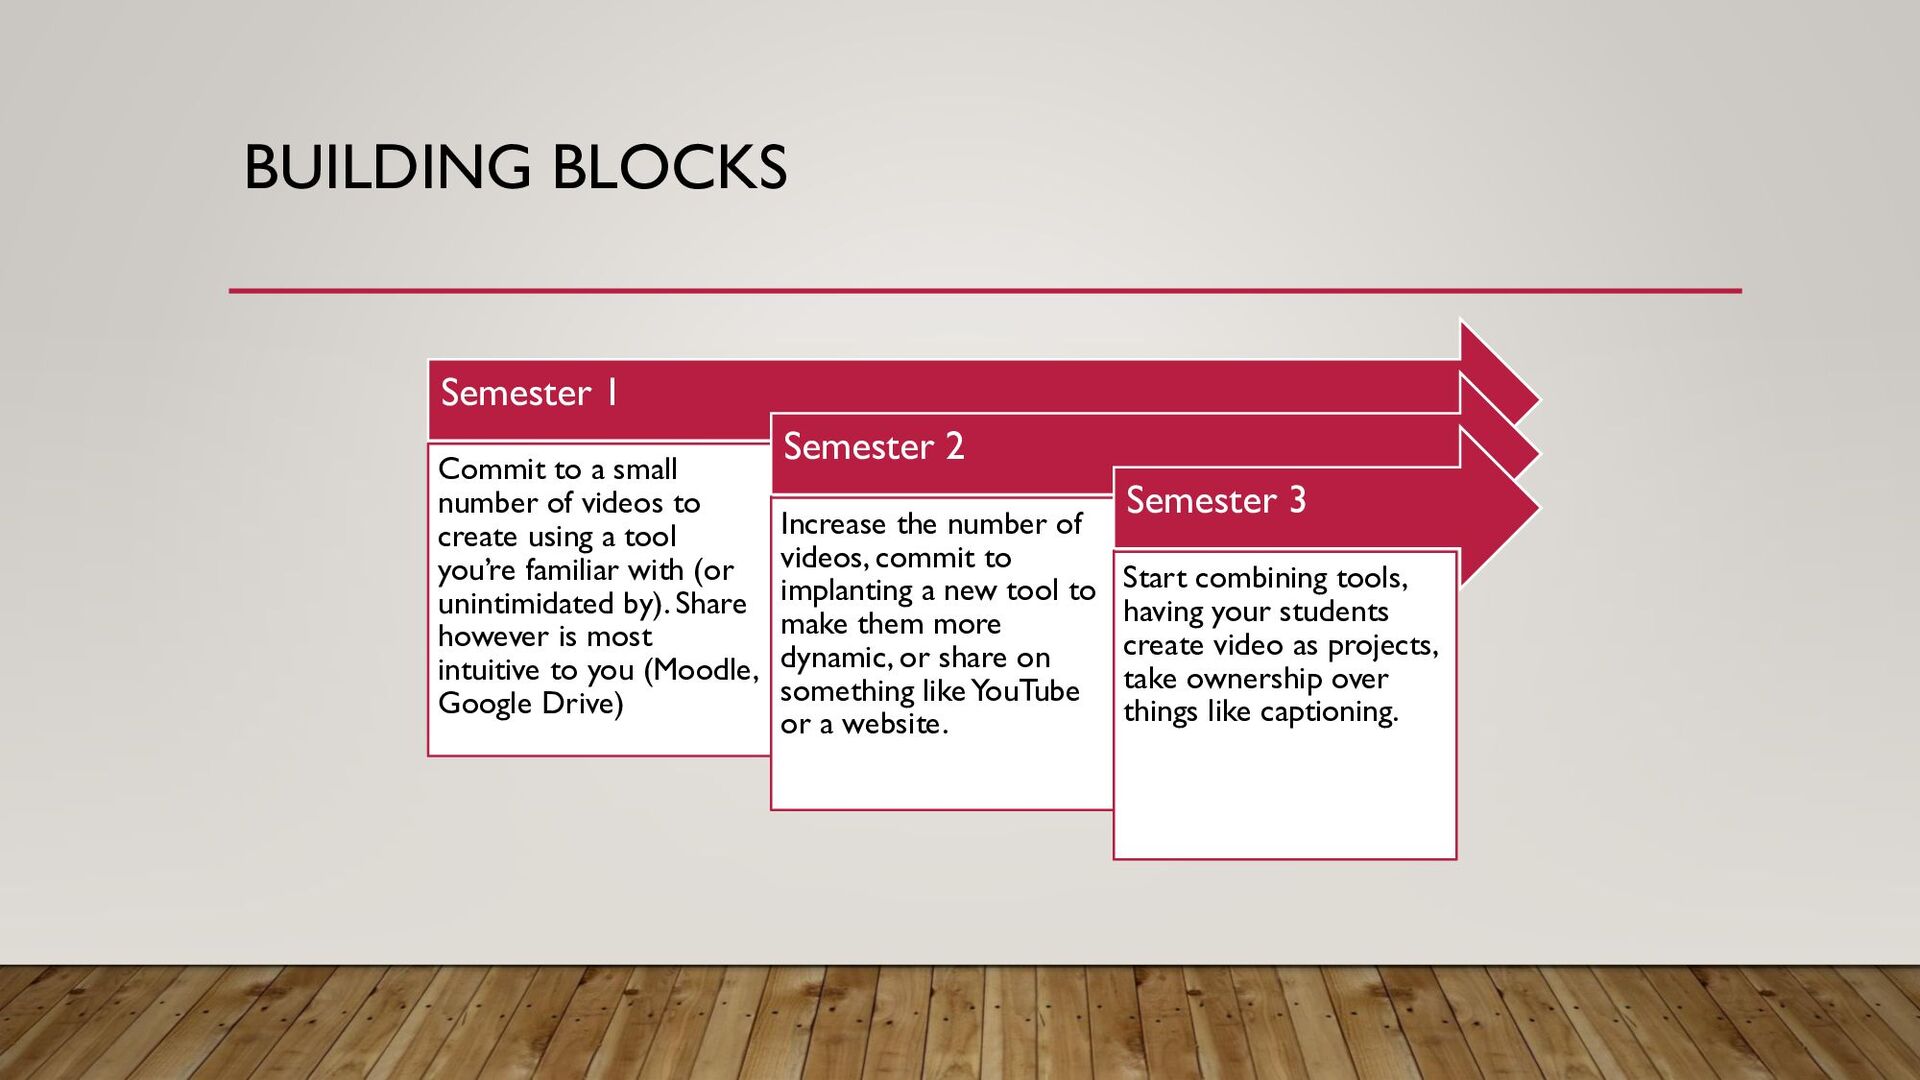
videos to create using a tool you’re familiar with (or unintimidated by). Share however is most intuitive to you (Moodle, Google Drive) Semester 2 Increase the number of videos, commit to implanting a new tool to make them more dynamic, or share on something like YouTube or a website. Semester 3 Start combining tools, having your students create video as projects, take ownership over things like captioning.
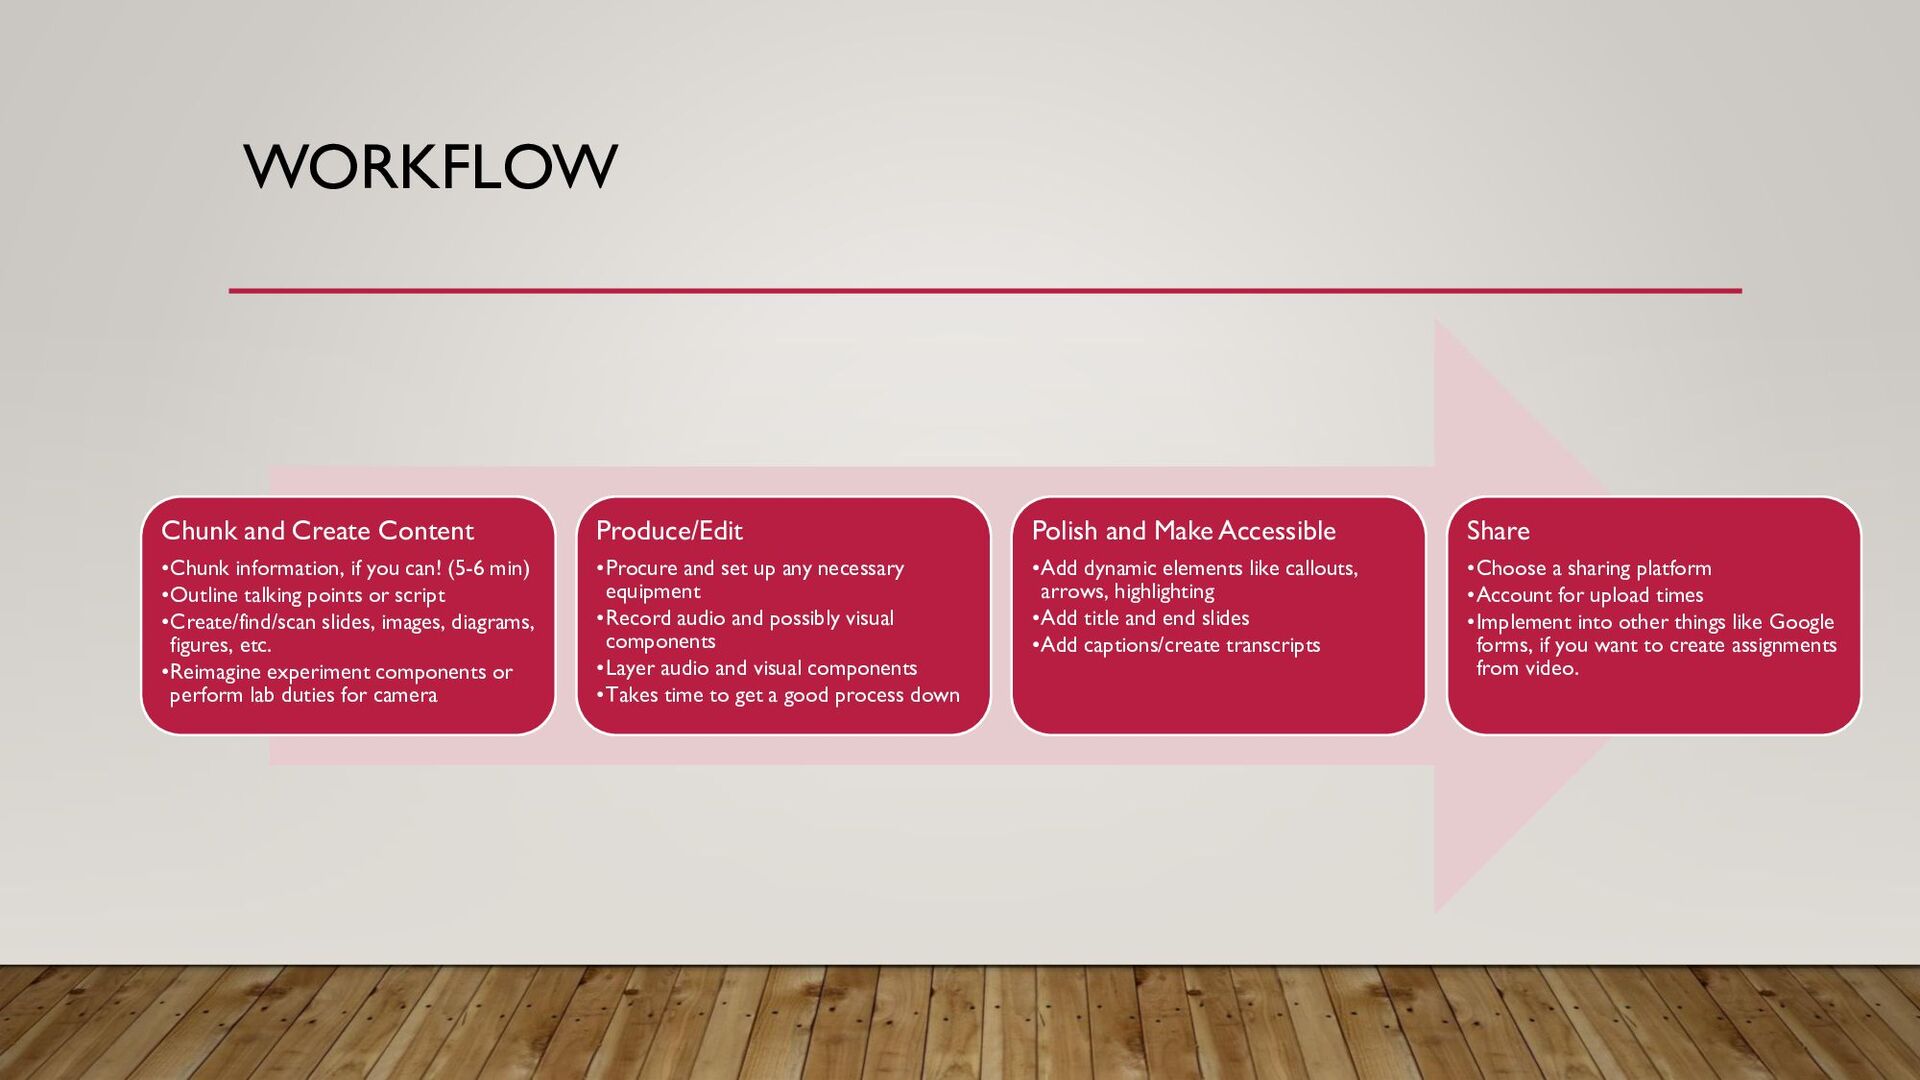
(5-6 min) •Outline talking points or script •Create/find/scan slides, images, diagrams, figures, etc. •Reimagine experiment components or perform lab duties for camera Produce/Edit •Procure and set up any necessary equipment •Record audio and possibly visual components •Layer audio and visual components •Takes time to get a good process down Polish and Make Accessible •Add dynamic elements like callouts, arrows, highlighting •Add title and end slides •Add captions/create transcripts Share •Choose a sharing platform •Account for upload times •Implement into other things like Google forms, if you want to create assignments from video.
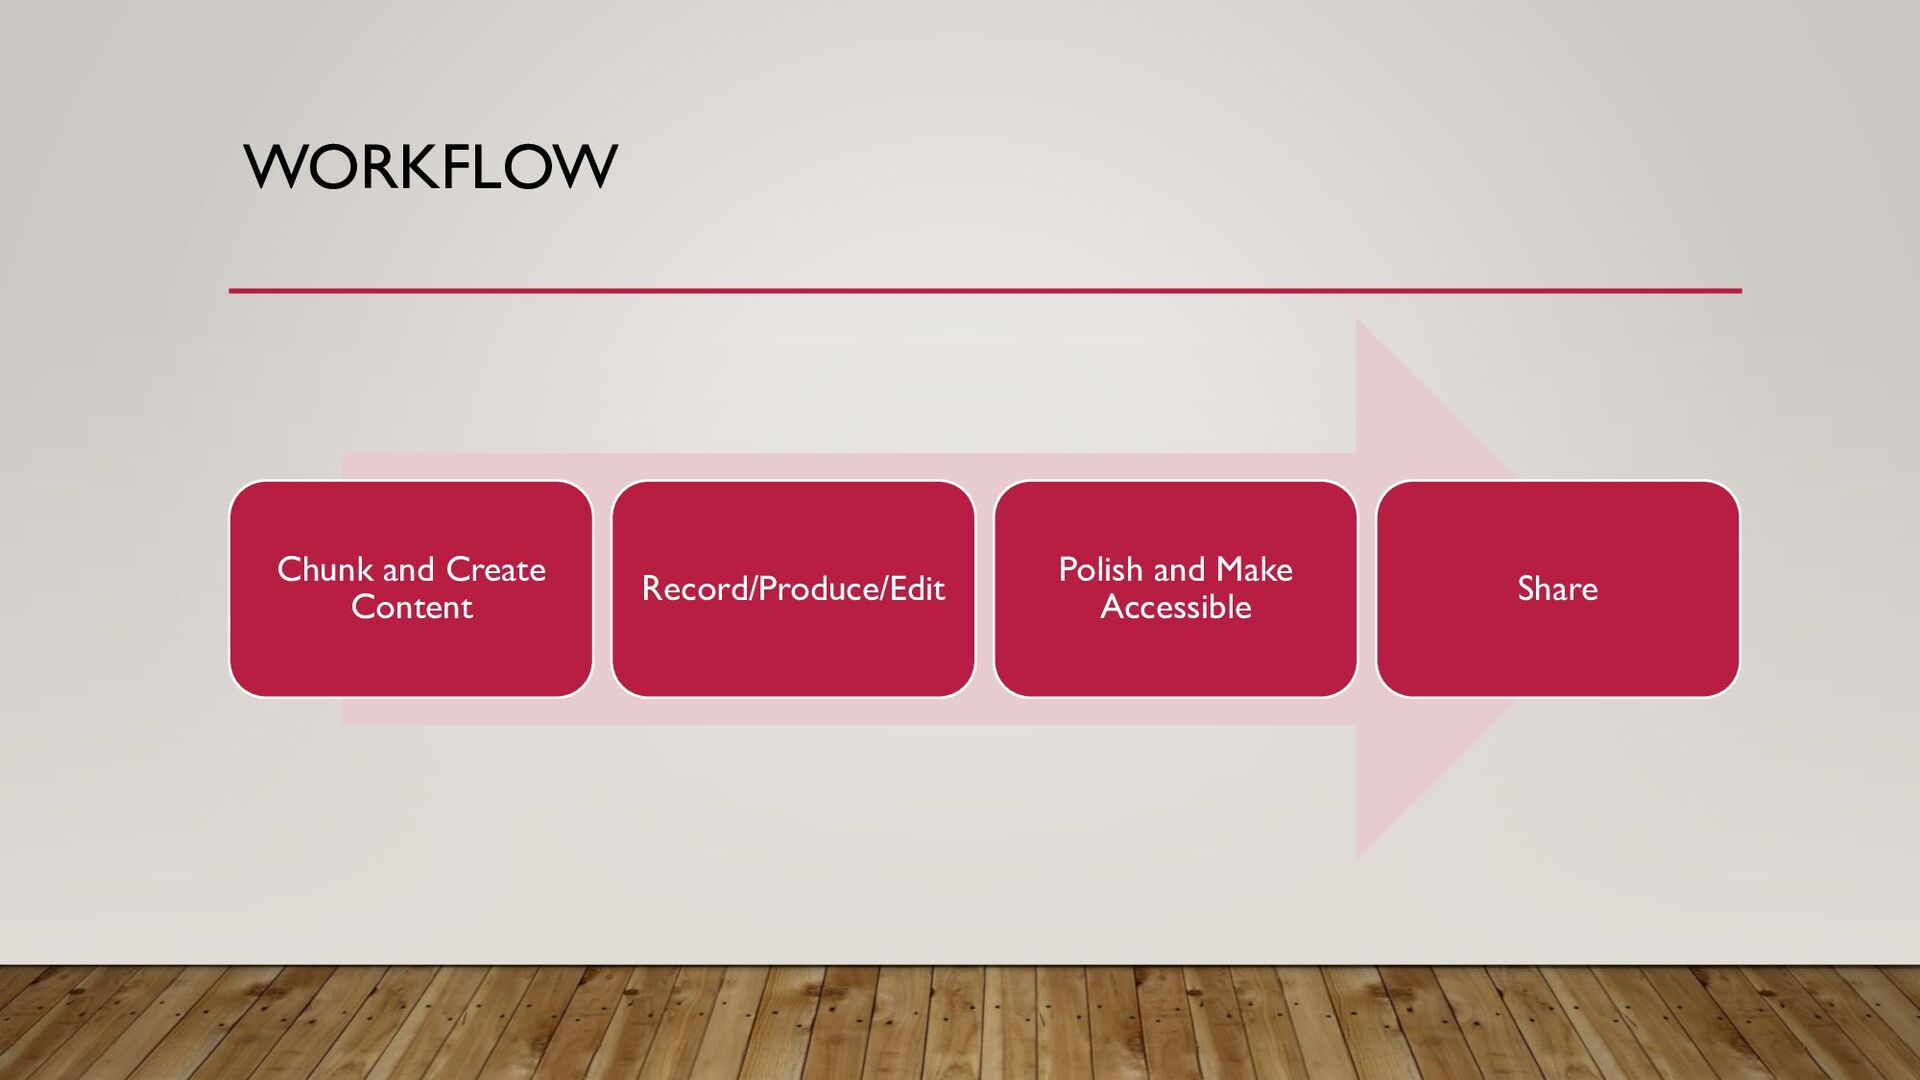
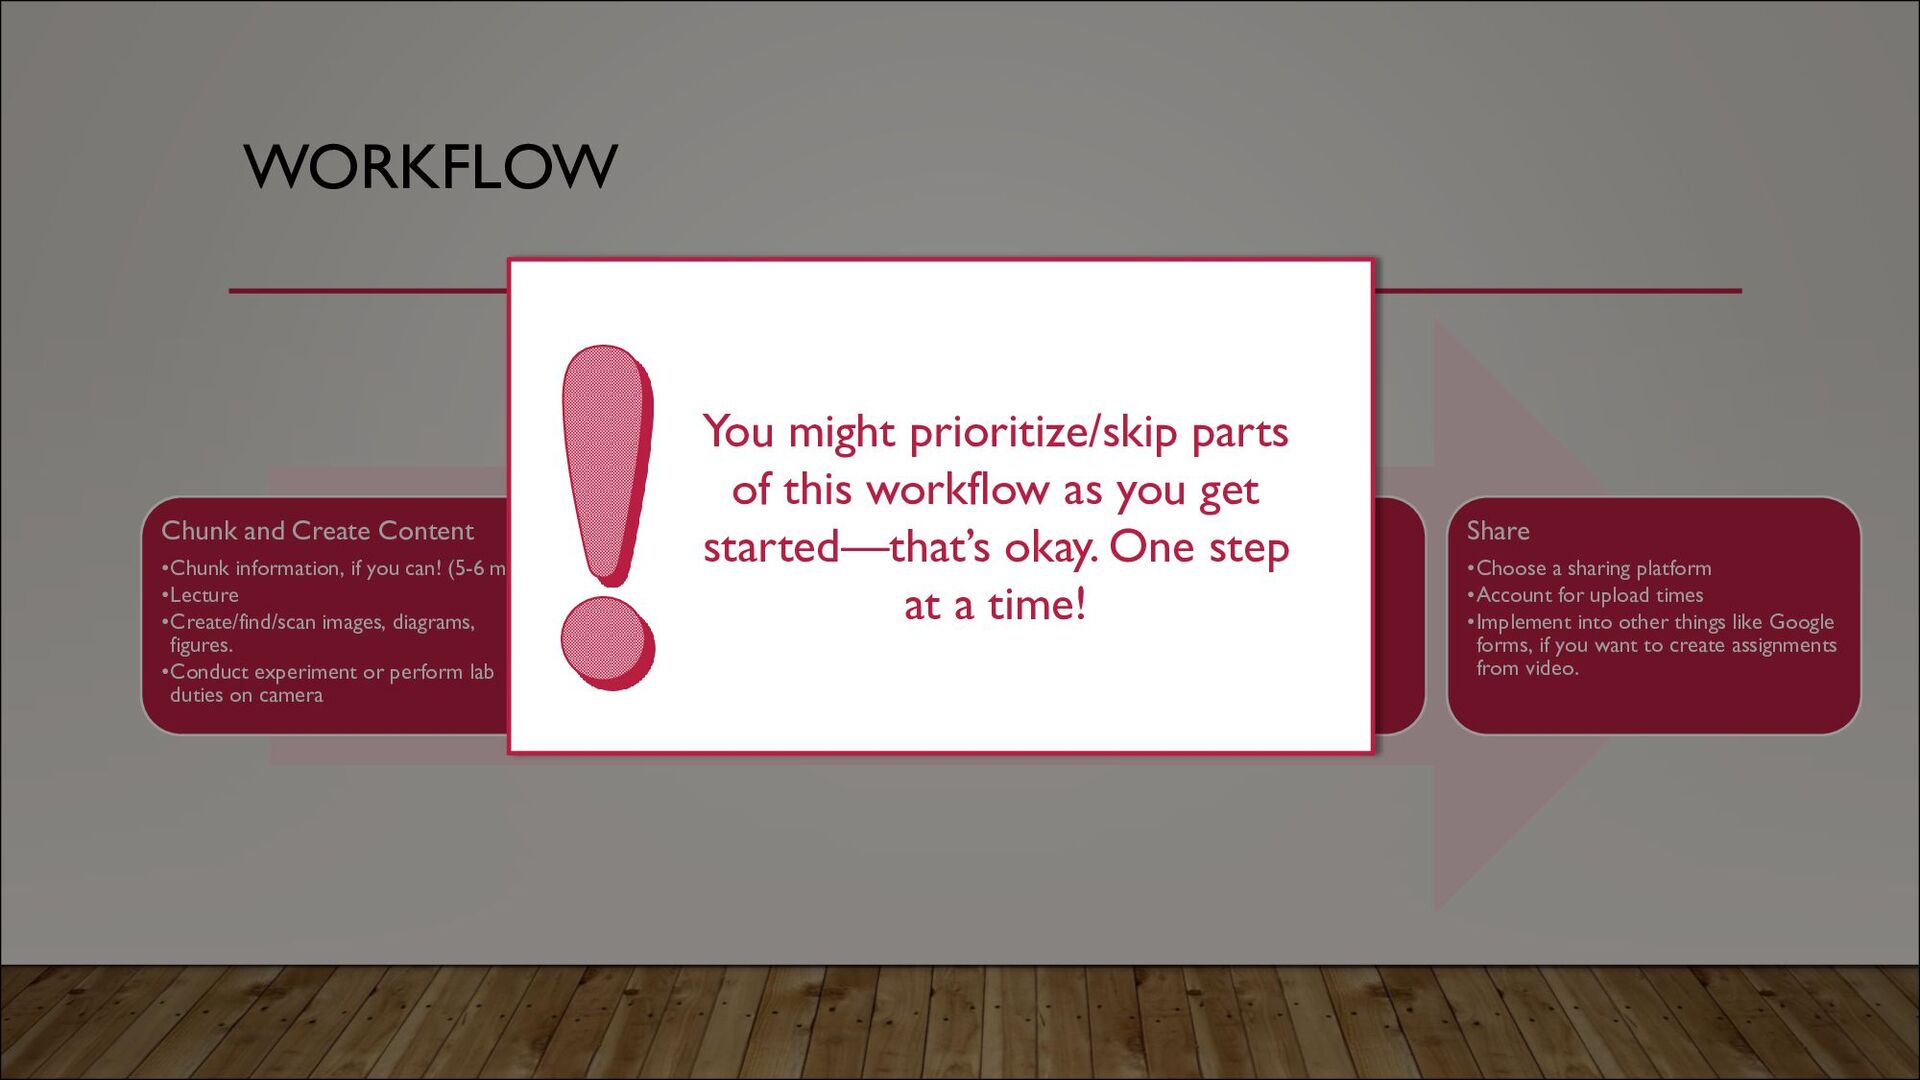
(5-6 min) •Lecture •Create/find/scan images, diagrams, figures. •Conduct experiment or perform lab duties on camera Record/Produce/Edit •May need additional equipment •Takes time to get a good process down Polish and Make Accessible •Add dynamic elements like callouts, arrows, highlighting •Add title and end slides •Add captions or create transcripts Share •Choose a sharing platform •Account for upload times •Implement into other things like Google forms, if you want to create assignments from video. You might prioritize/skip parts of this workflow as you get started—that’s okay. One step at a time!
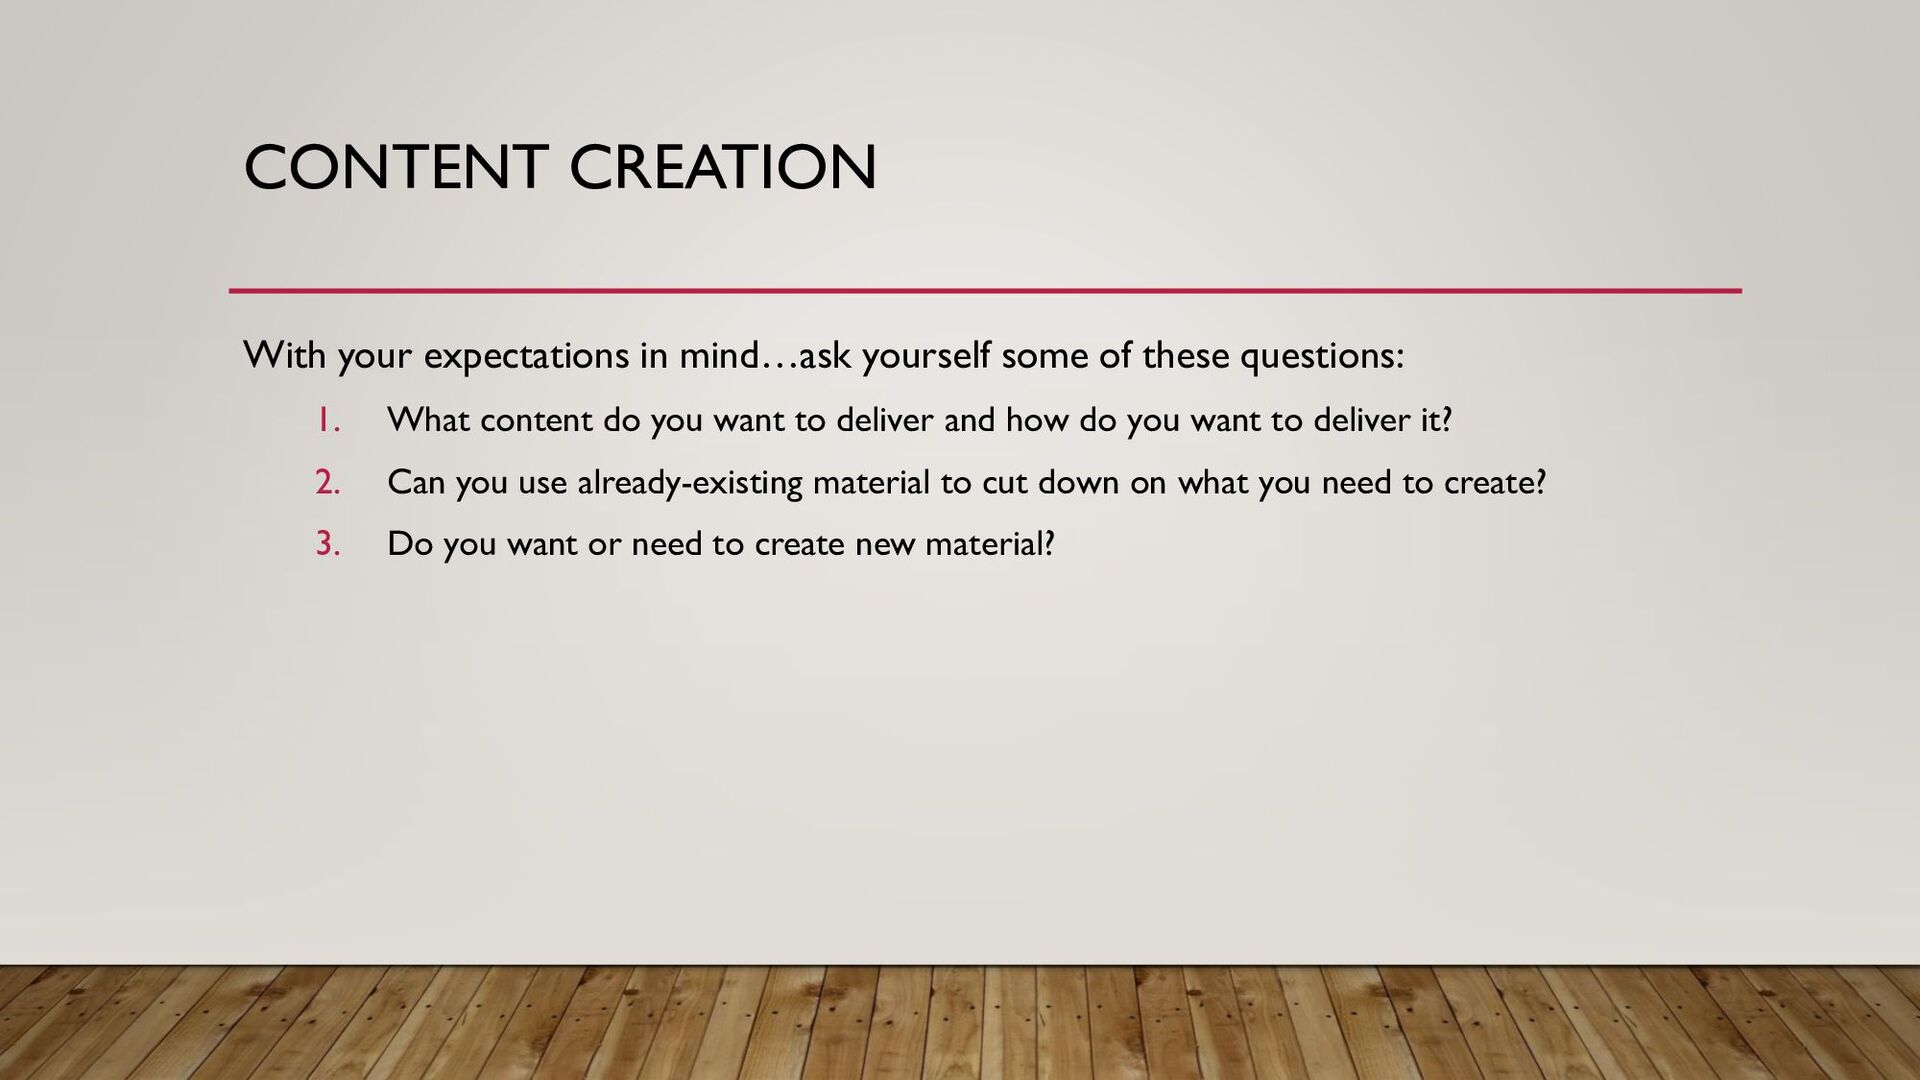
these questions: 1. What content do you want to deliver and how do you want to deliver it? 2. Can you use already-existing material to cut down on what you need to create? 3. Do you want or need to create new material?
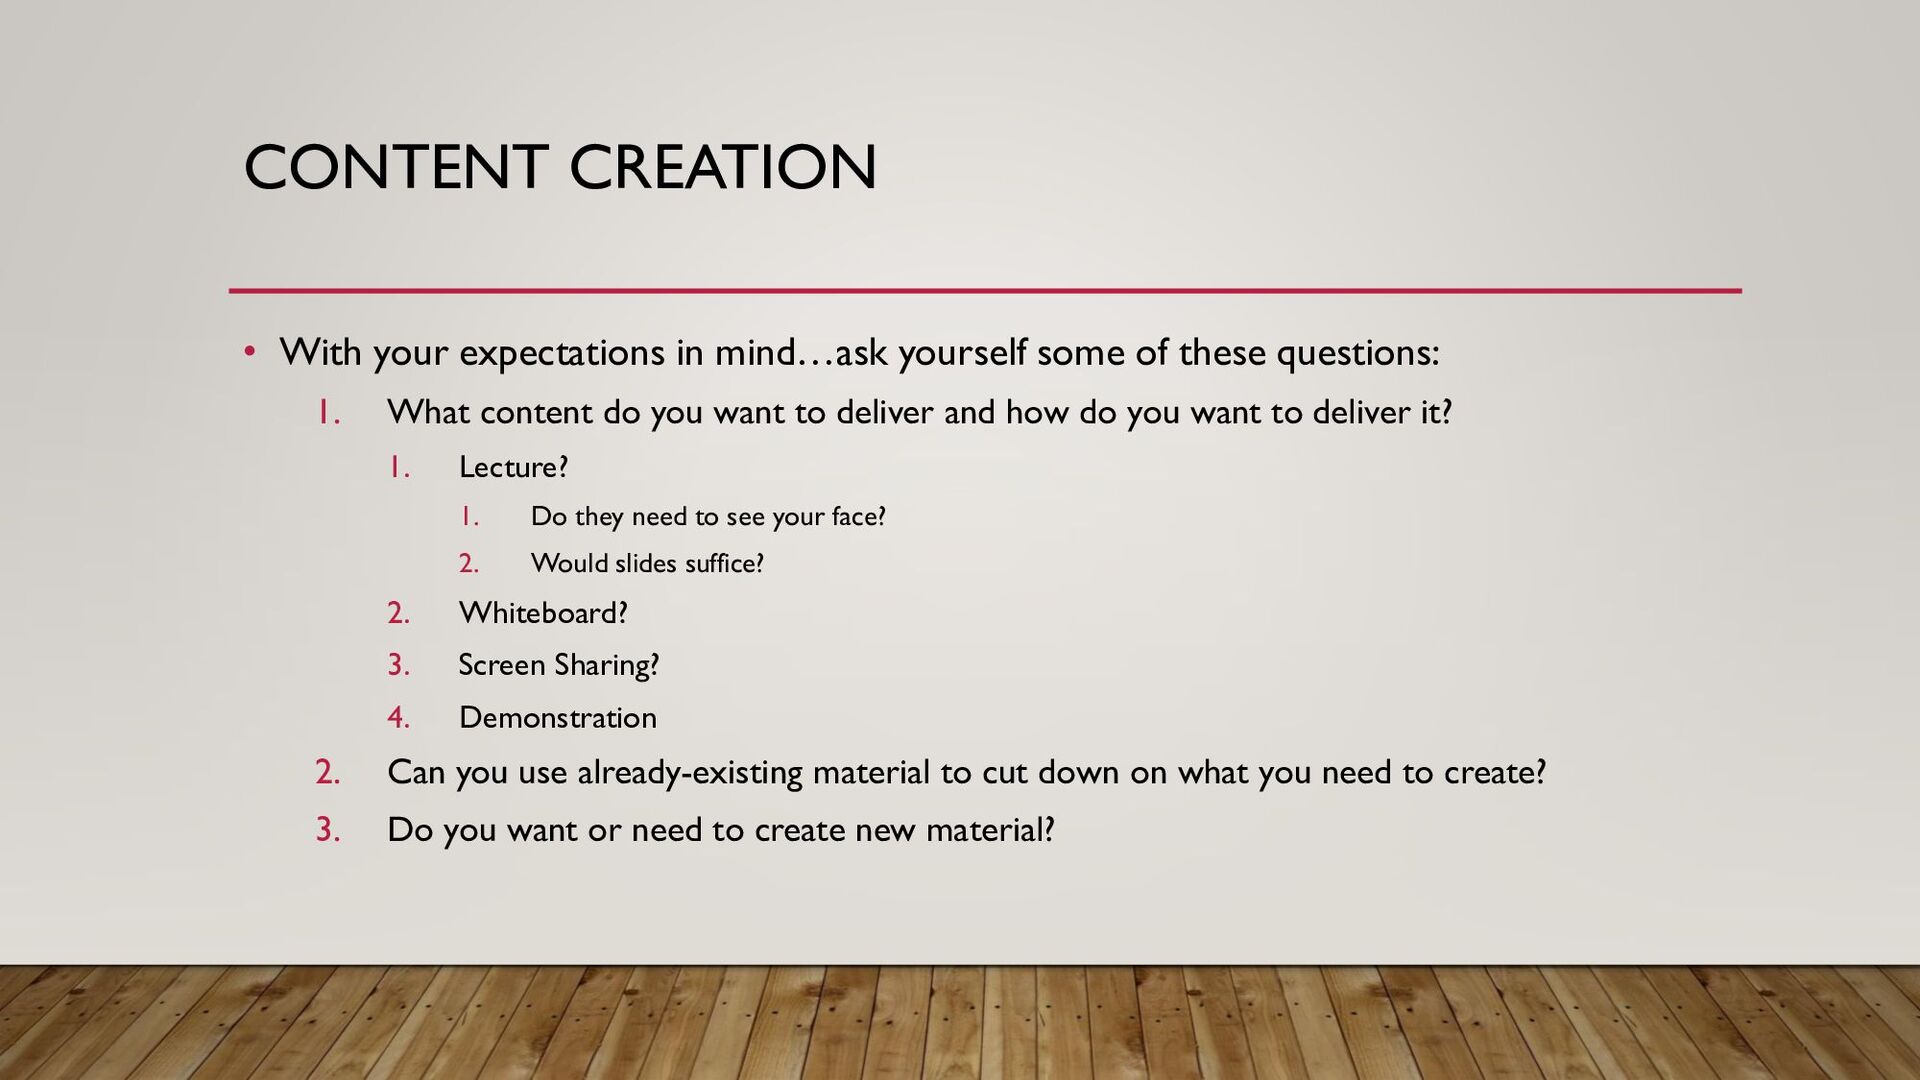
of these questions: 1. What content do you want to deliver and how do you want to deliver it? 1. Lecture? 1. Do they need to see your face? 2. Would slides suffice? 2. Whiteboard? 3. Screen Sharing? 4. Demonstration 2. Can you use already-existing material to cut down on what you need to create? 3. Do you want or need to create new material?
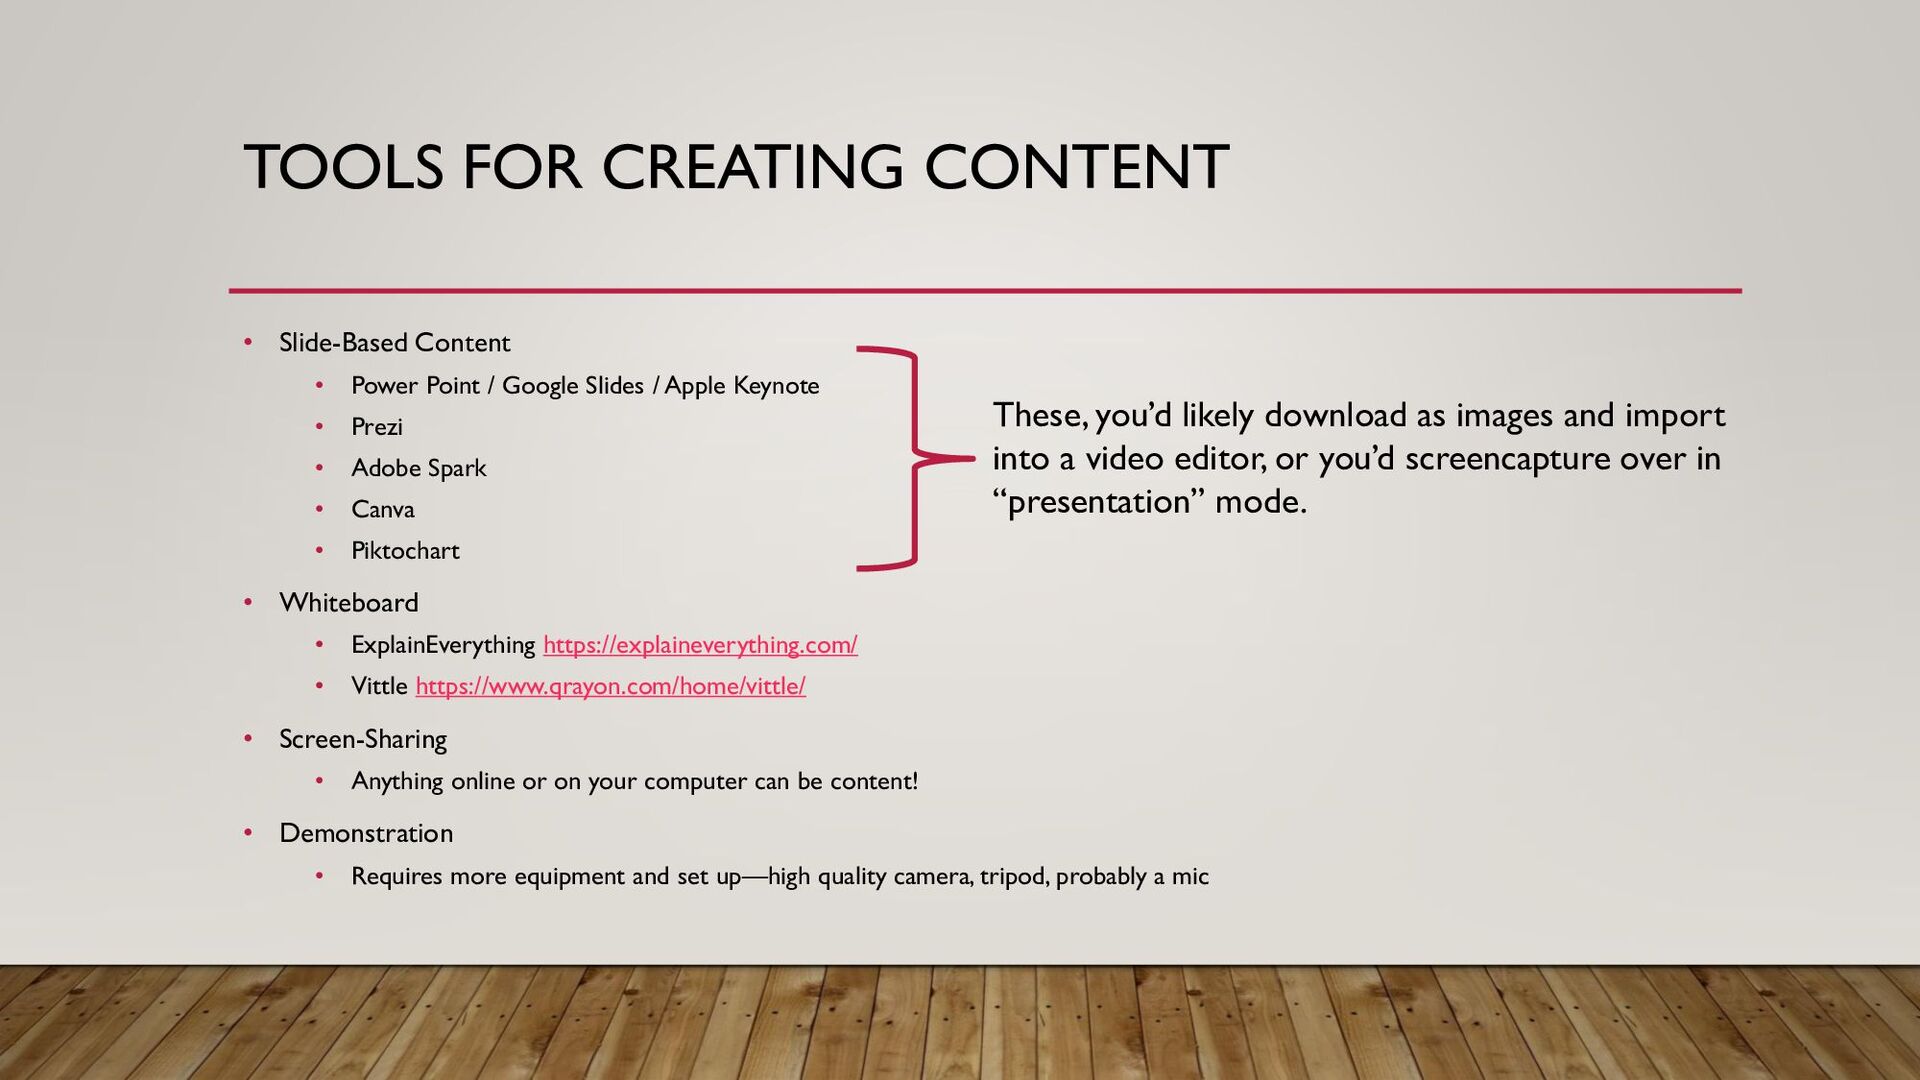
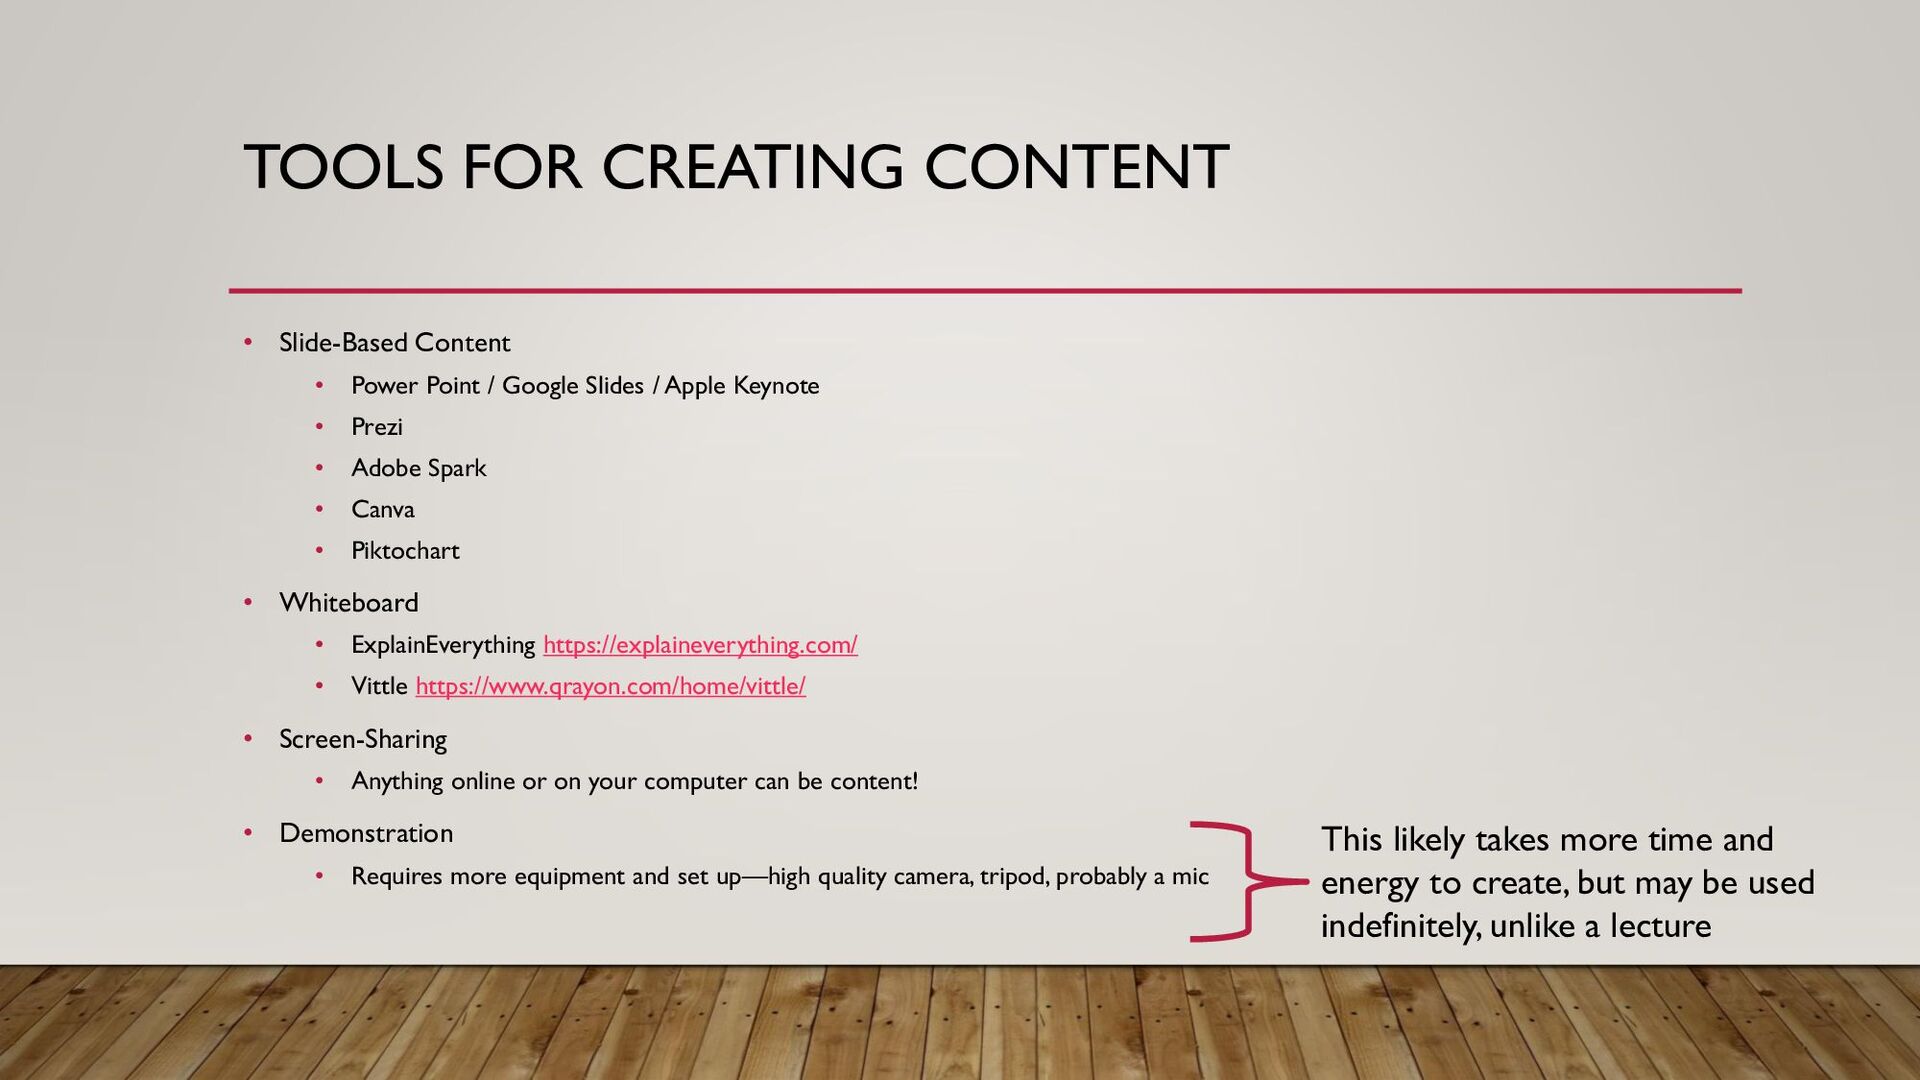
/ Google Slides / Apple Keynote • Prezi • Adobe Spark • Canva • Piktochart • Whiteboard • ExplainEverything https://explaineverything.com/ • Vittle https://www.qrayon.com/home/vittle/ • Screen-Sharing • Anything online or on your computer can be content! • Demonstration • Requires more equipment and set up—high quality camera, tripod, probably a mic These, you’d likely download as images and import into a video editor, or you’d screencapture over in “presentation” mode.
/ Google Slides / Apple Keynote • Prezi • Adobe Spark • Canva • Piktochart • Whiteboard • ExplainEverything https://explaineverything.com/ • Vittle https://www.qrayon.com/home/vittle/ • Screen-Sharing • Anything online or on your computer can be content! • Demonstration • Requires more equipment and set up—high quality camera, tripod, probably a mic These typically have their own hosting and sharing, but they won’t allow for captioning unless you download them, do the captions, and then share on your own.
/ Google Slides / Apple Keynote • Prezi • Adobe Spark • Canva • Piktochart • Whiteboard • ExplainEverything https://explaineverything.com/ • Vittle https://www.qrayon.com/home/vittle/ • Screen-Sharing • Anything online or on your computer can be content! • Demonstration • Requires more equipment and set up—high quality camera, tripod, probably a mic This likely takes more time and energy to create, but may be used indefinitely, unlike a lecture
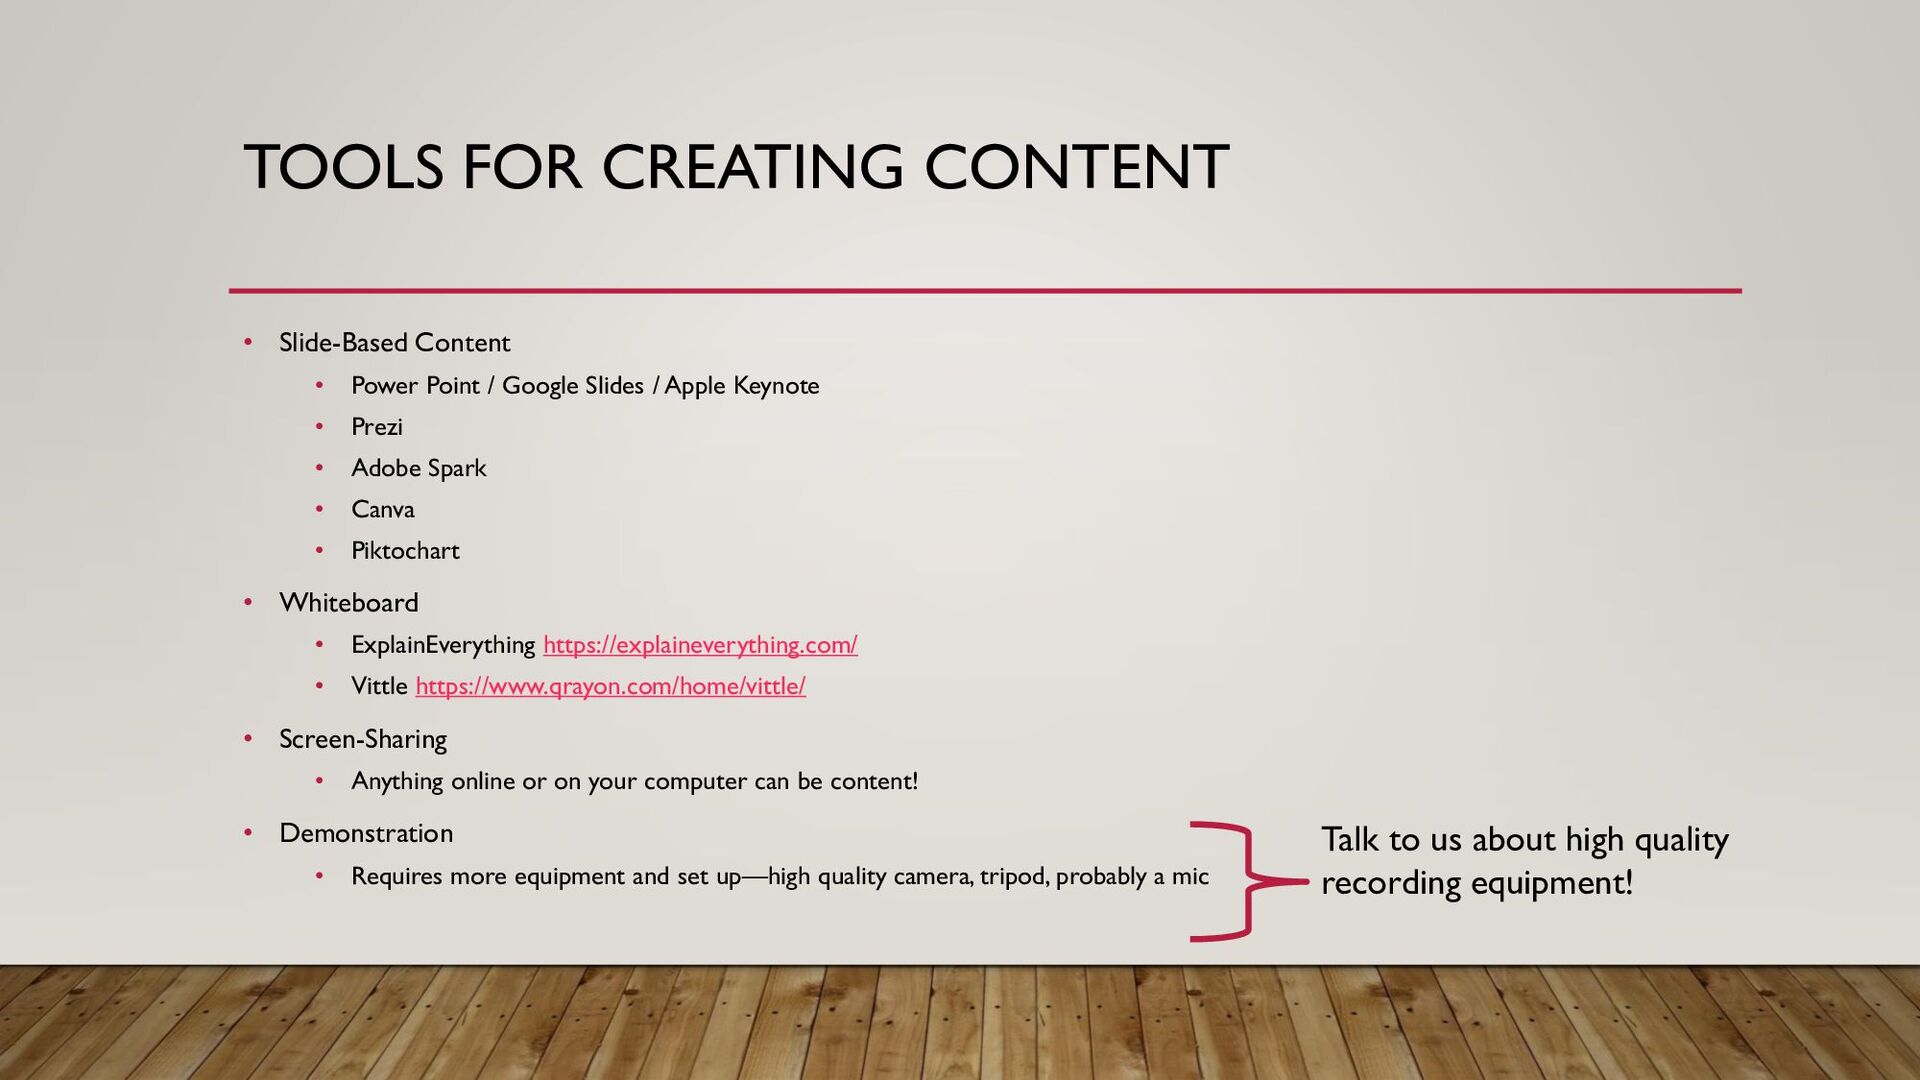
/ Google Slides / Apple Keynote • Prezi • Adobe Spark • Canva • Piktochart • Whiteboard • ExplainEverything https://explaineverything.com/ • Vittle https://www.qrayon.com/home/vittle/ • Screen-Sharing • Anything online or on your computer can be content! • Demonstration • Requires more equipment and set up—high quality camera, tripod, probably a mic Talk to us about high quality recording equipment!
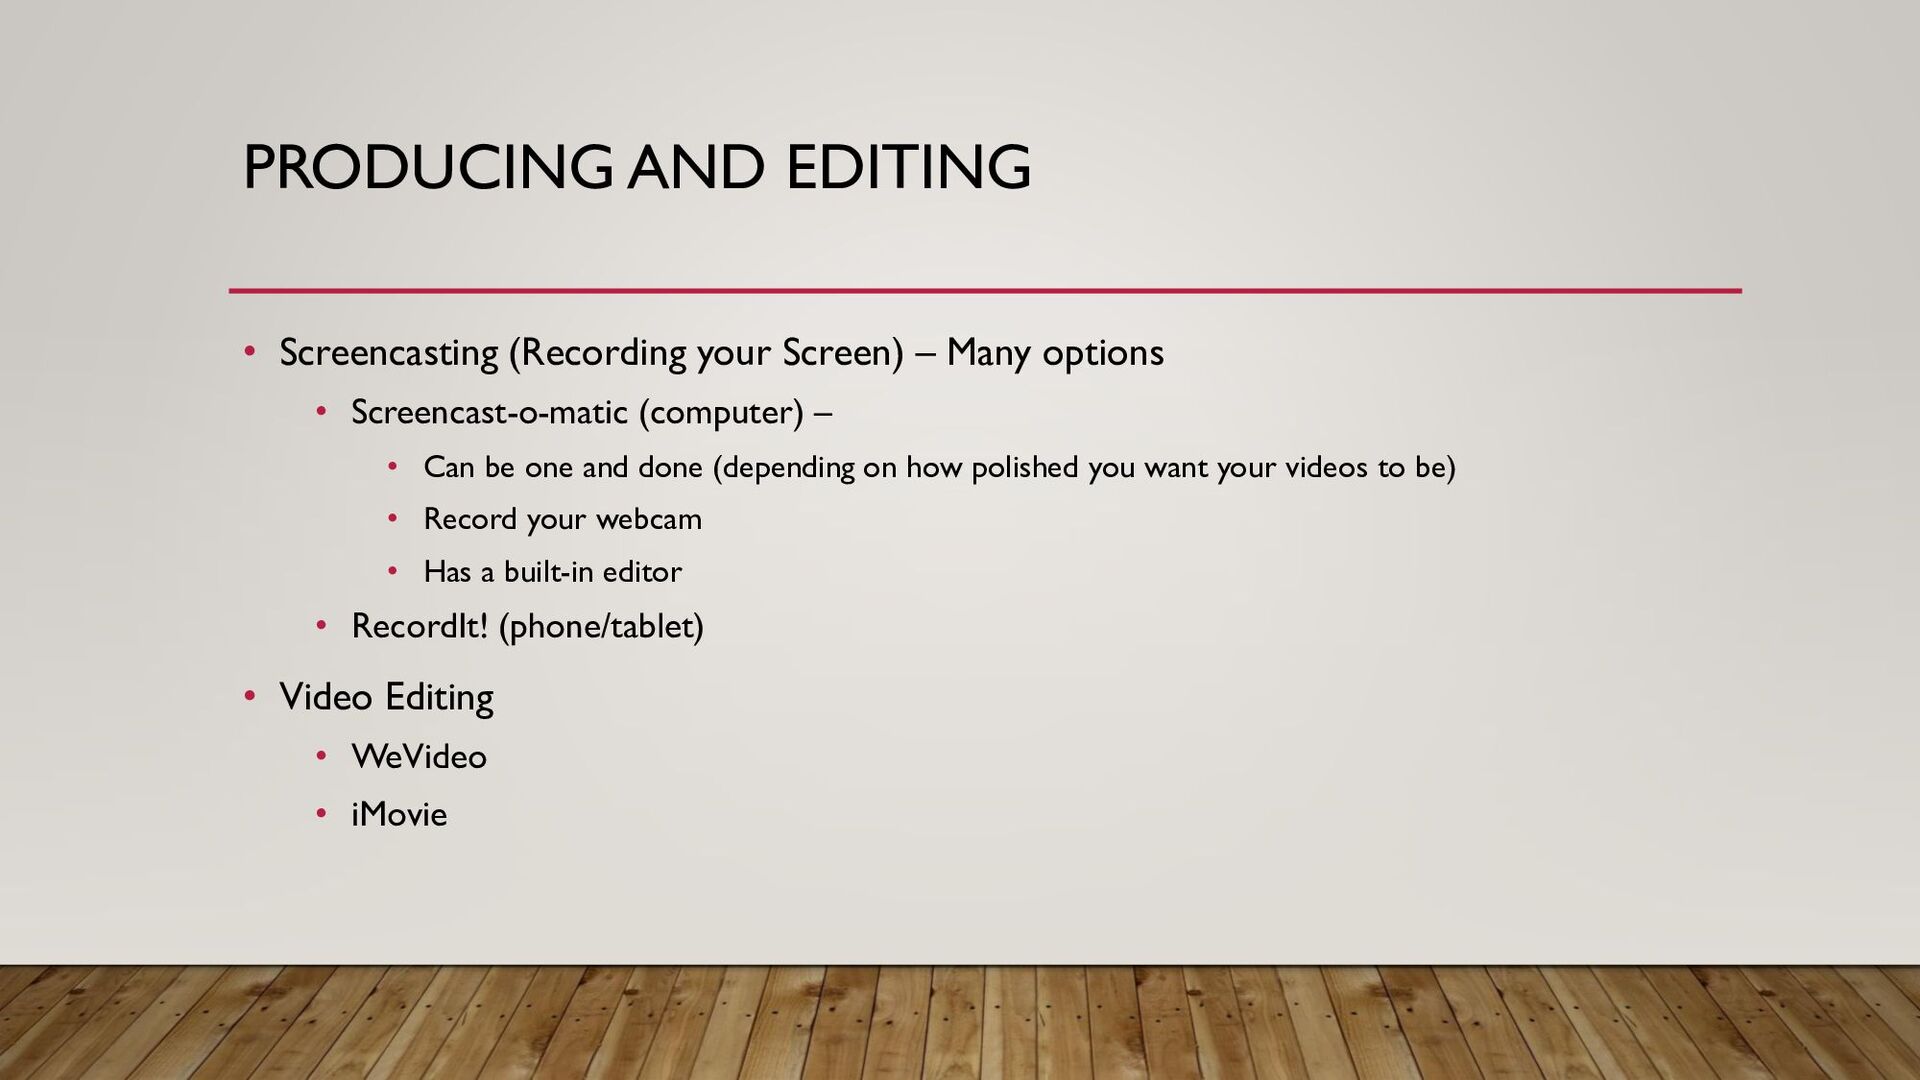
options • Screencast-o-matic (computer) – • Can be one and done (depending on how polished you want your videos to be) • Record your webcam • Has a built-in editor • RecordIt! (phone/tablet) • Video Editing • WeVideo • iMovie
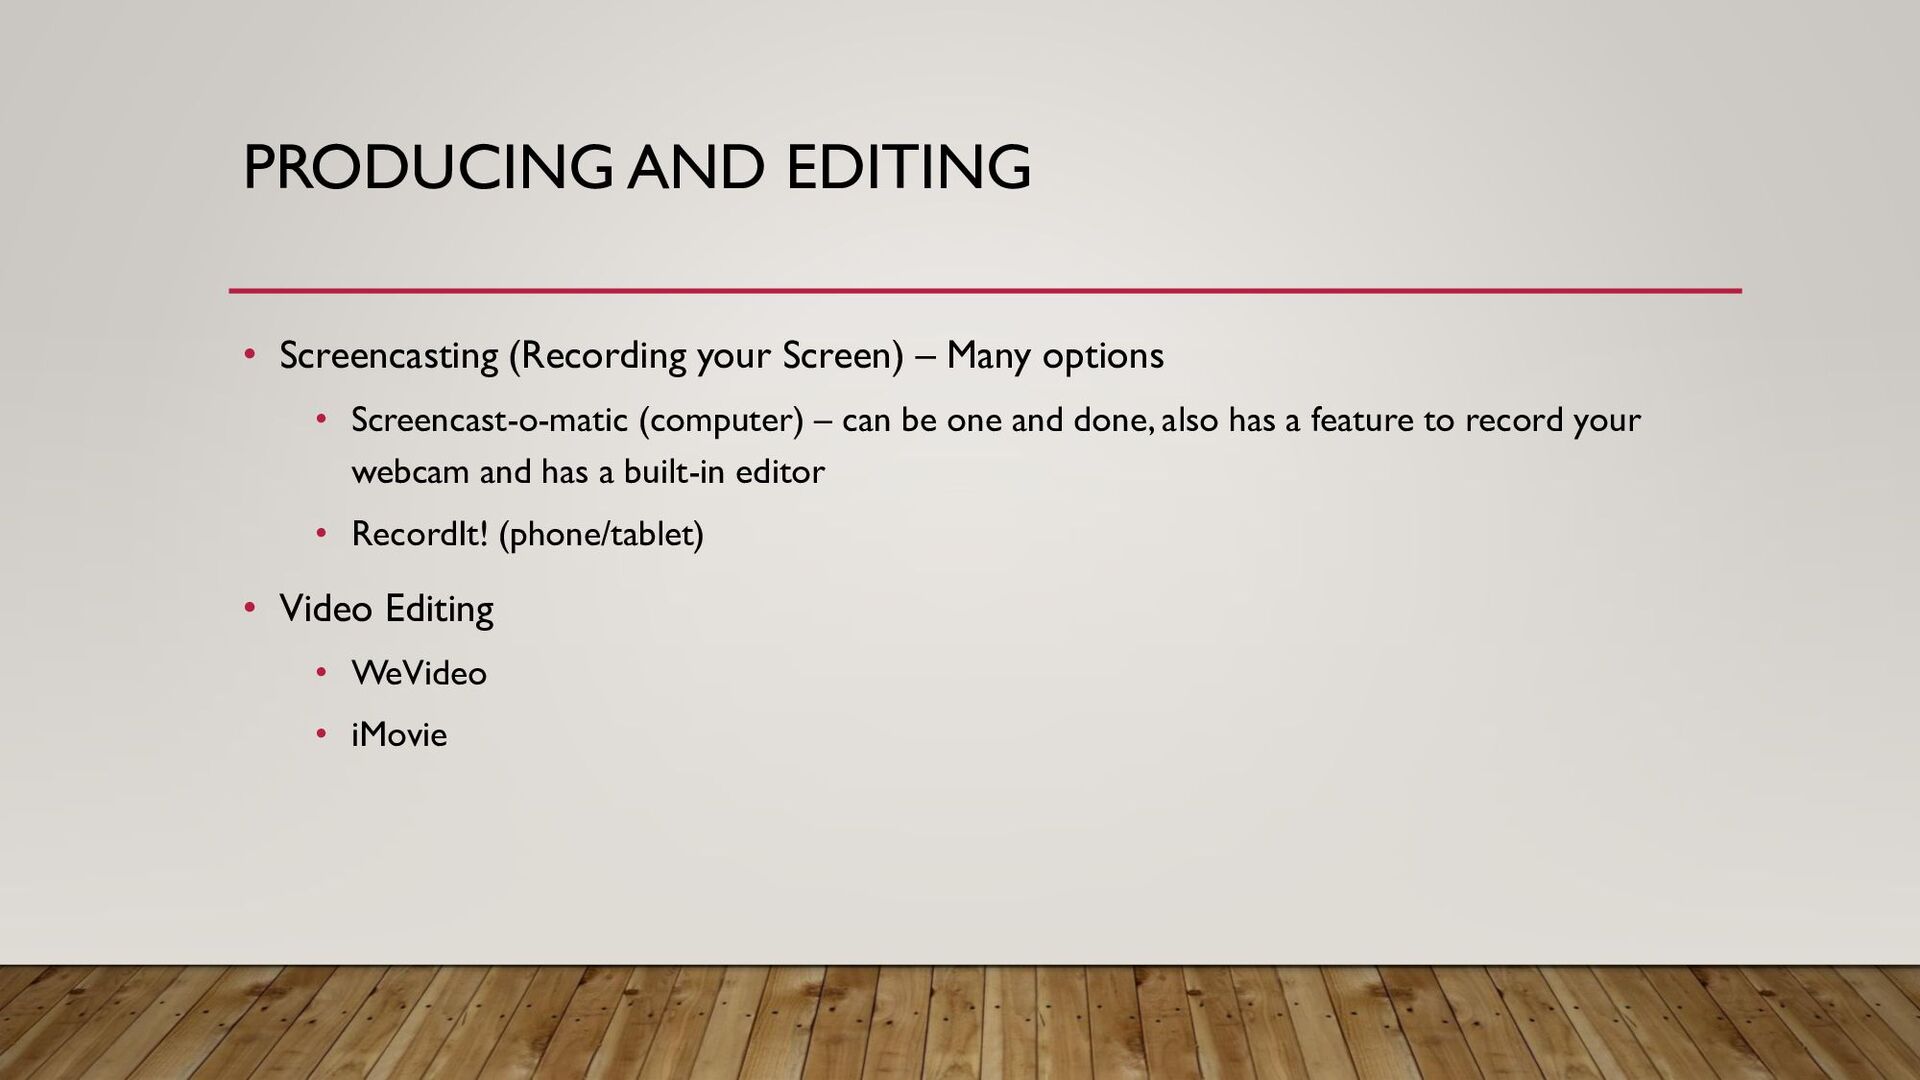
options • Screencast-o-matic (computer) – can be one and done, also has a feature to record your webcam and has a built-in editor • RecordIt! (phone/tablet) • Video Editing • WeVideo • iMovie
options • Screencast-o-matic (computer) – can be one and done, also has a feature to record your webcam and has a built-in editor • RecordIt! (phone/tablet) • Video Editing • WeVideo • iMovie
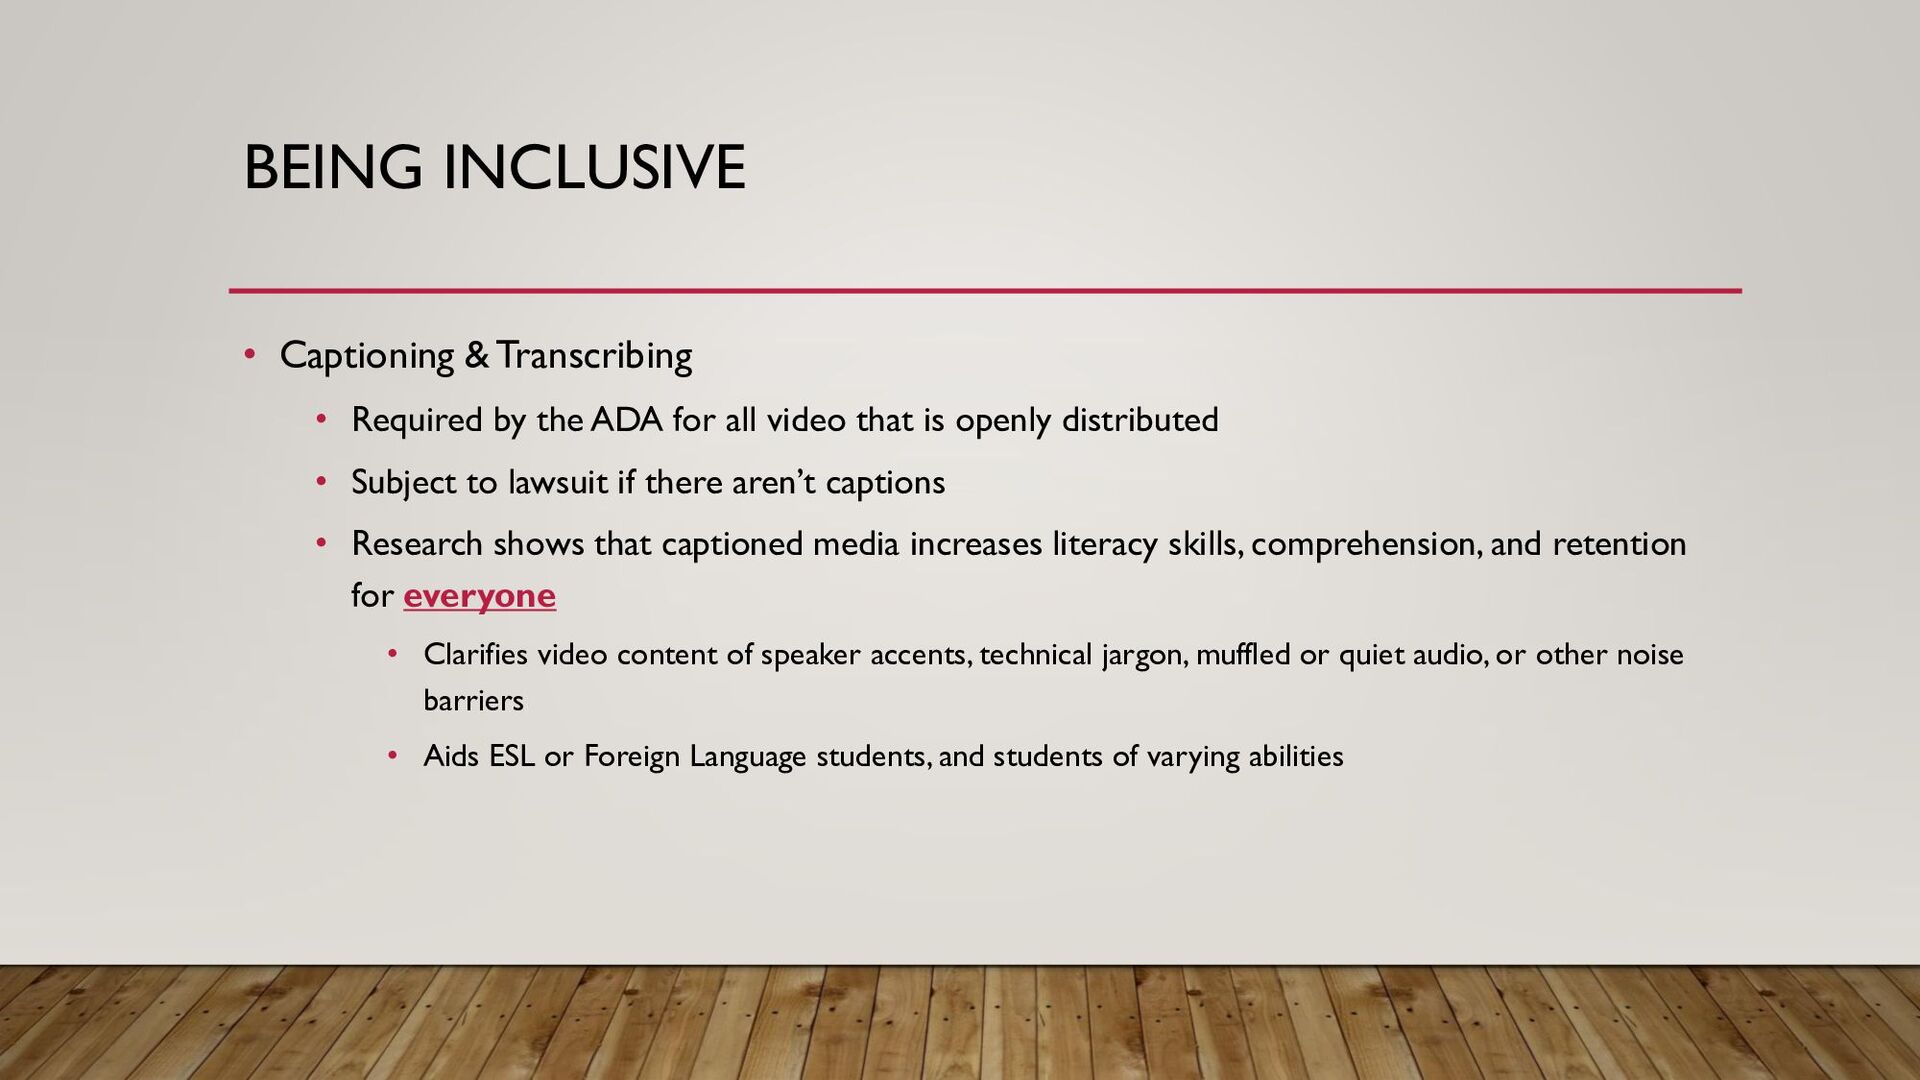
ADA for all video that is openly distributed • Subject to lawsuit if there aren’t captions • Research shows that captioned media increases literacy skills, comprehension, and retention for everyone • Clarifies video content of speaker accents, technical jargon, muffled or quiet audio, or other noise barriers • Aids ESL or Foreign Language students, and students of varying abilities
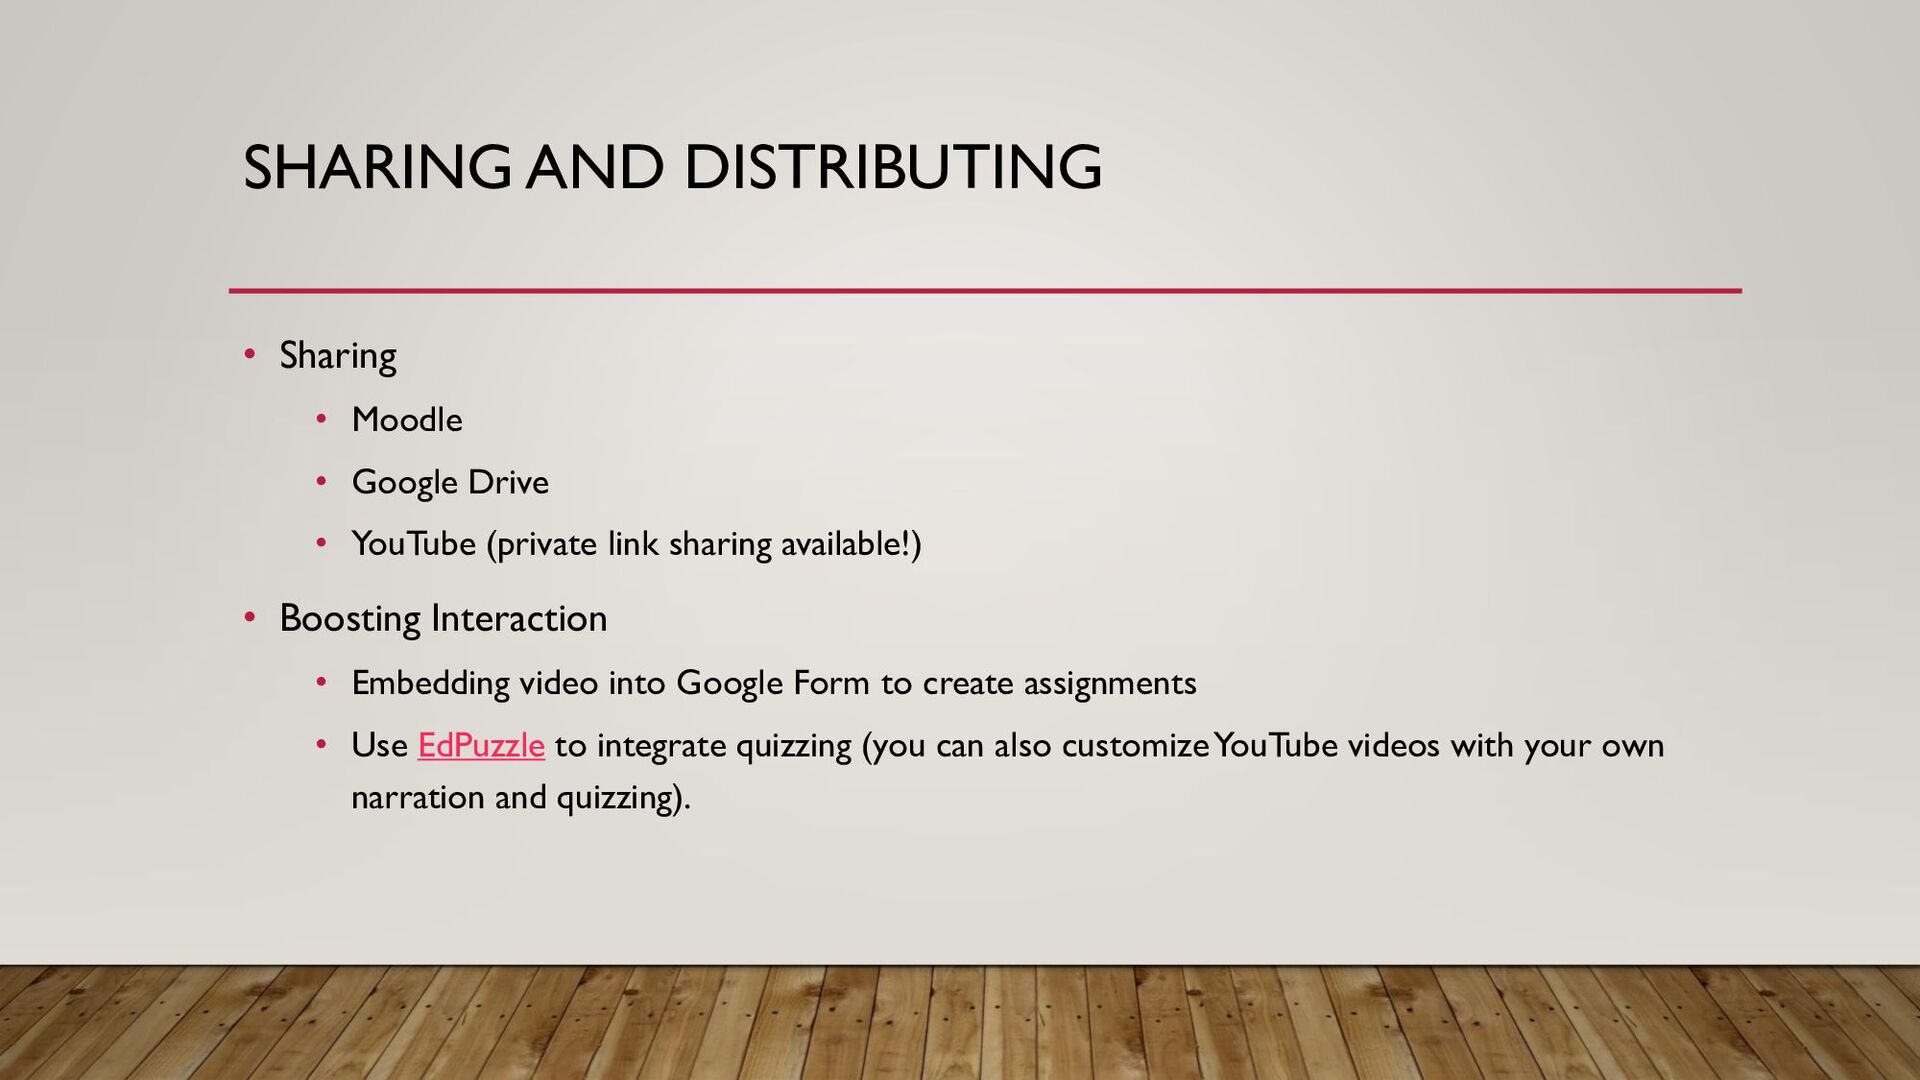
• YouTube (private link sharing available!) • Boosting Interaction • Embedding video into Google Form to create assignments • Use EdPuzzle to integrate quizzing (you can also customize YouTube videos with your own narration and quizzing).
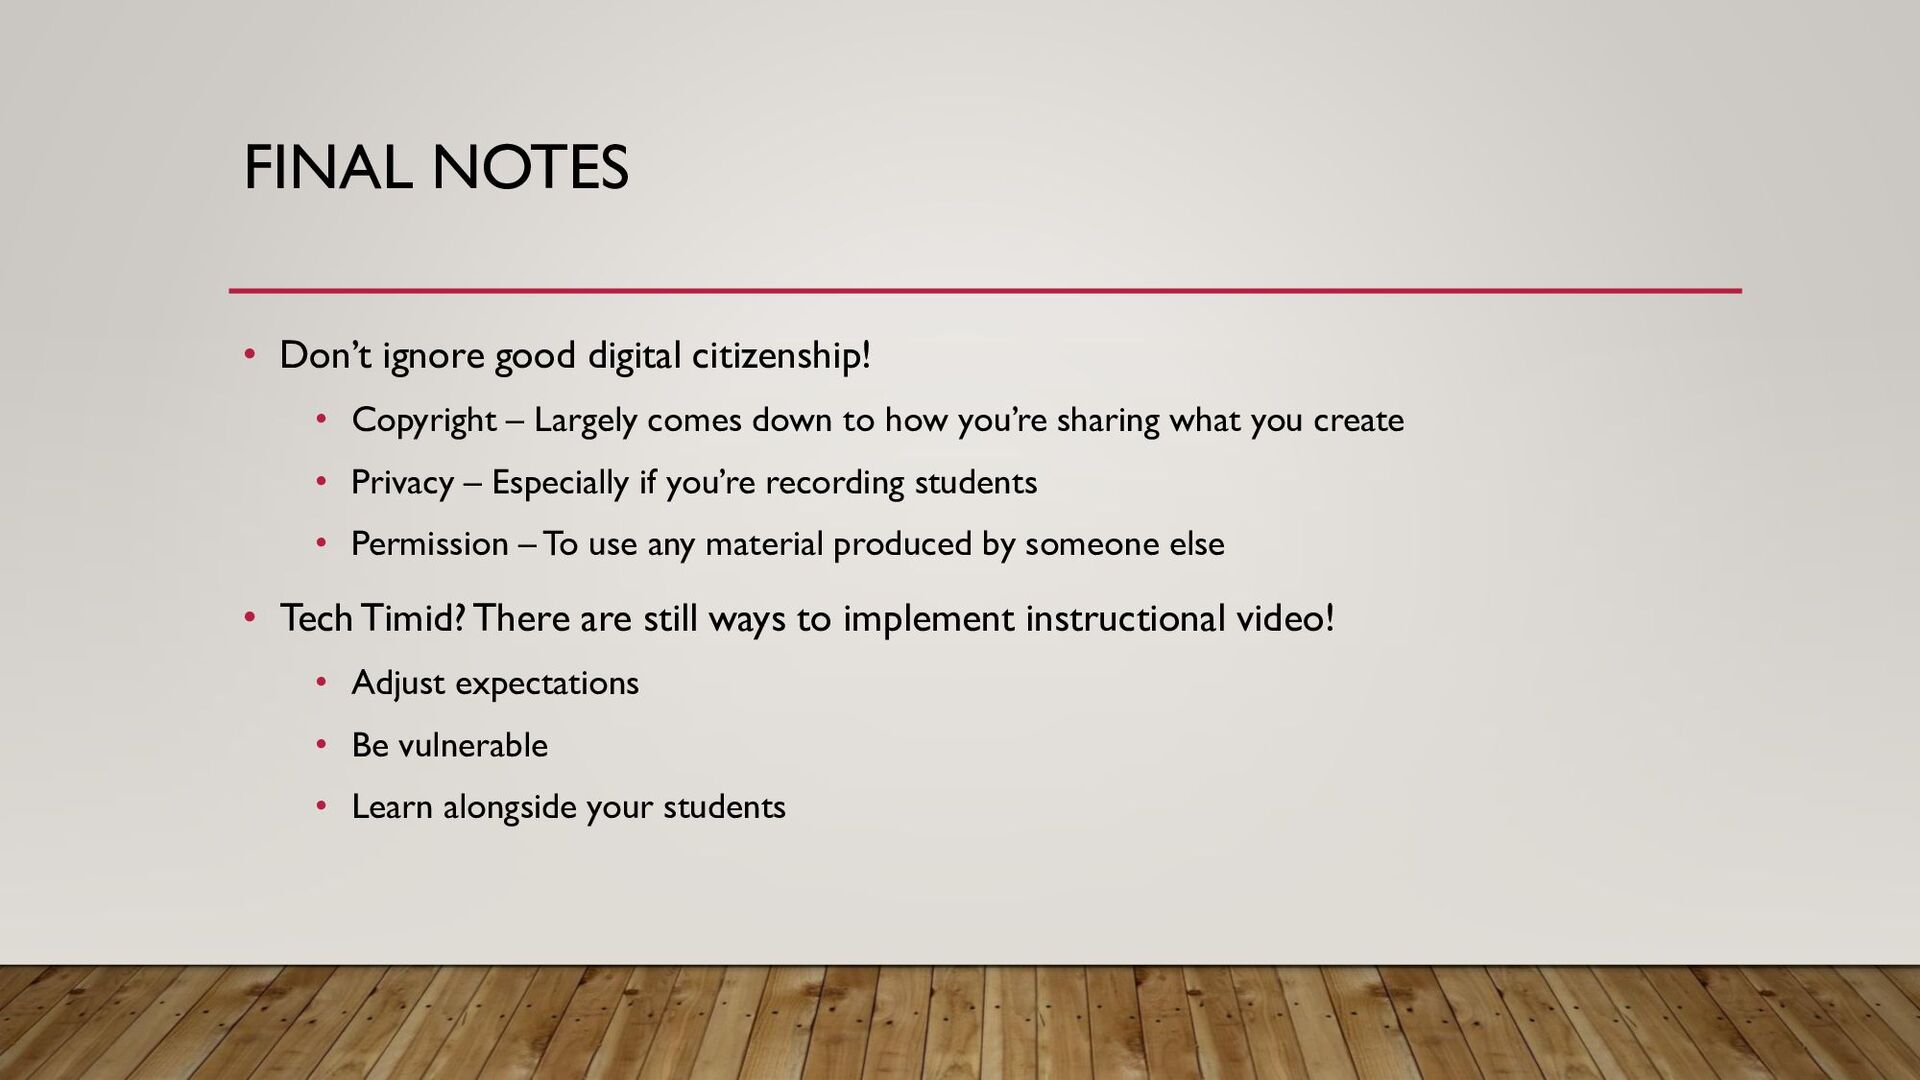
– Largely comes down to how you’re sharing what you create • Privacy – Especially if you’re recording students • Permission – To use any material produced by someone else • Tech Timid? There are still ways to implement instructional video! • Adjust expectations • Be vulnerable • Learn alongside your students
instructional video as an assignment for your course • Videos for a digital lab reports or lab technique demonstration • Research papers – reimagined for a broader audience • Document field research by taking video (can later be used, by you, to promote the work you’re doing in the classroom) • No better way to learn material than medititating over it long and creatively enough to teach it! • Expectations I outlined before should be applied to student-authored videos, too • We can help you think on this!
![QUESTIONS? Let’s talk! We can help you! E-mail [email protected] or](https://files.speakerdeck.com/presentations/520e3174f31d451e9985bae20b88de3f/slide_23.jpg)