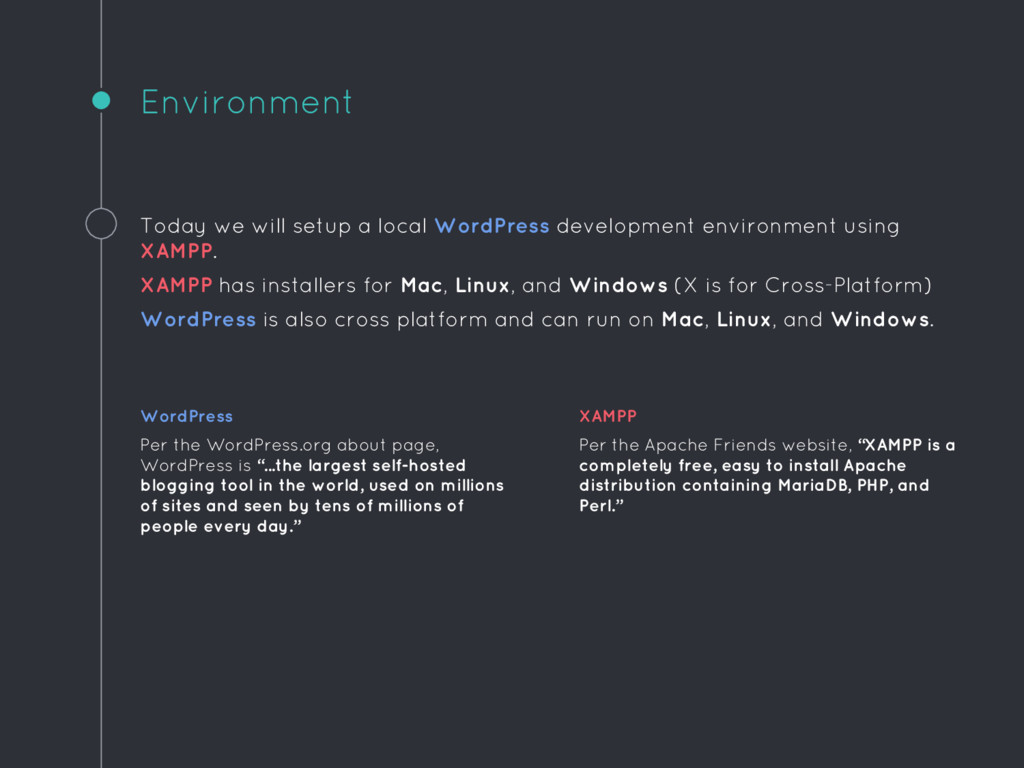
using XAMPP. XAMPP has installers for Mac, Linux, and Windows (X is for Cross-Platform) WordPress is also cross platform and can run on Mac, Linux, and Windows. WordPress Per the WordPress.org about page, WordPress is “...the largest self-hosted blogging tool in the world, used on millions of sites and seen by tens of millions of people every day.” XAMPP Per the Apache Friends website, “XAMPP is a completely free, easy to install Apache distribution containing MariaDB, PHP, and Perl.”
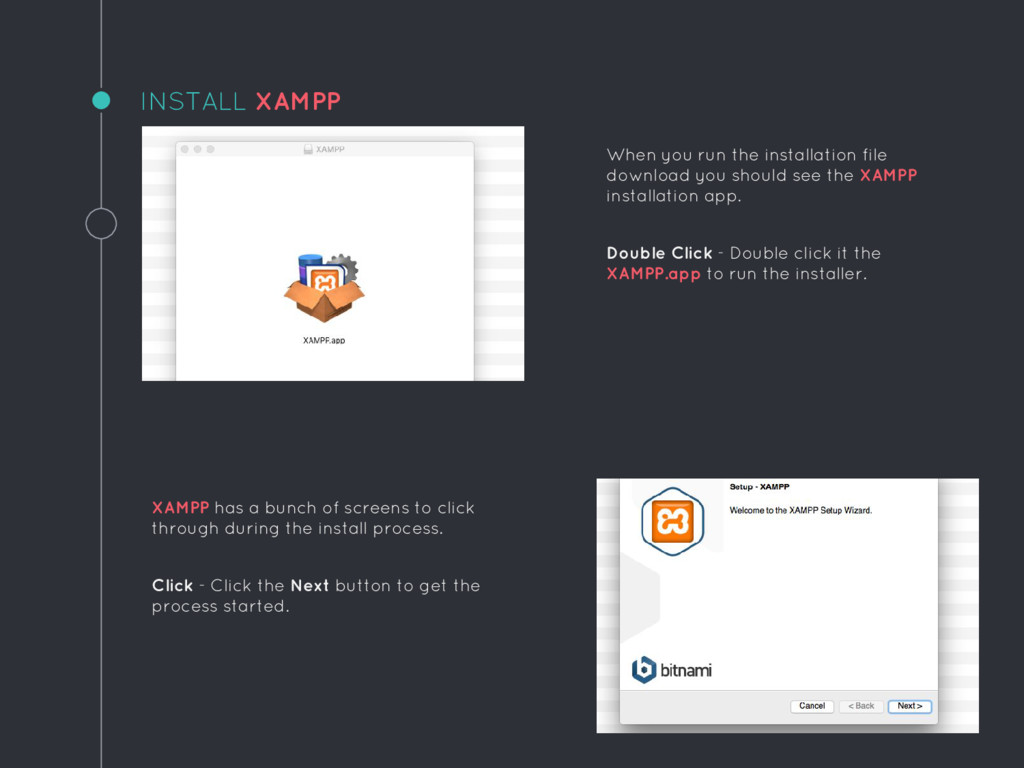
should see the XAMPP installation app. Double Click - Double click it the XAMPP.app to run the installer. XAMPP has a bunch of screens to click through during the install process. Click - Click the Next button to get the process started.
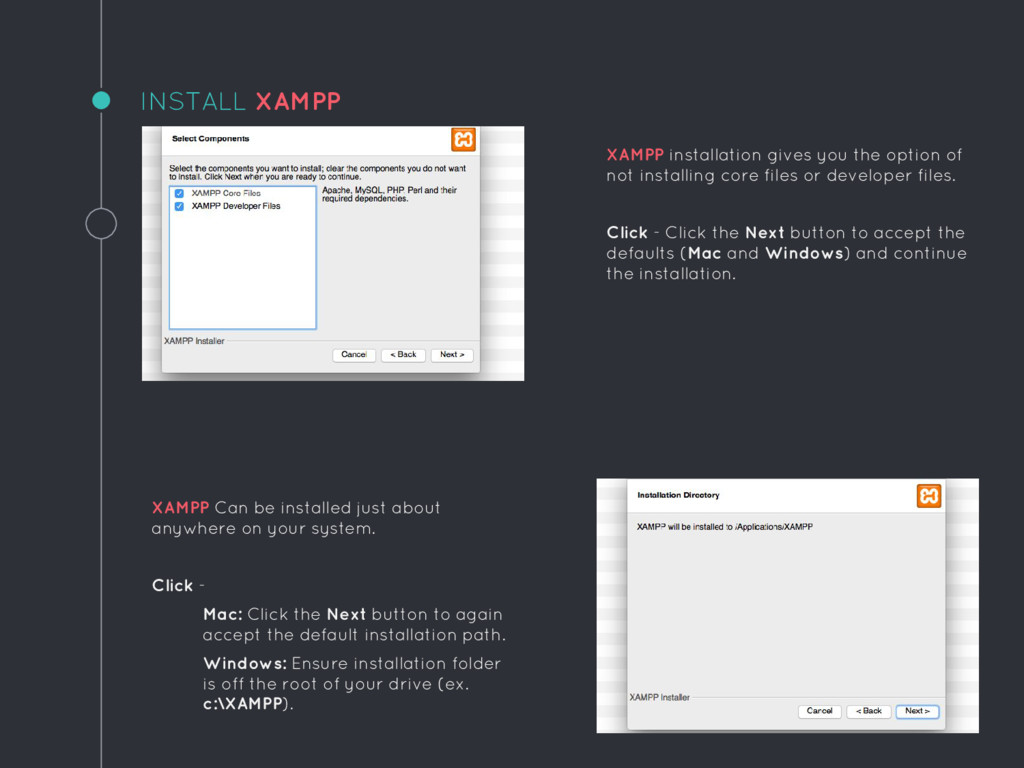
installing core files or developer files. Click - Click the Next button to accept the defaults (Mac and Windows) and continue the installation. XAMPP Can be installed just about anywhere on your system. Click - Mac: Click the Next button to again accept the default installation path. Windows: Ensure installation folder is off the root of your drive (ex. c:\XAMPP).
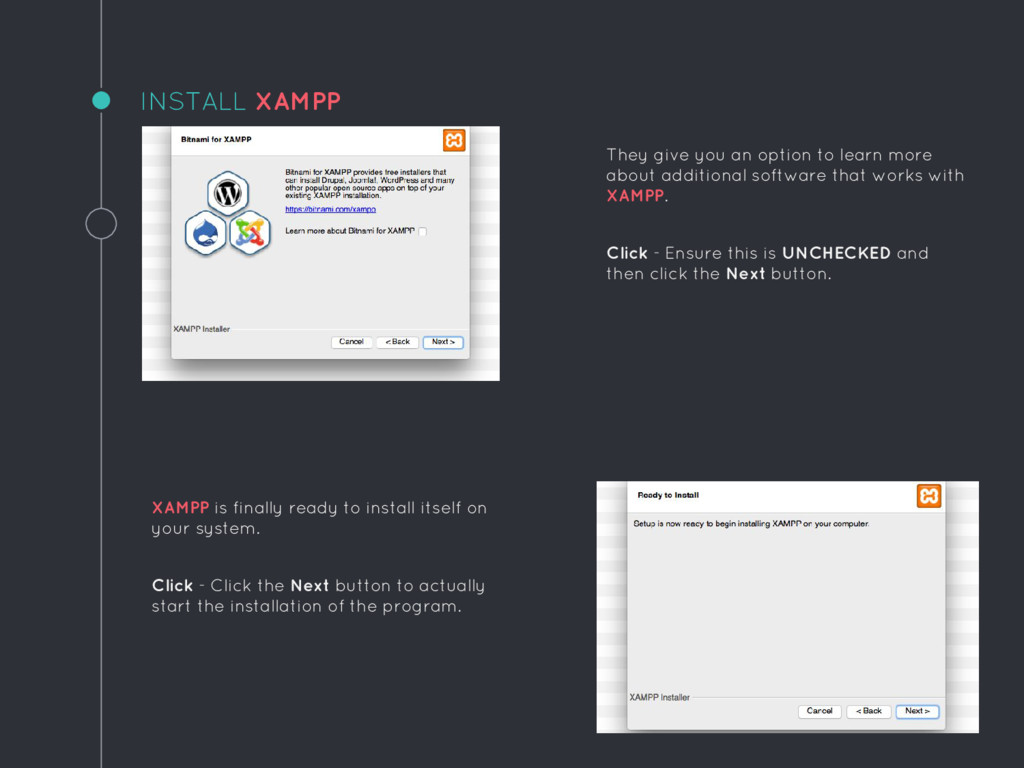
about additional software that works with XAMPP. Click - Ensure this is UNCHECKED and then click the Next button. XAMPP is finally ready to install itself on your system. Click - Click the Next button to actually start the installation of the program.
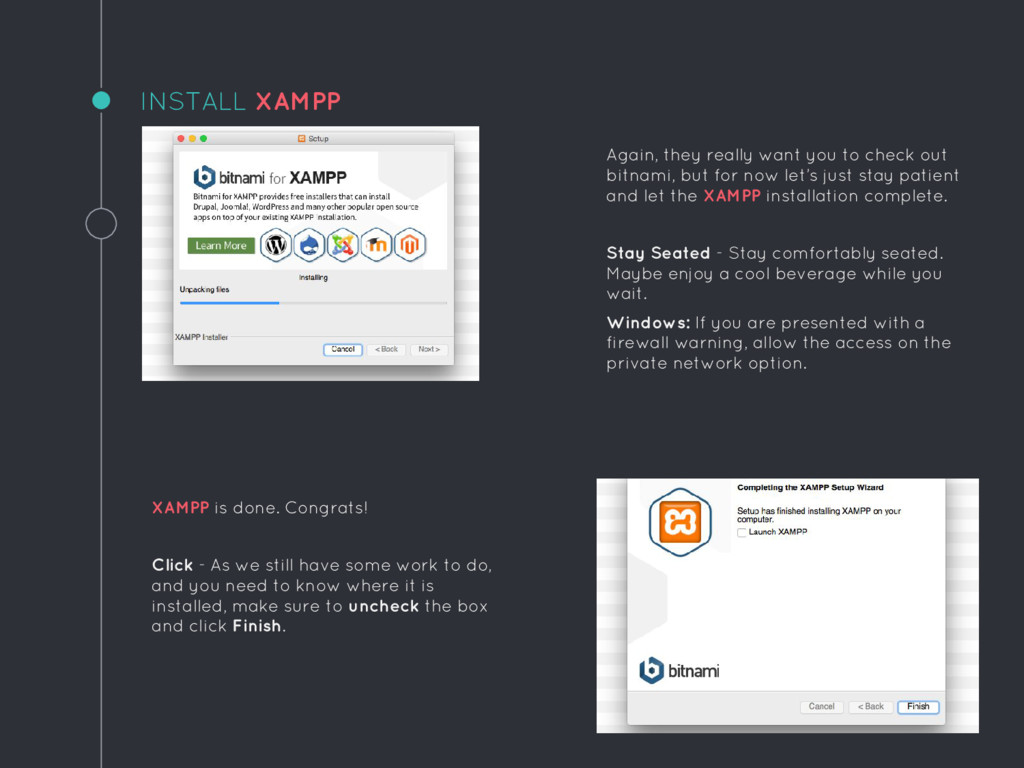
bitnami, but for now let’s just stay patient and let the XAMPP installation complete. Stay Seated - Stay comfortably seated. Maybe enjoy a cool beverage while you wait. Windows: If you are presented with a firewall warning, allow the access on the private network option. XAMPP is done. Congrats! Click - As we still have some work to do, and you need to know where it is installed, make sure to uncheck the box and click Finish.
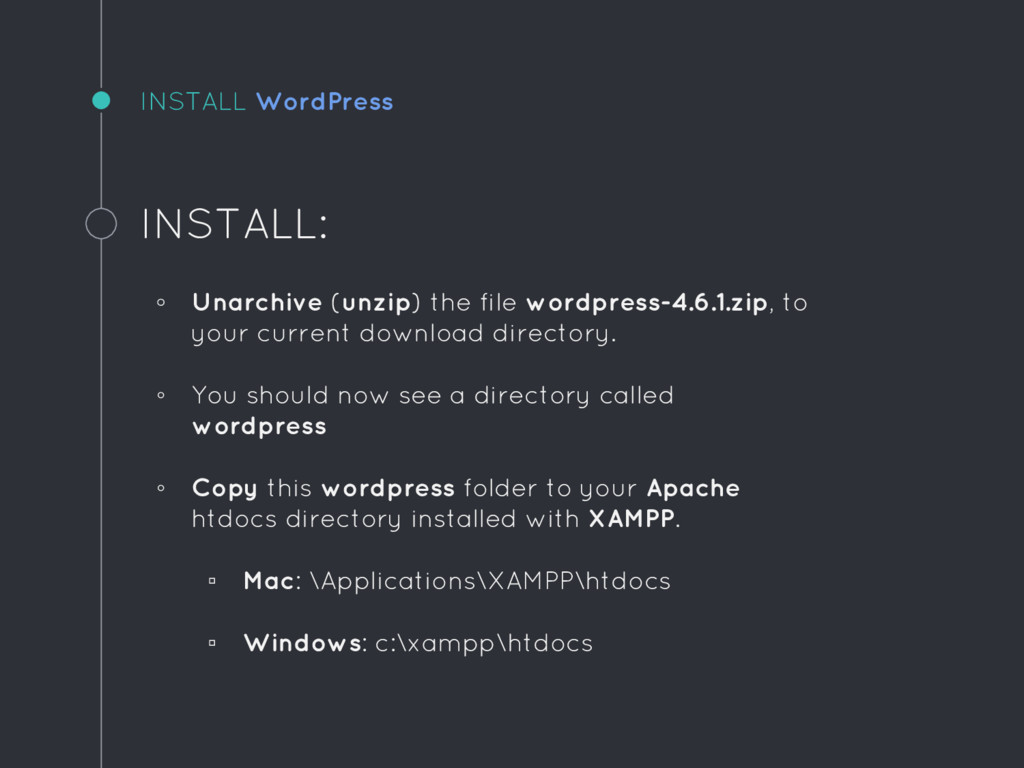
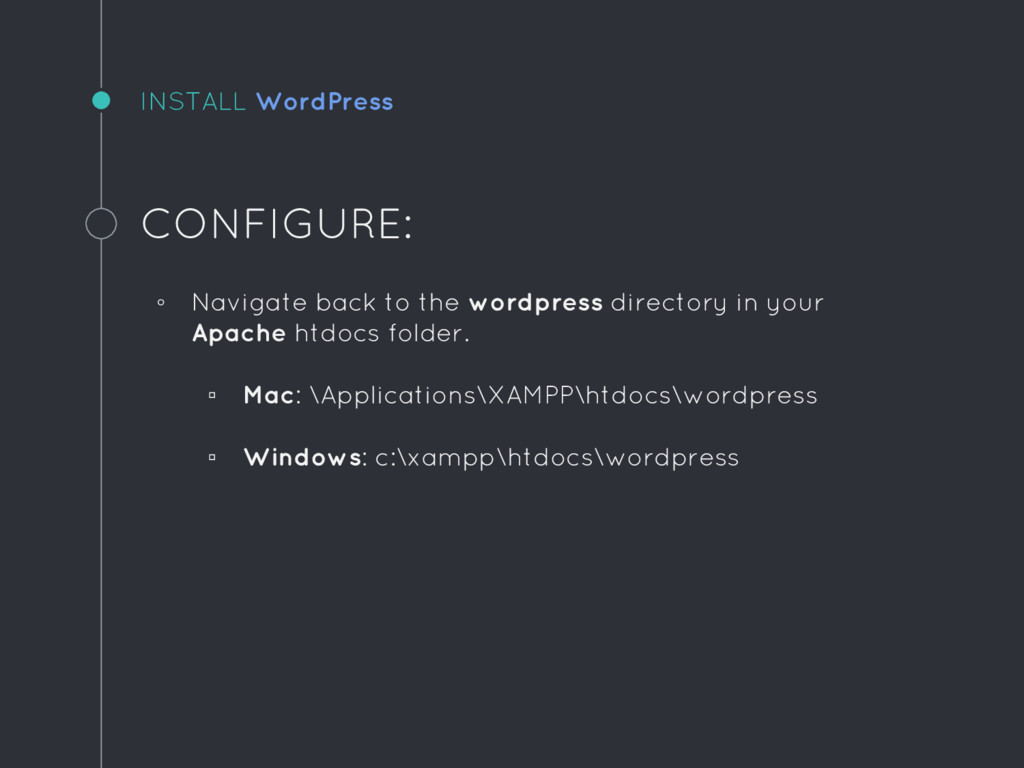
your current download directory. ◦ You should now see a directory called wordpress ◦ Copy this wordpress folder to your Apache htdocs directory installed with XAMPP. ▫ Mac: \Applications\XAMPP\htdocs ▫ Windows: c:\xampp\htdocs
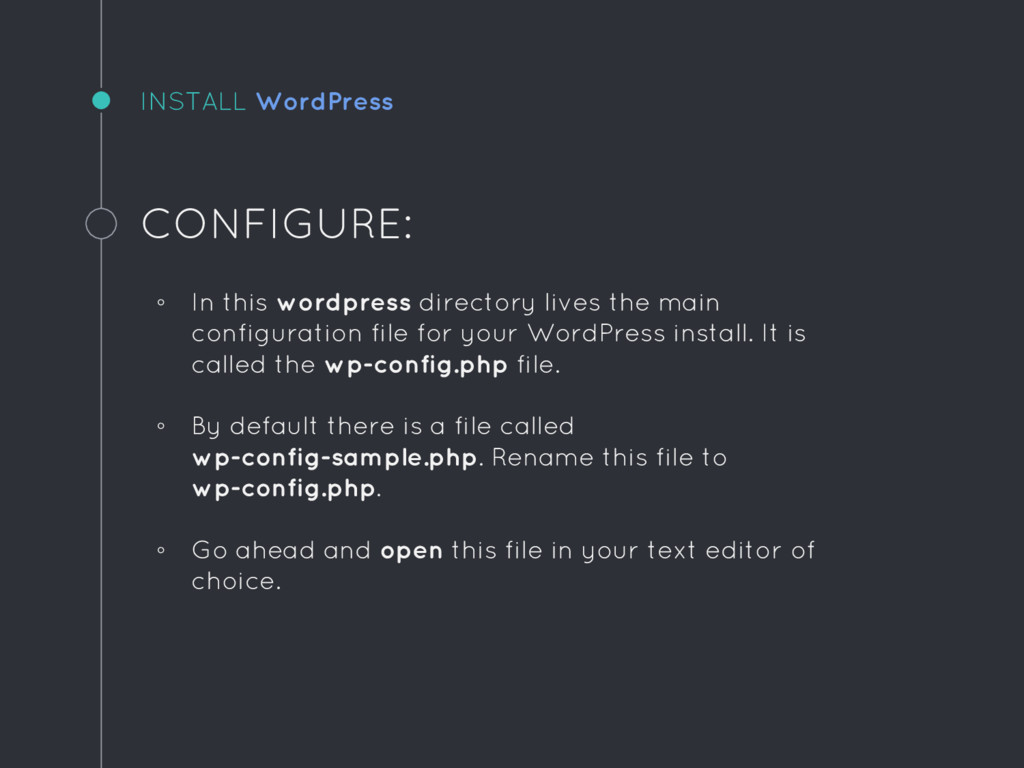
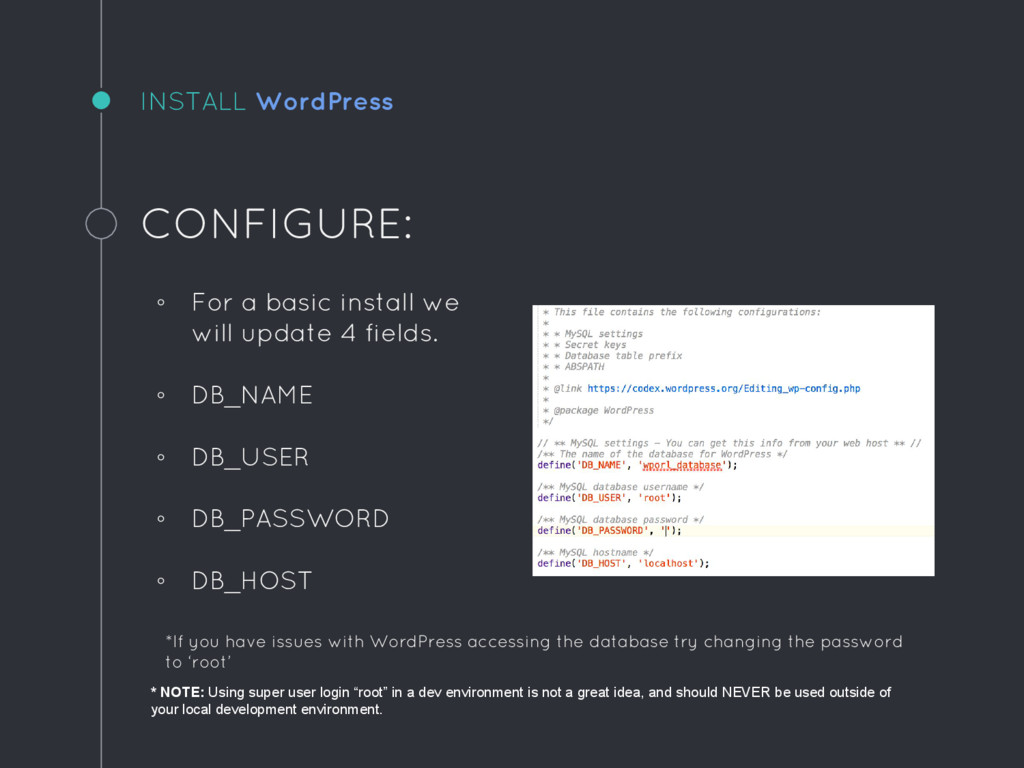
main configuration file for your WordPress install. It is called the wp-config.php file. ◦ By default there is a file called wp-config-sample.php. Rename this file to wp-config.php. ◦ Go ahead and open this file in your text editor of choice.
with the word “config” in it’s name, this file has a good number of options that can be modified. We are going to focus on just the few needed to get running. ◦ You will want to learn to love this file as you will use it more in the future to configure all kinds of additional options.
update 4 fields. ◦ DB_NAME ◦ DB_USER ◦ DB_PASSWORD ◦ DB_HOST * NOTE: Using super user login “root” in a dev environment is not a great idea, and should NEVER be used outside of your local development environment. *If you have issues with WordPress accessing the database try changing the password to ‘root’
![Thanks! ANY QUESTIONS? You can find me at @demianseiler [email protected]](https://files.speakerdeck.com/presentations/91eee5b98fe545de8c6b5b55cd8c75c9/slide_29.jpg)