Upgrade to Pro
— share decks privately, control downloads, hide ads and more …
Speaker Deck
Features
Speaker Deck
PRO
Sign in
Sign up for free
Search
Search
Possum Hollow Teaser Boards
Search
Sponsored
·
Your Podcast. Everywhere. Effortlessly.
Share. Educate. Inspire. Entertain. You do you. We'll handle the rest.
→
Lindsay Scanlan
July 01, 2020
Storyboards
4.1k
1
Share
Embed
Copy iframe code
Copy JS code
Copy link
Start on current slide
Possum Hollow Teaser Boards
Boards based on Teaser script for a Potential Pitch
Lindsay Scanlan
July 01, 2020
More Decks by Lindsay Scanlan
See All by Lindsay Scanlan
Untitled Beats 1
hillopurkki
0
27
Untitled Boards 2
hillopurkki
0
22
Possum Hollow Partial Pitch Boards
hillopurkki
0
3.9k
Heart to Share Boards
hillopurkki
0
4.1k
Syncopation Roughs Part One
hillopurkki
0
250
Syncopation Rough Boards Part 2
hillopurkki
0
200
Lisa & Liza Opening Credit Boards
hillopurkki
0
4.2k
MidWestern Part One
hillopurkki
0
1.9k
Two Boards
hillopurkki
0
4.2k
Other Decks in Storyboards
See All in Storyboards
THE MAILMAN - ANIMATIC
josiahearlesart
0
670
NewBee Pixar Workshop
sarahtoons
0
180
HARD DRIVE - 3D Storyboading
davnaz
0
100
HOTEL-T SPEC SHORT - ACT1
mariomario
PRO
0
390
GDGoC KITってどんなところ??
rikut0904
0
150
RADWTRScene
gholguin34
0
330
Cost of Breakthrough
eugenekmoon
PRO
0
300
THE HARD DRIVE - 3D Storyboading
davnaz
0
130
SOMETHING FORGOTTEN
erikaj543
0
220
Space Cadet - Storyboard
cassidyhenstock
0
200
SNEAKS - Storyboard Sample -01
michaelsewnarain
0
370
"SKR" Part One
ogworldofart
PRO
0
150
Featured
See All Featured
How to Grow Your eCommerce with AI & Automation
katarinadahlin
PRO
1
200
The Power of CSS Pseudo Elements
geoffreycrofte
82
6.3k
Bridging the Design Gap: How Collaborative Modelling removes blockers to flow between stakeholders and teams @FastFlow conf
baasie
0
580
Documentation Writing (for coders)
carmenintech
77
5.4k
Let's Do A Bunch of Simple Stuff to Make Websites Faster
chriscoyier
508
140k
SEOcharity - Dark patterns in SEO and UX: How to avoid them and build a more ethical web
sarafernandez
0
200
Agile that works and the tools we love
rasmusluckow
331
21k
The Psychology of Web Performance [Beyond Tellerrand 2023]
tammyeverts
49
3.5k
GraphQLの誤解/rethinking-graphql
sonatard
75
12k
Chrome DevTools: State of the Union 2024 - Debugging React & Beyond
addyosmani
10
1.2k
Ruling the World: When Life Gets Gamed
codingconduct
0
250
XXLCSS - How to scale CSS and keep your sanity
sugarenia
250
1.3M
Transcript
Scene 1 Panel 1 / 4 Dialog Music: <News Station
Jingle>
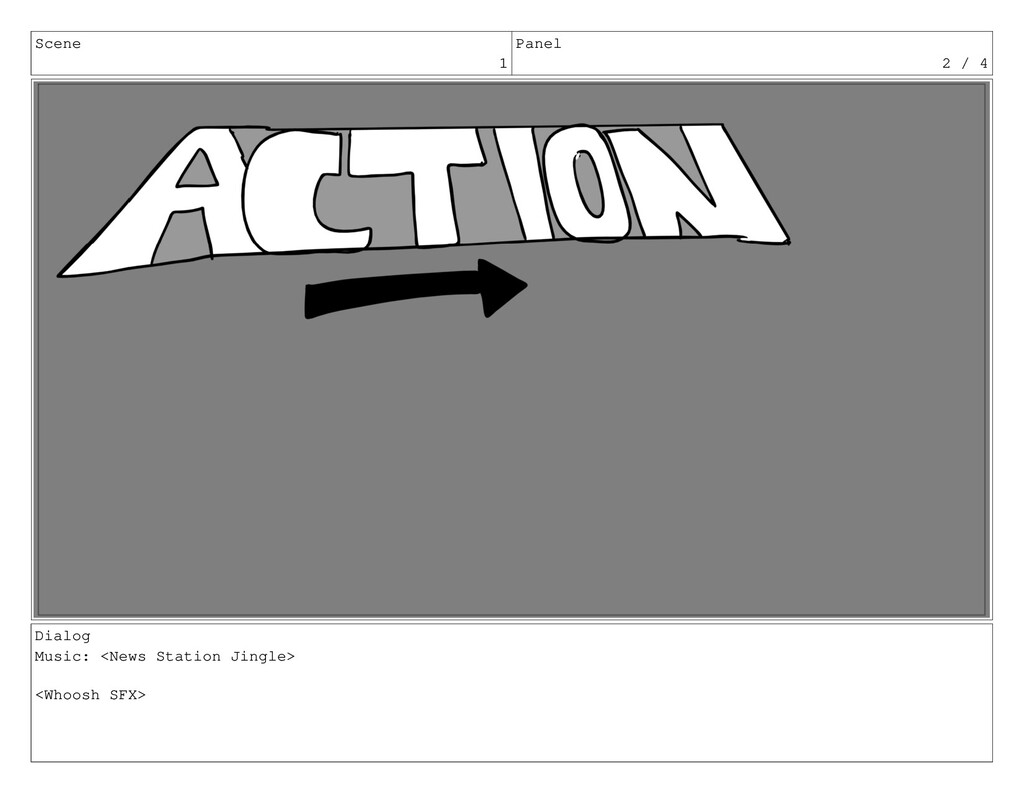
Scene 1 Panel 2 / 4 Dialog Music: <News Station
Jingle> <Whoosh SFX>
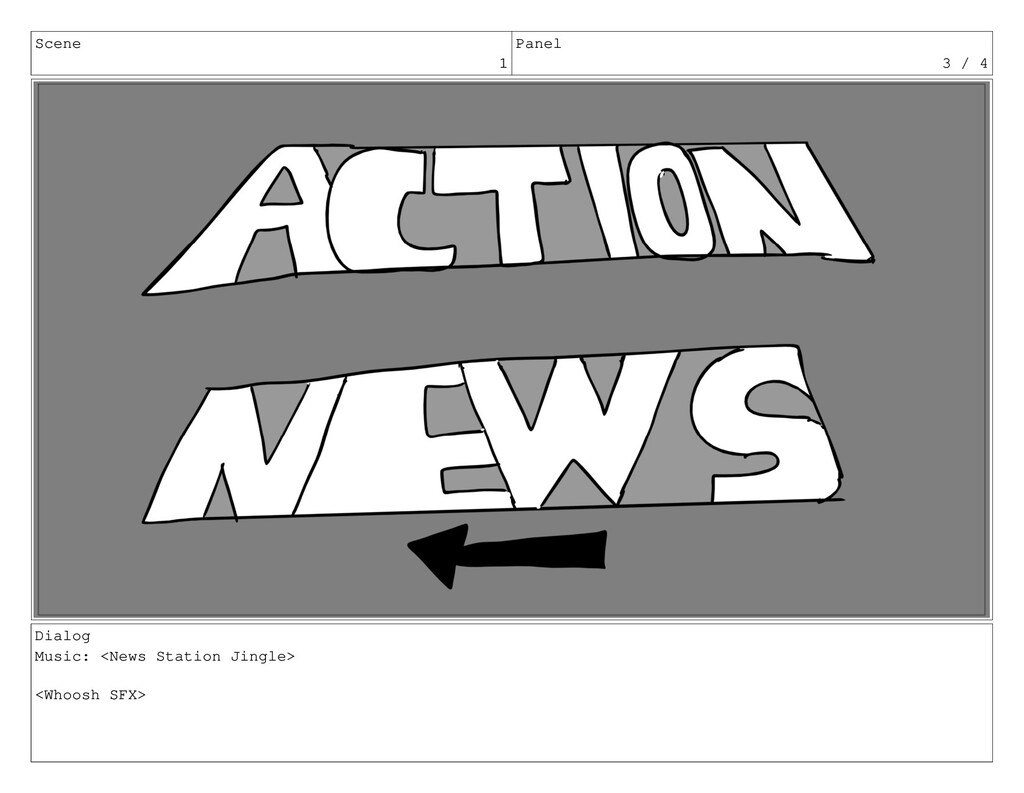
Scene 1 Panel 3 / 4 Dialog Music: <News Station
Jingle> <Whoosh SFX>
Scene 1 Panel 4 / 4 Dialog <Tv static SFX>
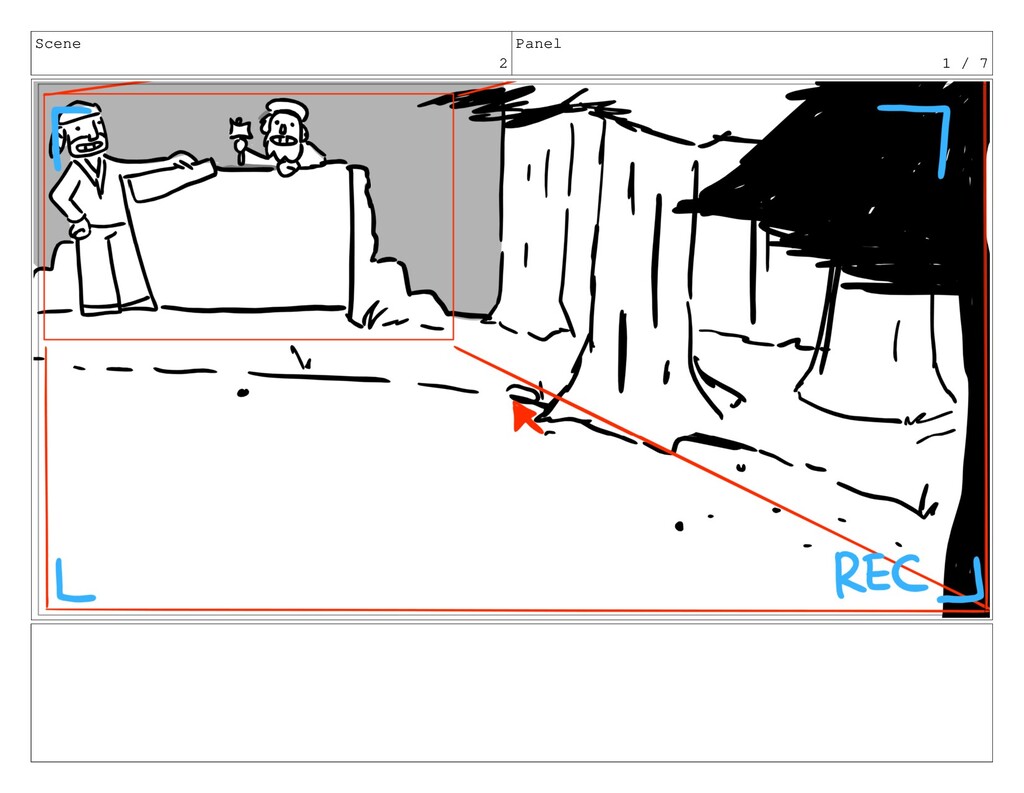
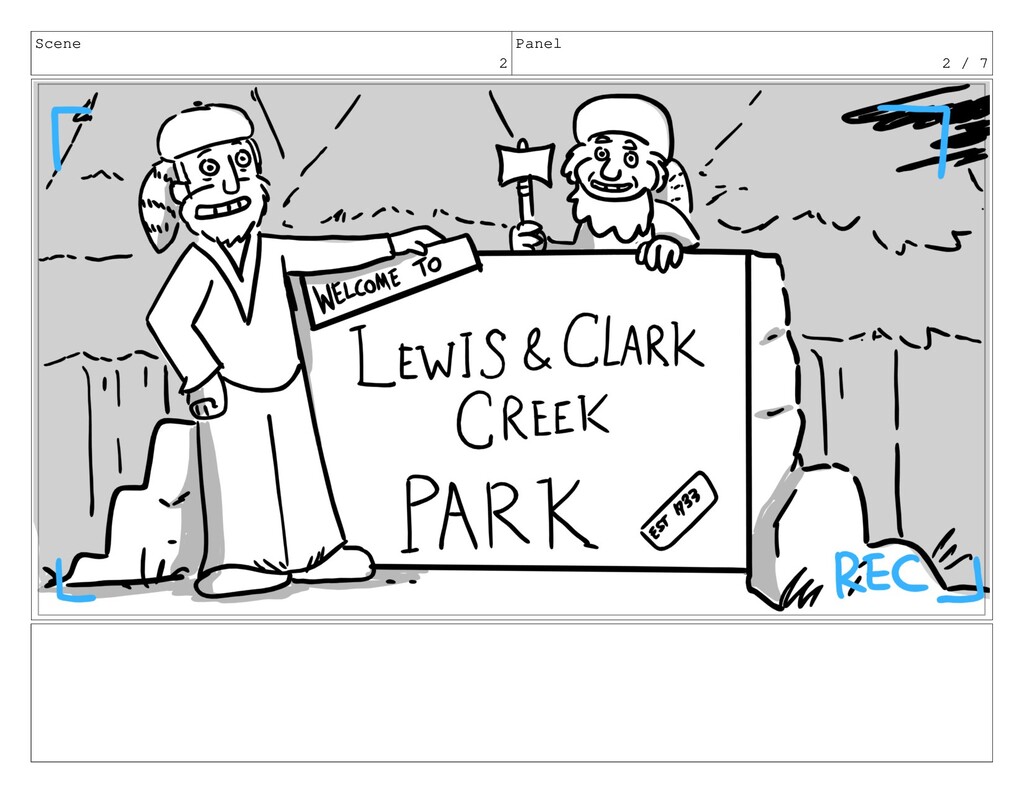
Scene 2 Panel 1 / 7
Scene 2 Panel 2 / 7
Scene 2 Panel 3 / 7 Dialog <Tv static SFX>
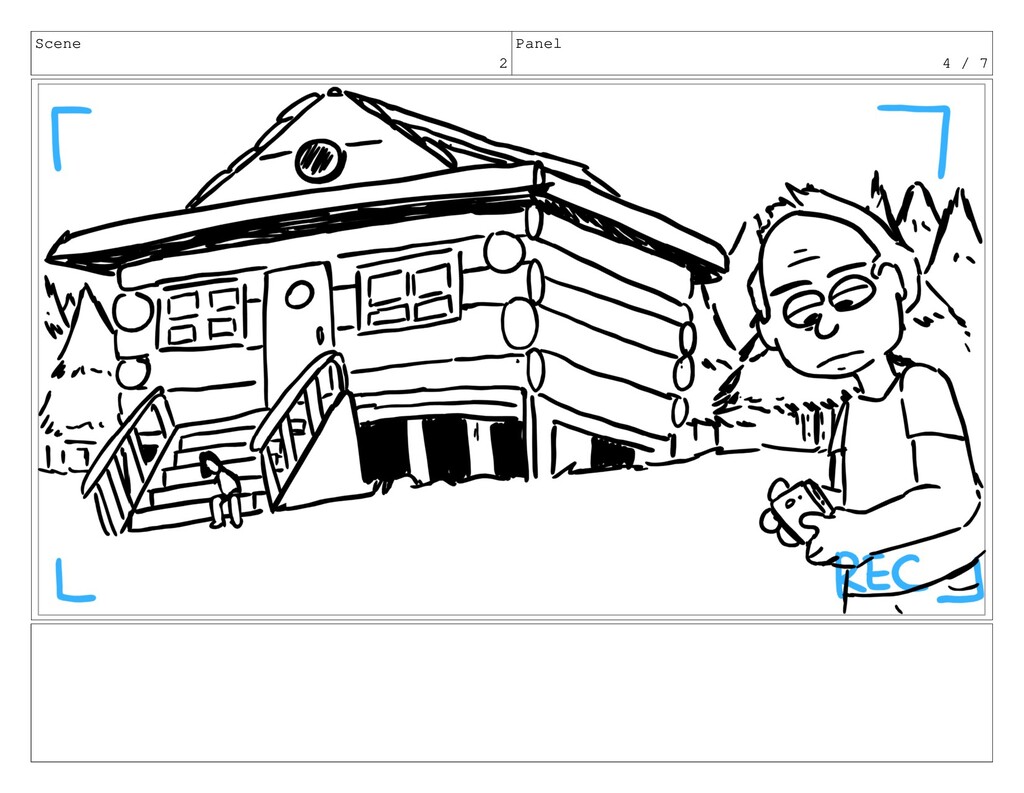
Scene 2 Panel 4 / 7
Scene 2 Panel 5 / 7 Dialog <Tv static SFX>
Scene 2 Panel 6 / 7
Scene 2 Panel 7 / 7 Dialog <Tv static SFX>
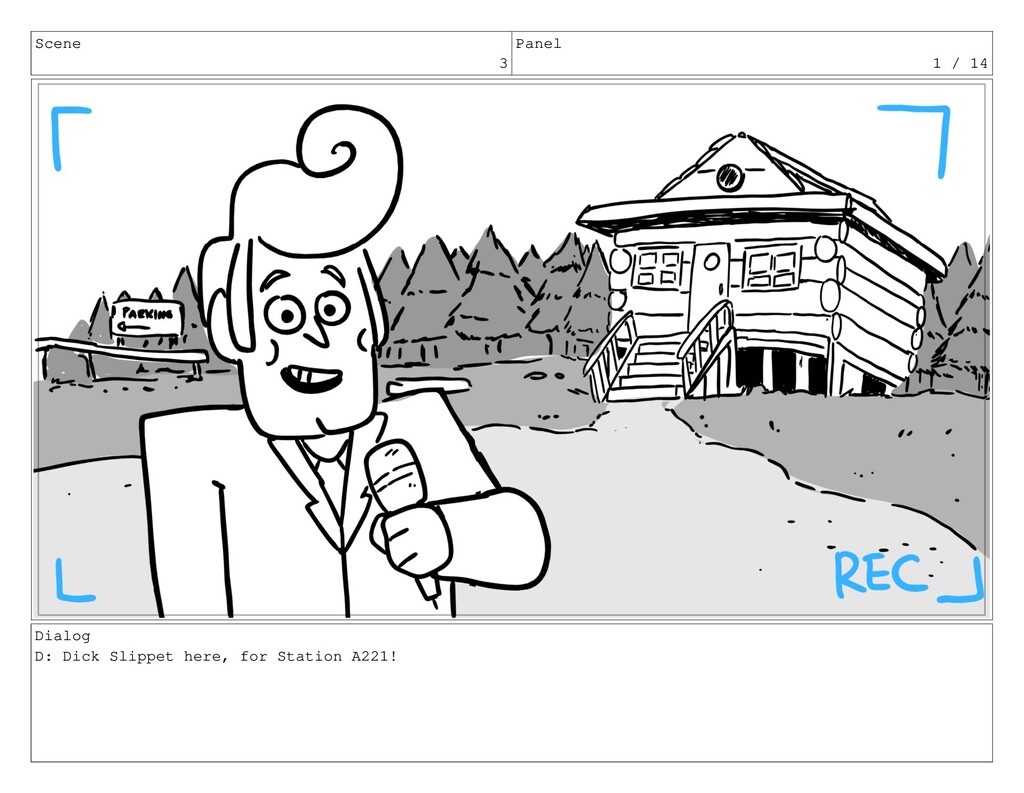
Scene 3 Panel 1 / 14 Dialog D: Dick Slippet
here, for Station A221!
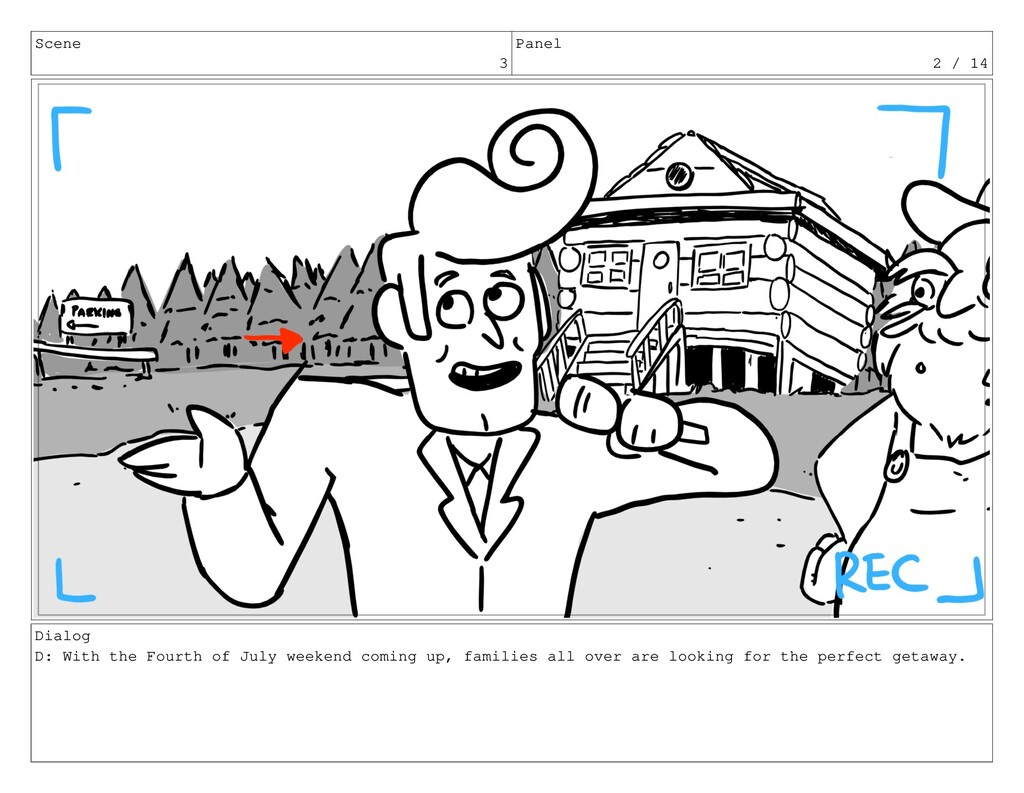
Scene 3 Panel 2 / 14 Dialog D: With the
Fourth of July weekend coming up, families all over are looking for the perfect getaway.
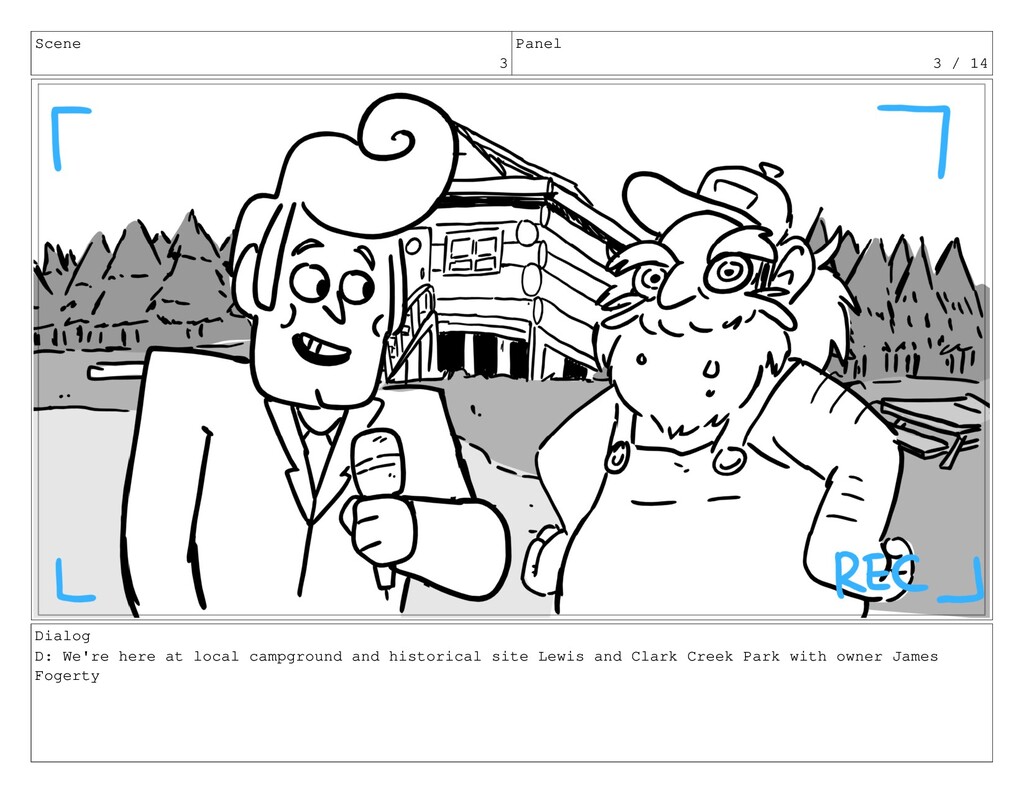
Scene 3 Panel 3 / 14 Dialog D: We're here
at local campground and historical site Lewis and Clark Creek Park with owner James Fogerty
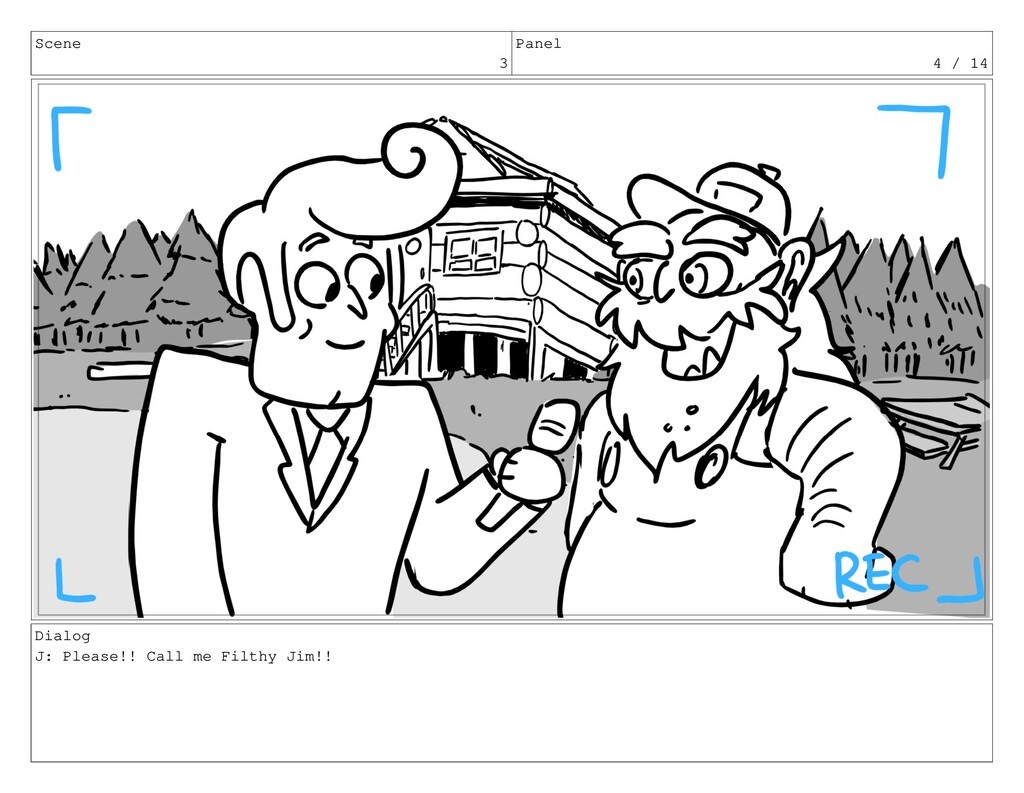
Scene 3 Panel 4 / 14 Dialog J: Please!! Call
me Filthy Jim!!
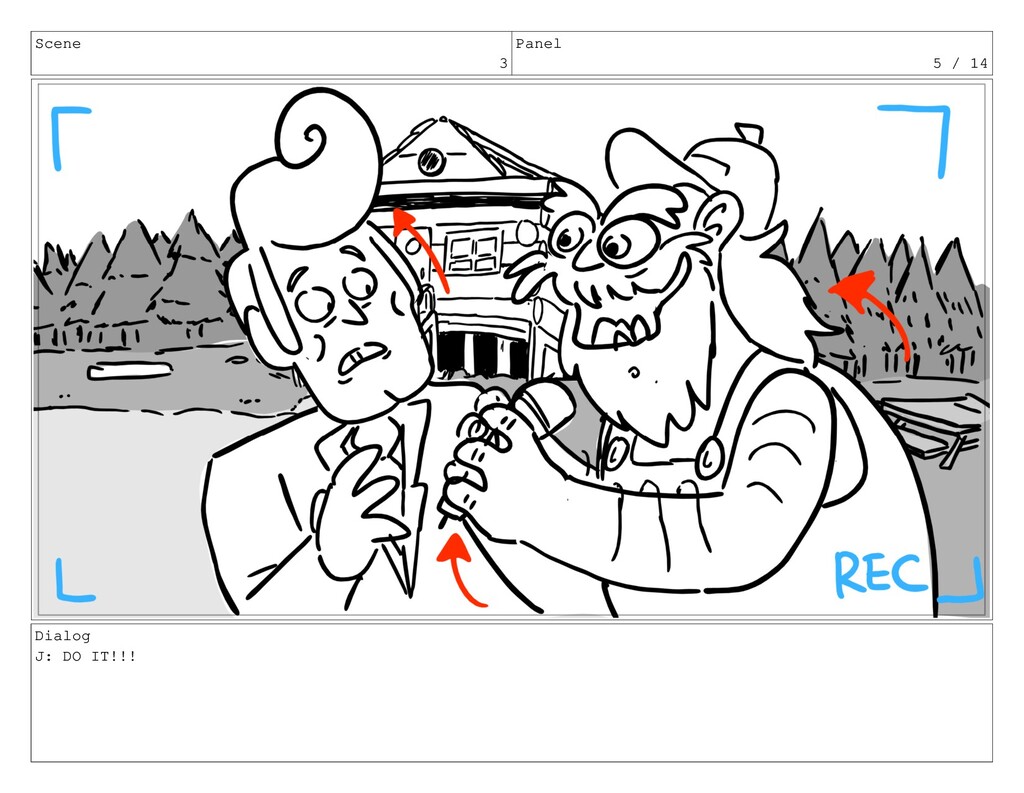
Scene 3 Panel 5 / 14 Dialog J: DO IT!!!
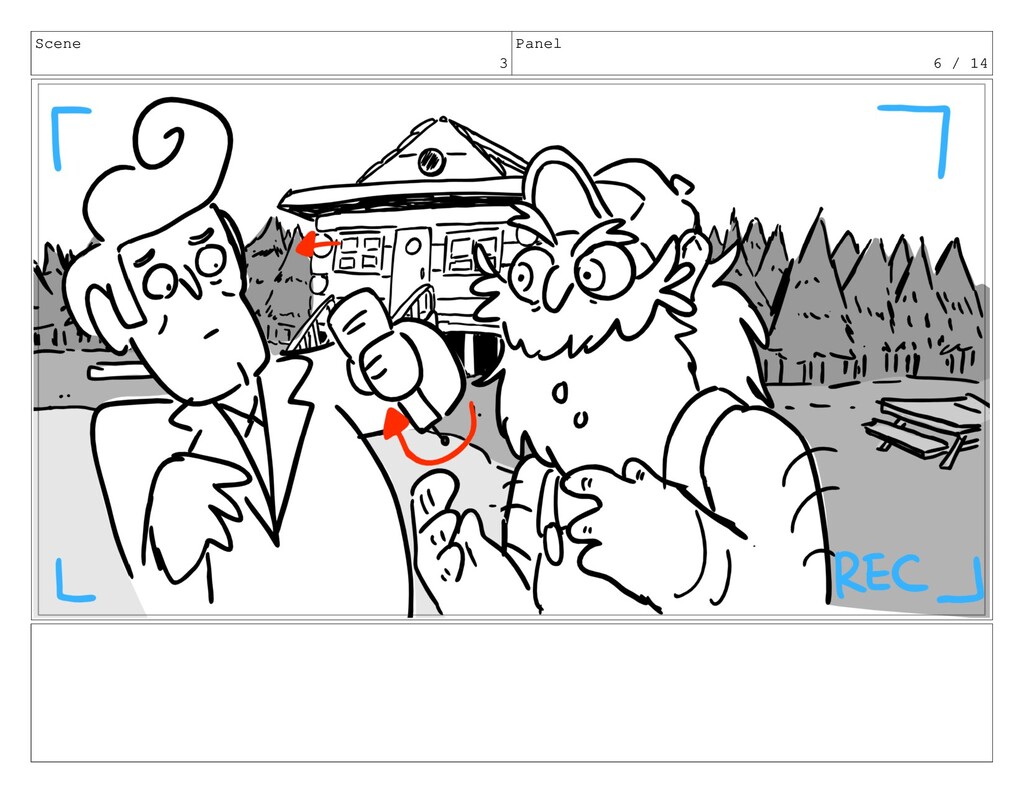
Scene 3 Panel 6 / 14
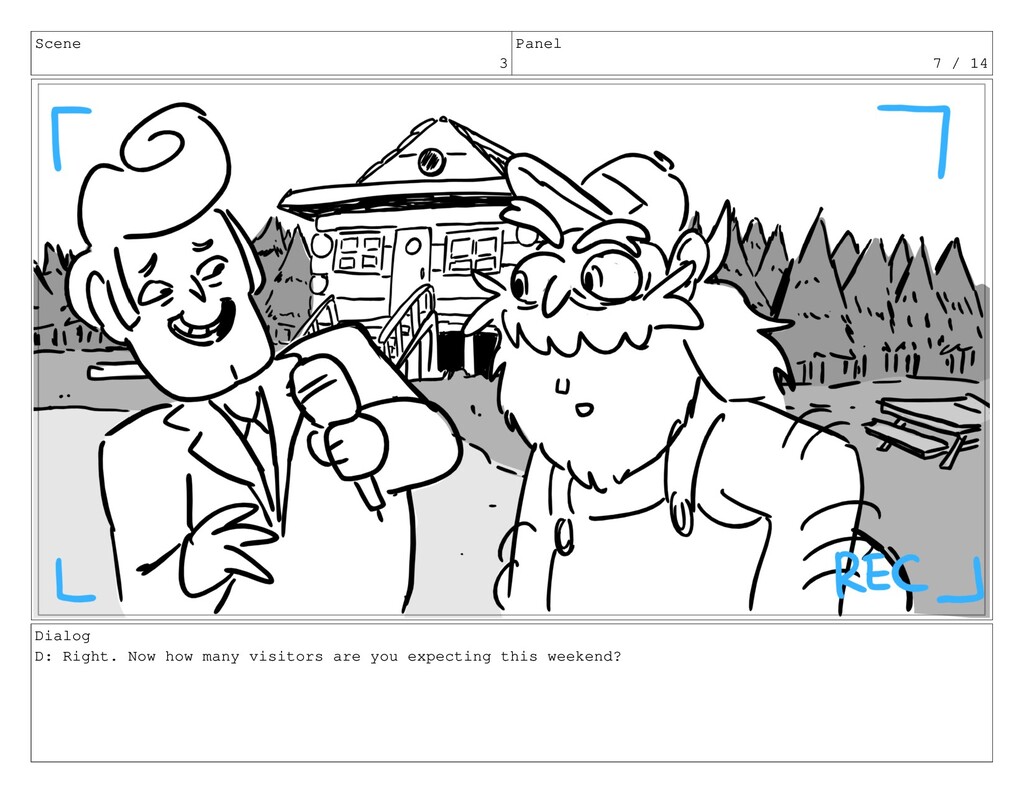
Scene 3 Panel 7 / 14 Dialog D: Right. Now
how many visitors are you expecting this weekend?
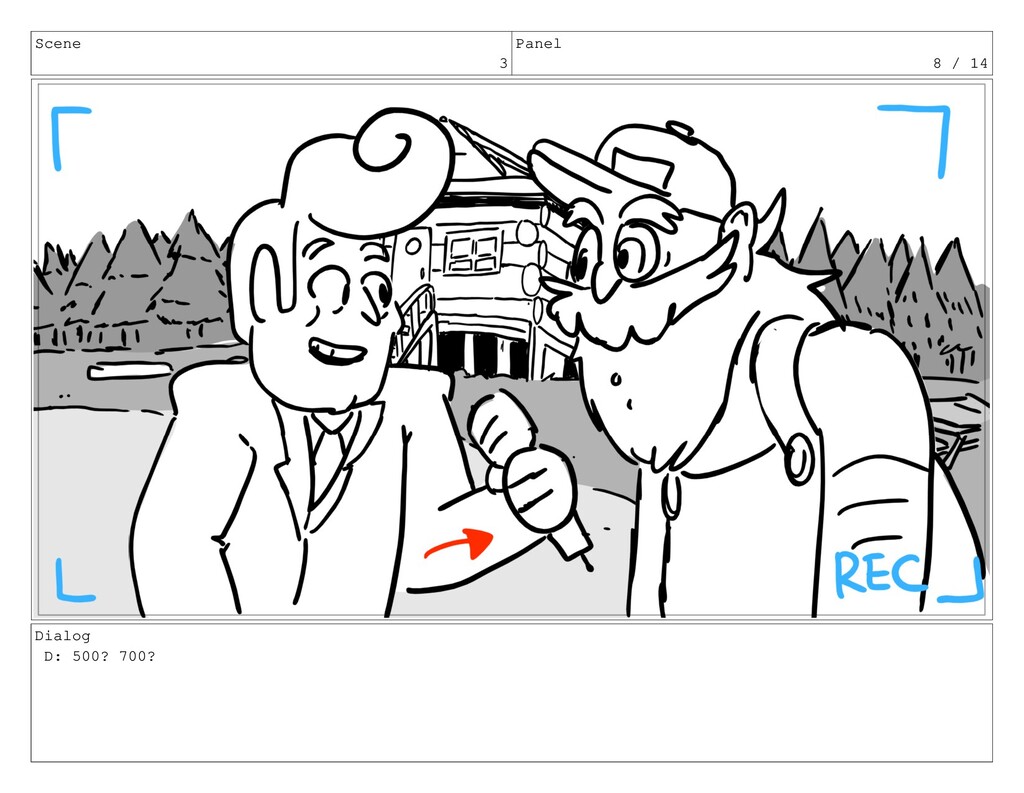
Scene 3 Panel 8 / 14 Dialog D: 500? 700?
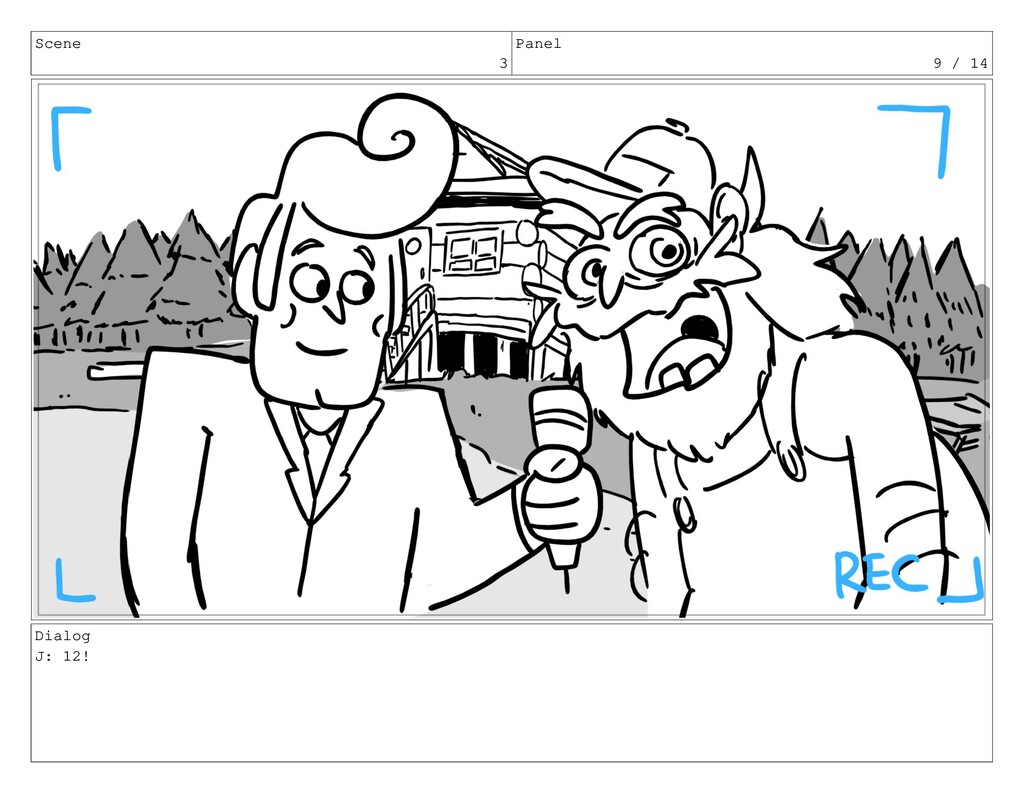
Scene 3 Panel 9 / 14 Dialog J: 12!
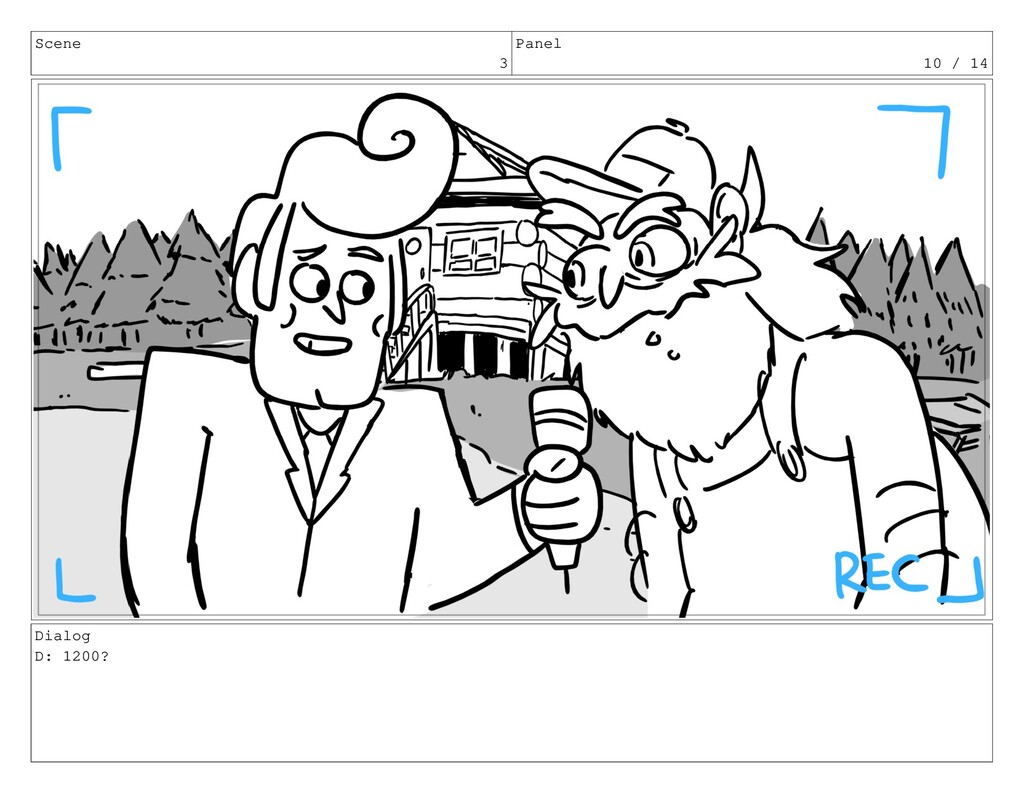
Scene 3 Panel 10 / 14 Dialog D: 1200?
Scene 3 Panel 11 / 14 Dialog J: Nope! Just
12!
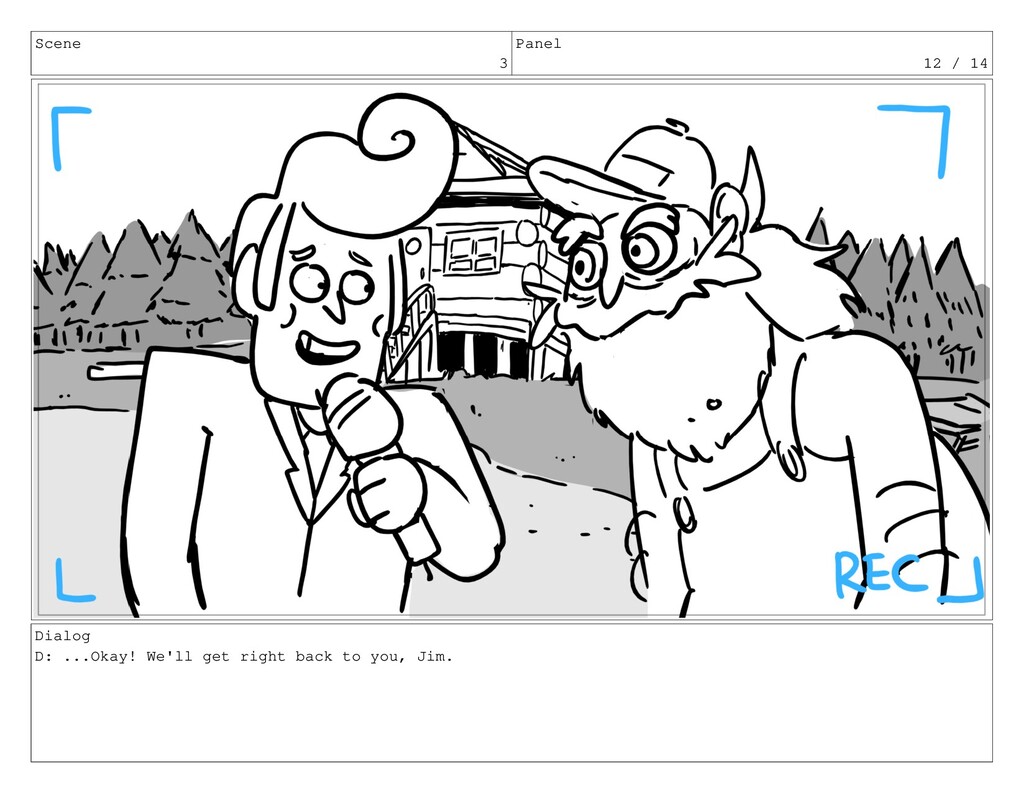
Scene 3 Panel 12 / 14 Dialog D: ...Okay! We'll
get right back to you, Jim.
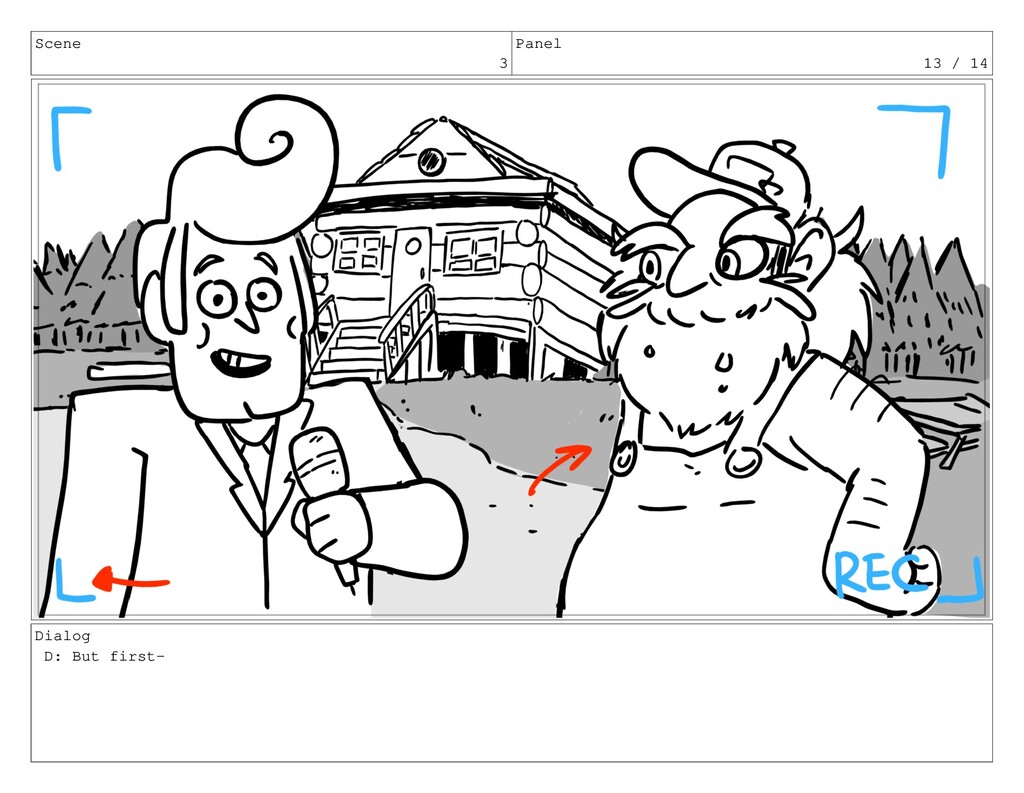
Scene 3 Panel 13 / 14 Dialog D: But first-
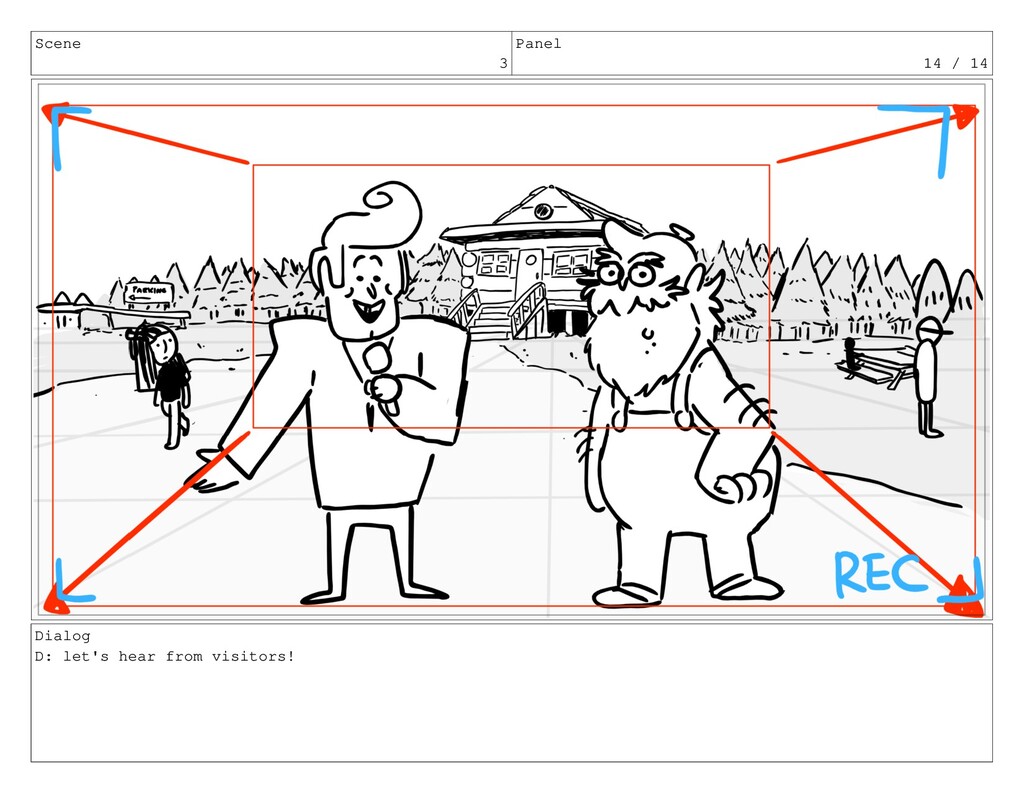
Scene 3 Panel 14 / 14 Dialog D: let's hear
from visitors!
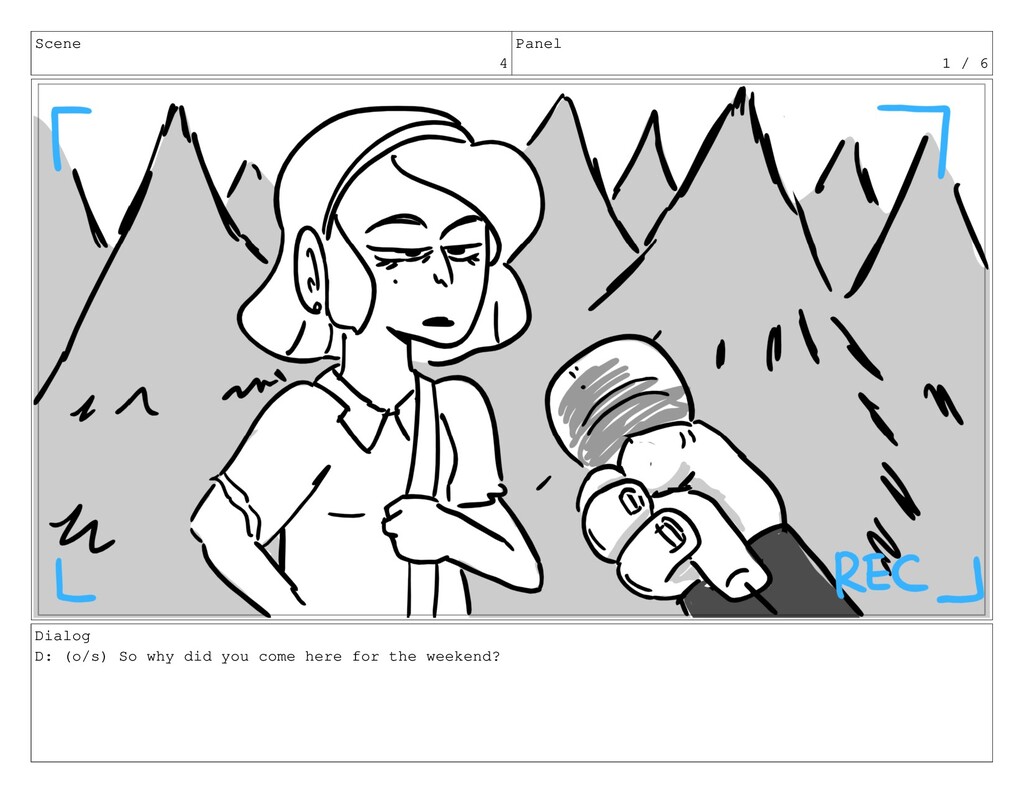
Scene 4 Panel 1 / 6 Dialog D: (o/s) So
why did you come here for the weekend?
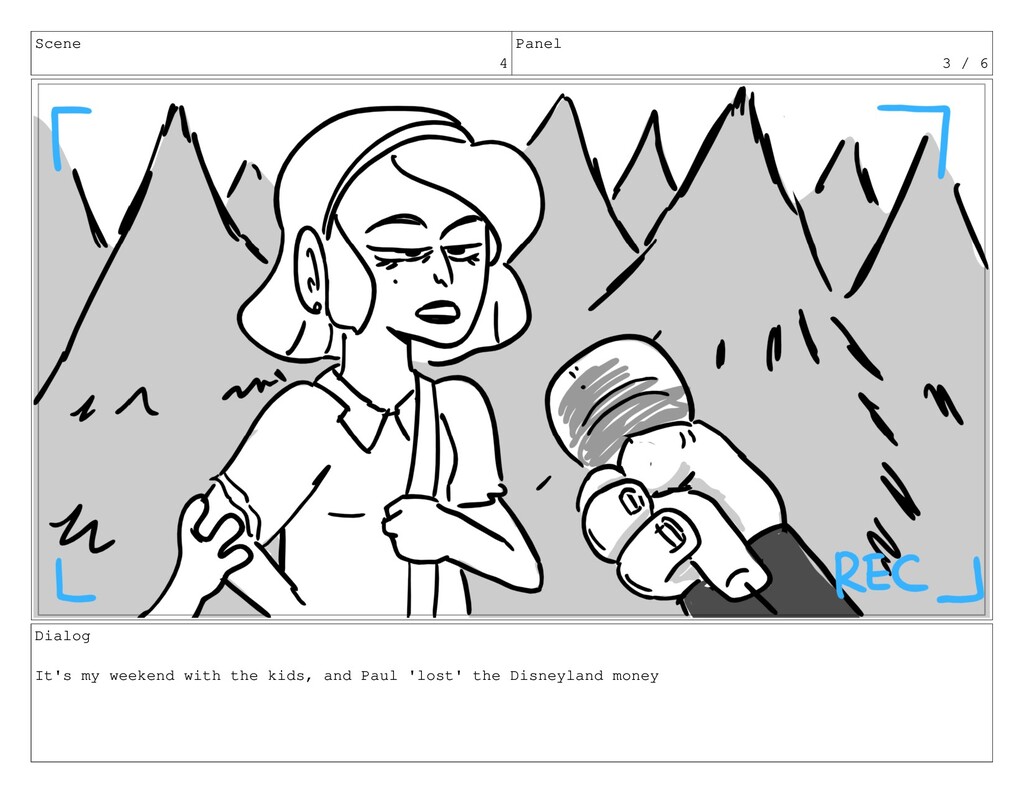
Scene 4 Panel 2 / 6 Dialog It's my weekend
with the kids, and Paul 'lost' the Disneyland money
Scene 4 Panel 3 / 6 Dialog It's my weekend
with the kids, and Paul 'lost' the Disneyland money
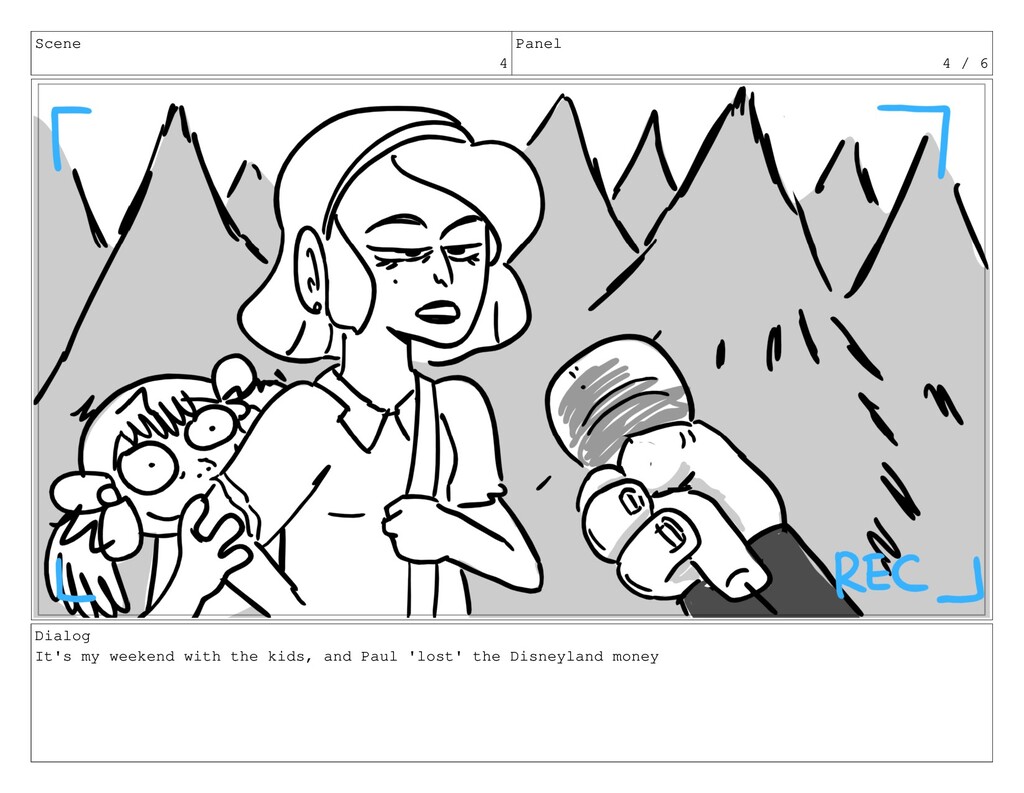
Scene 4 Panel 4 / 6 Dialog It's my weekend
with the kids, and Paul 'lost' the Disneyland money
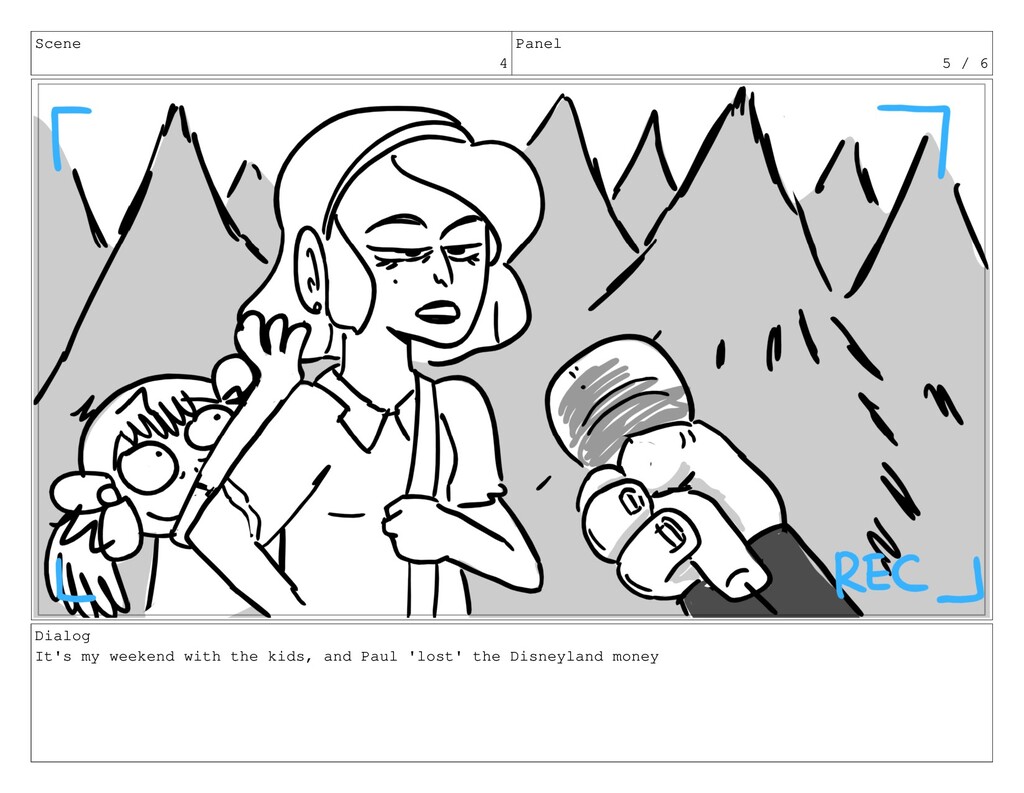
Scene 4 Panel 5 / 6 Dialog It's my weekend
with the kids, and Paul 'lost' the Disneyland money
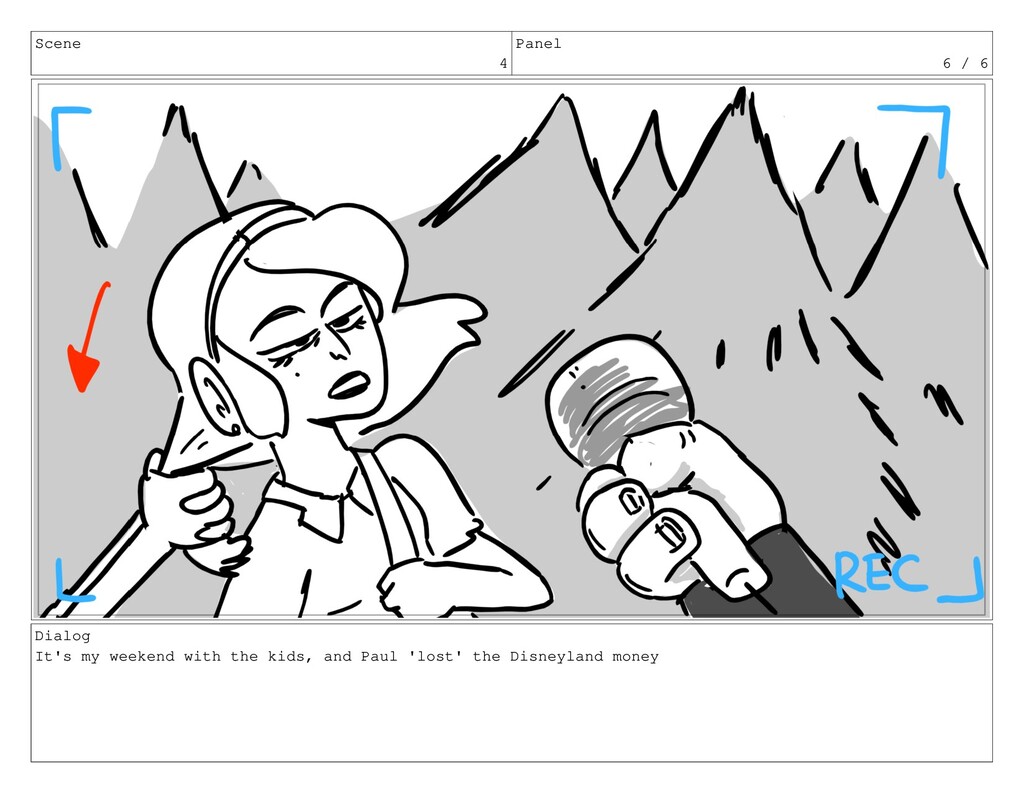
Scene 4 Panel 6 / 6 Dialog It's my weekend
with the kids, and Paul 'lost' the Disneyland money
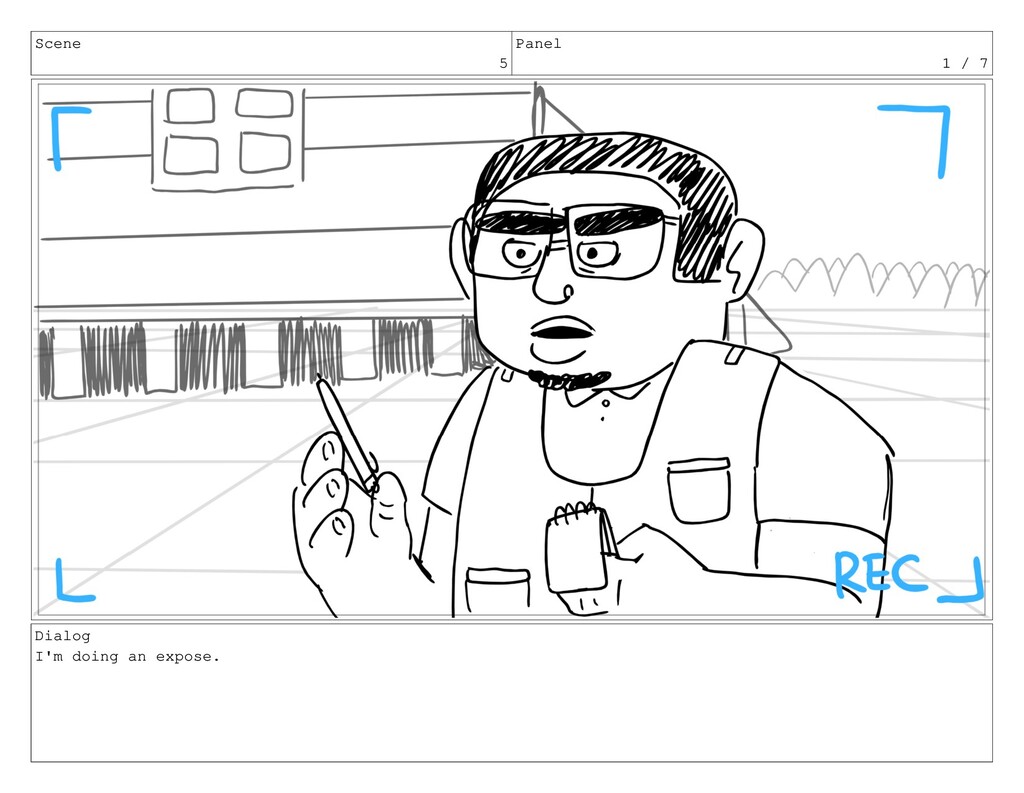
Scene 5 Panel 1 / 7 Dialog I'm doing an
expose.
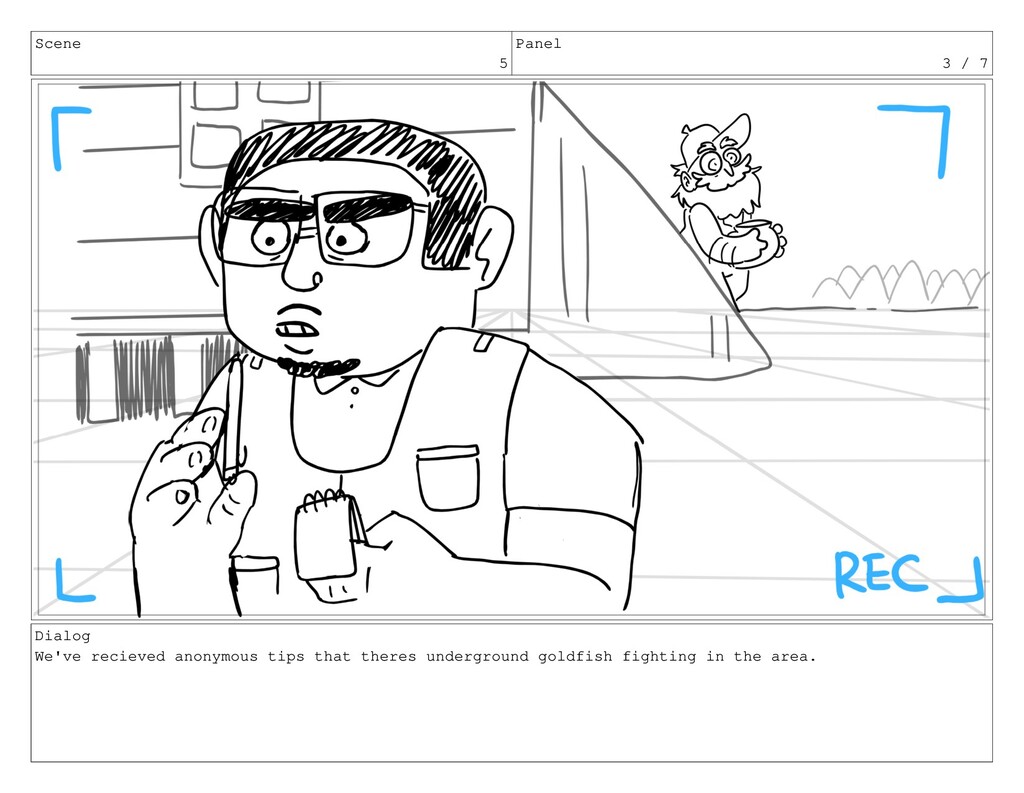
Scene 5 Panel 2 / 7 Dialog We've recieved anonymous
tips that theres underground goldfish fighting in the area.
Scene 5 Panel 3 / 7 Dialog We've recieved anonymous
tips that theres underground goldfish fighting in the area.
Scene 5 Panel 4 / 7
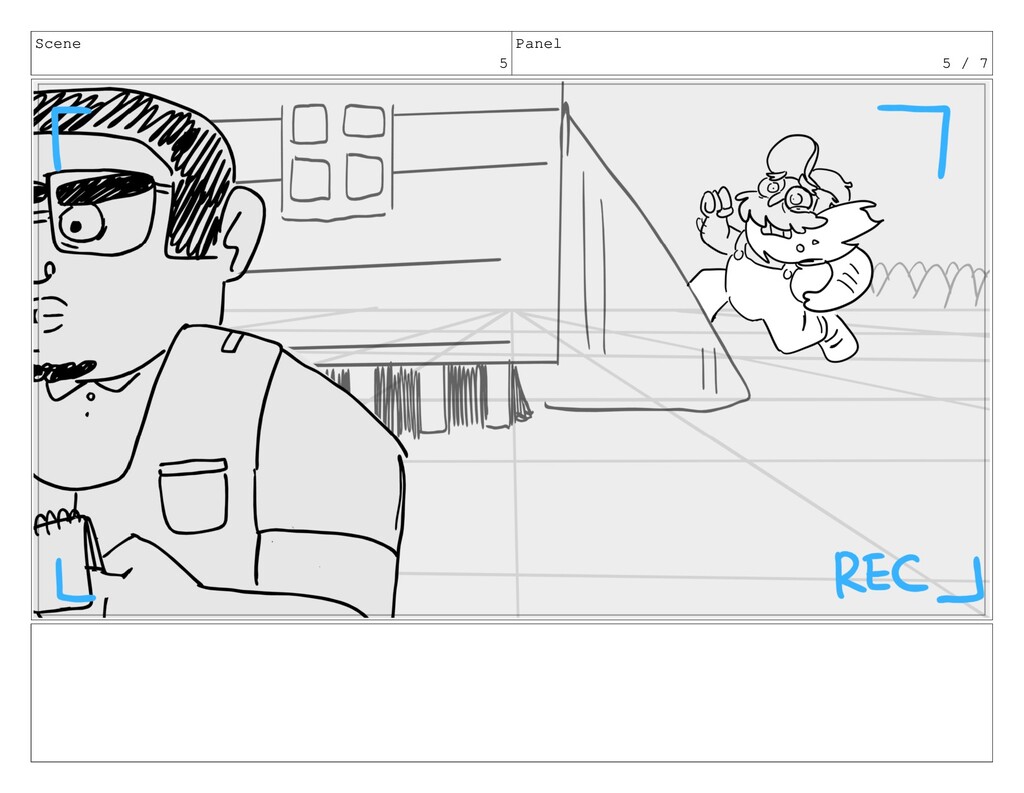
Scene 5 Panel 5 / 7
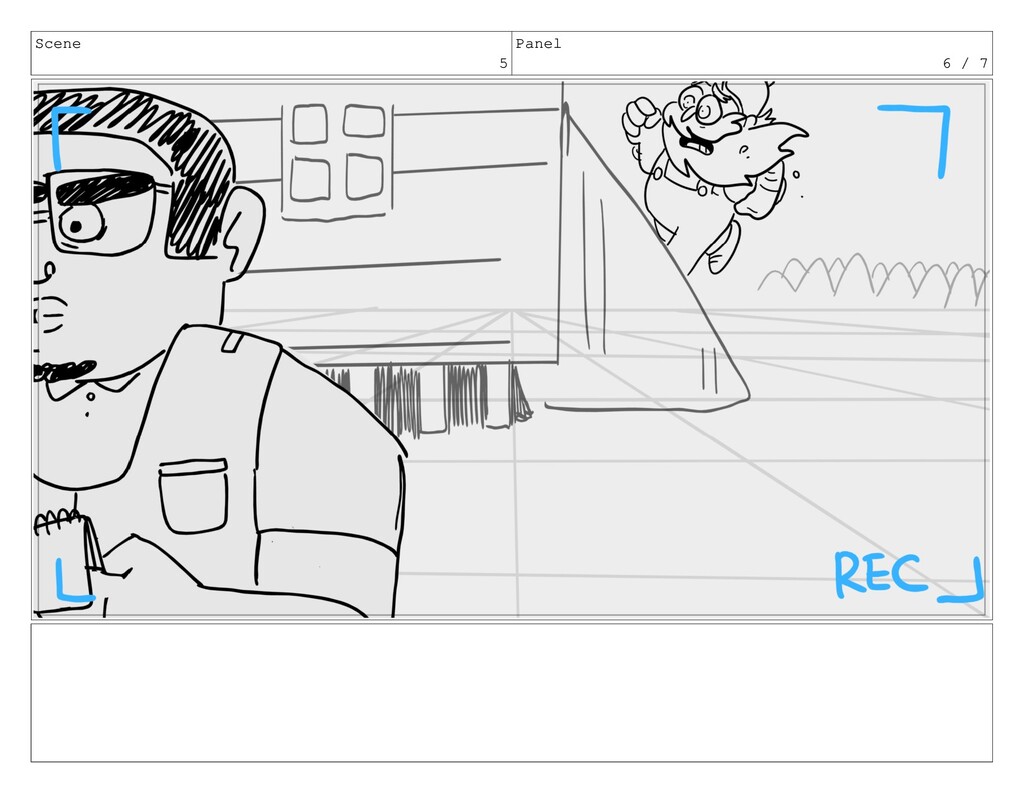
Scene 5 Panel 6 / 7
Scene 5 Panel 7 / 7
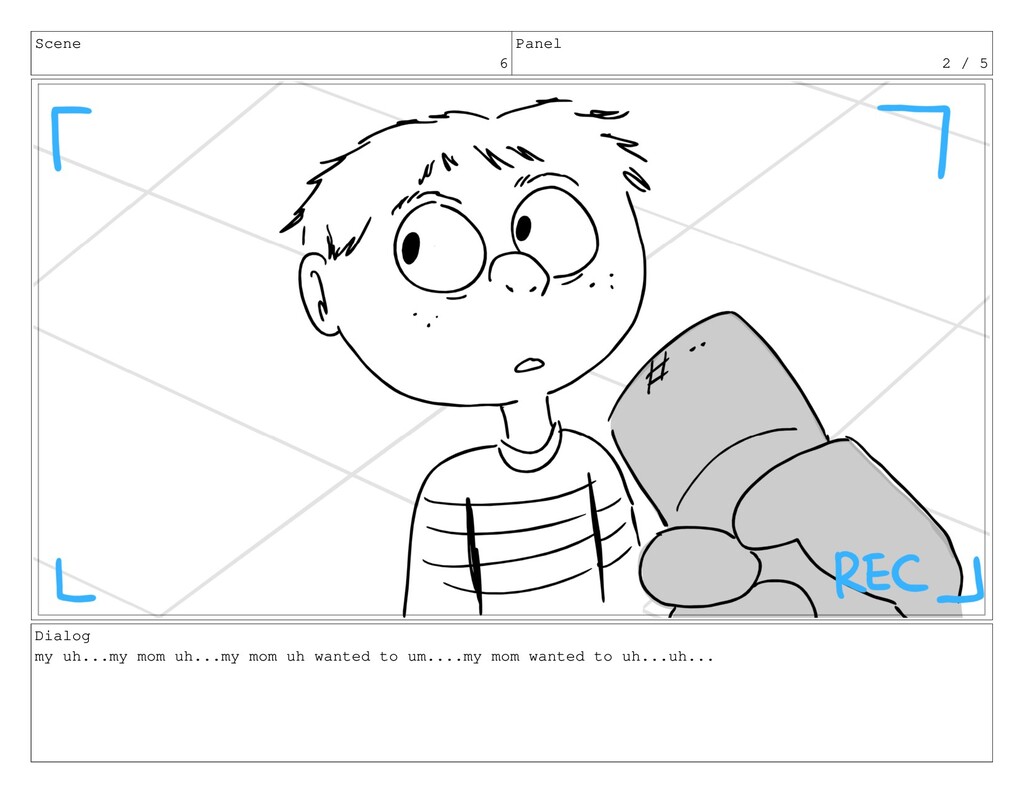
Scene 6 Panel 1 / 5 Dialog my uh...my mom
uh...my mom uh wanted to um....my mom wanted to uh...uh...
Scene 6 Panel 2 / 5 Dialog my uh...my mom
uh...my mom uh wanted to um....my mom wanted to uh...uh...
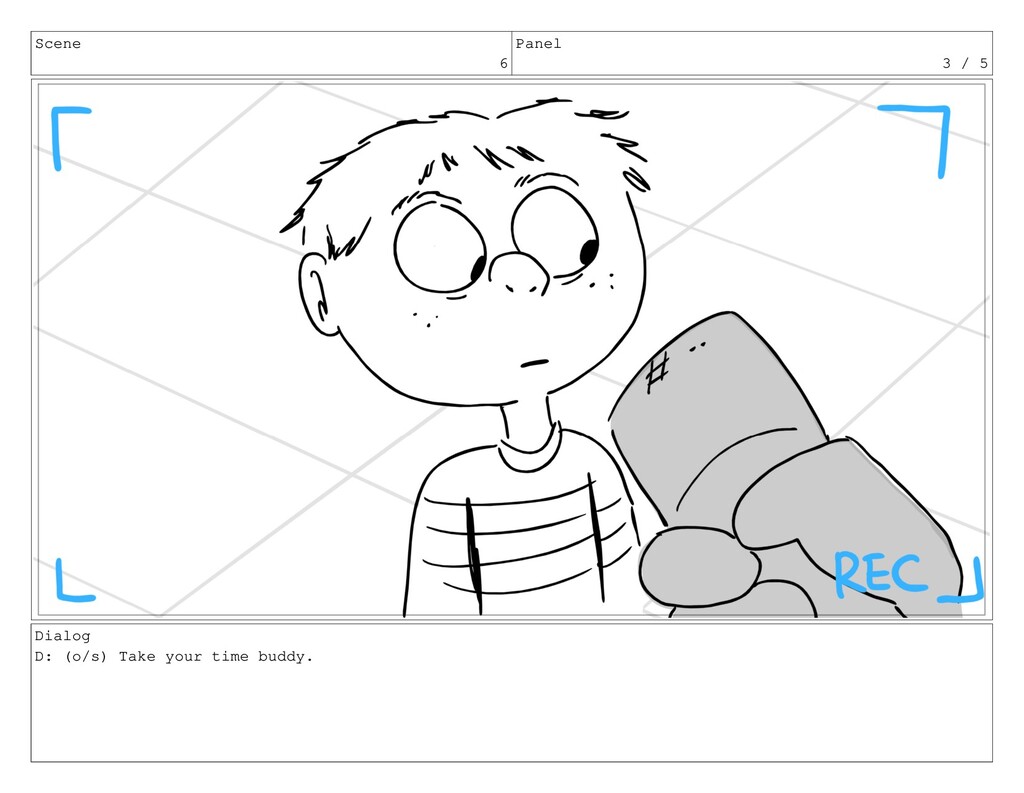
Scene 6 Panel 3 / 5 Dialog D: (o/s) Take
your time buddy.
Scene 6 Panel 4 / 5 Dialog My mom wanted
to uh....um...she uh....she...she uh...well she uh...
Scene 6 Panel 5 / 5 Dialog My mom wanted
to uh....um...she uh....she...she uh...well she uh...
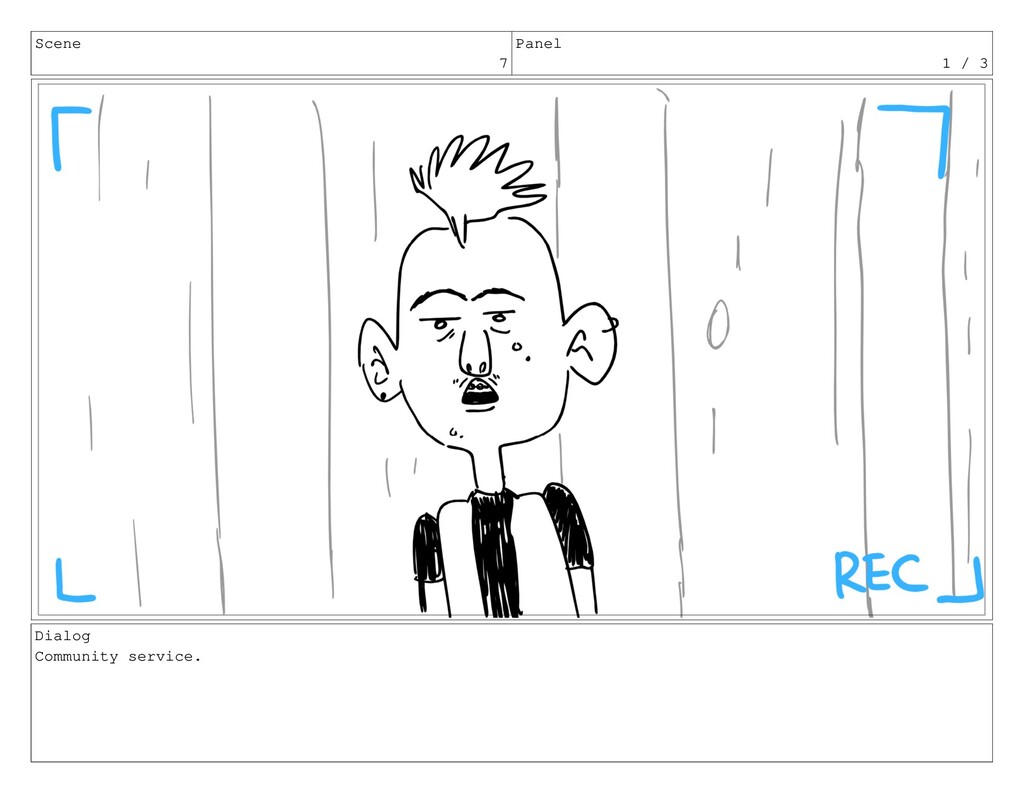
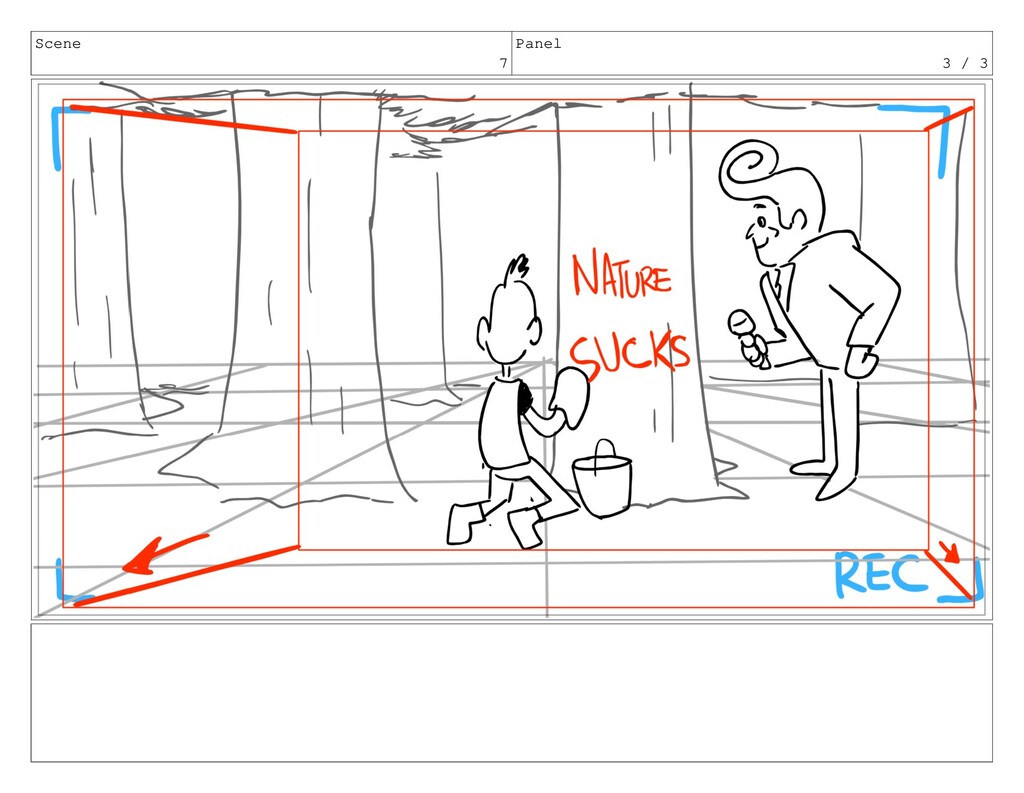
Scene 7 Panel 1 / 3 Dialog Community service.
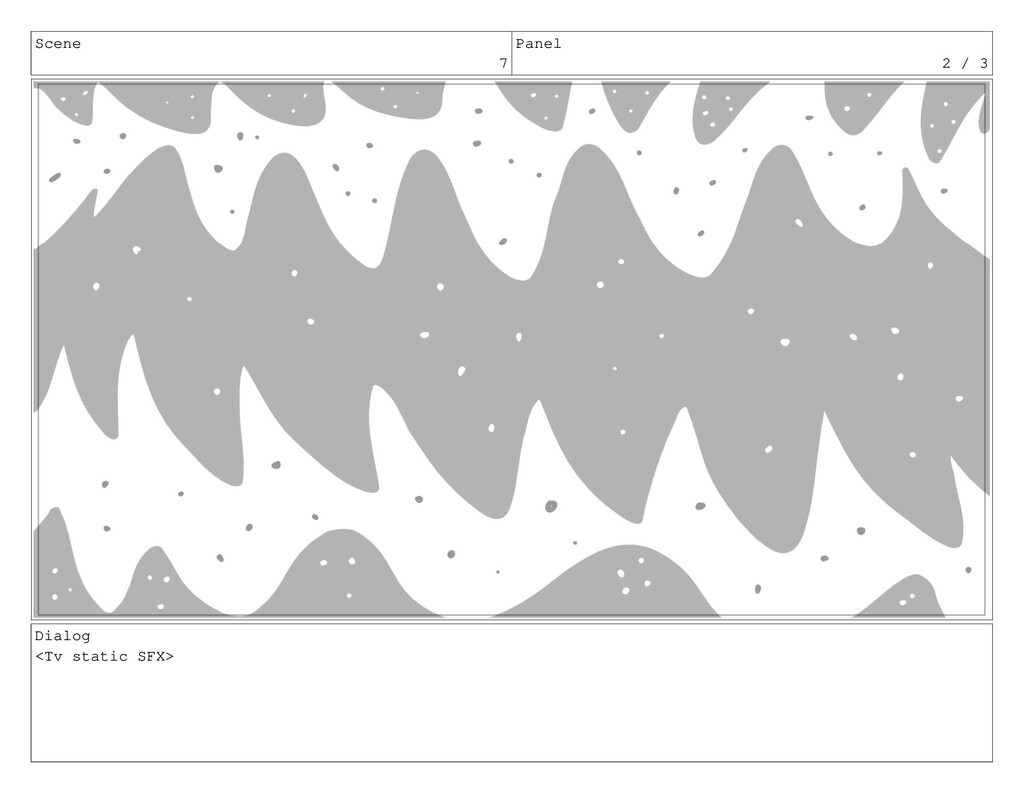
Scene 7 Panel 2 / 3 Dialog <Tv static SFX>
Scene 7 Panel 3 / 3
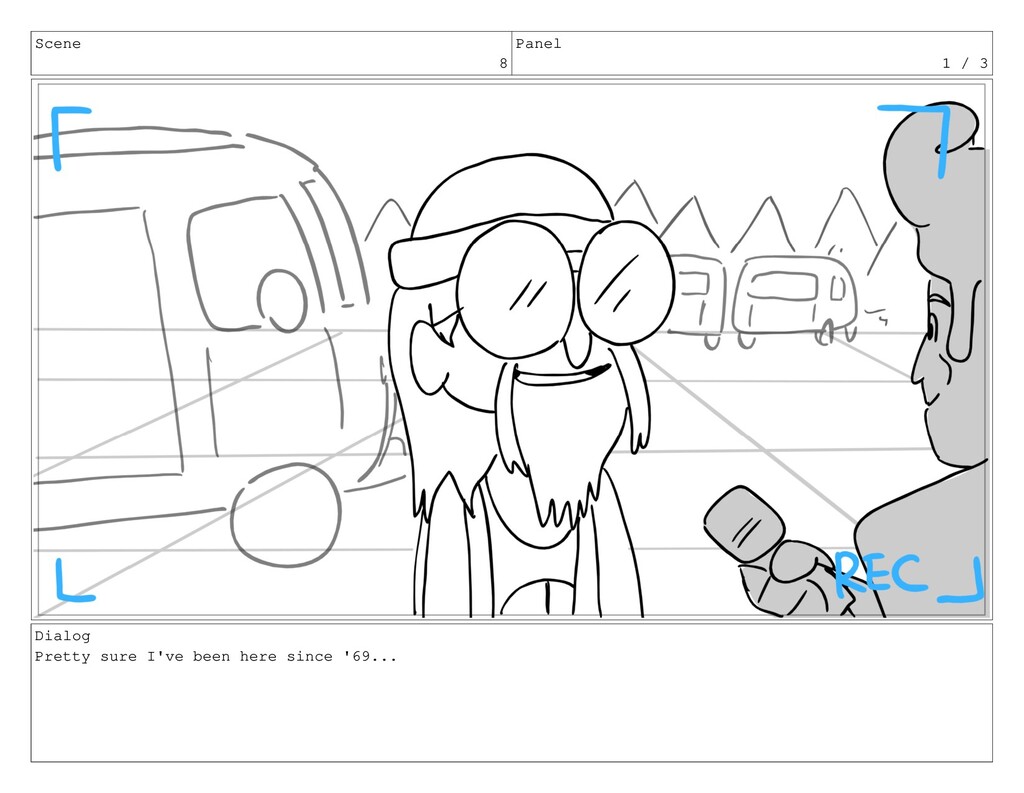
Scene 8 Panel 1 / 3 Dialog Pretty sure I've
been here since '69...
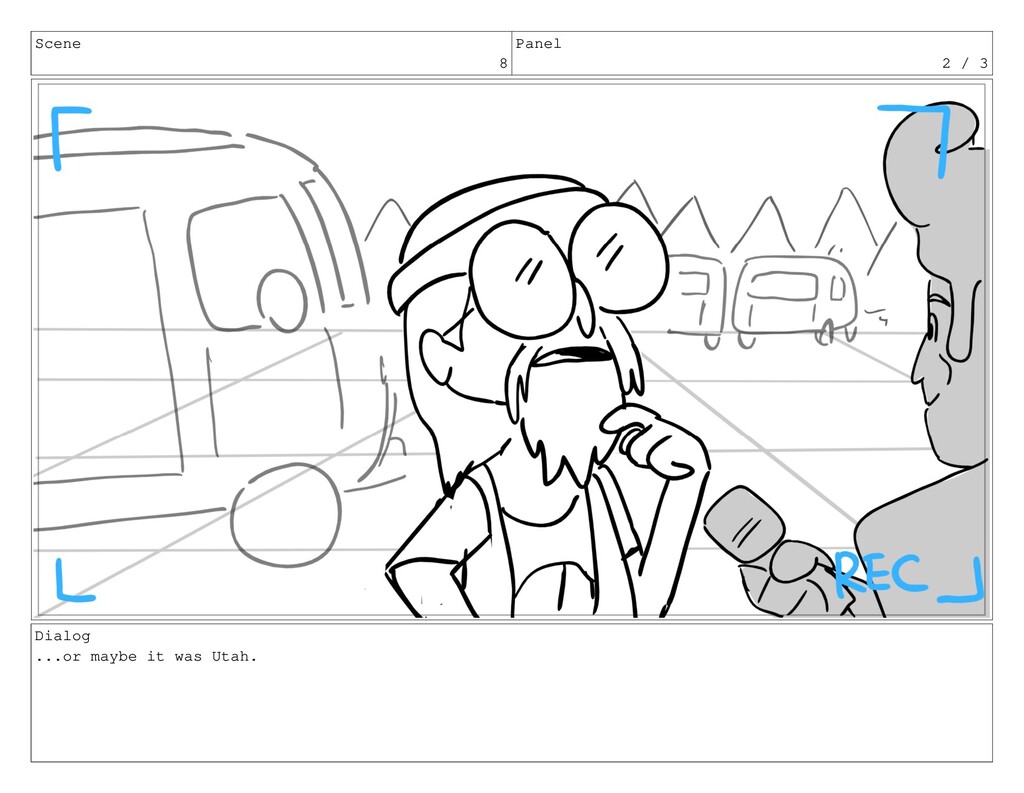
Scene 8 Panel 2 / 3 Dialog ...or maybe it
was Utah.
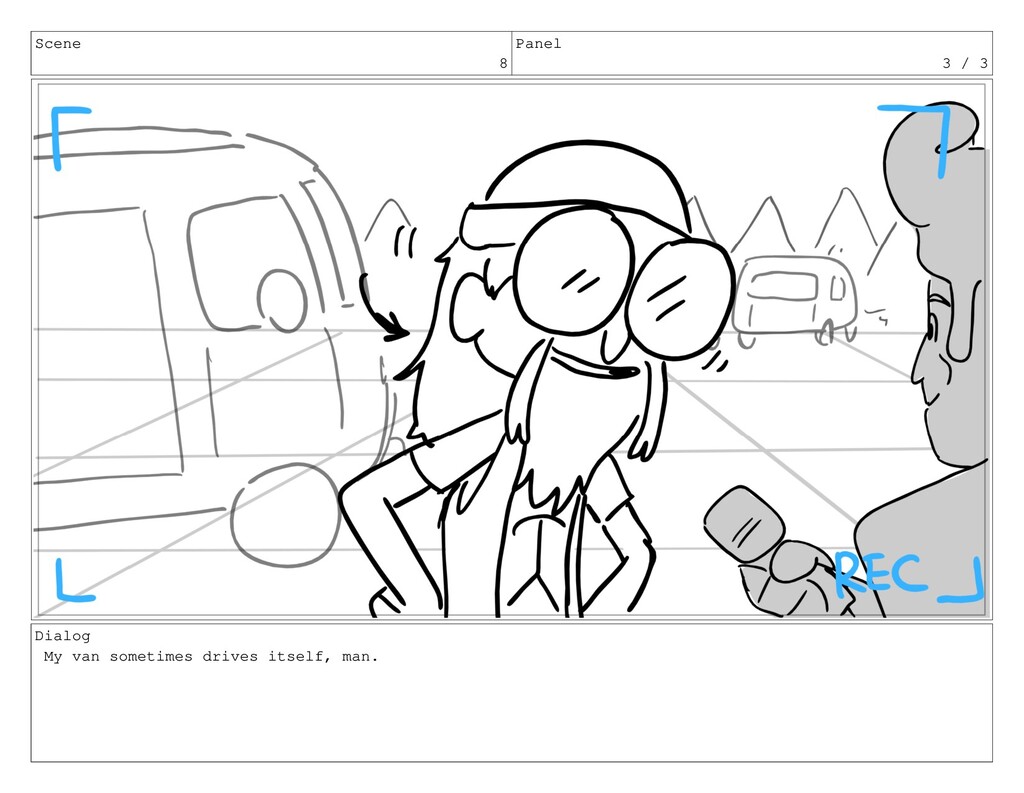
Scene 8 Panel 3 / 3 Dialog My van sometimes
drives itself, man.
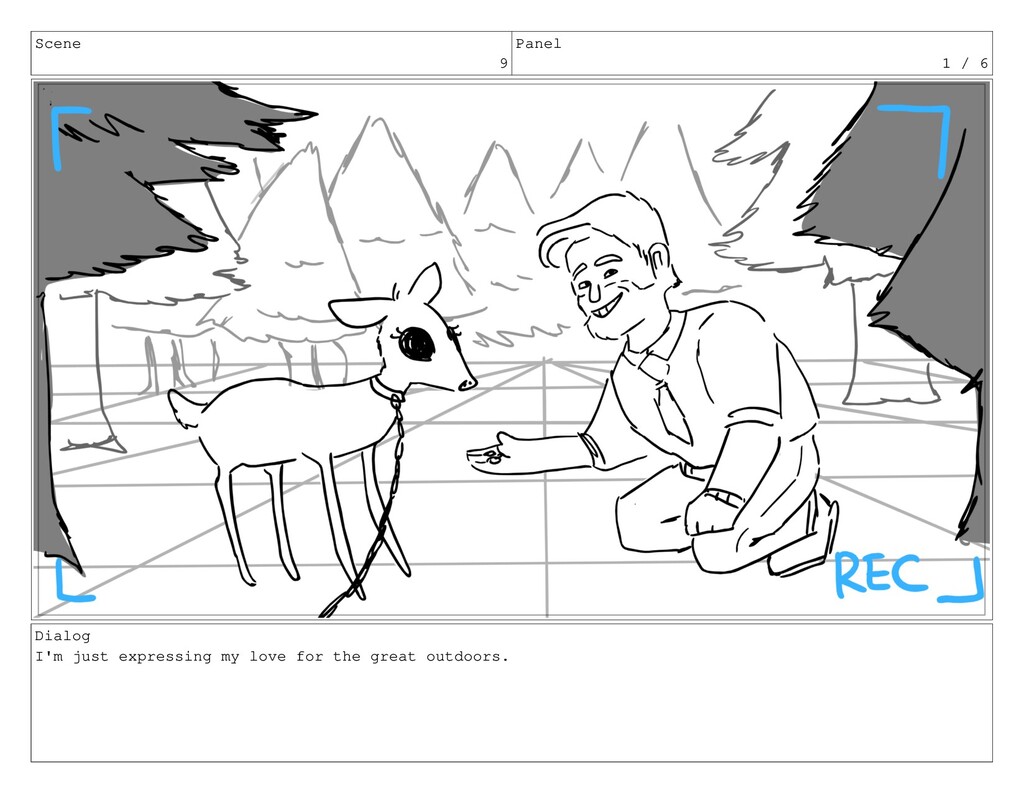
Scene 9 Panel 1 / 6 Dialog I'm just expressing
my love for the great outdoors.
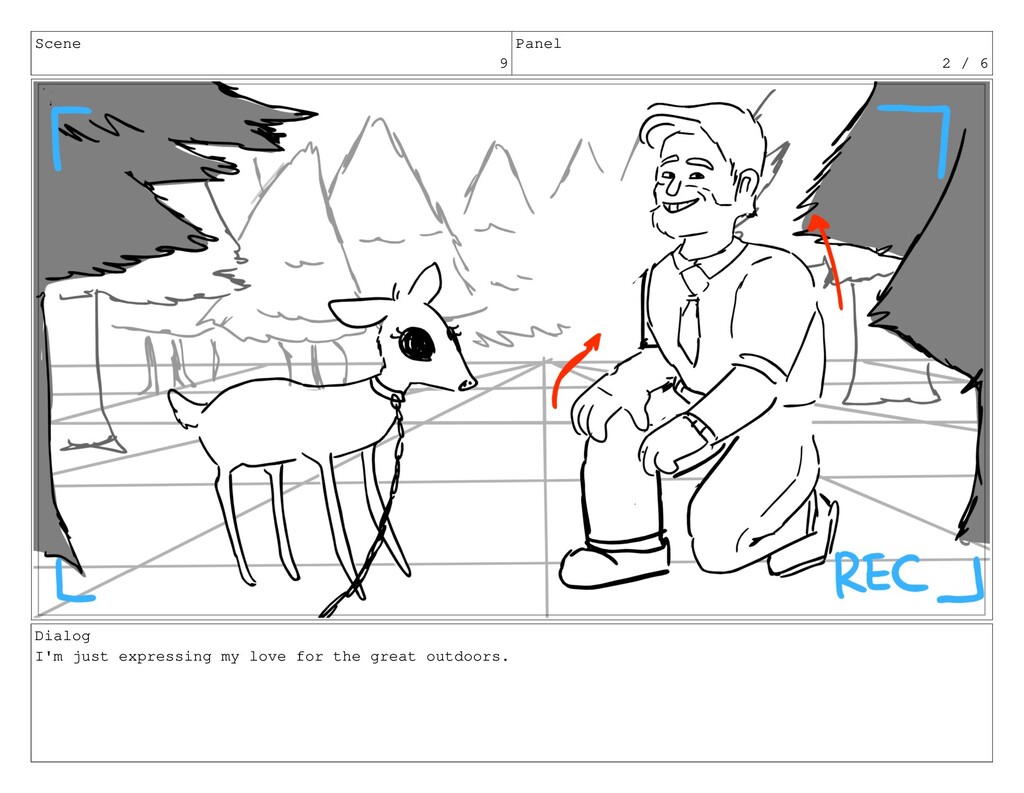
Scene 9 Panel 2 / 6 Dialog I'm just expressing
my love for the great outdoors.
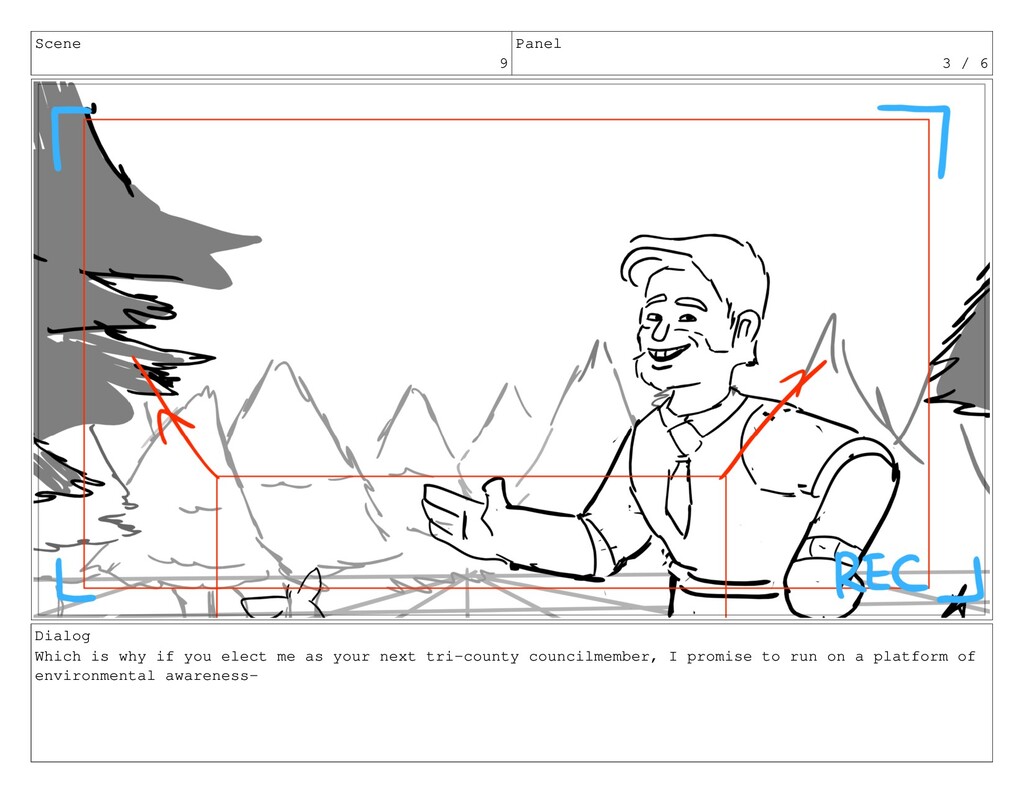
Scene 9 Panel 3 / 6 Dialog Which is why
if you elect me as your next tri-county councilmember, I promise to run on a platform of environmental awareness-
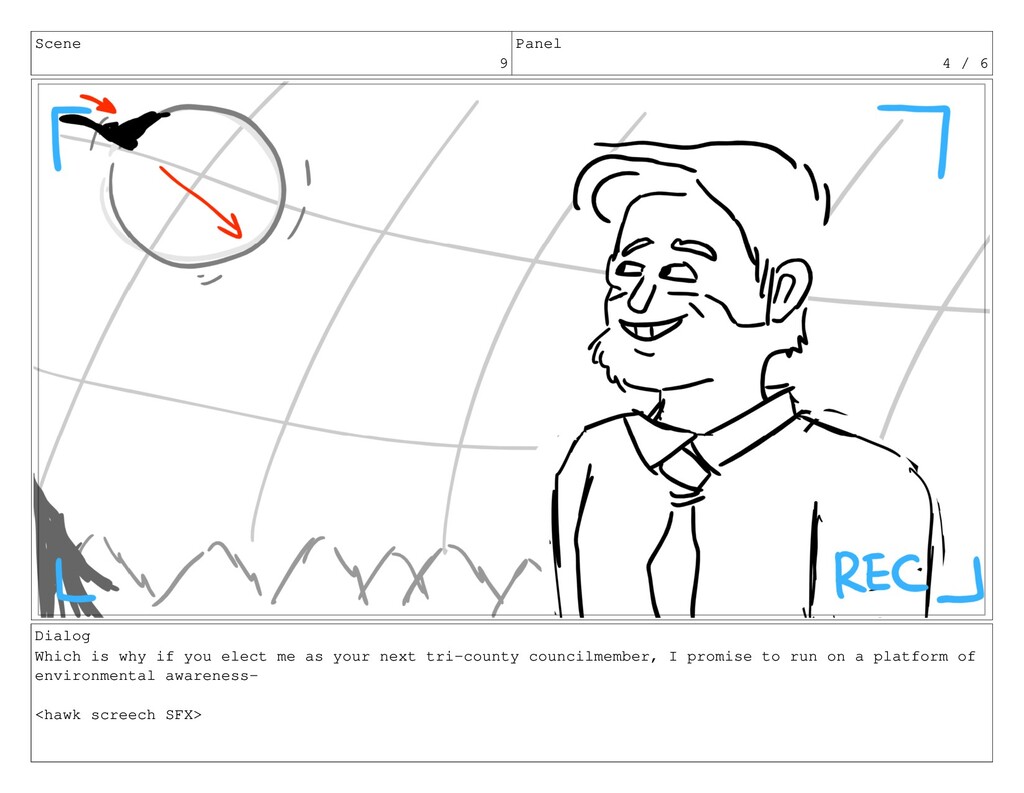
Scene 9 Panel 4 / 6 Dialog Which is why
if you elect me as your next tri-county councilmember, I promise to run on a platform of environmental awareness- <hawk screech SFX>
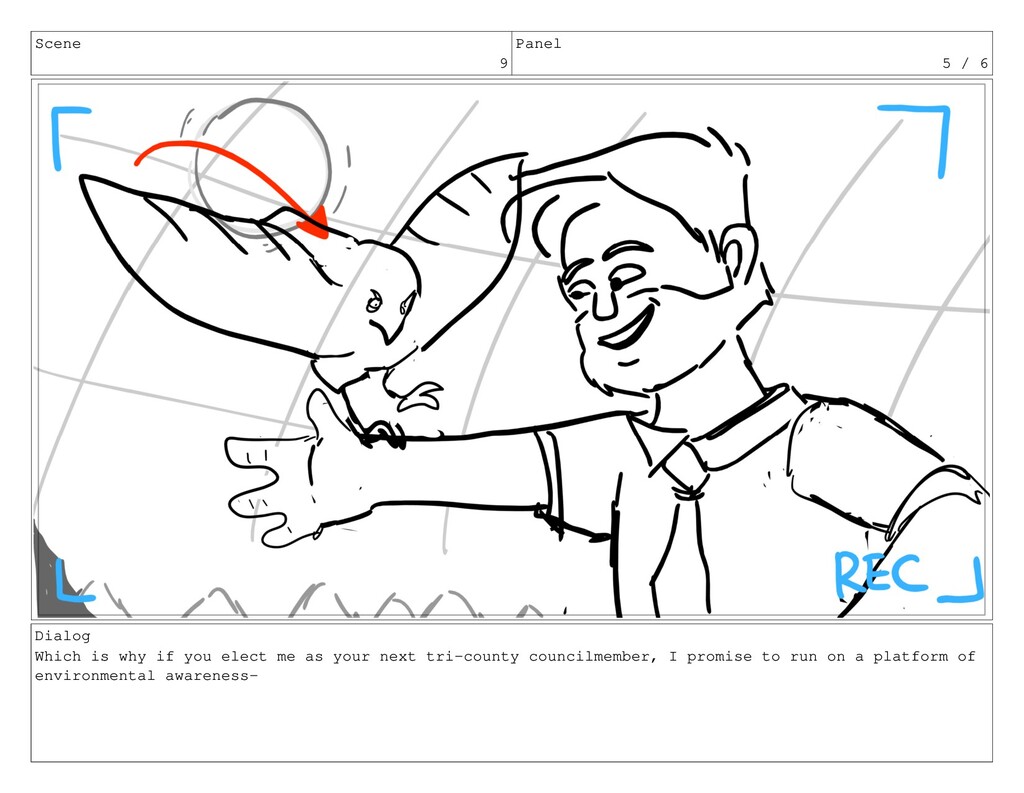
Scene 9 Panel 5 / 6 Dialog Which is why
if you elect me as your next tri-county councilmember, I promise to run on a platform of environmental awareness-
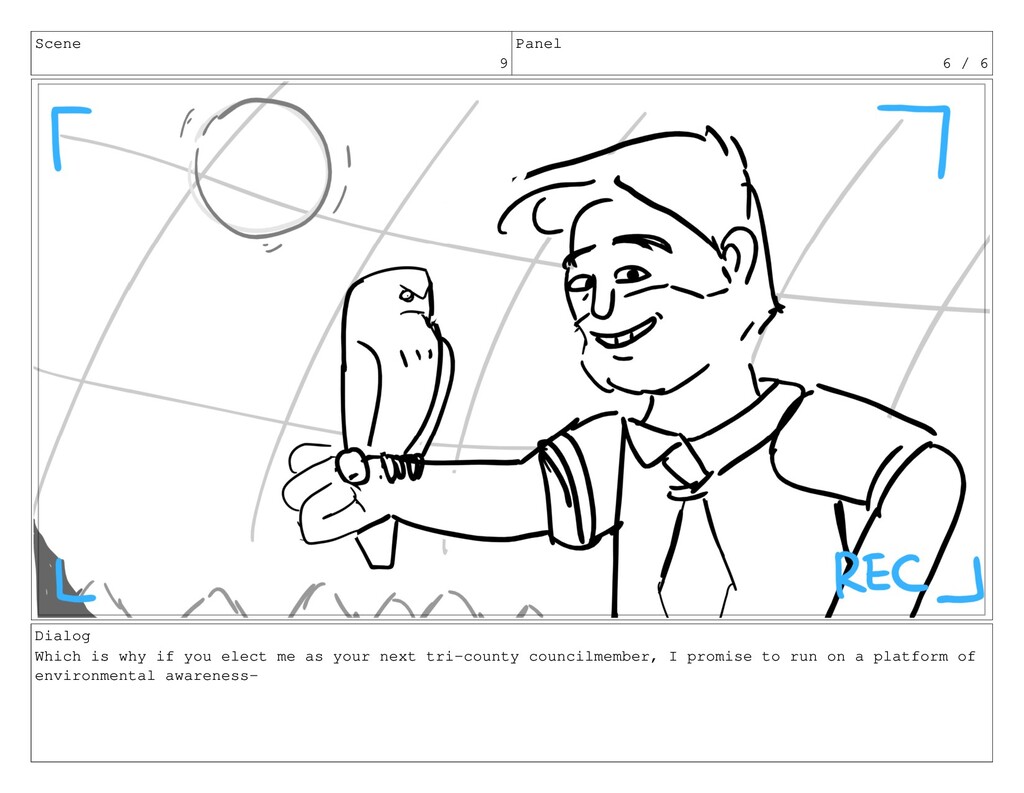
Scene 9 Panel 6 / 6 Dialog Which is why
if you elect me as your next tri-county councilmember, I promise to run on a platform of environmental awareness-
Scene 10 Panel 1 / 2 Dialog My mom uh...well
she wanted us to uh...uh to...uh...um...go uh...um...my mom wanted us to uh...uh...uh...
Scene 10 Panel 2 / 2 Dialog My mom uh...well
she wanted us to uh...uh to...uh...um...go uh...um...my mom wanted us to uh...uh...uh...
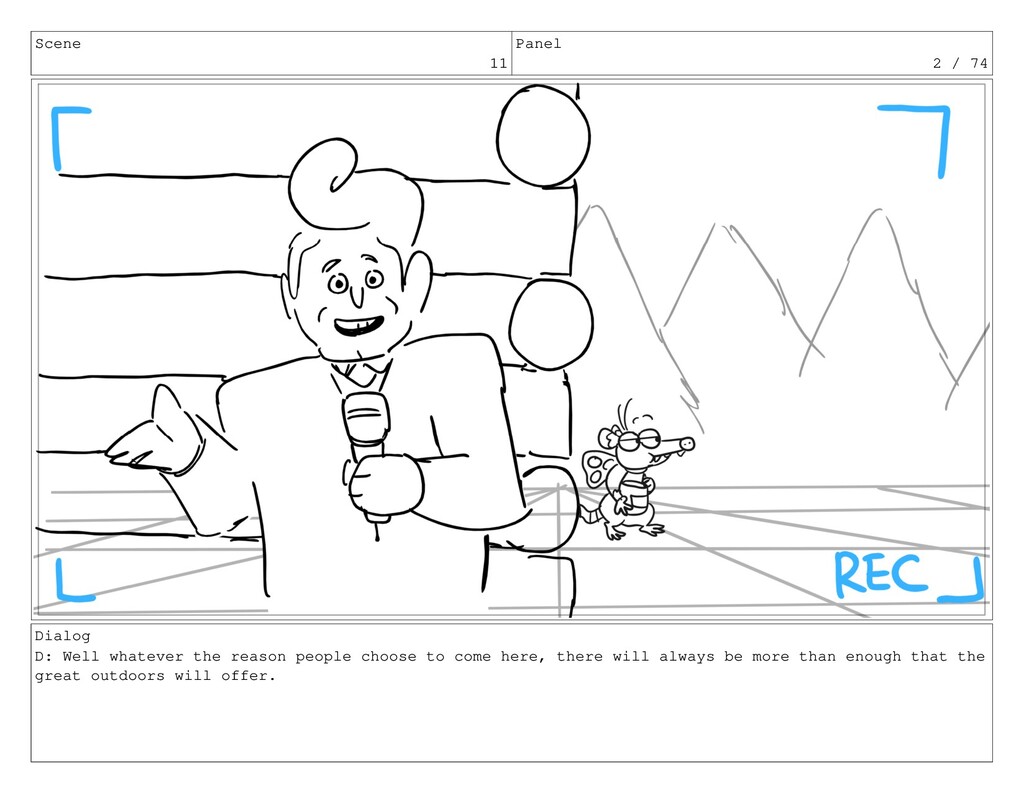
Scene 11 Panel 1 / 74 Dialog D: Well whatever
the reason people choose to come here, there will always be more than enough that the great outdoors will offer.
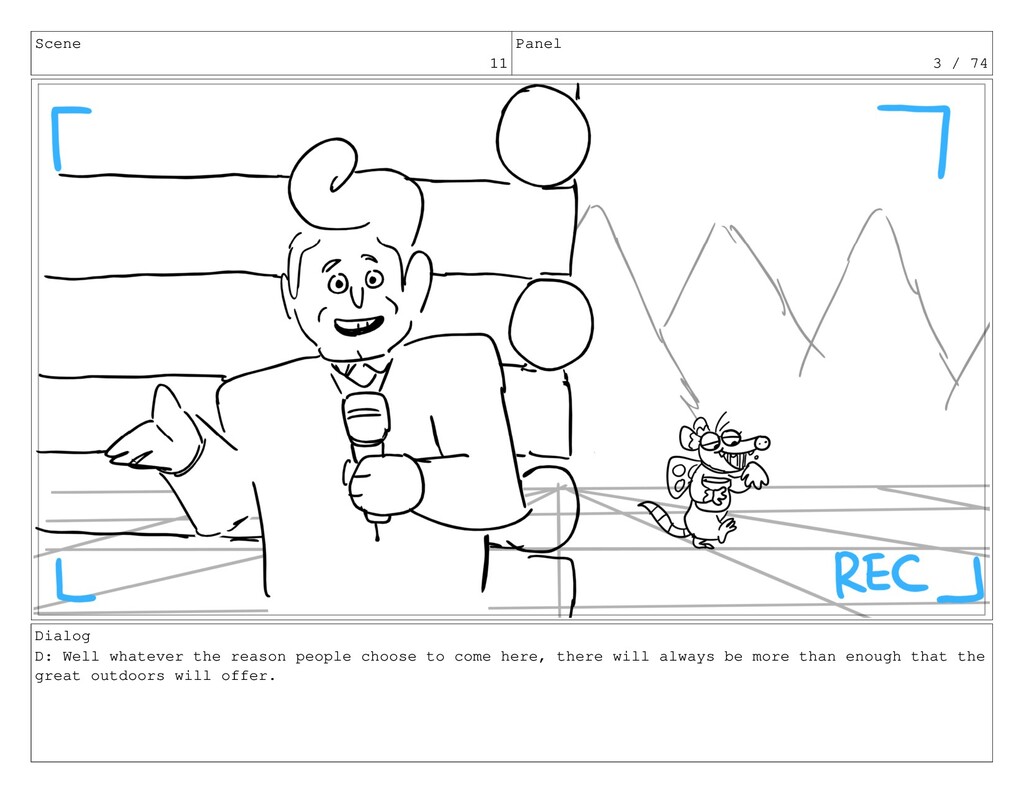
Scene 11 Panel 2 / 74 Dialog D: Well whatever
the reason people choose to come here, there will always be more than enough that the great outdoors will offer.
Scene 11 Panel 3 / 74 Dialog D: Well whatever
the reason people choose to come here, there will always be more than enough that the great outdoors will offer.
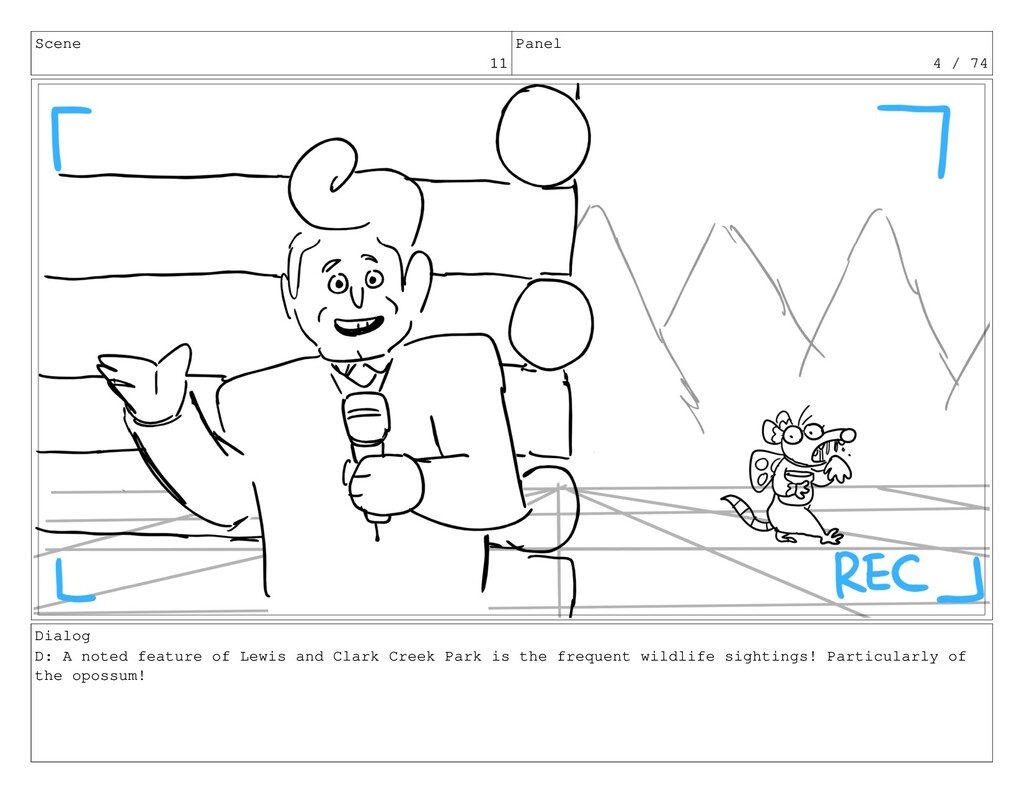
Scene 11 Panel 4 / 74 Dialog D: A noted
feature of Lewis and Clark Creek Park is the frequent wildlife sightings! Particularly of the opossum!
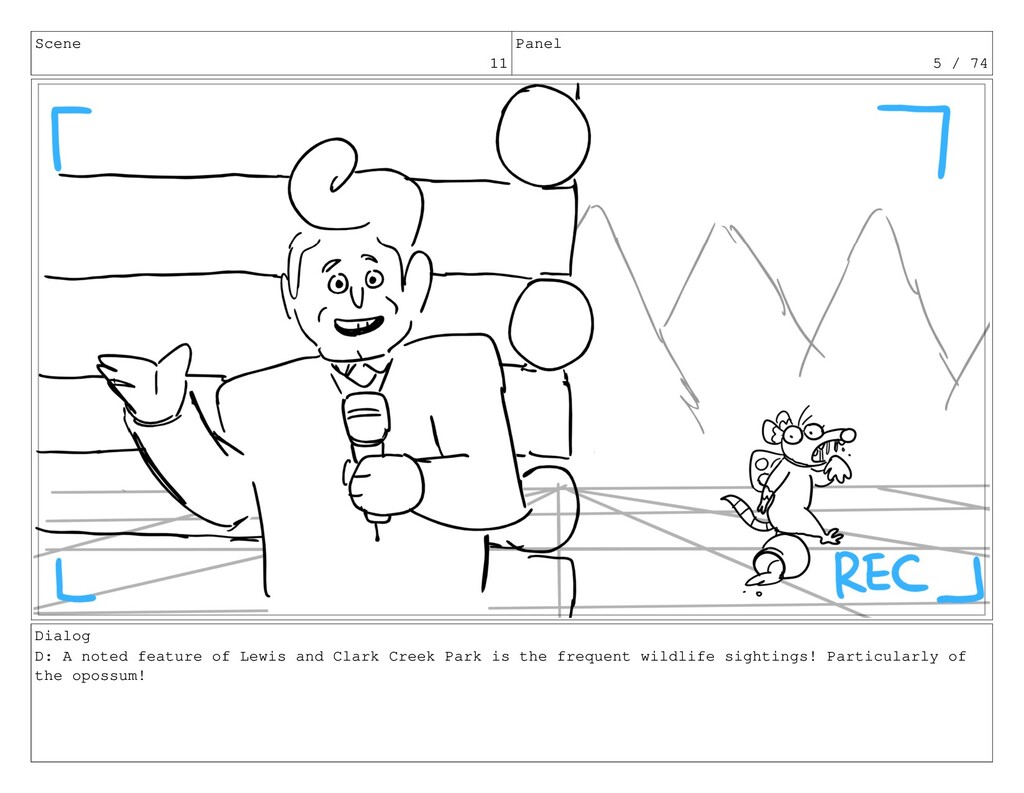
Scene 11 Panel 5 / 74 Dialog D: A noted
feature of Lewis and Clark Creek Park is the frequent wildlife sightings! Particularly of the opossum!
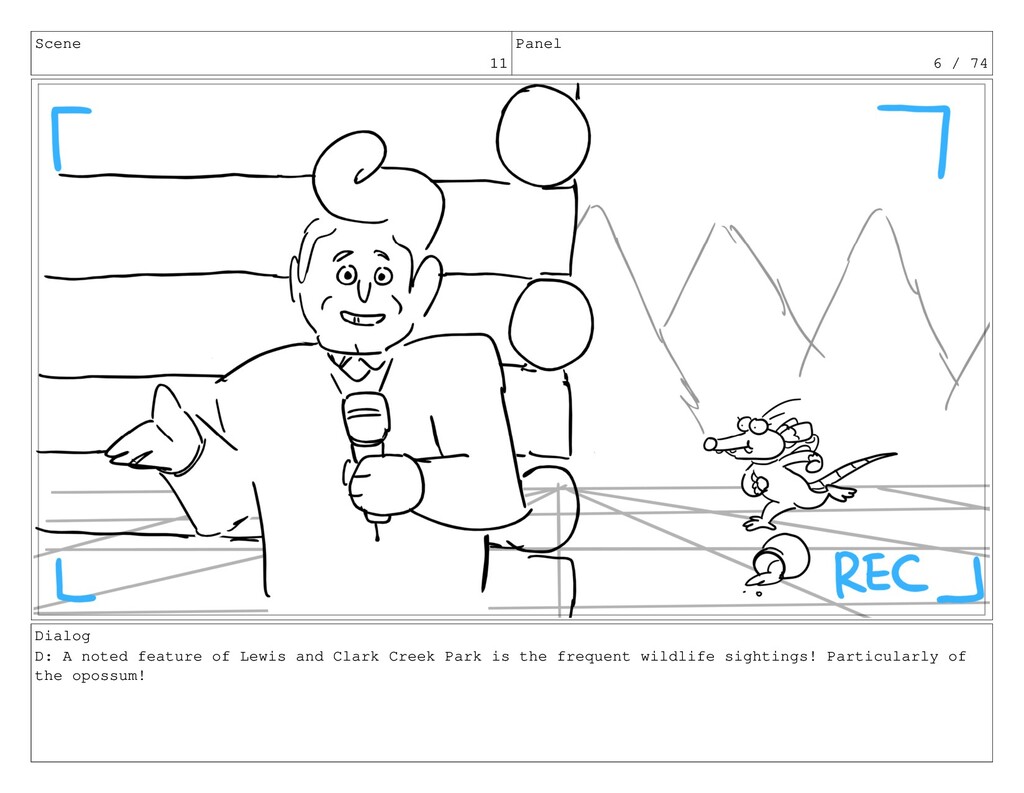
Scene 11 Panel 6 / 74 Dialog D: A noted
feature of Lewis and Clark Creek Park is the frequent wildlife sightings! Particularly of the opossum!
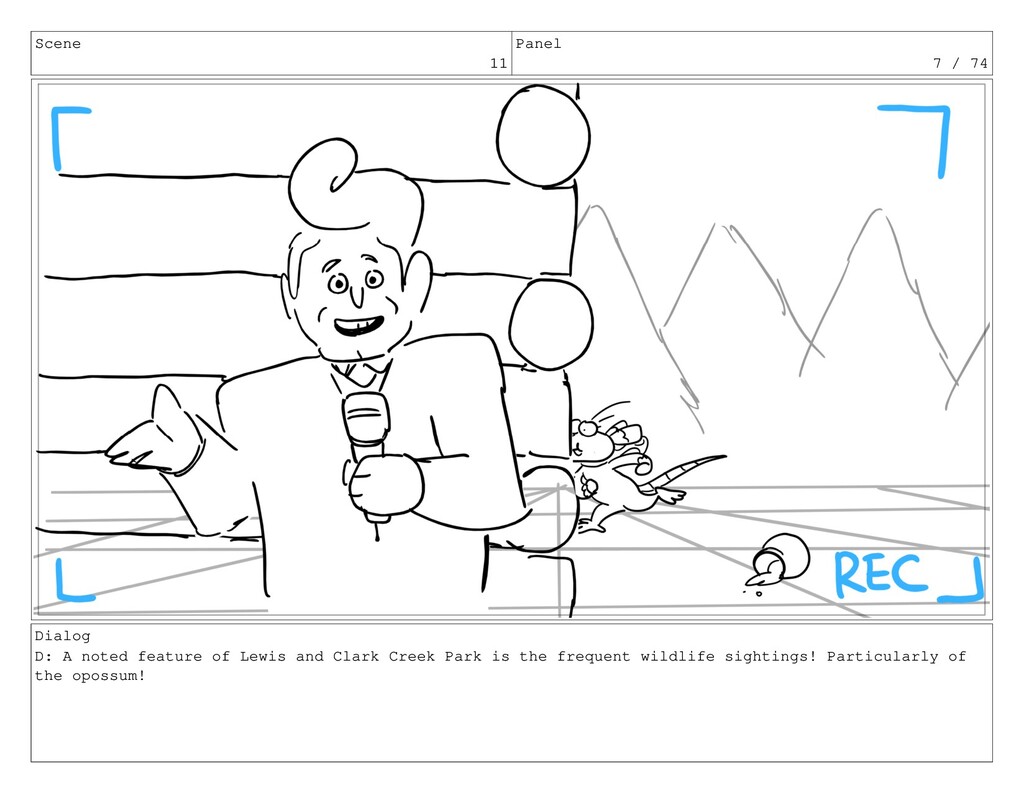
Scene 11 Panel 7 / 74 Dialog D: A noted
feature of Lewis and Clark Creek Park is the frequent wildlife sightings! Particularly of the opossum!
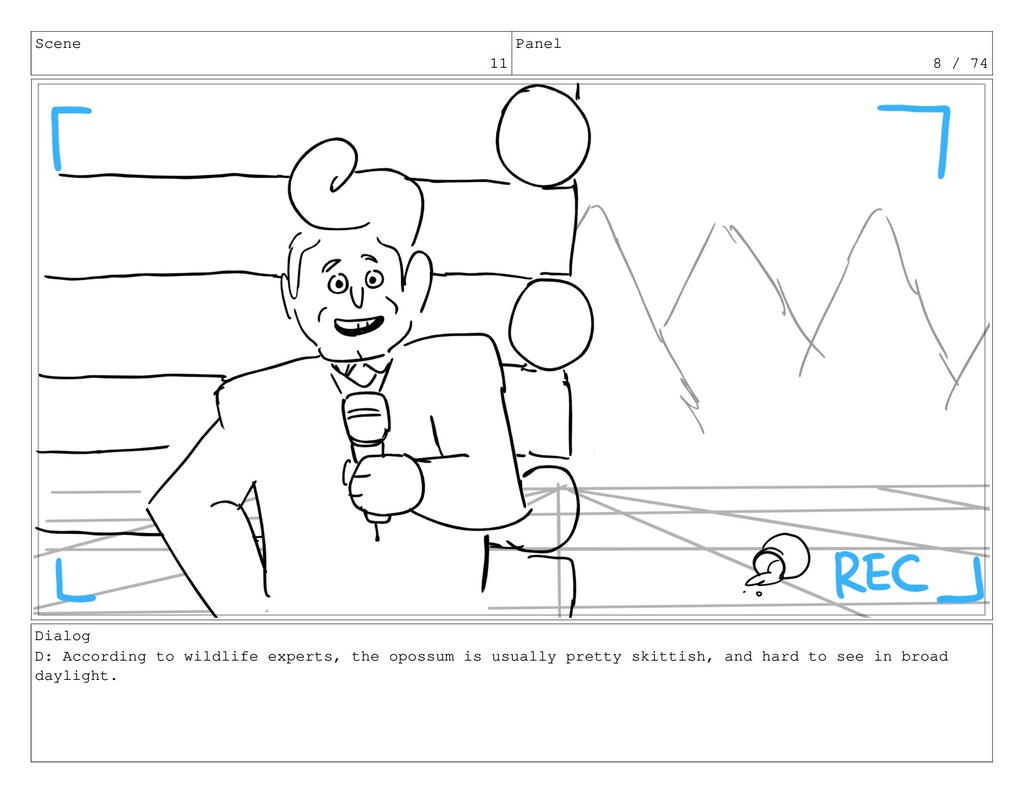
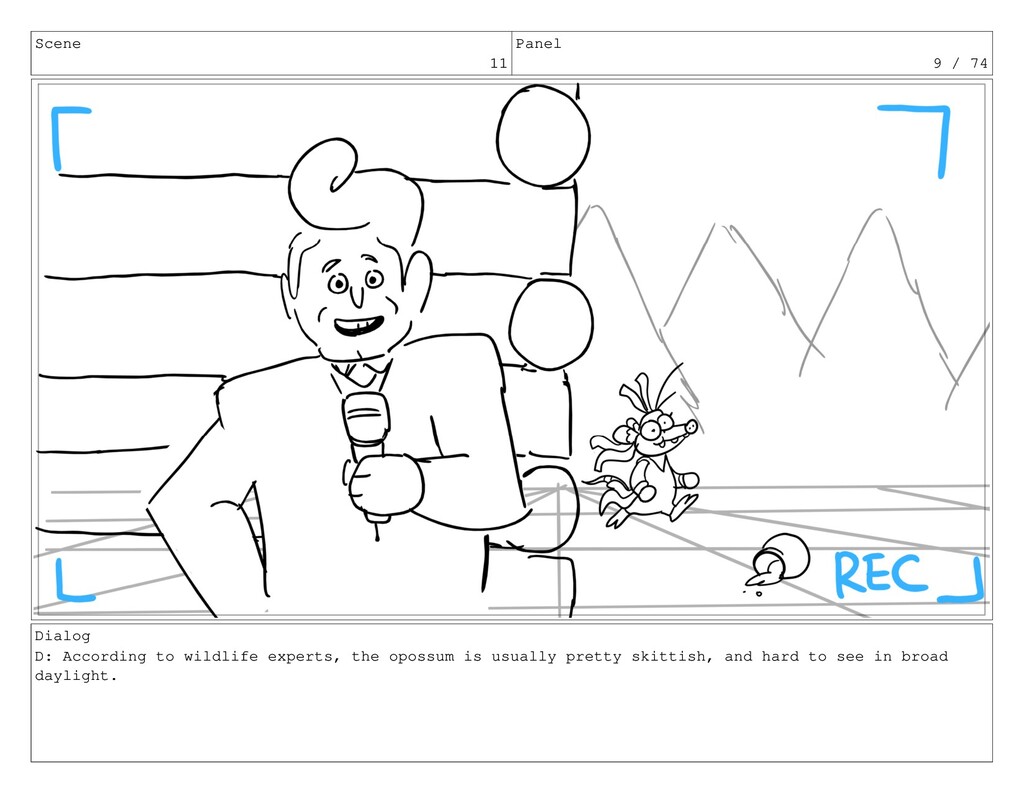
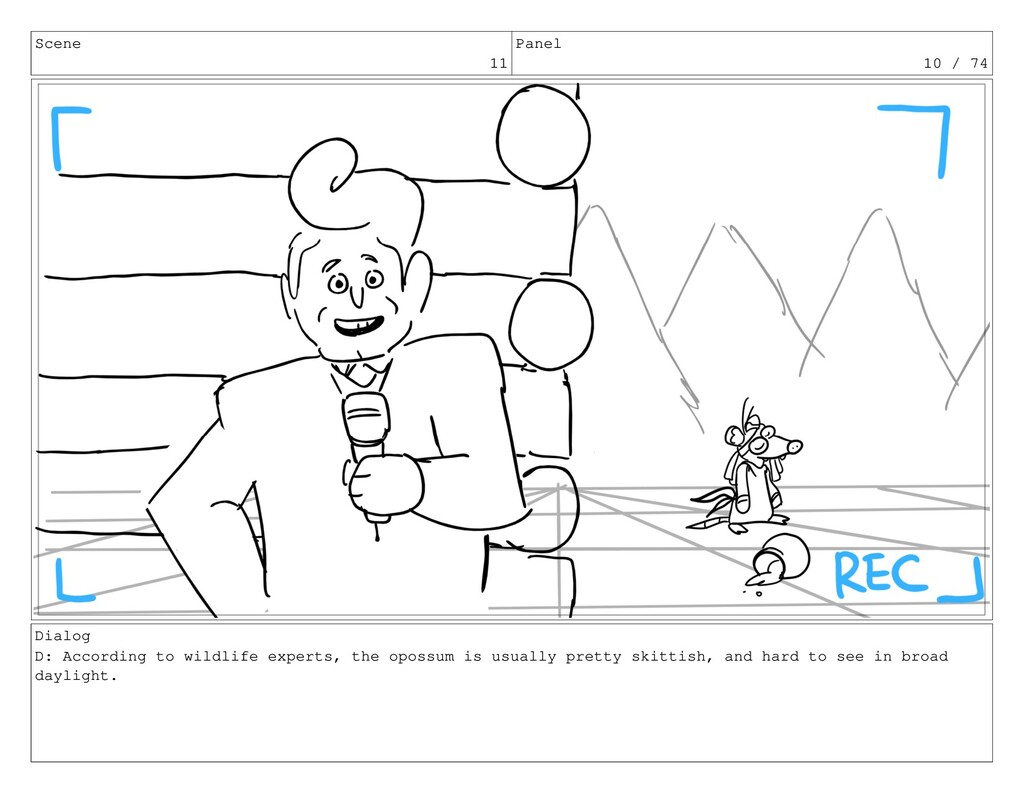
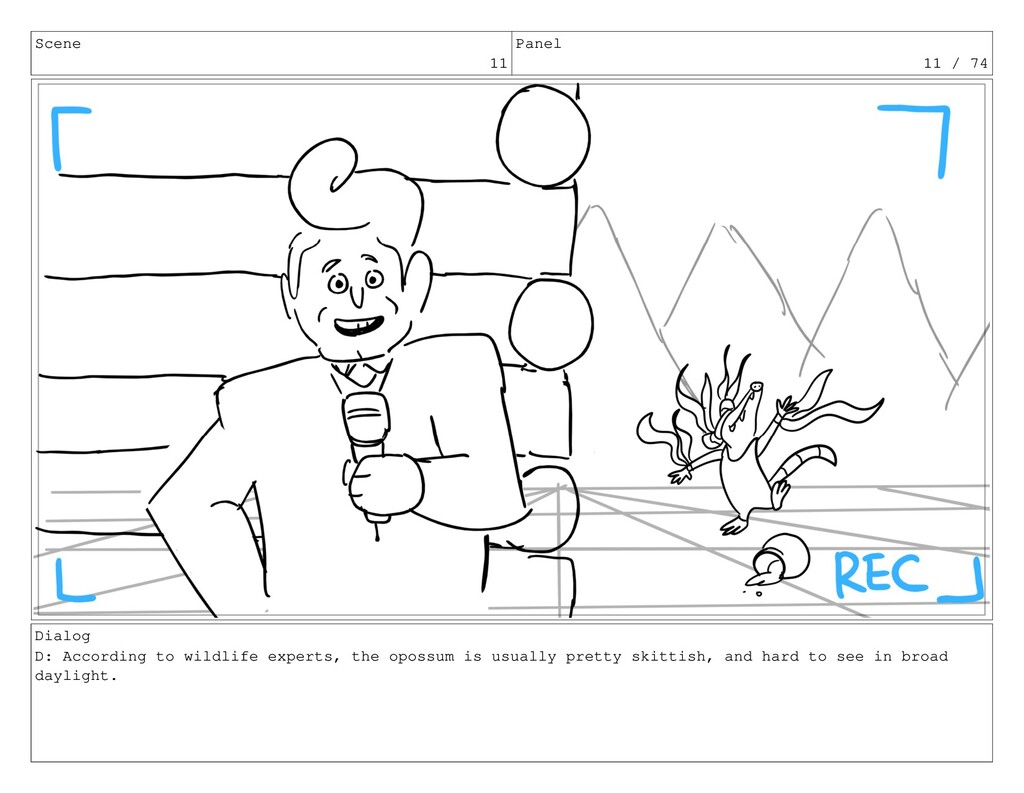
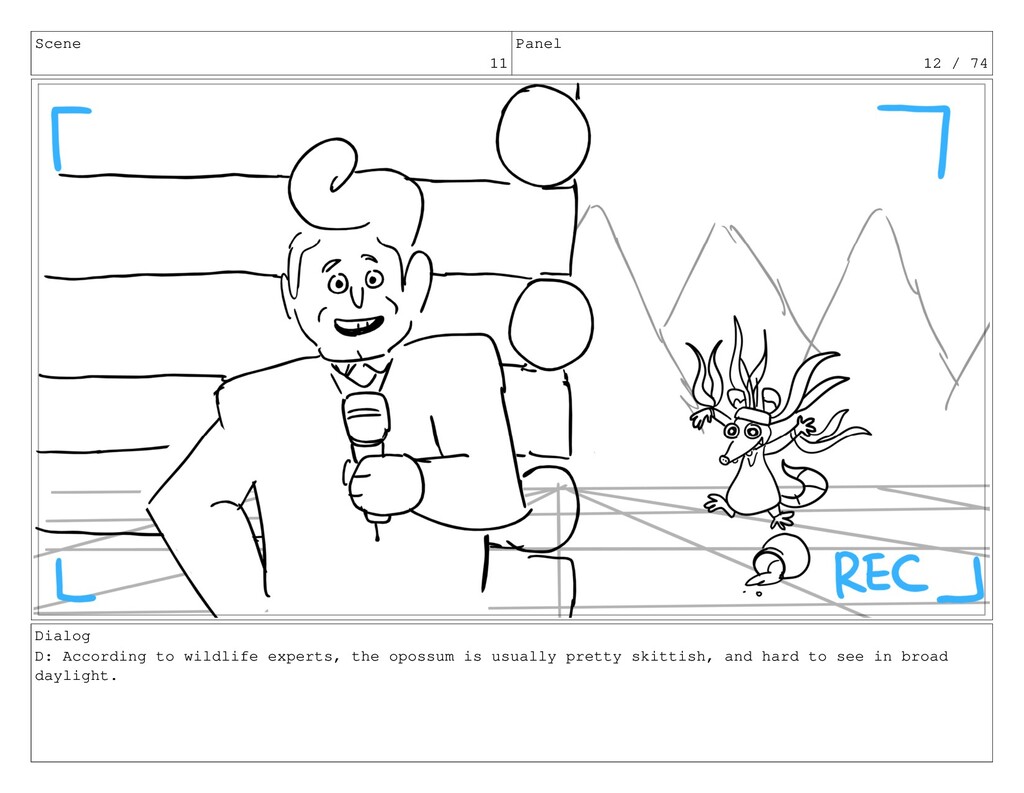
Scene 11 Panel 8 / 74 Dialog D: According to
wildlife experts, the opossum is usually pretty skittish, and hard to see in broad daylight.
Scene 11 Panel 9 / 74 Dialog D: According to
wildlife experts, the opossum is usually pretty skittish, and hard to see in broad daylight.
Scene 11 Panel 10 / 74 Dialog D: According to
wildlife experts, the opossum is usually pretty skittish, and hard to see in broad daylight.
Scene 11 Panel 11 / 74 Dialog D: According to
wildlife experts, the opossum is usually pretty skittish, and hard to see in broad daylight.
Scene 11 Panel 12 / 74 Dialog D: According to
wildlife experts, the opossum is usually pretty skittish, and hard to see in broad daylight.
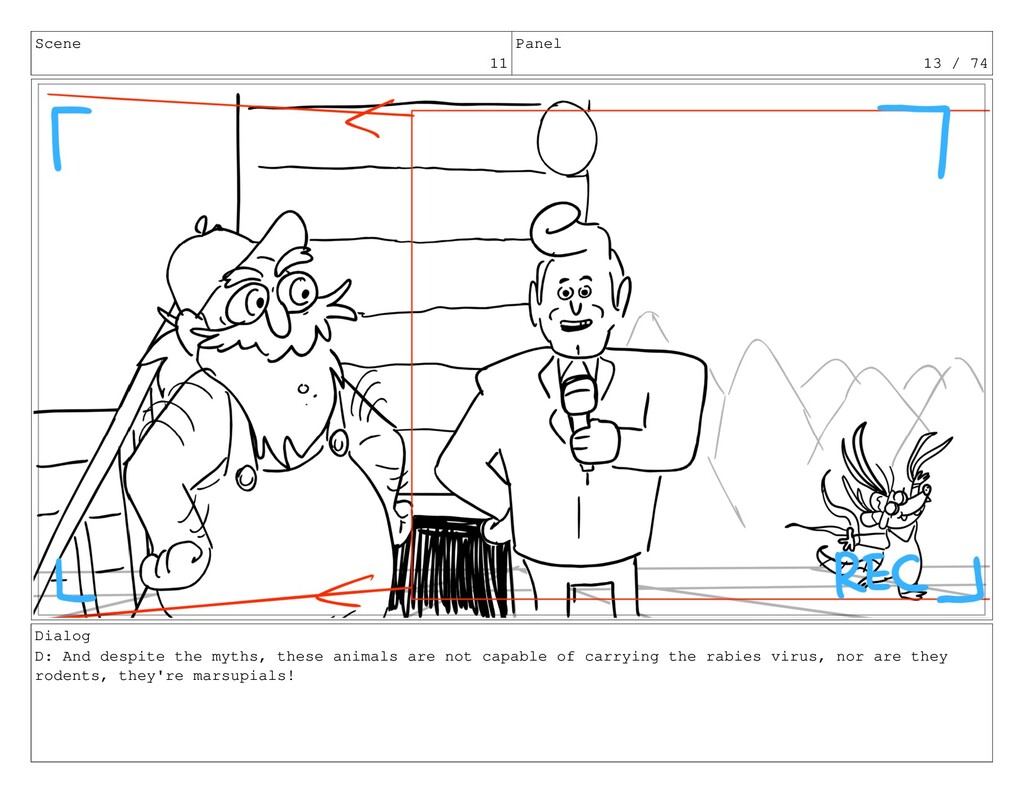
Scene 11 Panel 13 / 74 Dialog D: And despite
the myths, these animals are not capable of carrying the rabies virus, nor are they rodents, they're marsupials!
Scene 11 Panel 14 / 74 Dialog D: And despite
the myths, these animals are not capable of carrying the rabies virus, nor are they rodents, they're marsupials!
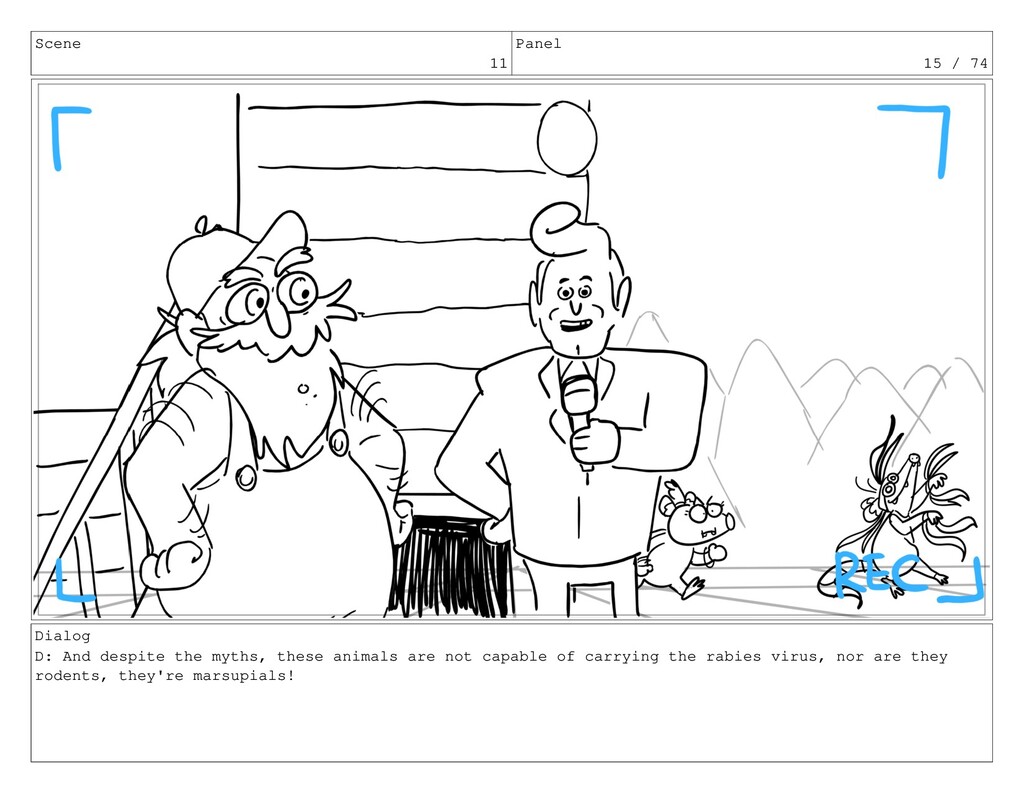
Scene 11 Panel 15 / 74 Dialog D: And despite
the myths, these animals are not capable of carrying the rabies virus, nor are they rodents, they're marsupials!
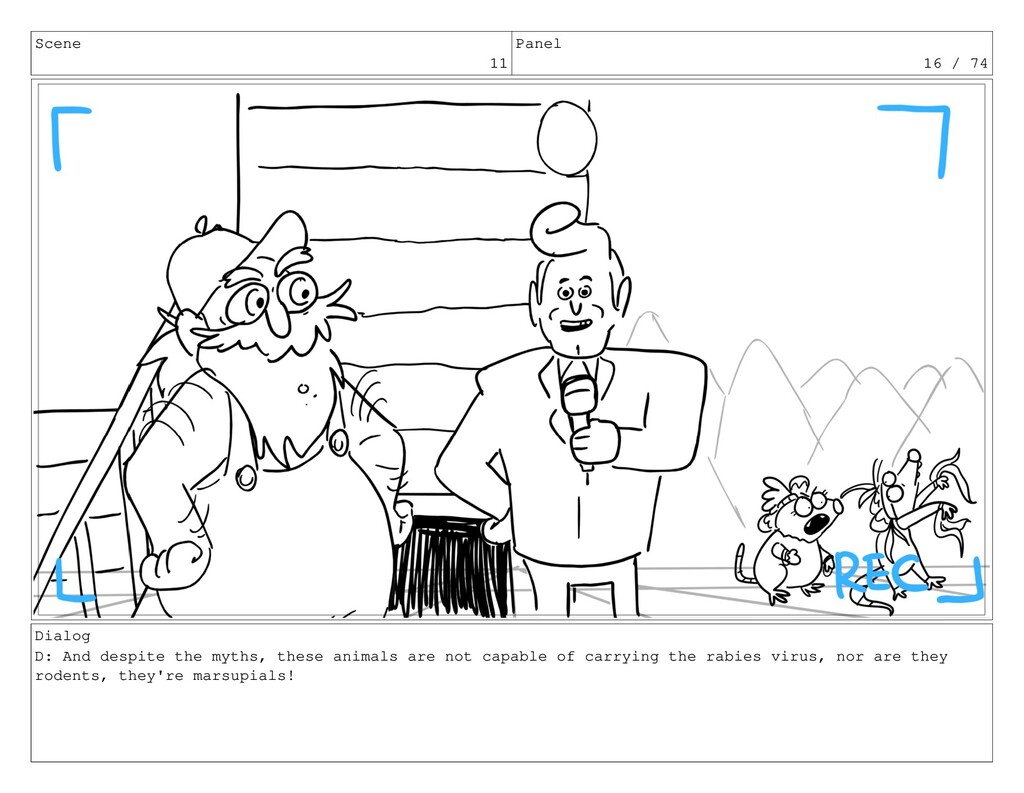
Scene 11 Panel 16 / 74 Dialog D: And despite
the myths, these animals are not capable of carrying the rabies virus, nor are they rodents, they're marsupials!
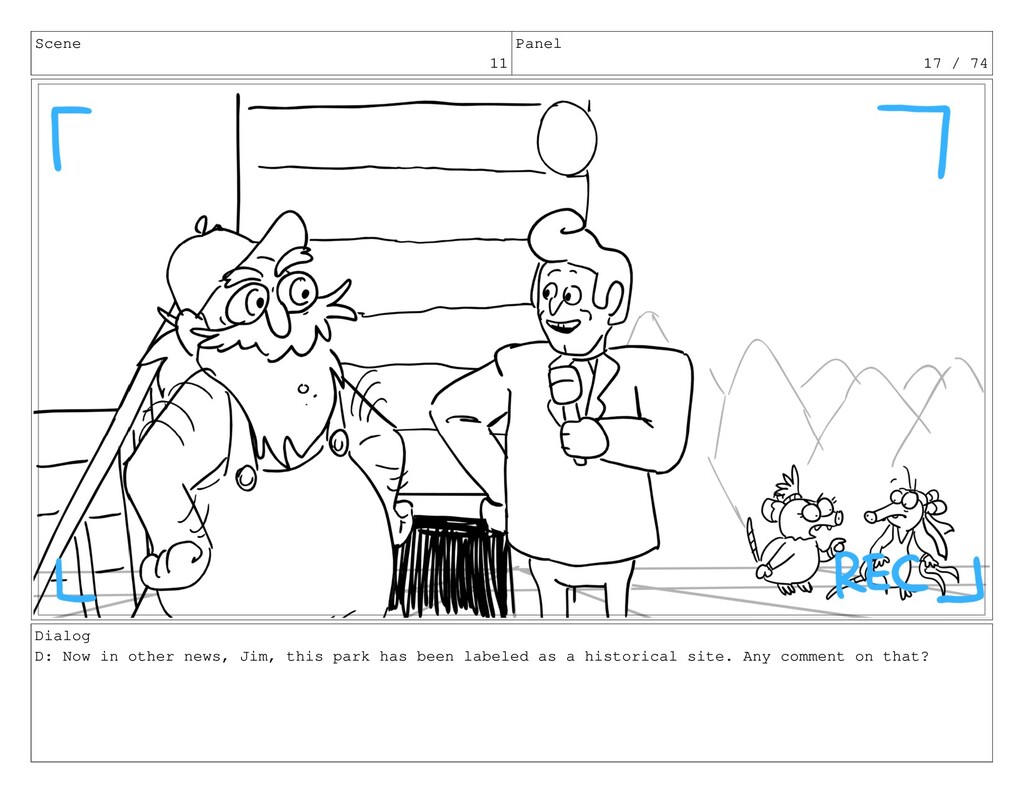
Scene 11 Panel 17 / 74 Dialog D: Now in
other news, Jim, this park has been labeled as a historical site. Any comment on that?
Scene 11 Panel 18 / 74 Dialog J: Nope!
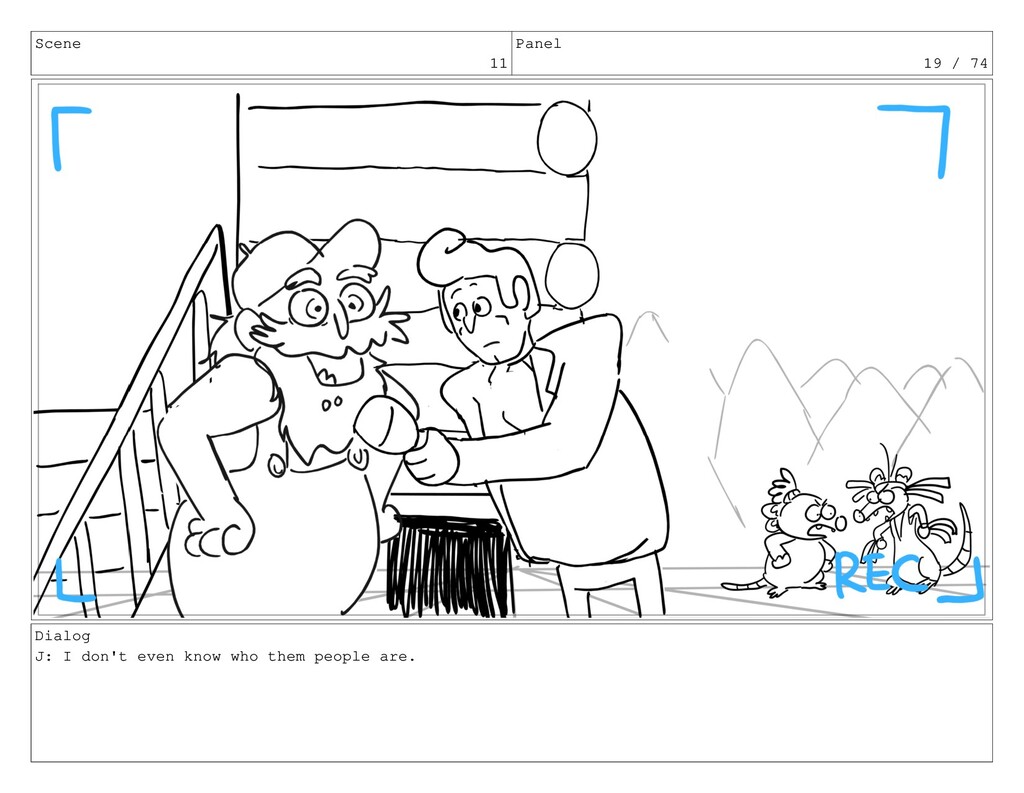
Scene 11 Panel 19 / 74 Dialog J: I don't
even know who them people are.
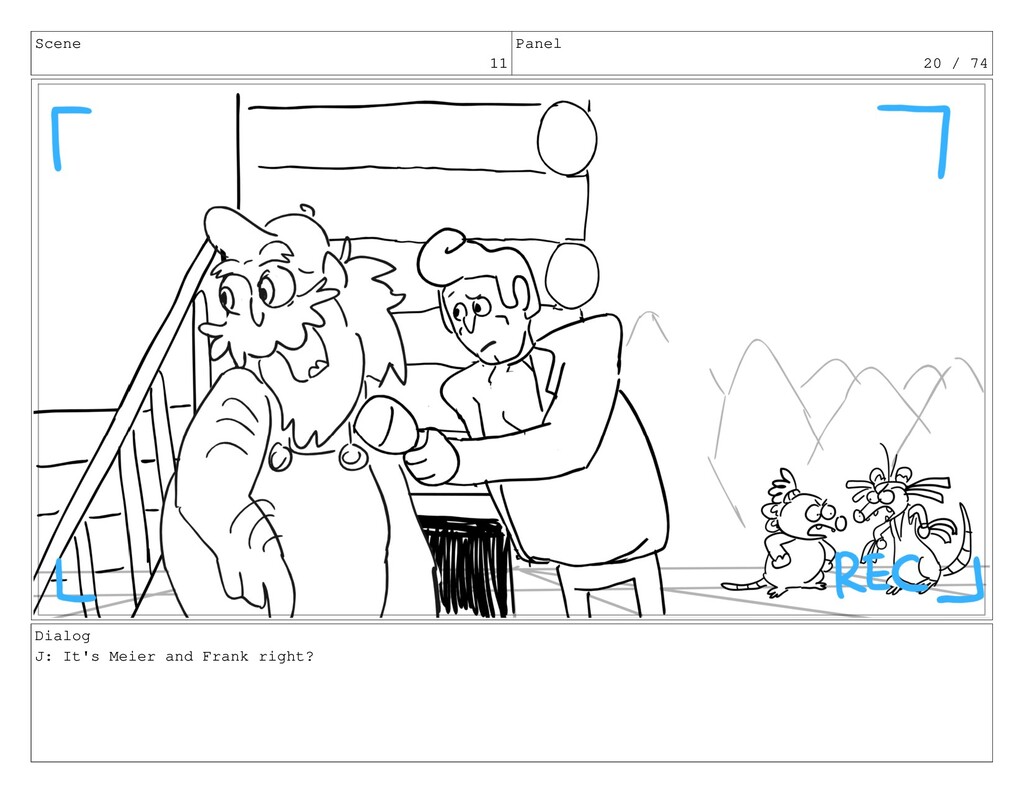
Scene 11 Panel 20 / 74 Dialog J: It's Meier
and Frank right?
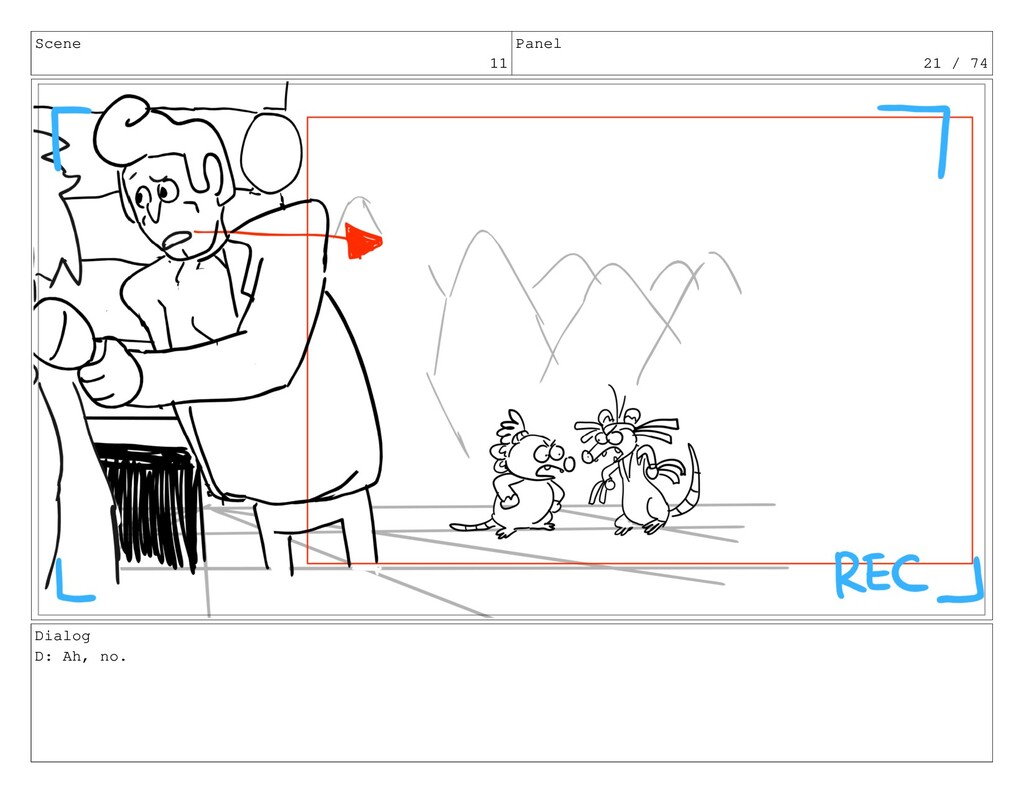
Scene 11 Panel 21 / 74 Dialog D: Ah, no.
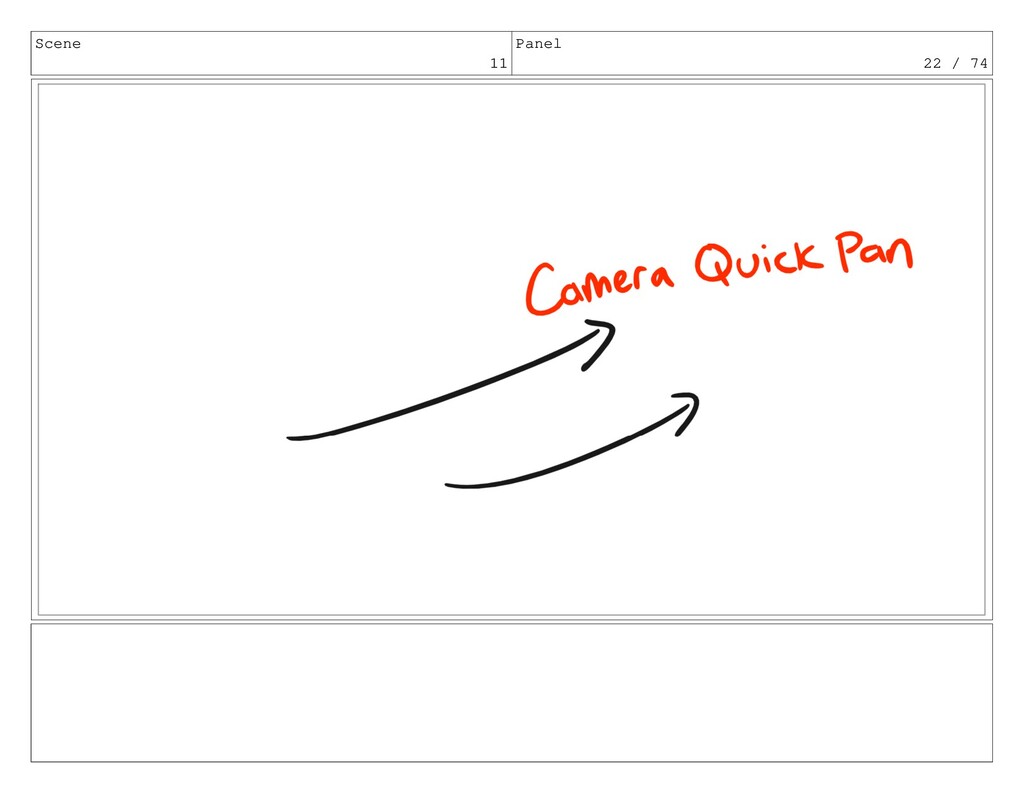
Scene 11 Panel 22 / 74
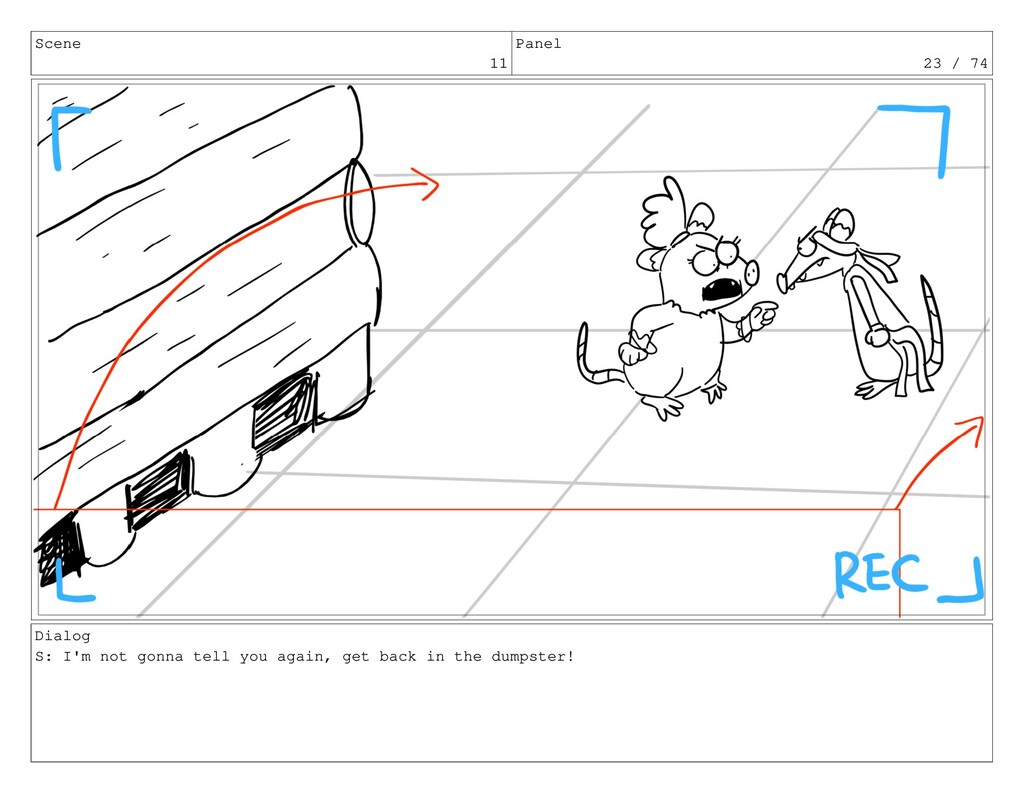
Scene 11 Panel 23 / 74 Dialog S: I'm not
gonna tell you again, get back in the dumpster!
Scene 11 Panel 24 / 74 Dialog F: I've been
working on this piece for weeks! You can't stifle me at my peak!
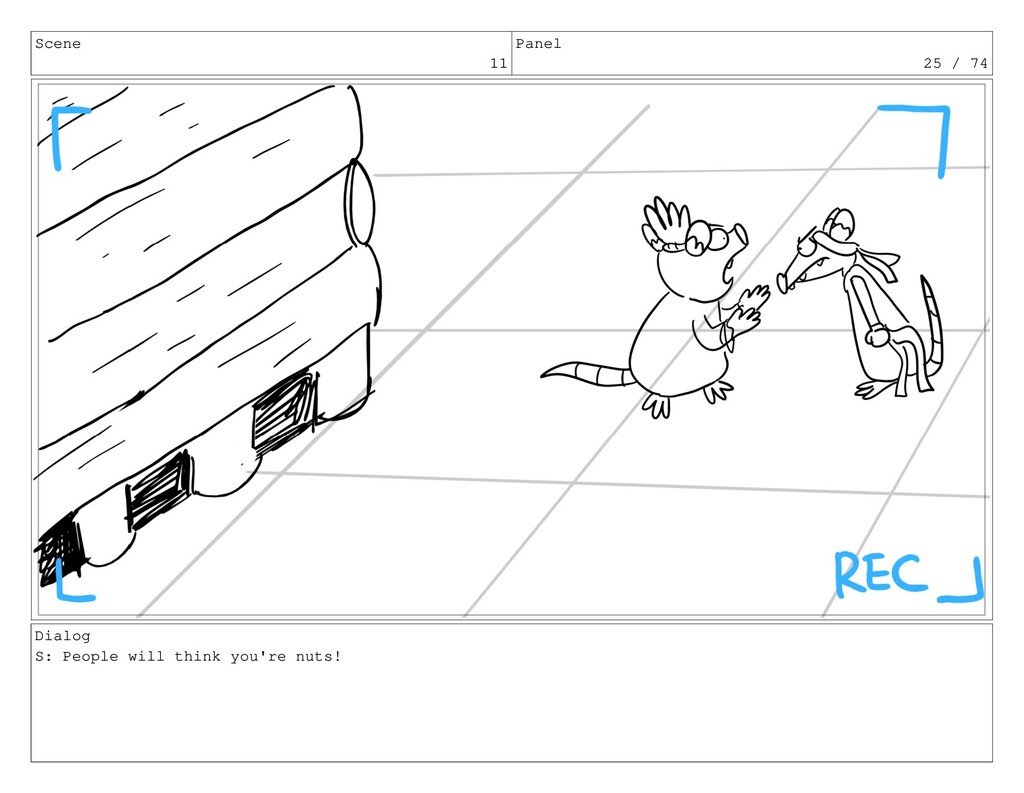
Scene 11 Panel 25 / 74 Dialog S: People will
think you're nuts!
Scene 11 Panel 26 / 74 Dialog F: Nobody ever
comes here, you said so yourself!
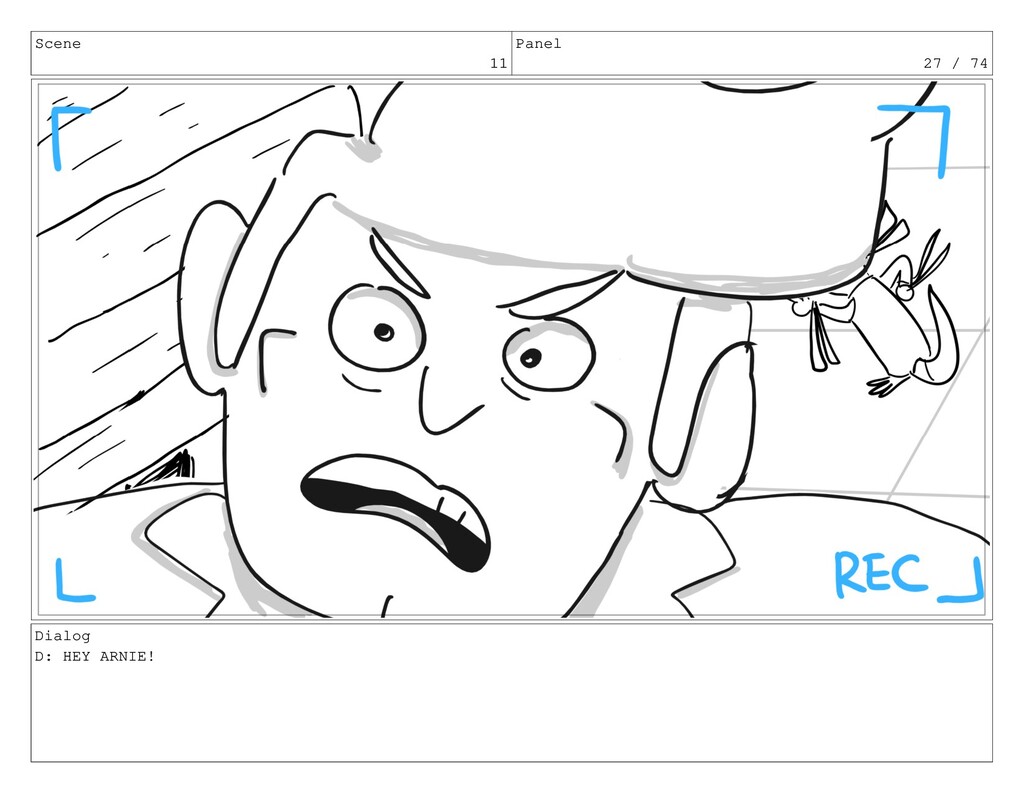
Scene 11 Panel 27 / 74 Dialog D: HEY ARNIE!
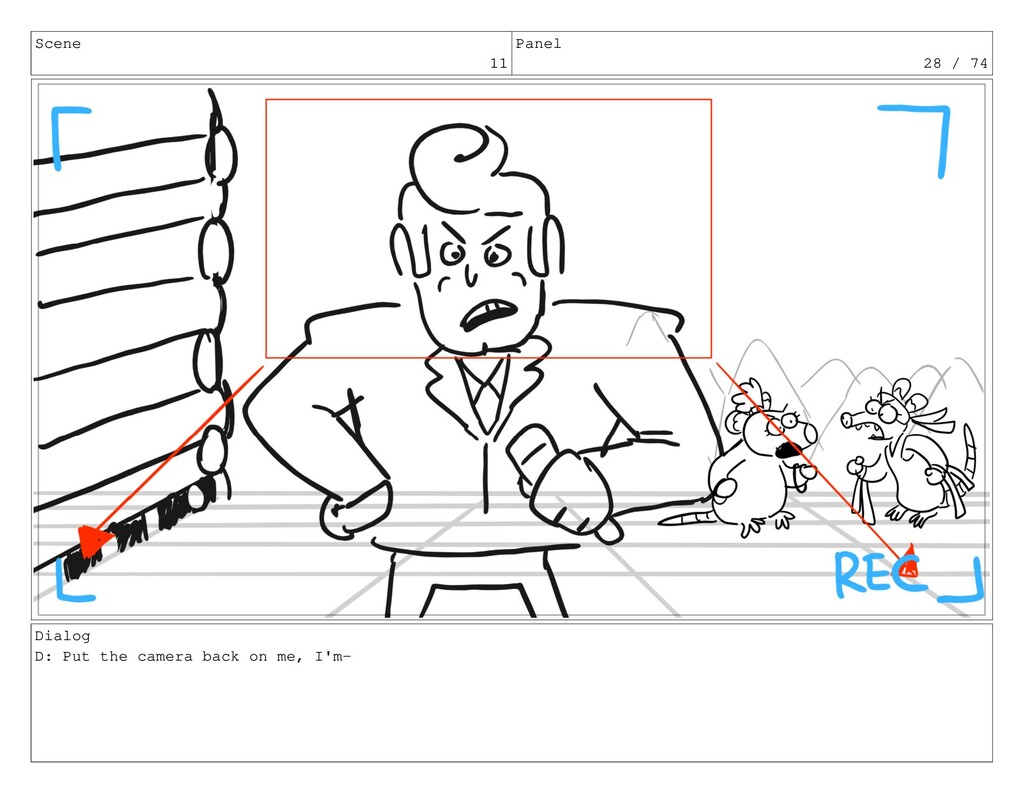
Scene 11 Panel 28 / 74 Dialog D: Put the
camera back on me, I'm-
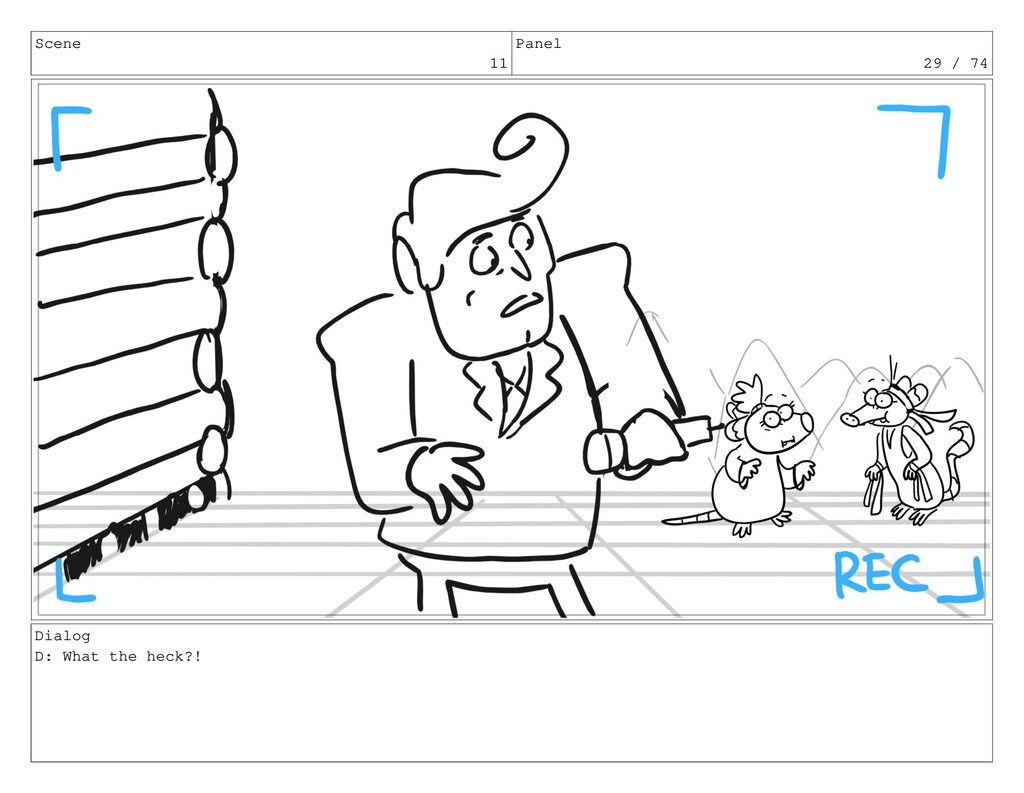
Scene 11 Panel 29 / 74 Dialog D: What the
heck?!
Scene 11 Panel 30 / 74 Dialog D: Are those
'possums talking?!
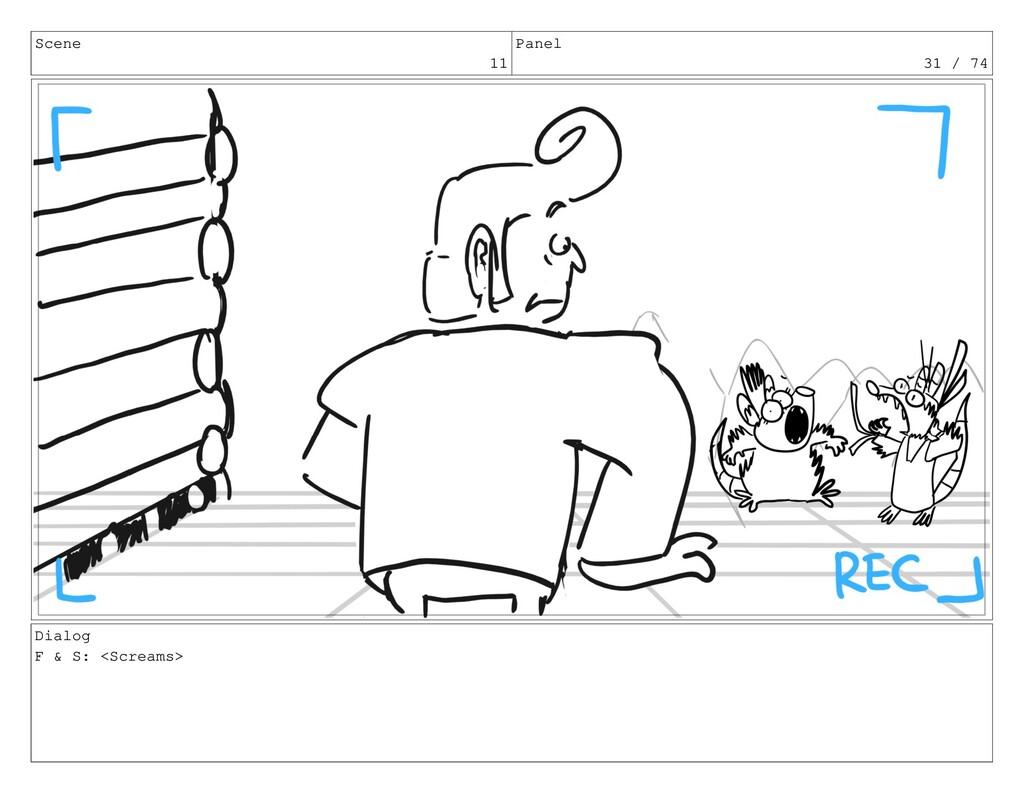
Scene 11 Panel 31 / 74 Dialog F & S:
<Screams>
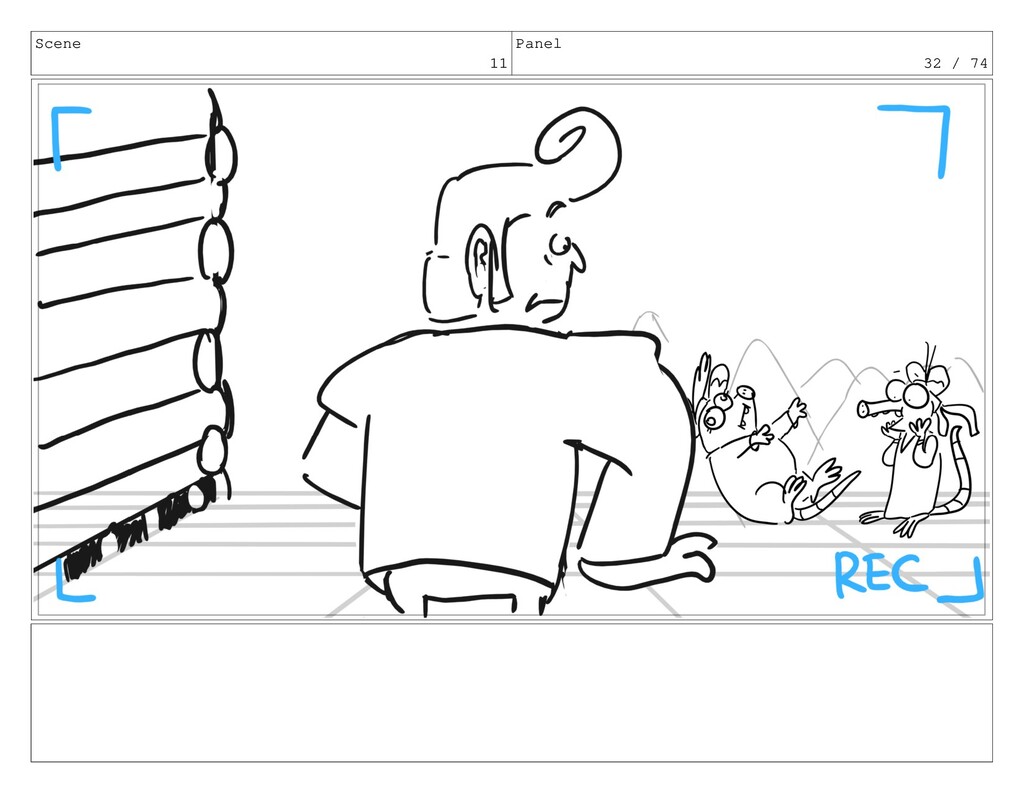
Scene 11 Panel 32 / 74
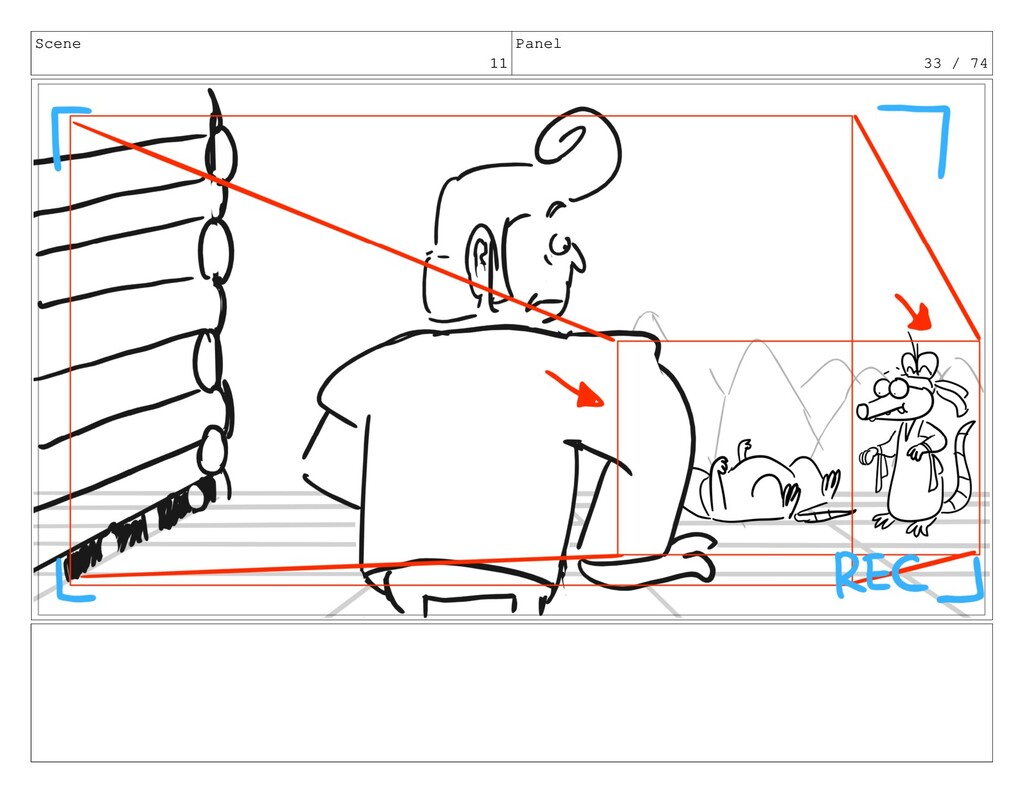
Scene 11 Panel 33 / 74
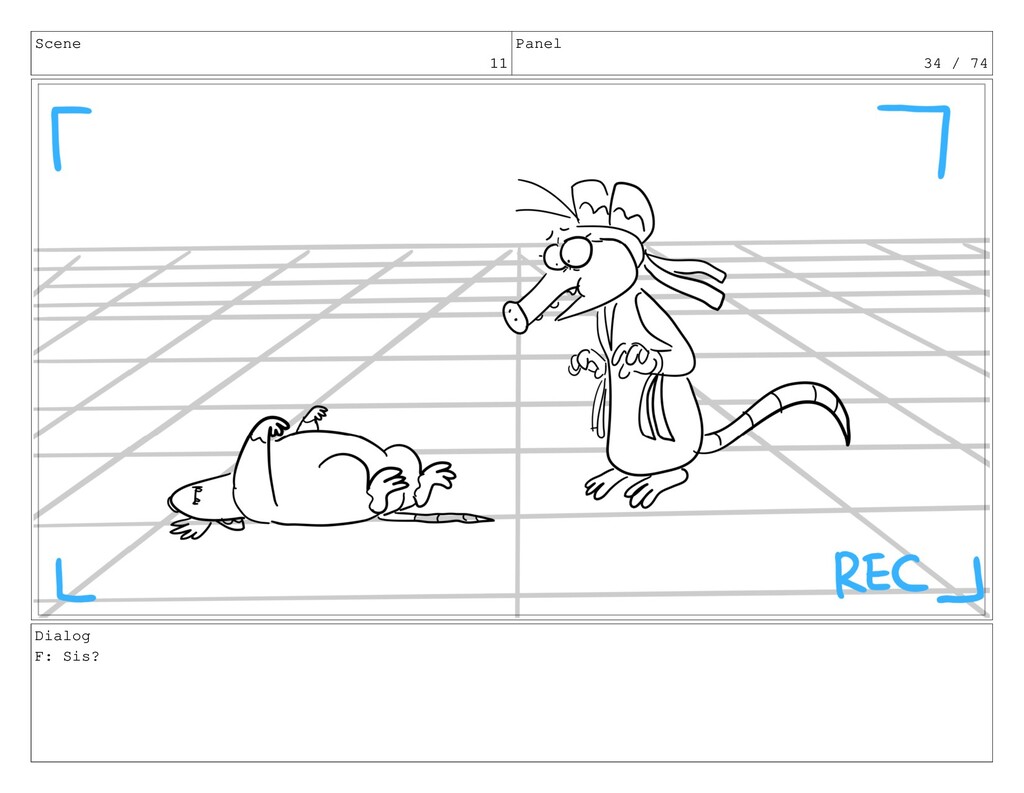
Scene 11 Panel 34 / 74 Dialog F: Sis?
Scene 11 Panel 35 / 74
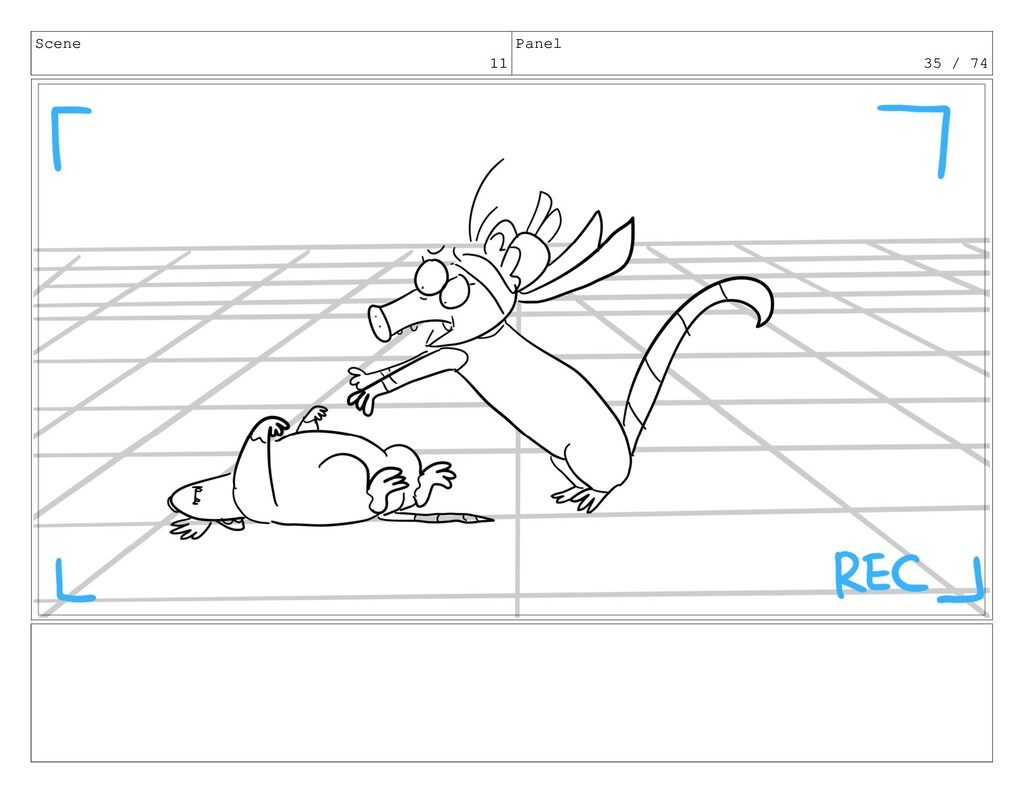
Scene 11 Panel 36 / 74 Dialog F: SIS?!
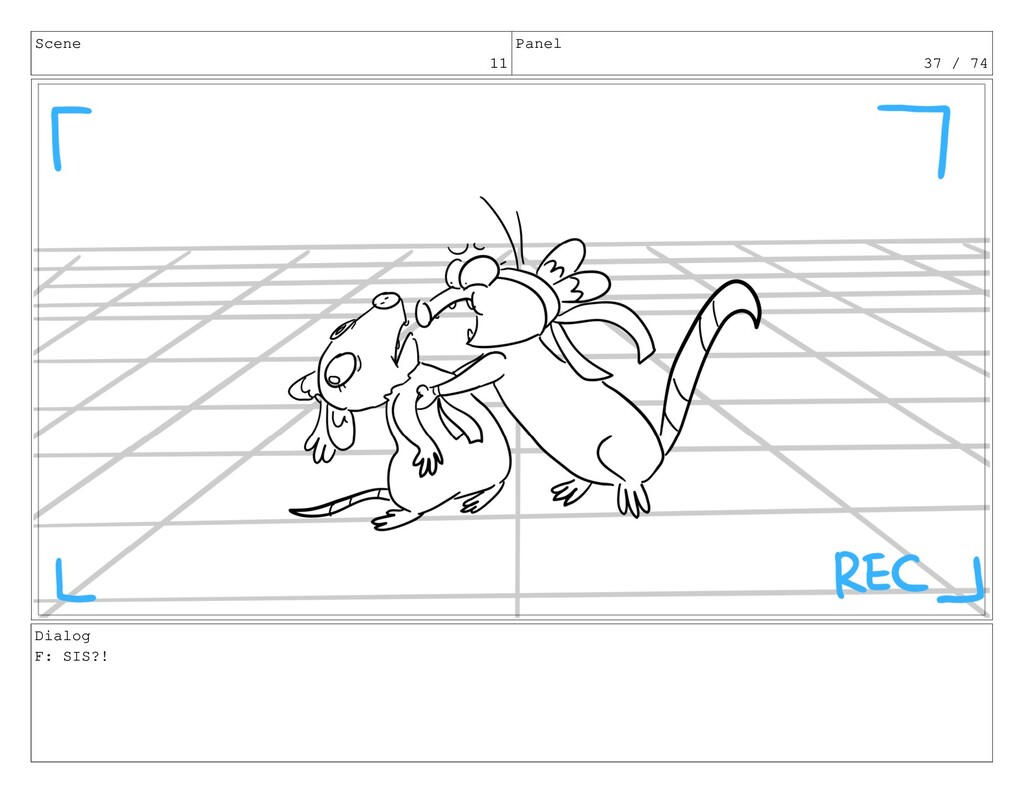
Scene 11 Panel 37 / 74 Dialog F: SIS?!
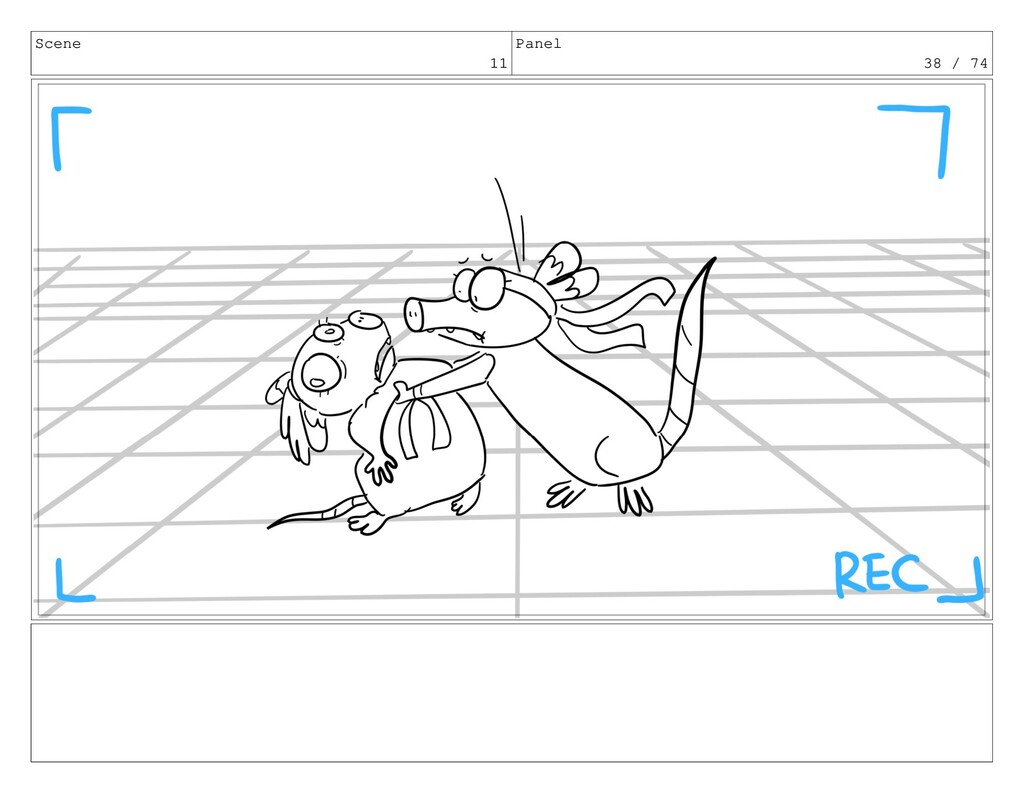
Scene 11 Panel 38 / 74
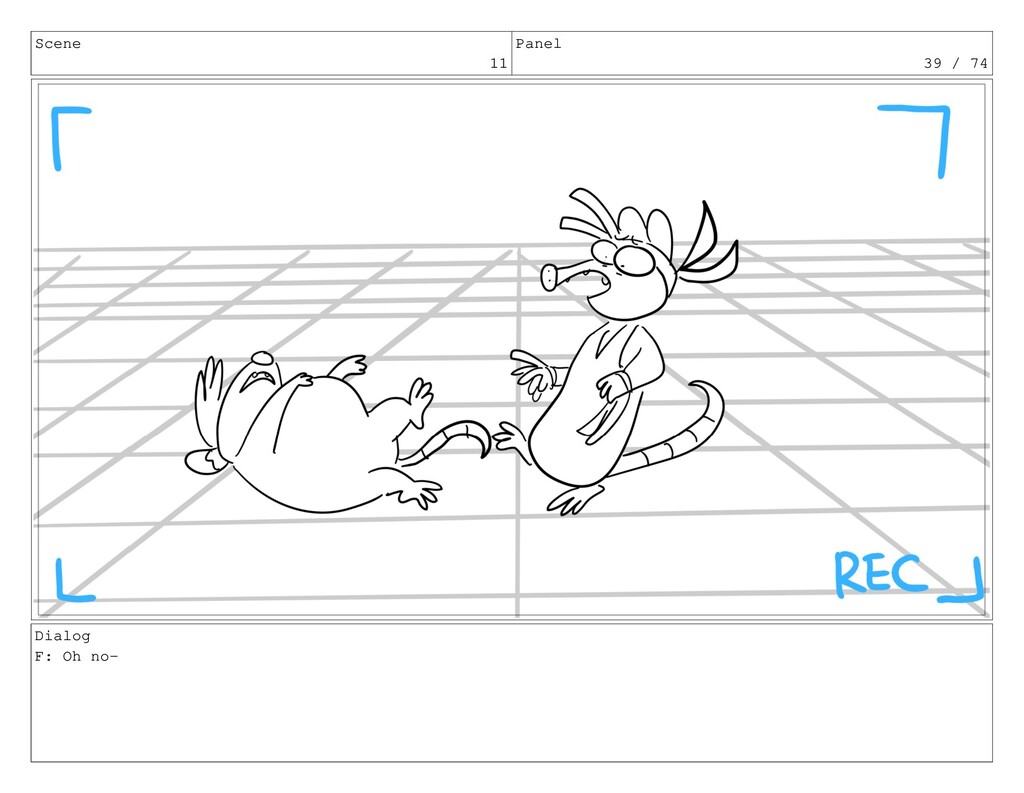
Scene 11 Panel 39 / 74 Dialog F: Oh no-
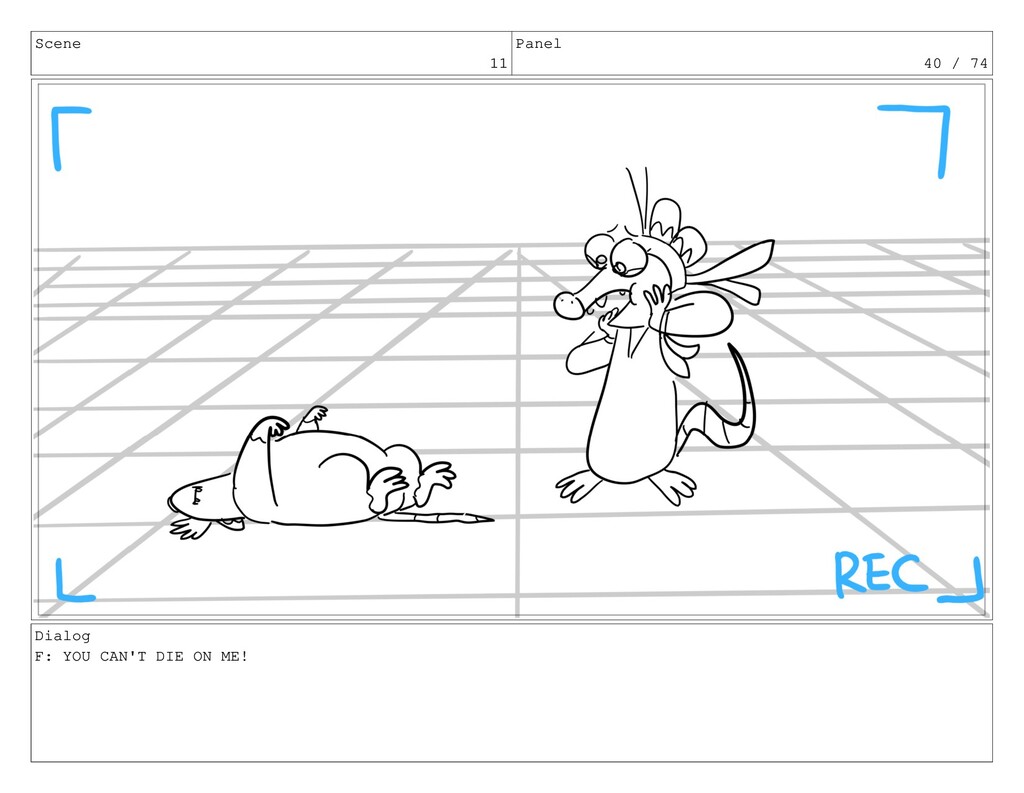
Scene 11 Panel 40 / 74 Dialog F: YOU CAN'T
DIE ON ME!
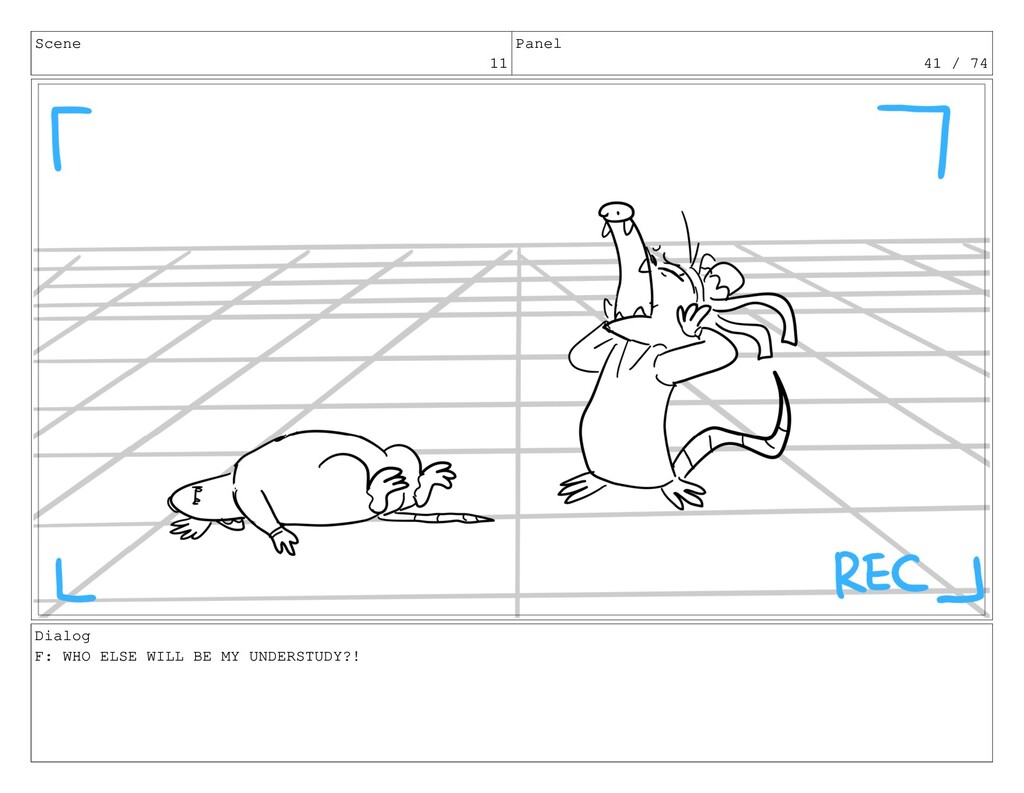
Scene 11 Panel 41 / 74 Dialog F: WHO ELSE
WILL BE MY UNDERSTUDY?!
Scene 11 Panel 42 / 74 Dialog F: <sobbing>
Scene 11 Panel 43 / 74 Dialog F: <sobbing>
Scene 11 Panel 44 / 74 Dialog F: <sobbing>
Scene 11 Panel 45 / 74
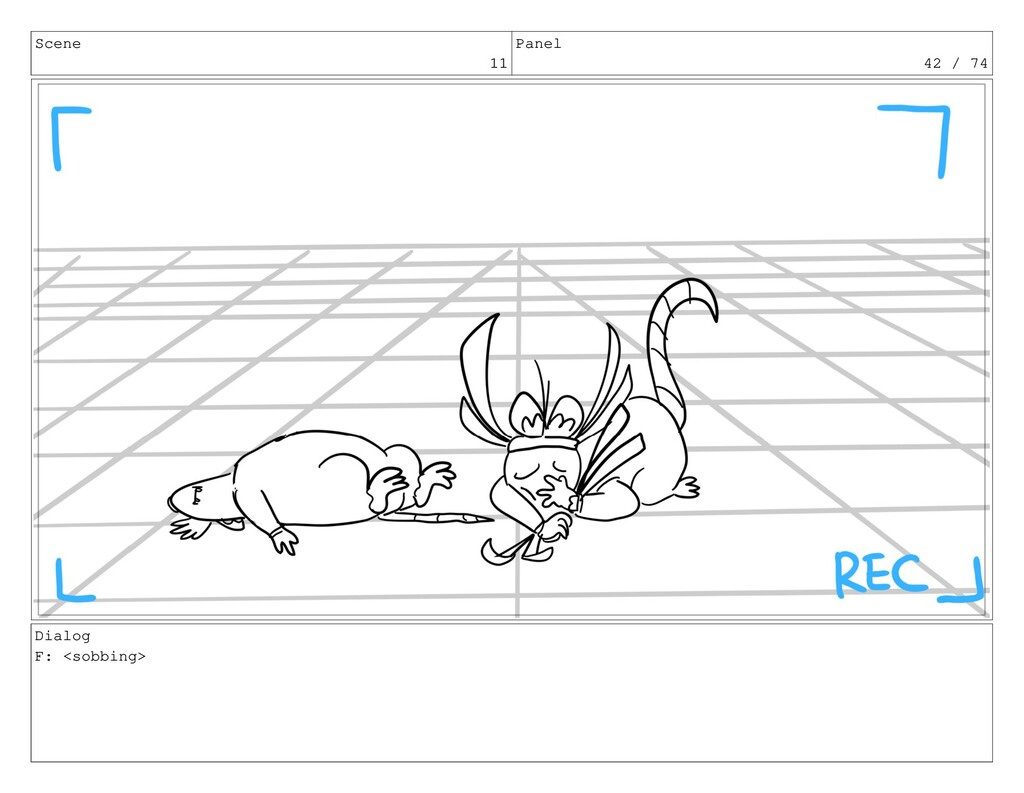
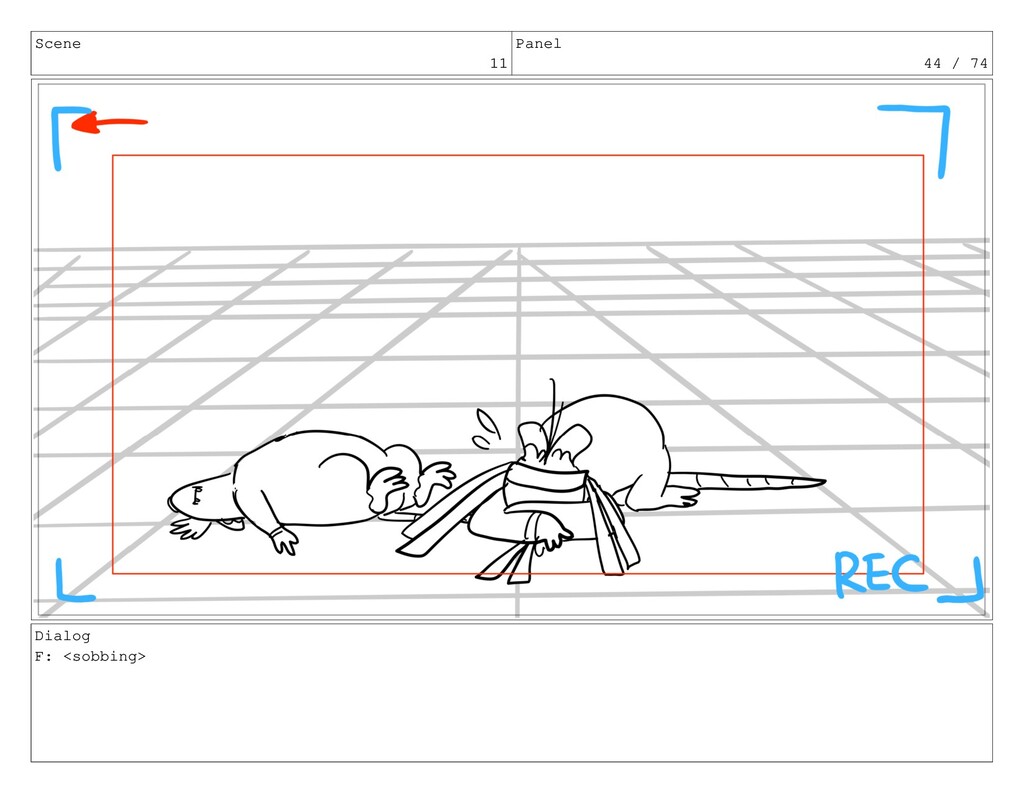
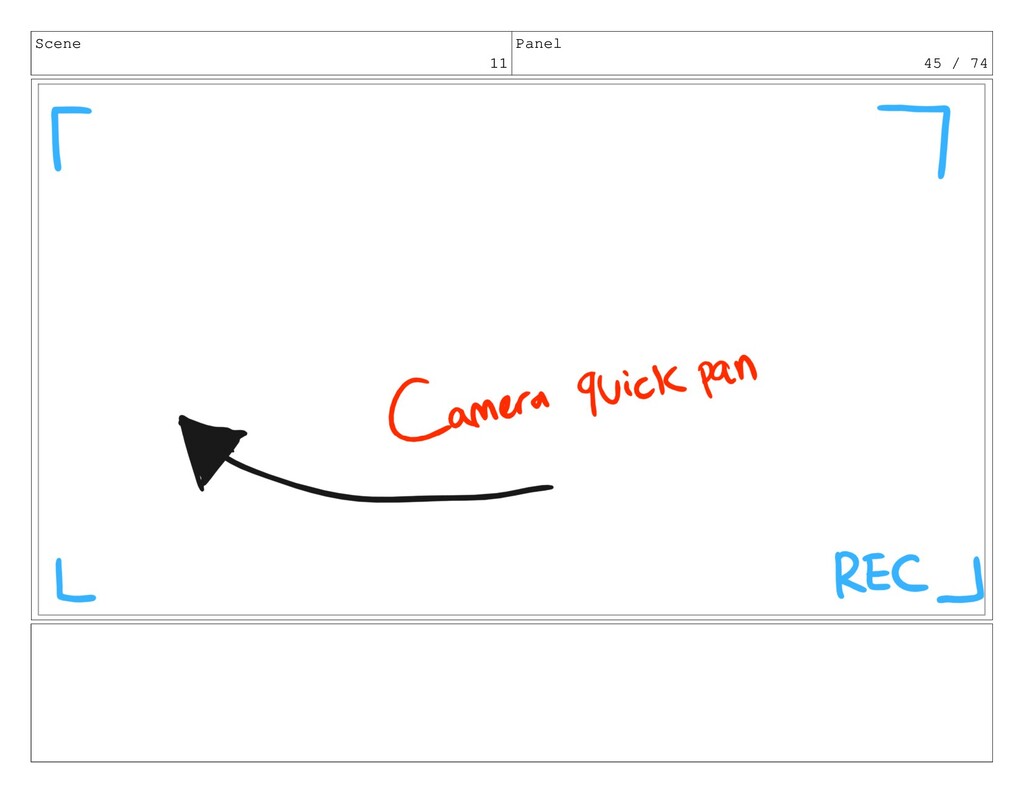
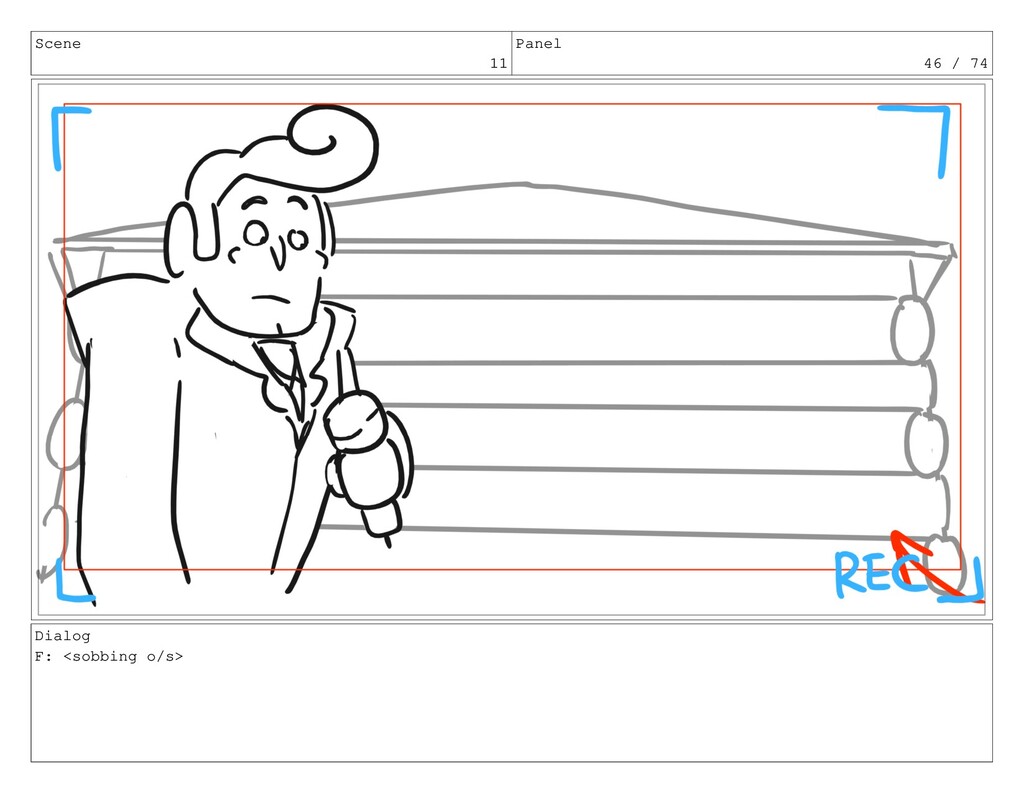
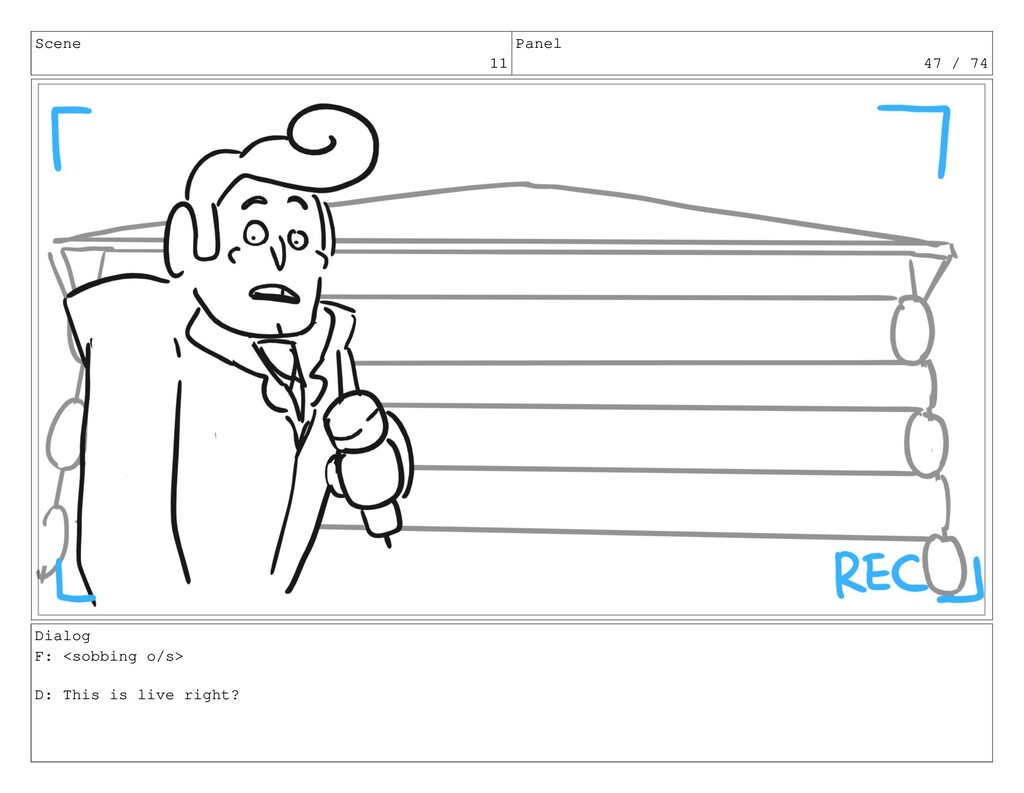
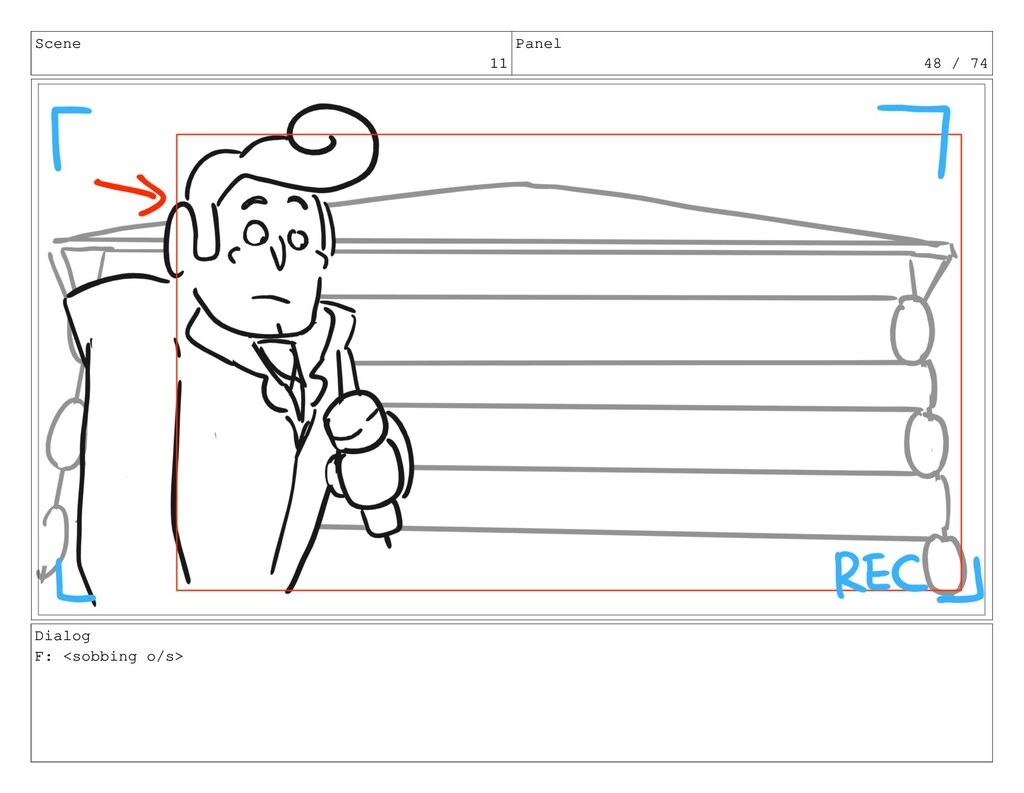
Scene 11 Panel 46 / 74 Dialog F: <sobbing o/s>
Scene 11 Panel 47 / 74 Dialog F: <sobbing o/s>
D: This is live right?
Scene 11 Panel 48 / 74 Dialog F: <sobbing o/s>
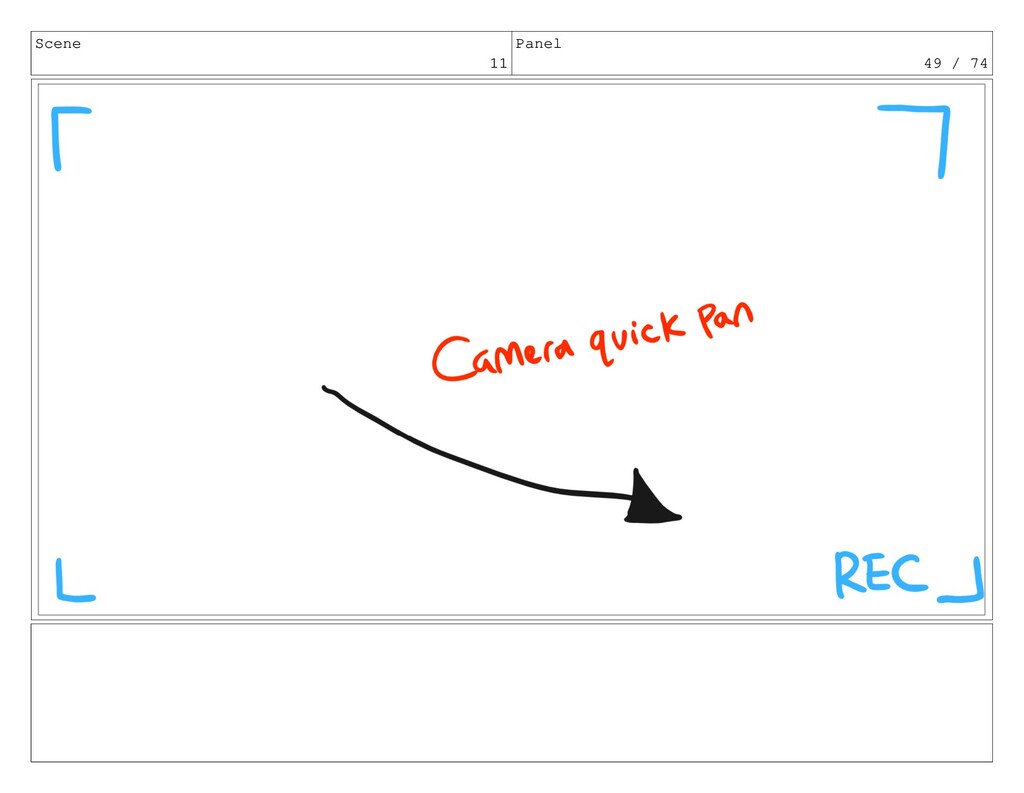
Scene 11 Panel 49 / 74
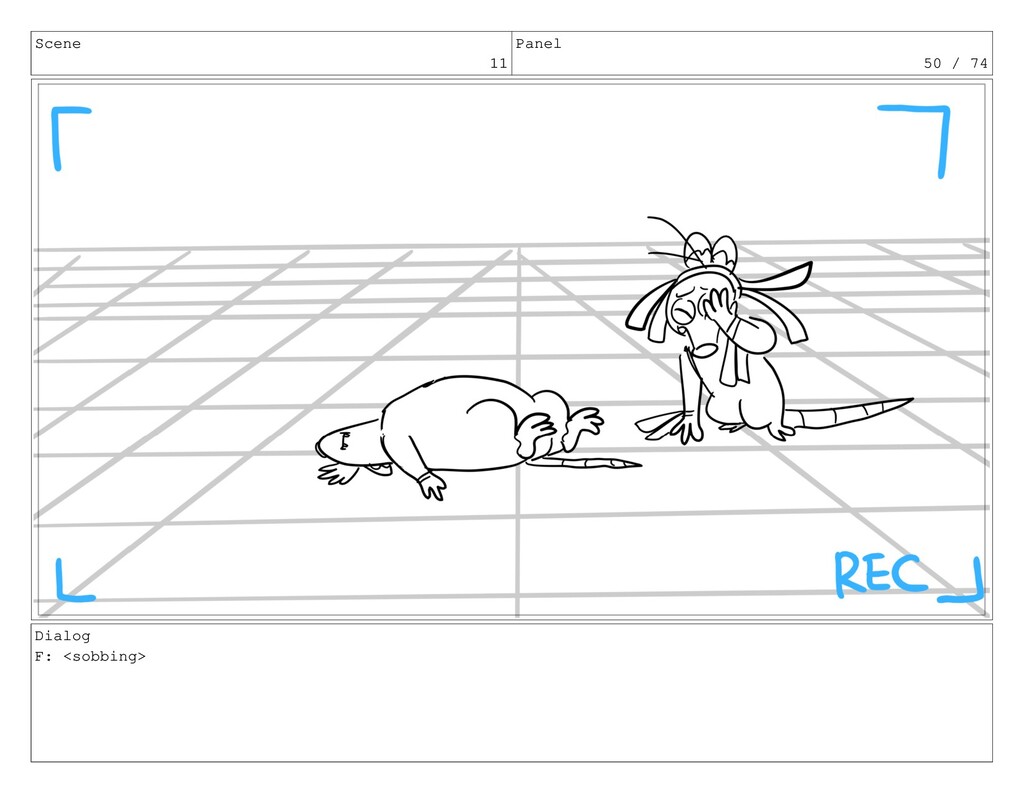
Scene 11 Panel 50 / 74 Dialog F: <sobbing>
Scene 11 Panel 51 / 74 Dialog F: <SNIFF>
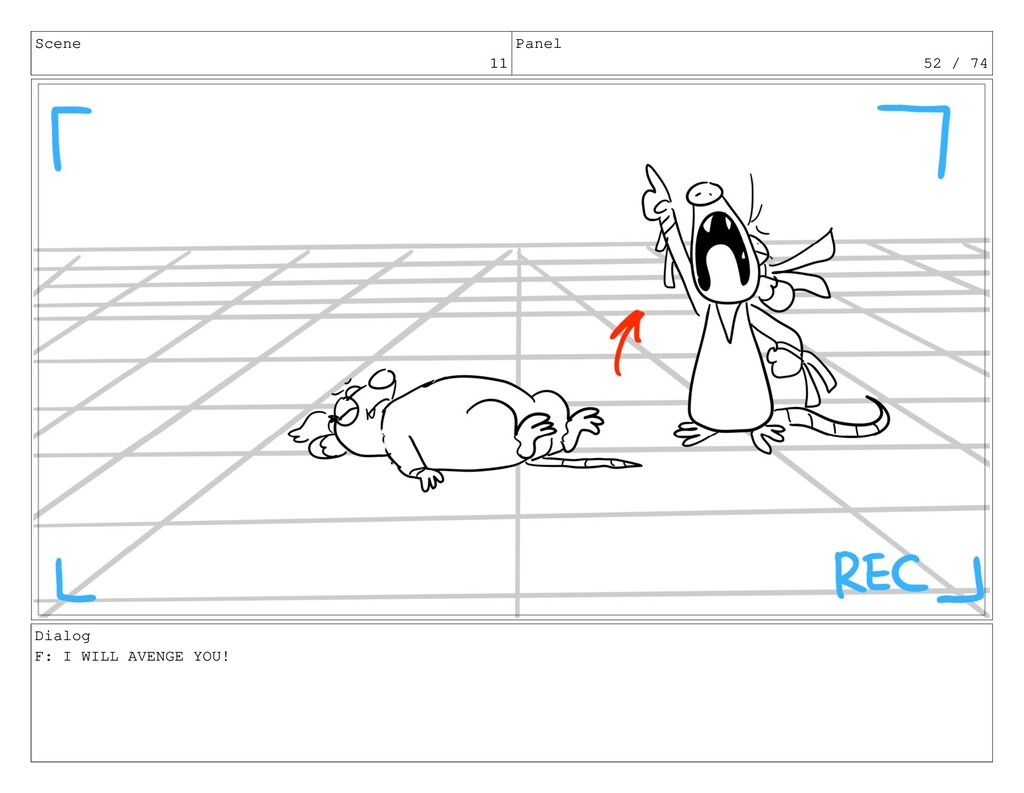
Scene 11 Panel 52 / 74 Dialog F: I WILL
AVENGE YOU!
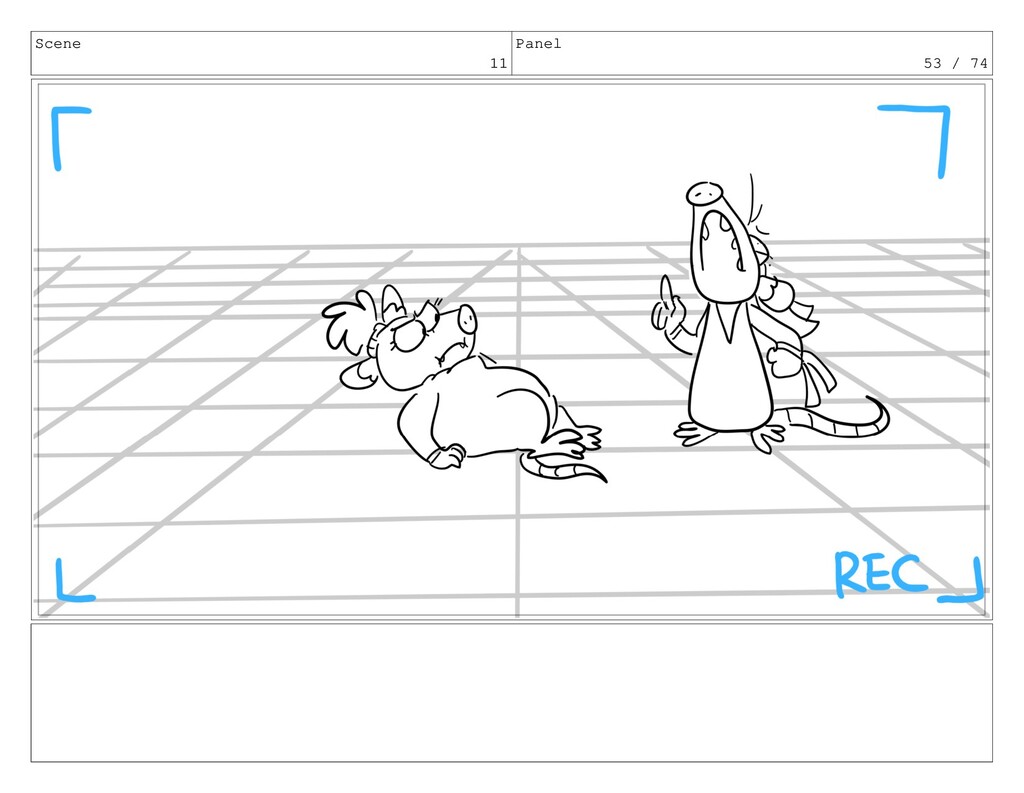
Scene 11 Panel 53 / 74
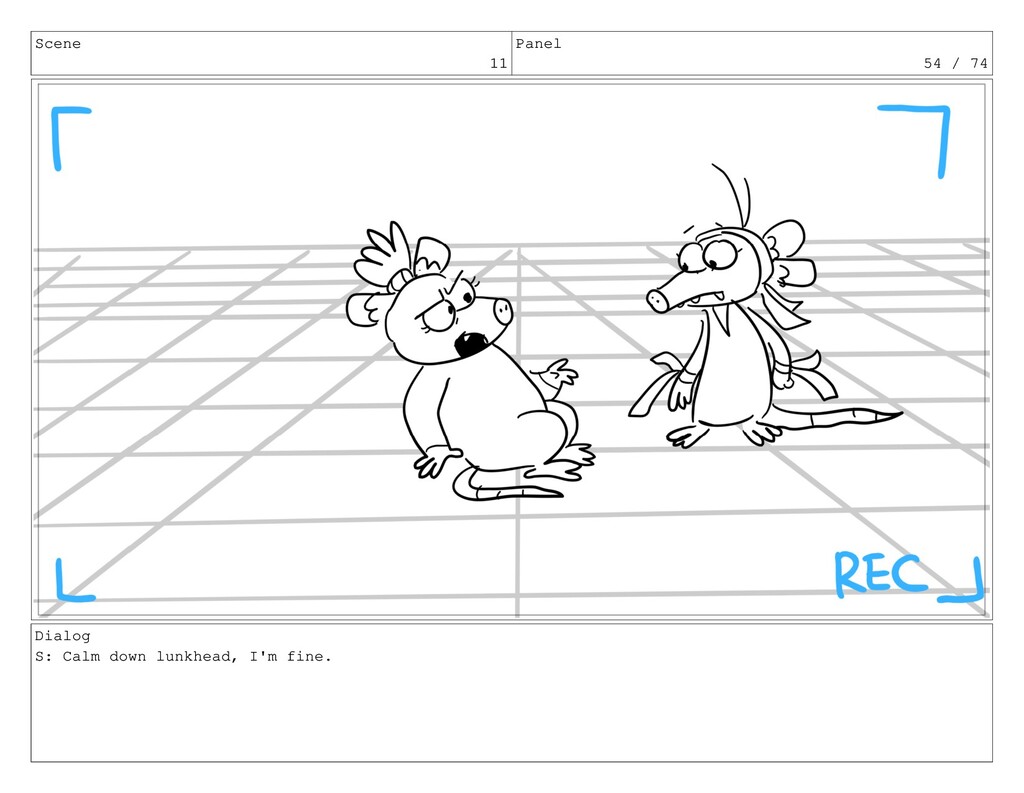
Scene 11 Panel 54 / 74 Dialog S: Calm down
lunkhead, I'm fine.
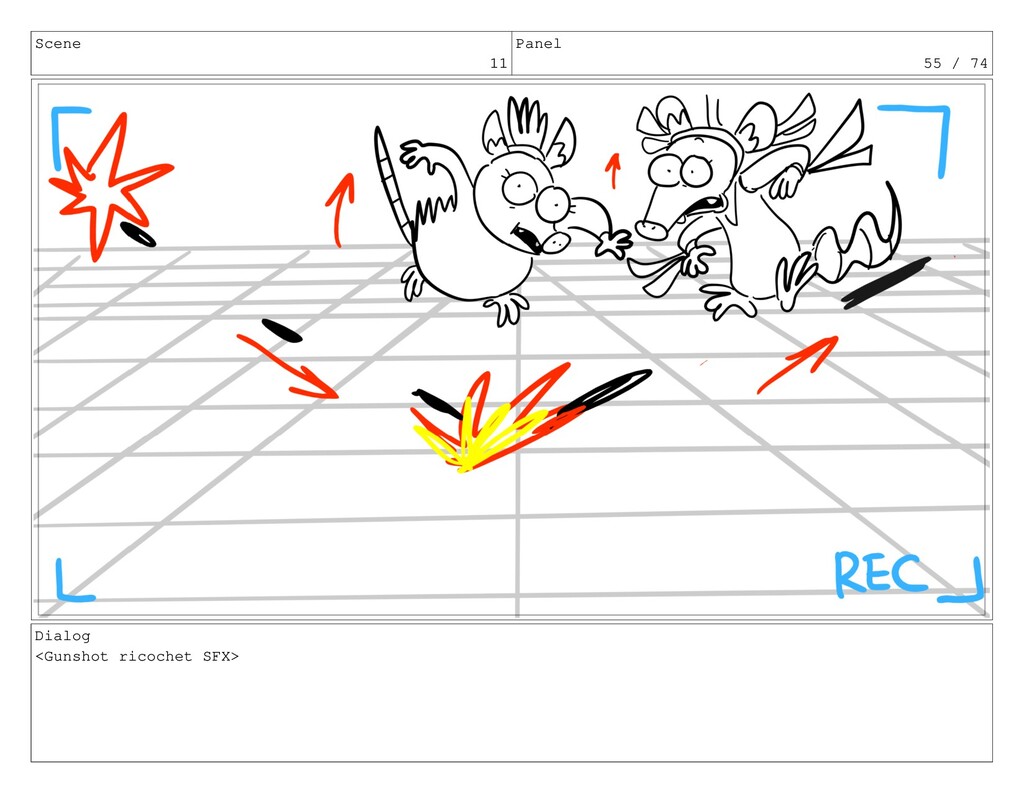
Scene 11 Panel 55 / 74 Dialog <Gunshot ricochet SFX>
Scene 11 Panel 56 / 74
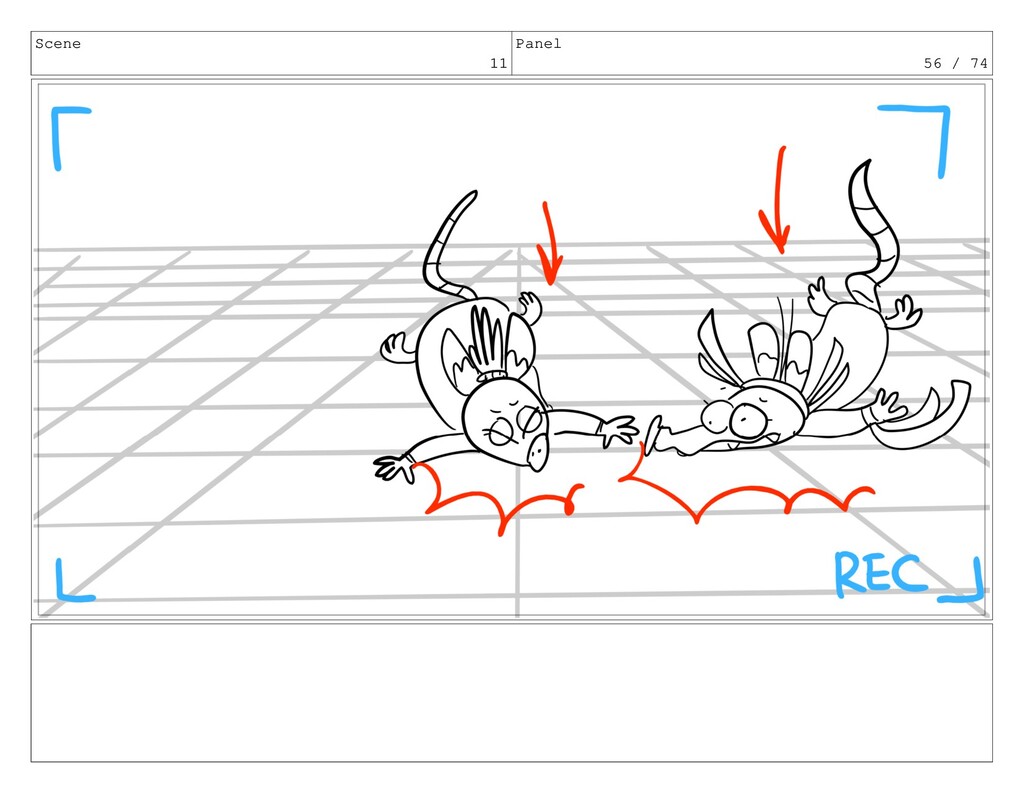
Scene 11 Panel 57 / 74
Scene 11 Panel 58 / 74
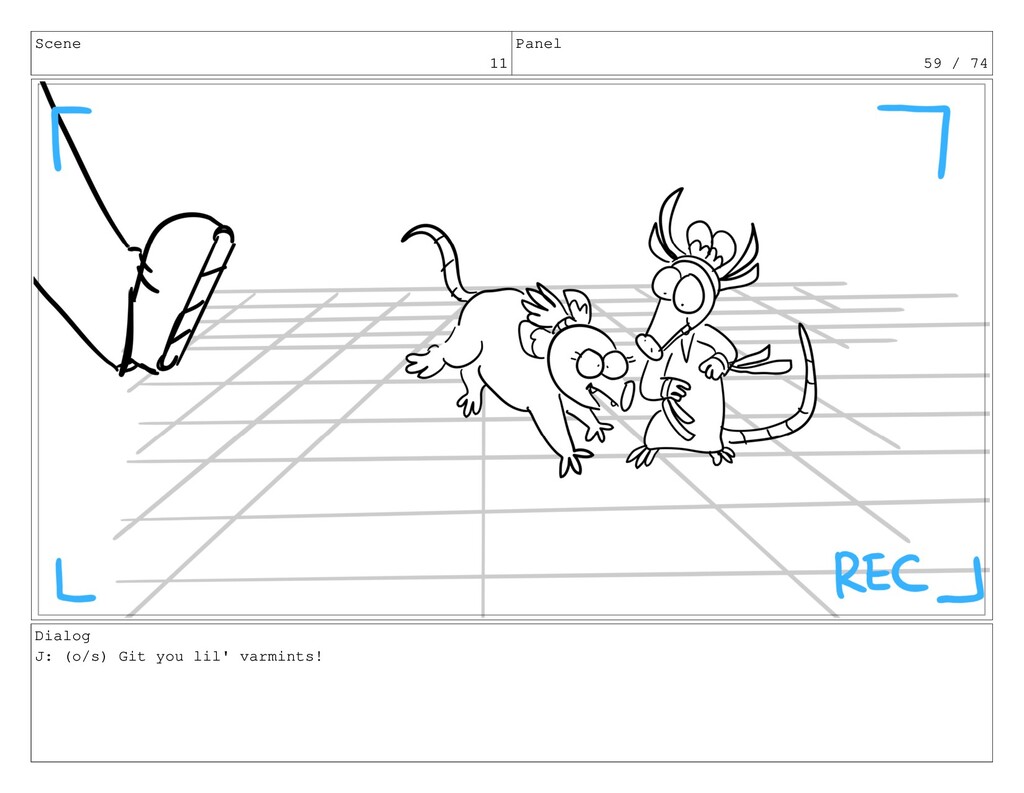
Scene 11 Panel 59 / 74 Dialog J: (o/s) Git
you lil' varmints!
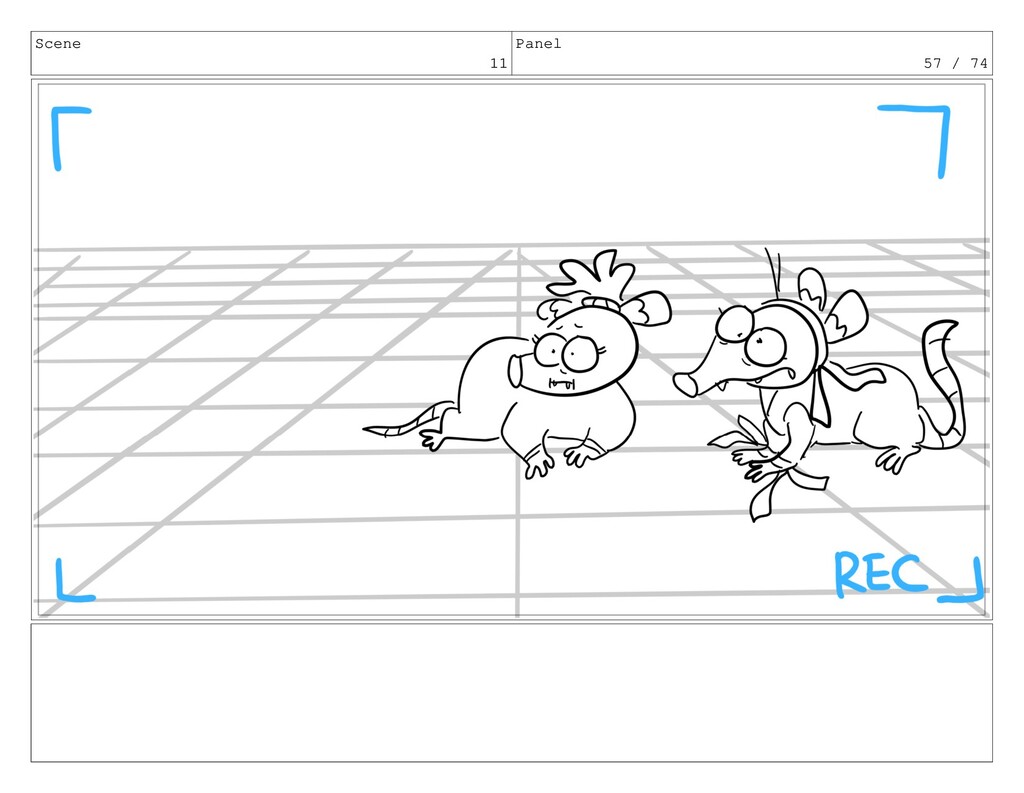
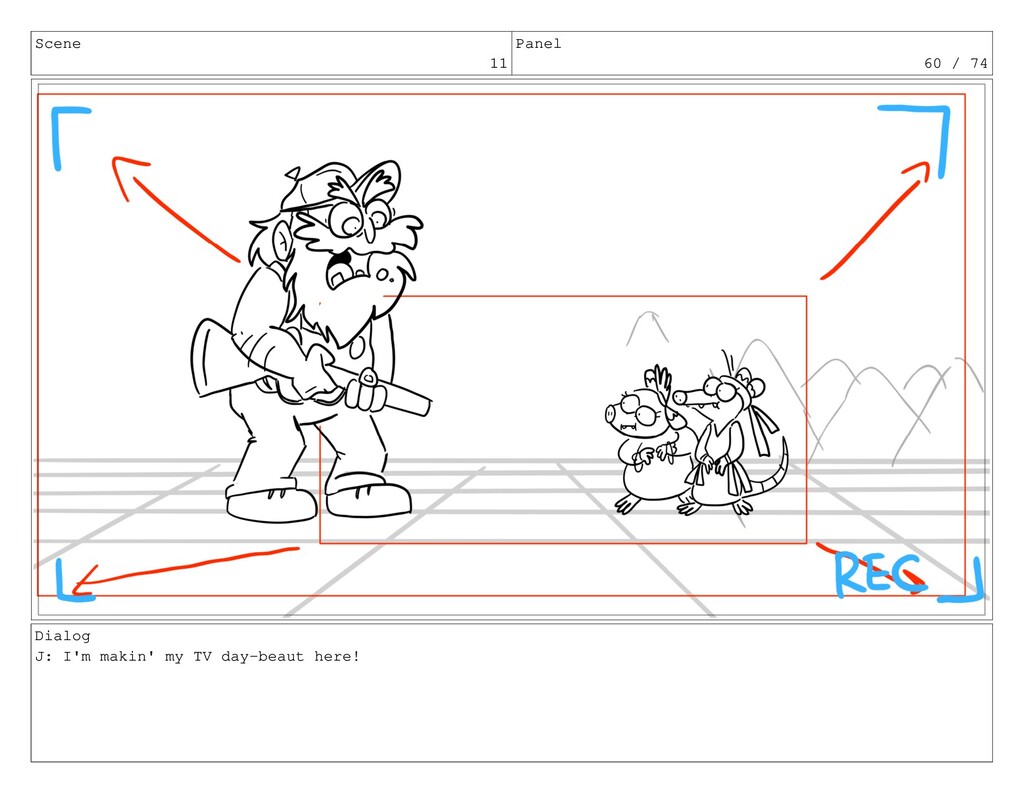
Scene 11 Panel 60 / 74 Dialog J: I'm makin'
my TV day-beaut here!
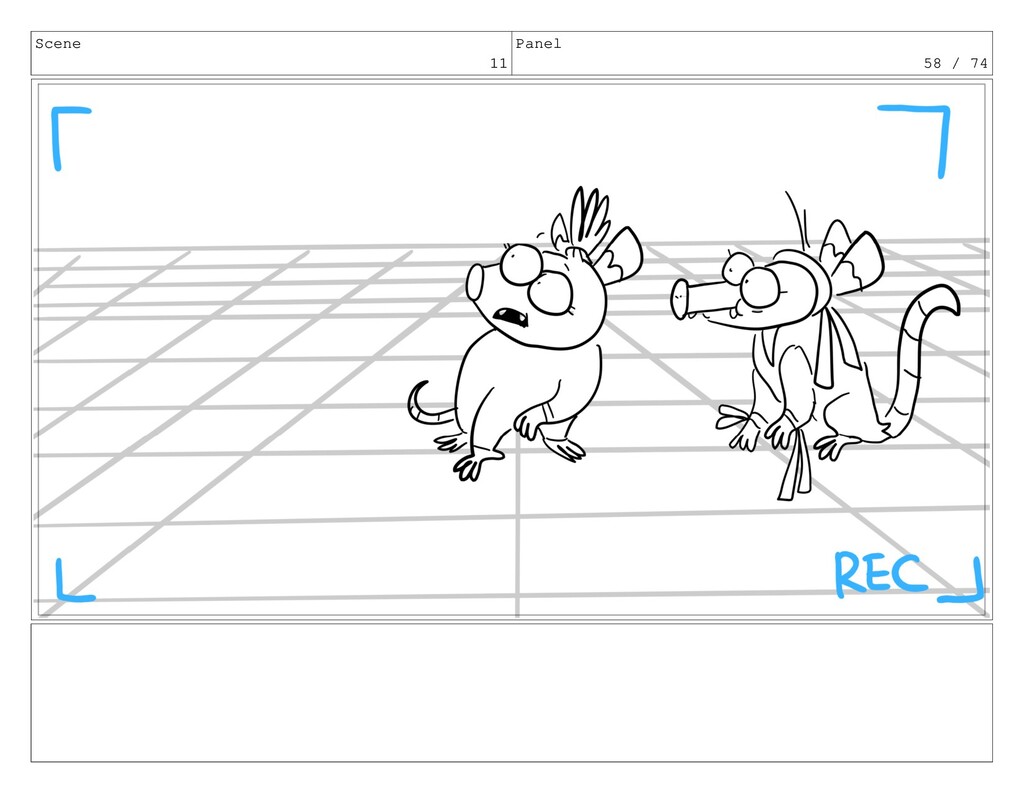
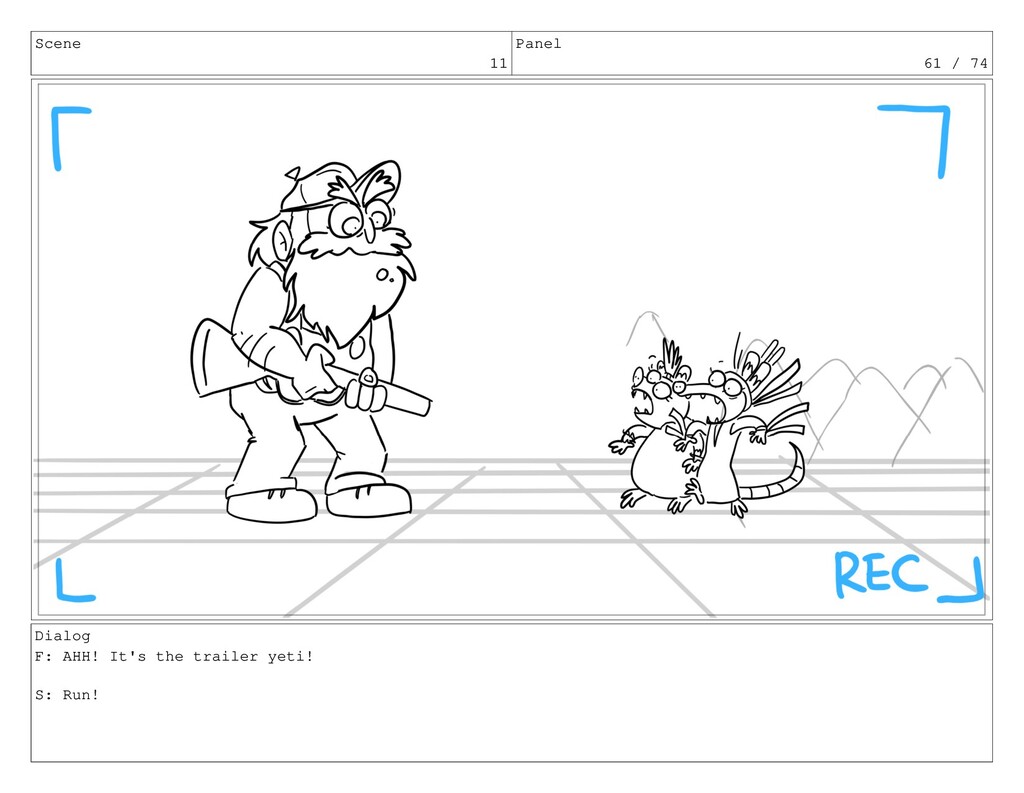
Scene 11 Panel 61 / 74 Dialog F: AHH! It's
the trailer yeti! S: Run!
Scene 11 Panel 62 / 74
Scene 11 Panel 63 / 74
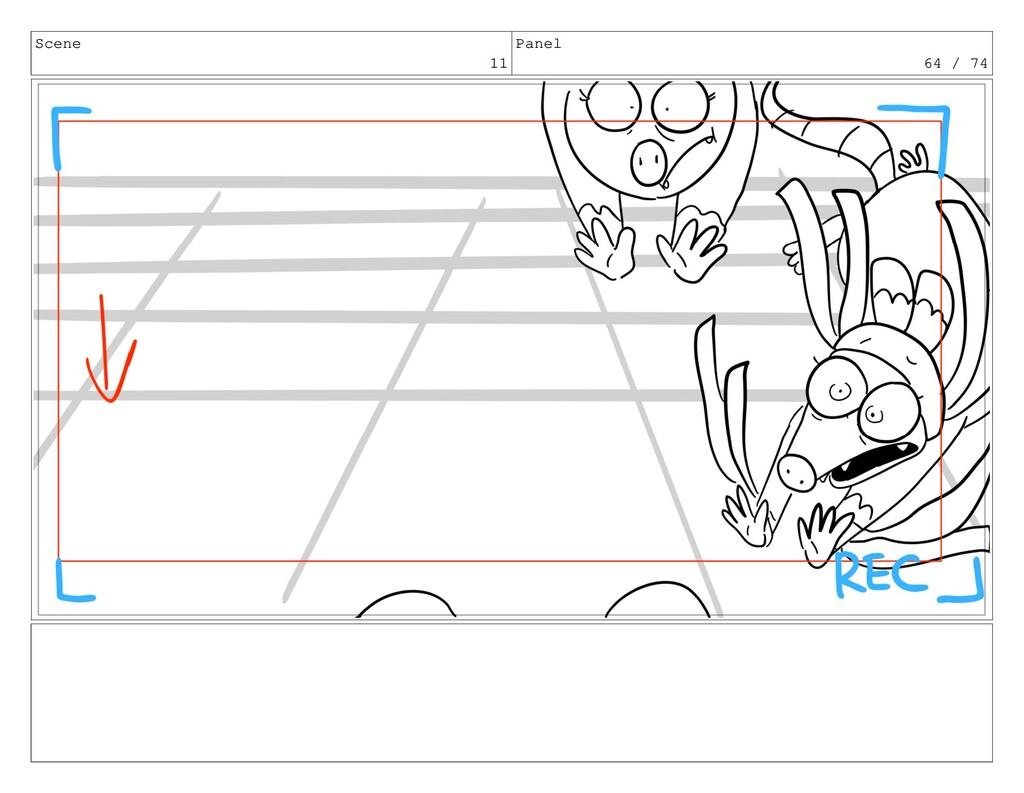
Scene 11 Panel 64 / 74
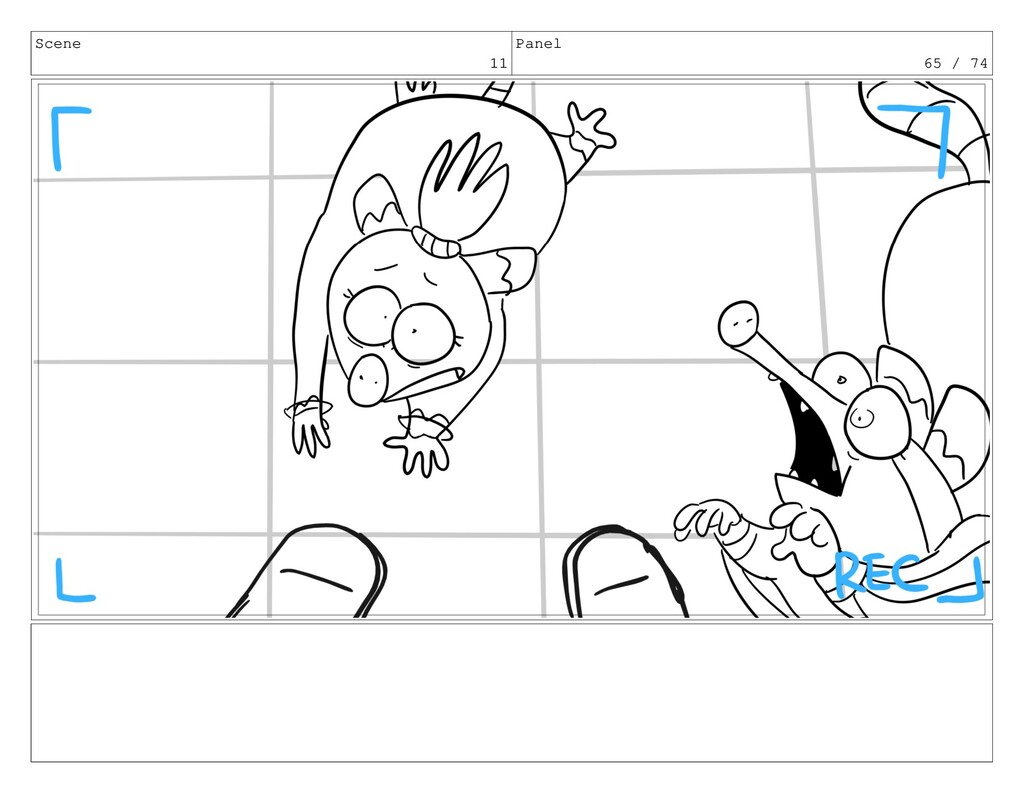
Scene 11 Panel 65 / 74
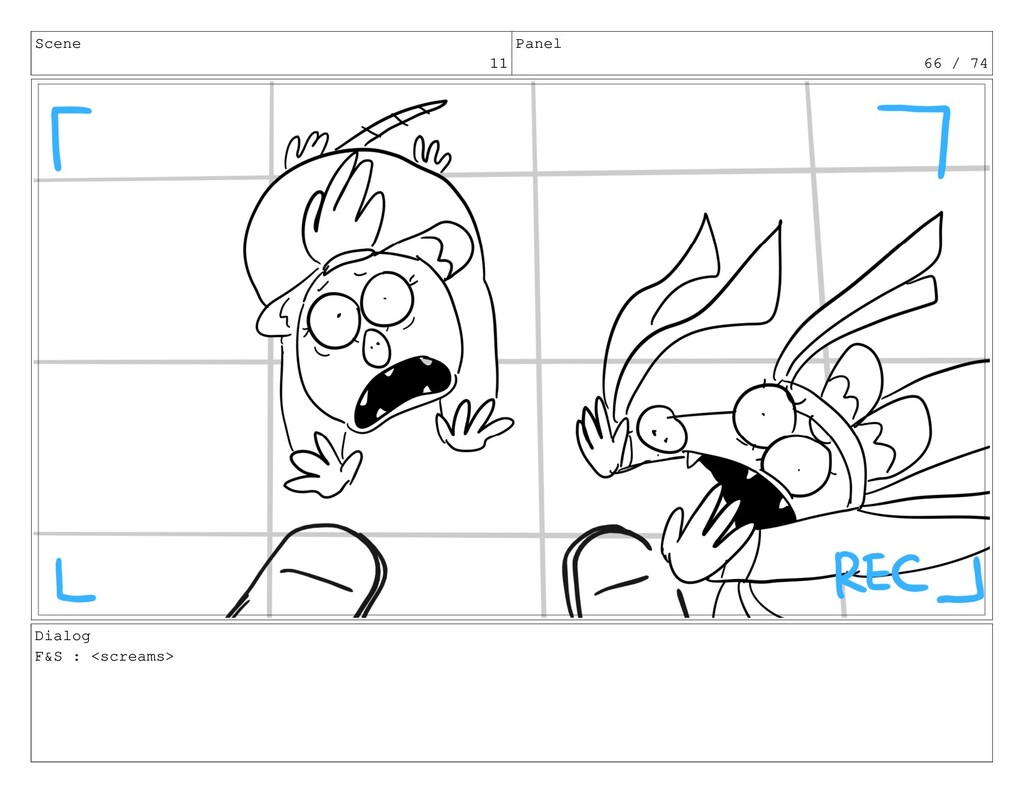
Scene 11 Panel 66 / 74 Dialog F&S : <screams>
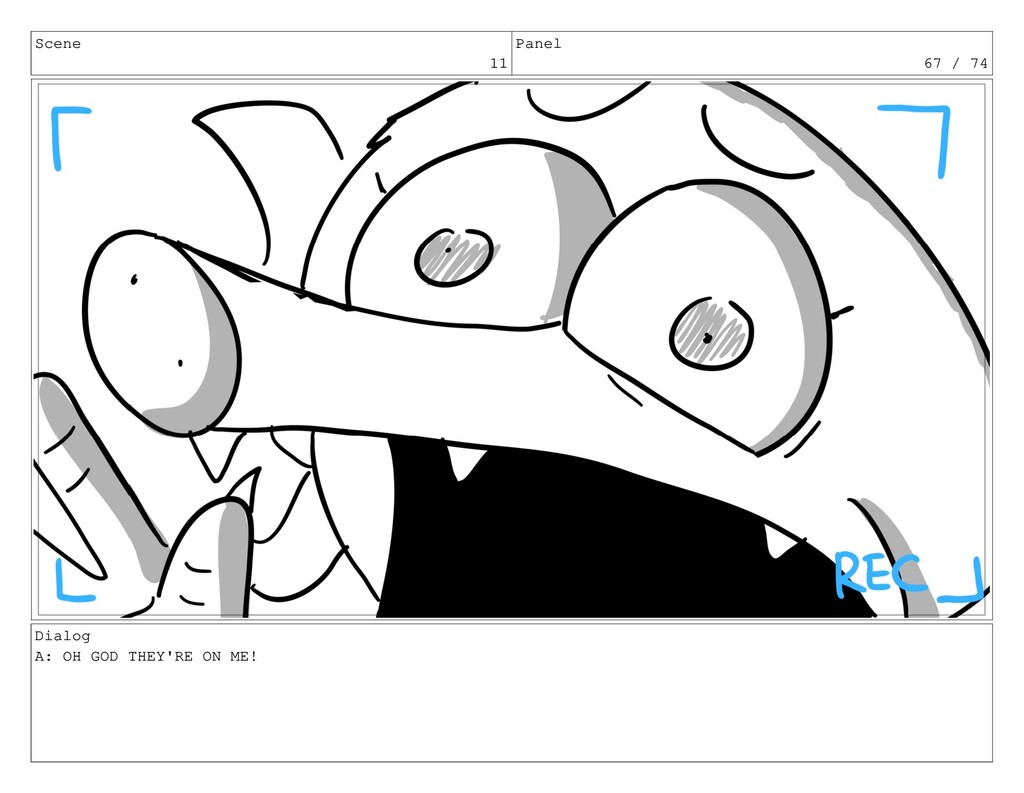
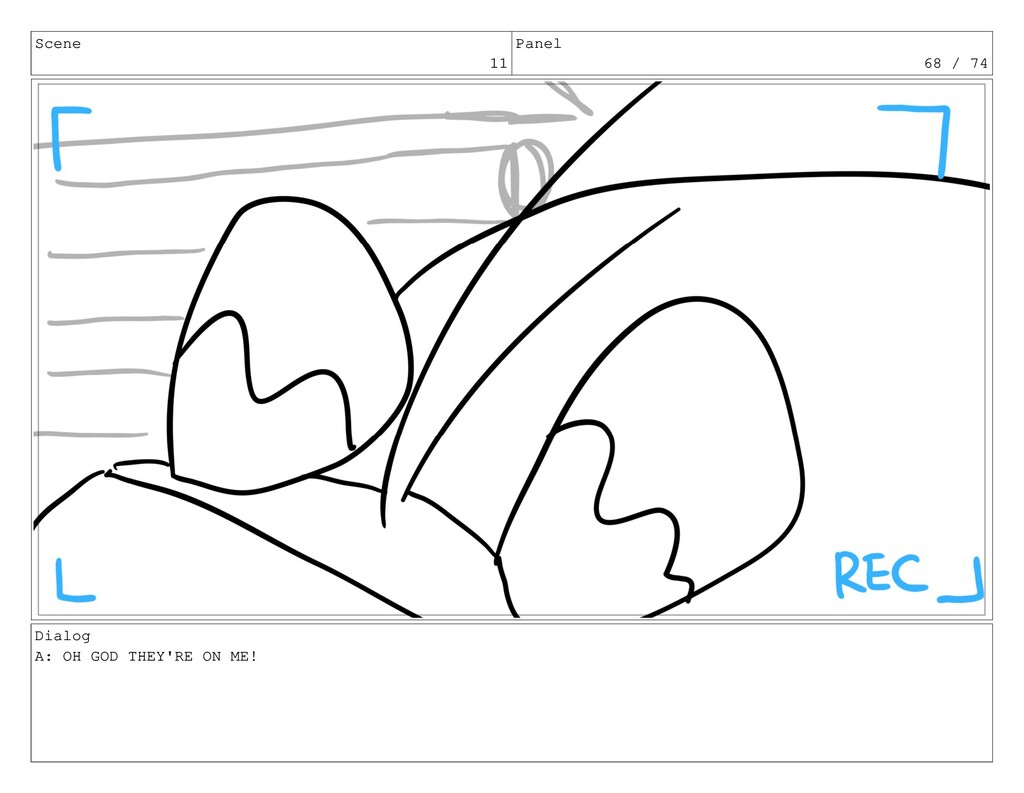
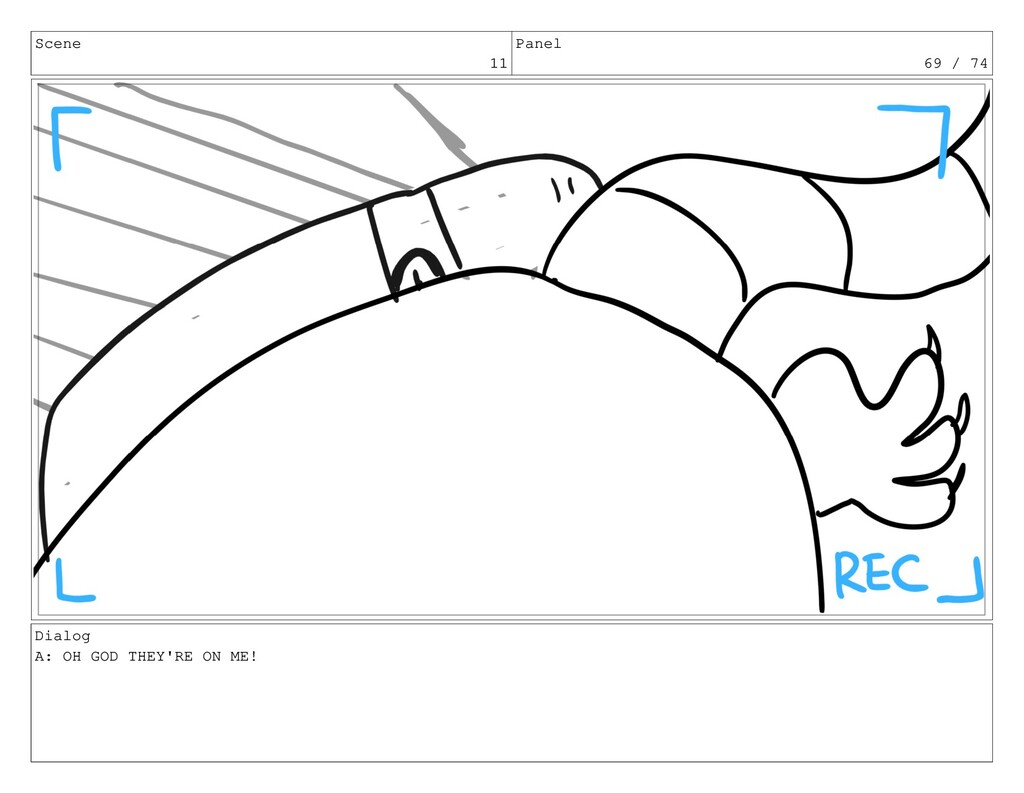
Scene 11 Panel 67 / 74 Dialog A: OH GOD
THEY'RE ON ME!
Scene 11 Panel 68 / 74 Dialog A: OH GOD
THEY'RE ON ME!
Scene 11 Panel 69 / 74 Dialog A: OH GOD
THEY'RE ON ME!
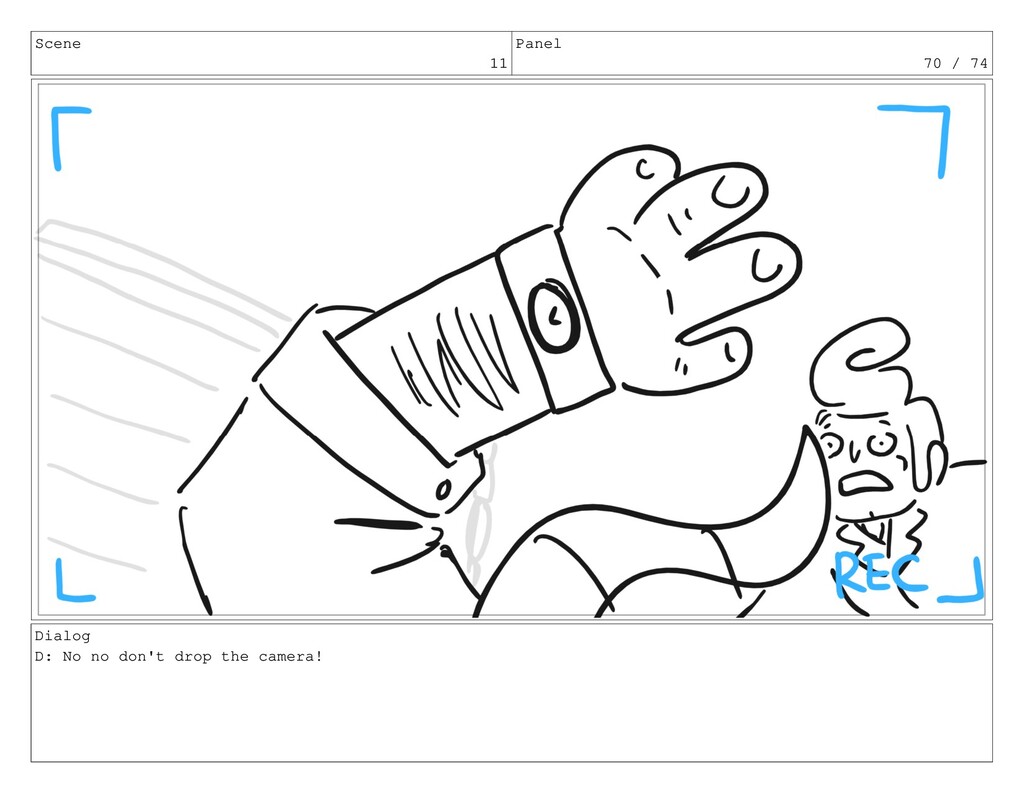
Scene 11 Panel 70 / 74 Dialog D: No no
don't drop the camera!
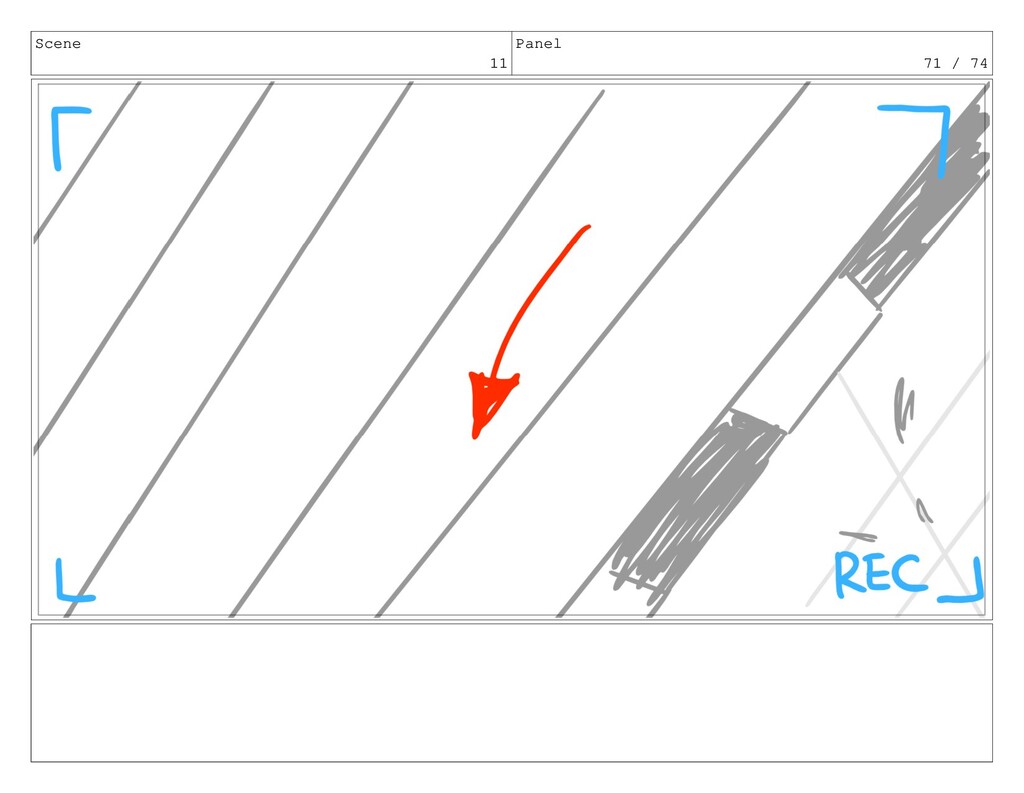
Scene 11 Panel 71 / 74
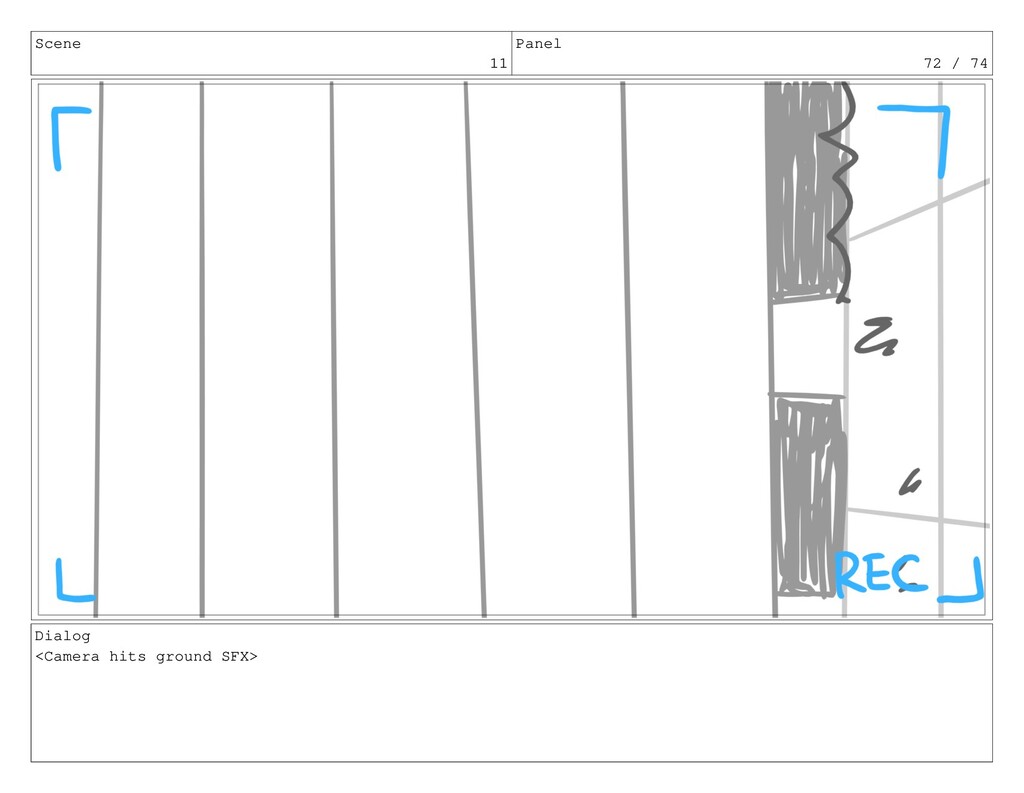
Scene 11 Panel 72 / 74 Dialog <Camera hits ground
SFX>
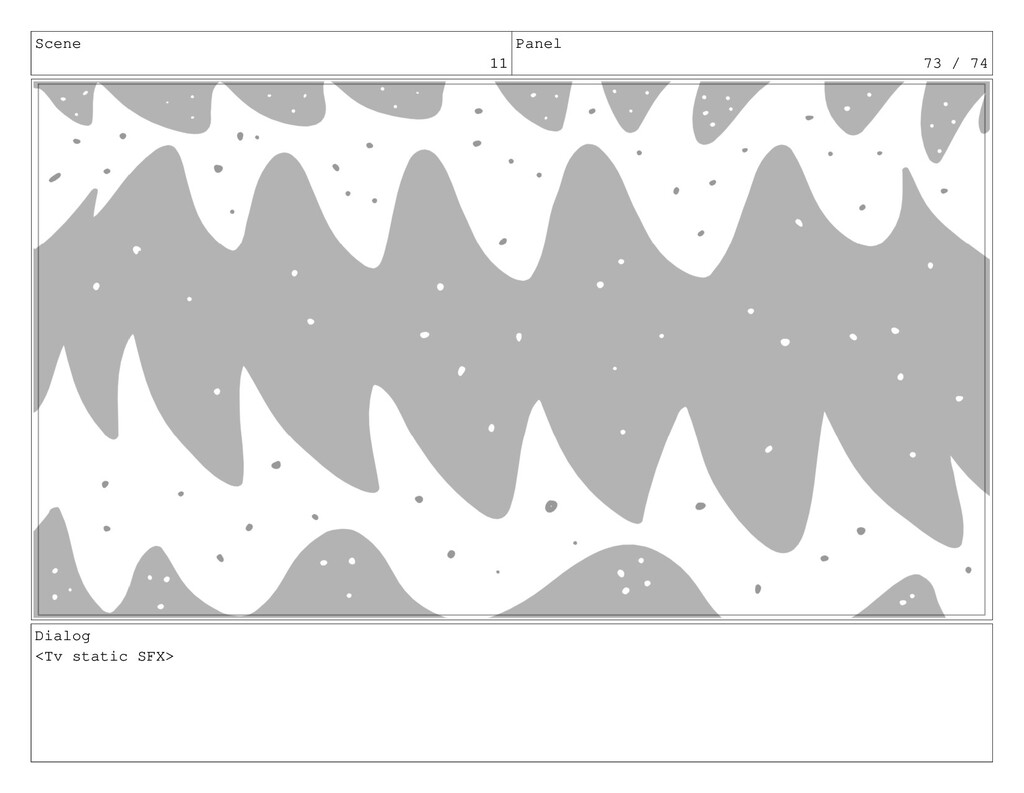
Scene 11 Panel 73 / 74 Dialog <Tv static SFX>
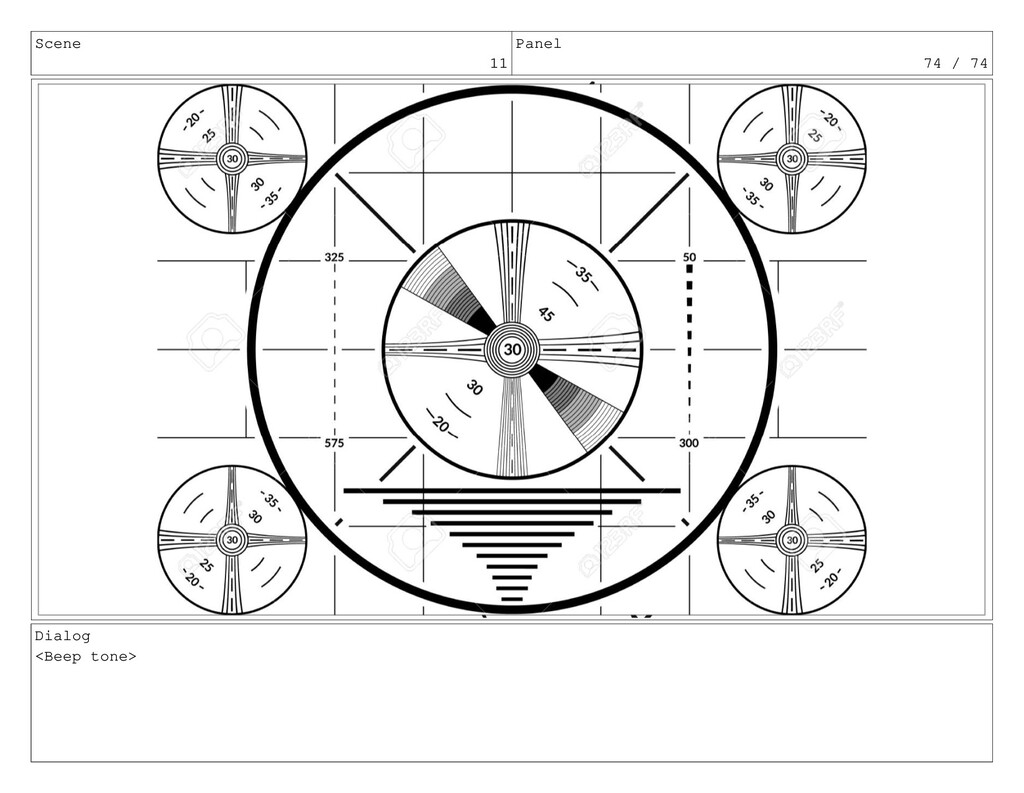
Scene 11 Panel 74 / 74 Dialog <Beep tone>