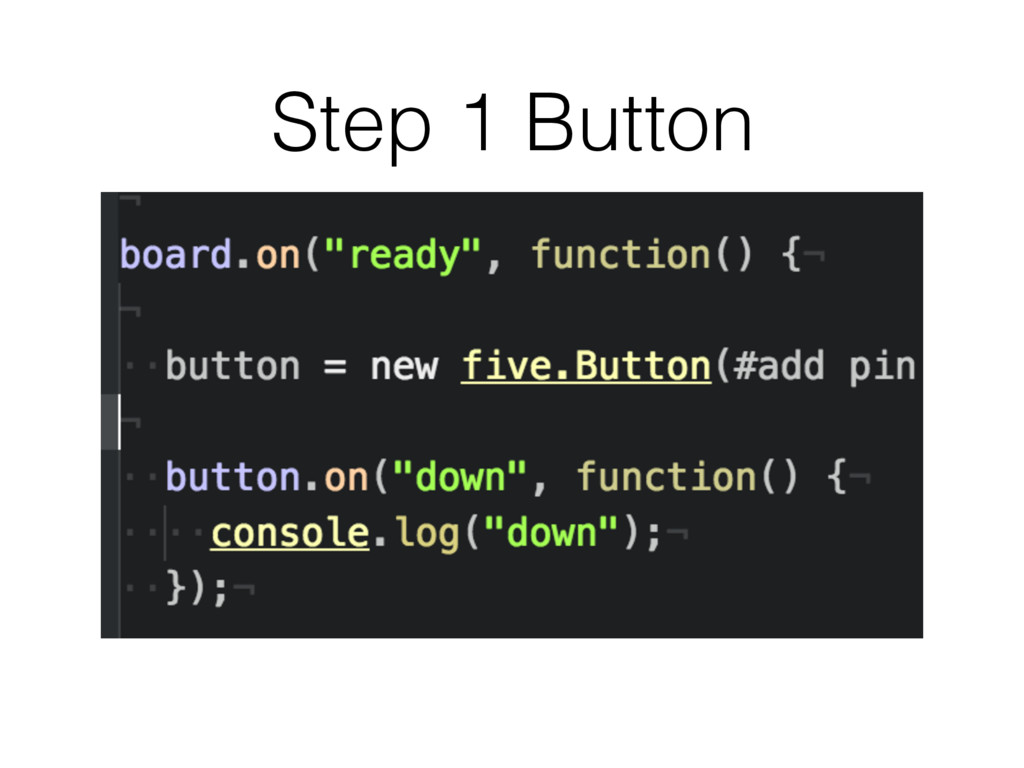
Pin, Accelerometer, Servo, Button…. • Each component class comes with their own events and methods. Led class has methods: blink(), on(), off(), toggle(), strobe(), fade()… Button class has events: “hold”, “down”/“press”, “up”/ “release”
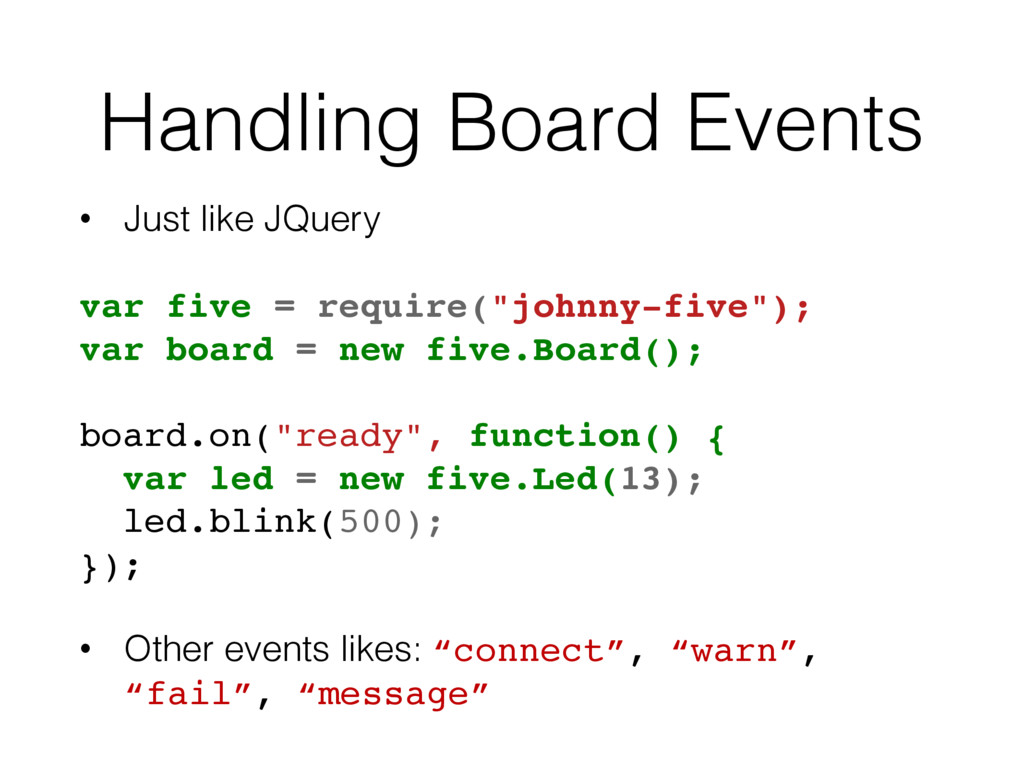
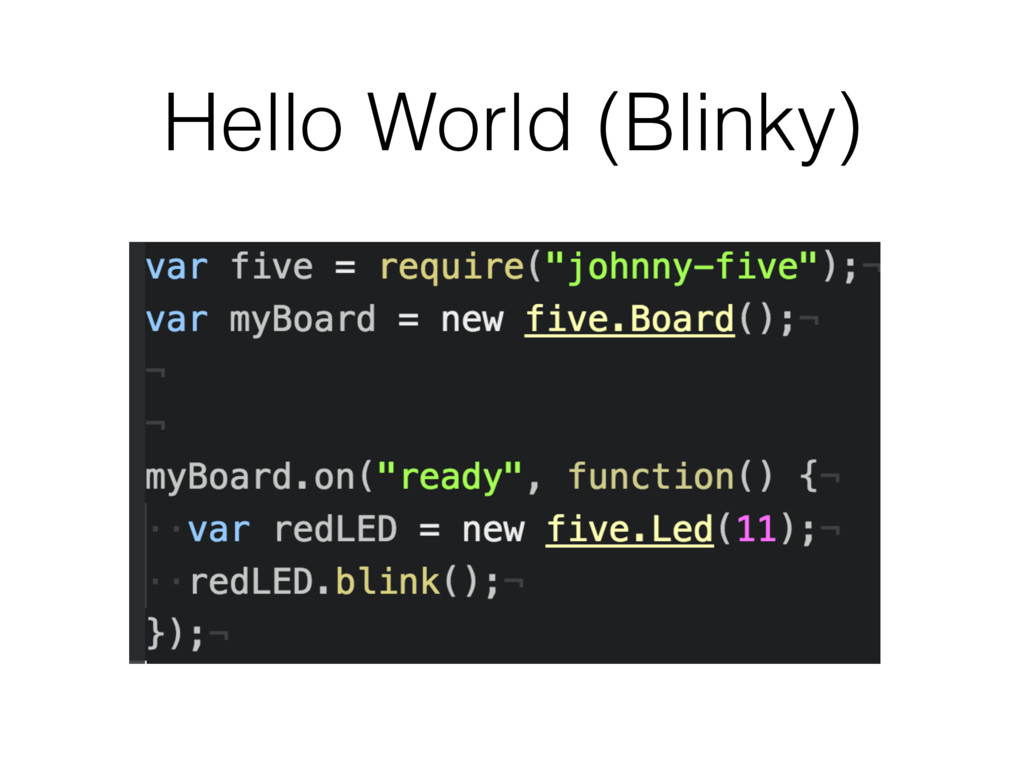
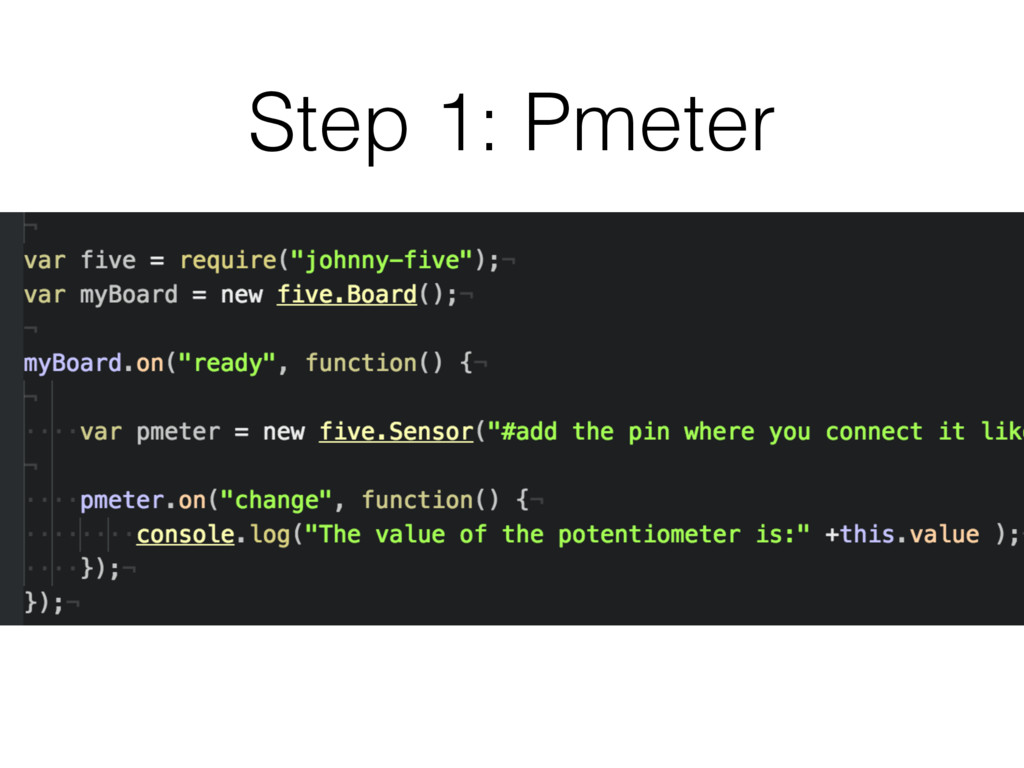
require("johnny-five"); var board = new five.Board(); board.on("ready", function() { var led = new five.Led(13); led.blink(500); }); • Other events likes: “connect”, “warn”, “fail”, “message”
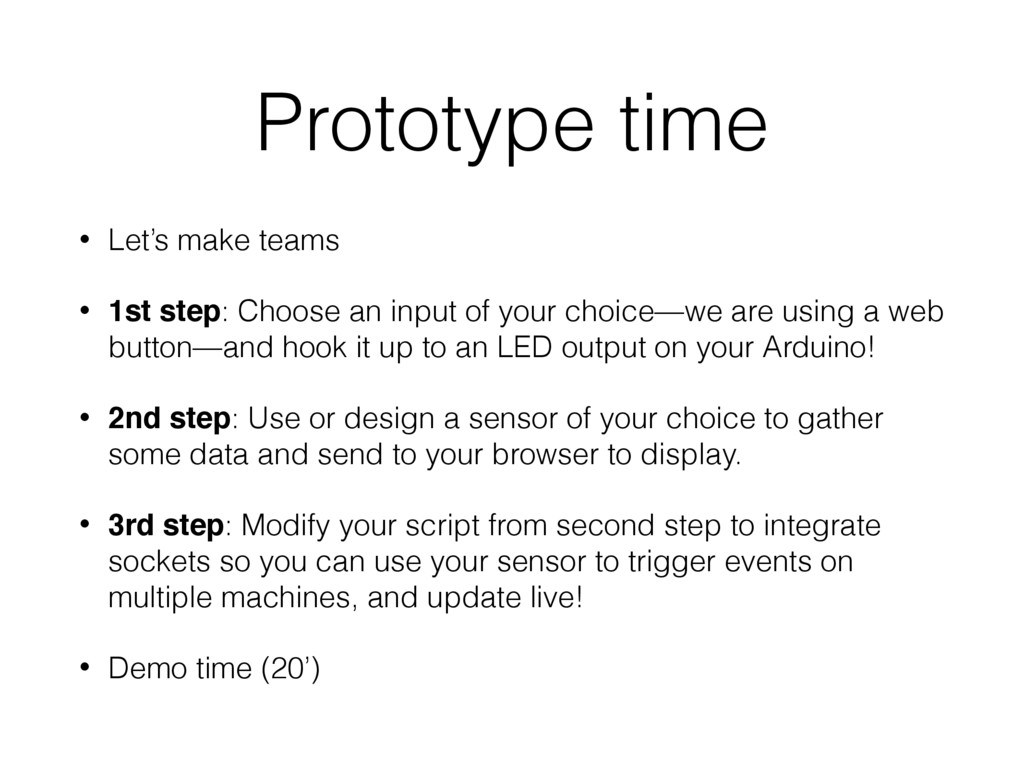
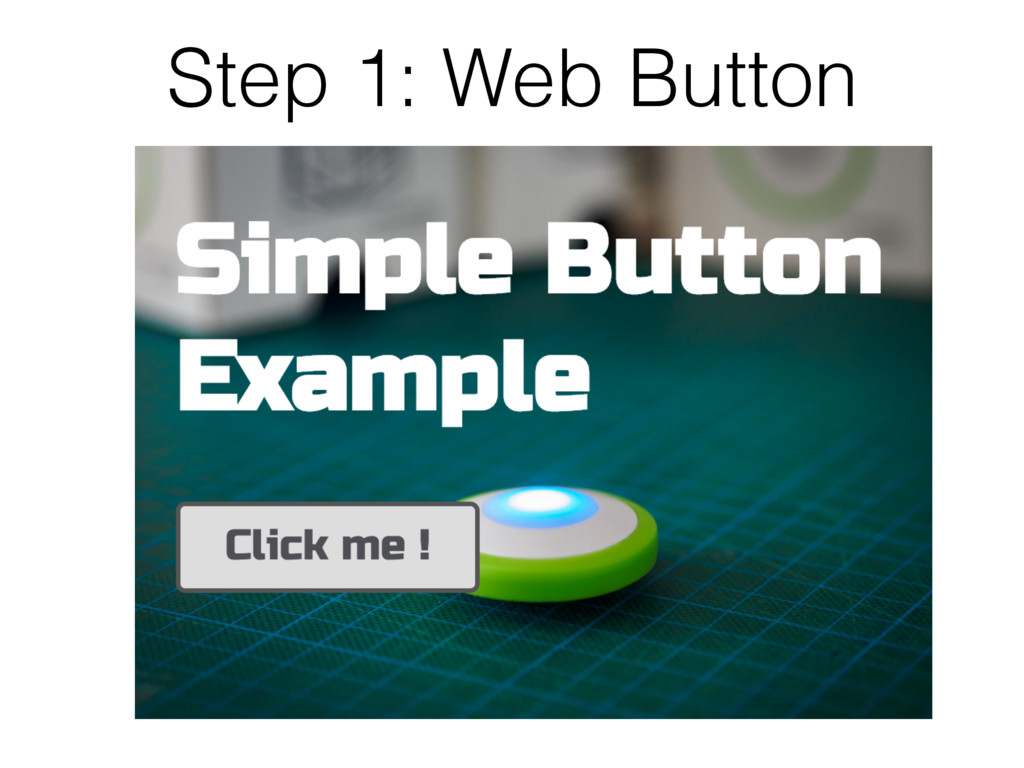
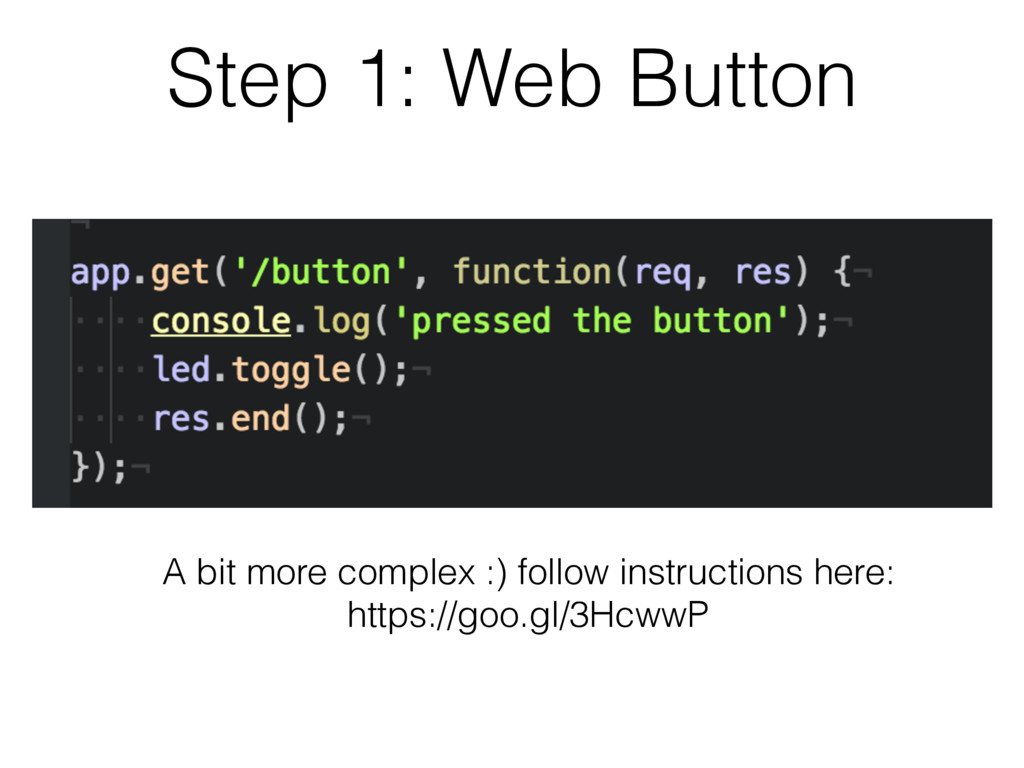
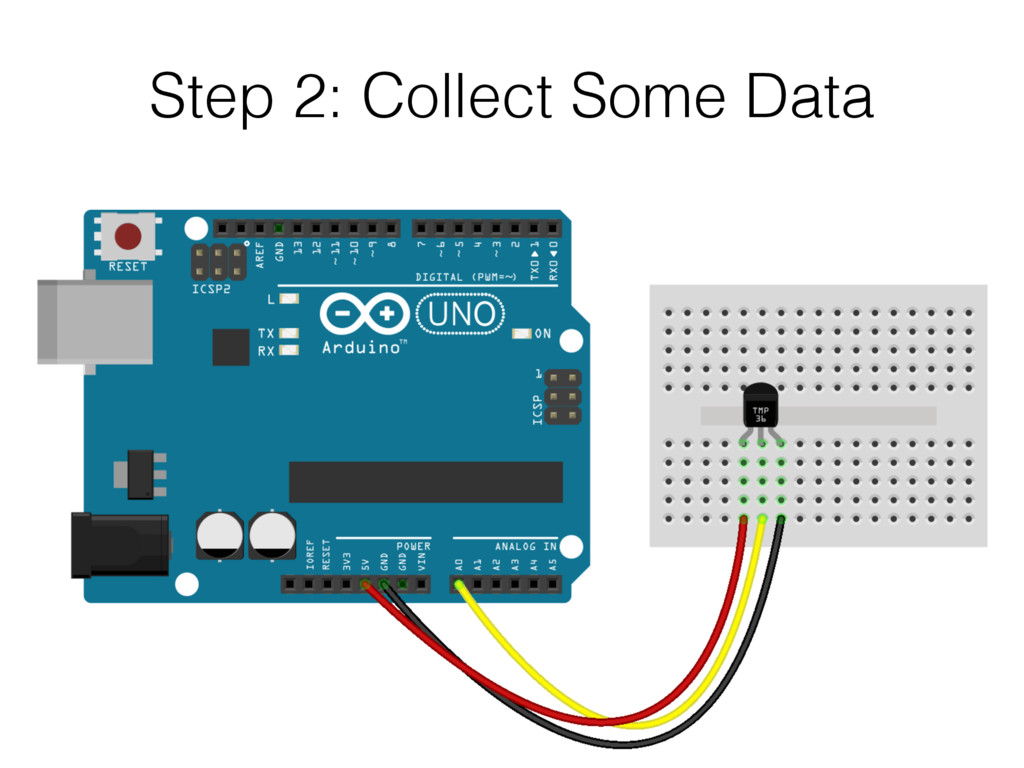
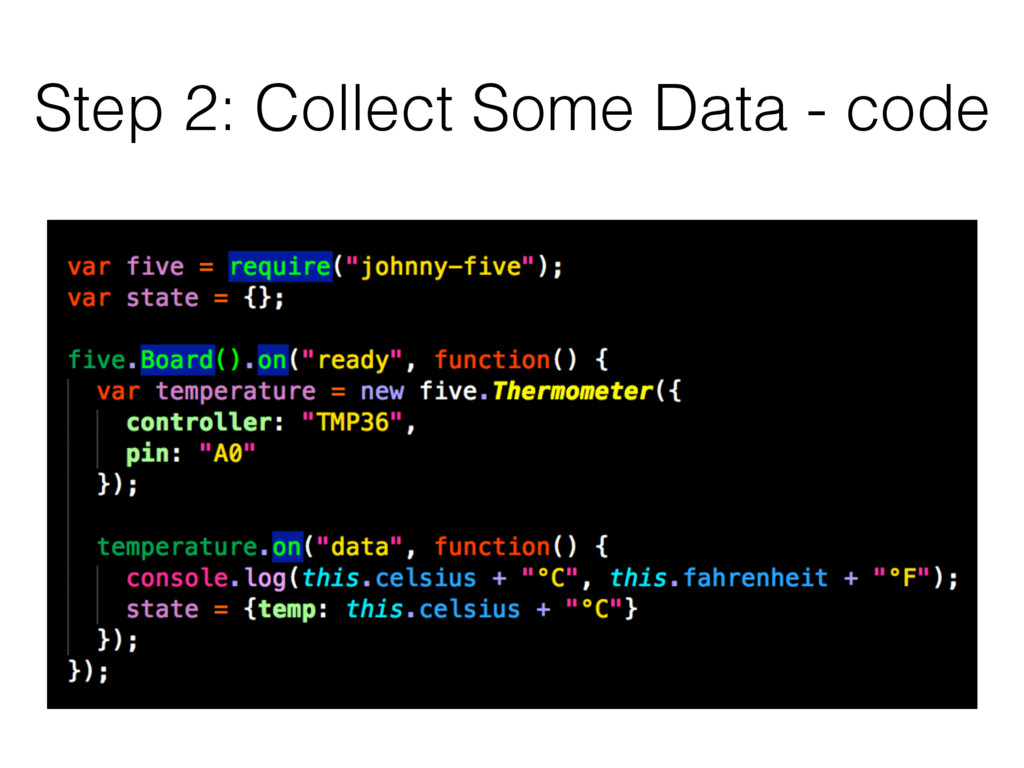
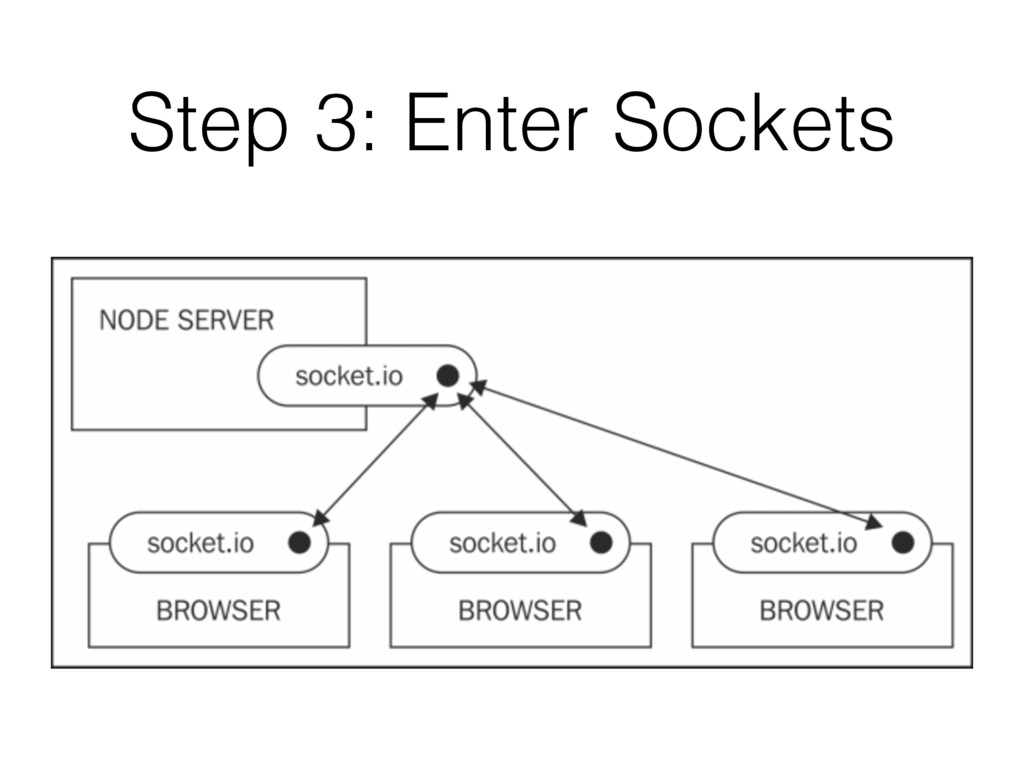
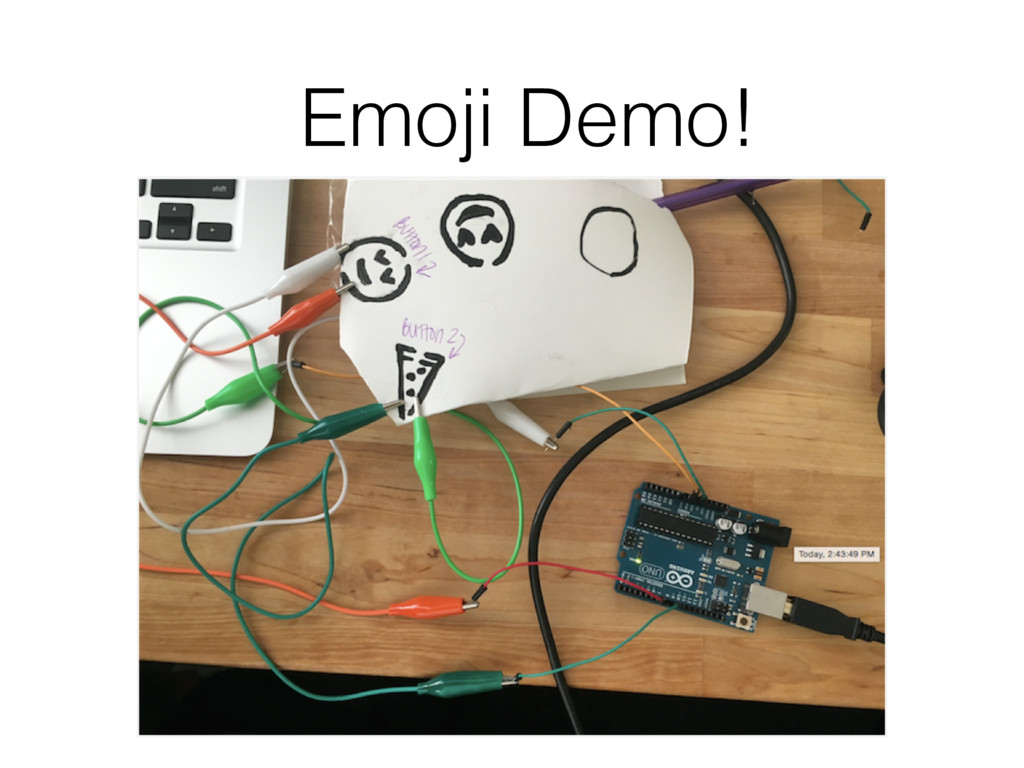
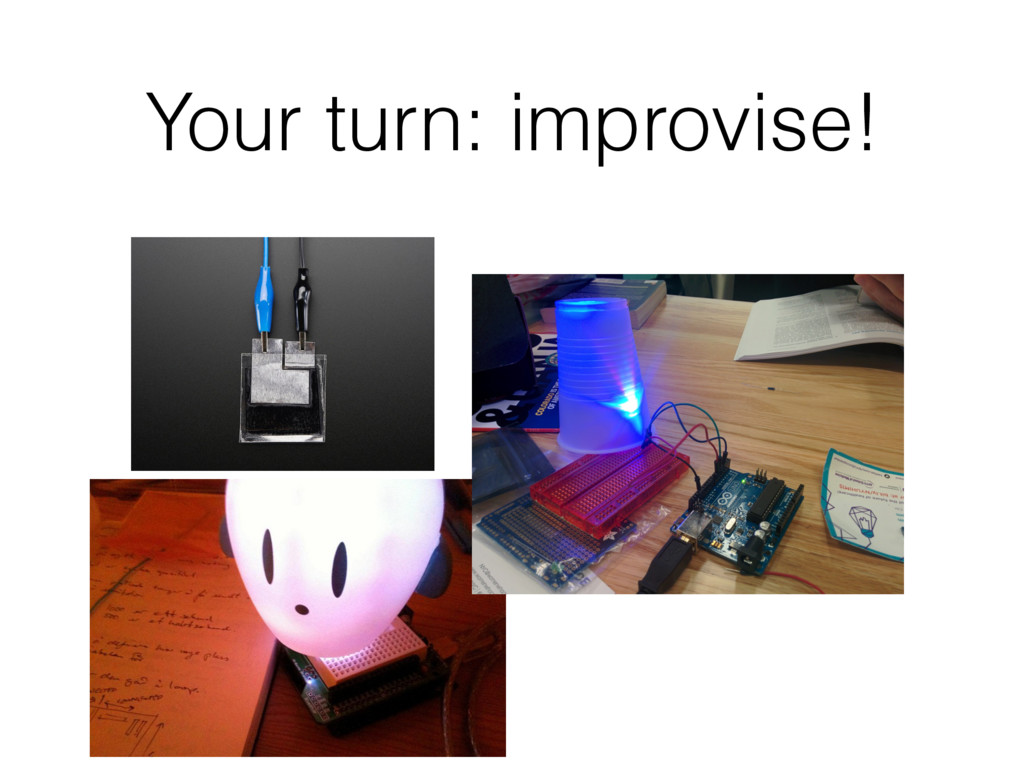
an input of your choice—we are using a web button—and hook it up to an LED output on your Arduino! • 2nd step: Use or design a sensor of your choice to gather some data and send to your browser to display. • 3rd step: Modify your script from second step to integrate sockets so you can use your sensor to trigger events on multiple machines, and update live! • Demo time (20’)
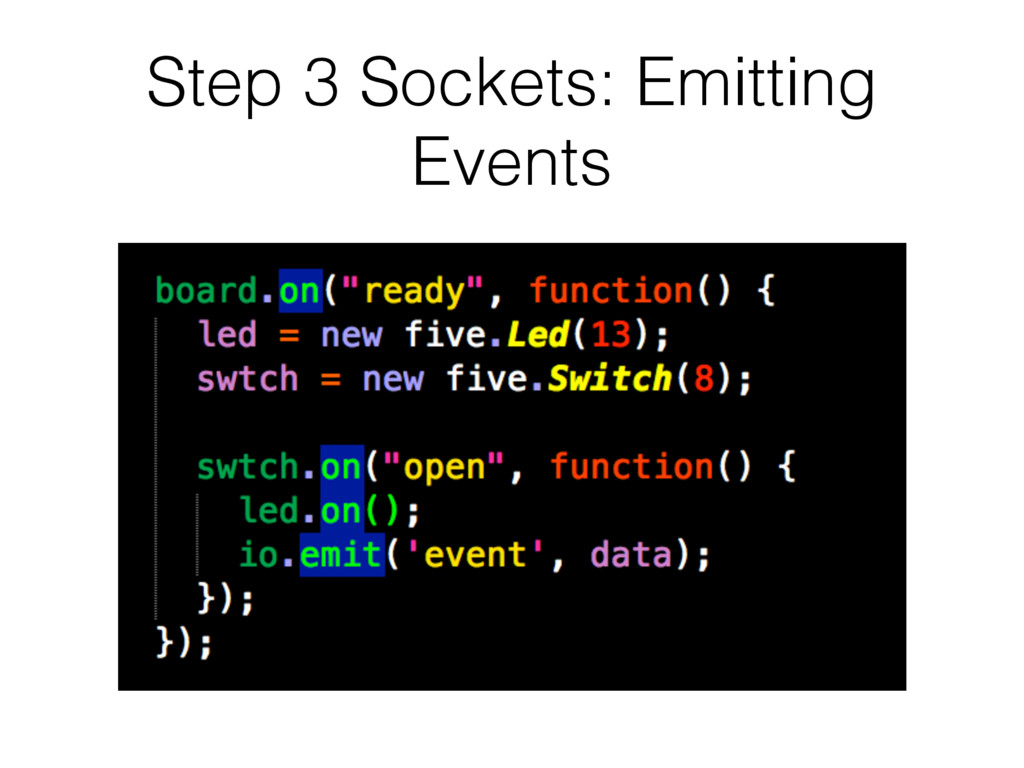
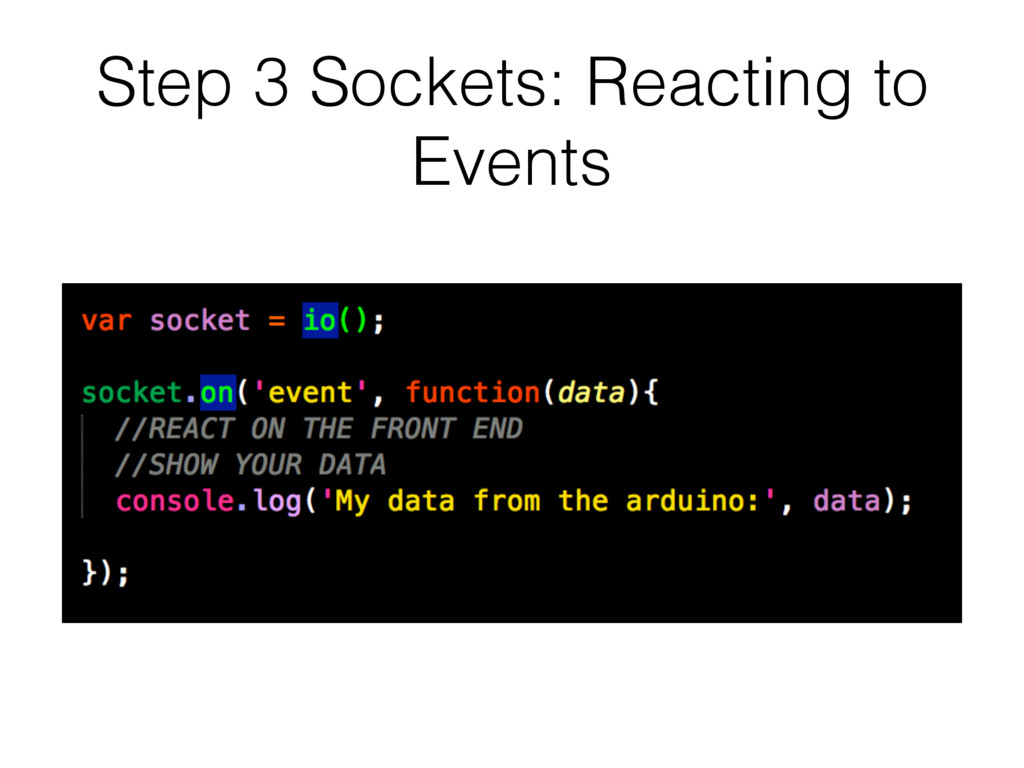
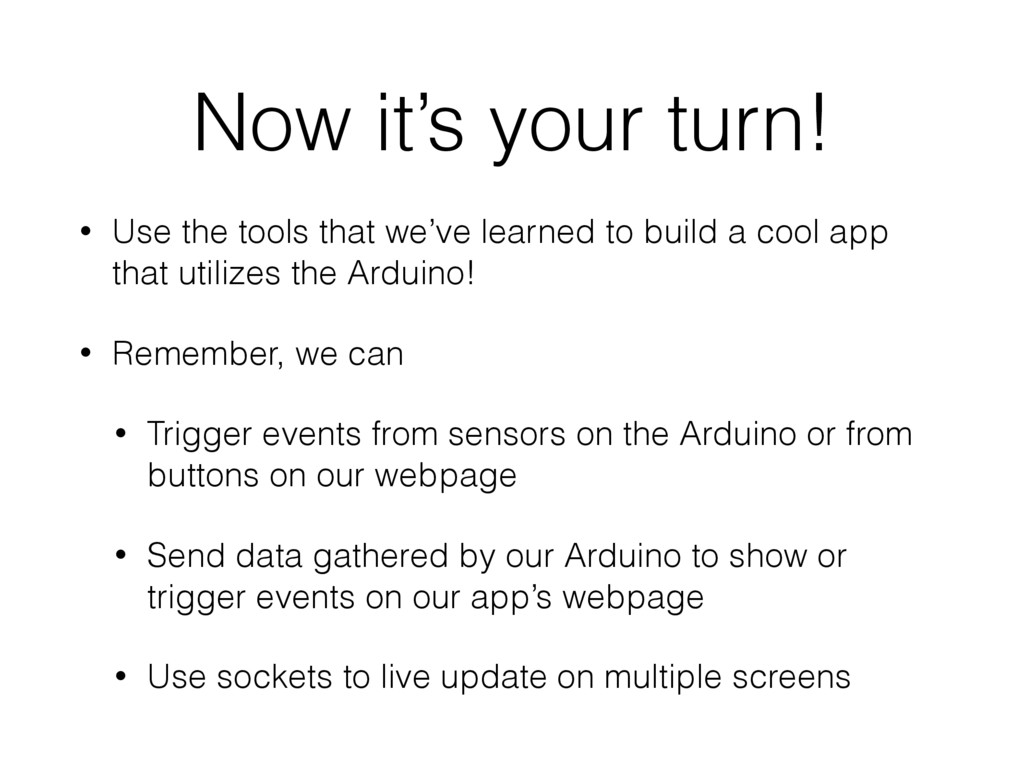
learned to build a cool app that utilizes the Arduino! • Remember, we can • Trigger events from sensors on the Arduino or from buttons on our webpage • Send data gathered by our Arduino to show or trigger events on our app’s webpage • Use sockets to live update on multiple screens