System Engineer Genymobile is a company specialized in Android. We are based in France (Paris and Lyon) and SF. We develop and customize android ROM for our customers. We also have our own products like Genymotion (android emulator, you may have heard of it) Today I’d like to talk about how to customize a Android system Android Customization: From the Kernel to the Apps
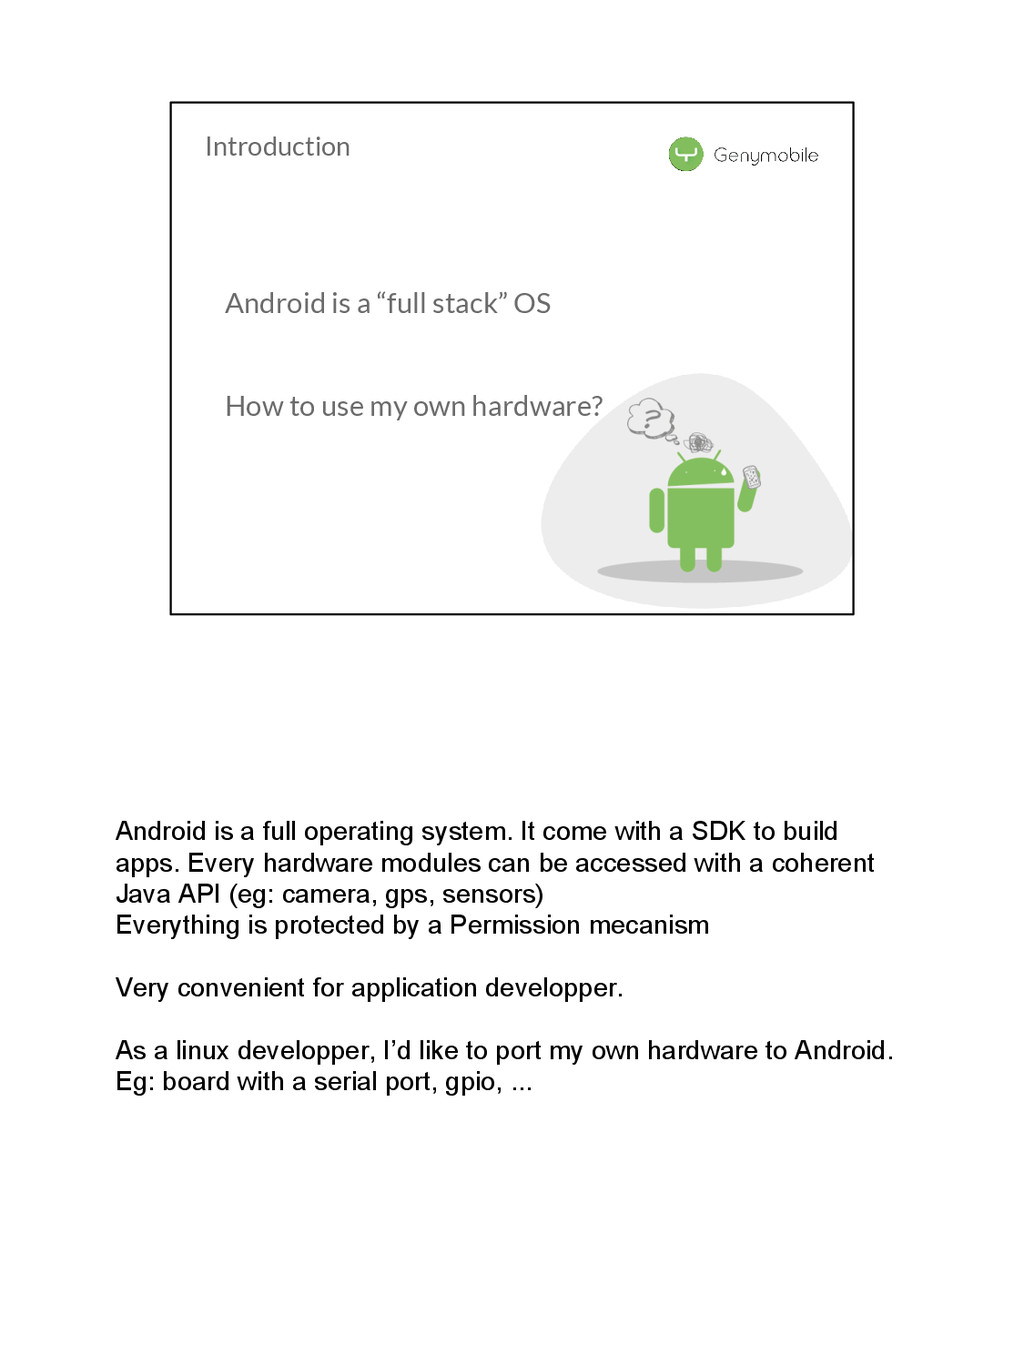
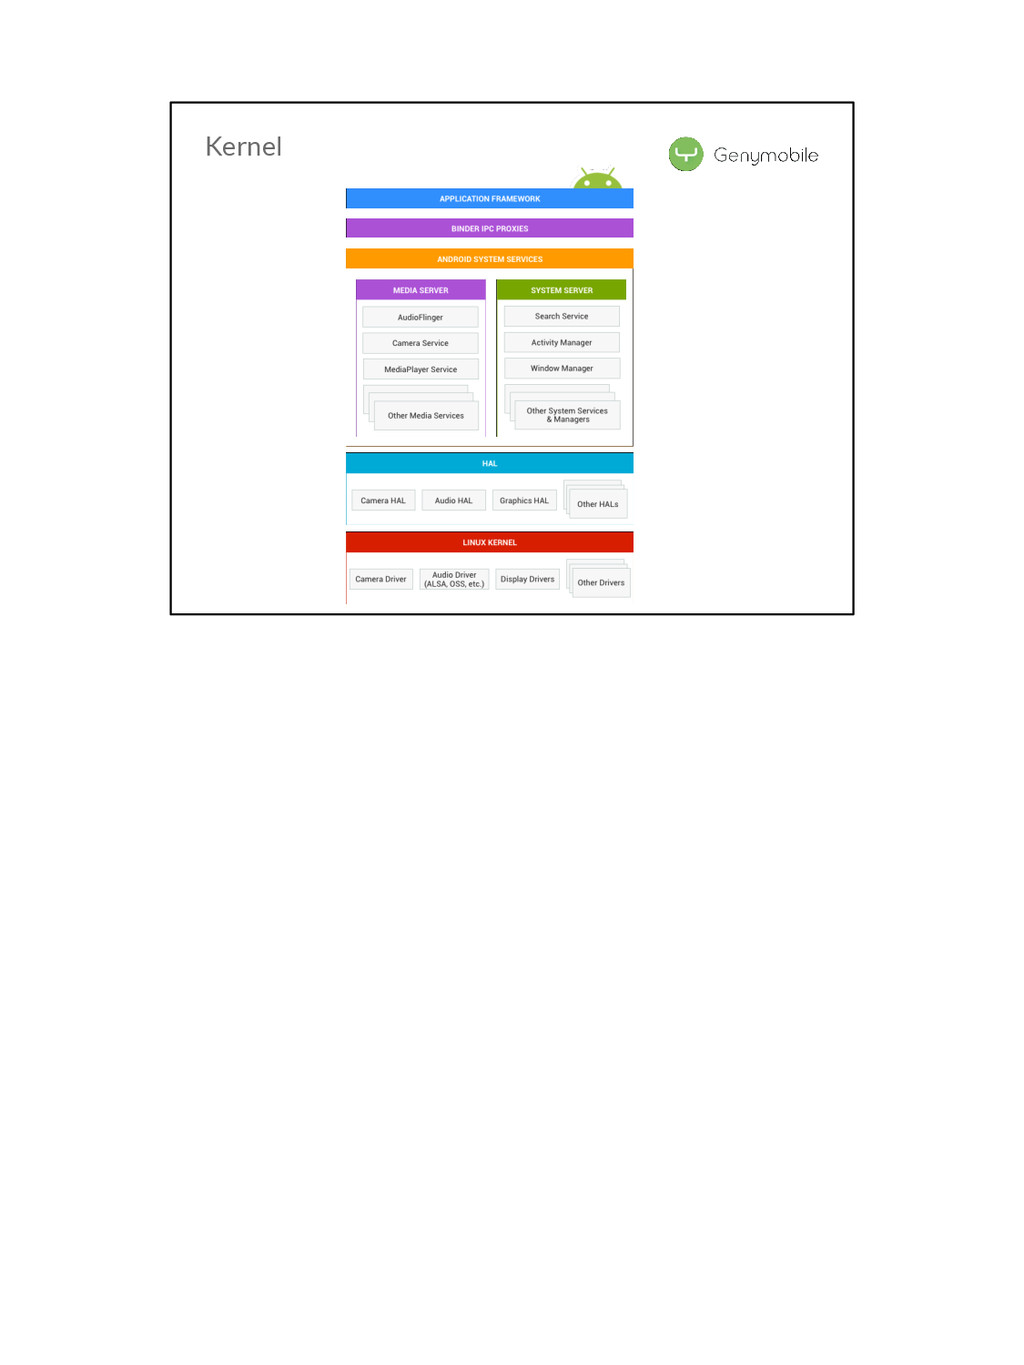
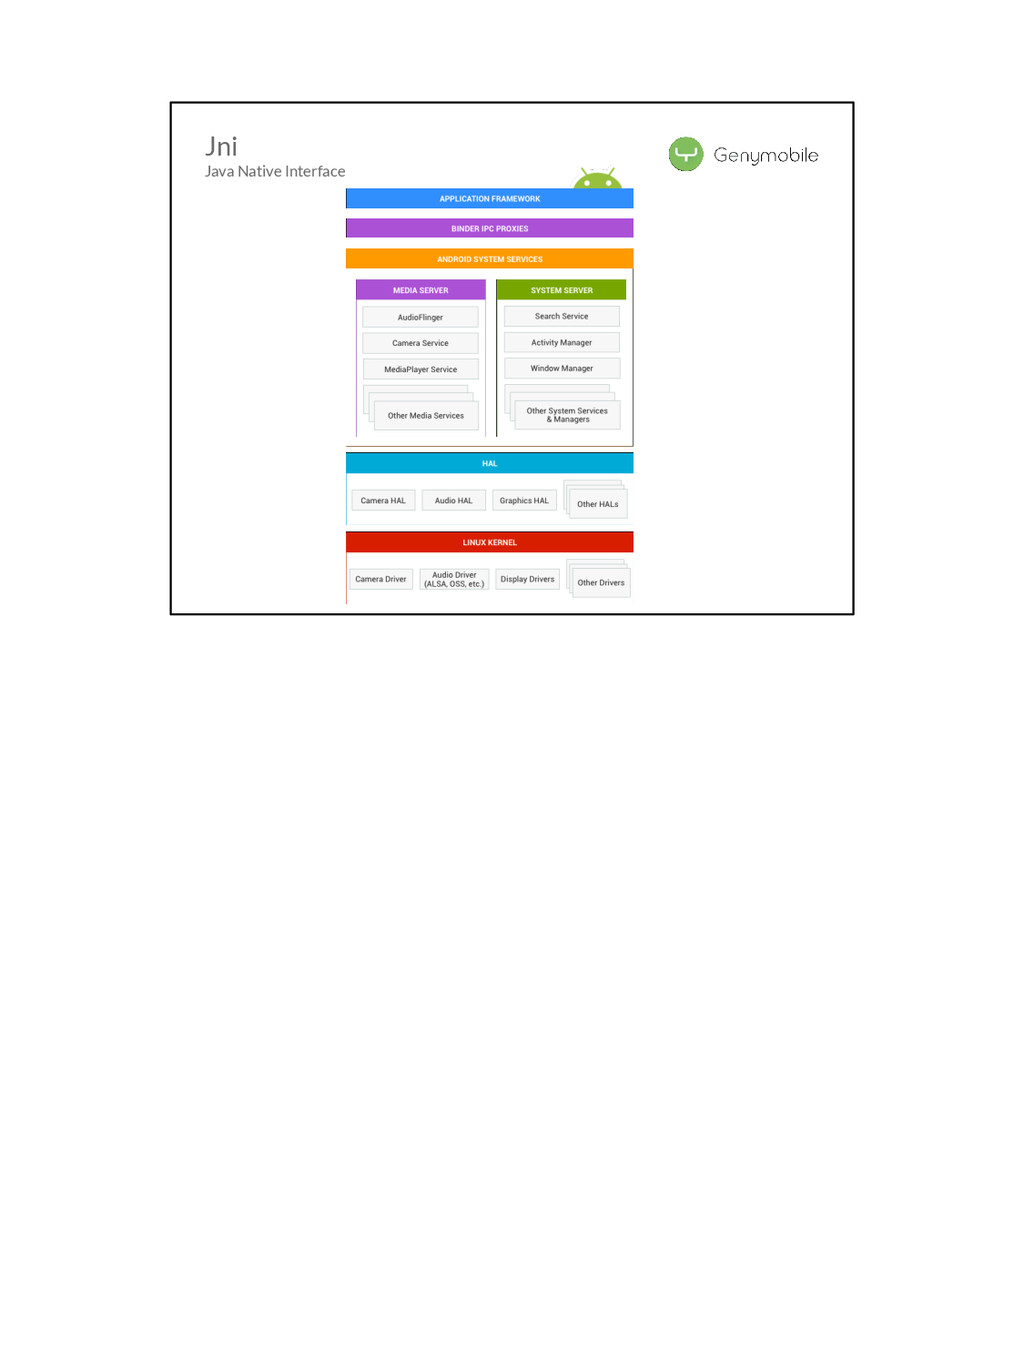
SDK to build apps. Every hardware modules can be accessed with a coherent Java API (eg: camera, gps, sensors) Everything is protected by a Permission mecanism Very convenient for application developper. As a linux developper, I’d like to port my own hardware to Android. Eg: board with a serial port, gpio, ... Introduction Android is a “full stack” OS How to use my own hardware?
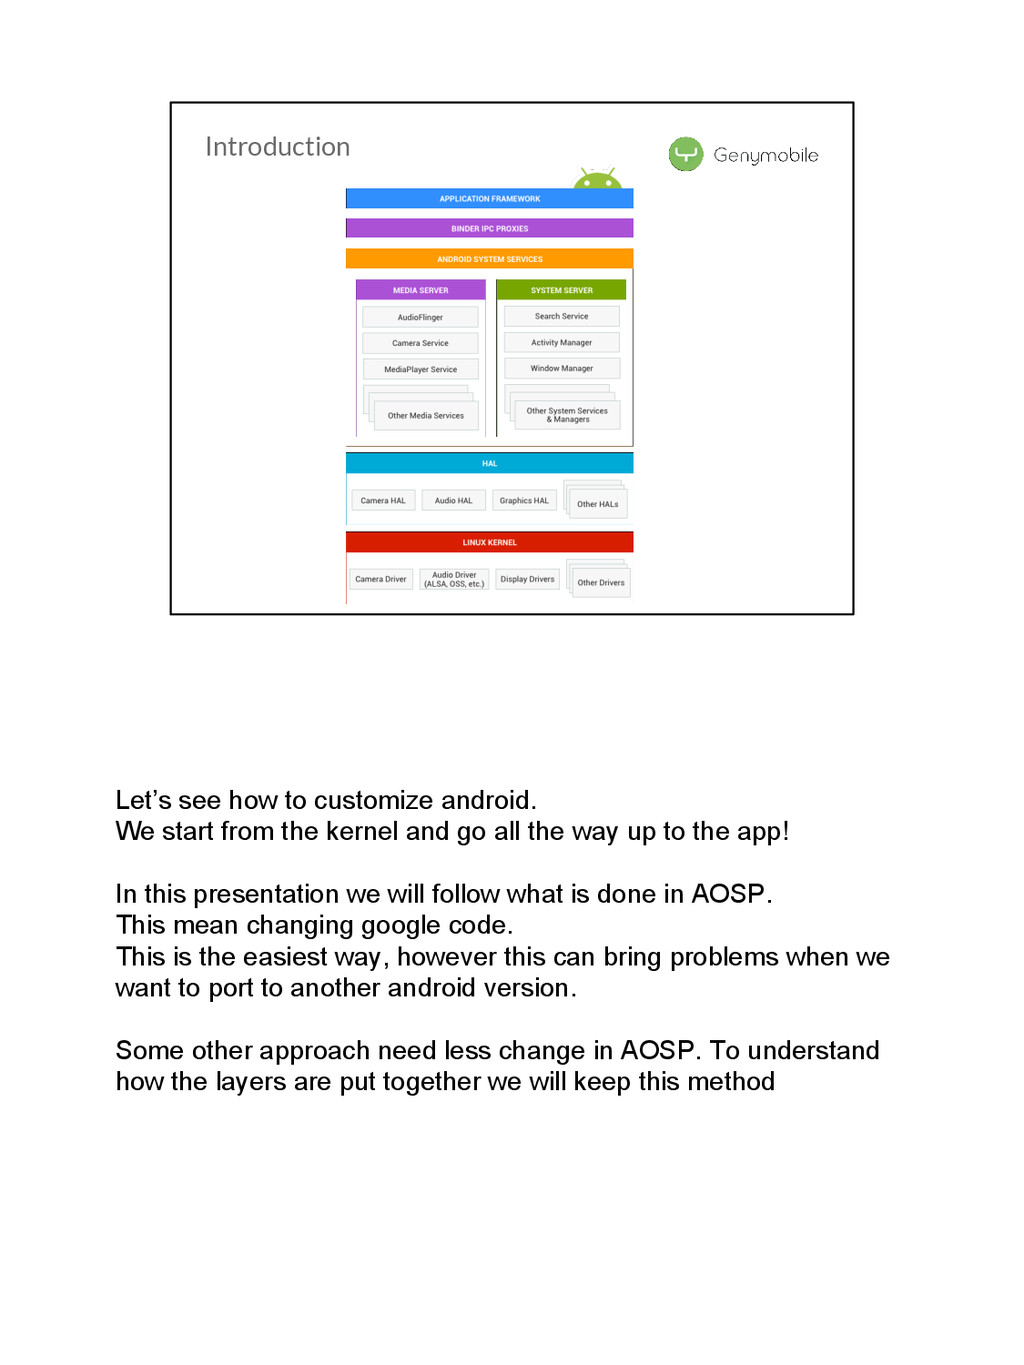
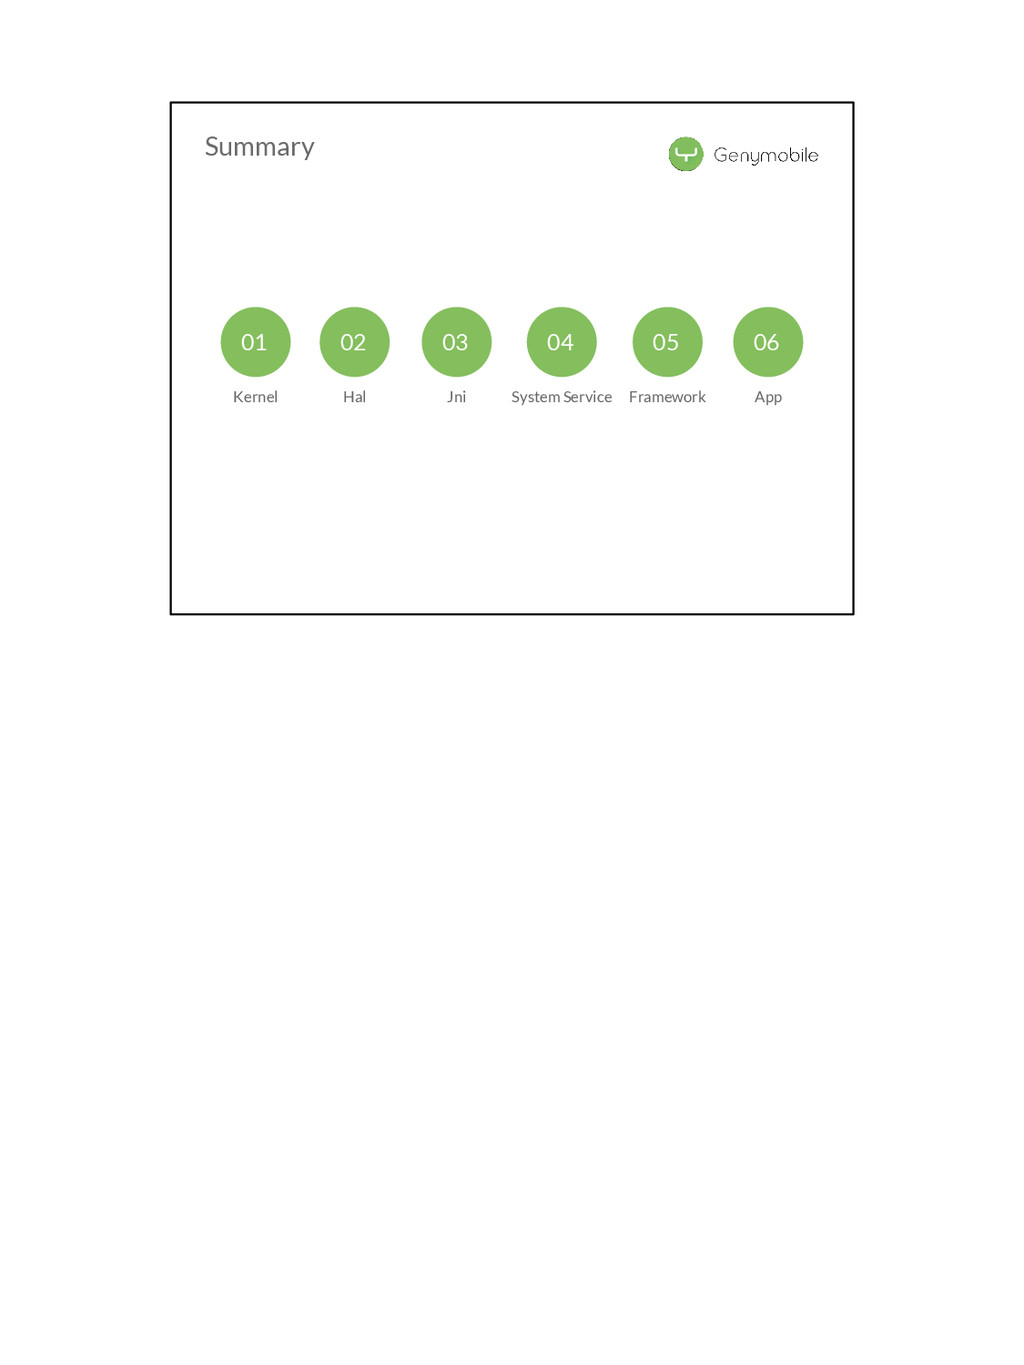
kernel and go all the way up to the app! In this presentation we will follow what is done in AOSP. This mean changing google code. This is the easiest way, however this can bring problems when we want to port to another android version. Some other approach need less change in AOSP. To understand how the layers are put together we will keep this method Introduction
device go to “device” This module will create a “character device” We do not want to give access to the device to every application, we restrict to the system user. We also do not want our app to run as system. Kernel device/<vendor>/<product>/init.<product>.rc on boot insmod /system/lib/modules/abs.ko chown system system /dev/abs chmod 0600 /dev/abs device/<vendor>/<product>/device.mk PRODUCT_COPY_FILES := \ device/<vendor>/<product>/abs.ko:system/lib/modules/abs.ko
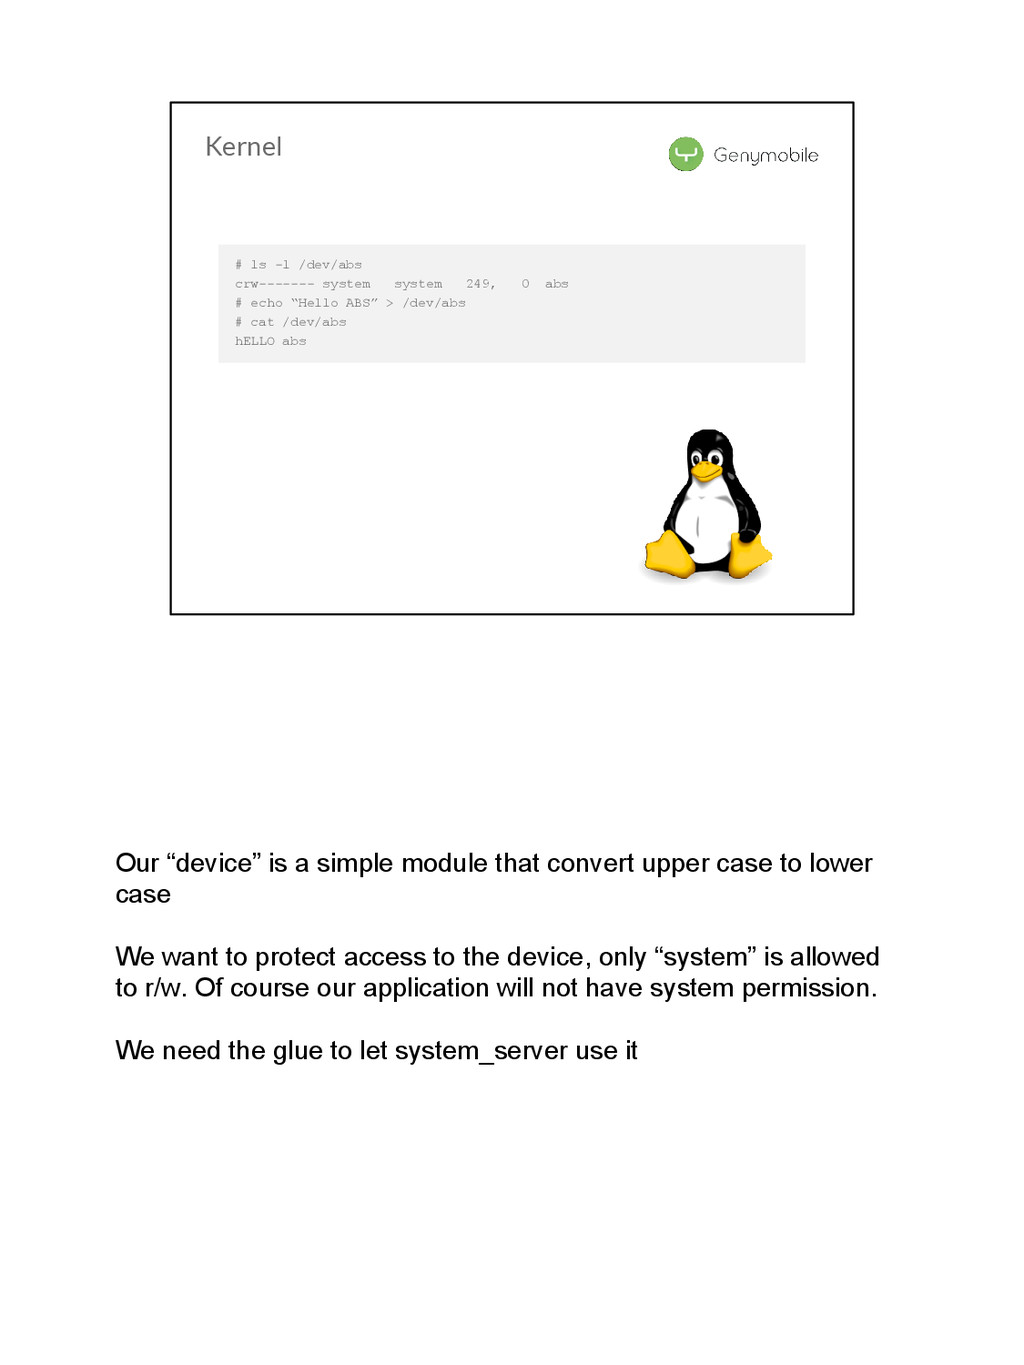
to lower case We want to protect access to the device, only “system” is allowed to r/w. Of course our application will not have system permission. We need the glue to let system_server use it Kernel # ls -l /dev/abs crw------- system system 249, 0 abs # echo “Hello ABS” > /dev/abs # cat /dev/abs hELLO abs
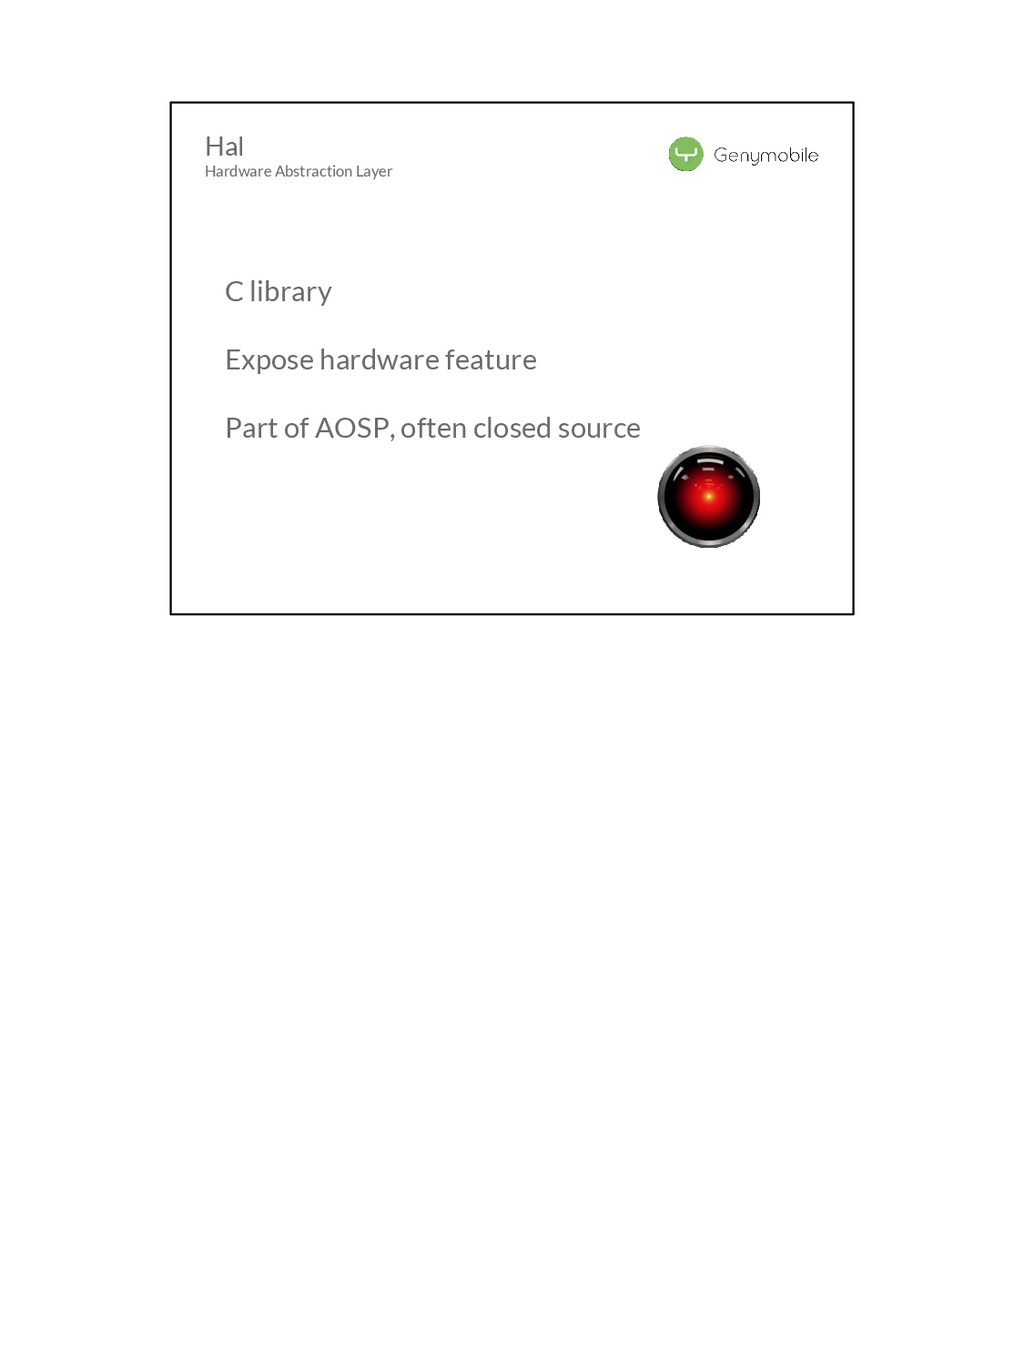
put new data (abs_putdata) and clear the buffer (abs_clear). This is here that you will put your device specific code. This code is not android specific Hal Hardware Abstraction Layer ssize_t abs_getdata(void *buf, size_t count); ssize_t abs_putdata(const void *buf, size_t count); void abs_clear(void); libabs.h => libabs.so
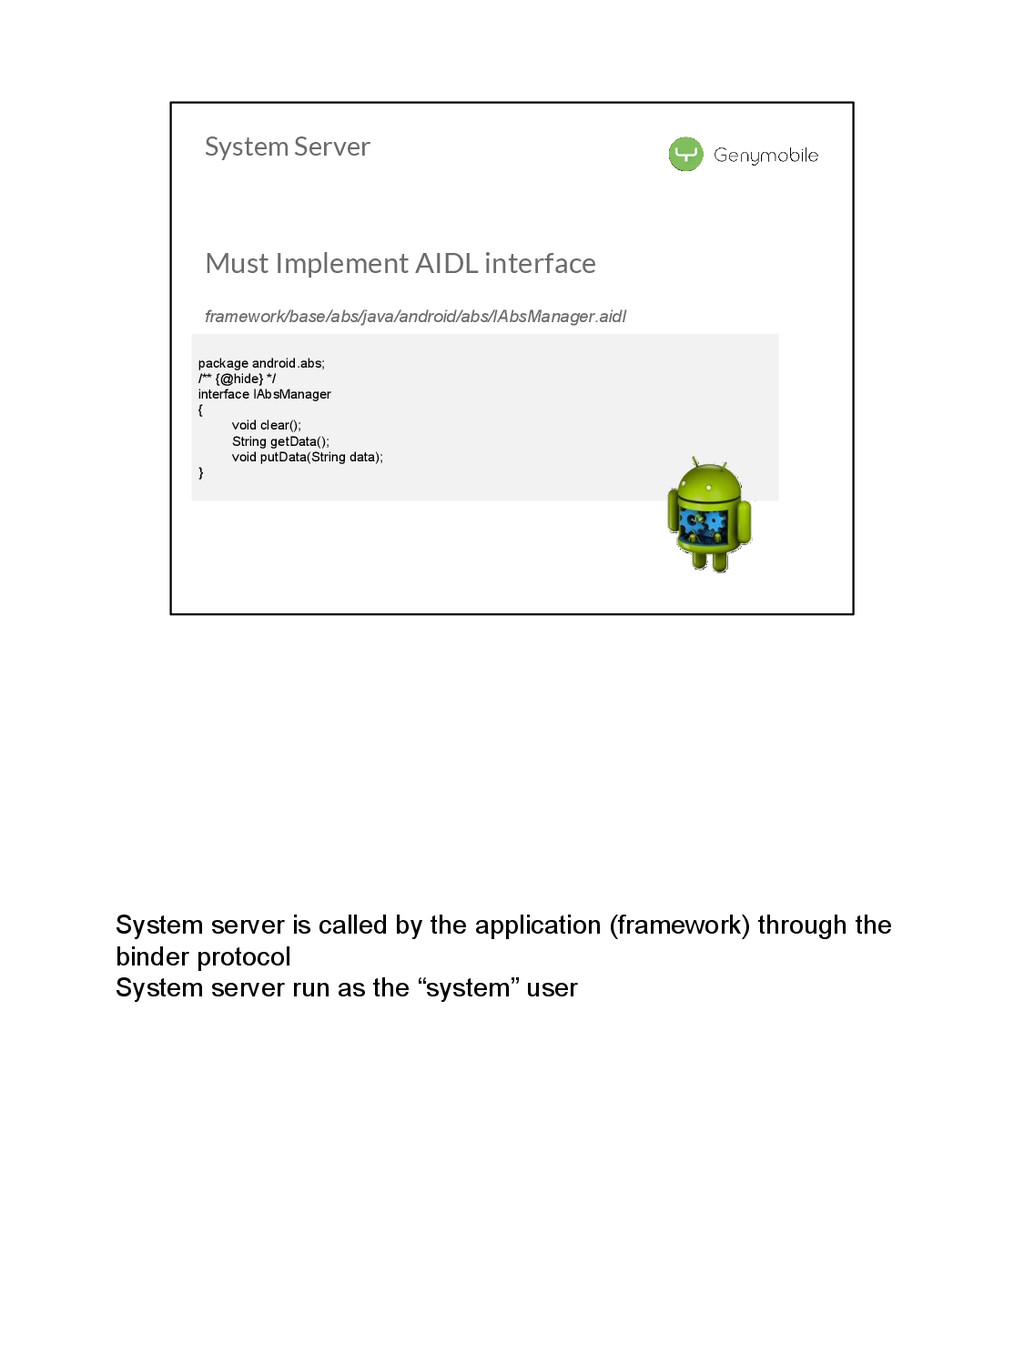
binder protocol System server run as the “system” user System Server Must Implement AIDL interface package android.abs; /** {@hide} */ interface IAbsManager { void clear(); String getData(); void putData(String data); } framework/base/abs/java/android/abs/IAbsManager.aidl
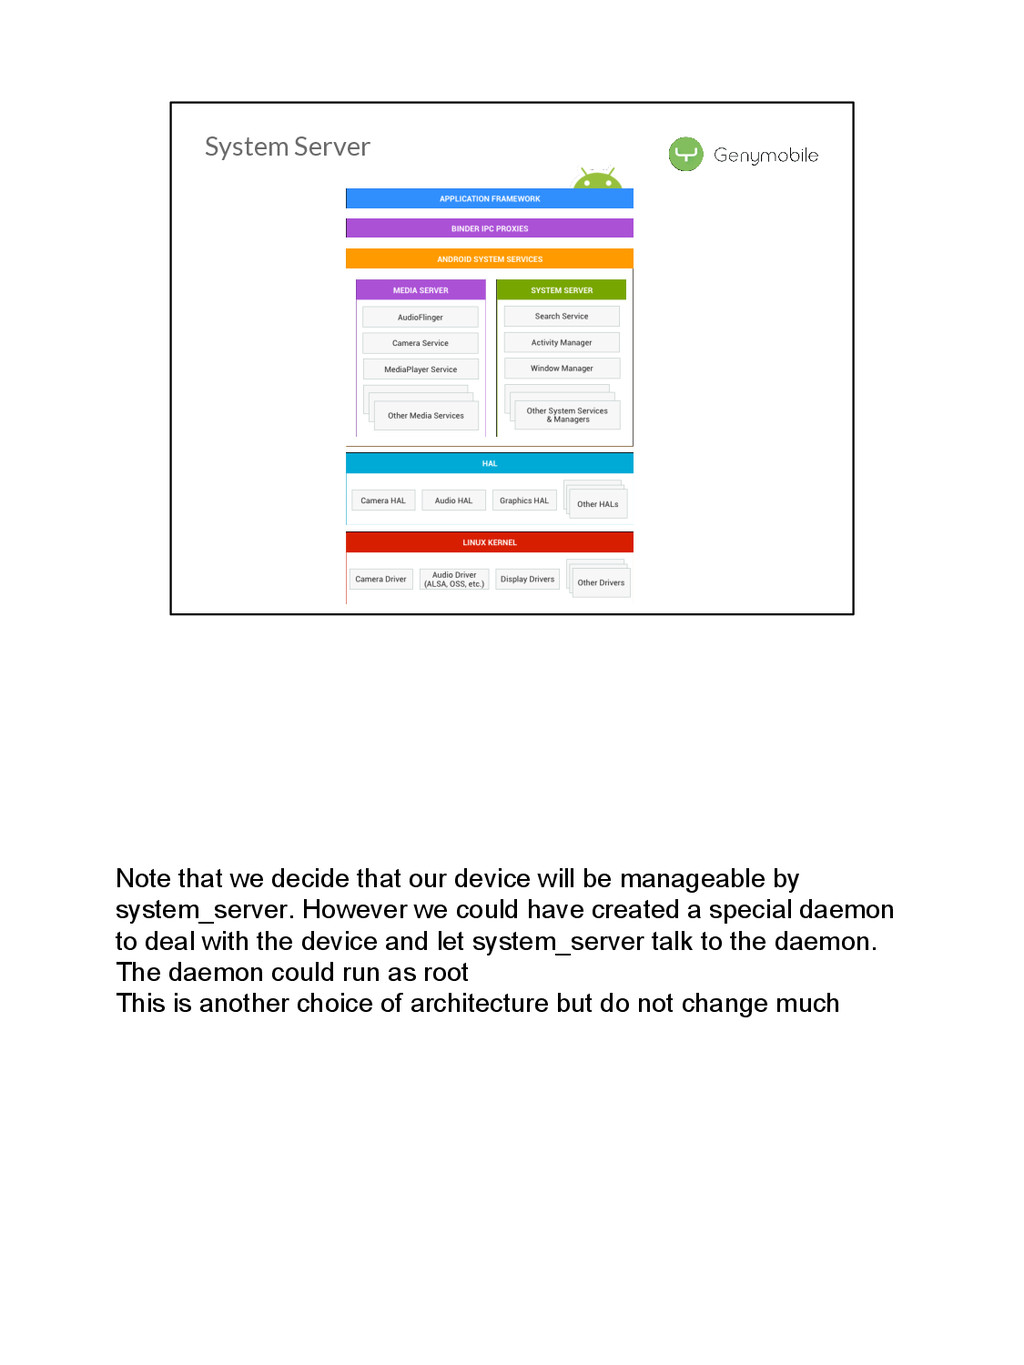
by system_server. However we could have created a special daemon to deal with the device and let system_server talk to the daemon. The daemon could run as root This is another choice of architecture but do not change much System Server
![Thank you ! Cédric Cabessa [email protected] www.genymobile.com https://github.com/CedricCabessa/abs2015 http://goo.gl/nDVszZ](https://files.speakerdeck.com/presentations/27e5fe2f11904d328ef0c57d6b176d43/slide_39.jpg)