Upgrade to Pro — share decks privately, control downloads, hide ads and more …

Caterpillar_Cat_D6N_LGP_TRACK-TYPE_TRACTOR__Pre...

dcazfrt
May 21, 2024
9

 Caterpillar_Cat_D6N_LGP_TRACK-TYPE_TRACTOR__Prefix_MG5__Service_Repair_Manual__MG500001_and_up_.pdf

dcazfrt

May 21, 2024
Tweet

More Decks by dcazfrt

Transcript

  1. Shutdown SIS Previous Screen Product: TRACK-TYPE TRACTOR Model: D6N LGP

    TRACK-TYPE TRACTOR MG5 Configuration: D6N TRACK-TYPE TRACTOR XL, LGP MG500001-UP (MACHINE) POWERED BY C7.1 Engine Disassembly and Assembly D6N Track-Type Tractor Power Train Media Number -UENR4080-03 Publication Date -01/09/2015 Date Updated -31/07/2018 i06983856 Steering Differential and Brake - Disassemble SMCS - 4131-015 Disassembly Procedure Table 1 Required Tools Tool Part Number Description Qty A 138-7573 Link Bracket 2 B 3K-4897 Spring Pin 8 C 6V-4072 Spanner Wrench 1 D 9S-9154 Step Plate 1 6V-3009 Bar 1 8S-6470 Forcing Screw 1 8S-5133 Plug 1 5P-8245 Washer 4 1D-4719 Full Nut 2 2H-6488 Bolt 2 E 9S-9154 Step Plate 1 6V-3009 Bar 1 8S-6470 Forcing Screw 1 8S-5133 Plug 1 5P-8245 Washer 4
  2. 1D-4719 Full Nut 2 1D-4574 Bolt 2 8H-0663 Bearing Puller

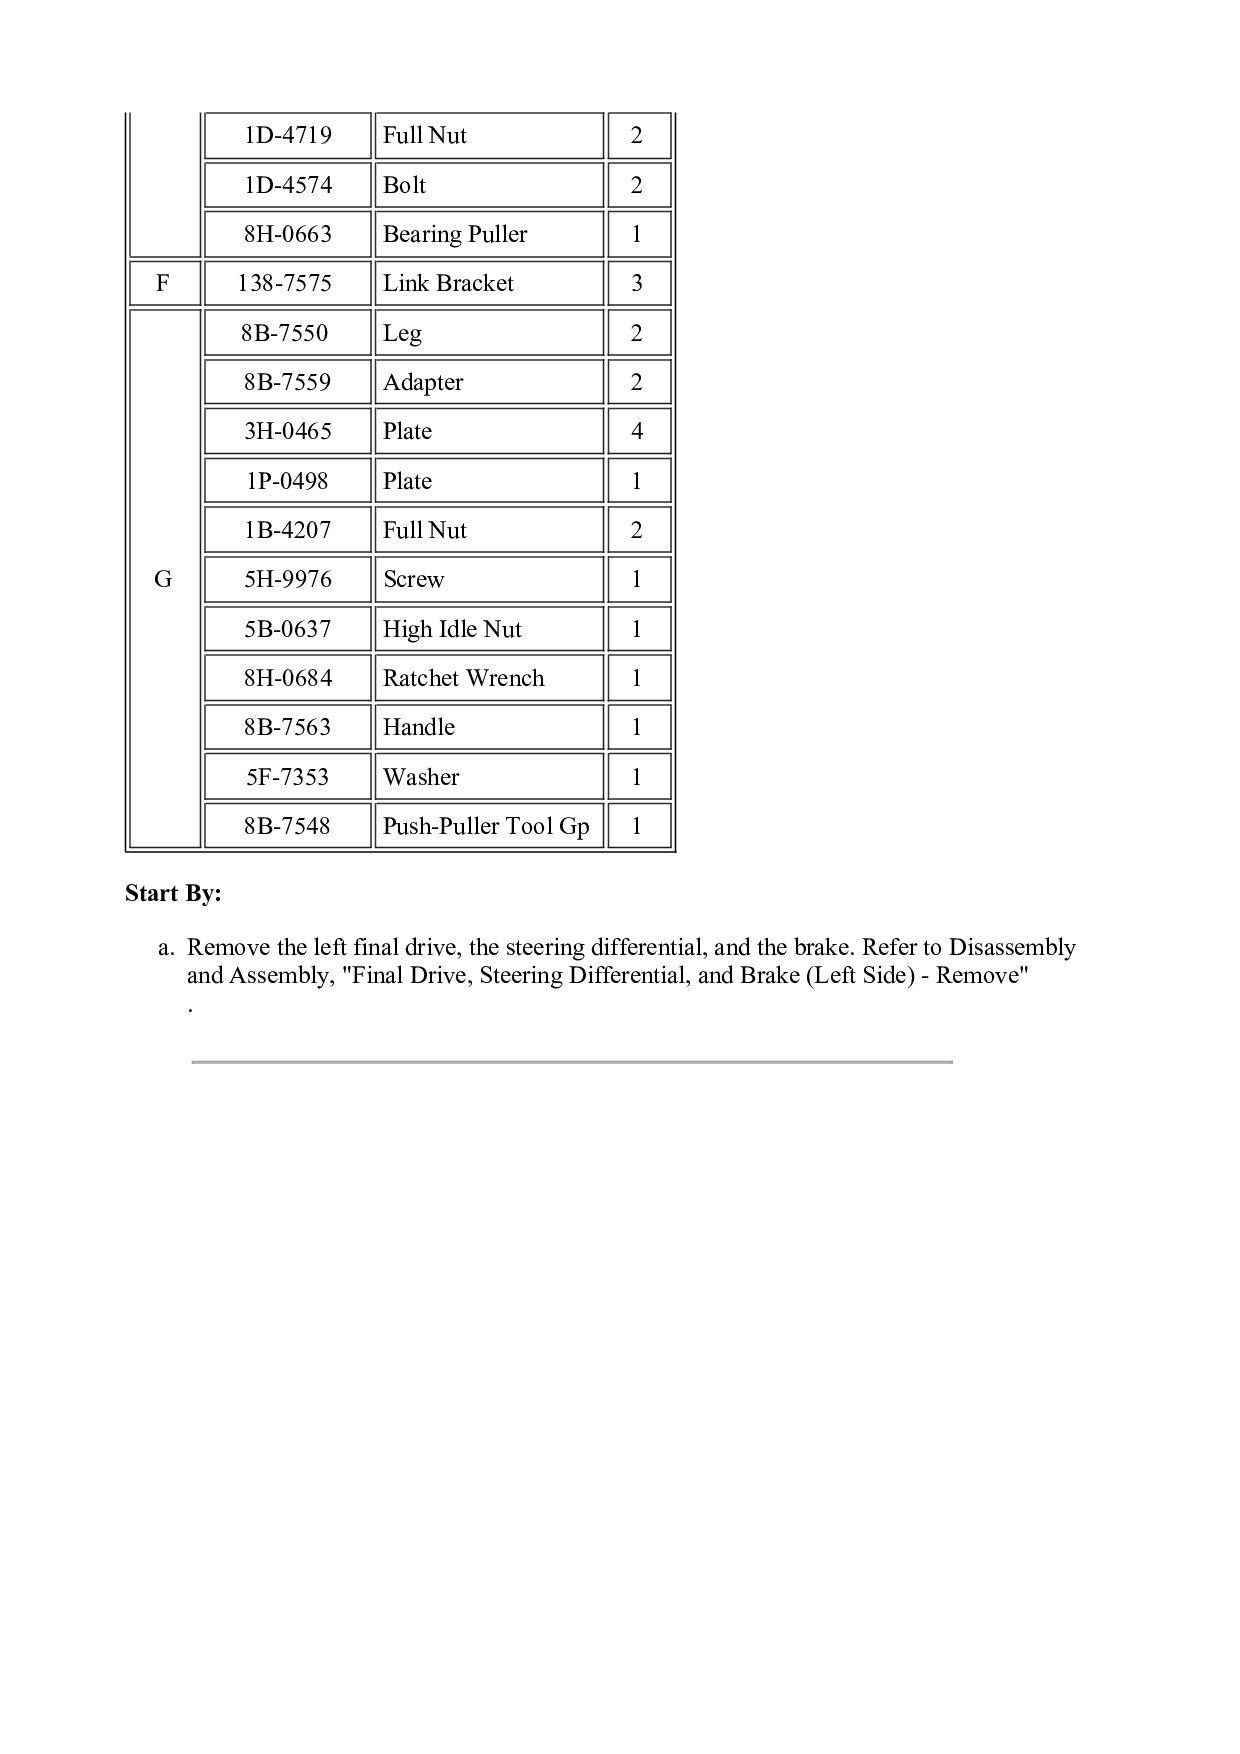
    1 F 138-7575 Link Bracket 3 G 8B-7550 Leg 2 8B-7559 Adapter 2 3H-0465 Plate 4 1P-0498 Plate 1 1B-4207 Full Nut 2 5H-9976 Screw 1 5B-0637 High Idle Nut 1 8H-0684 Ratchet Wrench 1 8B-7563 Handle 1 5F-7353 Washer 1 8B-7548 Push-Puller Tool Gp 1 Start By: a. Remove the left final drive, the steering differential, and the brake. Refer to Disassembly and Assembly, "Final Drive, Steering Differential, and Brake (Left Side) - Remove" .
  3. Illustration 2 g00823691 3. Install Tooling (A) and a suitable

    lifting device. 4. Remove sliding carrier (3). The weight of sliding carrier (3) is approximately 48 kg (105 lb). 5. Remove Tooling (A).
  4. Illustration 3 g06187075 6. Remove remaining bolts (2) and slinger

    (4) from planetary carrier (7). 7. Remove retaining ring (5), thrust ring (5A), and planetary carrier (7) from ring gear (6). Illustration 4 g00823775 8. Remove O-ring seal (10) from planetary carrier (7). 9. Use a hammer and a punch to push pin (12) in shaft (11). 10. Remove shaft (11), planetary gear (9), discs (8), and bearing (13) from planetary carrier (7). 11. Remove pin (12) from shaft (11). 12. Repeat Steps 9 through 11 for the remaining planetary gears.
  5. https://www.aservicemanualpdf.com/ My Dear Friend! Thank you very much for visiting.

    Full manual if required, please enter the following URL into your browser. https://www.aservicemanualpdf.com/
  6. Illustration 5 g00823759 13. Remove lockring (14) and remove retaining

    ring (16). 14. Remove sun gear (15) from planetary carrier (18). 15. Remove spacer (17).
  7. Illustration 6 g00995126 16. Remove bolts (19), plate (20), and

    gear (21) from planetary carrier (18). 17. Use Tooling (B) to compress the retaining ring that holds planetary carrier (18) in ring gear (6). 18. Separate planetary carrier (18) from ring gear (6). 19. Remove the retaining ring from planetary carrier (18). 20. Use a hammer and a punch to push pin (23) in shaft (24).
  8. Illustration 7 g00823872 21. Remove shaft (24), planetary gear (22),

    discs (26), and bearing (25) from planetary carrier (18). 22. Remove pin (23) from shaft (24). 23. Repeat Steps 20 through 22 for the remaining planetary gears.
  9. Illustration 8 g00823878 24. Place a bolt in the teeth

    of pinion gear (27) to prevent movement.
  10. Illustration 9 g00823884 25. Bend the tang on lock washer

    (29) away from nut (28). 26. Use Tooling (C) to remove nut (28) from the pinion. 27. Remove lockwasher (29) and washer (30) from the pinion. 28. Remove bolts (32). 29. Remove carrier (31) from the support bracket.
  11. Illustration 10 g00823890 30. Use Tooling (D) to force pinion

    (27) from bearing cone (33) and carrier (31).
  12. Illustration 13 g00824265 33. Remove bolts (36). 34. Remove support

    bracket (37) and shims (38) from the housing. 35. Remove bolts (39). 36. Remove bevel gear (40) from housing (41).
  13. Illustration 14 g00824268 37. Attach Tooling (F) and a suitable

    lifting device to brake housing (42). Personal injury can result from parts and/or covers under spring pressure. Spring force will be released when covers are removed. Be prepared to hold spring loaded covers as the bolts are loosened. 38. Remove bolts (43). 39. Remove brake housing (42) from the final drive housing (44). The weight of brake housing (42) is approximately 150 kg (335 lb).
  14. Illustration 16 g00824349 40. Remove bolts and washers (45). 41.

    Remove retainer (46) and thrust washer (47). 42. Remove hub (48), the friction discs, and brake plates (49). 43. If necessary, remove ring (50) from hub (48). 44. Remove thrust washer (51). Personal injury can result from parts and/or covers under spring pressure. Spring force will be released when covers are removed. Be prepared to hold spring loaded covers as the bolts are loosened.
  15. Illustration 17 g00824351 45. Remove bolts (52) slowly. 46. Remove

    retainer (53), ring (54), and O-ring seal (55) from brake housing (42).
  16. Illustration 18 g00824691 47. Remove bolts (56), plate (57), shim

    pack (58), piston (59), and spring (60) from brake housing (42).
  17. Illustration 19 g00824366 48. Use Tooling (G) to separate brake

    housing (42) and bearing cone (61) from housing (41). 49. Attach Tooling (F) and a suitable lifting device to brake housing (42). 50. Remove brake housing (42) from housing (41). The weight of brake housing (42) is approximately 77 kg (170 lb). The weight of housing (41) is approximately 25 kg (55 lb).
  18. Illustration 20 g00824415 NOTICE The component will be destroyed if

    the component is removed. 51. If necessary, remove bearing cone (61) from housing (41). 52. Remove bearing cups (62) and (64) from brake housing (42). NOTICE The component will be destroyed if the component is removed. 53. If necessary, remove bearing cone (65) from housing (41). 54. Remove O-ring seal (63) from brake housing (42). Mon Nov 22 22:45:30 UTC+0800 2021
  19. Shutdown SIS Previous Screen Product: TRACK-TYPE TRACTOR Model: D6N LGP

    TRACK-TYPE TRACTOR MG5 Configuration: D6N TRACK-TYPE TRACTOR XL, LGP MG500001-UP (MACHINE) POWERED BY C7.1 Engine Disassembly and Assembly D6N Track-Type Tractor Power Train Media Number -UENR4080-03 Publication Date -01/09/2015 Date Updated -31/07/2018 i06983891 Steering Differential and Brake - Assemble SMCS - 4131-016 Assembly Procedure Table 1 Required Tools Tool Part Number Description Qty A 138-7573 Link Bracket 2 B 3K-4897 Spring Pin 8 C 6V-4072 Spanner Wrench 1 F 138-7575 Link Bracket 3 H 8S-5132 Plate 1 3B-1915 Bolt 3 6V-8801 Nut 3 5M-2894 Washer 8 1B-9575 Bolt 1 1D-4716 Full Nut 1 9M-1974 Washer 2 J 6V-4980 Torque Screwdriver 1 K 6V-4980 Torque Screwdriver 1 FT-2214 Adapter 1 L 8T-5096 Dial Indicator Group 1
  20. M 8C-8422 Sealant Reference: Refer to Specifications, "Differential Drive and

    Brake Group" in the Service Manual for your machine. Illustration 1 g00824415 1. Install O-ring seal (63) in brake housing (42). Note: If bearing cone (65) was removed, a new bearing cone must be installed. 2. Raise the temperature of bearing cone (65) to a maximum temperature of 135 °C (275 °F). 3. Install bearing cone (65) on housing (41). 4. Lower the temperature of bearing cups (62) and (64). 5. Install bearing cups (62) and (64) in brake housing (42). Note: If bearing cone (61) was removed, a new bearing cone must be installed. 6. Raise the temperature of bearing cone (61) to a maximum temperature of 135 °C (275 °F). 7. Install bearing cone (61) in housing (41).
  21. Illustration 2 g00993935 8. Attach Tooling (F) and a suitable

    lifting device to brake housing (42). 9. Install brake housing (42) in housing (41). The weight of brake housing (42) is approximately 77 kg (170 lb). The weight of housing (41) is approximately 25 kg (55 lb).
  22. Illustration 3 g00992013 10. Install plate (57) and three bolts

    (56). 11. Install Tooling (K) on plate (57). Do not install the shims at this time. 12. Position brake housing (42) on wood blocks to raise housing (41) off the floor. 13. Use Tooling (K) to rotate housing (41). 14. Use Tooling (K) to measure the rotational torque. Tighten three bolts (56) equally until the proper rotational torque is reached. The rotational torque should be 2.25 N·m (19.914 lb in) to 4.0 N·m (35.40 lb in). 15. Remove Tooling (K).
  23. Illustration 4 g00992026 16. When the rotational torque is correct,

    use a feeler gauge to measure the Gap (X) between the housing and plate (57) in three places. Average the three measurements to determine the correct shim pack thickness. 17. Remove three bolts (56) and plate (57). 18. Position correct shim pack (58) and plate (57) on the housing. 19. Install three bolts (56). Tighten three bolts (56) equally.
  24. Illustration 5 g00991881 20. Use Tooling (K) to recheck the

    rotational torque. 21. Remove Tooling (K). 22. Install three remaining bolts (56) and tighten three remaining bolts (56).
  25. Please write to us. Our email: [email protected] Please go to

    the homepage to get the full manual, or other brand PDF manuals. Home Site: aservicemanualpdf.com
  26. Thank you very much for your reading. Please Click Here.

    Then Get COMPLETE MANUAL. NO WAITING NOTE: If there is no response to click on the link above, please download the PDF document first and then click on it.
  27. Illustration 7 g00824351 24. Install ring seal (55), ring (54),

    and retainer (53) in brake housing (42). 25. Install bolts (52).
  28. https://www.aservicemanualpdf.com/ My Dear Friend! Thank you very much for visiting.

    Full manual if required, please enter the following URL into your browser. https://www.aservicemanualpdf.com/