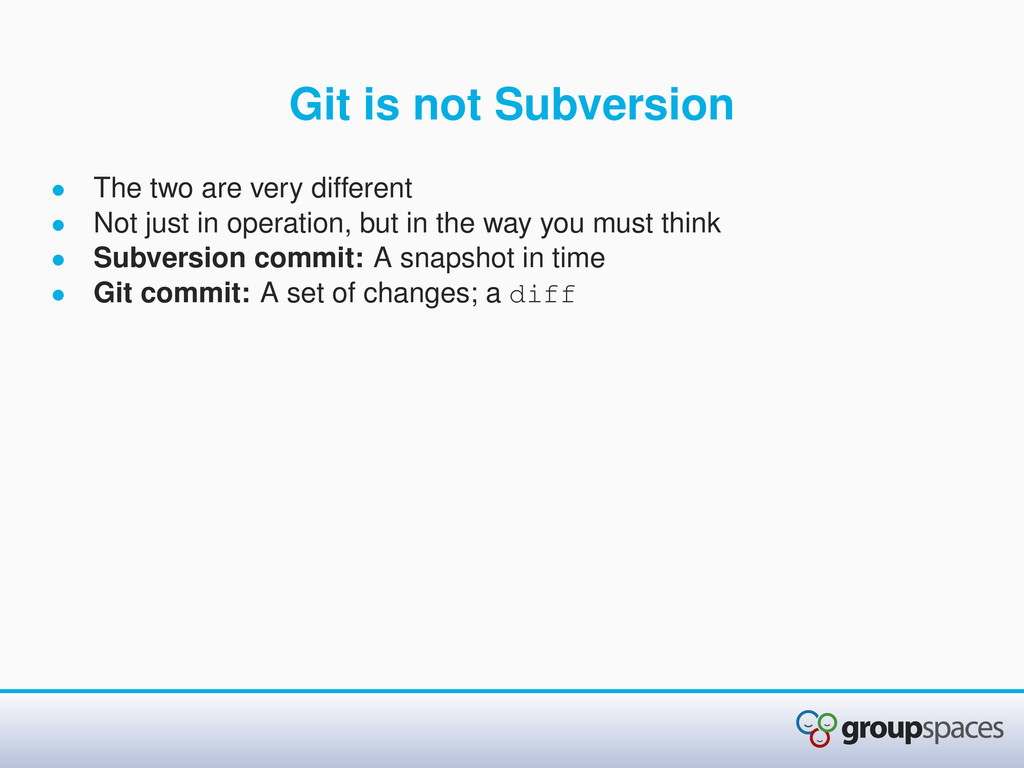
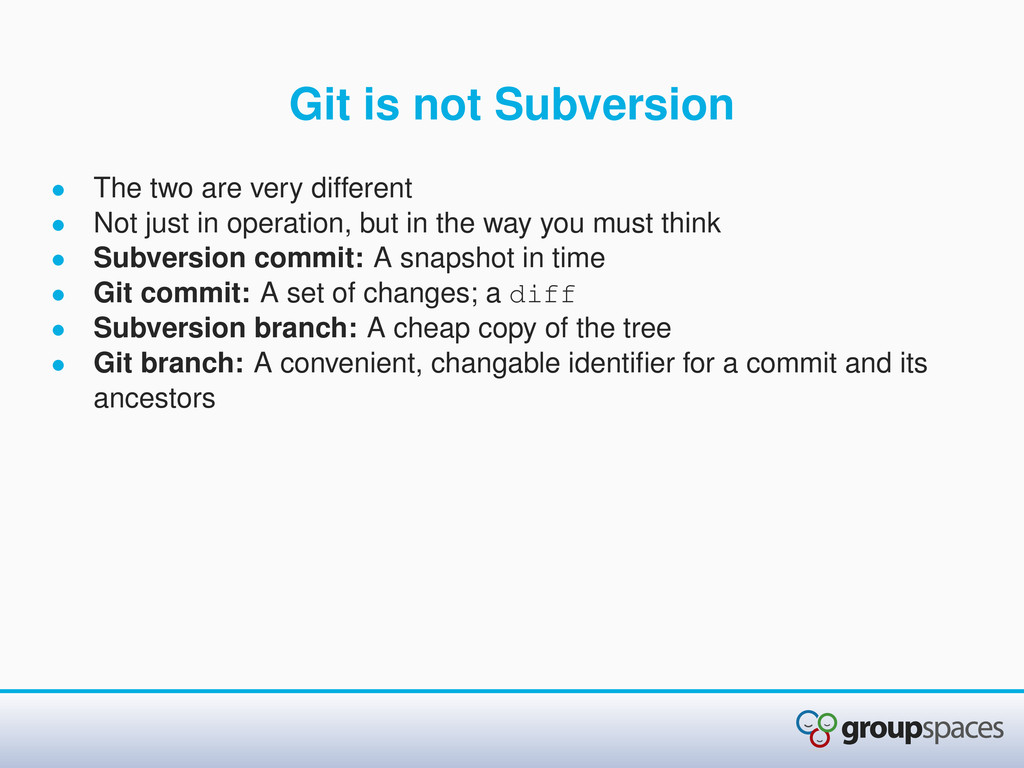
• Not just in operation, but in the way you must think • Subversion commit: A snapshot in time • Git commit: A set of changes; a diff • Subversion branch: A cheap copy of the tree • Git branch: A convenient, changable identifier for a commit and its ancestors
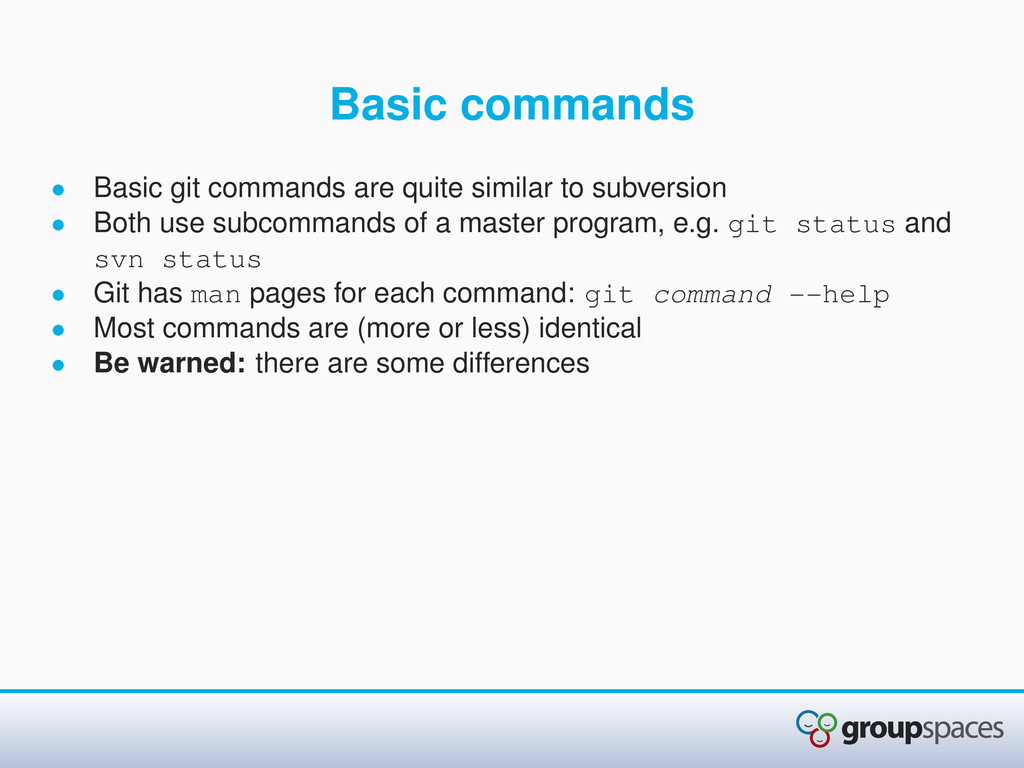
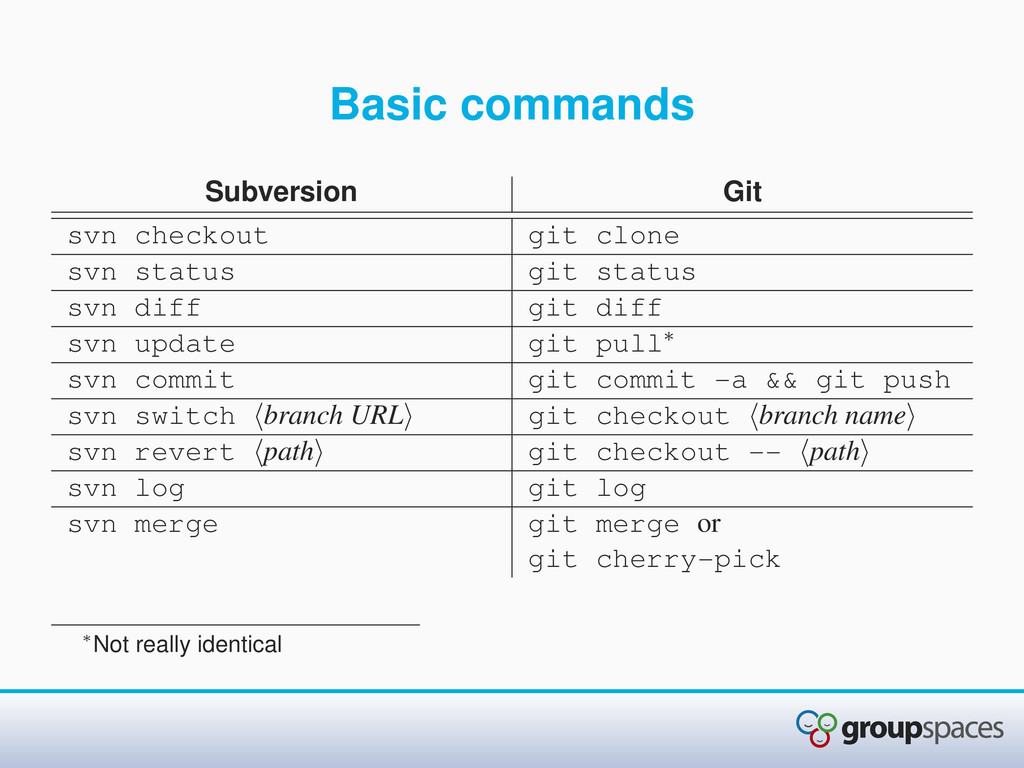
subversion • Both use subcommands of a master program, e.g. git status and svn status • Git has man pages for each command: git command --help • Most commands are (more or less) identical • Be warned: there are some differences
are! • The very first git commands you should run: • git config --global user.name ' your name ' • git config --global user.email email • This information will identify your commits
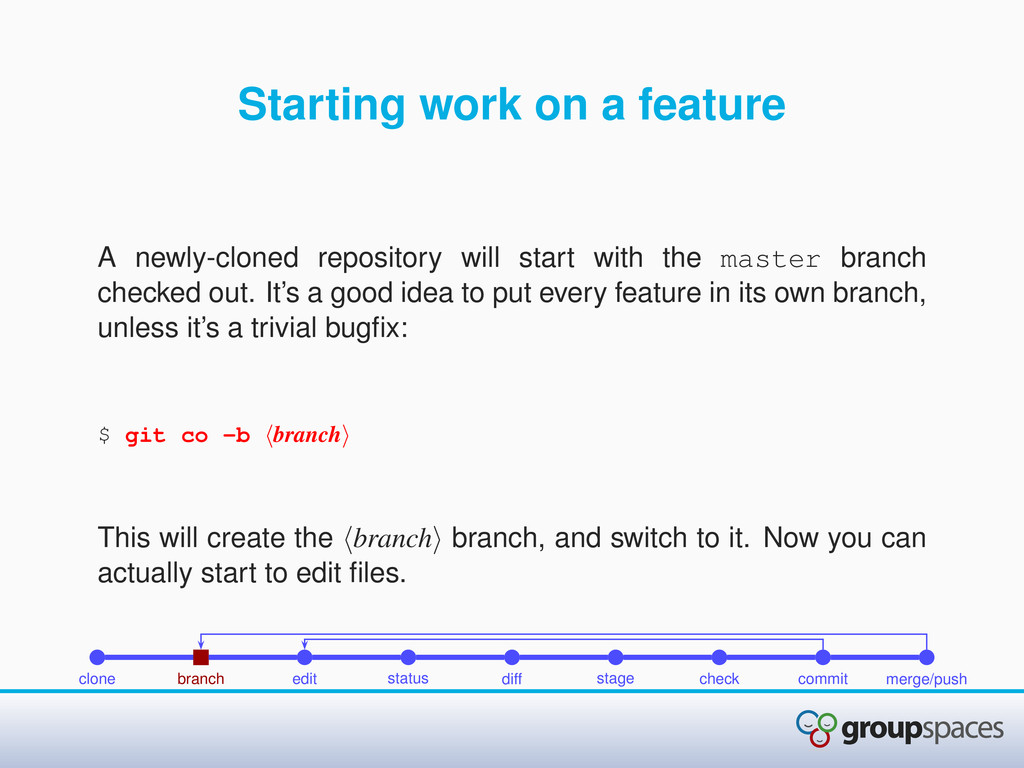
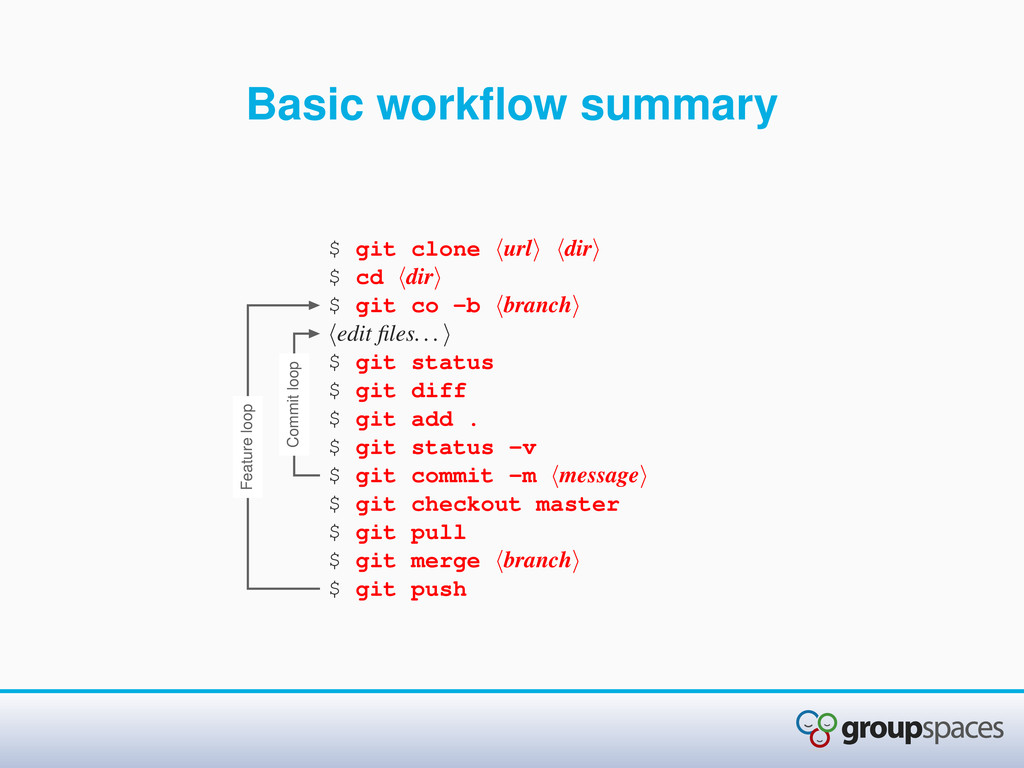
with the master branch checked out. It’s a good idea to put every feature in its own branch, unless it’s a trivial bugfix: $ git co -b branch This will create the branch branch, and switch to it. Now you can actually start to edit files. clone branch edit status diff stage check commit merge/push
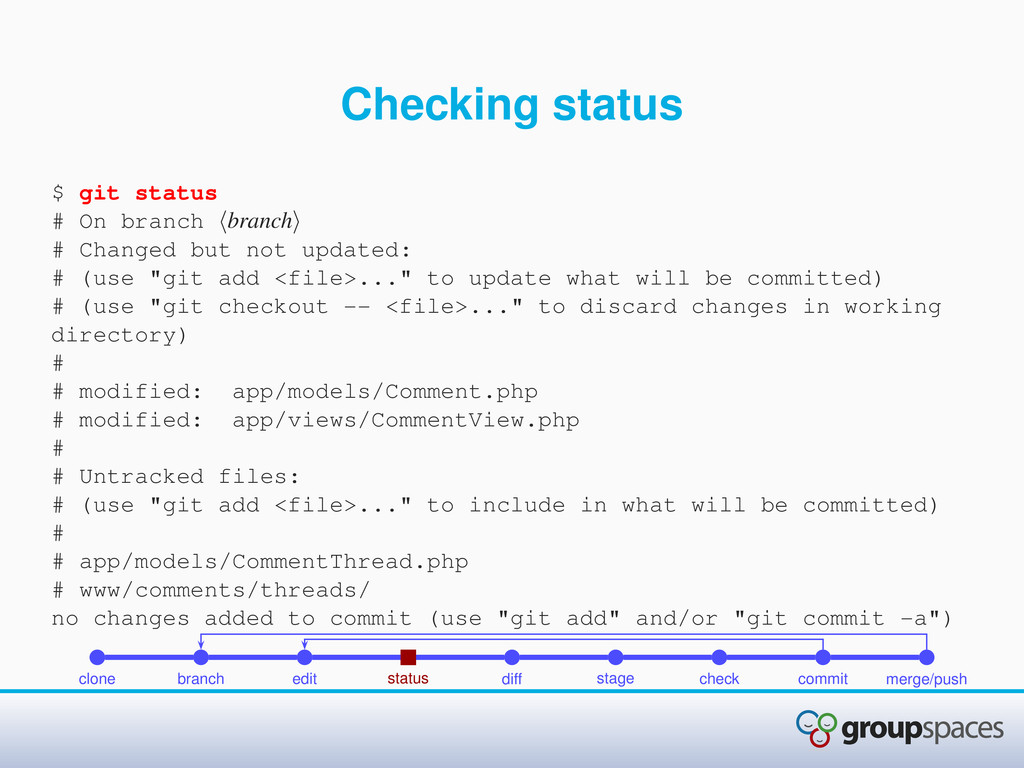
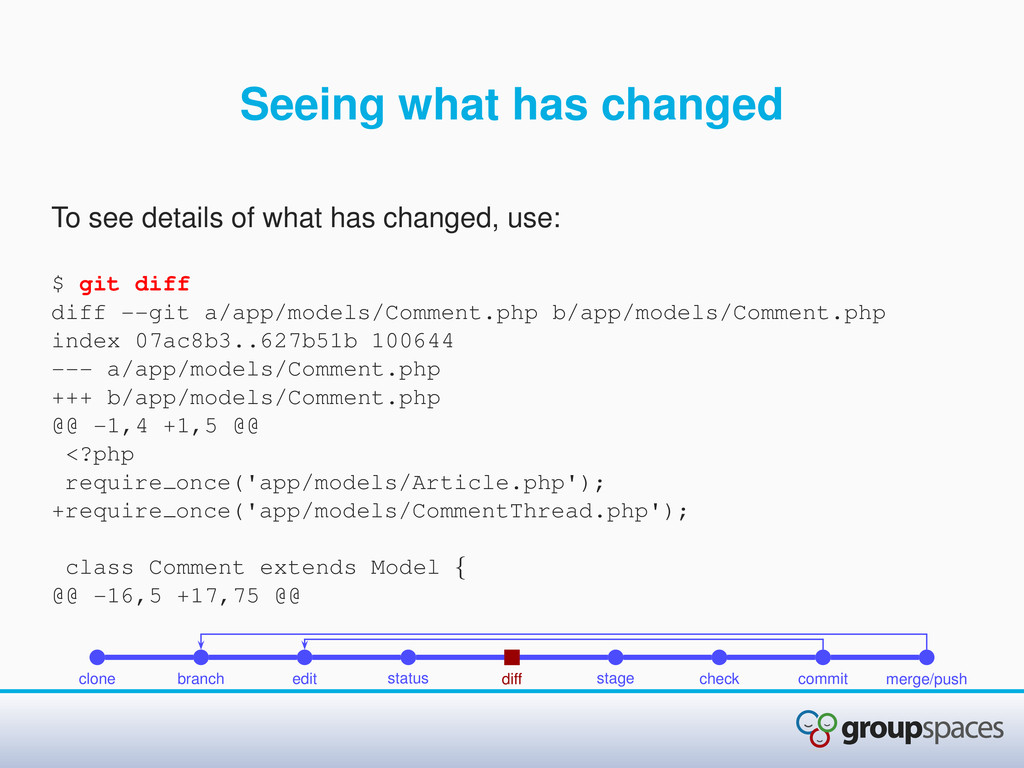
Changed but not updated: # (use "git add <file>..." to update what will be committed) # (use "git checkout -- <file>..." to discard changes in working directory) # # modified: app/models/Comment.php # modified: app/views/CommentView.php # # Untracked files: # (use "git add <file>..." to include in what will be committed) # # app/models/CommentThread.php # www/comments/threads/ no changes added to commit (use "git add" and/or "git commit -a") clone branch edit status diff stage check commit merge/push
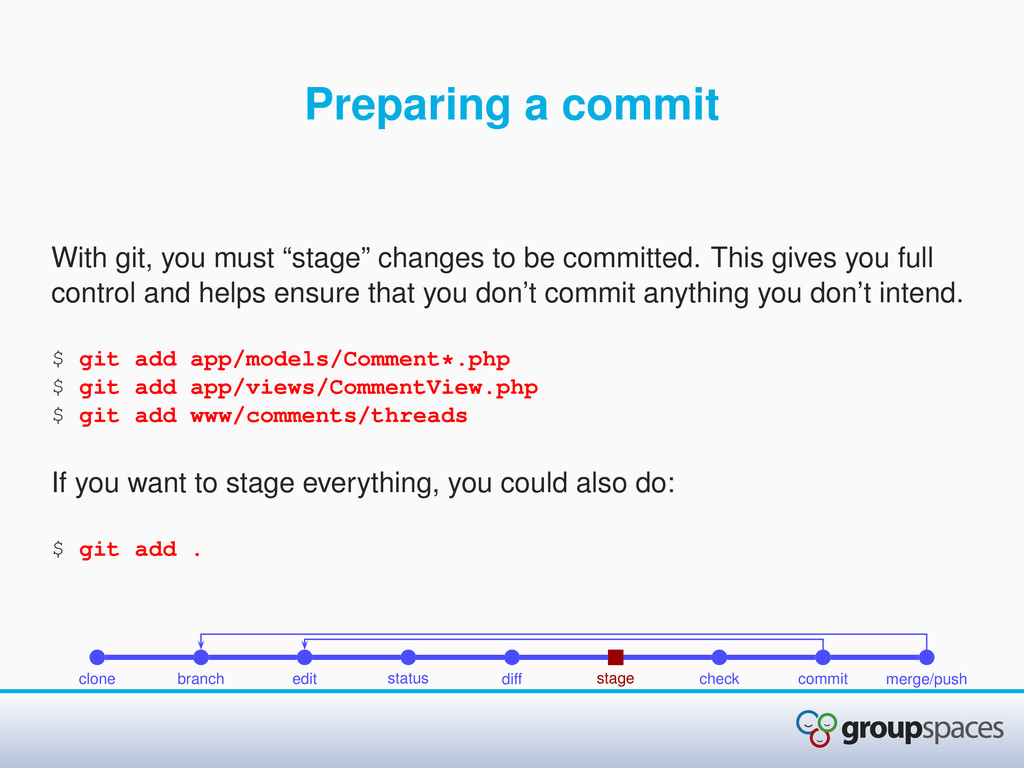
be committed. This gives you full control and helps ensure that you don’t commit anything you don’t intend. $ git add app/models/Comment*.php $ git add app/views/CommentView.php $ git add www/comments/threads If you want to stage everything, you could also do: $ git add . clone branch edit status diff stage check commit merge/push
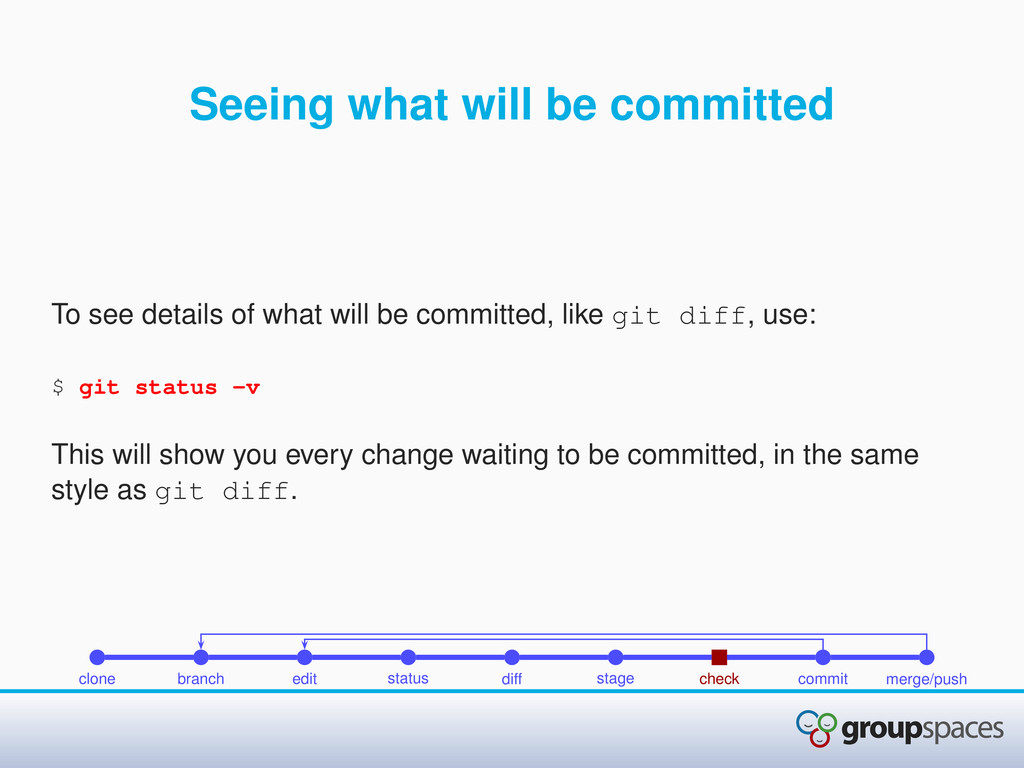
will be committed, like git diff, use: $ git status -v This will show you every change waiting to be committed, in the same style as git diff. clone branch edit status diff stage check commit merge/push
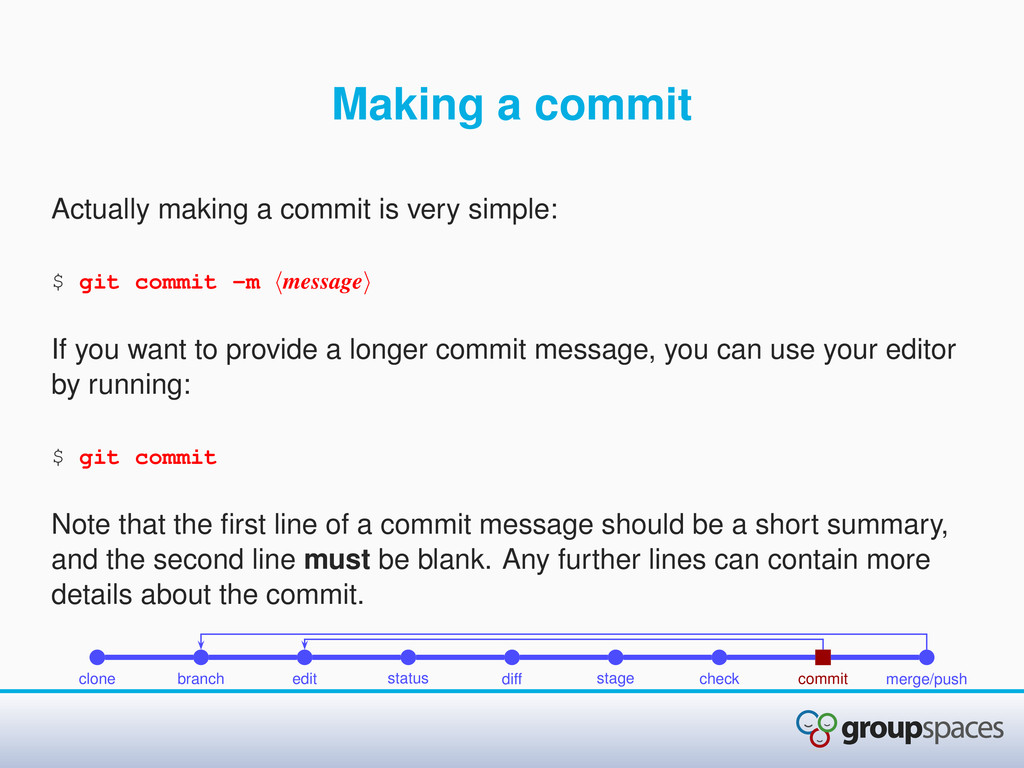
$ git commit -m message If you want to provide a longer commit message, you can use your editor by running: $ git commit Note that the first line of a commit message should be a short summary, and the second line must be blank. Any further lines can contain more details about the commit. clone branch edit status diff stage check commit merge/push
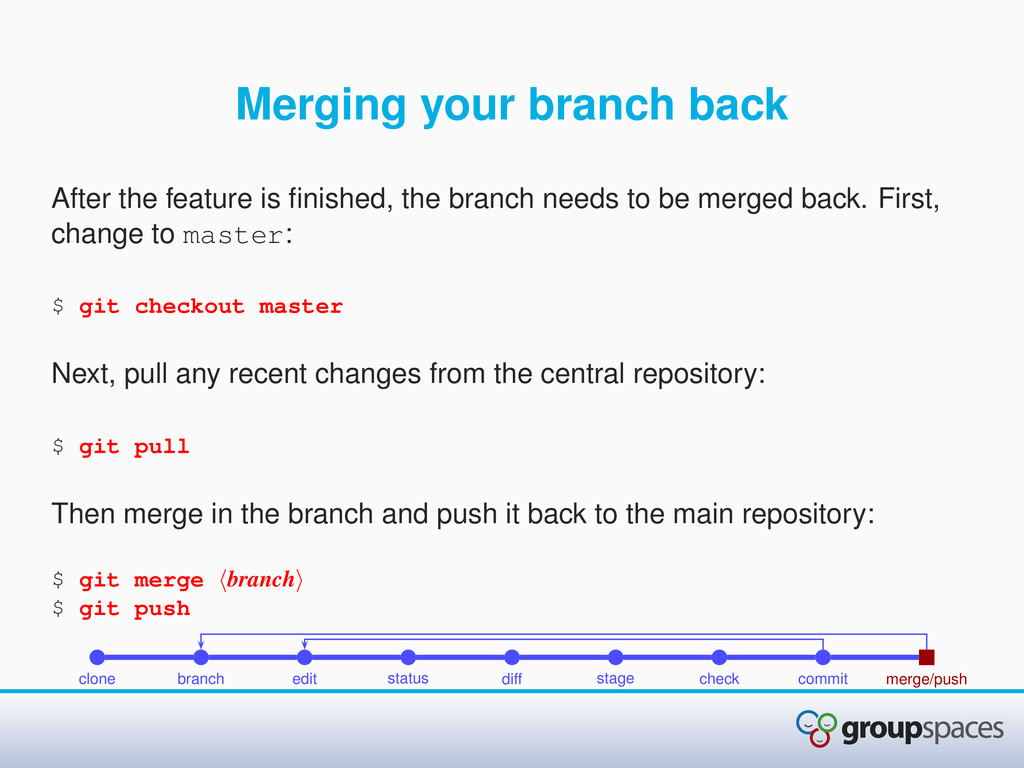
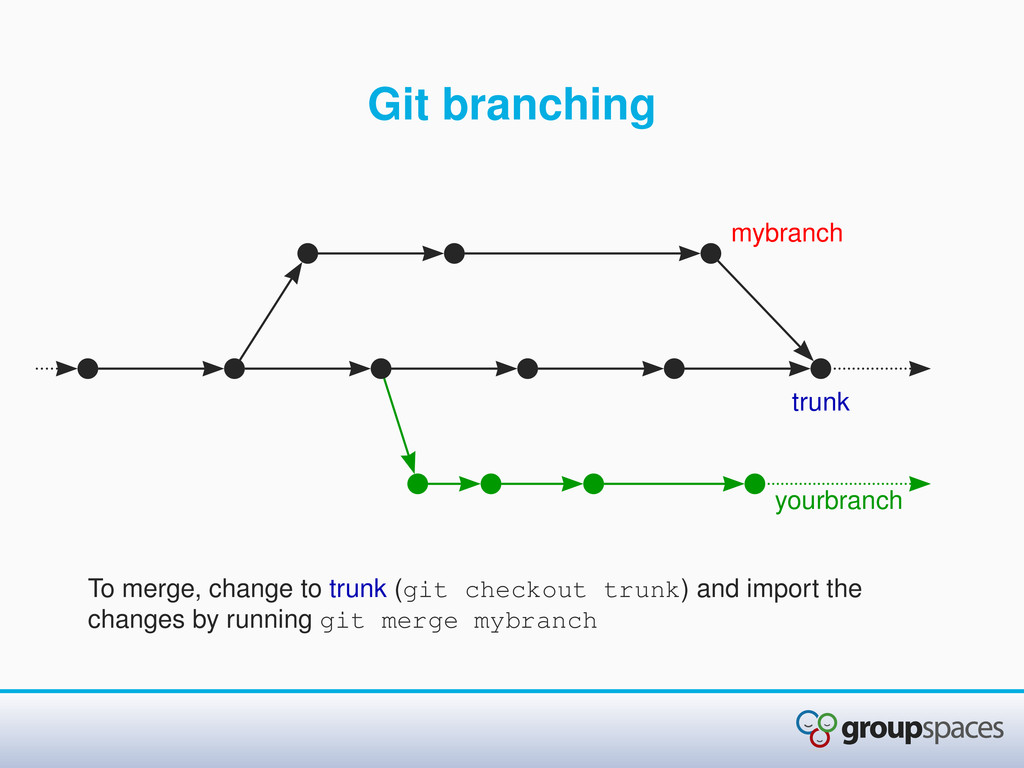
branch needs to be merged back. First, change to master: $ git checkout master Next, pull any recent changes from the central repository: $ git pull Then merge in the branch and push it back to the main repository: $ git merge branch $ git push clone branch edit status diff stage check commit merge/push
local until you push them! • Make sure you push branches regularly (e.g. daily) • If your machine dies, unpushed commits will be lost • Git commands work on the whole repository, not just the current directory and those below • Git works best when you frequently make many small commits
useful to know, although you may not use them every day: • git stash — “stash” and restore your changes to the working copy, if you need it to be clean • git bisect — quickly narrow down the commit which introduced a bug (to be covered later)
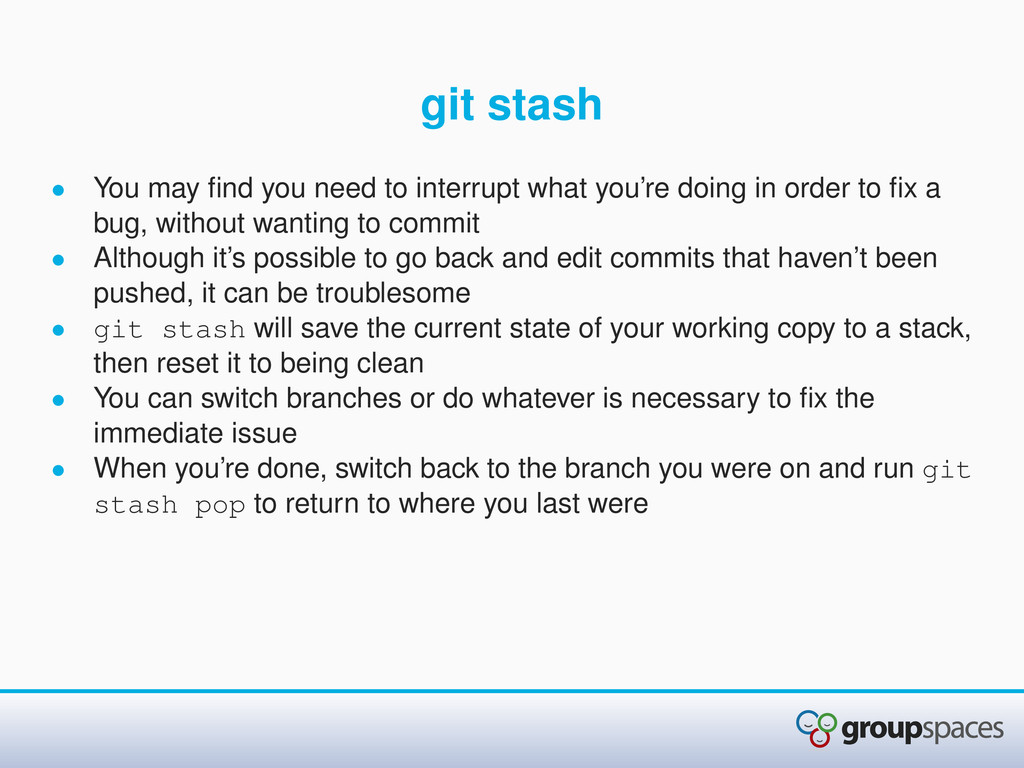
what you’re doing in order to fix a bug, without wanting to commit • Although it’s possible to go back and edit commits that haven’t been pushed, it can be troublesome • git stash will save the current state of your working copy to a stack, then reset it to being clean • You can switch branches or do whatever is necessary to fix the immediate issue • When you’re done, switch back to the branch you were on and run git stash pop to return to where you last were
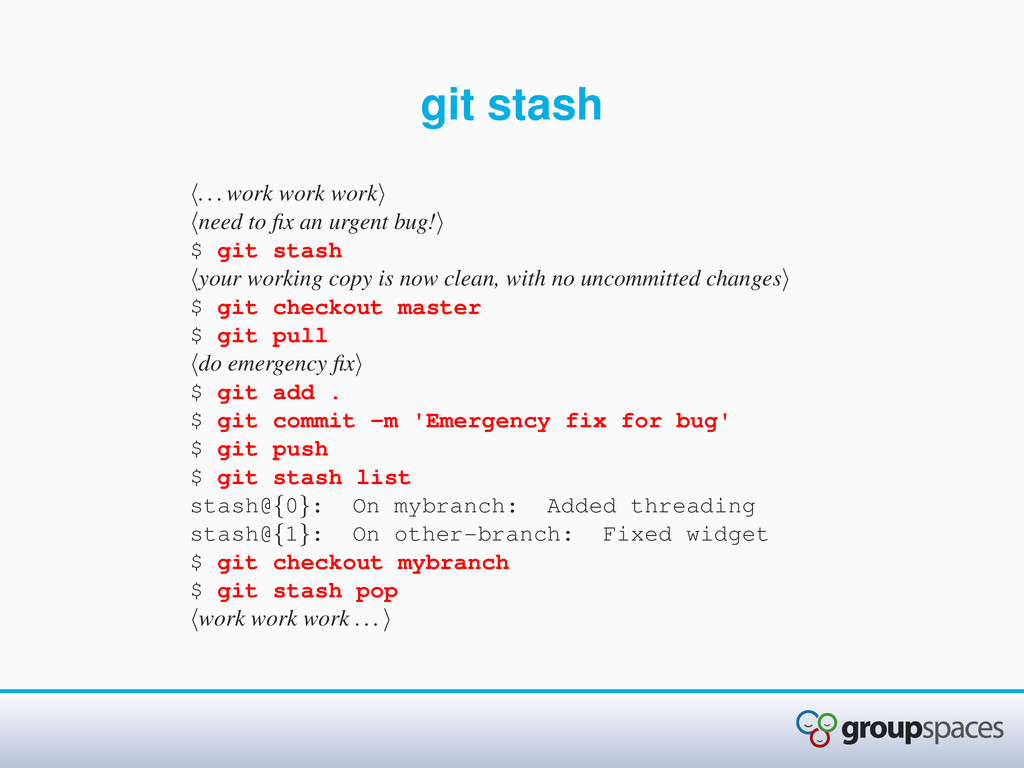
bug! $ git stash your working copy is now clean, with no uncommitted changes $ git checkout master $ git pull do emergency fix $ git add . $ git commit -m 'Emergency fix for bug' $ git push $ git stash list stash@{0}: On mybranch: Added threading stash@{1}: On other-branch: Fixed widget $ git checkout mybranch $ git stash pop work work work ...
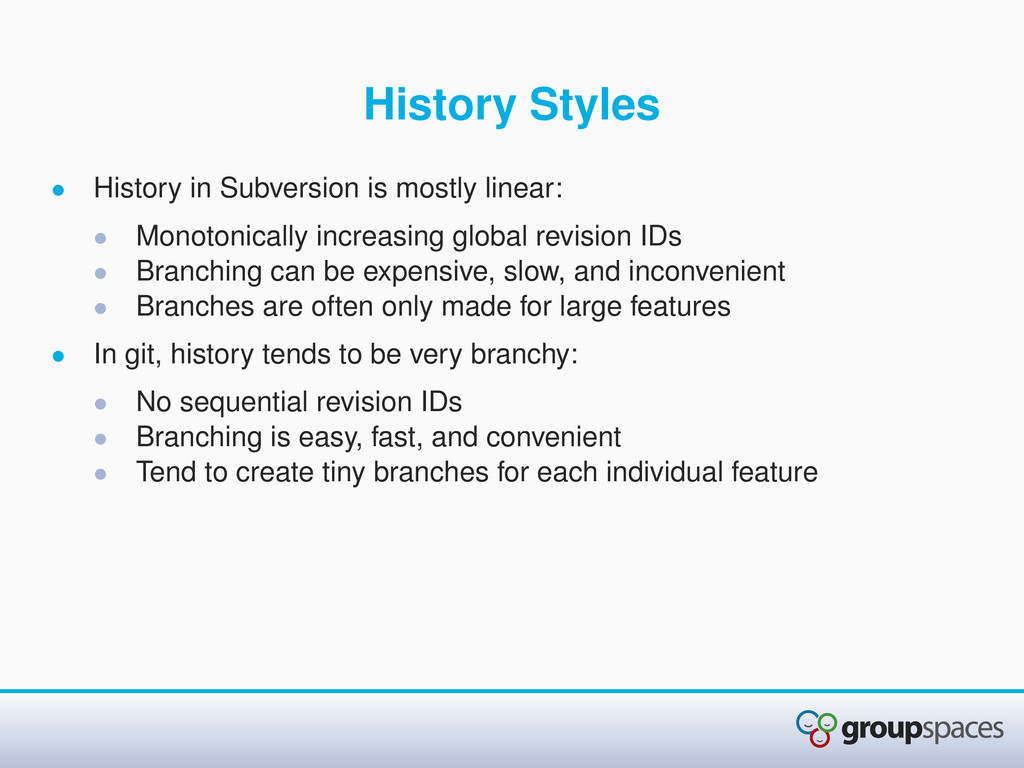
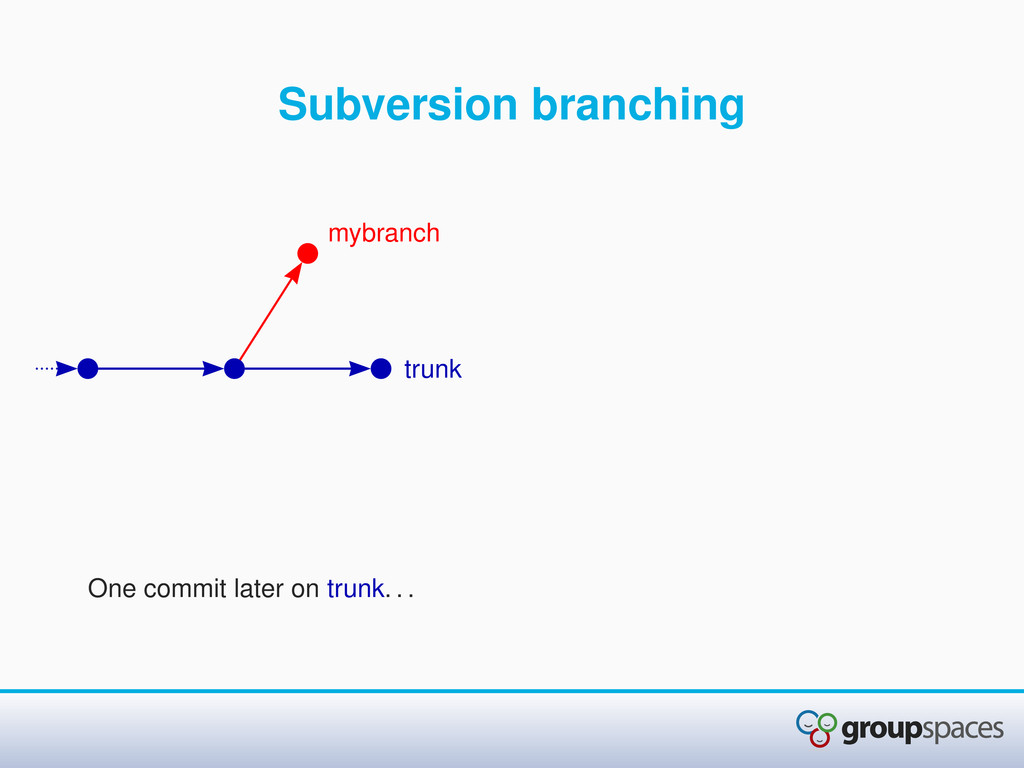
Monotonically increasing global revision IDs • Branching can be expensive, slow, and inconvenient • Branches are often only made for large features • In git, history tends to be very branchy: • No sequential revision IDs • Branching is easy, fast, and convenient • Tend to create tiny branches for each individual feature
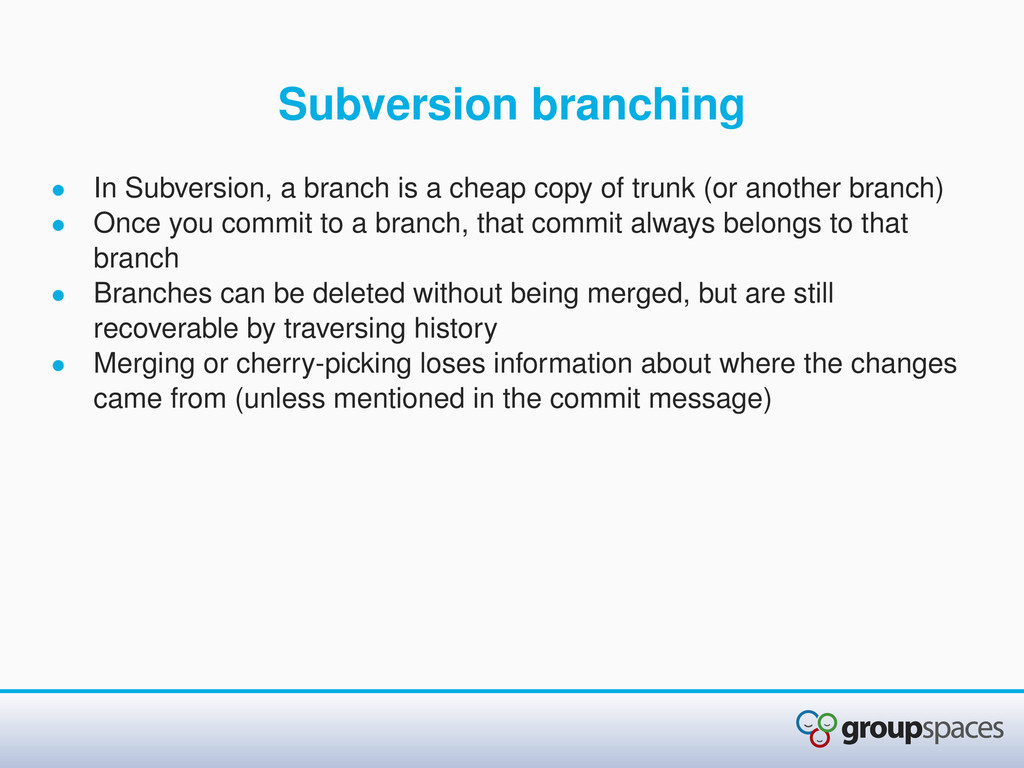
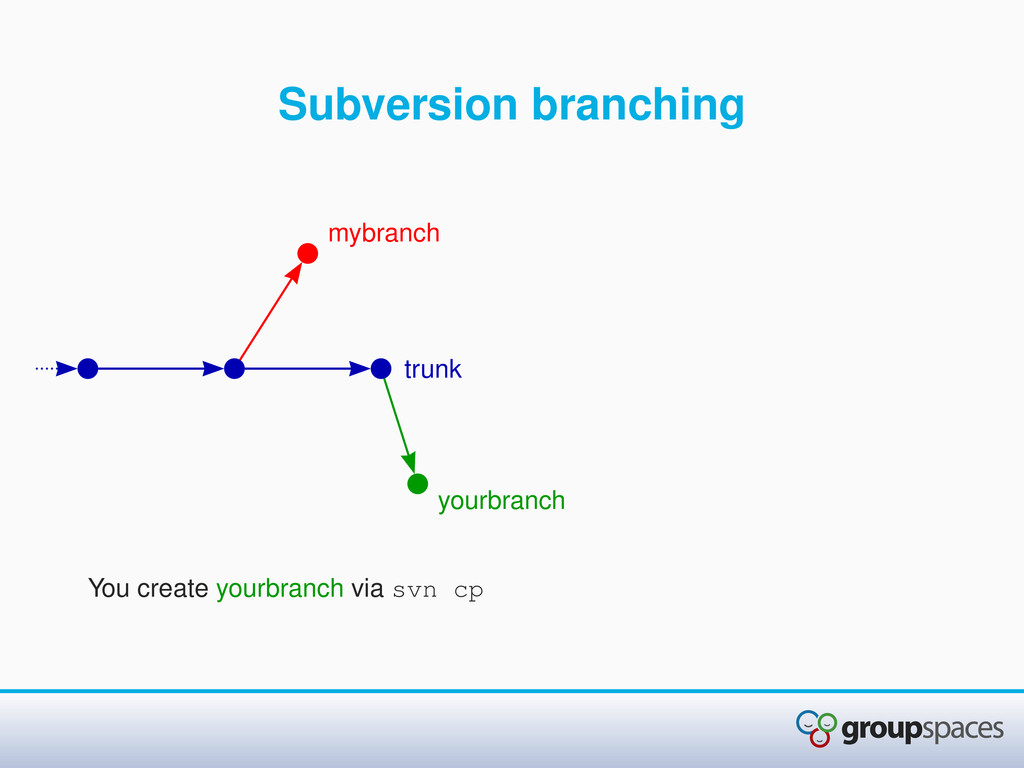
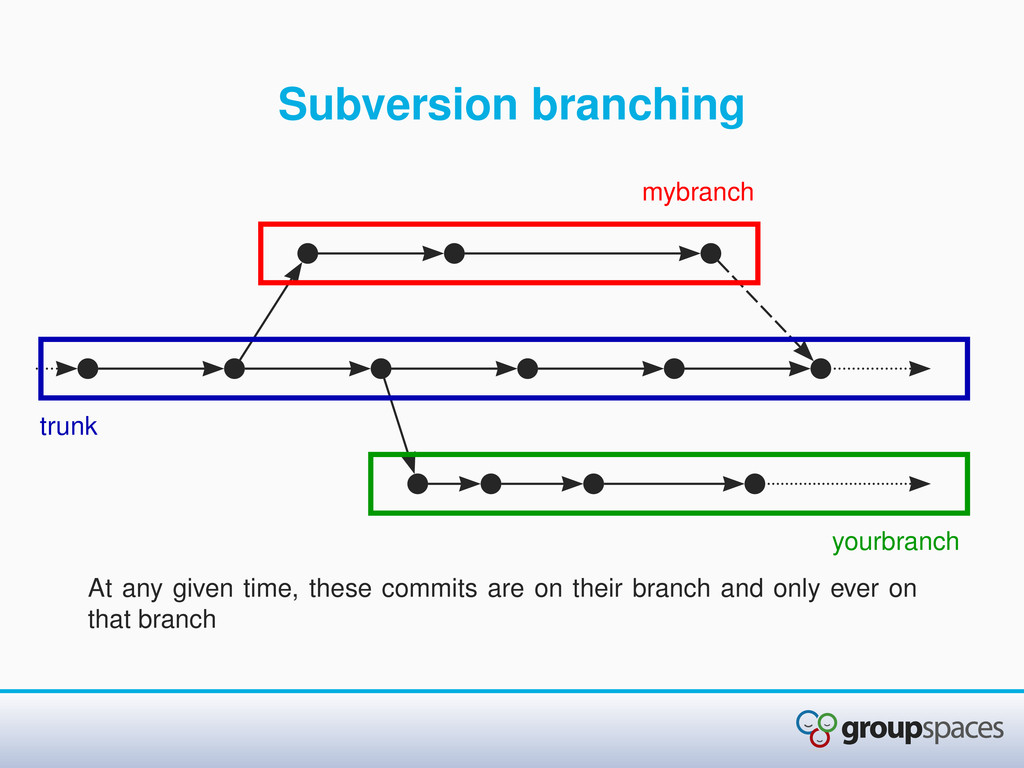
copy of trunk (or another branch) • Once you commit to a branch, that commit always belongs to that branch • Branches can be deleted without being merged, but are still recoverable by traversing history
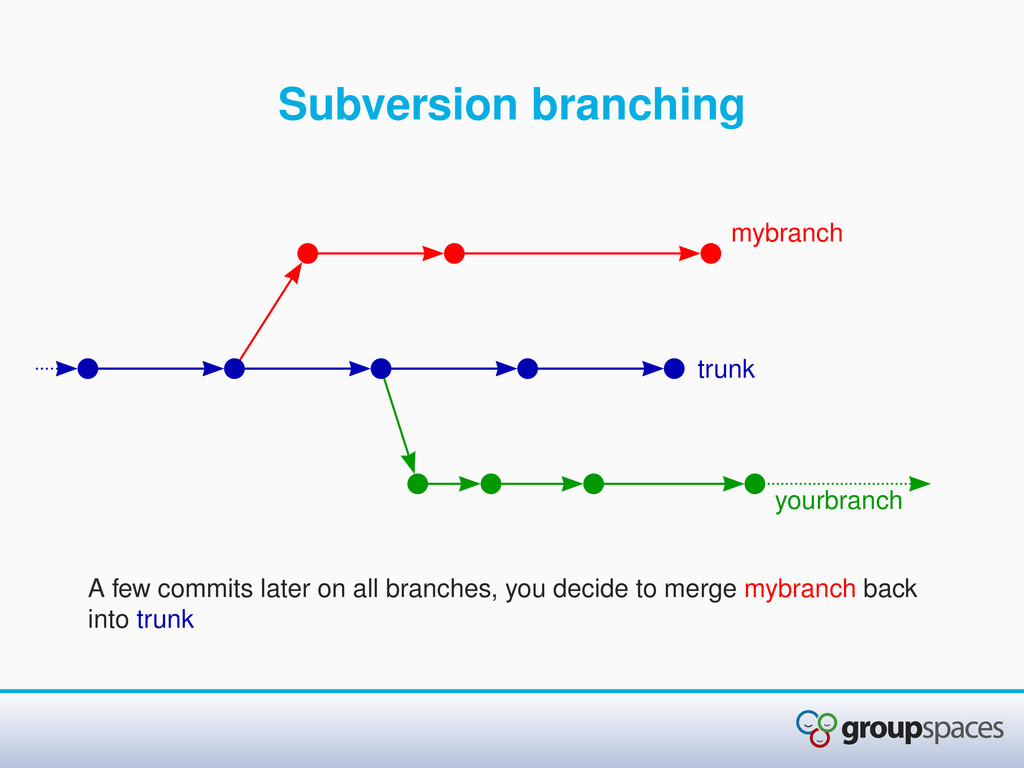
copy of trunk (or another branch) • Once you commit to a branch, that commit always belongs to that branch • Branches can be deleted without being merged, but are still recoverable by traversing history • Merging or cherry-picking loses information about where the changes came from (unless mentioned in the commit message)
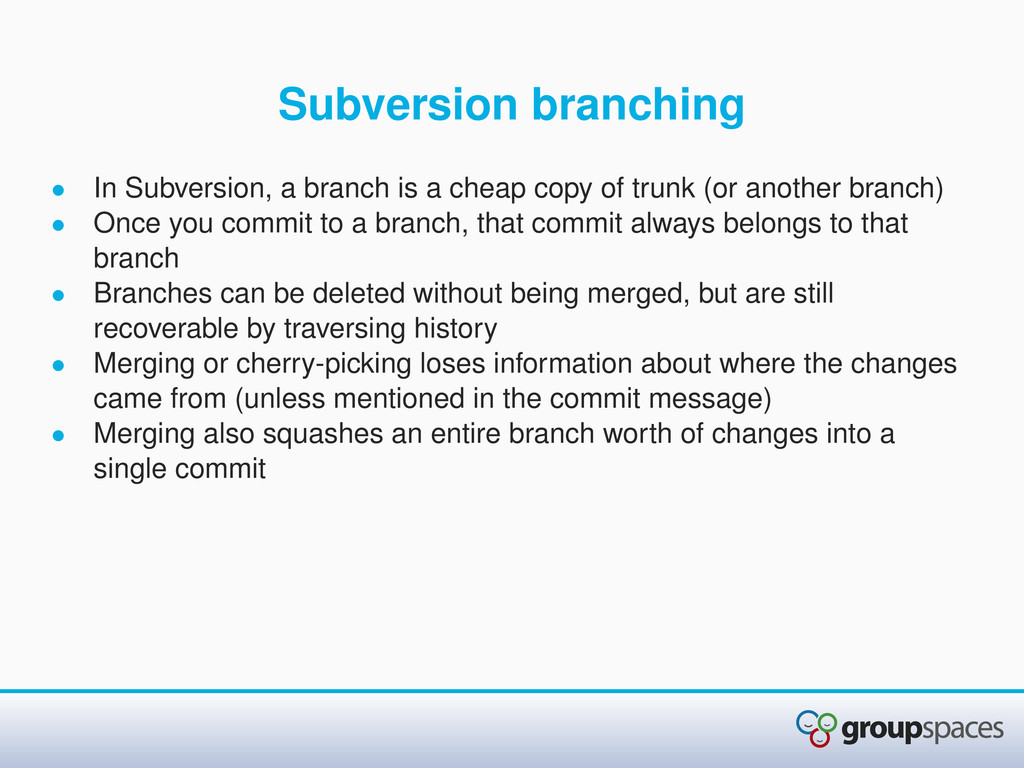
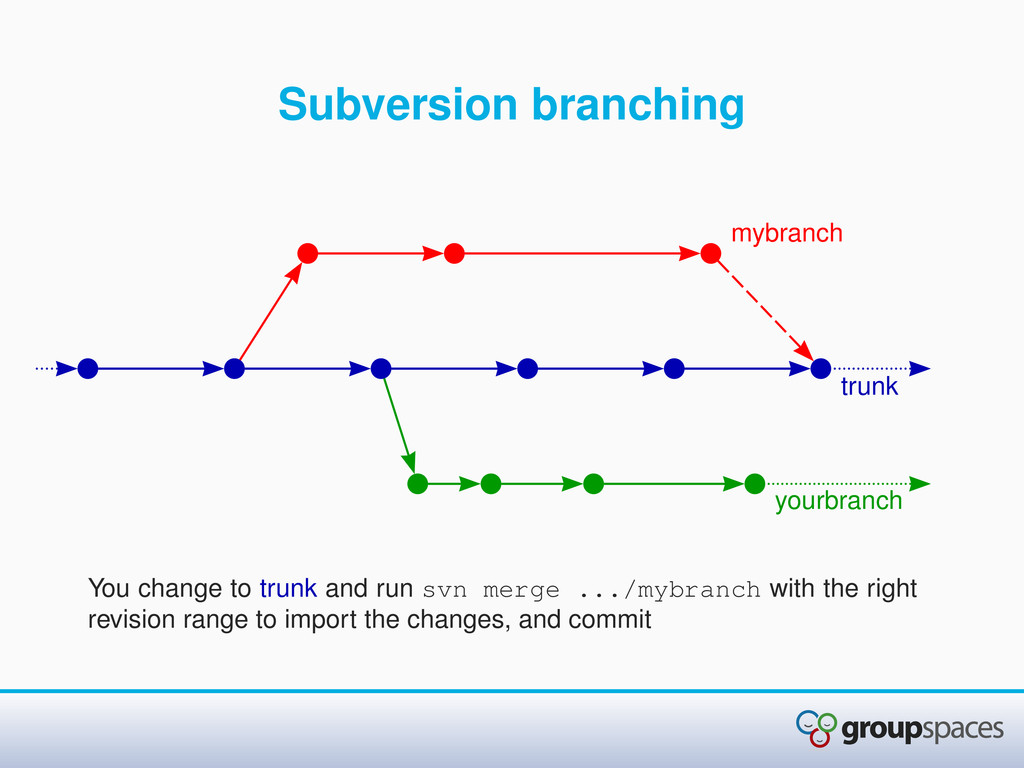
copy of trunk (or another branch) • Once you commit to a branch, that commit always belongs to that branch • Branches can be deleted without being merged, but are still recoverable by traversing history • Merging or cherry-picking loses information about where the changes came from (unless mentioned in the commit message) • Merging also squashes an entire branch worth of changes into a single commit
copy of trunk (or another branch) • Once you commit to a branch, that commit always belongs to that branch • Branches can be deleted without being merged, but are still recoverable by traversing history • Merging or cherry-picking loses information about where the changes came from (unless mentioned in the commit message) • Merging also squashes an entire branch worth of changes into a single commit • A bit like copying an entire directory with cp -r
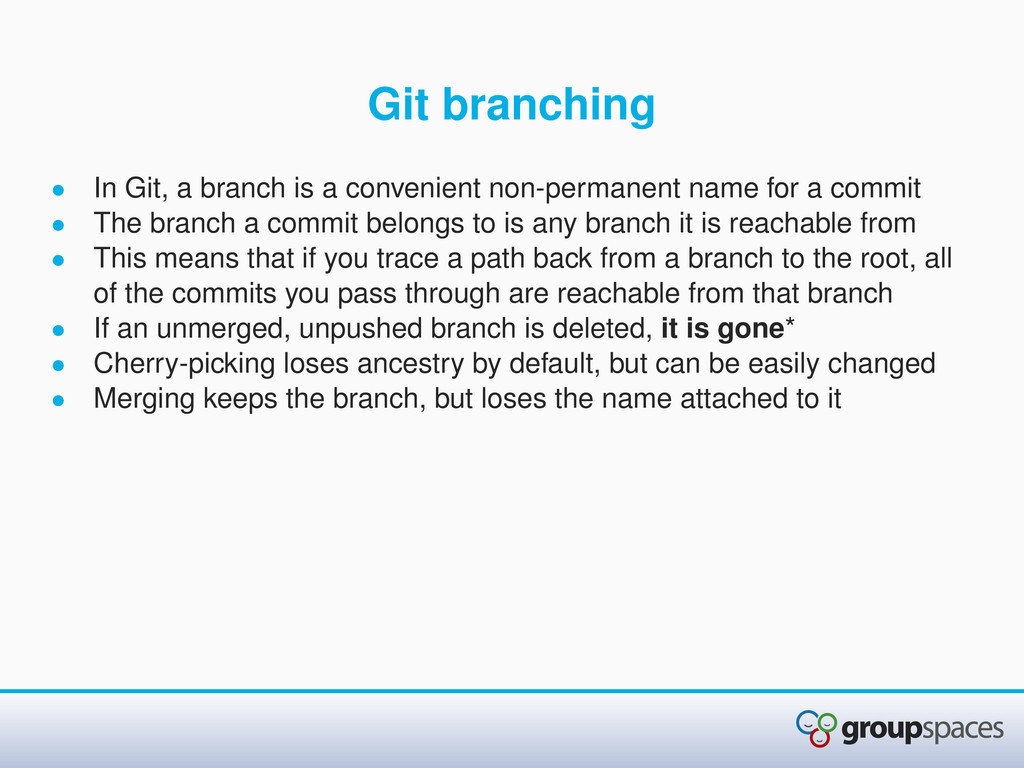
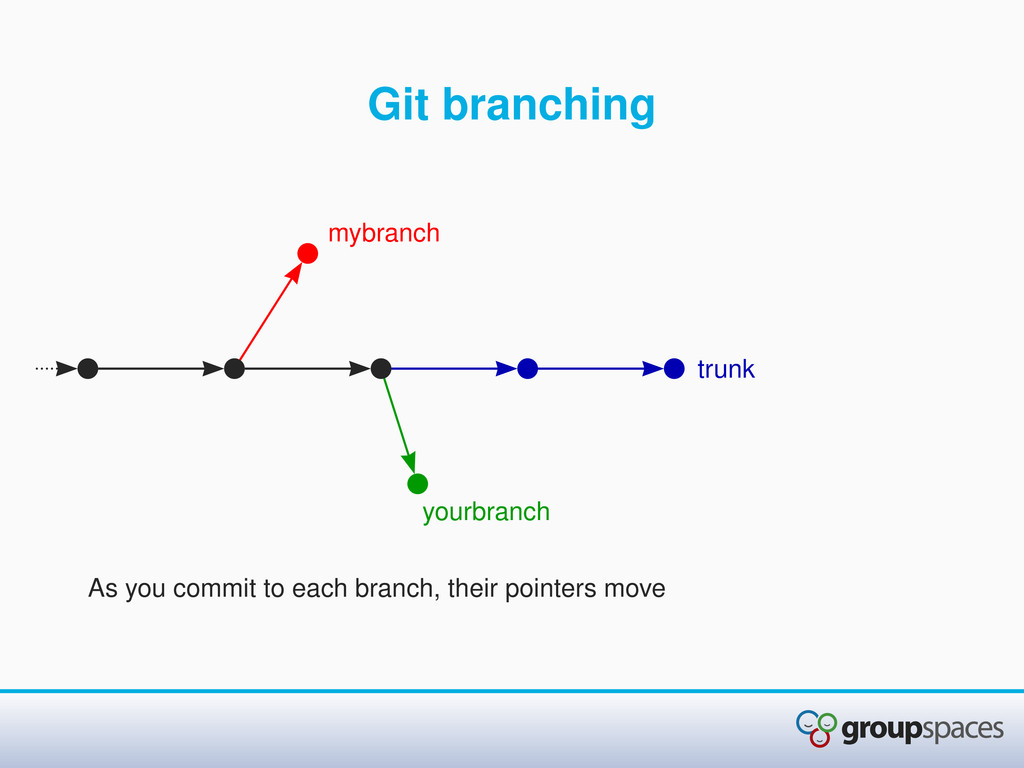
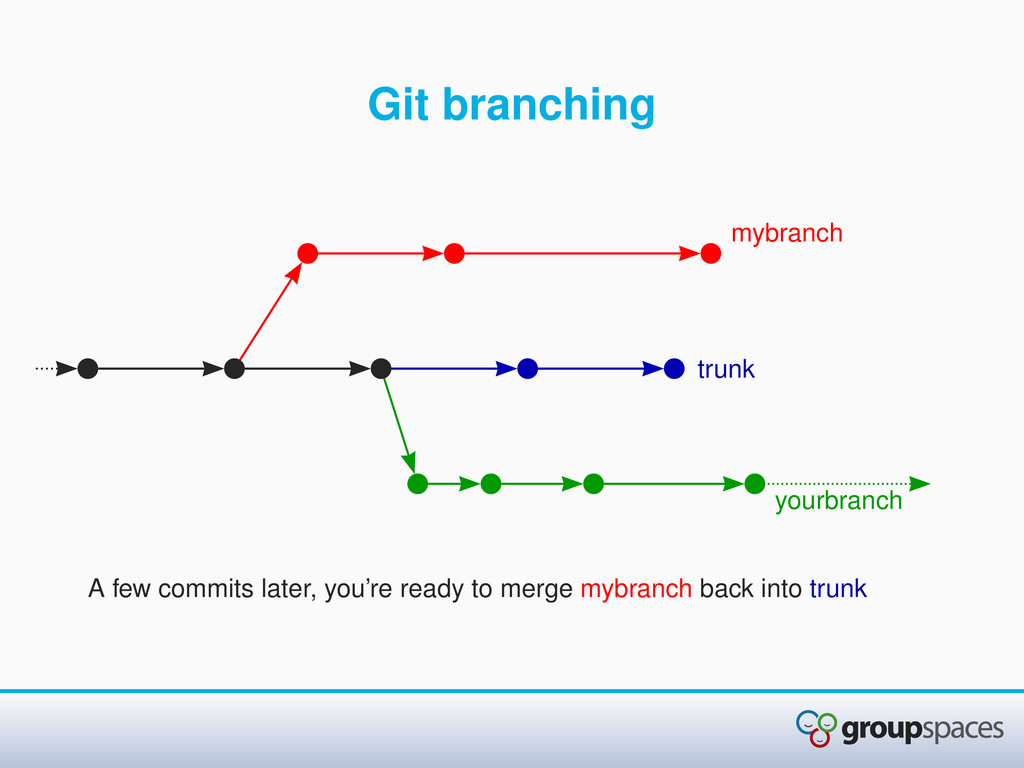
non-permanent name for a commit • The branch a commit belongs to is any branch it is reachable from • This means that if you trace a path back from a branch to the root, all of the commits you pass through are reachable from that branch
non-permanent name for a commit • The branch a commit belongs to is any branch it is reachable from • This means that if you trace a path back from a branch to the root, all of the commits you pass through are reachable from that branch • If an unmerged, unpushed branch is deleted, it is gone*
non-permanent name for a commit • The branch a commit belongs to is any branch it is reachable from • This means that if you trace a path back from a branch to the root, all of the commits you pass through are reachable from that branch • If an unmerged, unpushed branch is deleted, it is gone* • Cherry-picking loses ancestry by default, but can be easily changed
non-permanent name for a commit • The branch a commit belongs to is any branch it is reachable from • This means that if you trace a path back from a branch to the root, all of the commits you pass through are reachable from that branch • If an unmerged, unpushed branch is deleted, it is gone* • Cherry-picking loses ancestry by default, but can be easily changed • Merging keeps the branch, but loses the name attached to it
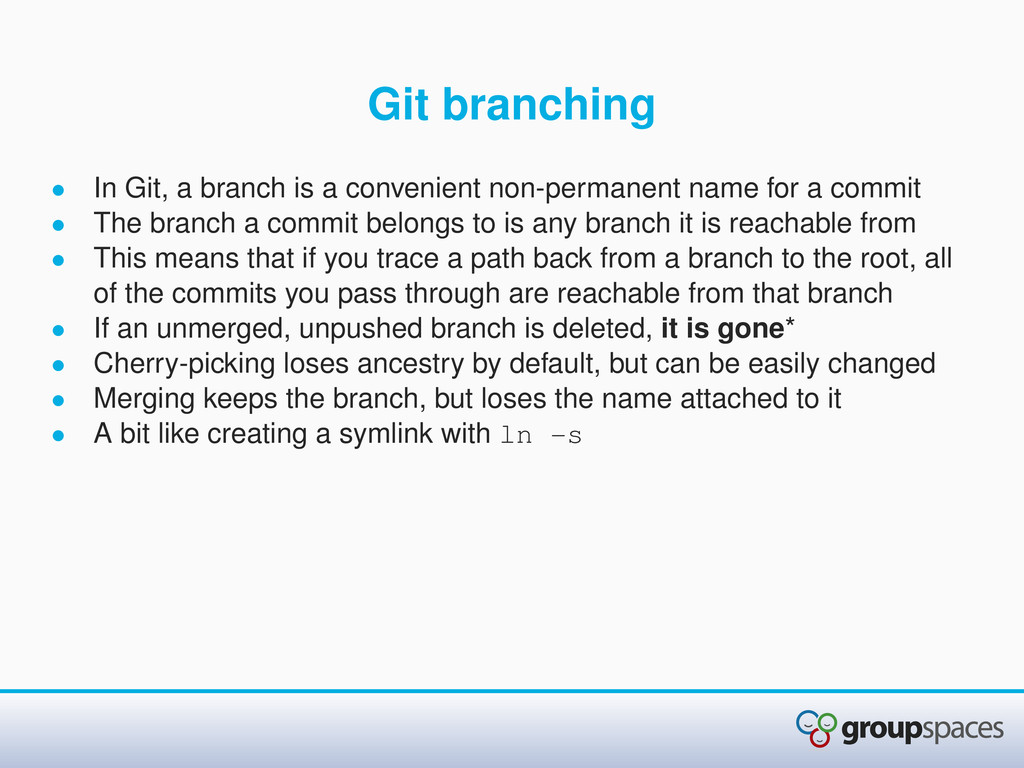
non-permanent name for a commit • The branch a commit belongs to is any branch it is reachable from • This means that if you trace a path back from a branch to the root, all of the commits you pass through are reachable from that branch • If an unmerged, unpushed branch is deleted, it is gone* • Cherry-picking loses ancestry by default, but can be easily changed • Merging keeps the branch, but loses the name attached to it • A bit like creating a symlink with ln -s
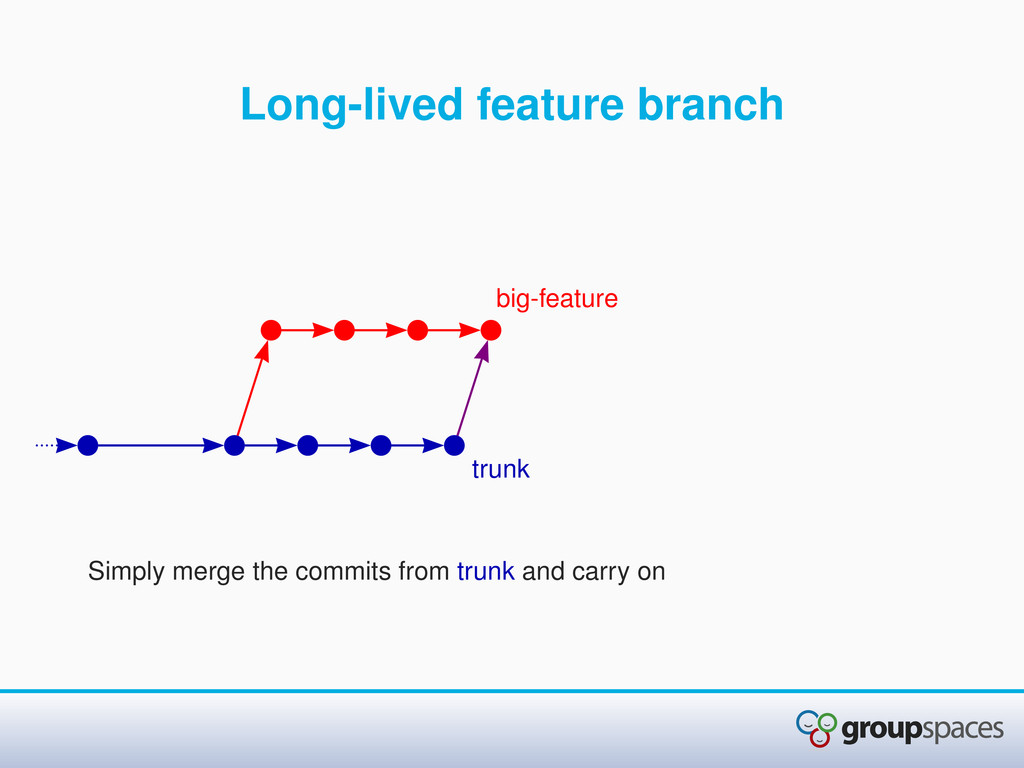
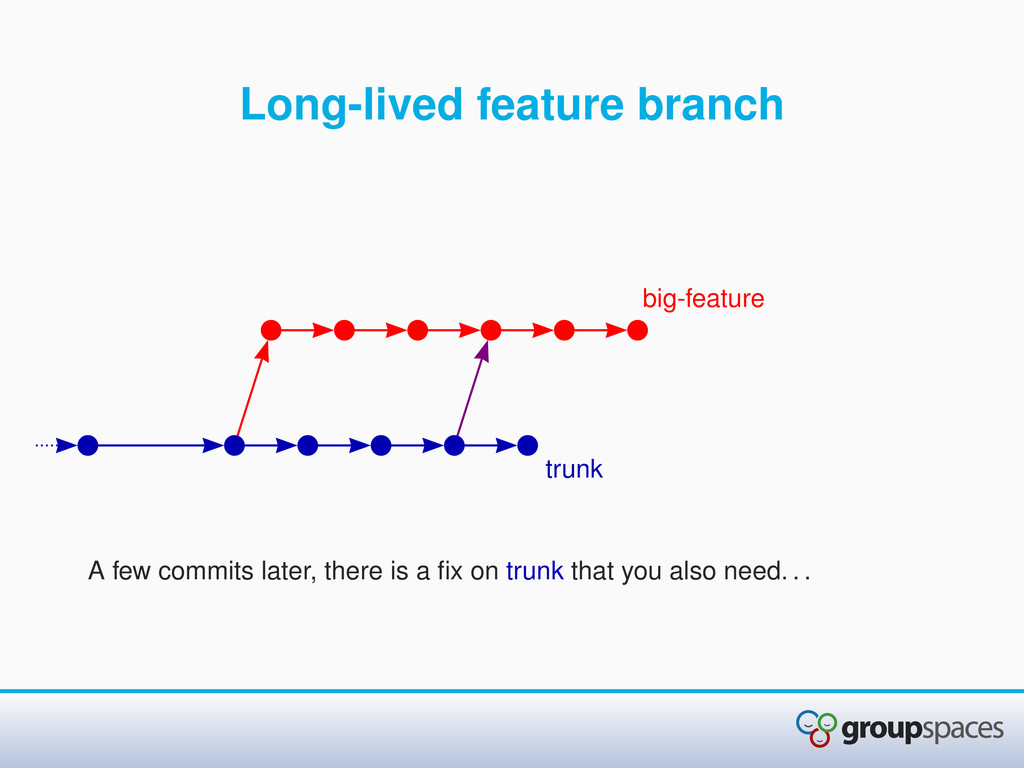
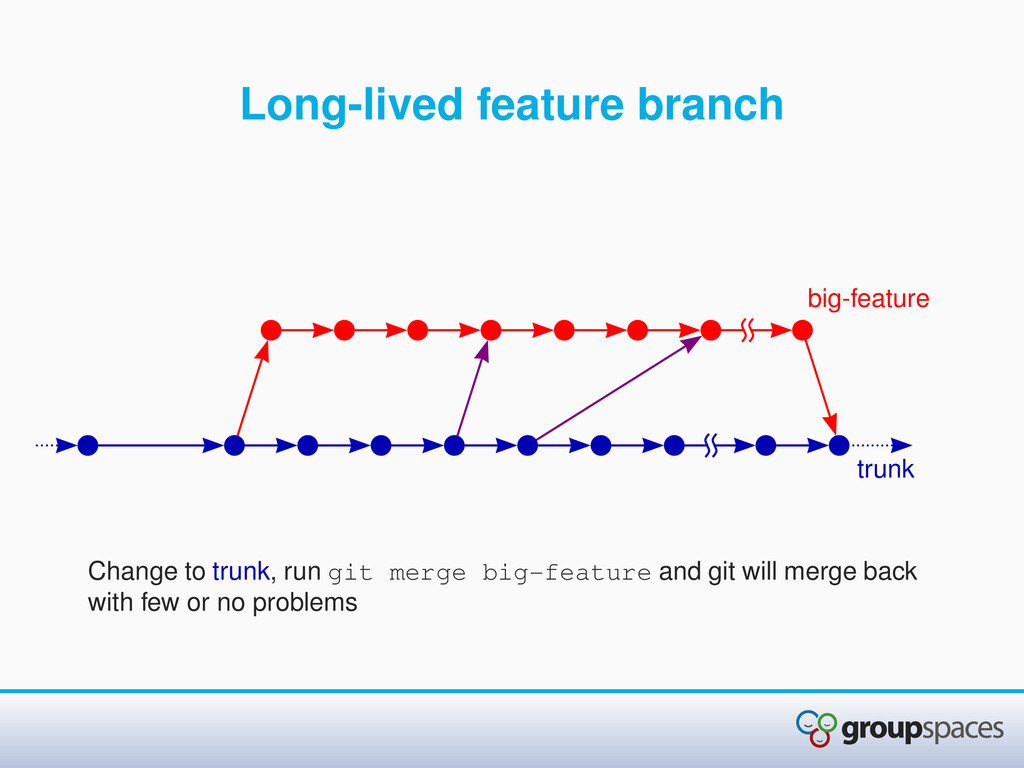
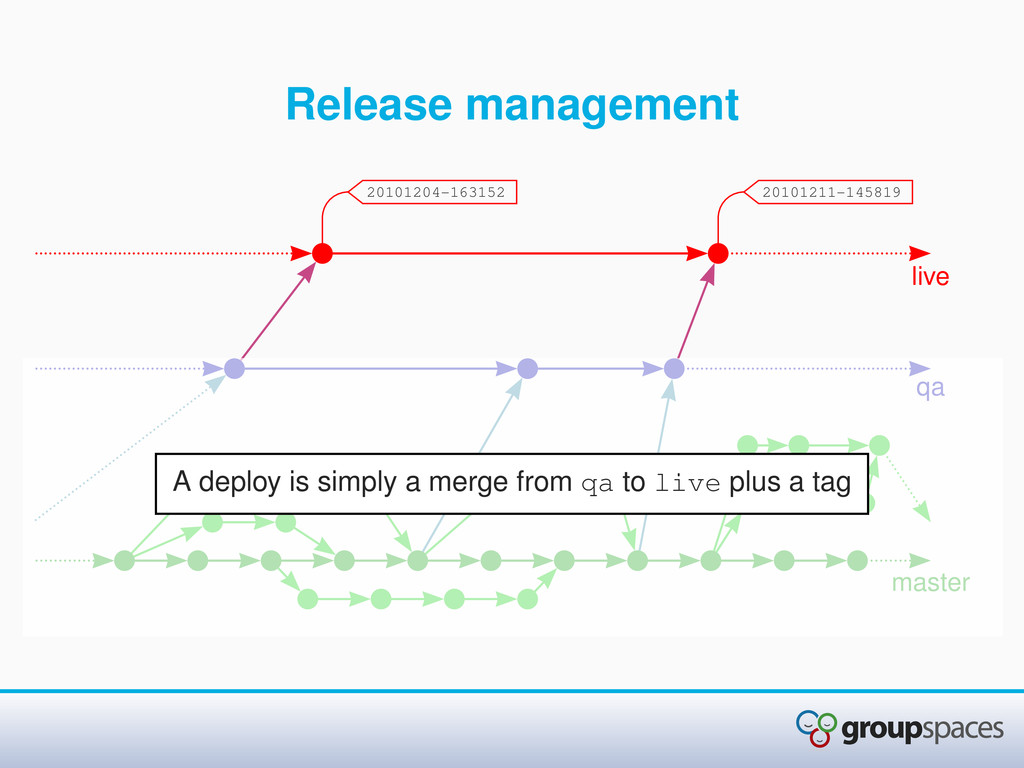
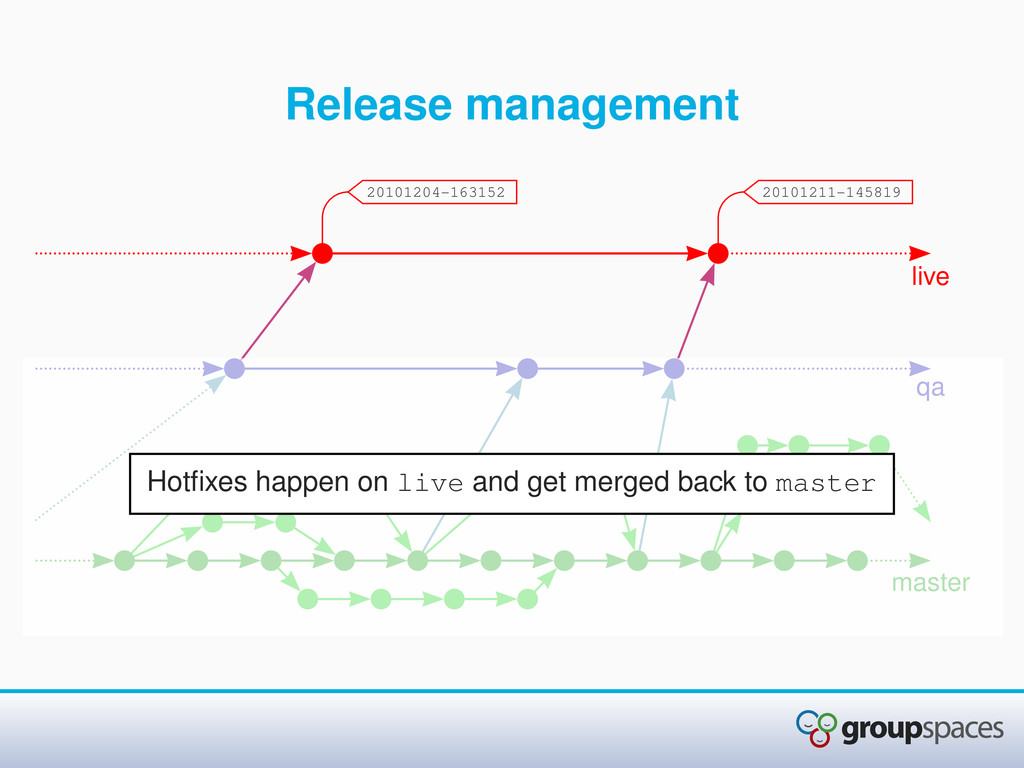
. what are the advantages? • Git’s branch tracking lets you do complicated merges really easily • Long-lived feature branches are trivial • Branching and merging is no longer something to fear! • Let’s see an example
• Because it tracks content, it can even handle changes to a file that has been renamed in another branch • Problems are only likely to come up if: • the same part of a file is edited in both branches and git can’t work out a resolution
• Because it tracks content, it can even handle changes to a file that has been renamed in another branch • Problems are only likely to come up if: • the same part of a file is edited in both branches and git can’t work out a resolution • a file is deleted (not moved) in one branch and edited in another
• Because it tracks content, it can even handle changes to a file that has been renamed in another branch • Problems are only likely to come up if: • the same part of a file is edited in both branches and git can’t work out a resolution • a file is deleted (not moved) in one branch and edited in another • two files are created with the same path in each branch
bug is found that has probably existed for a long time, as an unexpected side-effect of an earlier change • If you know that it used to work, then tracking down the commit which actually caused the bug can be a big task • This is where git bisect comes in useful
binary search on commits to find the one that caused the bug • You could manually jump between revisions, but that’s very time-consuming • With git bisect you must still find a good commit, but you can just keep jumping back in history to find it • Just tell git whether a commit is good or bad, and it does the rest • Note: needs a clean working copy when you begin
and contains a bug that wasn’t there before, but we don’t know when it was introduced. We start git bisect, (using git stash to save changes from our working copy if necessary): $ git bisect start
and contains a bug that wasn’t there before, but we don’t know when it was introduced. We start git bisect, (using git stash to save changes from our working copy if necessary): $ git bisect start We now mark the current commit as being “bad” (i.e. it has the bug) $ git bisect bad
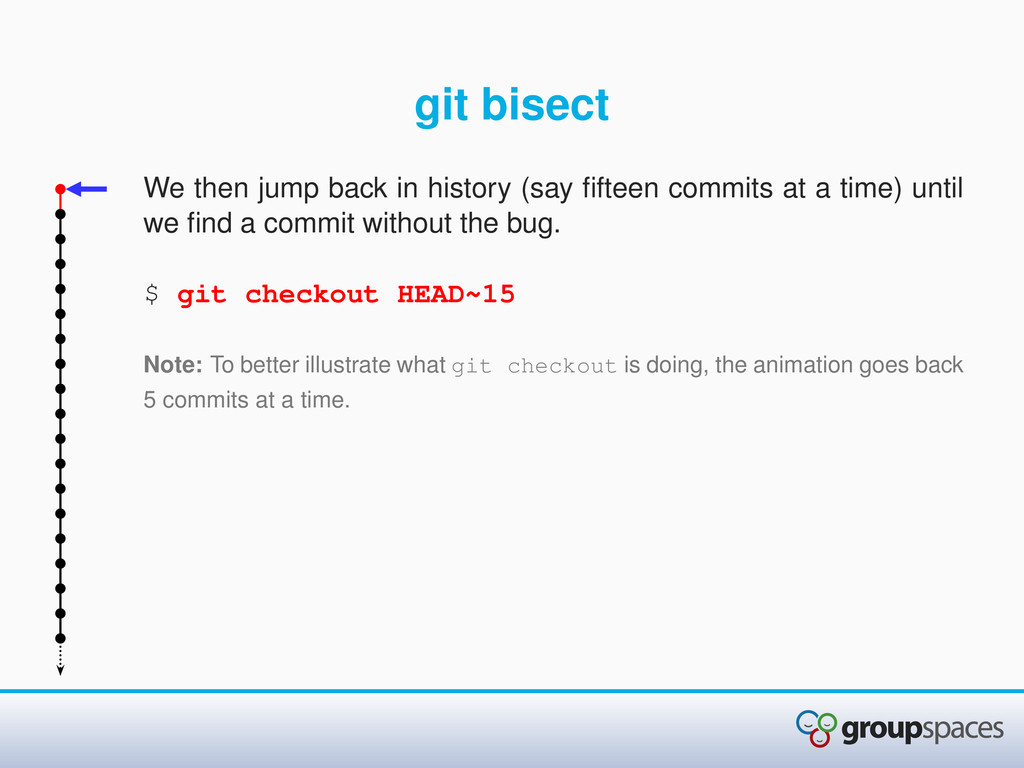
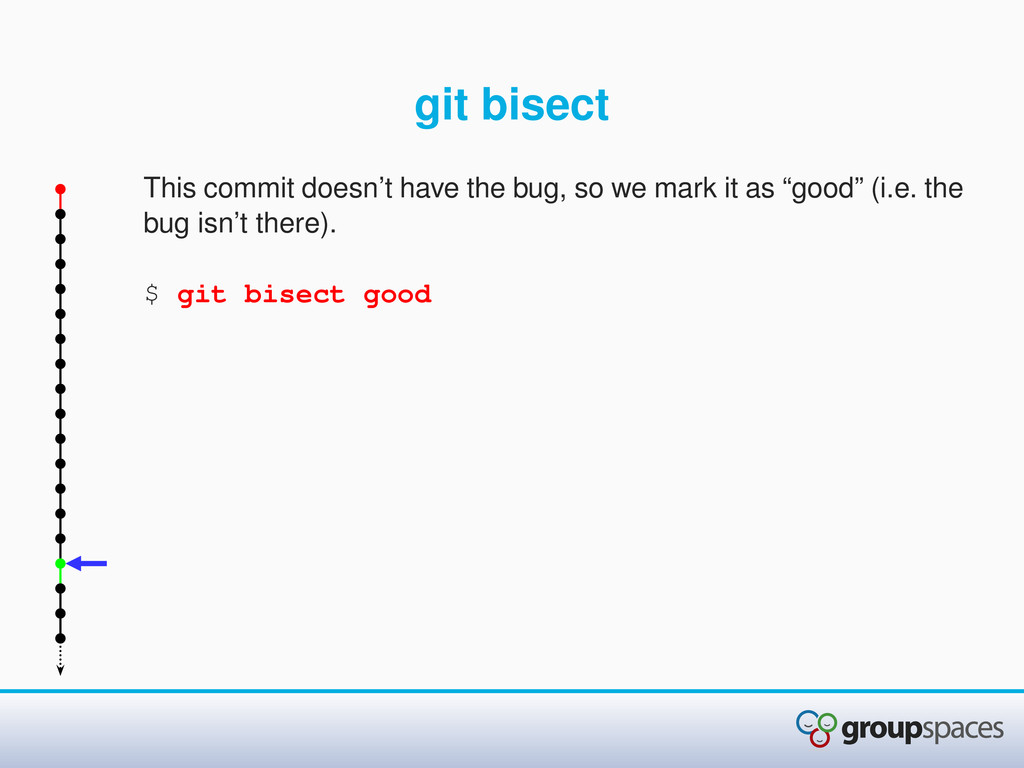
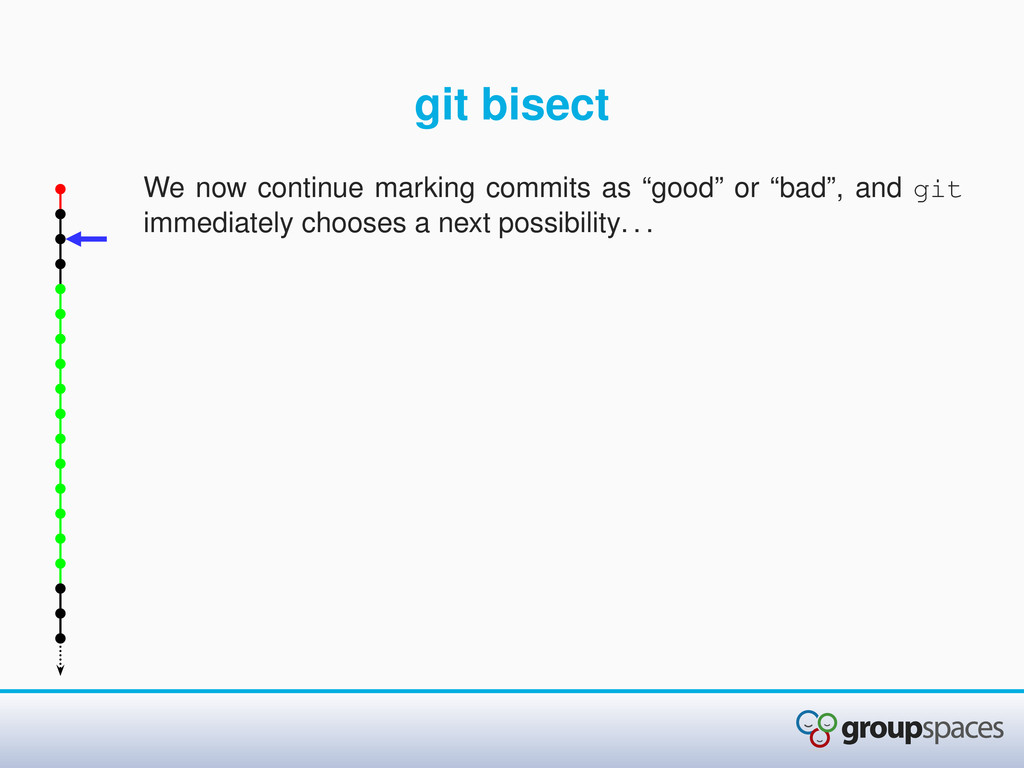
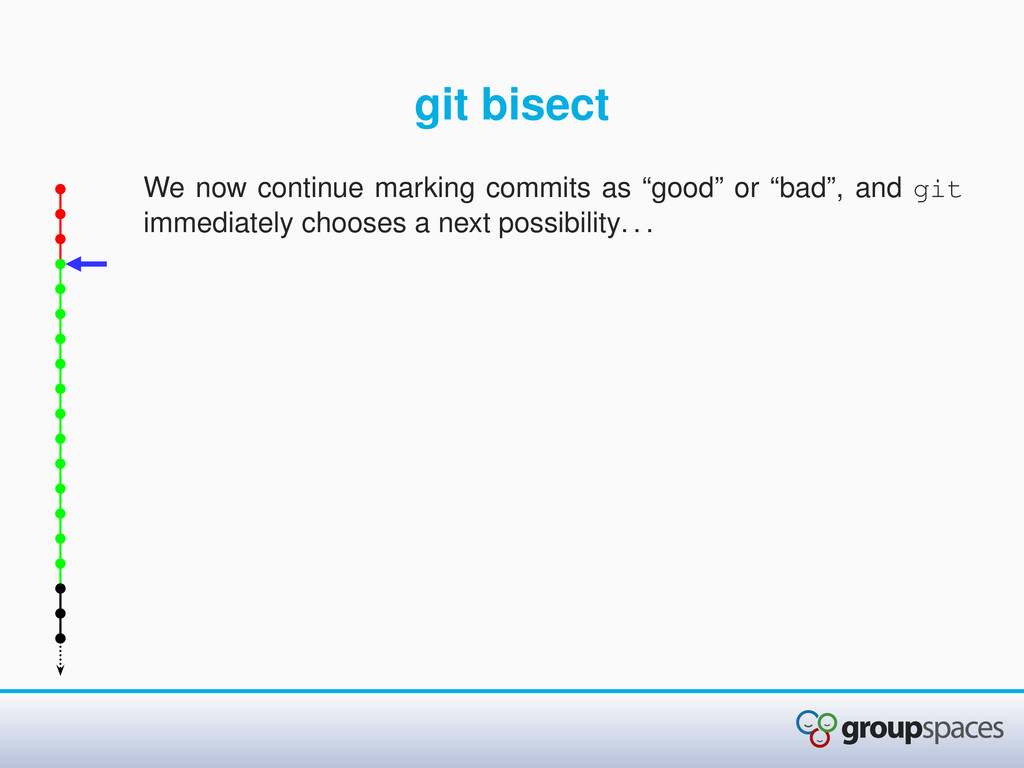
commits at a time) until we find a commit without the bug. $ git checkout HEAD~15 Note: To better illustrate what git checkout is doing, the animation goes back 5 commits at a time.
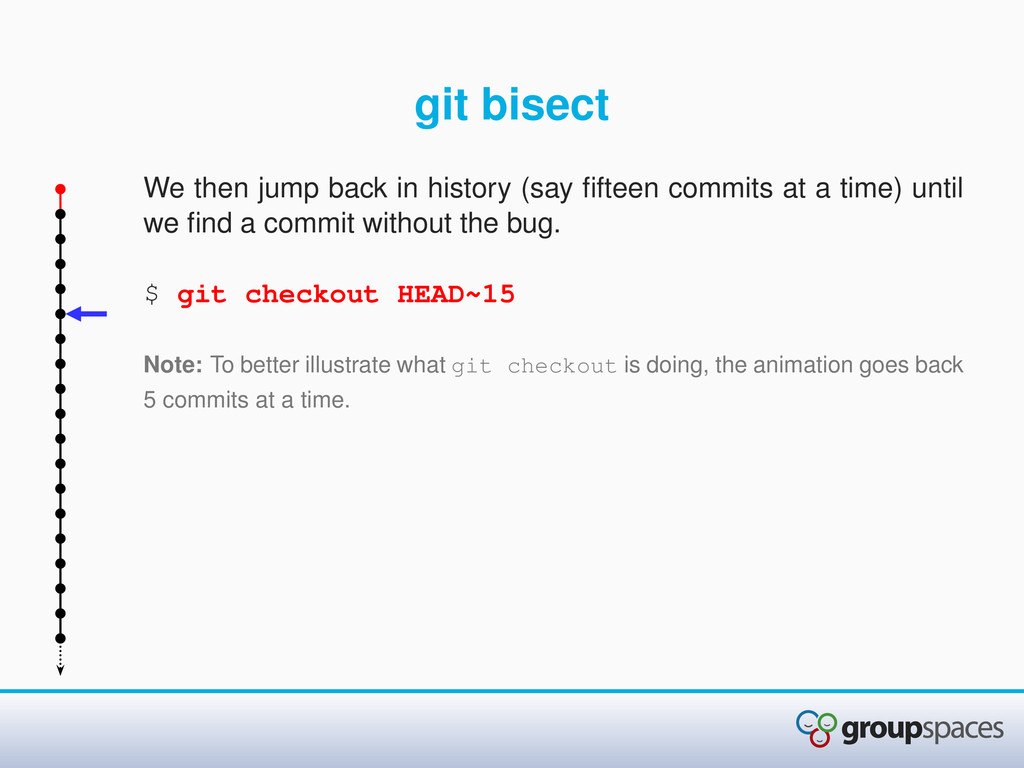
commits at a time) until we find a commit without the bug. $ git checkout HEAD~15 Note: To better illustrate what git checkout is doing, the animation goes back 5 commits at a time.
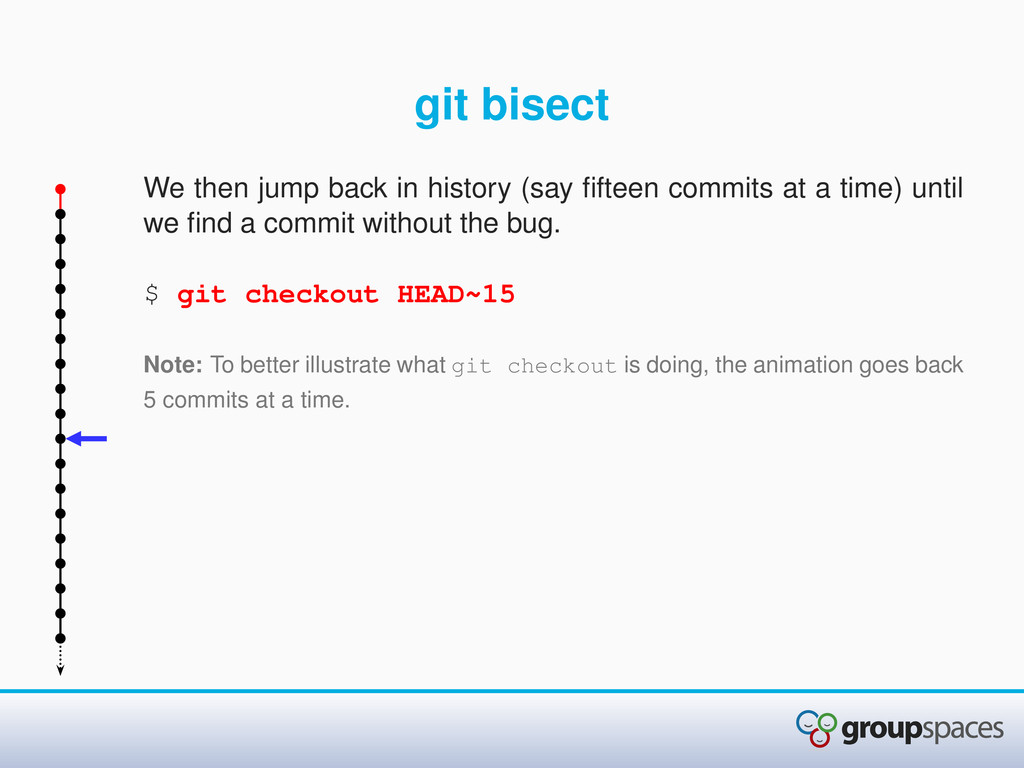
commits at a time) until we find a commit without the bug. $ git checkout HEAD~15 Note: To better illustrate what git checkout is doing, the animation goes back 5 commits at a time.
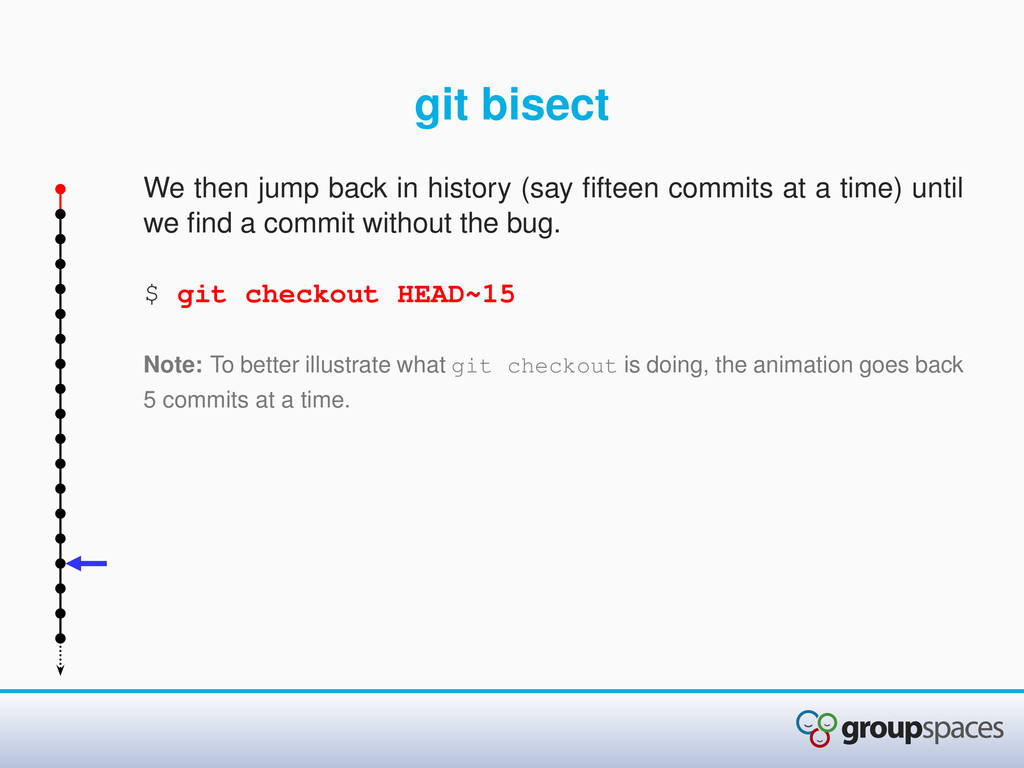
commits at a time) until we find a commit without the bug. $ git checkout HEAD~15 Note: To better illustrate what git checkout is doing, the animation goes back 5 commits at a time.
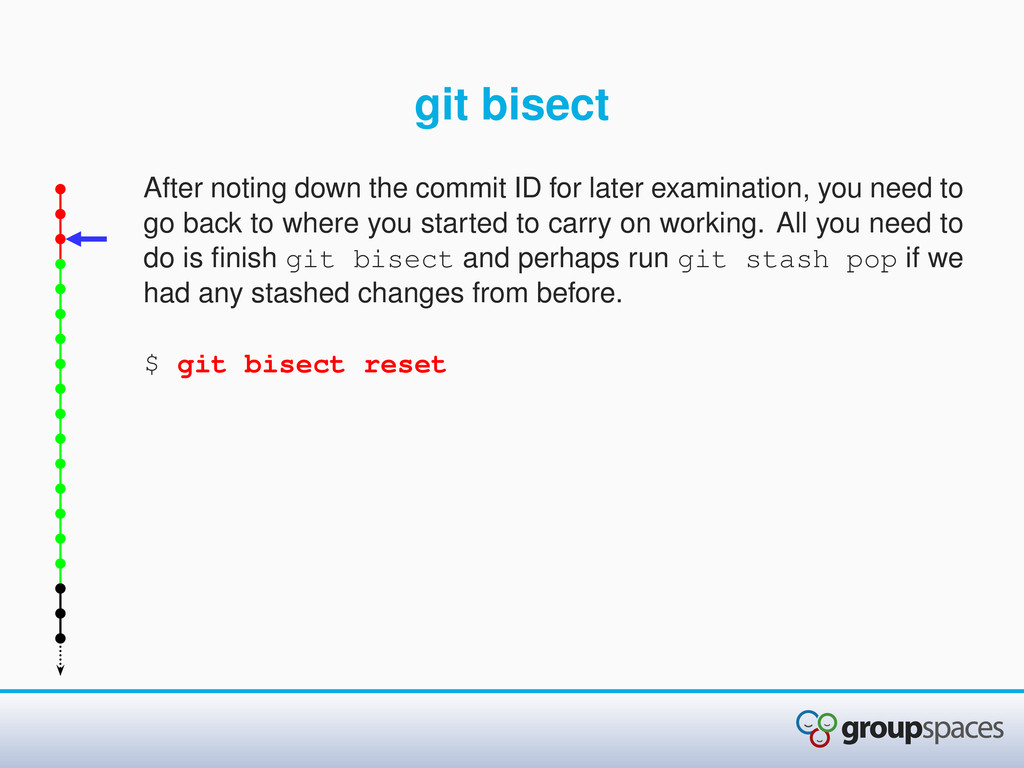
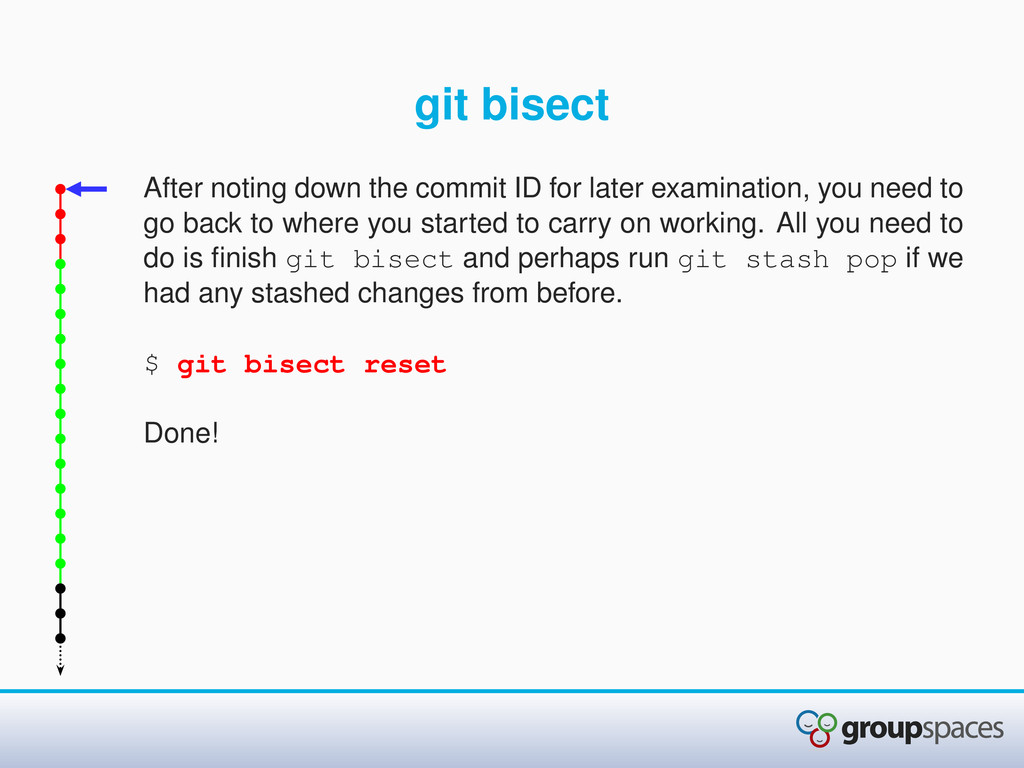
examination, you need to go back to where you started to carry on working. All you need to do is finish git bisect and perhaps run git stash pop if we had any stashed changes from before. $ git bisect reset
examination, you need to go back to where you started to carry on working. All you need to do is finish git bisect and perhaps run git stash pop if we had any stashed changes from before. $ git bisect reset Done!
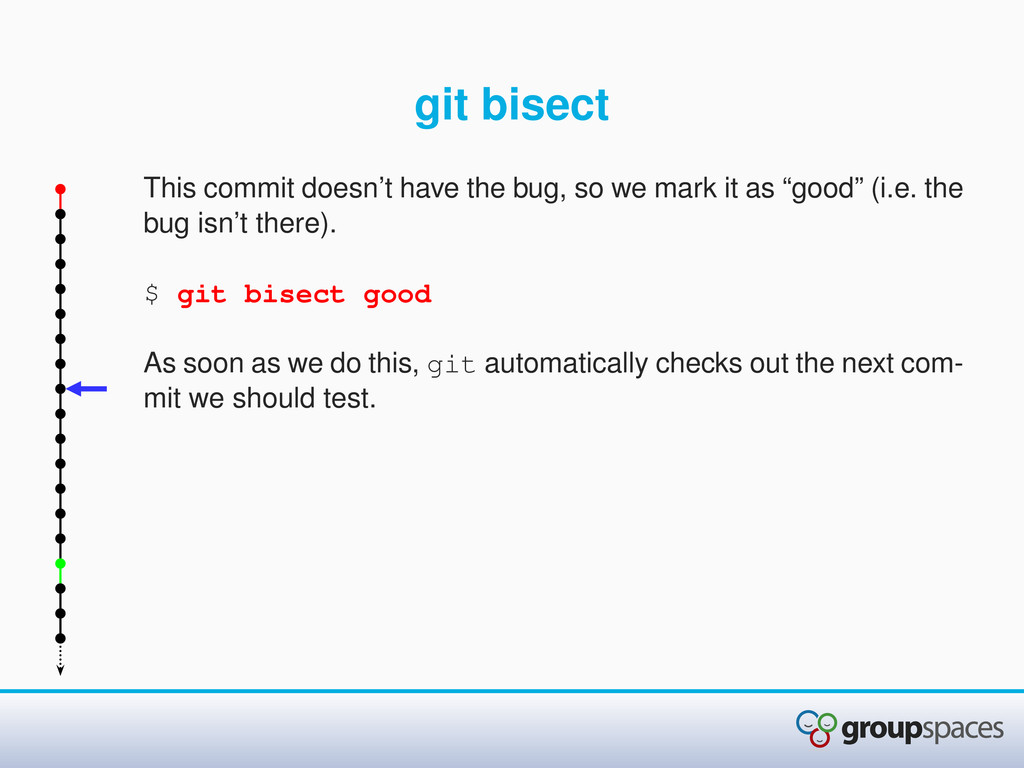
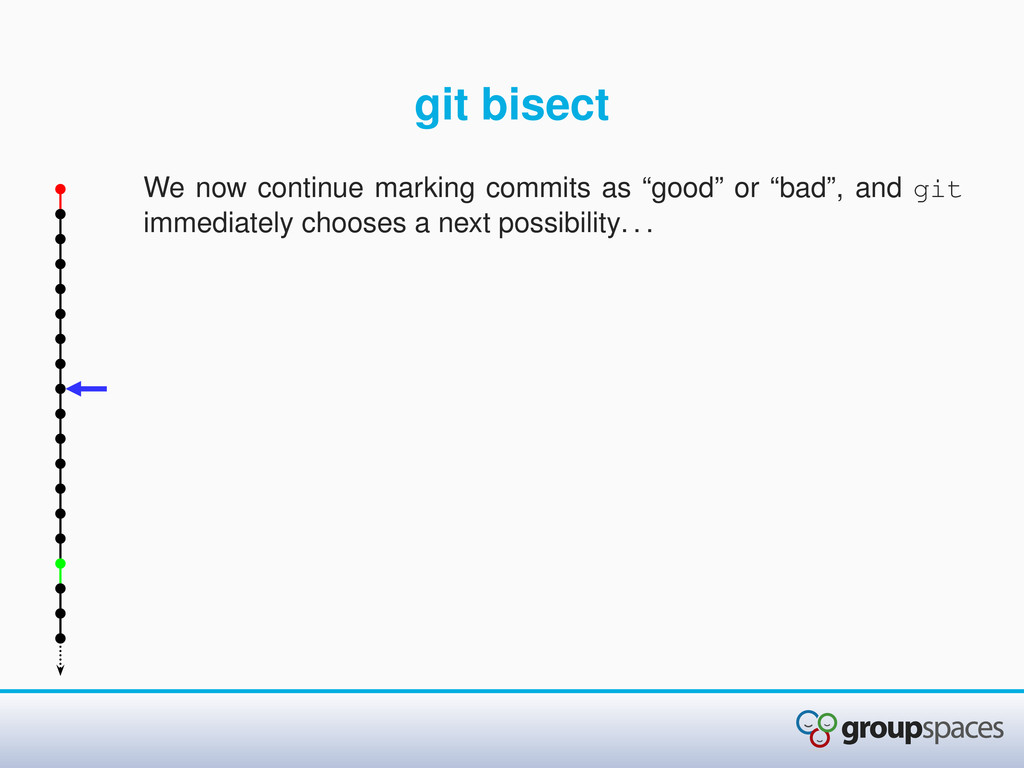
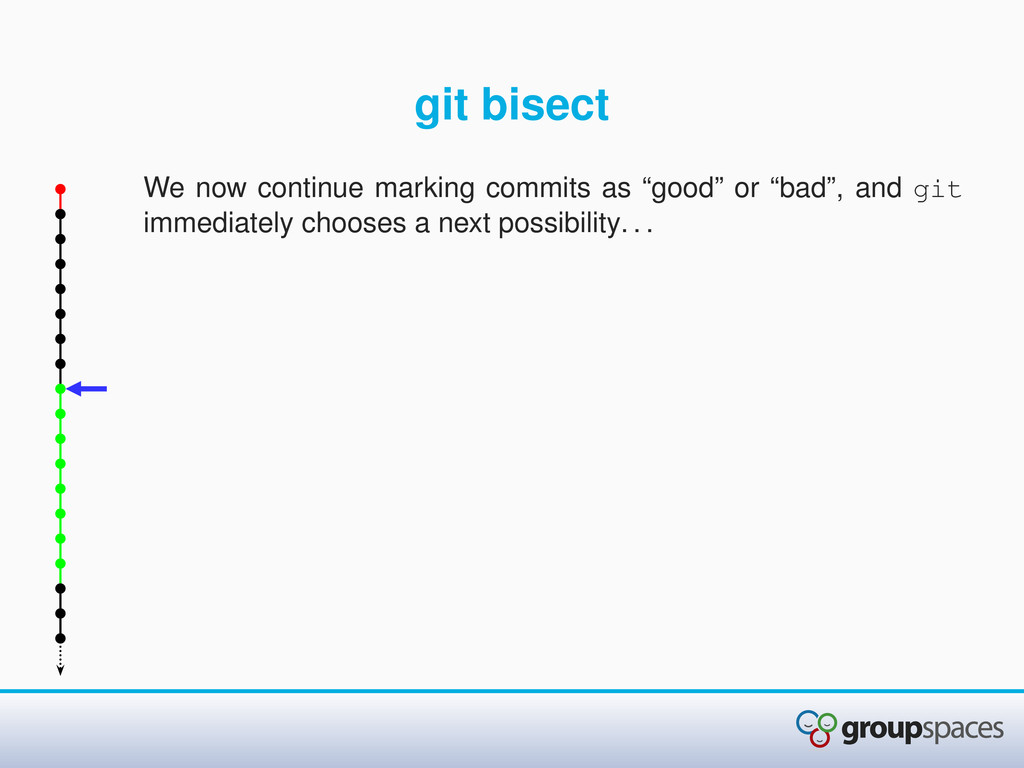
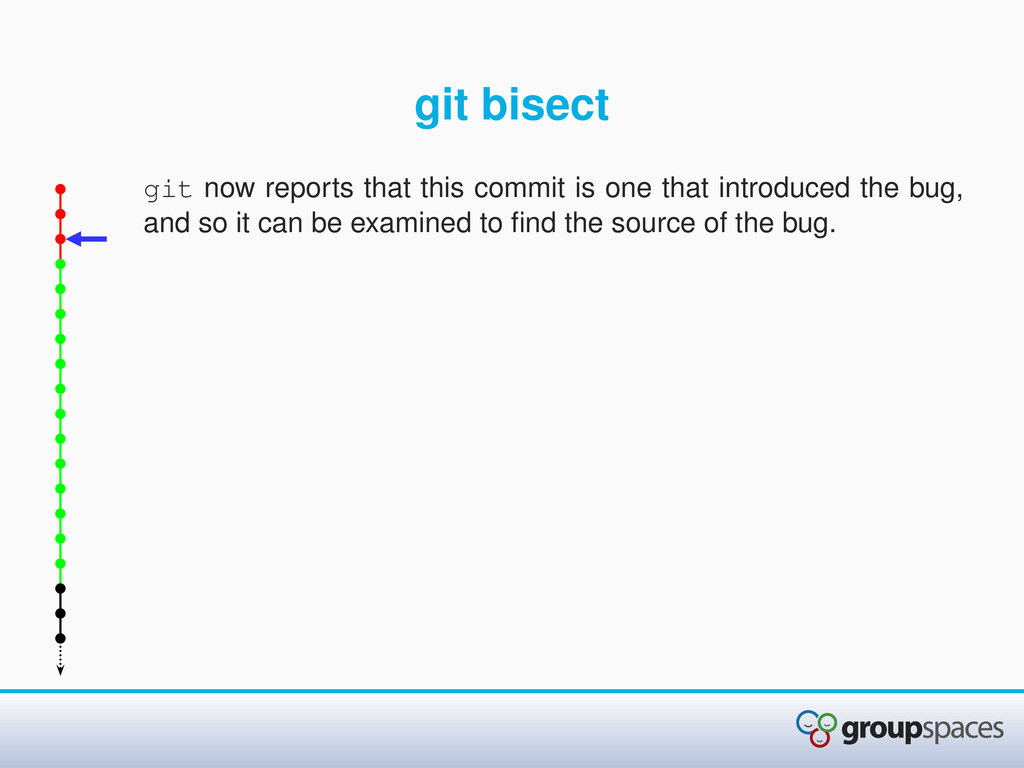
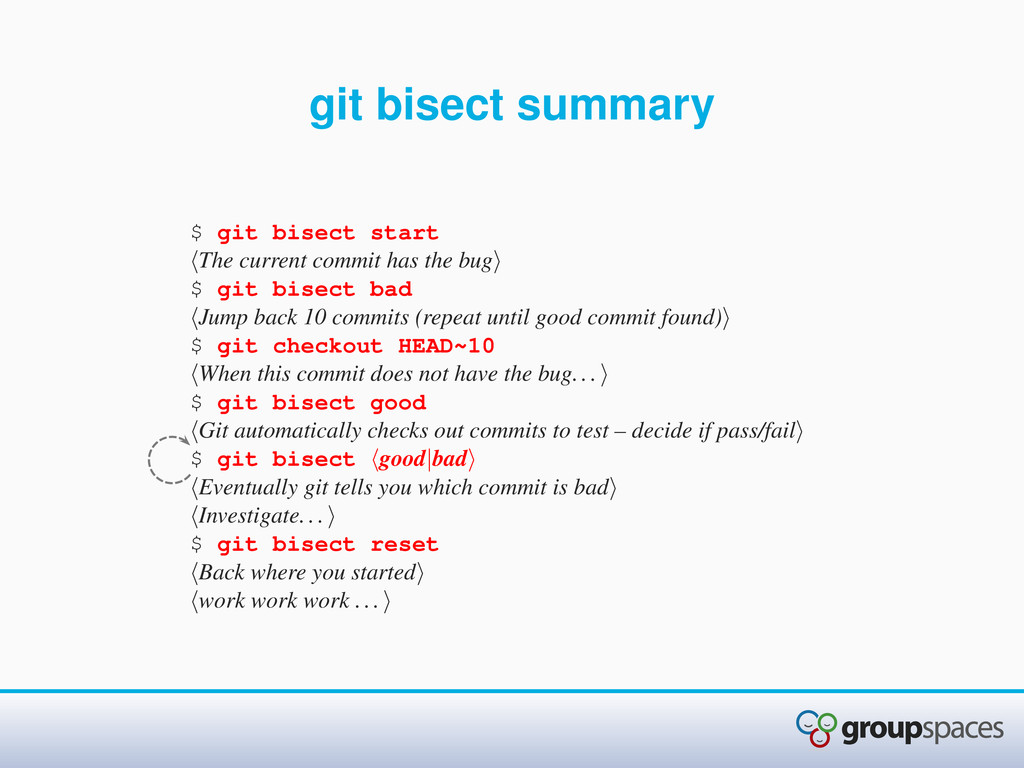
has the bug $ git bisect bad Jump back 10 commits (repeat until good commit found) $ git checkout HEAD~10 When this commit does not have the bug. .. $ git bisect good Git automatically checks out commits to test – decide if pass/fail $ git bisect good|bad Eventually git tells you which commit is bad Investigate... $ git bisect reset Back where you started work work work ...