Upgrade to Pro — share decks privately, control downloads, hide ads and more …

Navigating the rocky road

Navigating the rocky road

A brief introduction and overview of Android Navigation Conponent

Eoin Fogarty

February 17, 2019
Tweet

More Decks by Eoin Fogarty

Other Decks in Programming

Transcript

  1. # Introduction - Eoin Fogarty - Native Engineer at Cyberagent

    (REQU). - Android and Flutter developer @M0dge https://github.com/eoinfogarty
  2. # What is Architecture Components? Architecture components are a subset

    of libraries of support libraries in what is now called Jetpack
  3. “Navigation is a crucial part of app design. With navigation,

    you design the interactions that allow users to move across, into, and back out from the different content areas within your app.”
  4. # Navigation Architecture Component Handle navigating between your apps destinations

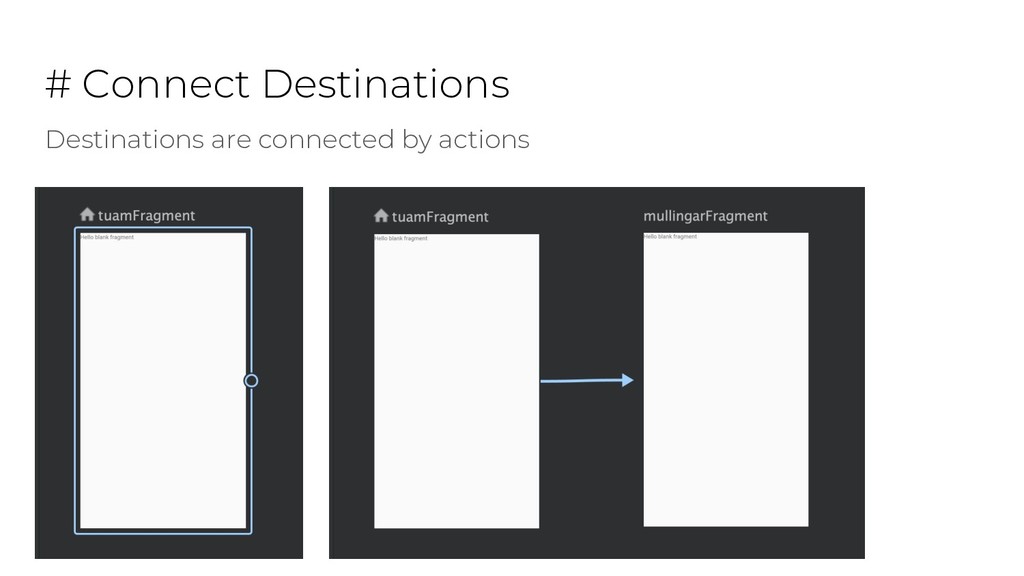
    such as - Fragments - Activities - Navigation graphs and subgraphs - Custom destination types These are connected by actions which together with destinations make up an apps navigation graph
  5. # Other Benefits - Fragment transactions - Correct up and

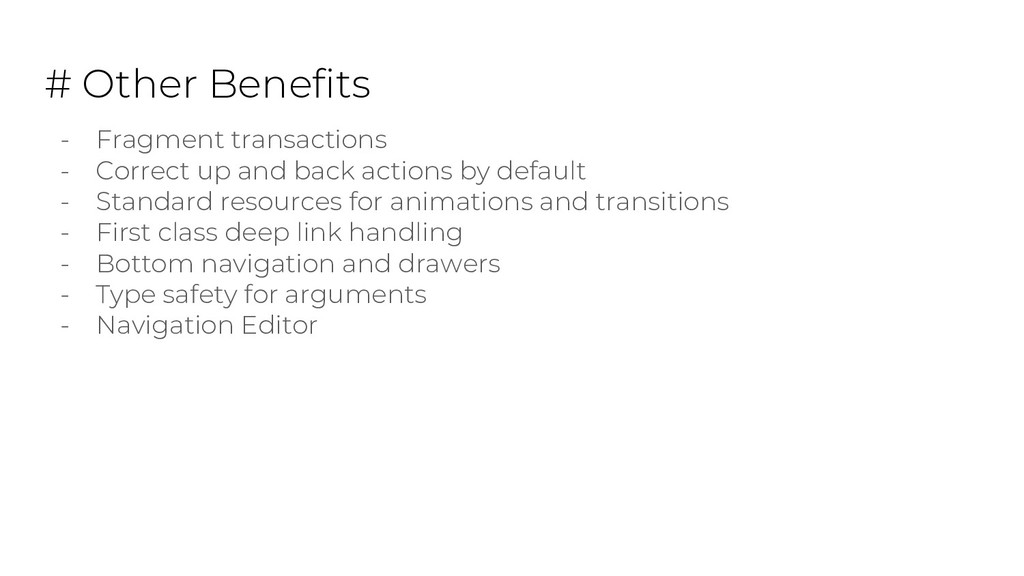
    back actions by default - Standard resources for animations and transitions - First class deep link handling - Bottom navigation and drawers - Type safety for arguments - Navigation Editor
  6. # Principles of Navigation - Fixed start destination - Navigation

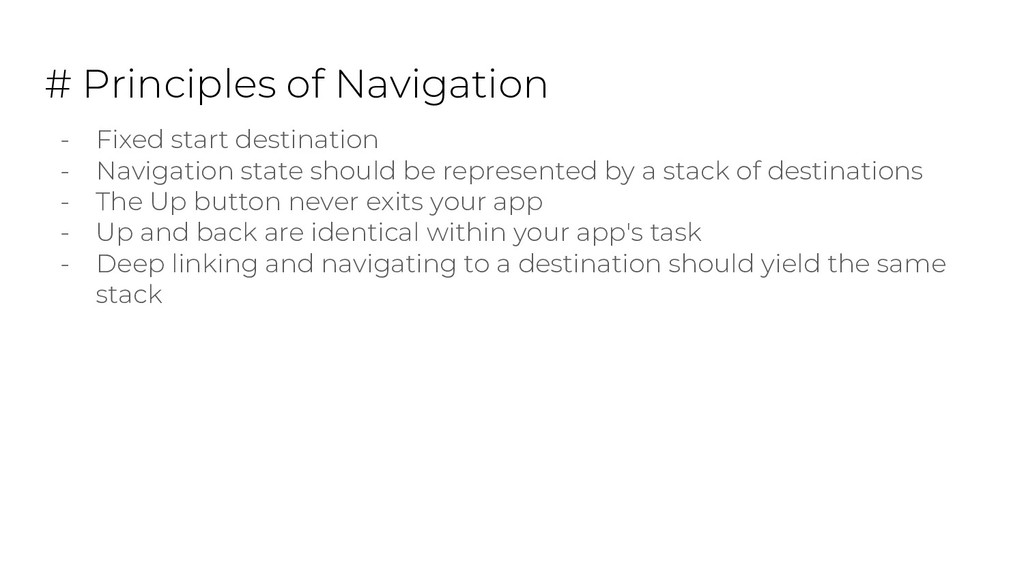
    state should be represented by a stack of destinations - The Up button never exits your app - Up and back are identical within your app's task - Deep linking and navigating to a destination should yield the same stack
  7. # Set up the Navigation for your project Note: If

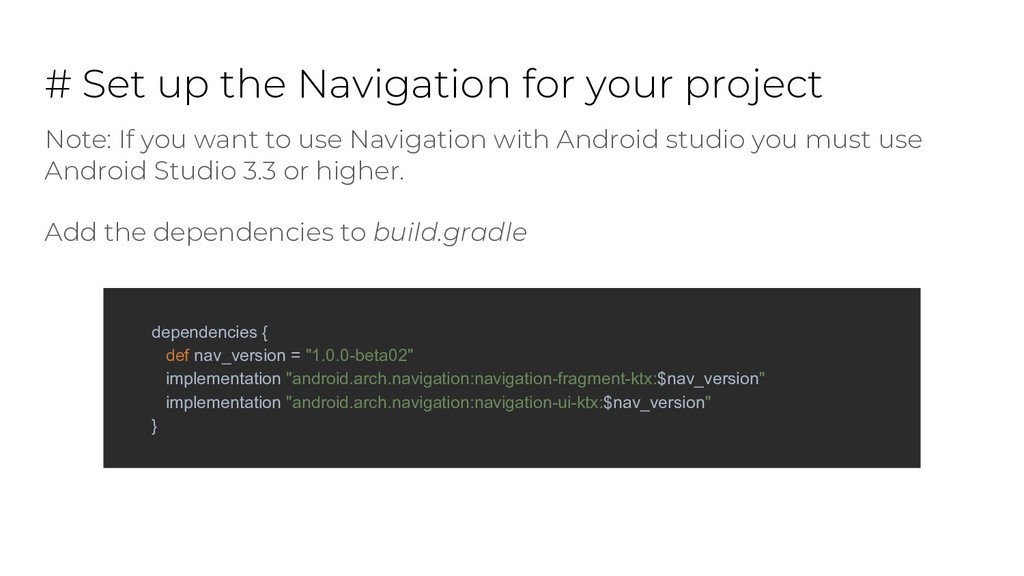
    you want to use Navigation with Android studio you must use Android Studio 3.3 or higher. Add the dependencies to build.gradle dependencies { def nav_version = "1.0.0-beta02" implementation "android.arch.navigation:navigation-fragment-ktx:$nav_version" implementation "android.arch.navigation:navigation-ui-ktx:$nav_version" }
  8. # Create Destinations 1. Click the add destination button 2.

    Create a new destination 3. Add a placeholder to fill in details later 4. Add an existing destination
  9. # Create Destinations <?xml version="1.0" encoding="utf-8"?> <navigation ..> <fragment android:id="@+id/tuamFragment"

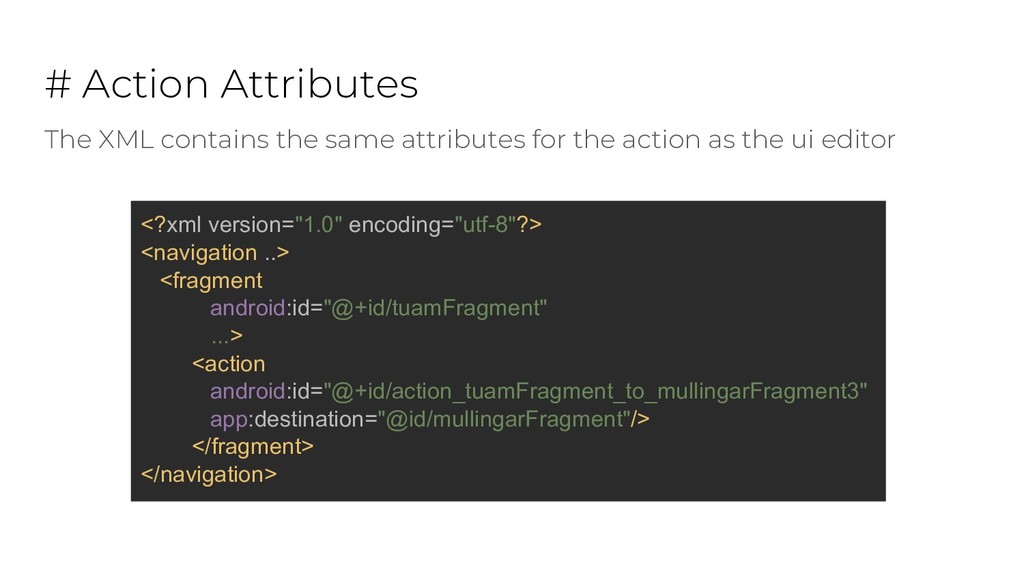
    android:name="ie.redstar.navigating.TuamFragment" android:label="fragment_tuam" tools:layout="@layout/fragment_tuam"/> </navigation> The XML contains the same id, name, label, and layout attributes for the destination as the ui editor
  10. # Action Attributes The XML contains the same attributes for

    the action as the ui editor <?xml version="1.0" encoding="utf-8"?> <navigation ..> <fragment android:id="@+id/tuamFragment" ...> <action android:id="@+id/action_tuamFragment_to_mullingarFragment3" app:destination="@id/mullingarFragment"/> </fragment> </navigation>
  11. # Designate a Start Destination - The House icon to

    indicate the first screen users see. - Known as the start destination - Change by right clicking and Set as Start Destination - Or click Assign start destination
  12. # Modify Activity to Host Navigation - Add a NavHostFragment

    to your main navigation activity - Associate the nav_graph we created with the NavHost
  13. # Modify Activity to Host Navigation <?xml version="1.0" encoding="utf-8"?> <androidx.constraintlayout.widget.ConstraintLayout

    ... tools:context=".MainActivity"> <fragment android:name="androidx.navigation.fragment.NavHostFragment" android:layout_width="0dp" android:layout_height="0dp" app:navGraph="@navigation/nav_graph" app:defaultNavHost="true" android:id="@+id/fragment" .../> </androidx.constraintlayout.widget.ConstraintLayout>
  14. # Tie Destination to UI Widget Navigating to a destination

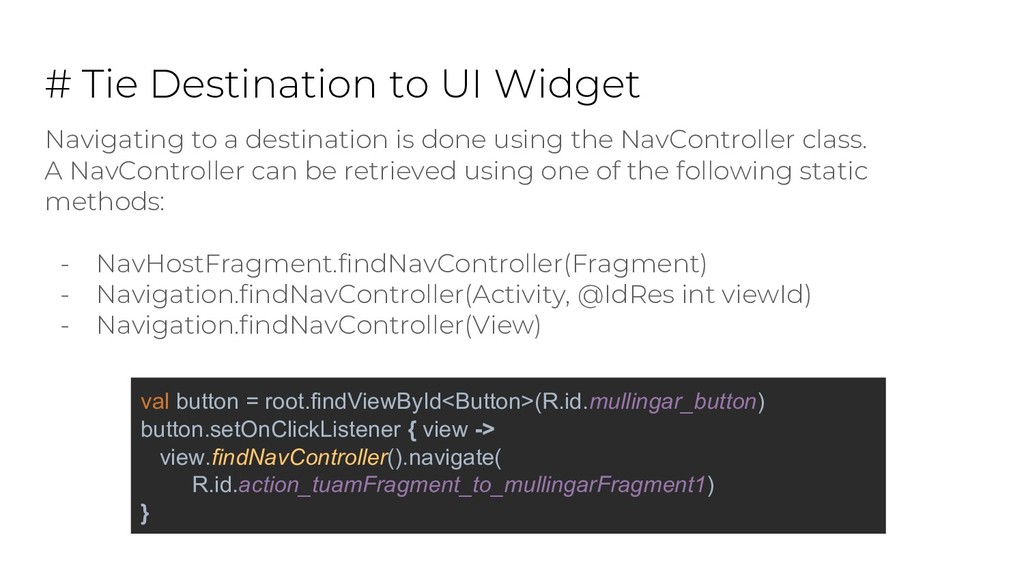
    is done using the NavController class. A NavController can be retrieved using one of the following static methods: - NavHostFragment.findNavController(Fragment) - Navigation.findNavController(Activity, @IdRes int viewId) - Navigation.findNavController(View) val button = root.findViewById<Button>(R.id.mullingar_button) button.setOnClickListener { view -> view.findNavController().navigate( R.id.action_tuamFragment_to_mullingarFragment1) }
  15. # Create a Transition Between Destinations - By default transitions

    will not animate. - We can specify in navigation editor - We can create custom animations in animation resource folder
  16. # Add Shared Element transition Shared elements unlike transitions must

    be supplied programmatically val image = root.findViewById<ImageView>(R.id.imageView) val extras = FragmentNavigatorExtras( image to "avatar" ) button.setOnClickListener { view -> view.findNavController().navigate( R.id.action_tuamFragment_to_mullingarFragment1, null, // bundle of arguments null, // navigation option extras ) }
  17. # Update UI components The Navigation Architecture Component includes a

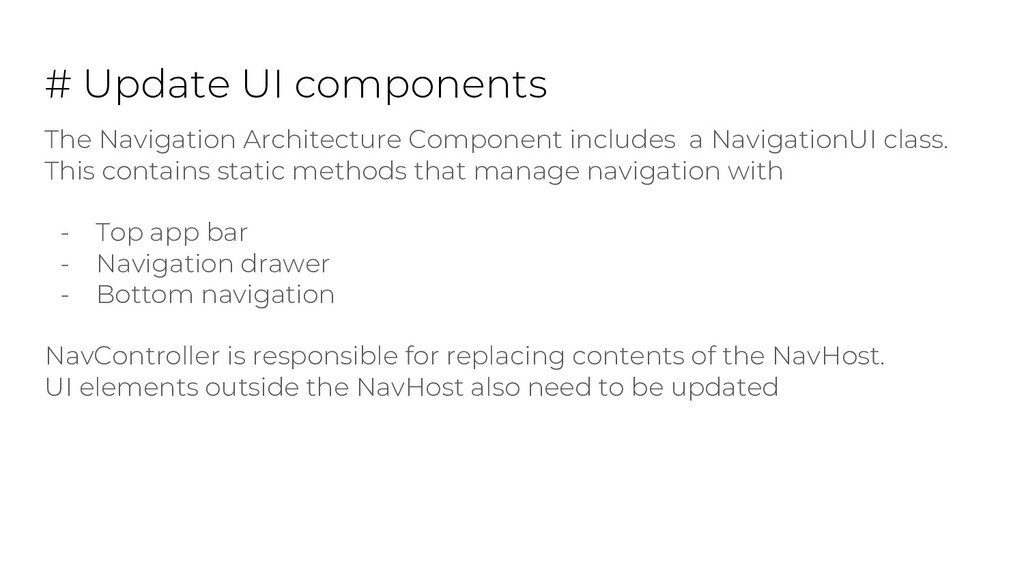
    NavigationUI class. This contains static methods that manage navigation with - Top app bar - Navigation drawer - Bottom navigation NavController is responsible for replacing contents of the NavHost. UI elements outside the NavHost also need to be updated
  18. # OnDestinationChangedListener NavController offers an OnDestinationChangedListener that is called when

    the NavController’s current destination or its arguments changed. navController.addOnDestinationChangedListener { navController, destination, arguments -> textView.setText(destination.label) }
  19. # Action Bar Call setupActionBarWithNavController() in activity onCreate() This will

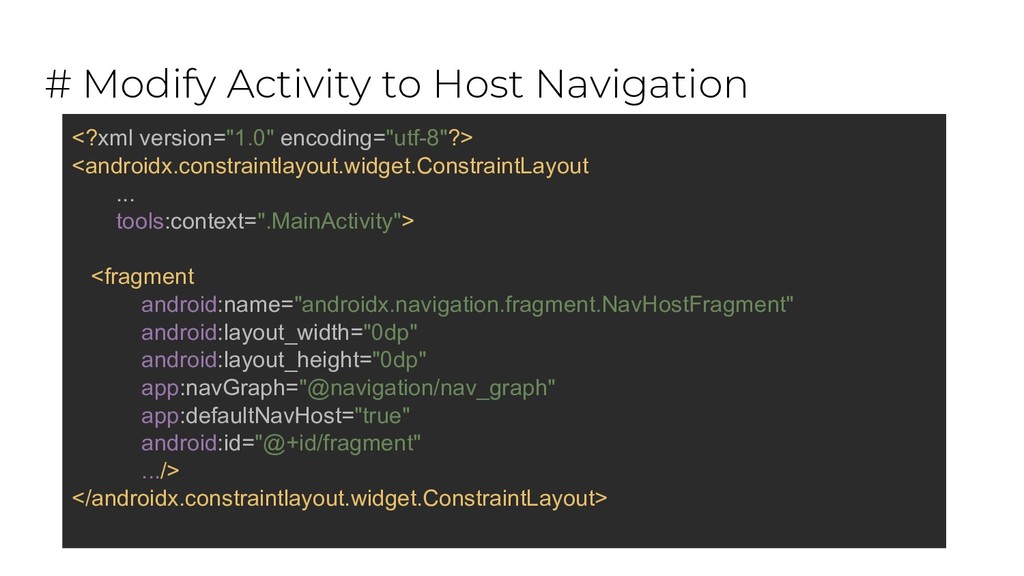
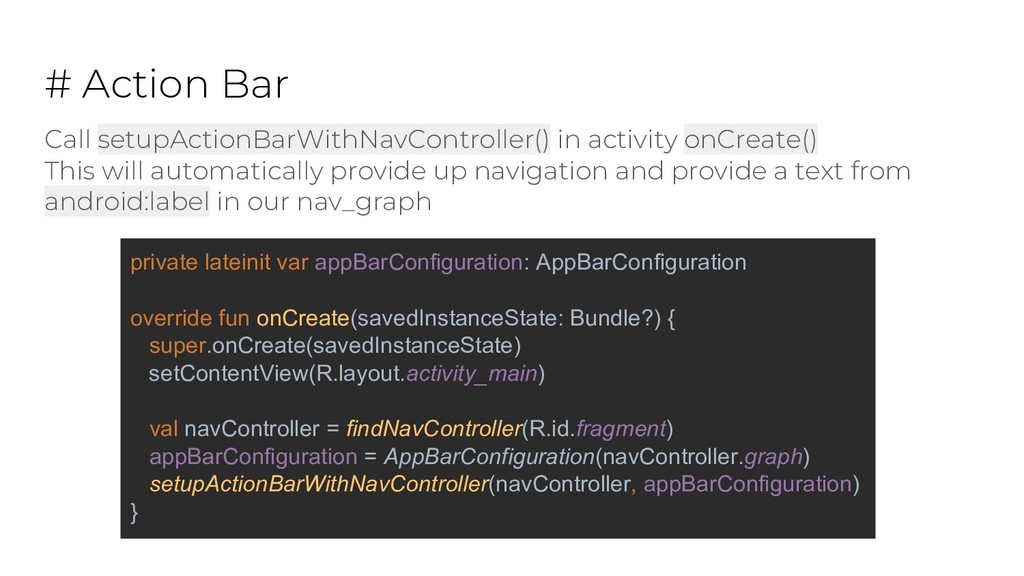
    automatically provide up navigation and provide a text from android:label in our nav_graph private lateinit var appBarConfiguration: AppBarConfiguration override fun onCreate(savedInstanceState: Bundle?) { super.onCreate(savedInstanceState) setContentView(R.layout.activity_main) val navController = findNavController(R.id.fragment) appBarConfiguration = AppBarConfiguration(navController.graph) setupActionBarWithNavController(navController, appBarConfiguration) }
  20. # Bottom Navigation - Ensure menu item have same id

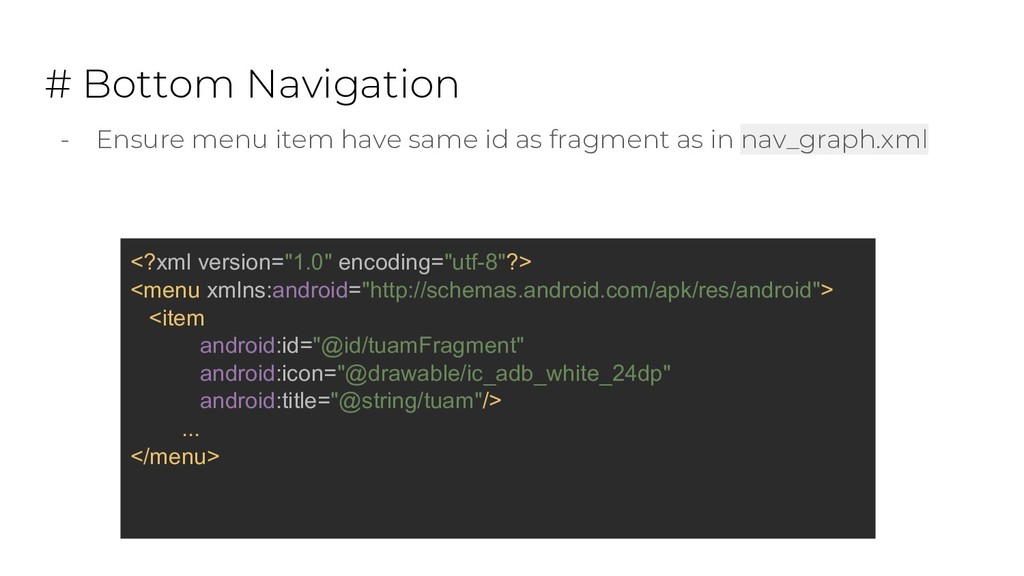
    as fragment as in nav_graph.xml <?xml version="1.0" encoding="utf-8"?> <menu xmlns:android="http://schemas.android.com/apk/res/android"> <item android:id="@id/tuamFragment" android:icon="@drawable/ic_adb_white_24dp" android:title="@string/tuam"/> ... </menu>
  21. # Bottom Navigation - In our main activity we call

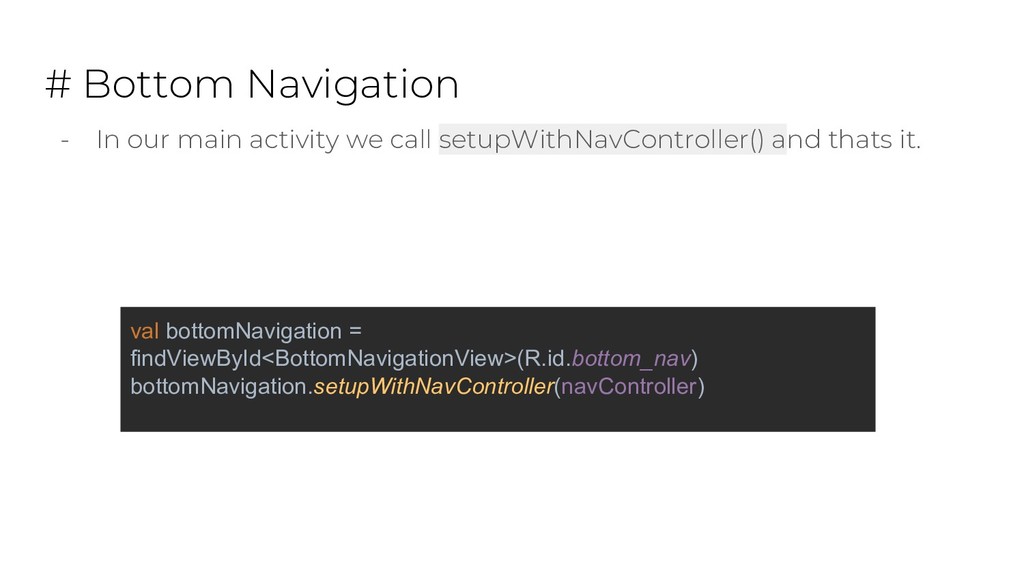
    setupWithNavController() and thats it. val bottomNavigation = findViewById<BottomNavigationView>(R.id.bottom_nav) bottomNavigation.setupWithNavController(navController)
  22. # Futher Reading - Nested Graphs (eg for self contained

    login flow) https://developer.android.com/topic/libraries/architecture/navigation/nav igation-nested-graphs - Pass Data Between Destinations (for defining arguements) https://developer.android.com/topic/libraries/architecture/navigation/nav igation-pass-data - Conditional Navigation (for login flow etc) https://developer.android.com/topic/libraries/architecture/navigation/nav igation-conditional
  23. # Futher Reading - Deep Links https://developer.android.com/topic/libraries/architecture/navigation/nav igation-deep-link - Global

    Actions https://developer.android.com/topic/libraries/architecture/navigation/nav igation-global-action