Upgrade to Pro
— share decks privately, control downloads, hide ads and more …
Speaker Deck
Features
Speaker Deck
PRO
Sign in
Sign up for free
Search
Search
Vagrantで作るRails開発環境構築
Search
Sponsored
·
Your Podcast. Everywhere. Effortlessly.
Share. Educate. Inspire. Entertain. You do you. We'll handle the rest.
→
Tetsushi Hasesaku
September 03, 2018
Programming
320
0
Share
Embed
Copy iframe code
Copy JS code
Copy link
Start on current slide
Vagrantで作るRails開発環境構築
Vagrantで作るRails開発環境構築
Tetsushi Hasesaku
September 03, 2018
More Decks by Tetsushi Hasesaku
See All by Tetsushi Hasesaku
コードリファクタリングの手引き
hare8563
2
690
Dockerで作るRails実行環境
hare8563
0
340
VagrantとDockerで作る、ポータブル開発環境
hare8563
2
820
Other Decks in Programming
See All in Programming
技術記事、 専門家としてのプログラマ、 言語化
mizchi
14
7.5k
Laravel Boostに学ぶ、AIにPHPを書かせる技術 〜OSSの実装から蒸留するエージェント制御の王道〜
kentaroutakeda
3
440
PHPだって関数型したい 〜できること、できないこと〜 / fp-in-php
jsoizo
0
210
AI駆動開発を妨げる技術的負債の解消アプローチ / ai-refactoring-approach
minodriven
17
9.1k
act1-costs.pdf
sumedhbala
0
230
これからAgentCoreを触る方へ トレンドはGatewayです
har1101
6
490
分散システム、なんですぐ死んでしまうん?耐障害性を高めたいあなたのためのレジリエンスパターン入門
mshibuya
7
6.2k
【やさしく解説 設計編 #0】DDDのコード、読めるのに分からない人へ
panda728
PRO
2
270
言語を使う側から、作る側へ。 自作 Lisp で得た新たな気づき。
andpad
0
120
型も通る、synthも通る、それでも危ない 〜AIのCDKの権限とコストを機械で検証する〜 / It Passes Type Checks, It Passes Synth Checks, but It’s Still Risky — Automatically Verifying Permissions and Costs in AI’s CDK —
seike460
PRO
1
320
吝嗇家のためのAI活用 / AI development for miser - ChatGPT + Issue Driven Development
tooppoo
0
190
なぜ関数型プログラミングで「型」と「証明」が語られるのか #fp_matsuri
kajitack
3
930
Featured
See All Featured
Why Your Marketing Sucks and What You Can Do About It - Sophie Logan
marketingsoph
0
270
Color Theory Basics | Prateek | Gurzu
gurzu
0
390
Agile Actions for Facilitating Distributed Teams - ADO2019
mkilby
0
220
What’s in a name? Adding method to the madness
productmarketing
PRO
24
4.1k
Skip the Path - Find Your Career Trail
mkilby
1
170
Applied NLP in the Age of Generative AI
inesmontani
PRO
4
2.4k
The Straight Up "How To Draw Better" Workshop
denniskardys
239
140k
Bash Introduction
62gerente
615
220k
What does AI have to do with Human Rights?
axbom
PRO
1
2.2k
The Illustrated Guide to Node.js - THAT Conference 2024
reverentgeek
1
410
Statistics for Hackers
jakevdp
799
230k
Google's AI Overviews - The New Search
badams
0
1.1k
Transcript
Vagrantで作るRails開 発環境構築
自己紹介 晴佐久 哲士 (ハレサク テツシ) ピクシブ株式会社 中途入社1ヶ月 サーバサイドエンジニア 好きな言語はC++ 趣味は、プログラミングとCG作成
2
Vagrant?
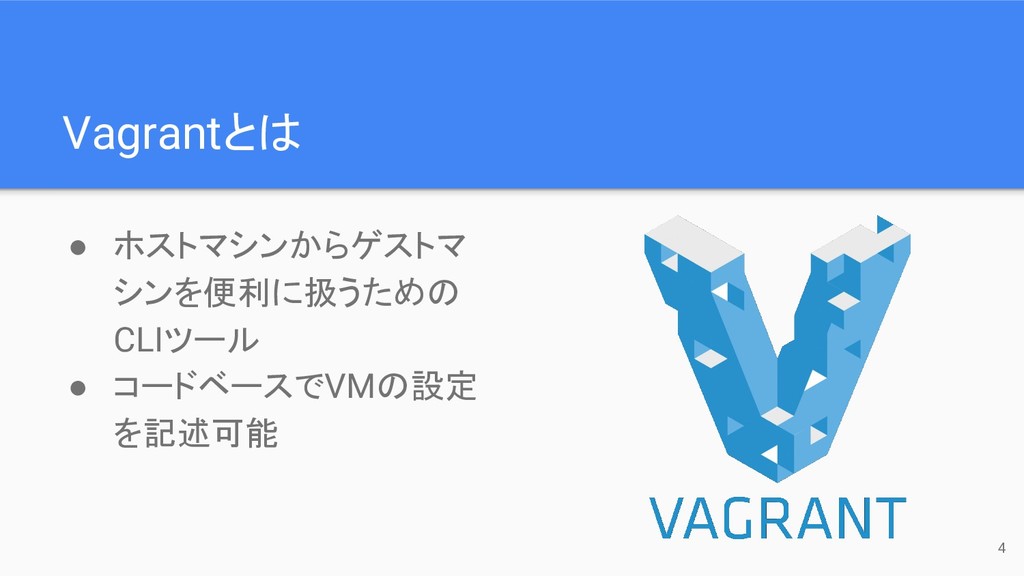
Vagrantとは • ホストマシンからゲストマ シンを便利に扱うための CLIツール • コードベースでVMの設定 を記述可能 4
Rails?
Railsとは Ruby on Rails • Rubyで使うサーバサイド フレームワーク • MVCアーキテクチャ •
“設定より規約”を意識した 開発スタイル
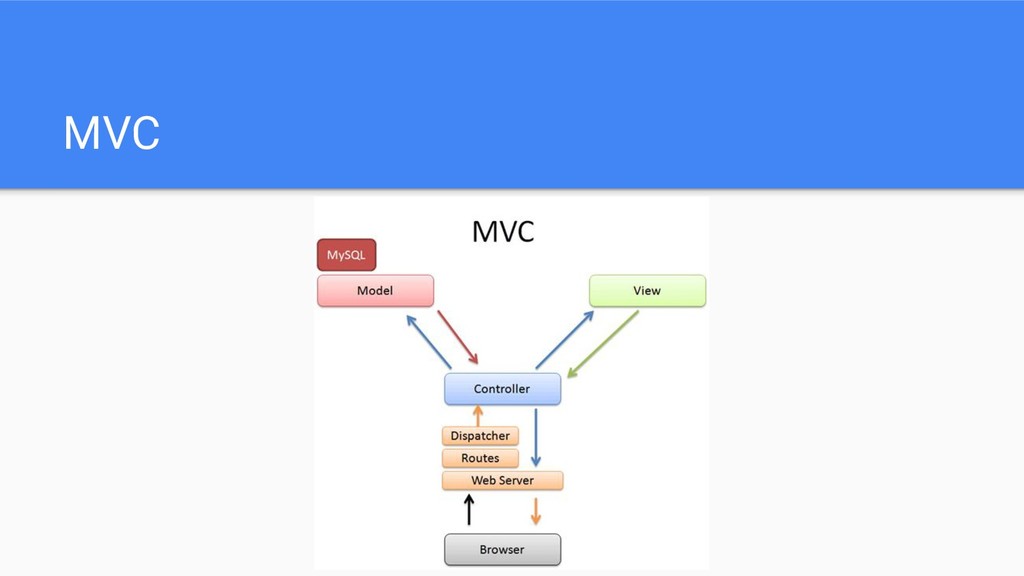
MVC
Vagrantで作ると何がいいの?
VagrantとDockerを使うメリット • 開発環境のポータビリティ性が高まる ◦ どこの、誰の、どんな環境でも構築可能 • 開発環境のバージョン管理が可能 • ディレクトリ共有でホストと開発環境間で効率的に作業が可 能
9
10 バージョン管理ができるため、構築が簡単 Gitからcloneすれ ばすぐに作れる
環境を同一化できるため、自分だけ動かないことはない 11
何かあった時のPCの移行も簡単 12
では、作って見ましょう
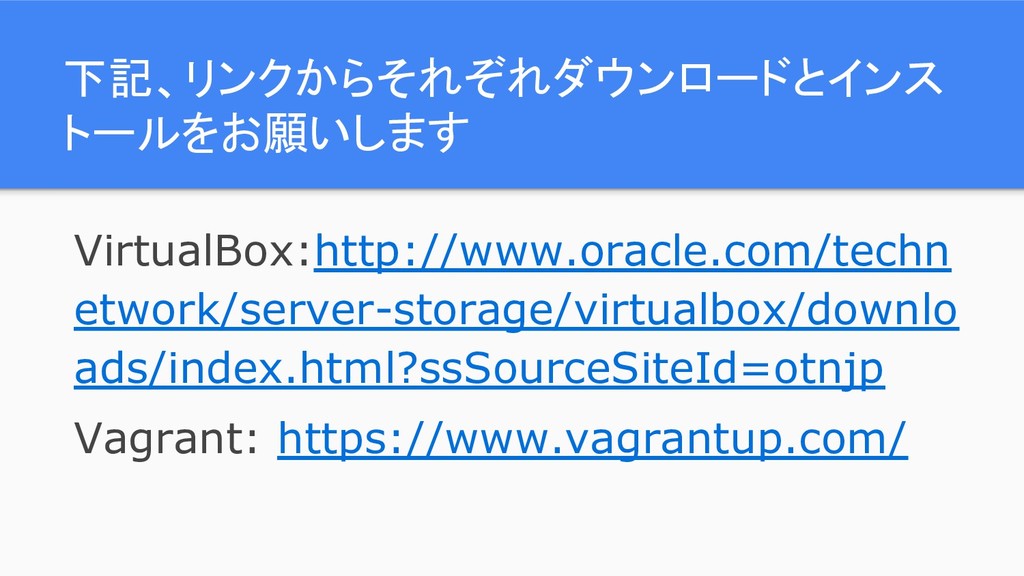
0. VagrantとVirtualBox のインストール
下記、リンクからそれぞれダウンロードとインス トールをお願いします VirtualBox:http://www.oracle.com/techn etwork/server-storage/virtualbox/downlo ads/index.html?ssSourceSiteId=otnjp Vagrant: https://www.vagrantup.com/
1. VagrantFile作成
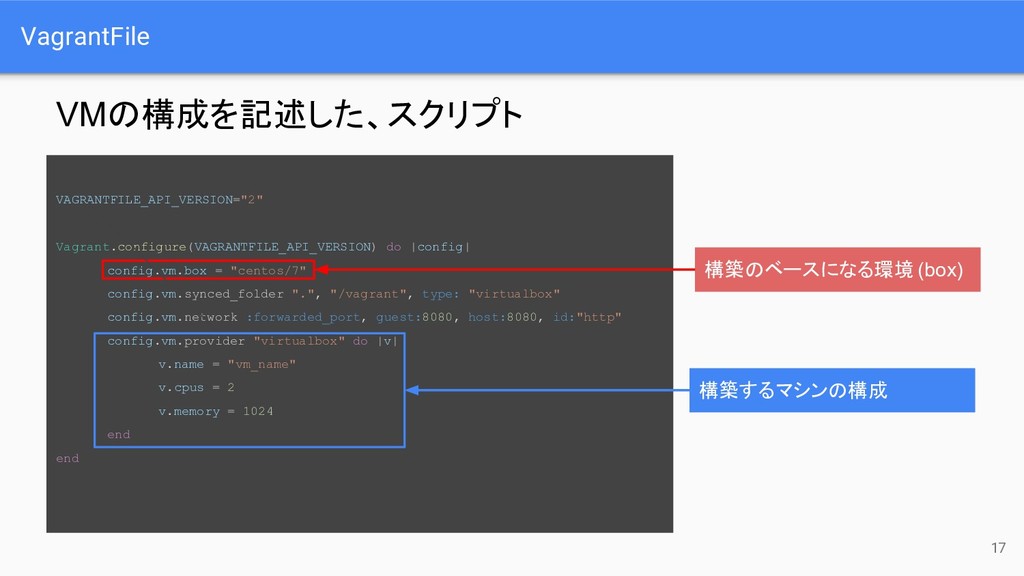
VagrantFile 17 VMの構成を記述した、スクリプト VAGRANTFILE_API_VERSION="2" Vagrant.configure(VAGRANTFILE_API_VERSION) do |config| config.vm.box = "centos/7"
config.vm.synced_folder ".", "/vagrant", type: "virtualbox" config.vm.network :forwarded_port, guest:8080, host:8080, id:"http" config.vm.provider "virtualbox" do |v| v.name = "vm_name" v.cpus = 2 v.memory = 1024 end end 構築のベースになる環境 (box) 構築するマシンの構成
テンプレ作成 環境を構築したいディレクトリ配下で、下記コマンド実行 vagrant init
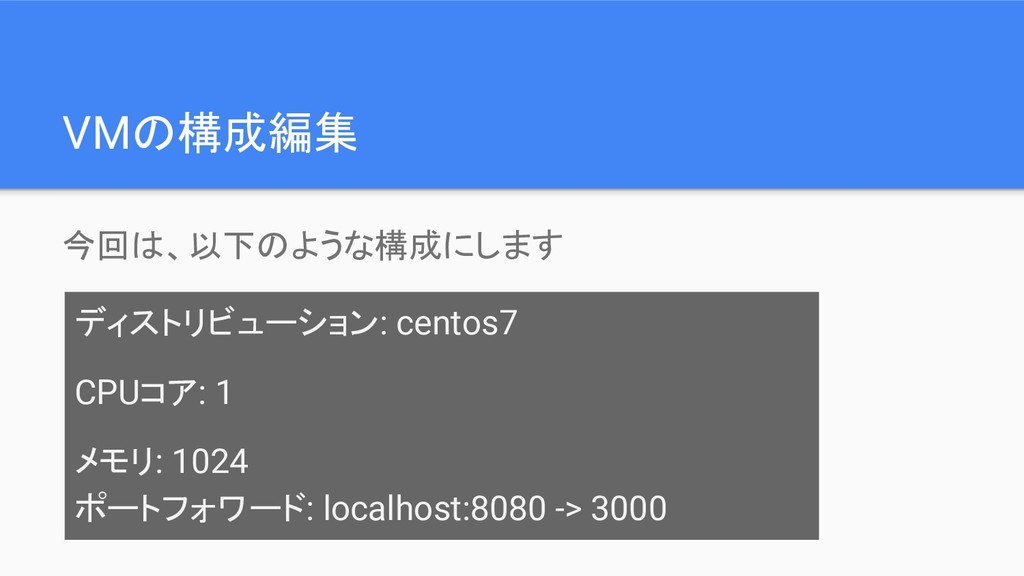
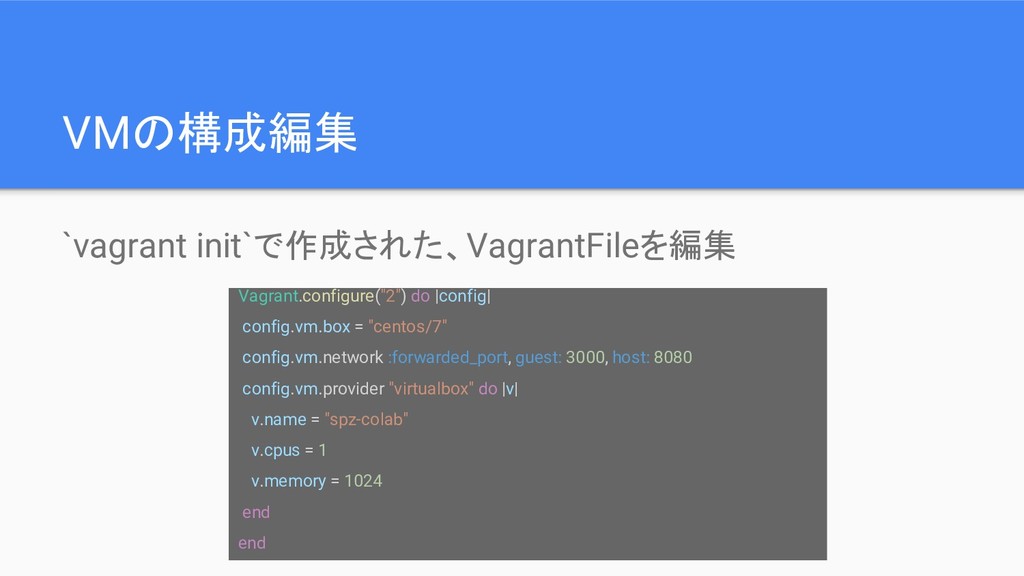
VMの構成編集 今回は、以下のような構成にします ディストリビューション: centos7 CPUコア: 1 メモリ: 1024 ポートフォワード: localhost:8080
-> 3000
VMの構成編集 `vagrant init`で作成された、VagrantFileを編集 Vagrant.configure("2") do |config| config.vm.box = "centos/7" config.vm.network
:forwarded_port, guest: 3000, host: 8080 config.vm.provider "virtualbox" do |v| v.name = "spz-colab" v.cpus = 1 v.memory = 1024 end end
では、VMを立ち上げて見ましょう
VMの起動 vagrant up
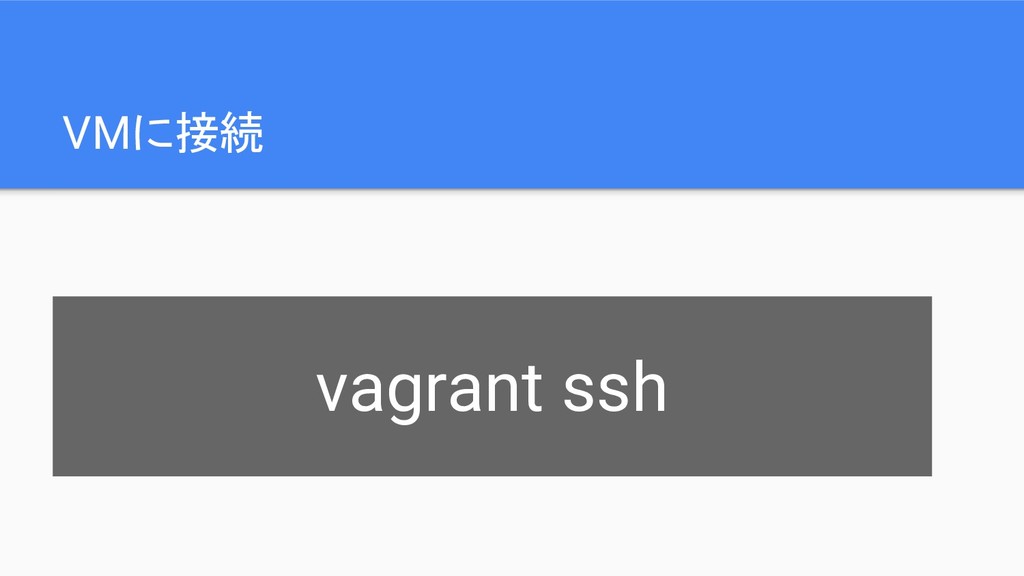
VMに接続 vagrant ssh
2. ディレクトリ共有
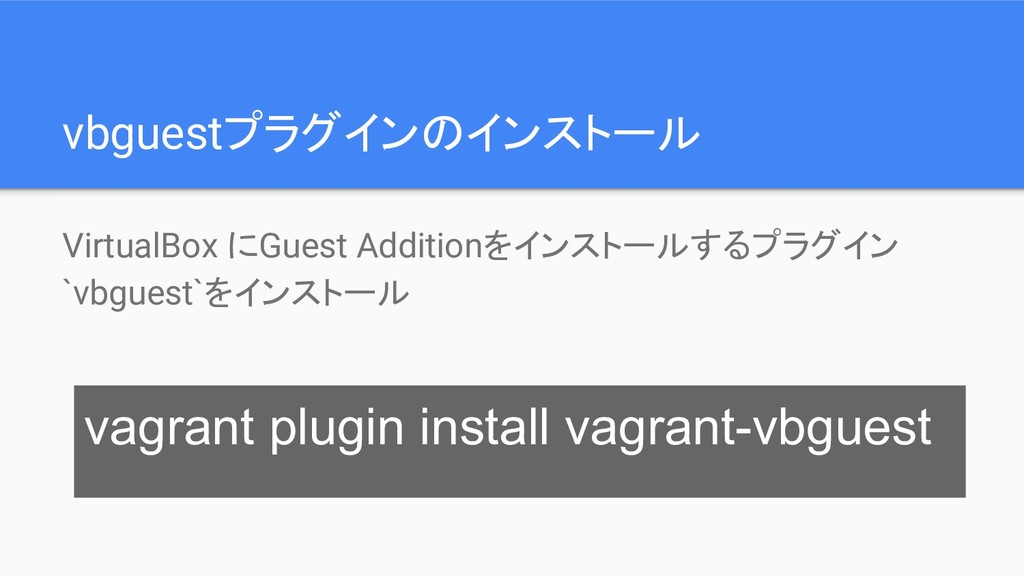
vbguestプラグインのインストール VirtualBox にGuest Additionをインストールするプラグイン `vbguest`をインストール vagrant plugin install vagrant-vbguest
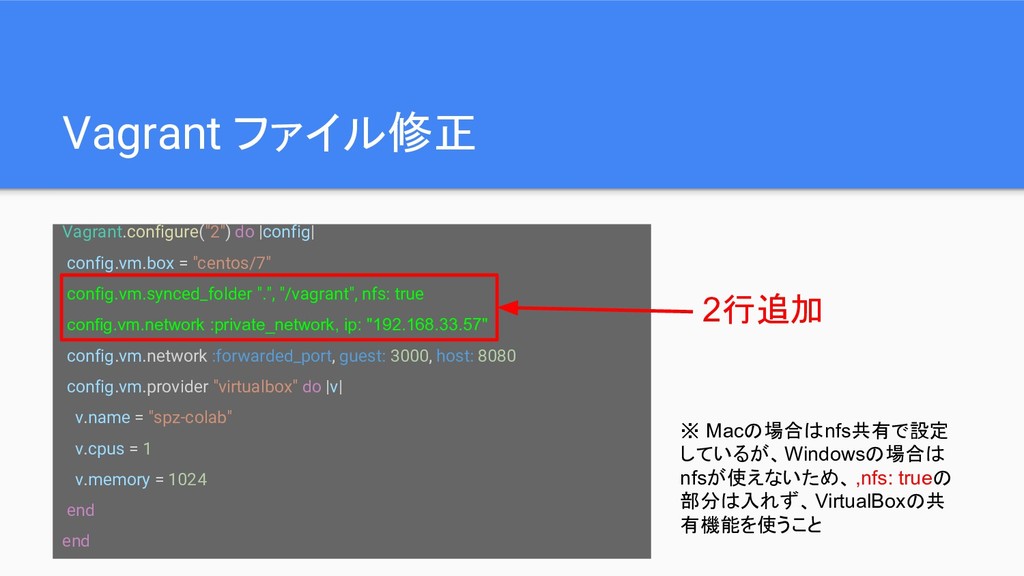
Vagrant ファイル修正 Vagrant.configure("2") do |config| config.vm.box = "centos/7" config.vm.synced_folder ".",
"/vagrant", nfs: true config.vm.network :private_network, ip: "192.168.33.57" config.vm.network :forwarded_port, guest: 3000, host: 8080 config.vm.provider "virtualbox" do |v| v.name = "spz-colab" v.cpus = 1 v.memory = 1024 end end 2行追加 ※ Macの場合はnfs共有で設定 しているが、Windowsの場合は nfsが使えないため、,nfs: trueの 部分は入れず、VirtualBoxの共 有機能を使うこと
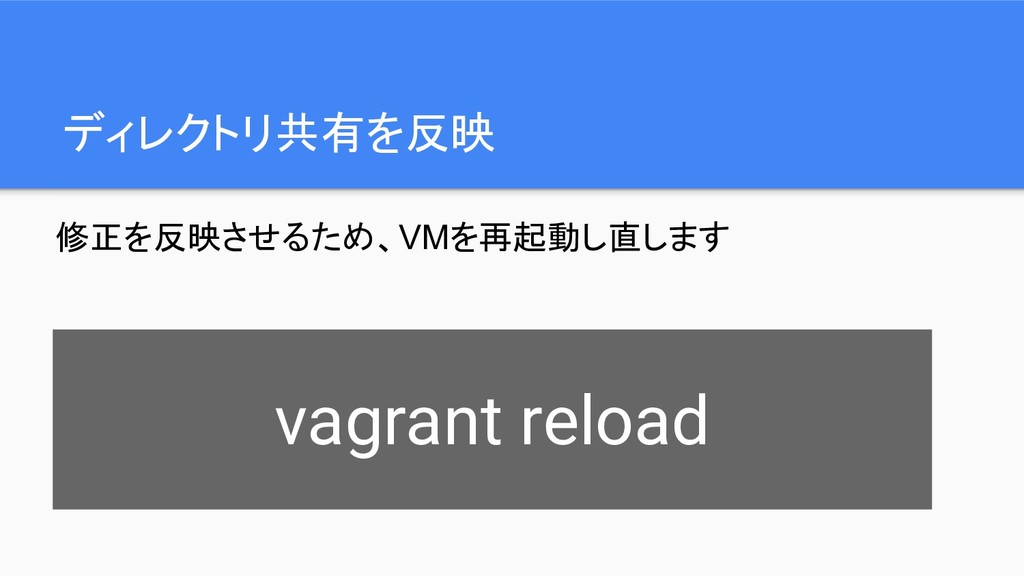
ディレクトリ共有を反映 vagrant reload 修正を反映させるため、VMを再起動し直します
3. 初回起動時設定各種
3.1 ロケール
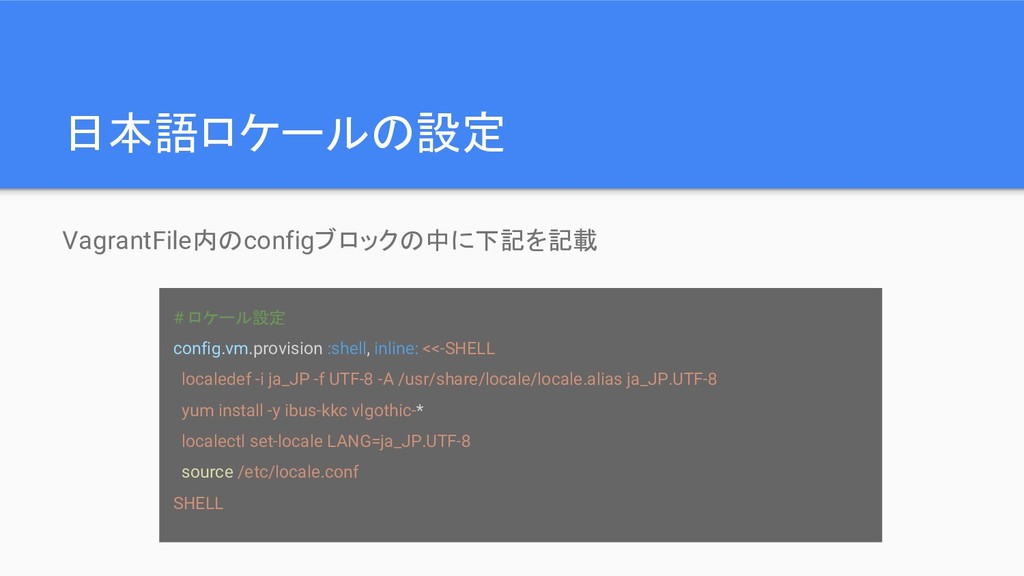
日本語ロケールの設定 VagrantFile内のconfigブロックの中に下記を記載 # ロケール設定 config.vm.provision :shell, inline: <<-SHELL localedef -i
ja_JP -f UTF-8 -A /usr/share/locale/locale.alias ja_JP.UTF-8 yum install -y ibus-kkc vlgothic-* localectl set-locale LANG=ja_JP.UTF-8 source /etc/locale.conf SHELL
3.2 MySQL
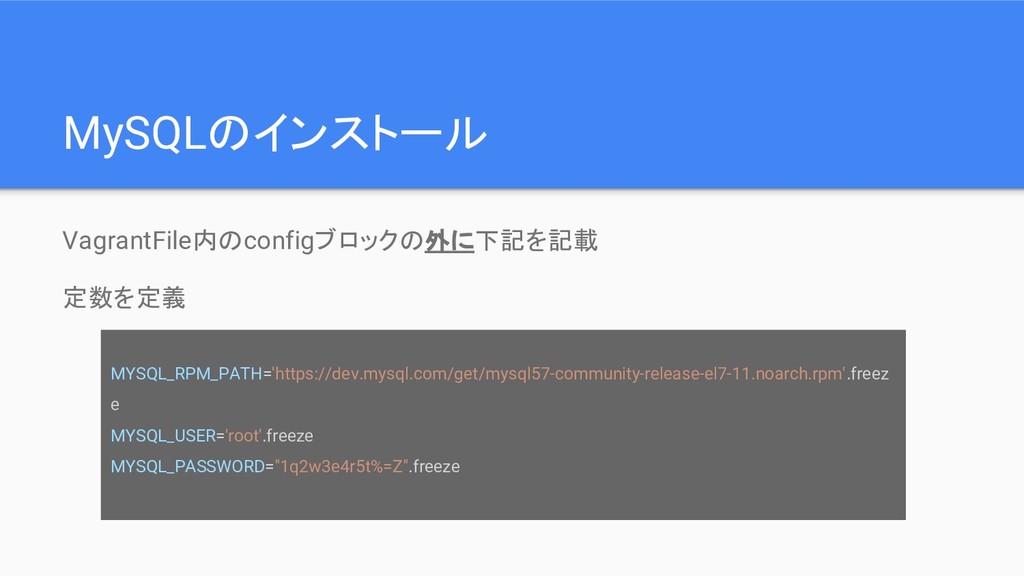
MySQLのインストール VagrantFile内のconfigブロックの外に下記を記載 定数を定義 MYSQL_RPM_PATH='https://dev.mysql.com/get/mysql57-community-release-el7-11.noarch.rpm'.freez e MYSQL_USER='root'.freeze MYSQL_PASSWORD="1q2w3e4r5t%=Z".freeze
MySQLのインストール VagrantFile内のconfigブロックの中に下記を記載 config.vm.provision :shell, inline:<<-SHELL yum update yum remove -y
mariadb-libs rm -rf /var/lib/mysql/ yum localinstall -y #{MYSQL_RPM_PATH} yum install -y mysql mysql-devel mysql-server mysql-utilities systemctl start mysqld.service systemctl enable mysqld.service tmp_password=`cat /var/log/mysqld.log | grep password | head -1 | awk -F' ' '{print $NF}'` mysql --user=#{MYSQL_USER} --password=\${tmp_password} --connect-expired-password -e "SET PASSWORD = PASSWORD('#{MYSQL_PASSWORD}');" SHELL
3.3 Ruby
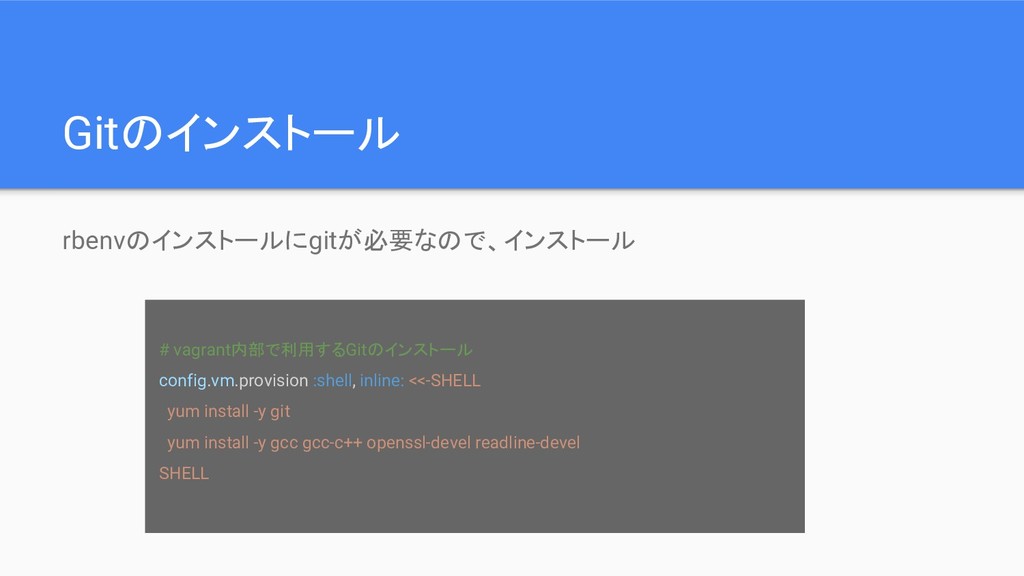
Gitのインストール rbenvのインストールにgitが必要なので、インストール # vagrant内部で利用するGitのインストール config.vm.provision :shell, inline: <<-SHELL yum install
-y git yum install -y gcc gcc-c++ openssl-devel readline-devel SHELL
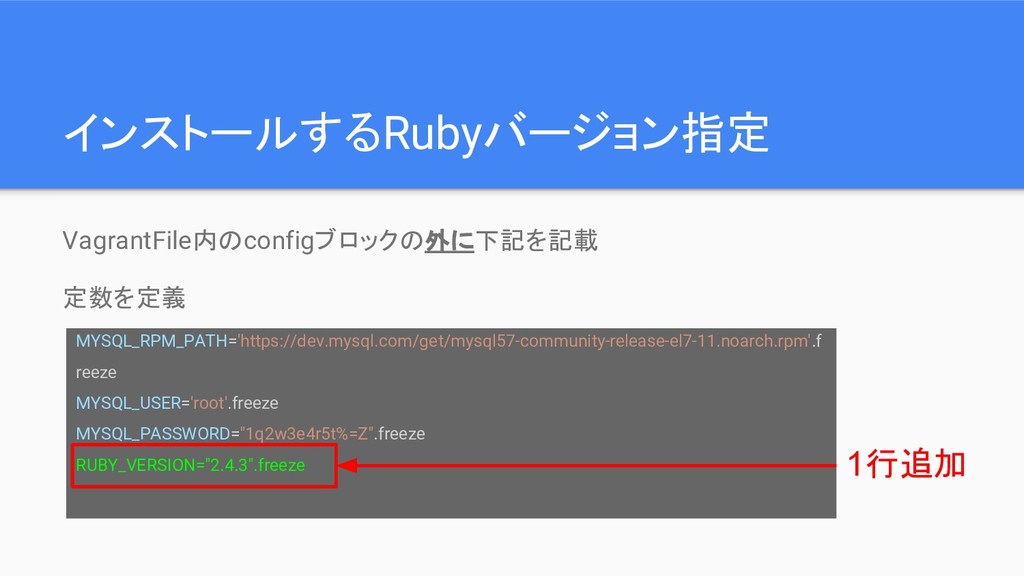
インストールするRubyバージョン指定 VagrantFile内のconfigブロックの外に下記を記載 定数を定義 MYSQL_RPM_PATH='https://dev.mysql.com/get/mysql57-community-release-el7-11.noarch.rpm'.f reeze MYSQL_USER='root'.freeze MYSQL_PASSWORD="1q2w3e4r5t%=Z".freeze RUBY_VERSION="2.4.3".freeze 1行追加
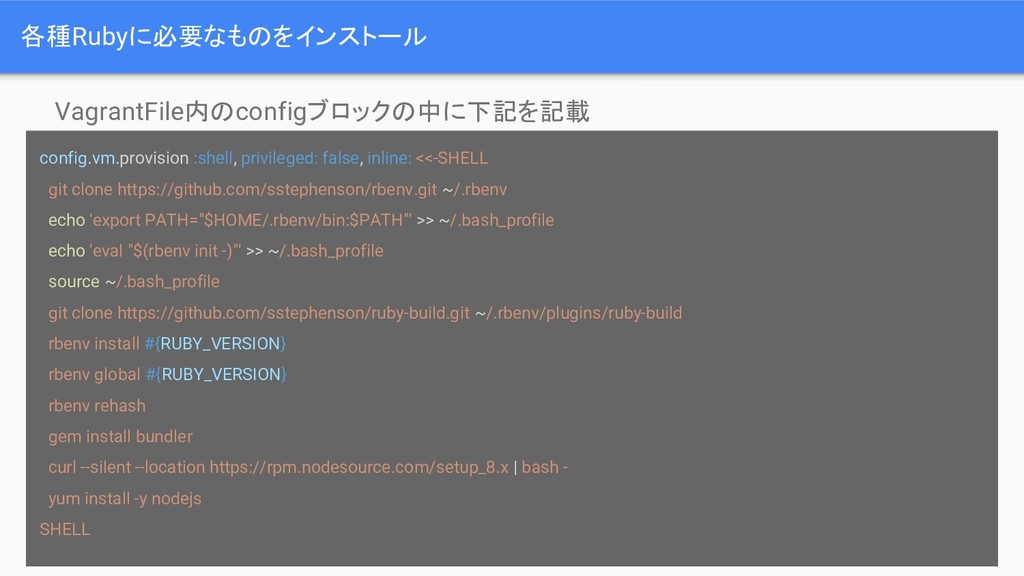
各種Rubyに必要なものをインストール VagrantFile内のconfigブロックの中に下記を記載 config.vm.provision :shell, privileged: false, inline: <<-SHELL git clone
https://github.com/sstephenson/rbenv.git ~/.rbenv echo 'export PATH="$HOME/.rbenv/bin:$PATH"' >> ~/.bash_profile echo 'eval "$(rbenv init -)"' >> ~/.bash_profile source ~/.bash_profile git clone https://github.com/sstephenson/ruby-build.git ~/.rbenv/plugins/ruby-build rbenv install #{RUBY_VERSION} rbenv global #{RUBY_VERSION} rbenv rehash gem install bundler curl --silent --location https://rpm.nodesource.com/setup_8.x | bash - yum install -y nodejs SHELL
各種Rubyに必要なものをインストール VagrantFile内のconfigブロックの中に下記を記載 config.vm.provision :shell, privileged: false, inline: <<-SHELL git clone
https://github.com/sstephenson/rbenv.git ~/.rbenv echo 'export PATH="$HOME/.rbenv/bin:$PATH"' >> ~/.bash_profile echo 'eval "$(rbenv init -)"' >> ~/.bash_profile source ~/.bash_profile git clone https://github.com/sstephenson/ruby-build.git ~/.rbenv/plugins/ruby-build rbenv install #{RUBY_VERSION} rbenv global #{RUBY_VERSION} rbenv rehash gem install bundler curl --silent --location https://rpm.nodesource.com/setup_8.x | bash - yum install -y nodejs SHELL vagrantユーザでシェルを実 行するためのオプション
ここまでの設定を反映
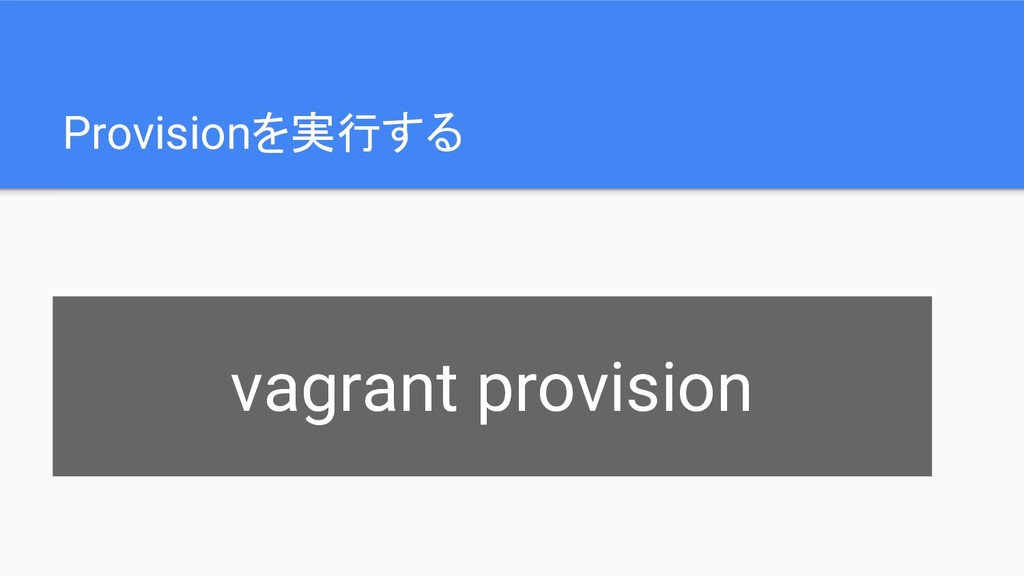
Provisionを実行する vagrant provision
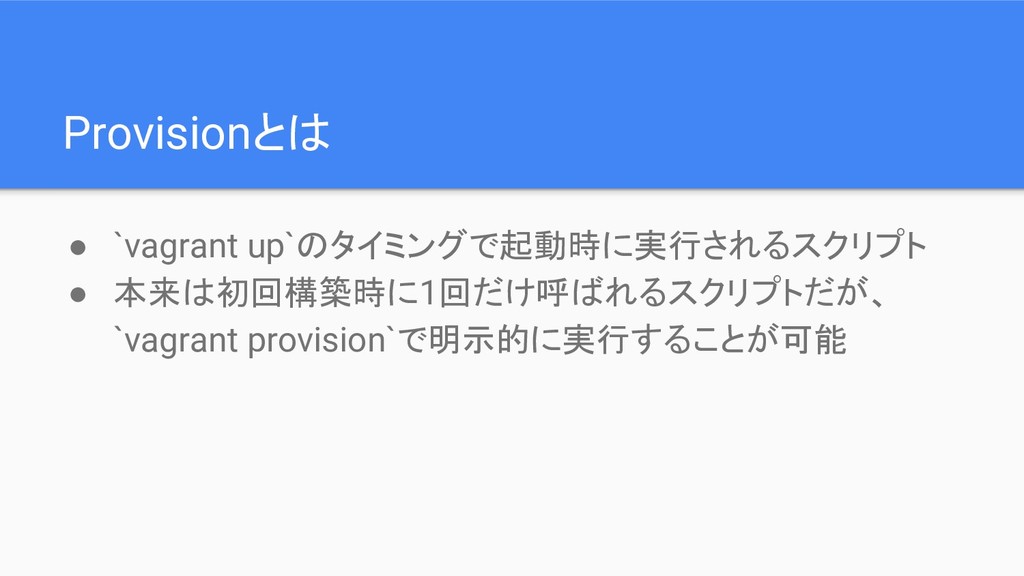
Provisionとは • `vagrant up`のタイミングで起動時に実行されるスクリプト • 本来は初回構築時に1回だけ呼ばれるスクリプトだが、 `vagrant provision`で明示的に実行することが可能
4. Rails プロジェクトの作成
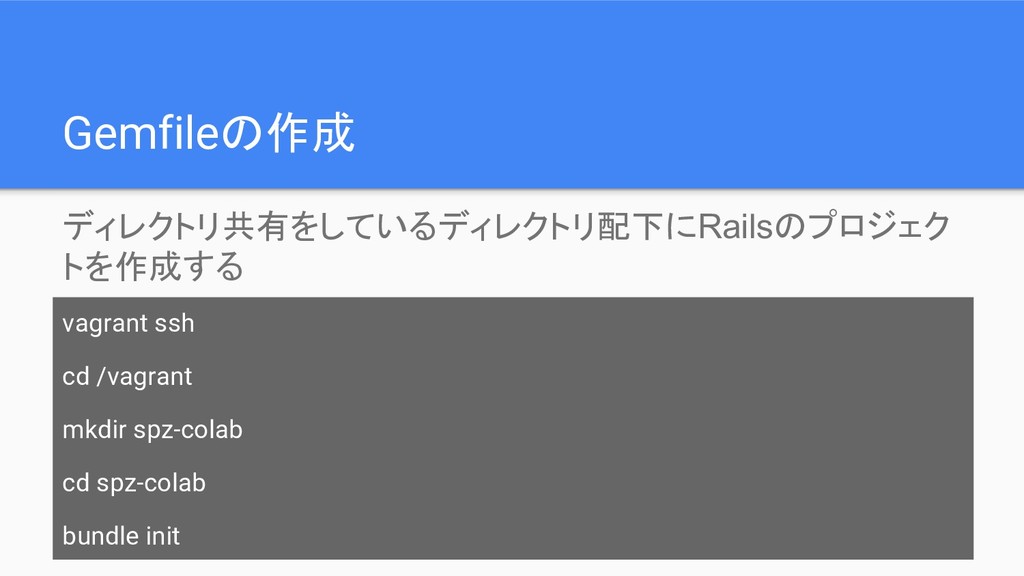
Gemfileの作成 vagrant ssh cd /vagrant mkdir spz-colab cd spz-colab bundle
init ディレクトリ共有をしているディレクトリ配下にRailsのプロジェク トを作成する
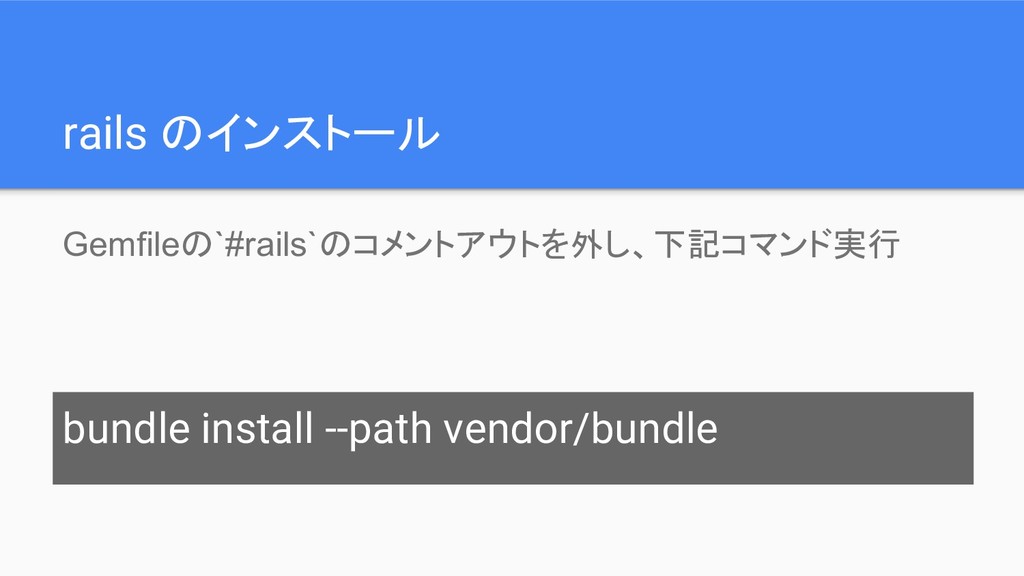
rails のインストール bundle install --path vendor/bundle Gemfileの`#rails`のコメントアウトを外し、下記コマンド実行
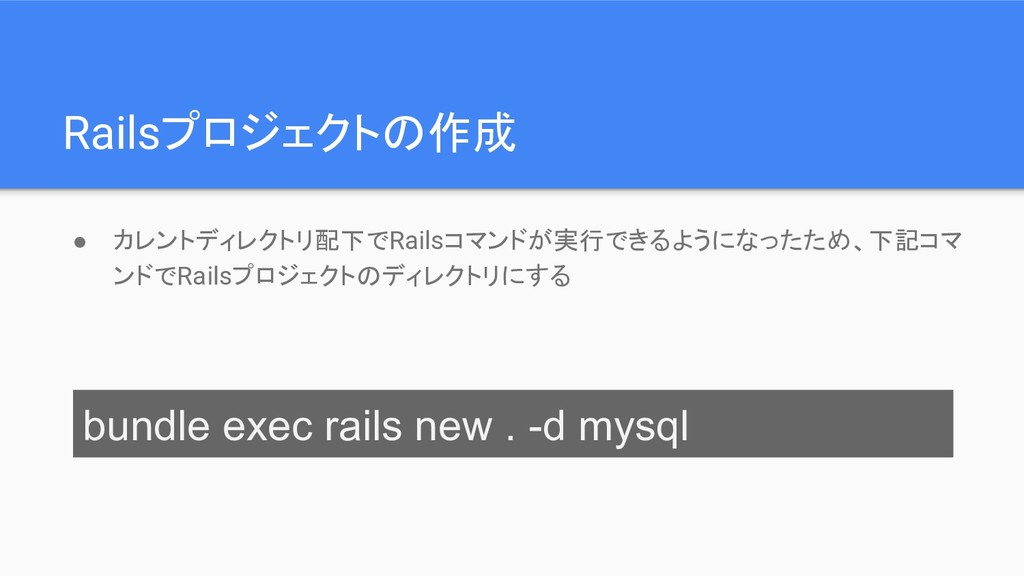
Railsプロジェクトの作成 • カレントディレクトリ配下でRailsコマンドが実行できるようになったため、下記コマ ンドでRailsプロジェクトのディレクトリにする bundle exec rails new . -d
mysql
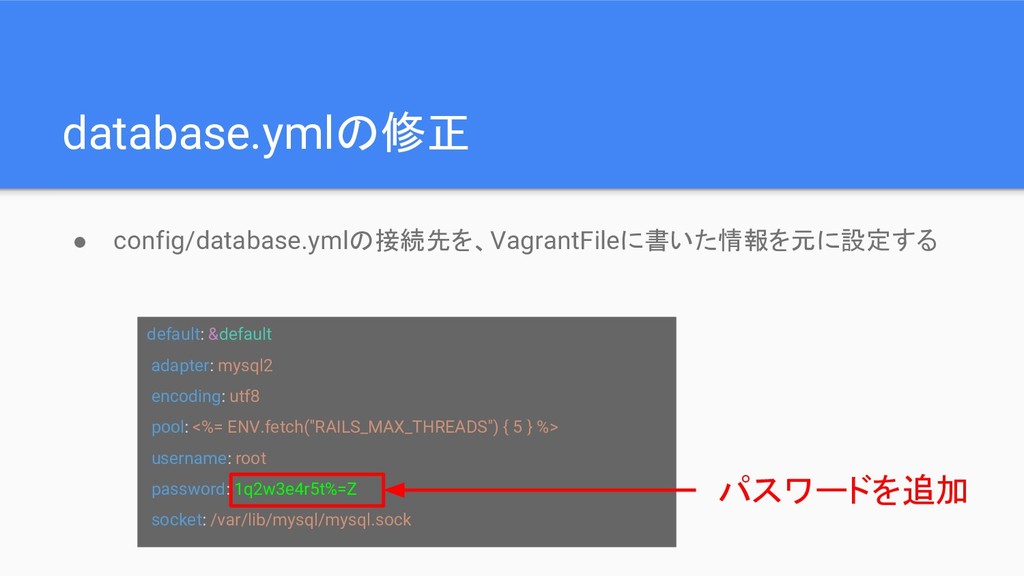
database.ymlの修正 • config/database.ymlの接続先を、VagrantFileに書いた情報を元に設定する default: &default adapter: mysql2 encoding: utf8 pool:
<%= ENV.fetch("RAILS_MAX_THREADS") { 5 } %> username: root password: 1q2w3e4r5t%=Z socket: /var/lib/mysql/mysql.sock パスワードを追加
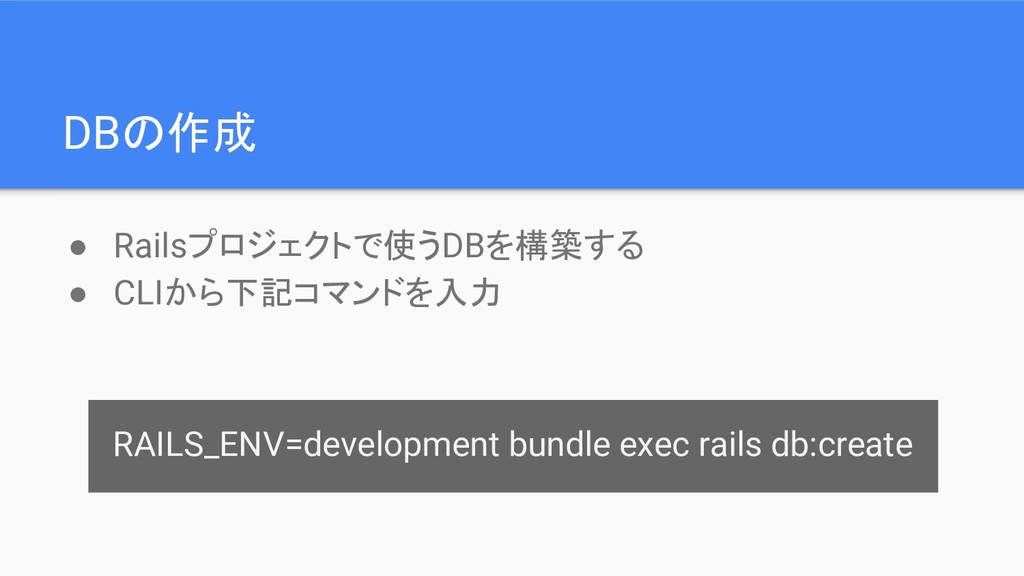
DBの作成 • Railsプロジェクトで使うDBを構築する • CLIから下記コマンドを入力 RAILS_ENV=development bundle exec rails db:create
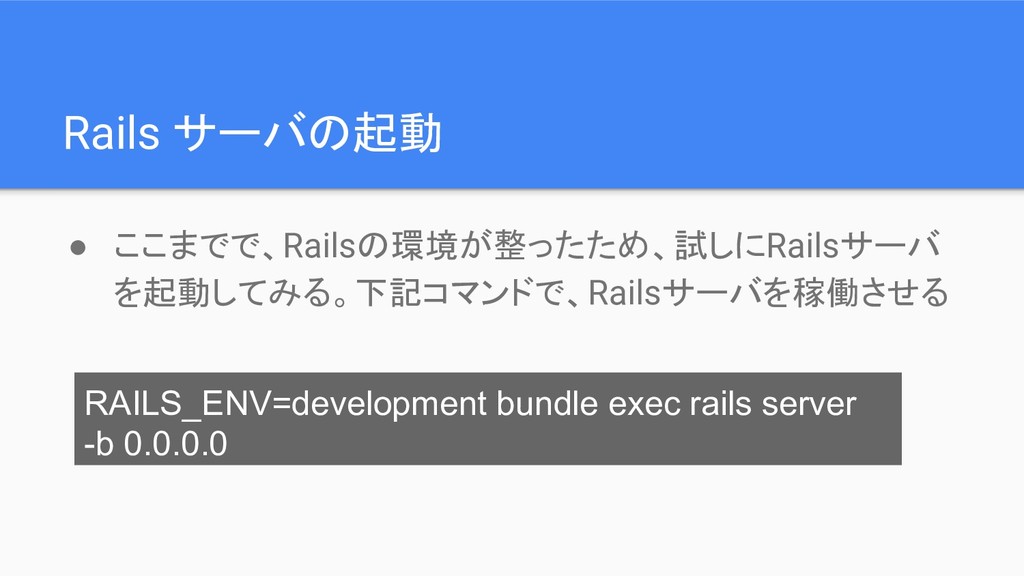
Rails サーバの起動 • ここまでで、Railsの環境が整ったため、試しにRailsサーバ を起動してみる。下記コマンドで、Railsサーバを稼働させる RAILS_ENV=development bundle exec rails server
-b 0.0.0.0
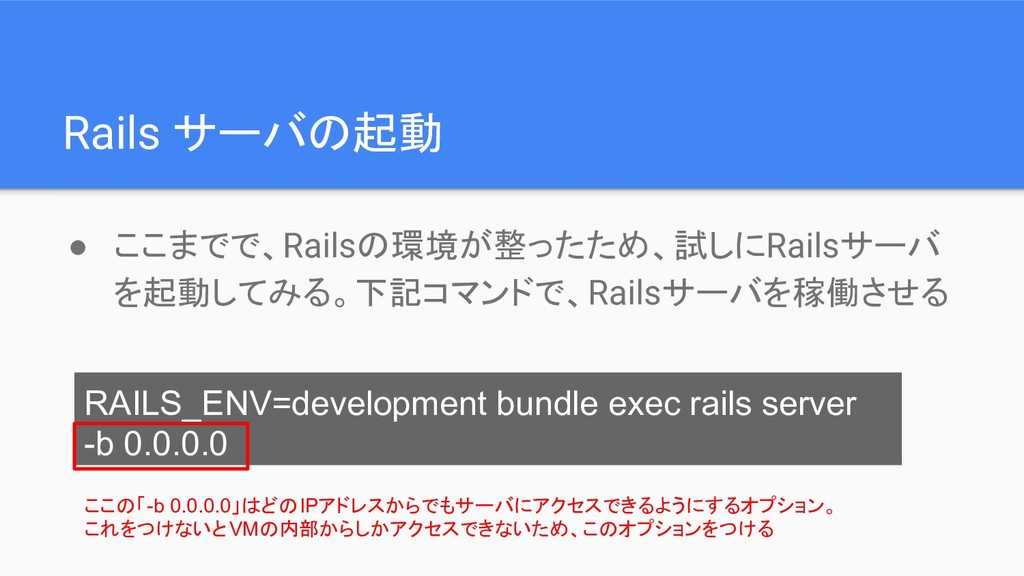
Rails サーバの起動 • ここまでで、Railsの環境が整ったため、試しにRailsサーバ を起動してみる。下記コマンドで、Railsサーバを稼働させる RAILS_ENV=development bundle exec rails server
-b 0.0.0.0 ここの「-b 0.0.0.0」はどのIPアドレスからでもサーバにアクセスできるようにするオプション。 これをつけないとVMの内部からしかアクセスできないため、このオプションをつける
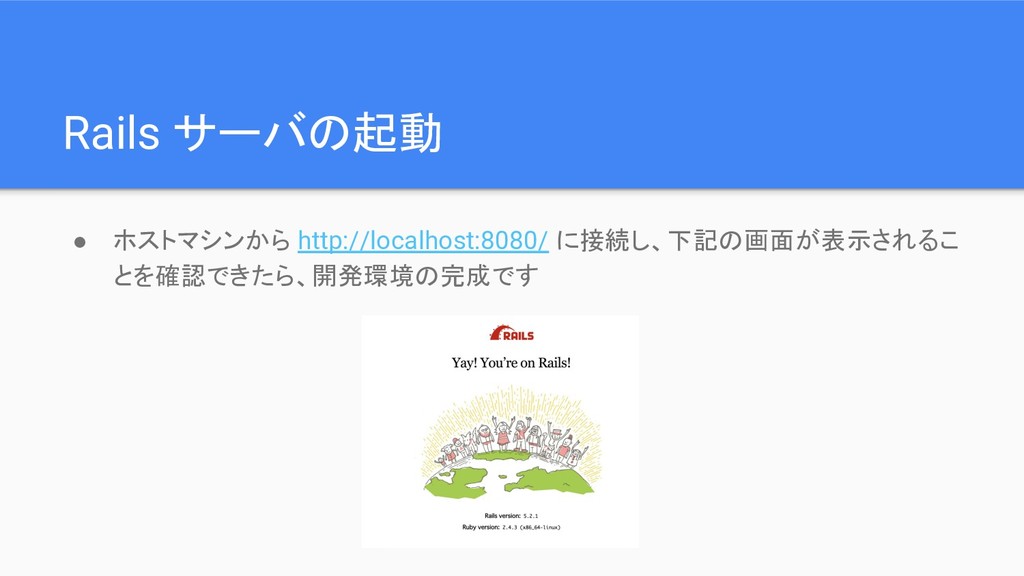
Rails サーバの起動 • ホストマシンから http://localhost:8080/ に接続し、下記の画面が表示されるこ とを確認できたら、開発環境の完成です
5. Railsに触れてみよう
MVCの作成 • Railsは最初に説明した通りMVCアーキテクチャで作成され る • 下記、コマンドを実行することで簡単にその構造を作成でき る bundle exec rails
generate scaffold user name:string
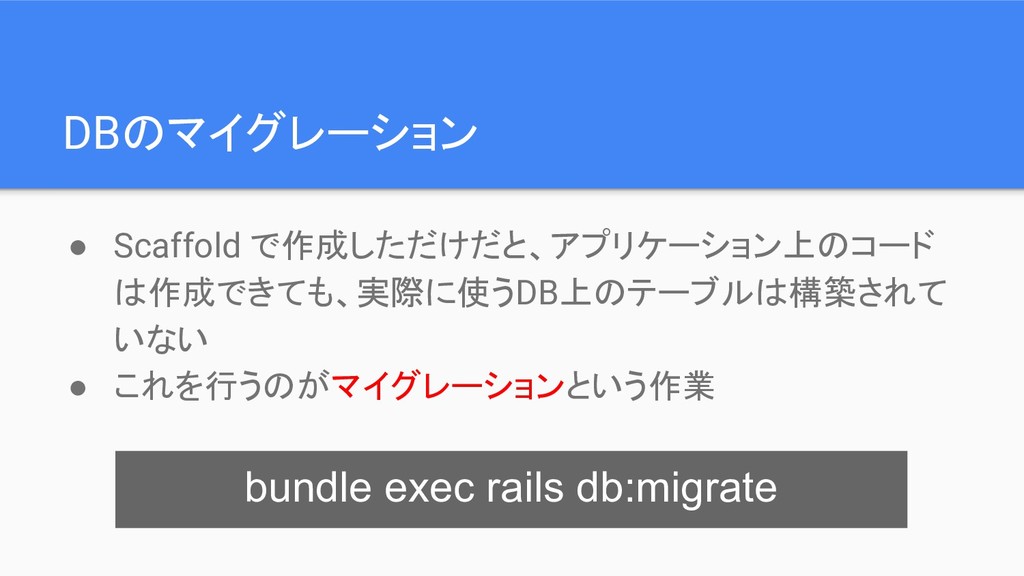
DBのマイグレーション • Scaffold で作成しただけだと、アプリケーション上のコード は作成できても、実際に使うDB上のテーブルは構築されて いない • これを行うのがマイグレーションという作業 bundle exec
rails db:migrate
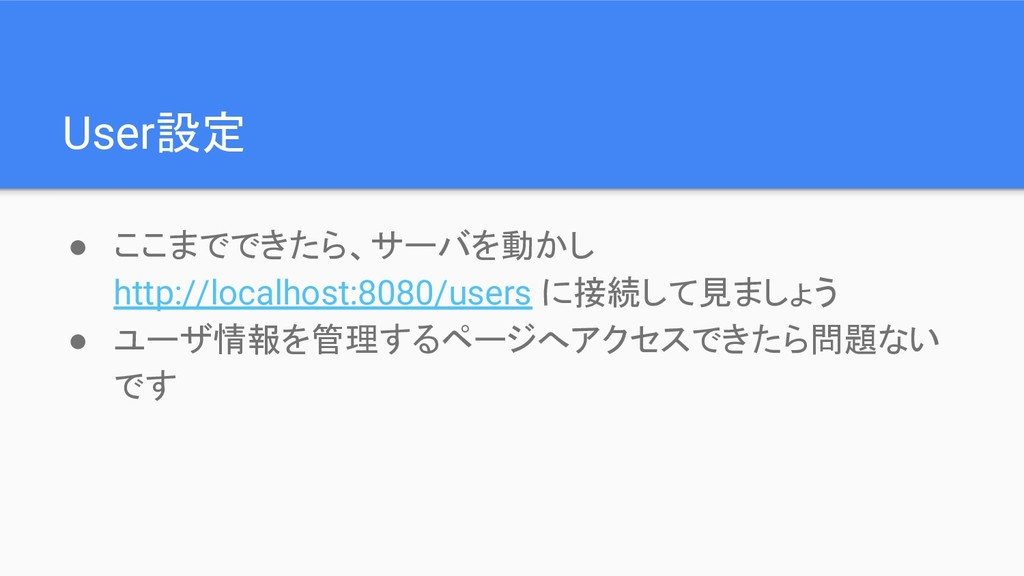
User設定 • ここまでできたら、サーバを動かし http://localhost:8080/users に接続して見ましょう • ユーザ情報を管理するページへアクセスできたら問題ない です
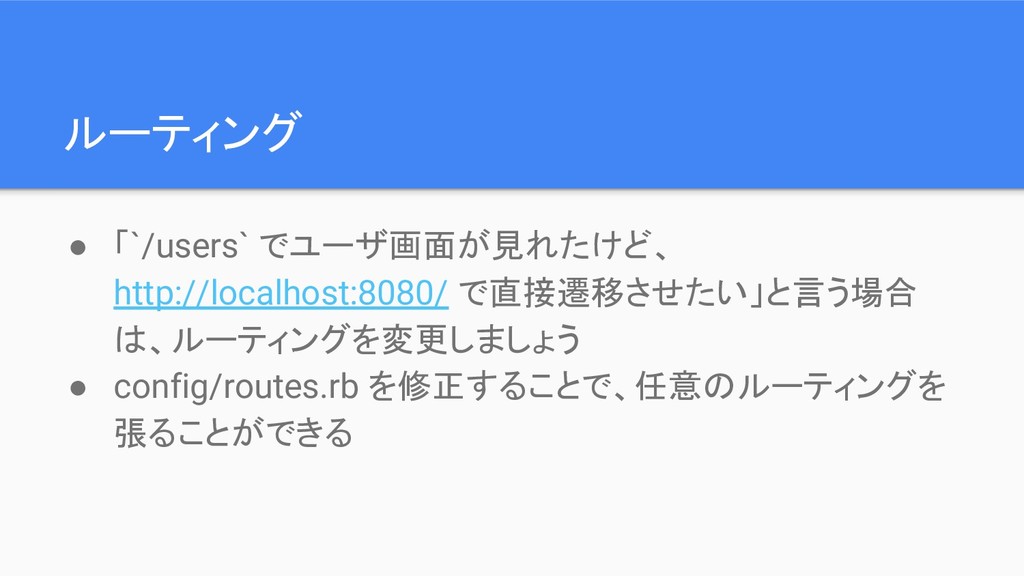
ルーティング • 「`/users` でユーザ画面が見れたけど、 http://localhost:8080/ で直接遷移させたい」と言う場合 は、ルーティングを変更しましょう • config/routes.rb を修正することで、任意のルーティングを
張ることができる
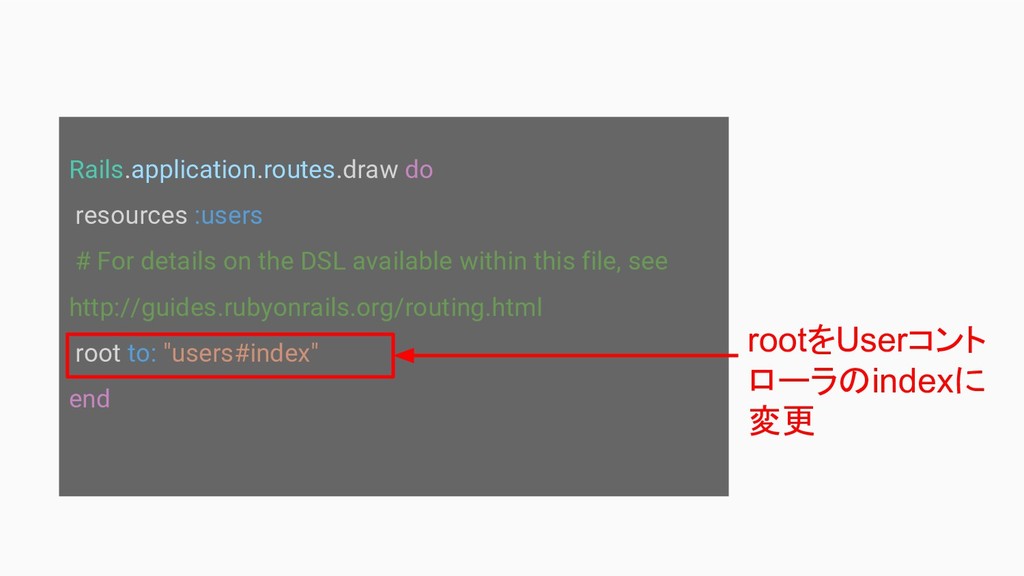
Rails.application.routes.draw do resources :users # For details on the DSL
available within this file, see http://guides.rubyonrails.org/routing.html root to: "users#index" end rootをUserコント ローラのindexに 変更
(challenge) ユーザ名を保存するときに”spz”を 末尾につける • 最後に、Railsアプリケーションで、ユーザ名を保存するとき に末尾に「spz」をつけて保存してみるようにしましょう • あえて解答はつけないため、わからないことがあれば調べ つつ試して見てください
最後に
VMの終了 • 開発環境を動かし続けておく必要がなければ、VMを終了さ せましょう vagrant halt
VMを作り直したい場合 • VMが不要になったので削除したい、新しく作り直してクリー ンな環境にしたいといったときは、下記コマンドでVMを消去 しましょう vagrant destroy
では、Railsでどんどん開発をつづけ ていってください