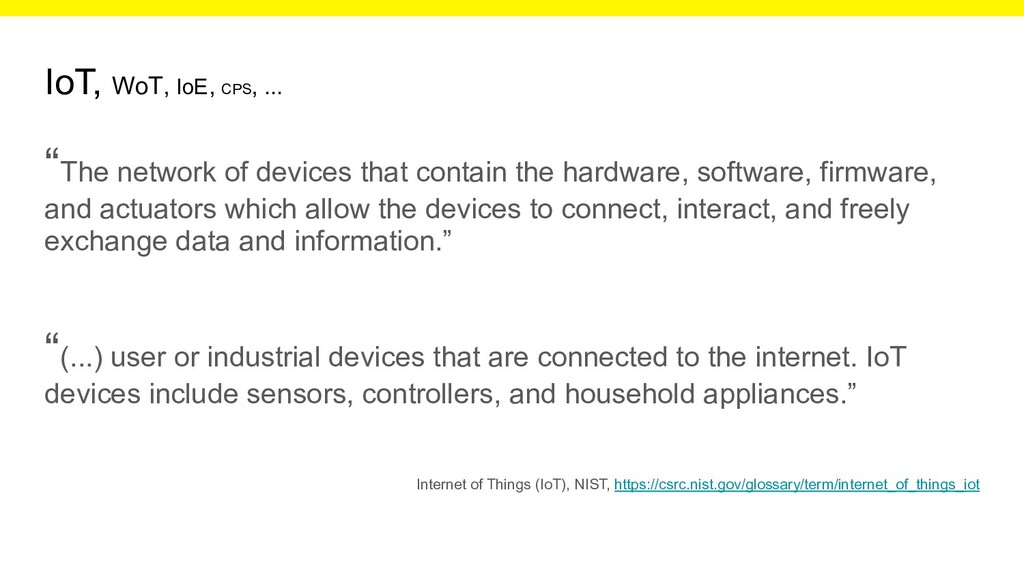
contain the hardware, software, firmware, and actuators which allow the devices to connect, interact, and freely exchange data and information.” “(...) user or industrial devices that are connected to the internet. IoT devices include sensors, controllers, and household appliances.” Internet of Things (IoT), NIST, https://csrc.nist.gov/glossary/term/internet_of_things_iot
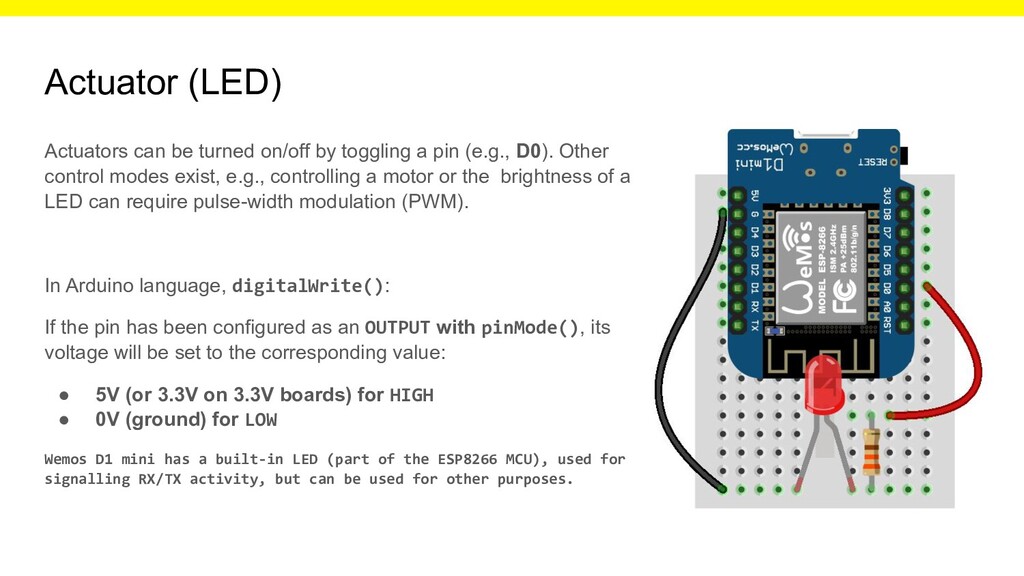
pin (e.g., D0). Other control modes exist, e.g., controlling a motor or the brightness of a LED can require pulse-width modulation (PWM). In Arduino language, digitalWrite(): If the pin has been configured as an OUTPUT with pinMode(), its voltage will be set to the corresponding value: • 5V (or 3.3V on 3.3V boards) for HIGH • 0V (ground) for LOW Wemos D1 mini has a built-in LED (part of the ESP8266 MCU), used for signalling RX/TX activity, but can be used for other purposes.
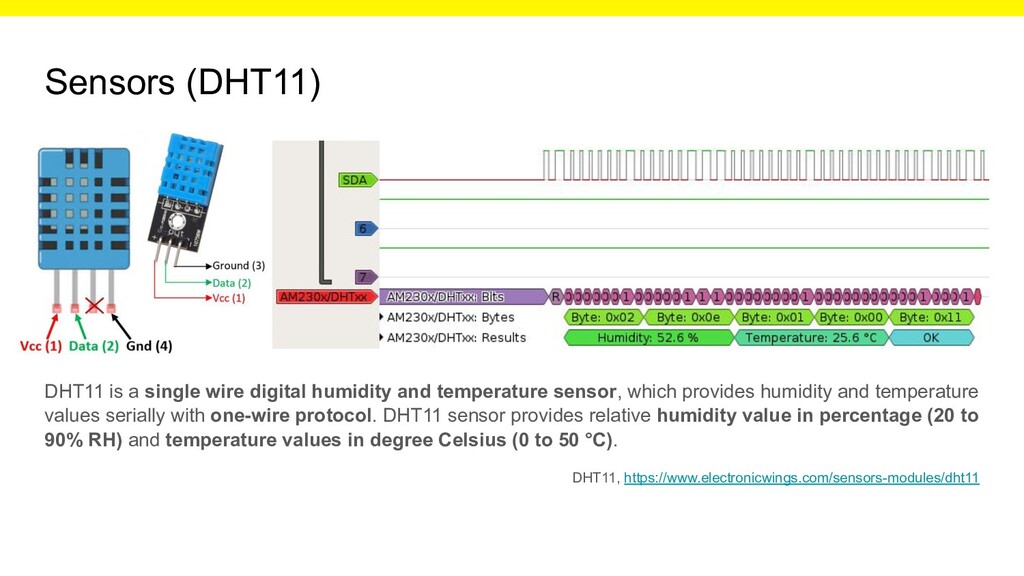
temperature sensor, which provides humidity and temperature values serially with one-wire protocol. DHT11 sensor provides relative humidity value in percentage (20 to 90% RH) and temperature values in degree Celsius (0 to 50 °C). DHT11, https://www.electronicwings.com/sensors-modules/dht11
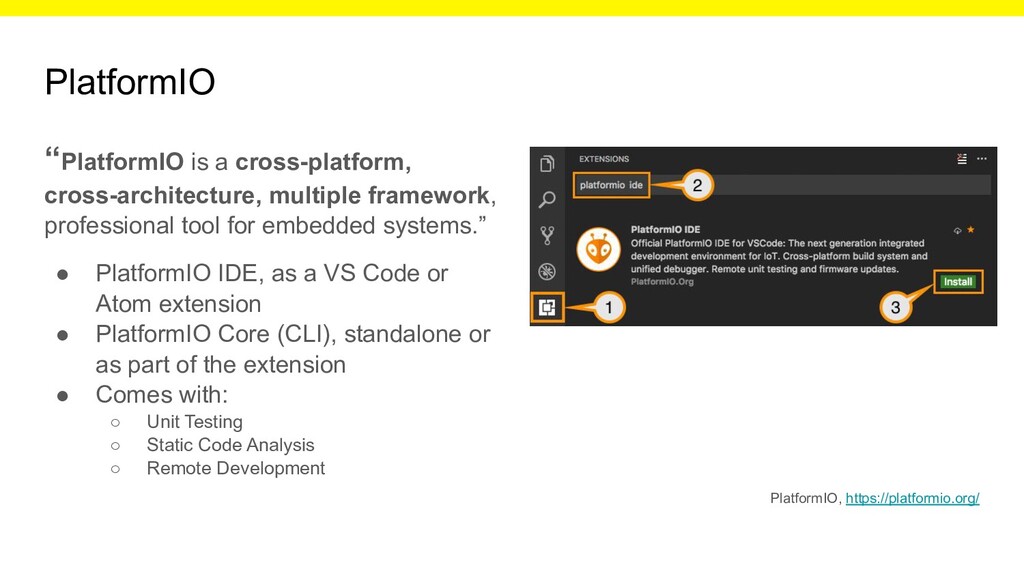
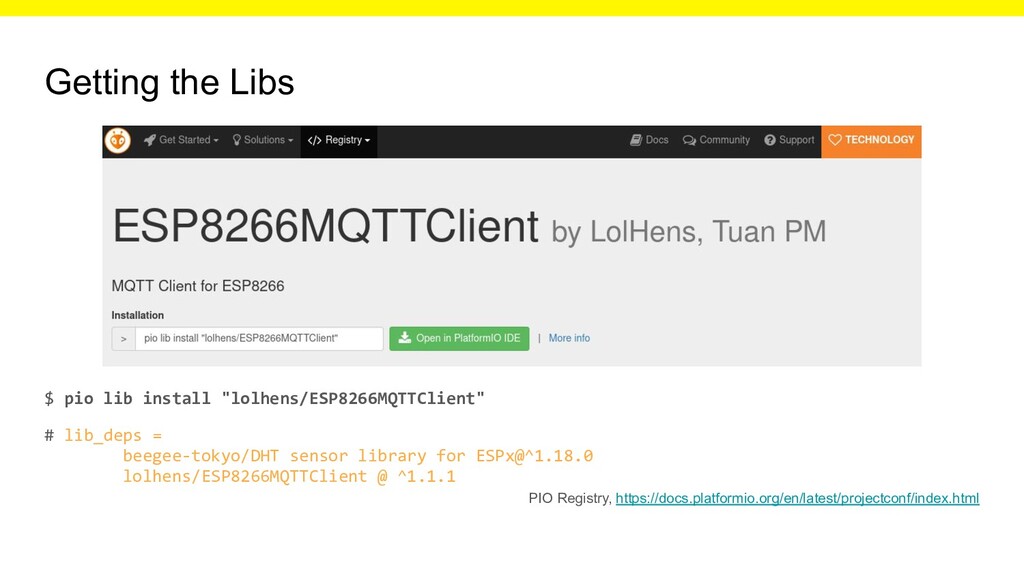
for embedded systems.” • PlatformIO IDE, as a VS Code or Atom extension • PlatformIO Core (CLI), standalone or as part of the extension • Comes with: ◦ Unit Testing ◦ Static Code Analysis ◦ Remote Development PlatformIO, https://platformio.org/
platform = espressif8266 board = d1_mini framework = arduino monitor_speed = 115200 Useful for more than one target Target microcontroller Target board Target framework / OS Serial Port baudrate https://docs.platformio.org/en/ latest/projectconf/index.html
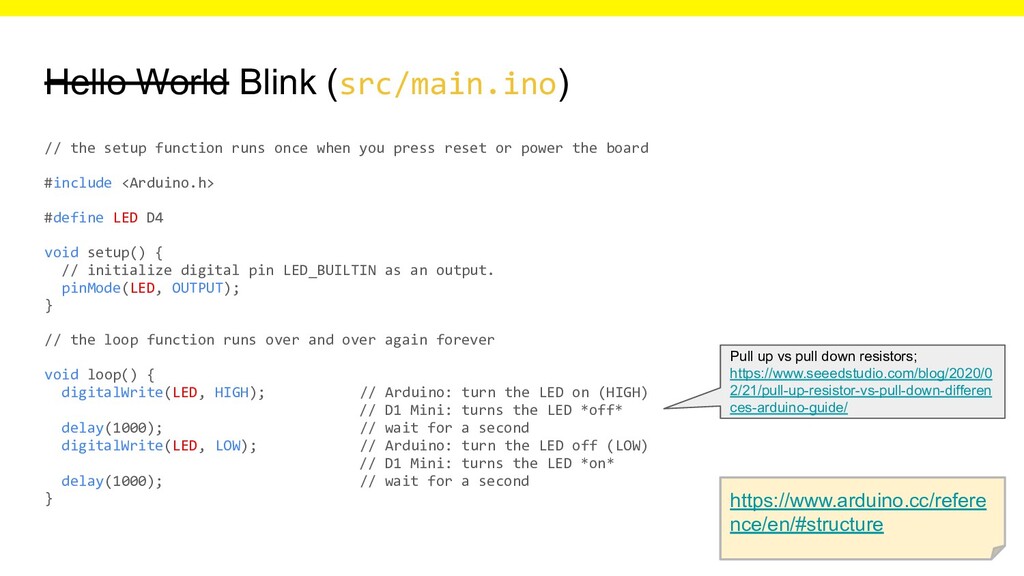
when you press reset or power the board #include <Arduino.h> #define LED D4 void setup() { // initialize digital pin LED_BUILTIN as an output. pinMode(LED, OUTPUT); } // the loop function runs over and over again forever void loop() { digitalWrite(LED, HIGH); // Arduino: turn the LED on (HIGH) // D1 Mini: turns the LED *off* delay(1000); // wait for a second digitalWrite(LED, LOW); // Arduino: turn the LED off (LOW) // D1 Mini: turns the LED *on* delay(1000); // wait for a second } https://www.arduino.cc/refere nce/en/#structure Pull up vs pull down resistors; https://www.seeedstudio.com/blog/2020/0 2/21/pull-up-resistor-vs-pull-down-differen ces-arduino-guide/
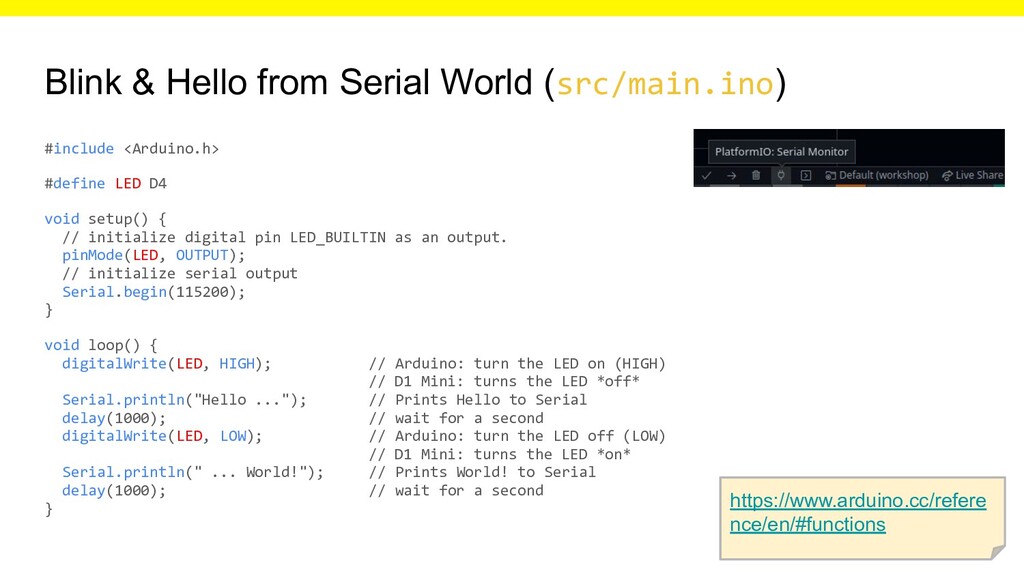
LED D4 void setup() { // initialize digital pin LED_BUILTIN as an output. pinMode(LED, OUTPUT); // initialize serial output Serial.begin(115200); } void loop() { digitalWrite(LED, HIGH); // Arduino: turn the LED on (HIGH) // D1 Mini: turns the LED *off* Serial.println("Hello ..."); // Prints Hello to Serial delay(1000); // wait for a second digitalWrite(LED, LOW); // Arduino: turn the LED off (LOW) // D1 Mini: turns the LED *on* Serial.println(" ... World!"); // Prints World! to Serial delay(1000); // wait for a second } https://www.arduino.cc/refere nce/en/#functions
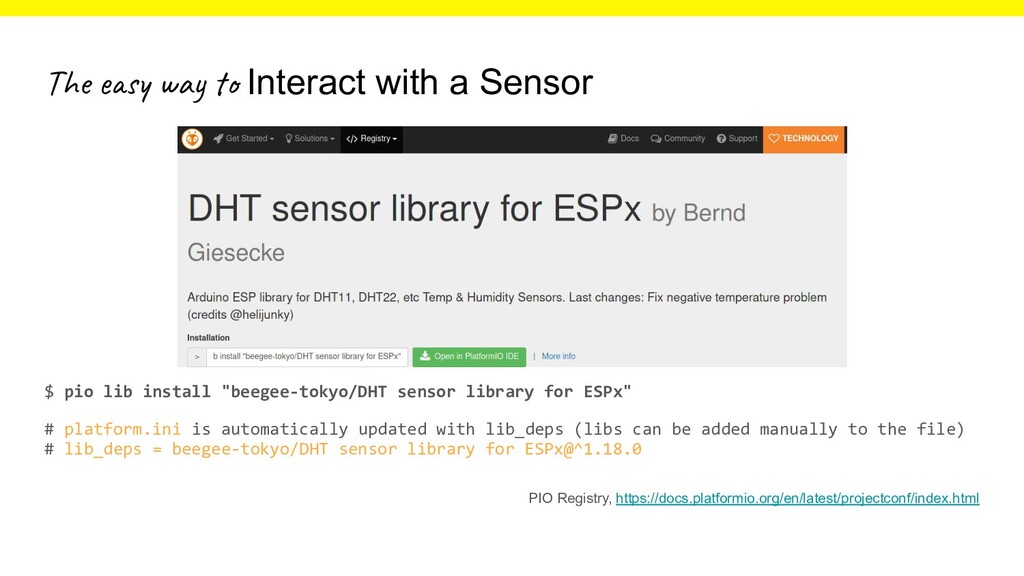
lib install "beegee-tokyo/DHT sensor library for ESPx" # platform.ini is automatically updated with lib_deps (libs can be added manually to the file) # lib_deps = beegee-tokyo/DHT sensor library for ESPx@^1.18.0 PIO Registry, https://docs.platformio.org/en/latest/projectconf/index.html
DHTesp dht; ⦙ void setup() { ⦙ dht.setup(DHTPIN, DHTesp::DHT11); // connect DHT sensor to GPIO D5, and declare sensor type (DHT11) } void loop() { ⦙ //delay(dht.getMinimumSamplingPeriod()); // this is not need if we main the 1000 delay float humidity = dht.getHumidity(); float temperature = dht.getTemperature(); Serial.printf("Temperature: %f, Humidity: %f\%\n", temperature, humidity); }
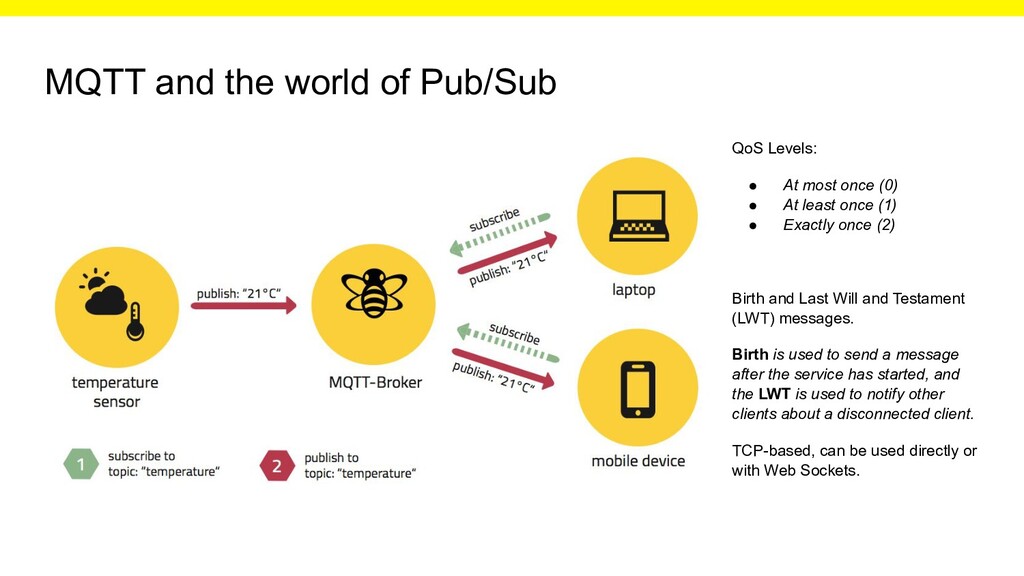
most once (0) • At least once (1) • Exactly once (2) Birth and Last Will and Testament (LWT) messages. Birth is used to send a message after the service has started, and the LWT is used to notify other clients about a disconnected client. TCP-based, can be used directly or with Web Sockets.
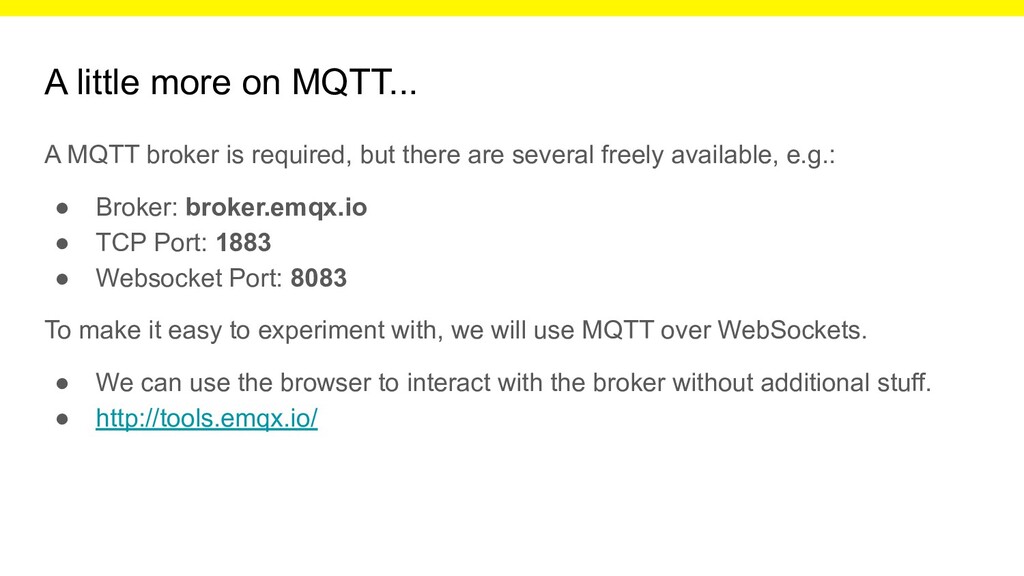
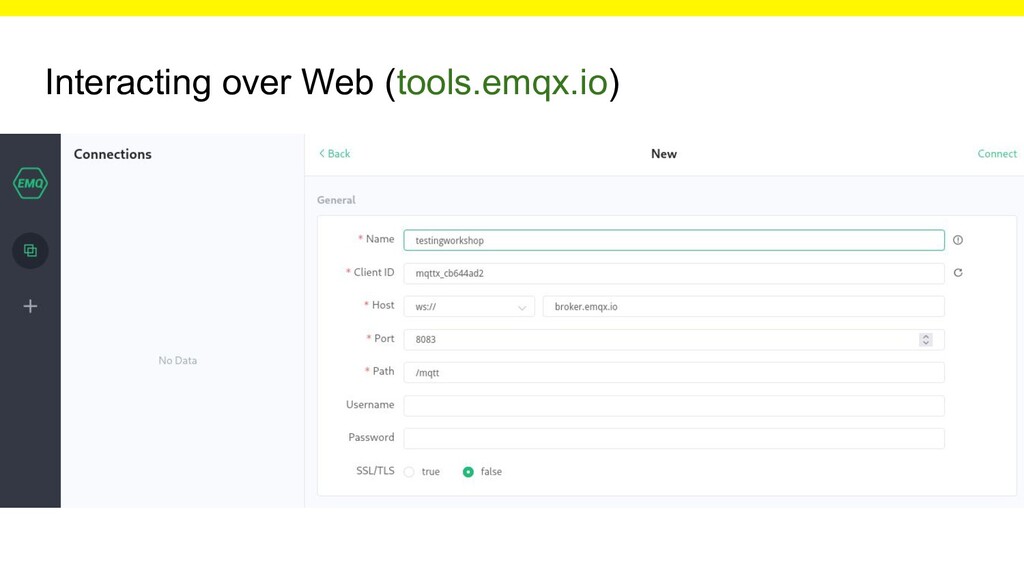
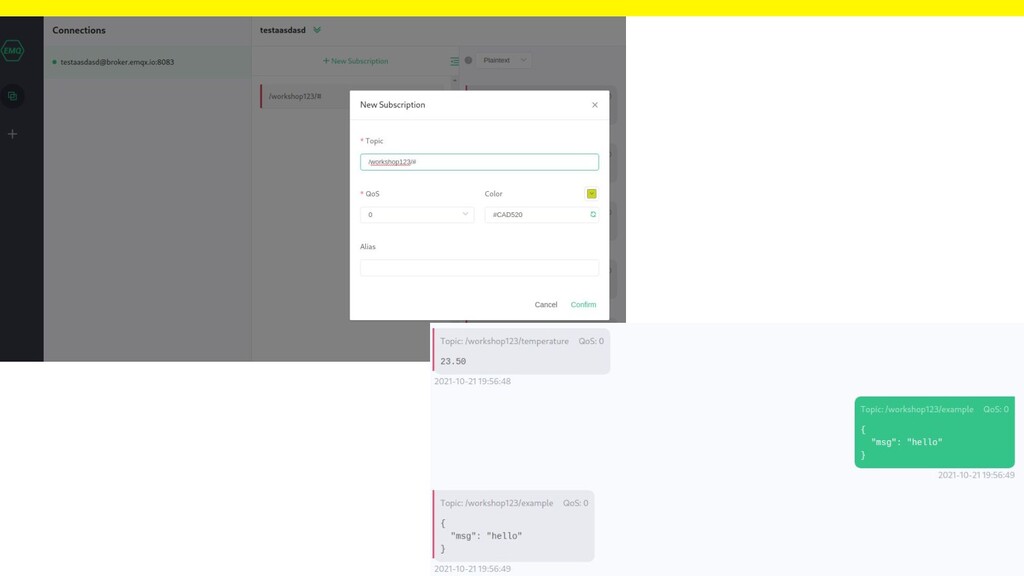
but there are several freely available, e.g.: • Broker: broker.emqx.io • TCP Port: 1883 • Websocket Port: 8083 To make it easy to experiment with, we will use MQTT over WebSockets. • We can use the browser to interact with the broker without additional stuff. • http://tools.emqx.io/
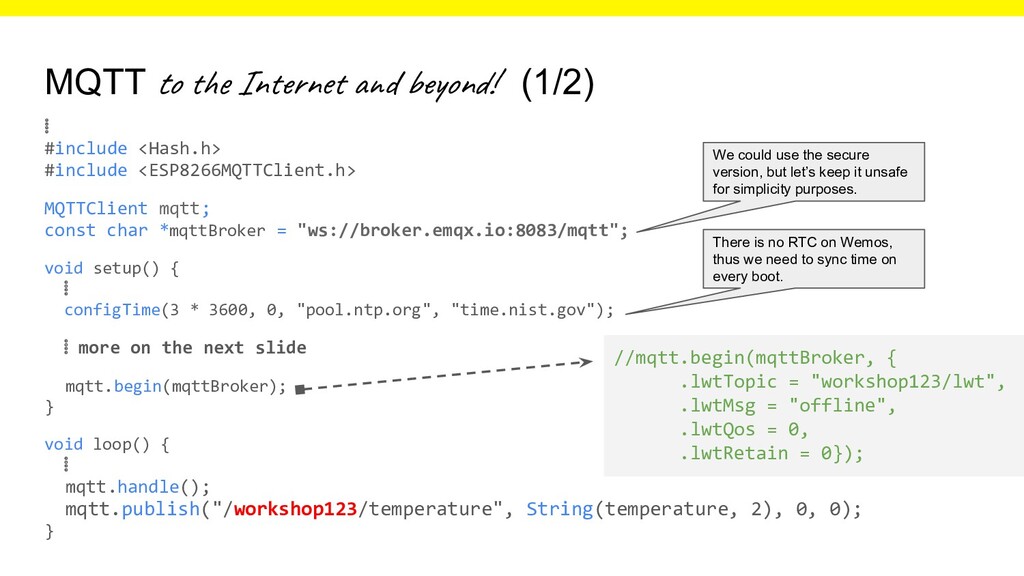
#include <ESP8266MQTTClient.h> MQTTClient mqtt; const char *mqttBroker = "ws://broker.emqx.io:8083/mqtt"; void setup() { ⦙ configTime(3 * 3600, 0, "pool.ntp.org", "time.nist.gov"); ⦙ more on the next slide mqtt.begin(mqttBroker); } void loop() { ⦙ mqtt.handle(); mqtt.publish("/workshop123/temperature", String(temperature, 2), 0, 0); } //mqtt.begin(mqttBroker, { .lwtTopic = "workshop123/lwt", .lwtMsg = "offline", .lwtQos = 0, .lwtRetain = 0}); There is no RTC on Wemos, thus we need to sync time on every boot. We could use the secure version, but let’s keep it unsafe for simplicity purposes.
lib, install, read the example, ... ➔ Toggle the LED remotely ◆ Subscribe and change state in accordance to the message. ➔ Program your system with Node-RED ◆ Install it and make your first flow to periodically toggle the LED ➔ Make a Dashboard with Grafana ➔ Store historical data with InfluxDB or other Time-Series database ➔ Install and configure your own broker, dashboard and database ◆ Mosquitto, InfluxDB, Grafana, and Node-RED in Docker
![platformio.ini - Project Configuration File [platformio] default_envs = d1_mini [env:d1_mini]](https://files.speakerdeck.com/presentations/b5225aca63164bbaa089de805feef631/slide_13.jpg)