Upgrade to Pro — share decks privately, control downloads, hide ads and more …

Arduino 101

Arduino 101

Daniel Packard's Arduino 101 Presentation for Loveland CreatorSpace.

Mark Frandson

January 09, 2014
Tweet

More Decks by Mark Frandson

Other Decks in How-to & DIY

Transcript

  1. Arduino 101
    Presented by Daniel Packard ­ 2013/12/14
    With Maurice Woods III, Casey Kuhns, and Stephen Warren

    View Slide

  2. A Maker Space for Loveland.

    View Slide

  3. A Maker Space for Loveland.
    Special thanks to SparkFun, Ferguson Highschool, and E3 Learning

    View Slide

  4. Arduino

    View Slide

  5. Arduino
    You've been lied to!

    View Slide

  6. Arduino RedBoard
    You've been lied to!
    This class will use the RedBoard platform from

    View Slide

  7. http://dlnmh9ip6v2uc.cloudfront.net/datasheets/Kits/SFE­SIK­RedBoard­
    Guide­Version3.0­Online.pdf

    View Slide

  8. Arduino (Redboard) is...

    View Slide

  9. Arduino (Redboard) is...
    A programmable micro­controller.

    View Slide

  10. Arduino (Redboard) is...
    A programmable micro­controller.
    Atmega Processor

    View Slide

  11. Arduino (Redboard) is...
    A programmable micro­controller.
    Input/Output pins
    (power)

    View Slide

  12. Arduino (Redboard) is...
    A programmable micro­controller.
    USB Serial Interface
    (and power)

    View Slide

  13. Arduino (Redboard) is...
    A programmable micro­controller.
    Power

    View Slide

  14. Arduino (Redboard) is...
    A programmable micro­controller.
    Atmega Processor
    IO pins
    USB Serial Interface
    (and power)
    Power

    View Slide

  15. Arduino (Redboard) is...
    A programmable micro­controller.
    Atmega Processor
    IO pins
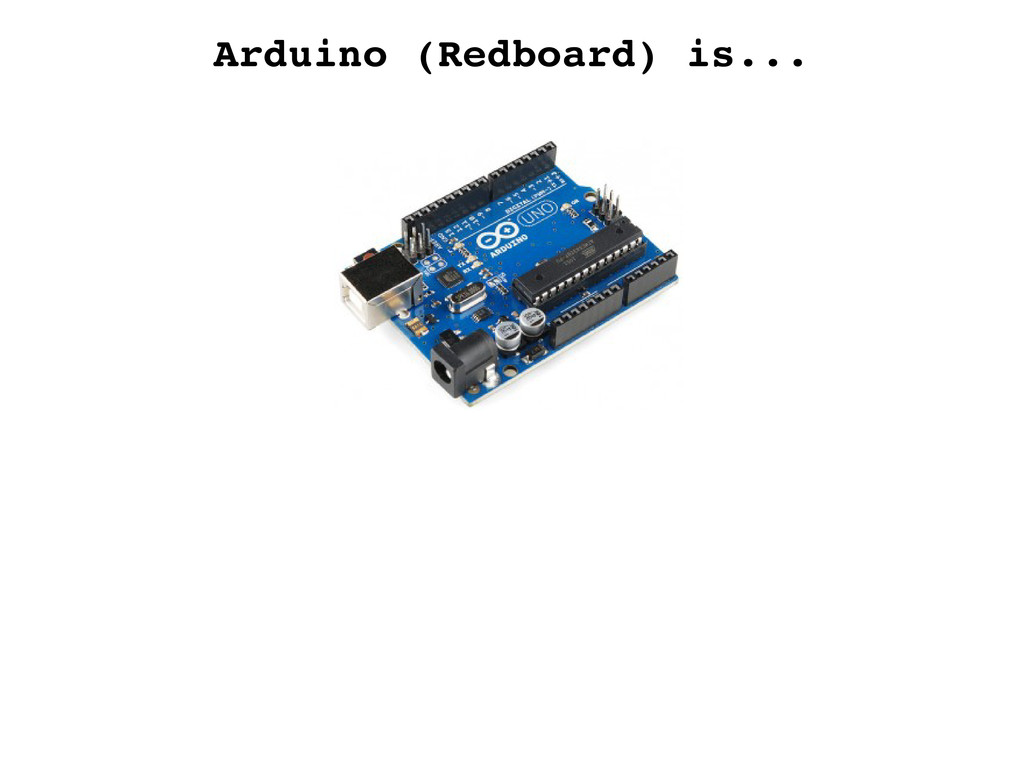
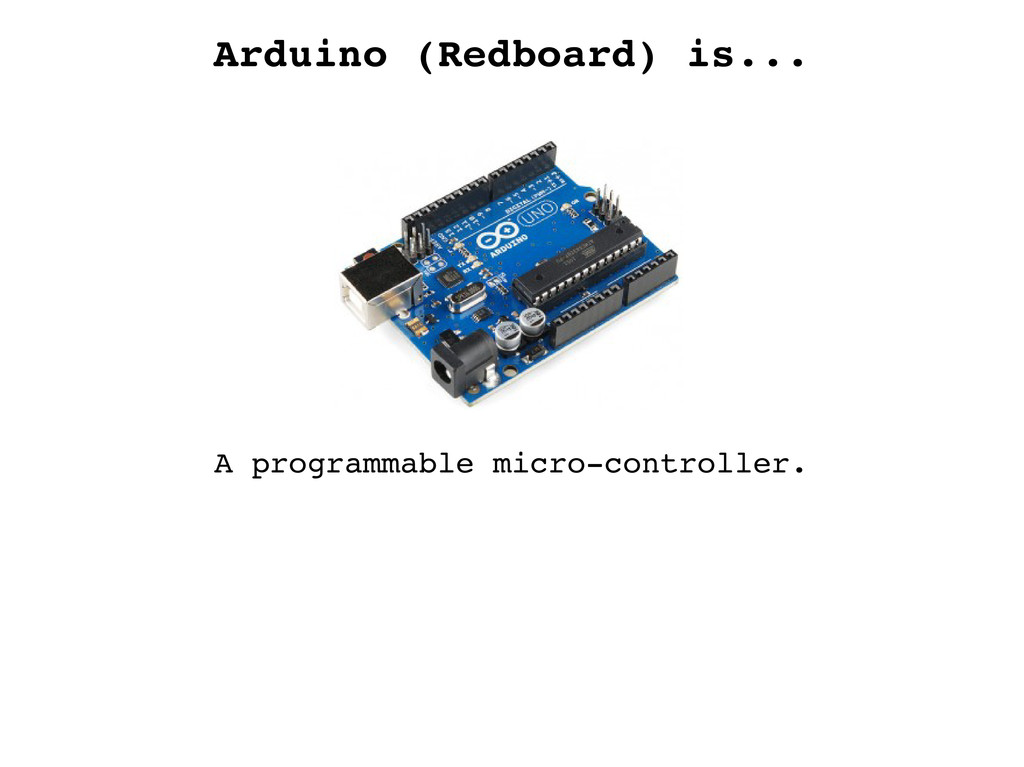
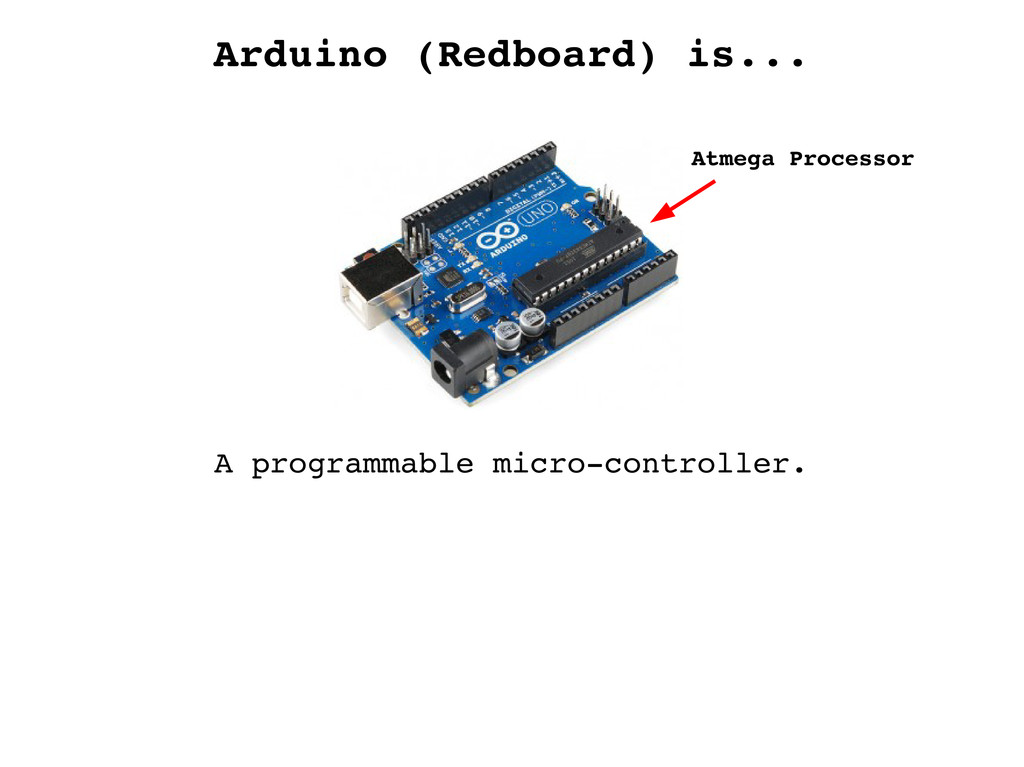
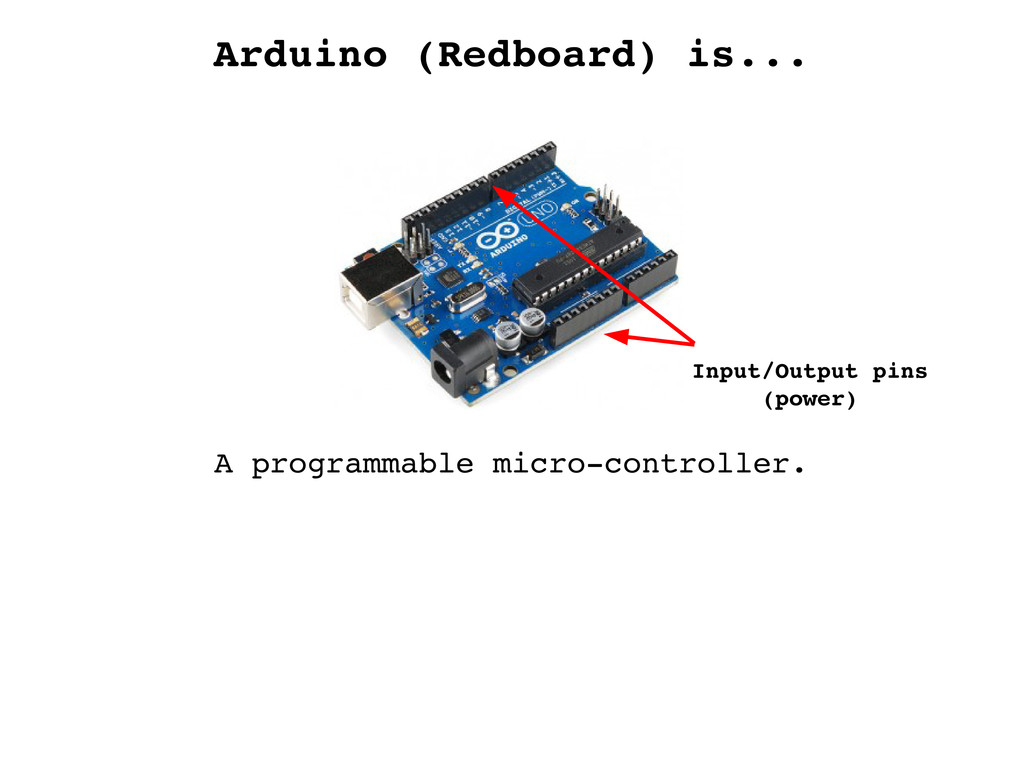
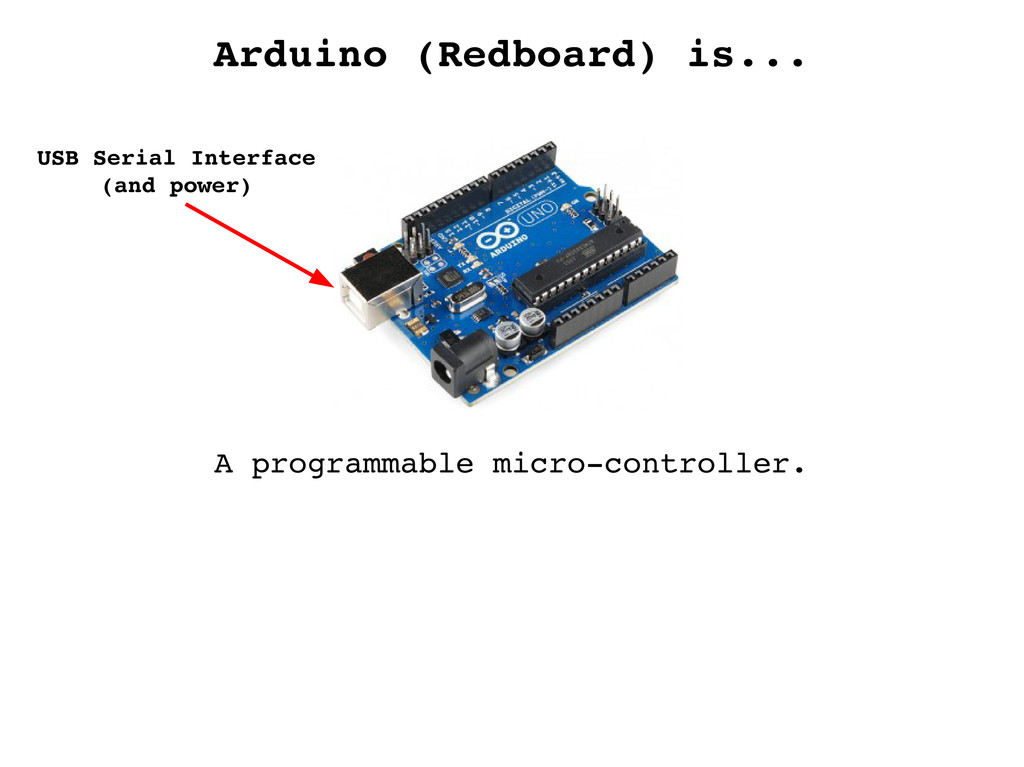
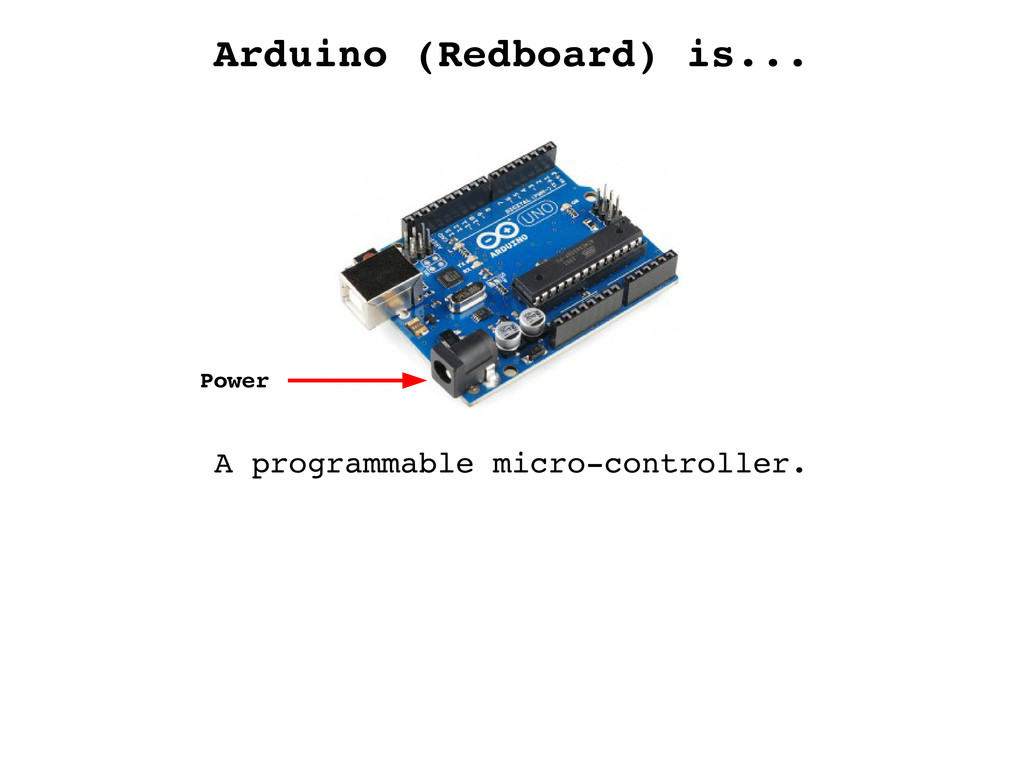
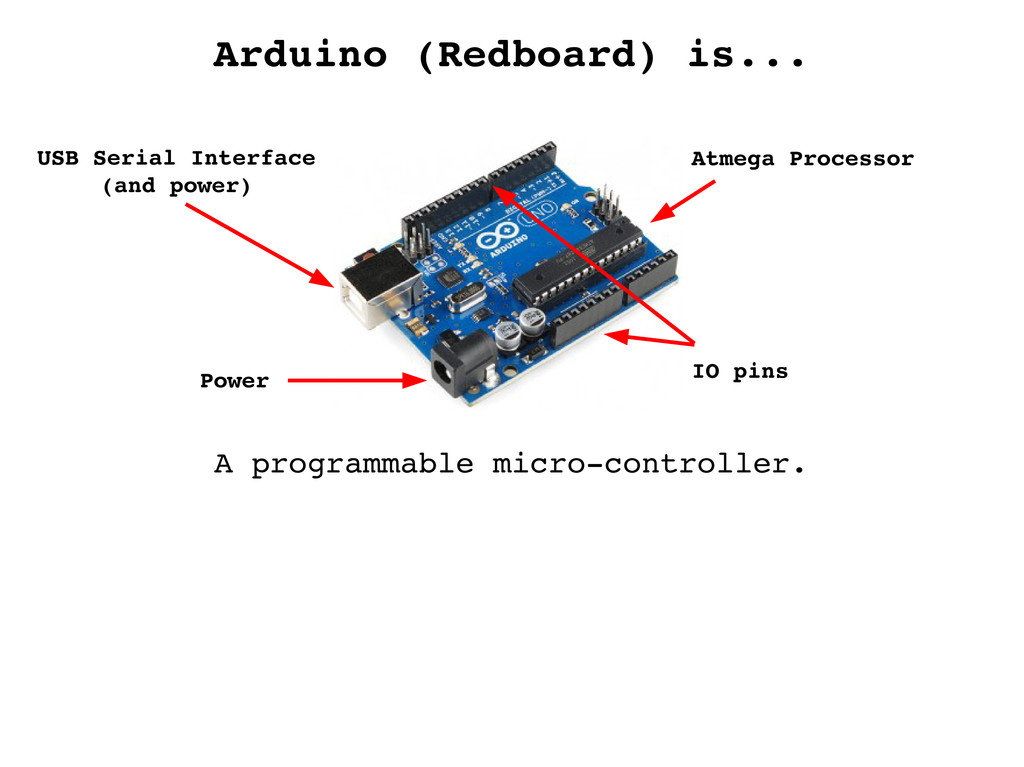
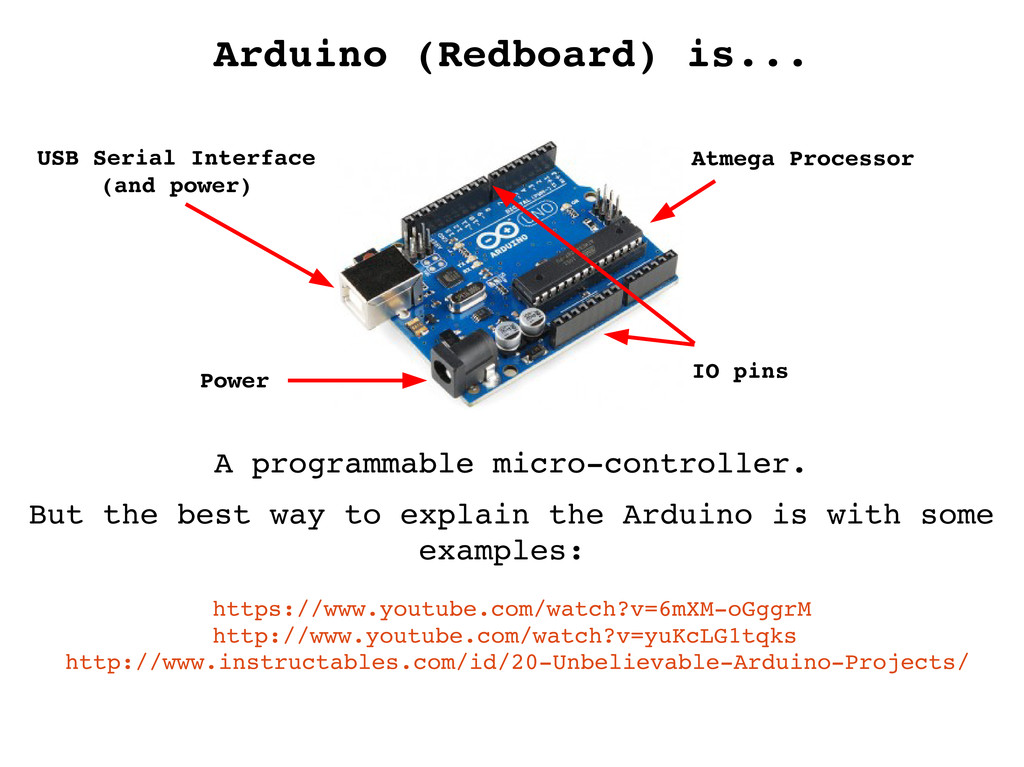
    USB Serial Interface
    (and power)
    Power
    A programmable micro­controller.
    But the best way to explain the Arduino is with some
    examples:
    http://www.instructables.com/id/20­Unbelievable­Arduino­Projects/
    https://www.youtube.com/watch?v=6mXM­oGggrM
    http://www.youtube.com/watch?v=yuKcLG1tqks
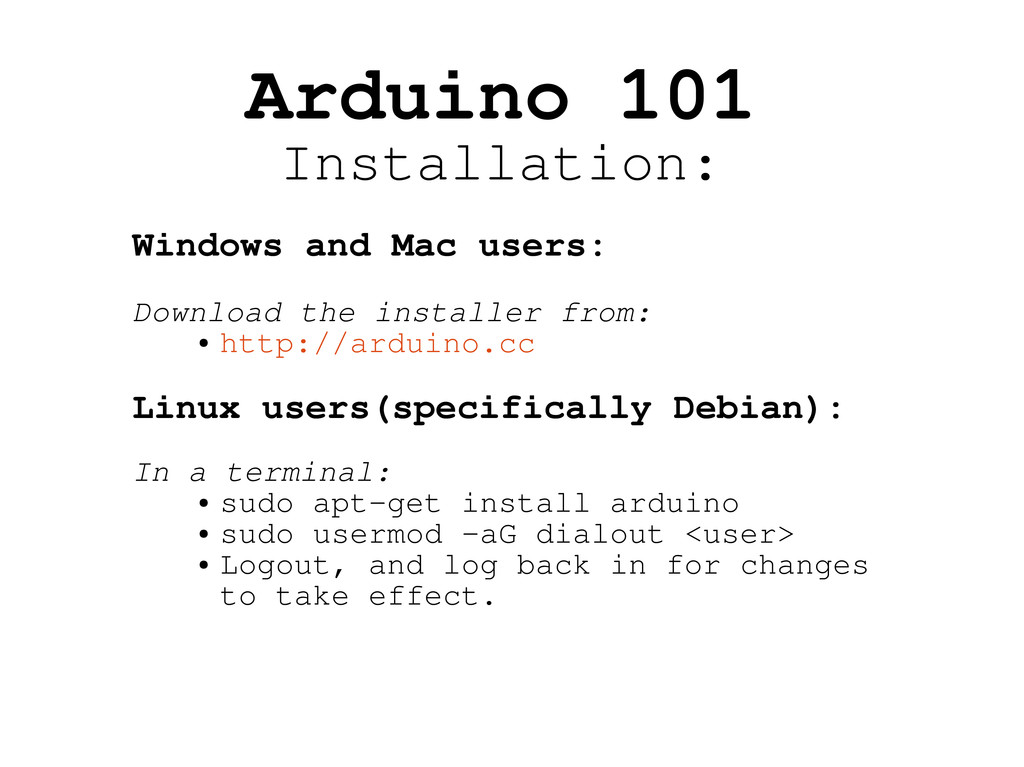
    View Slide

  16. Programmable Circuits

    View Slide

  17. Programmable Circuits
    Build a simple circuit
    (electronics)
    Image attributed to SparkFun Electronics

    View Slide

  18. Programmable Circuits
    Build a simple circuit
    (electronics)
    Write a control program
    (software)
    Image attributed to SparkFun Electronics

    View Slide

  19. Arduino 101
    Installation:
    Windows and Mac users:
    Download the installer from:

    http://arduino.cc
    Linux users(specifically Debian):
    In a terminal:

    sudo apt-get install arduino

    sudo usermod -aG dialout

    Logout, and log back in for changes
    to take effect.

    View Slide

  20. Building the Circuit
    Inside your kit, you'll find:
    2 Jumper cables
    1 LED
    1 resistor
    1 RedBoard 1 Breadboard

    View Slide

  21. Building the Circuit

    View Slide

  22. Building the Circuit

    View Slide

  23. Building the Circuit
    Bread board to the rescue!

    View Slide

  24. Building the Circuit

    View Slide

  25. Building the Circuit
    Bread board to the rescue!

    View Slide

  26. Building the Circuit
    Bread board to the rescue!

    View Slide

  27. Building the Circuit
    Bread board to the rescue!
    ­
    +

    View Slide

  28. Building the Circuit
    Bread board to the rescue!
    ­
    +
    1
    1

    View Slide

  29. Building the Circuit
    Bread board to the rescue!
    ­
    +
    Short Leg
    1
    2

    View Slide

  30. View Slide

  31. View Slide

  32. Building the Circuit
    Bread board to the rescue!
    ­
    +
    Short Leg
    ­
    +
    1
    2
    3

    View Slide

  33. Building the Circuit
    Bread board to the rescue!
    ­
    +
    1
    2
    3
    4

    View Slide

  34. Testing the Circuit

    View Slide

  35. Getting ready to program the Circuit
    First, we need to connect to a pin we can control
    (instead of the 5V power pin)
    ­
    +
    Short Leg
    9

    View Slide

  36. The Arduino IDE
    (Integrated Development Environment)

    View Slide

  37. The Arduino IDE
    (Integrated Development Environment)
    1. “verify” ­ check that your code is valid.

    View Slide

  38. The Arduino IDE
    (Integrated Development Environment)
    2. “upload” ­ loads program onto the Arduino

    View Slide

  39. The Arduino IDE
    (Integrated Development Environment)
    3. “New” ­ creates a new sketch

    View Slide

  40. The Arduino IDE
    (Integrated Development Environment)
    5. “Save” ­ save the current sketch

    View Slide

  41. The Arduino IDE
    (Integrated Development Environment)
    6. “Serial Monitor” ­ communicate with the Arduino

    View Slide

  42. The Arduino IDE
    (Integrated Development Environment)
    7­ “Sketch Name” – Name of the current sketch

    View Slide

  43. The Arduino IDE
    (Integrated Development Environment)
    8. “Editing Window” ­ edit your program here.

    View Slide

  44. Programming Primer
    // single­line comments look like this.
    /*
    Multi­line 
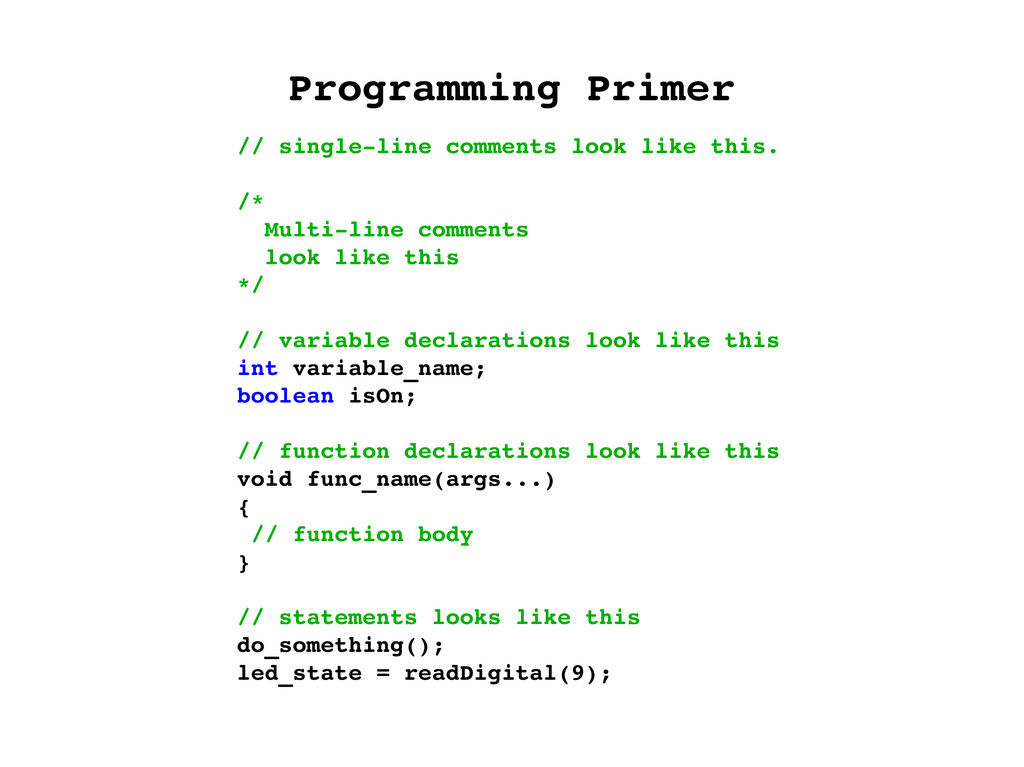
comments
    look like this
    */
    // variable declarations look like this
    int variable_name;
    boolean isOn;
    // function declarations look like this
    void func_name(args...)
    {
    // function body
    }
    // statements looks like this
    do_something();
    led_state = readDigital(9);

    View Slide

  45. Anatomy of an Arduino Sketch
    // Global constants and state 
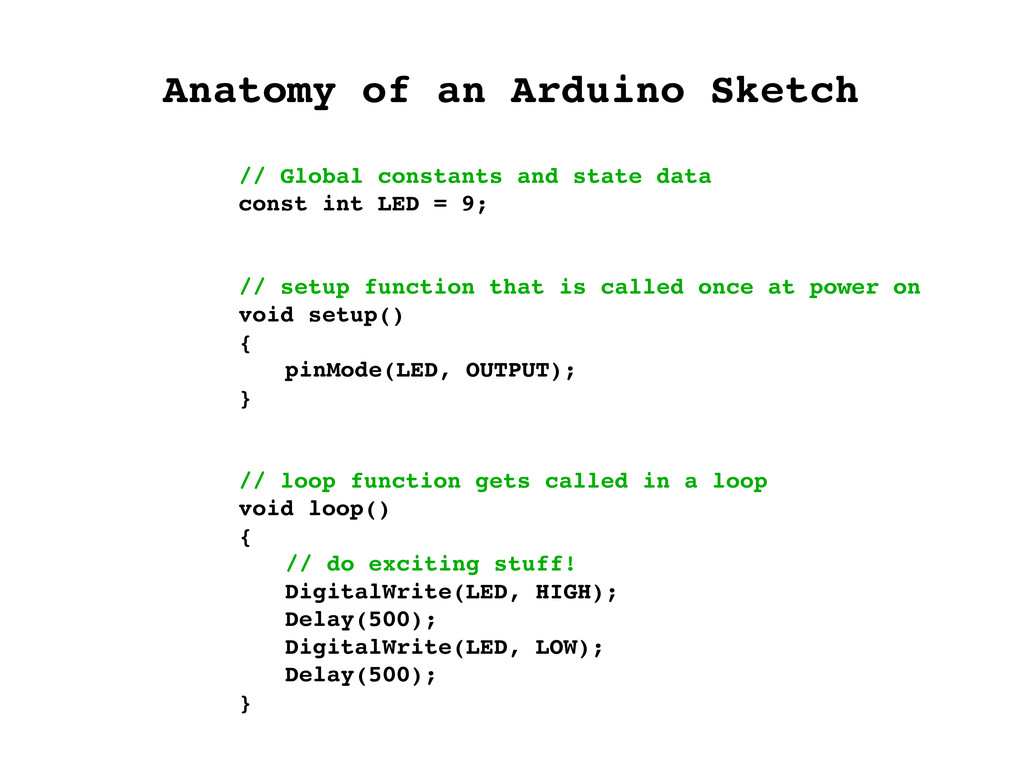
data
    const int LED = 9;
    // setup function that is called once at power on
    void setup()
    {
    pinMode(LED, OUTPUT);
    }
    // loop function gets called in a loop
    void loop()
    {
    // do exciting stuff!
    DigitalWrite(LED, HIGH);
    Delay(500);
    DigitalWrite(LED, LOW);
    Delay(500);
    }

    View Slide

  46. Anatomy of an Arduino Sketch
    // Global constants and state 
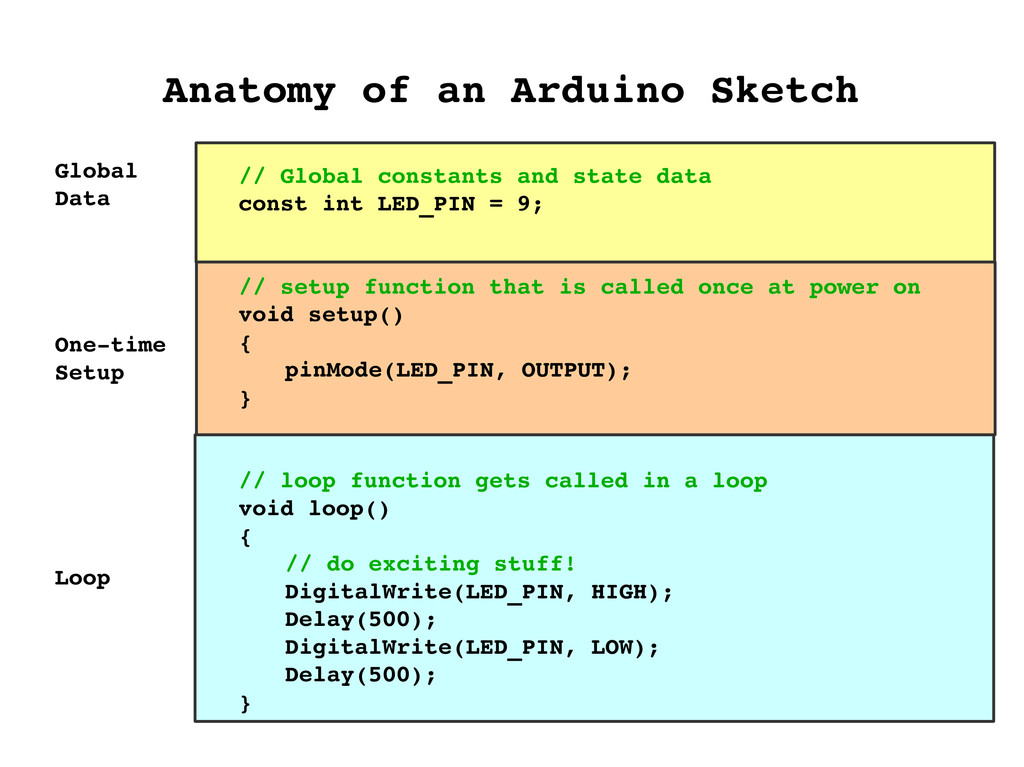
data
    const int LED_PIN = 9;
    // setup function that is called once at power on
    void setup()
    {
    pinMode(LED_PIN, OUTPUT);
    }
    // loop function gets called in a loop
    void loop()
    {
    // do exciting stuff!
    DigitalWrite(LED_PIN, HIGH);
    Delay(500);
    DigitalWrite(LED_PIN, LOW);
    Delay(500);
    }
    Global
    Data
    One­time
    Setup
    Loop

    View Slide

  47. View Slide

  48. Where to go from here
    Sparkfun Inventor's Kit
    (SIK ~ $100)

    View Slide

  49. Where to go from here
    Arduino Classes

    View Slide

  50. Where to go from here
    Arduino 102 ­ building interactive circuits
    Arduino 201 ­ writing a serial protocol
    Arduino 301 ­ build an Arduino shield

    View Slide

  51. Thank you for coming!

    View Slide

  52. Thank you for coming!
    Did you enjoy today's class???
    Help fund future LCS events!
    “pay what you think it's worth”

    View Slide