Upgrade to Pro — share decks privately, control downloads, hide ads and more …

teacherguide_sbid6000.pdf

pug
November 29, 2019
5

 teacherguide_sbid6000.pdf

pug

November 29, 2019
Tweet

Transcript

  1. SMART Board® 6000 teacher guide SMART Board® 6000 series interactive

    displays with iQ let teachers present a lesson, show a video, surf the internet, and more, all with a touch of a finger. Lesson transitions are seamless. Ways to engage students are endless. #SMARTchampion Was this document helpful? smarttech.com/docfeedback/171536
  2. Tips for using this guide l Use this guide anytime,

    anywhere, on any device. l Try one page at a time with your class. Learn, try, and reflect! l Make existing content more interactive. l Share and reflect! Review a page a week with your teaching team. l Are you campus leadership? Email a page a week as a challenge. Prizes help! l Collaborate with other teacher online @SMARTpln l Connect and share on social media #SMARTchampion © 2019 SMART Technologies ULC. All rights reserved. SMART Board, smarttech, the SMART logo and all SMART taglines are trademarks or registered trademarks of SMART Technologies ULC in the U.S. and/or other countries. All third-party product and company names may be trademarks of their respective owners. Contents are subject to change without notice. August 26, 2019. smarttech.com/kb/171536 2
  3. smarttech.com/kb/171536 3 Contents SMART Board 6000 4 Customizing the Home

    screen 5 New Whiteboard (in the Player app) 6 kapp Whiteboard 7 SMART kapp app 8 Browser 9 Writing and drawing over the Browser 10 Share to Board 11 Player 12 Screen Share 13 Files Library 14 Substitution, Augmentation, Modification, and Redefinition (SAMR) 15
  4. SMART Board 6000 Turn on the display Press the Standby

    button on the front control panel. OR If the Wake to Touch option is enabled, the display turns on when you touch the screen. 1. Standby 2. Input Select 3. Mute 4. Decrease 5. Increase 6. Move Up (menu)* 7. Move Down (menu)* 8. Menu* *SPNL-6000-V3 only Show the connected computer's desktop After connecting a computer, press the Input Select button on the front control panel until HDMI1, HDMI2 or DisplayPort is selected. NOTE: Be sure to enable touch control of your computer by connecting a USB cable between the USB port in the display’s side connection panel and a USB connector on your computer. Use the iQ features The display includes iQ features that you can use without connecting a computer. To access these features, tap the Home button at the bottom of the screen. OR Press the Input Select button on the front control panel until OPS is selected. NOTE: The option you select to use the board’s iQ features varies with the model. Select iQ or the option that includes OPS (OPS, OPS display port, or OPS HDMI). You can then use all the iQ features described in the rest of this guide. smarttech.com/kb/171536 4
  5. smarttech.com/kb/171536 5 Customizing the Home screen Steps 1 Change the

    wallpaper You can change the display's background to personalize your display. You can also insert a USB drive and select an image from the drive. Open Settings , scroll to Personalization, and select a new wallpaper. Note: For best results, use a .jpg or .png file with 1920 × 1080 resolution. 2 Open the Home Screen Tap the Home button . 3 Add tiles to Favorites Tap a tile's star to add the tile to Favorites. 4 Remove tiles from Favorites Press and hold the file you want to remove until the background becomes black. Tap to remove the tile. 5 Add tiles to Recent The Recent category shows the last eight webpages visited, kapp Whiteboard sessions, screenshots, SMART Notebook files, whiteboards, and PDFs. Instructional ideas l Find an image that represents a unit of study or focus, a mission statement, a metaphor, and so on, and use it as the display's background. l Students can design an image from a content focus and use that image as the display's background. l Add some “Did you know...” facts to a student's picture and use that image as the display’s background. l Pin apps and files to Favorites so students can quick access them quickly.
  6. New Whiteboard (in the Player app) Steps 1 Tap New

    Whiteboard Choose a page background. Add multiple pages with different backgrounds. To change the page background, tap Page Sorter Tap the page you want to change, tap … and select a new background. 2 Expand pages Expand the whiteboard space so you’ll never run out of room. Tap the page and begin to move it until check appears. Use two fingers to navigate the space. 3 Customize your pen Change the pen's thickness and color. 4 Work with objects You can move, rotate, or resize objects on the whiteboard page, including ink, by tapping it. 5 Delivering pages to student devices Students join hellosmart.com. Choose between Teacher paced and Student paced. Add a blank page or an instant Shout It Out activity. Note: When you're not in Delivery mode, changes to the file are saved automatically. Instructional ideas l Use the expanded whiteboard page. Students ignite their learning together by adding a word, adding a problem, posing a question, or adding a sentence starter. l Use the lined paper page background to start a story or add notes to a unit of study l Students can write questions on the board, send the question to student devices, and have students answer individually. l Use the grid page background to create bar graphs, an x,y axis, add shapes or coordinates. Move the objects and record the results. l Use the lined paper background to brainstorm, practice handwriting, start a story, or write focused notes on a unit of study. l Use the dot grid page background to create different tangram puzzles (changing the colors of the different shapes). Write a story or poem for each tangram. l Use the dot grid template to play the Dot and Box game. Students strategize to win as many boxes as they can. Students can predict how many boxes they'll get. smarttech.com/kb/171536 6
  7. smarttech.com/kb/171536 7 kapp Whiteboard Steps 1 Open, write, move, and

    erase On the Home screen, tap Apps Library > kapp Whiteboard. Pick up a pen and begin writing. View more of the work space by moving your finger to the left. Erase ink with your fist or the pen’s eraser. 2 Change the look of ink Tap the pen button on the screen's left. Select pen color and thickness. Note: Pens return to their default colors 30 seconds after you put them back in their holders. 3 Save a kapp Whiteboard Save a kapp Whiteboard to the Files Library. Tap in the bottom-left corner of the screen to save the page to the Files Library and open a new, blank page. Find your kapp Whiteboards in the Files Library. 4 Export a kapp Whiteboard to a USB drive Connect a USB drive to the display. Press and hold any file until the background becomes black. Select the files and tap Export to USB. Instructional ideas l Invite students to contribute to the display at least once a day. l Pose an interesting question for students to respond to in words or pictures. This can be content connect or community building—even the youngest students can respond in letters and pictures. l Bell ringer, transition times as they finish assignments. l Students write on the display o When o Comment on each other's ideas and ask questions l Try these activities with the kapp Whiteboard: o Would you rather___ or ___? Why? o Favorite 30-second doodle and one word that goes with it o Song lyric that is your mood today o Favorite fairy tale in pictures o First four words from the book you are reading, or the last four words o Big questions you wonder about o Vocabulary connection and sentence starters
  8. SMART kapp app Steps 1 Download the SMART kapp app

    Download the app from Google Play (Android) or the App Store (Apple). You can install the app on phones or tablets. 2 Open the app and whiteboard, and then scan the QR code Open the app on your device. Open the kapp Whiteboard on the display by opening the Apps Library on the Home screen and tapping kapp Whiteboard. Scan the QR code in the bottom-right corner of the screen to connect your device to the display. 3 Share whiteboard session From your device, tap Invite in the bottom corner. Tap Share using a link. Give the link to your students. They can connect on any internet enabled device by entering the web address. 4 Collaborate! Ask students to contribute using the pen. When you finish your session, you can save it as a PDF and share it with students. Instructional ideas l Students can share a theme, such as “conflict,” and add drawings, words, phrases, and connections to that theme. l Students can contribute a one-word summary related to a topic, book, poem, or character. l Think, pair, and share: After students have shared their thoughts with a partner, have them summarize and share their understanding. l Assign a math problem and have students solve it and share their answer. Compare responses and discuss. l Create an interactive timeline: Have students work in groups to add an event to the timeline and include image and words. l Create a graffiti board: Write a quote on the whiteboard and have students participate in a chalk talk. Share their thoughts and comment on other responses. smarttech.com/kb/171536 8
  9. smarttech.com/kb/171536 9 Browser Steps 1 Open the Browser On the

    Home screen, tap Browser . In the address bar at the top of the screen, type a web address or search term. Note: The Browser doesn’t support Adobe Flash Player. If you need to use Adobe Flash, connect a computer to the display. 2 Use the floating keyboard Use the floating keyboard to type in the Browser. You can move the keyboard by dragging the plus sign (+) in the upper-right corner. The keyboard is hidden when you don’t need it. 3 Add favorite sites On the Home screen, under the Recent category tap the star to add a recently-visited website to the Favorites category. 4 Access SMART Learning Suite Online Bookmark suite.smarttech.com and sign in. Create or start activities directly from this page. Instructional ideas l Use the Browser in small groups, as a center, and individually to research, find pictures, and read articles. l Open multiple tabs of pictures to share with students. Students can open each tab and make connections by commenting on each picture. l Bookmark websites (without Adobe Flash content) for students to interact with on the display. Use multiple tabs to have different websites open at the same time. l Use the floating keyboard to type the address of a website you'd like your students to visit. l Use the floating keyboard to search for a map that you can use with your students. Zoom in by touching the map with two fingers and dragging diagonally. l Access SMART Learning Suite Online by going to suite.smarttech.com and signing in. Click the green plus sign to create an activity for your students or have students create an activity for the class to play. l Teachers can sign in as a student to suite.smarttech.com and facilitate lessons untethered from any device
  10. Writing and drawing over the Browser Steps 1 Open the

    Browser On the Home screen, tap Browser . In the address bar at the top of the screen, type a web address or search term. Zoom in on pictures using two fingers. 2 Write and draw Pick up a pen to begin writing notes over the Browser and light gray diagonal lines appear. Change the pen's color by tapping the pen icon on the left side of the screen. 3 Save or discard ink When you're finished writing notes, tap in the top-right corner. You can save the screenshots to the Files Library or discard them. You can open saved screenshots in the Files Library and continue writing. 4 Continue writing notes After saving or discarding notes, you can browse to another web page or scroll to another portion of the current web page. Pick up a pen to write or draw. Instructional ideas l Students can practice the skill of “reading pictures.” Small groups view pictures on the display. Each student can use a different pen colour to write words or phrases to describe, clarify, and create meaning from the picture. This is a great way to explore real-world connections and prior knowledge. l Search for an image to use as a graphic organizer. Use two fingers to enlarge the picture to fit the screen. Students can write over the picture. Notice that the display takes a screen capture and saves it in your Files Library. l Open an article that you would like your students to read. Ask them to use the pens to highlight and annotate the article. l Search for a map and use the pens to mark interesting places or features. TIP You can also write over the Screen Share app. smarttech.com/kb/171536 10
  11. smarttech.com/kb/171536 11 Share to Board Steps 1 Generate a Share

    to Board code Before you use Share to Board, you must generate a code. Open the Files Library on the Home screenand follow the directions on the display to generate a code to connect. 2 Add the display In SMART Notebook, click File > Share, click Share with a SMART Board, click Add Boards, type the four-character code that you generated in step 1, and click Share Now. Note: You need to enter the code only once for each display. You can add multiple displays but have to select each display individually to share. 3 Share a file with the display In SMART Notebook, select File > Share, click Share with a SMART Board, choose the display, and then click Share Now. The file is now available in the display's Files Library. 4 Share a file using a USB drive Save a PDF or SMART Notebook file to a USB drive. Connect the USB drive to one of the display's USB receptacles. From the Home screen, open the Files Library. In the top-left corner of the screen, tap the drop-down menu and tap USB Files, and tap the file you want to open. Instructional ideas l Save articles, worksheets, graphic organizers, and other lesson material for students to interact with as PDF files on a USB drive. l Share SMART Notebook files on the display and have groups of students interact with the files. l Use SMART Notebook software on your computer to create centers for students to go through on the display. l Create substitute plans and send them to the display when you’re out of the classroom. You can send files to the display from anywhere! l Create manipulatives using the Infinite Cloner. Students can use them use during centers, in small groups, or for extra support. l Save graphic organizers to quickly access and use in lessons.
  12. Player Steps 1 Open a SMART Notebook file On the

    Home screen, open the Files Library and select a SMART Notebook file. 2 Access lessons and materials from the display To let your students interact with a lesson on the display, open the lesson in Player. You can do this with Share to Board or by saving the lesson material to a USB drive. Player can open SMART Notebook and PDF files. 3 Use Instant Shout It Out! Open the Files Library and tap Instant Shout It Out!. Students join the session by going to hellosmart.com and entering the display’s code. They can send text responses to the display from their devices. 4 Open a file and go Open the file you'd like your students to work on. The left side of the screen has tools to navigate, write notes, highlight, erase, and even add a blank page or a Shout It Out! activity. Instructional ideas l Create activities, SMART Notebook files, and PDFs for students to access in centers, small groups, and when they finish their work. l Students can use interactive manipulatives, hundreds of charts, and even coins using Infinite Cloner. l Students can launch a Shout It Out! to collect ideas from their group, so all ideas are heard. This is a great way to build initiative in students. l Send open-ended challenges and task cards for students to access when they finish their work (for example, tic-tac-toe boards). l Prepare calendars, morning messages, and other daily tasks in advance so you can run them and still tend to classroom details on your computer. NOTE Currently supported on Player Activities, Infinite Cloner, YouTube, pen and erase features, links, movement of objects, and traditional fonts. Currently not supported on Player Interactive dice and spinners, backgrounds from gallery, some fonts, animations smarttech.com/kb/171536 12
  13. smarttech.com/kb/171536 13 Screen Share Apple devices On the Home screen,

    tap Screen Share . Make sure your device is connected to the same Wi-Fi network as the display. On your Apple device, swipe up to show the Control Center, tap Screen Mirroring, and select the display. Windows 8.1 computers On the Home screen, tap Screen Share . Make sure your device is connected to the same Wi-Fi network as the display. With a mouse, point to the lower-right corner of the screen, move the pointer up, and click Devices. Click Project > Add a wireless display and select the display. Windows 10 computers On the Home screen, tap Screen Share . Make sure your device is connected to the same Wi-Fi network as the display. On the computer, click in the lower right of the screen, select Connect, and select the display. Chrome browser On the Home screen, tap Screen Share . Make sure your device is connected to the same Wi-Fi network as the display. Open the Chrome browser, click , click Cast, and select the display. Android devices (using the Google Home app) On the Home screen, tap Screen Share . Make sure your device is connected to the same Wi-Fi network as the display. Open the Google Home app, tap the navigation drawer, tap Cast Screen /audio > Cast Screen / audio, and select the display. Instructional ideas l Students can share presentations from their devices and present them to their classmates. l Students can search for pictures of places. Other members of the class have to guess the place by asking yes or no questions. l Students can search for articles about current event and discuss how the events affect them. l Have students search for songs to reflect certain moods or feelings. Students can share classical music to promote critical thinking. l Walk through step-by-step directions with your device to help students understand what they are supposed to do.
  14. Files Library Steps 1 Open the Files Library On the

    Home screen, tap Files Library . 2 Rename files Press and hold a file until the background becomes black. Tap the file’s name. Use the on-screen keyboard to rename the file. Tap anywhere on screen when you're done. 3 Create and move files into folders Tap and hold a file until the background becomes black. Tap to create a new folder. Name the folder. Note: You can create folders within folders. To move a file into a folder, tap and hold a file until the background turns black, select additional files (if you want), and drag them into a folder. Tap anywhere on the screen when you're done. 4 Sort folders and files for easy access Sort content by type, name, or the date when it was last modified. In the upper-right corner, tap the drop-down to select the sort order. 5 Export files to a USB drive You can export whiteboards, SMART Notebook files, and screenshots to a USB drive as PDF files. Connect a USB drive to the display, tap Files Library, tap and hold a file until the background becomes black, select files to export, and tap Export to USB. Instructional ideas l Create a folder for each subject for better organization. Add whiteboard, SMART Notebook files, screenshots, and browser shortcuts for easy class transitions. l Create a folder for each content area that you teach. Add folders for each unit of study within the content folder to stay organized. l Create a folder for each student in the class. Use the whiteboard spaces, browsers, and collect screenshots of their learning as evidence of growth. Let students contribute to their folder. l Create a folder of websites that students can use as activities or rotations at the board. Tap the star on the folder to pin it to Favorites so students can get to the folder from the Home screen. l Challenge: Create tiered folders for differentiation. Tell groups of students which folder they will work from. smarttech.com/kb/171536 14
  15. smarttech.com/kb/171536 15 Substitution, Augmentation, Modification, and Redefinition (SAMR) Substitution Augmentation

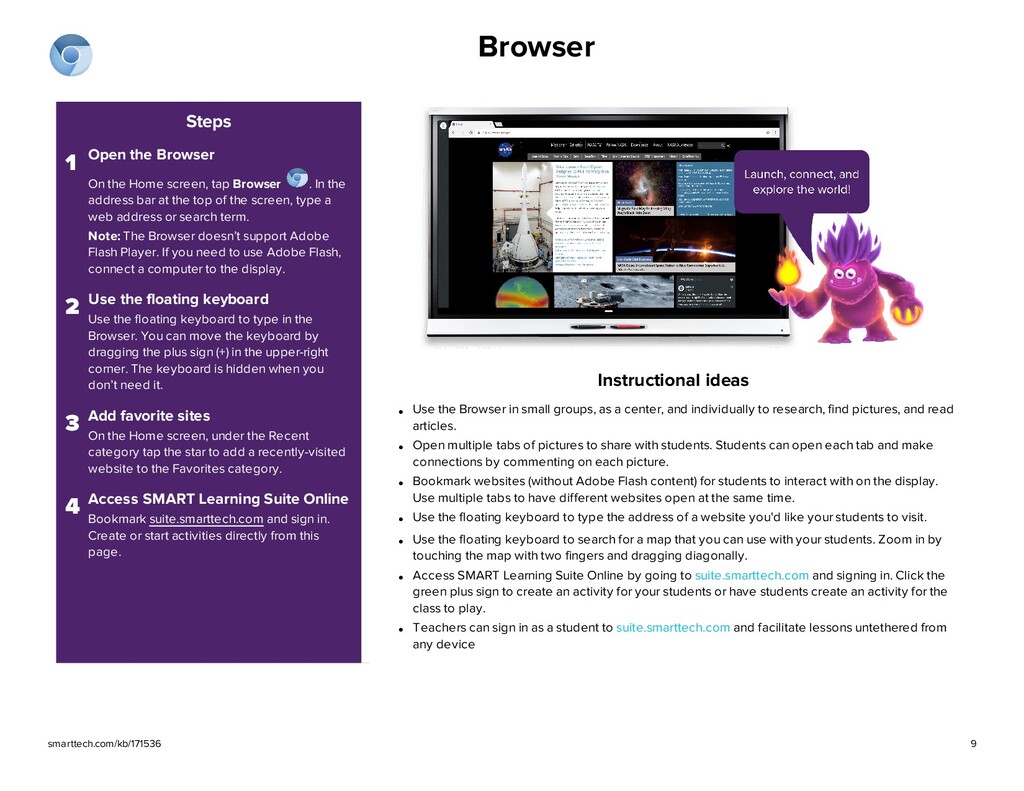
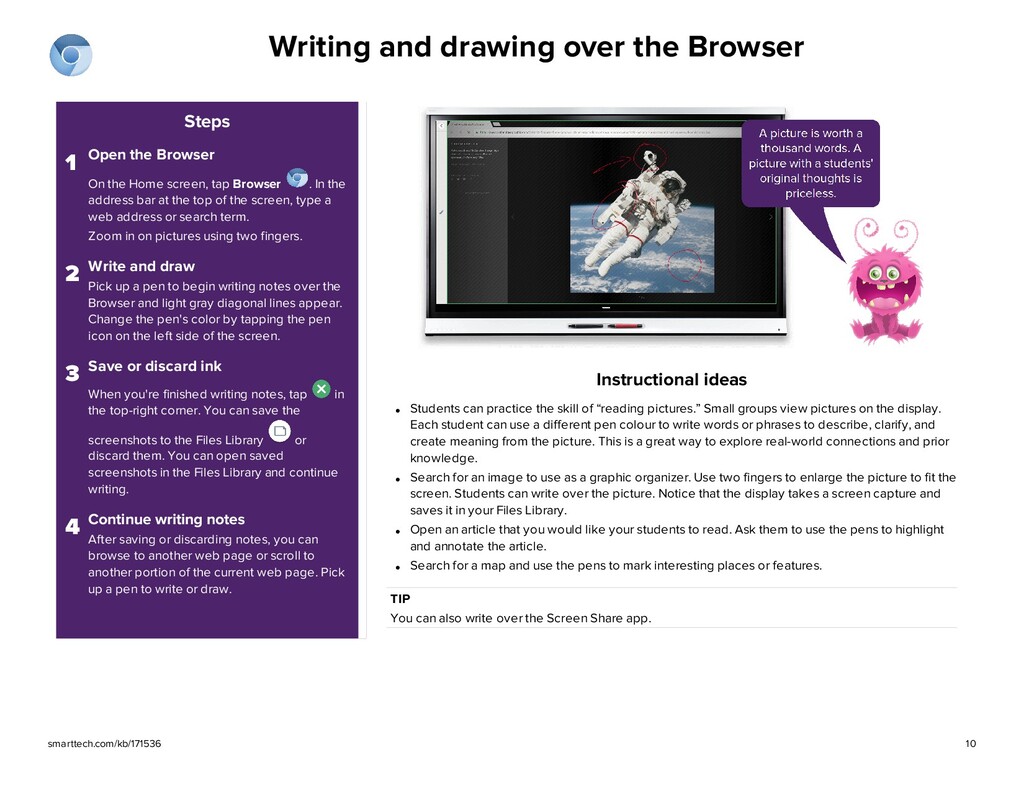
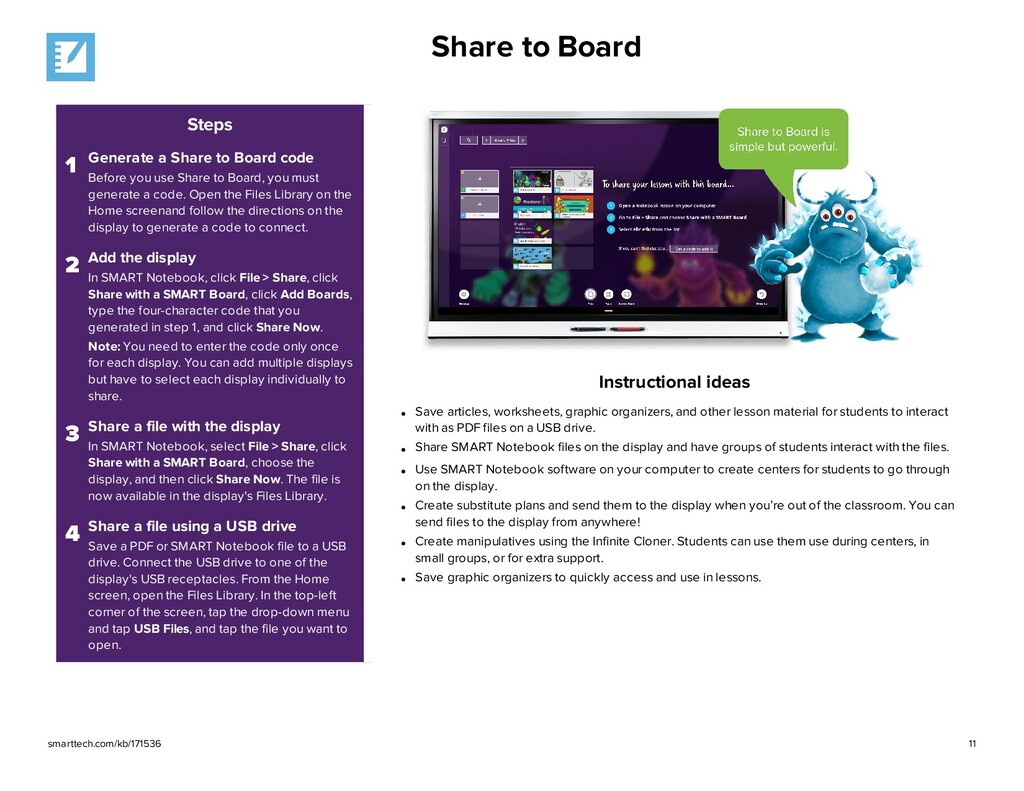
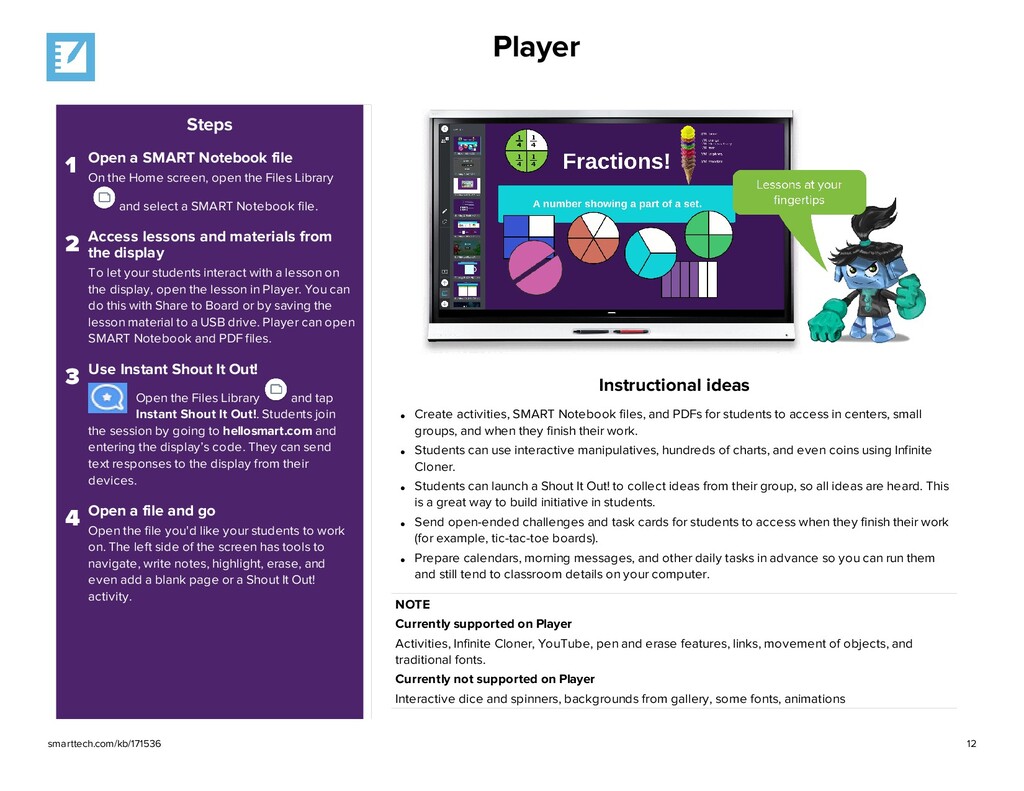
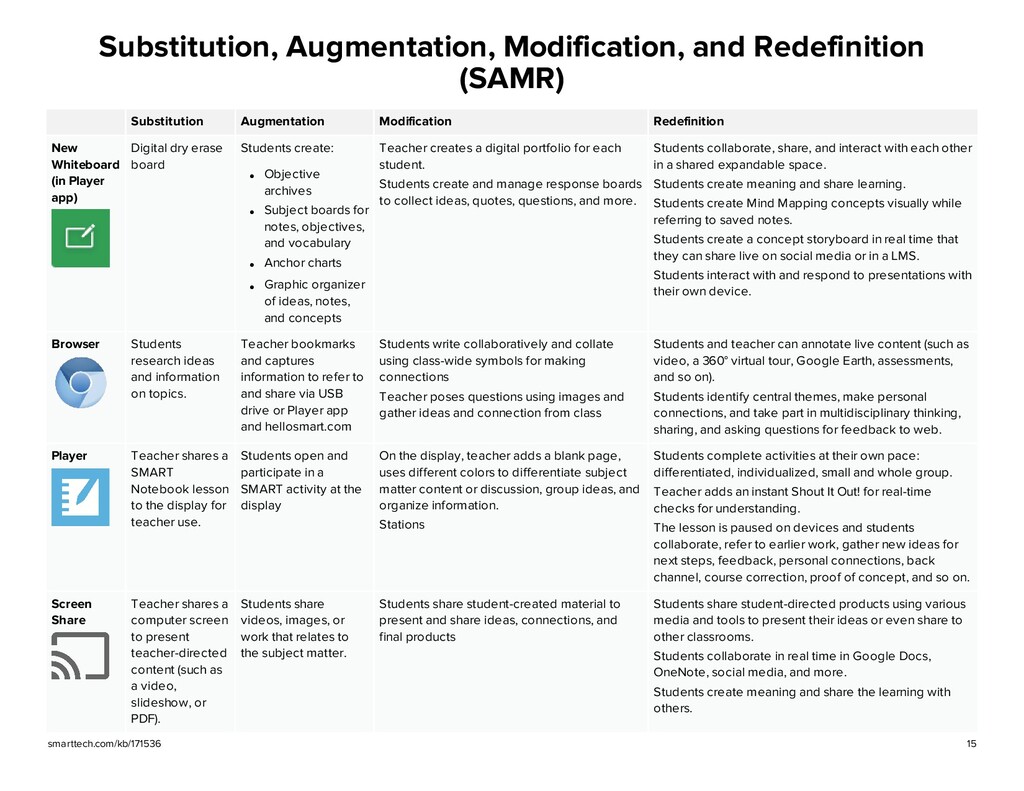
    Modification Redefinition New Whiteboard (in Player app) Digital dry erase board Students create: l Objective archives l Subject boards for notes, objectives, and vocabulary l Anchor charts l Graphic organizer of ideas, notes, and concepts Teacher creates a digital portfolio for each student. Students create and manage response boards to collect ideas, quotes, questions, and more. Students collaborate, share, and interact with each other in a shared expandable space. Students create meaning and share learning. Students create Mind Mapping concepts visually while referring to saved notes. Students create a concept storyboard in real time that they can share live on social media or in a LMS. Students interact with and respond to presentations with their own device. Browser Students research ideas and information on topics. Teacher bookmarks and captures information to refer to and share via USB drive or Player app and hellosmart.com Students write collaboratively and collate using class-wide symbols for making connections Teacher poses questions using images and gather ideas and connection from class Students and teacher can annotate live content (such as video, a 360° virtual tour, Google Earth, assessments, and so on). Students identify central themes, make personal connections, and take part in multidisciplinary thinking, sharing, and asking questions for feedback to web. Player Teacher shares a SMART Notebook lesson to the display for teacher use. Students open and participate in a SMART activity at the display On the display, teacher adds a blank page, uses different colors to differentiate subject matter content or discussion, group ideas, and organize information. Stations Students complete activities at their own pace: differentiated, individualized, small and whole group. Teacher adds an instant Shout It Out! for real-time checks for understanding. The lesson is paused on devices and students collaborate, refer to earlier work, gather new ideas for next steps, feedback, personal connections, back channel, course correction, proof of concept, and so on. Screen Share Teacher shares a computer screen to present teacher-directed content (such as a video, slideshow, or PDF). Students share videos, images, or work that relates to the subject matter. Students share student-created material to present and share ideas, connections, and final products Students share student-directed products using various media and tools to present their ideas or even share to other classrooms. Students collaborate in real time in Google Docs, OneNote, social media, and more. Students create meaning and share the learning with others.