not required Users can use their own identities No external directories No need to sync accounts Simple & Secure Easy for admins and users Access to any app and data Enterprise-grade security for apps and data No external account management Key benefits
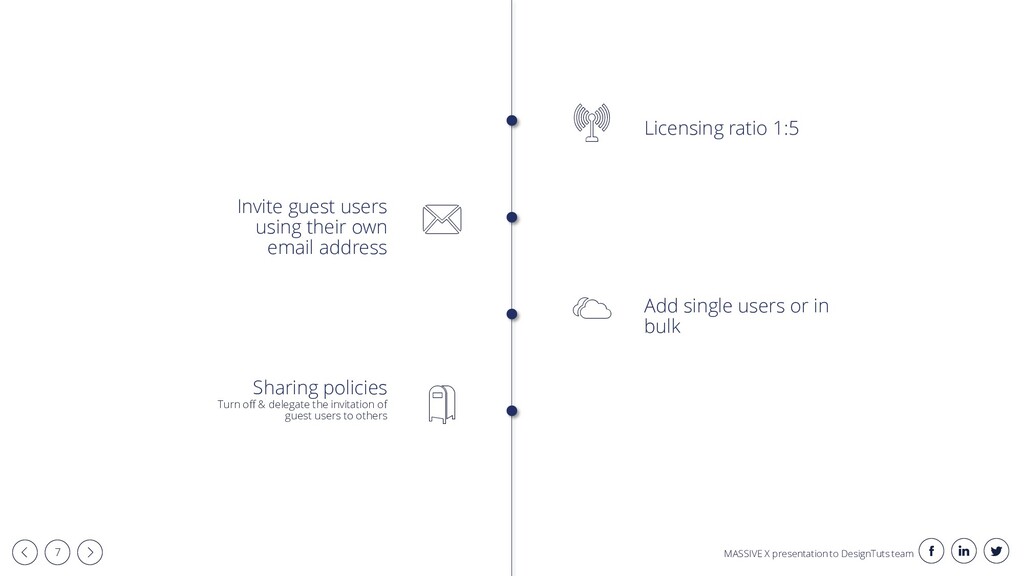
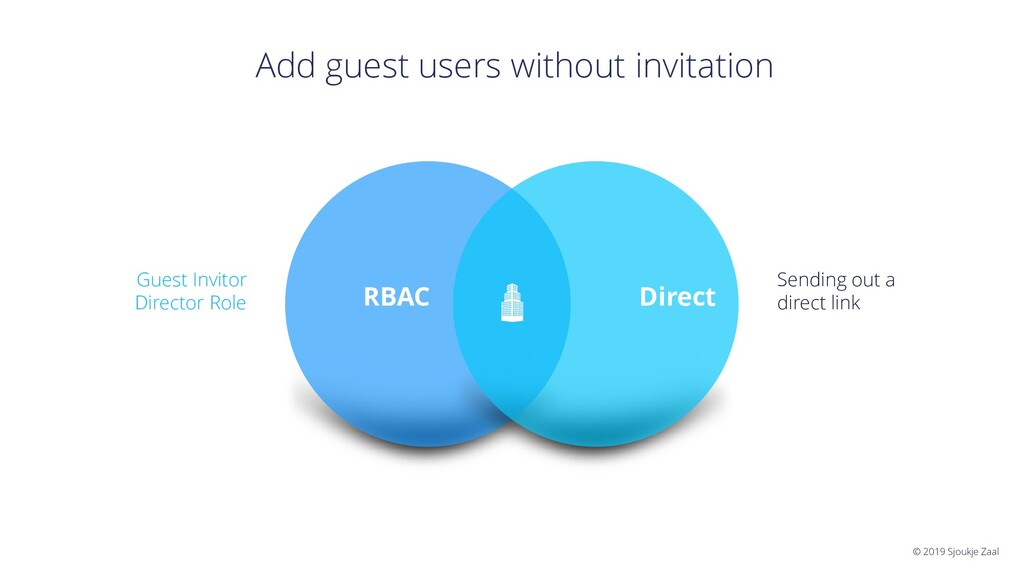
b Add single users or in bulk c Invite guest users using their own email address g Sharing policies Turn off & delegate the invitation of guest users to others h
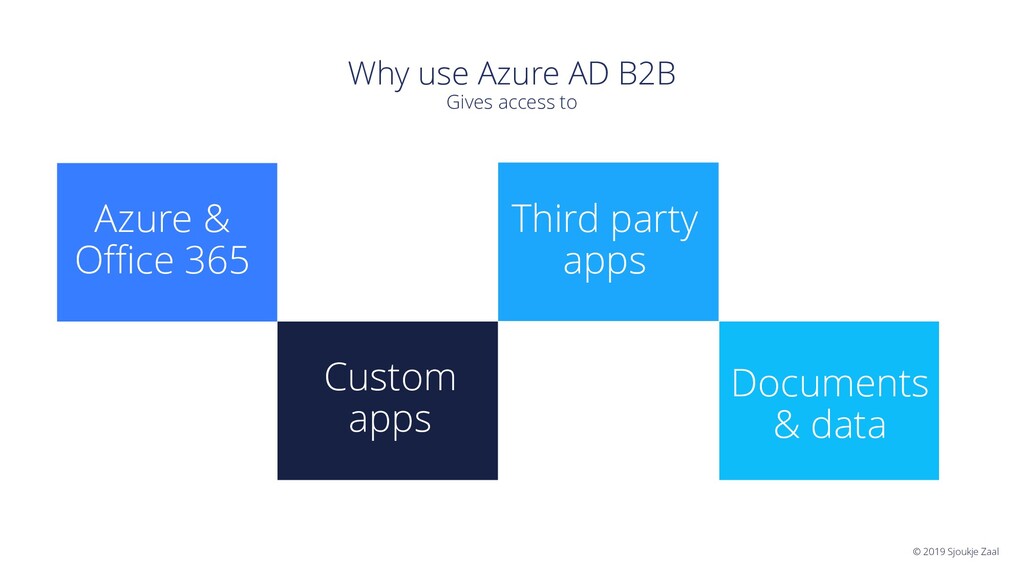
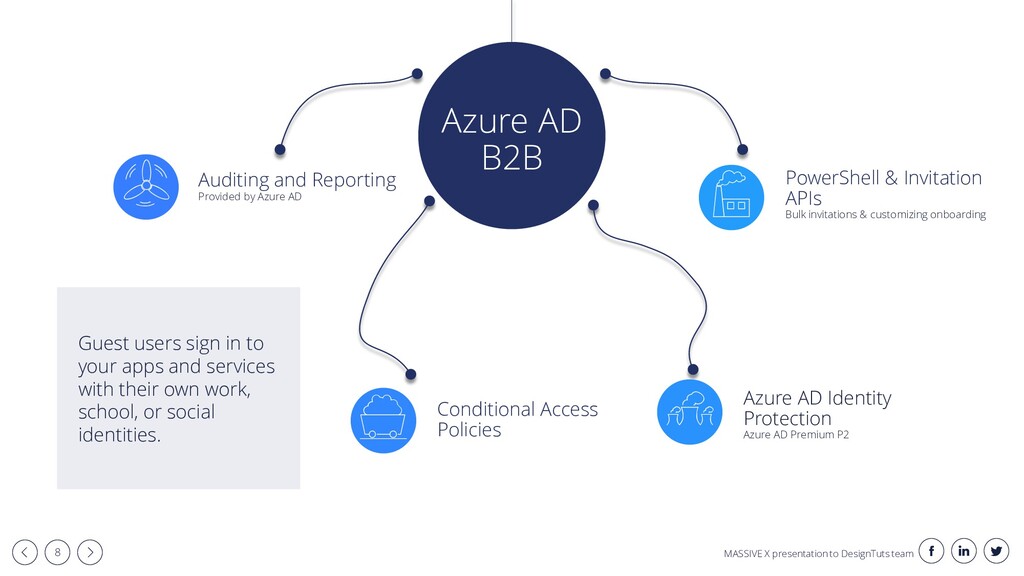
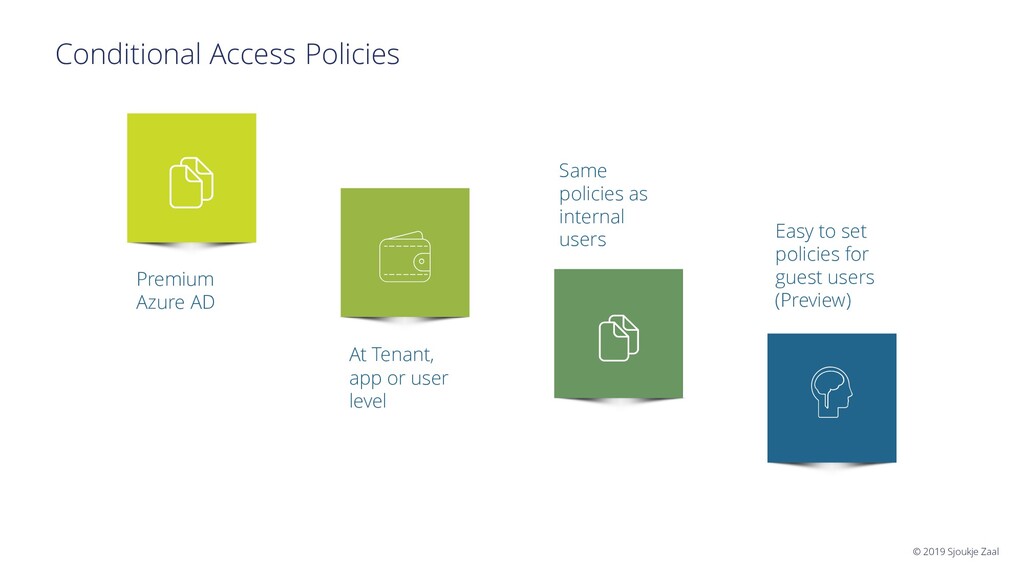
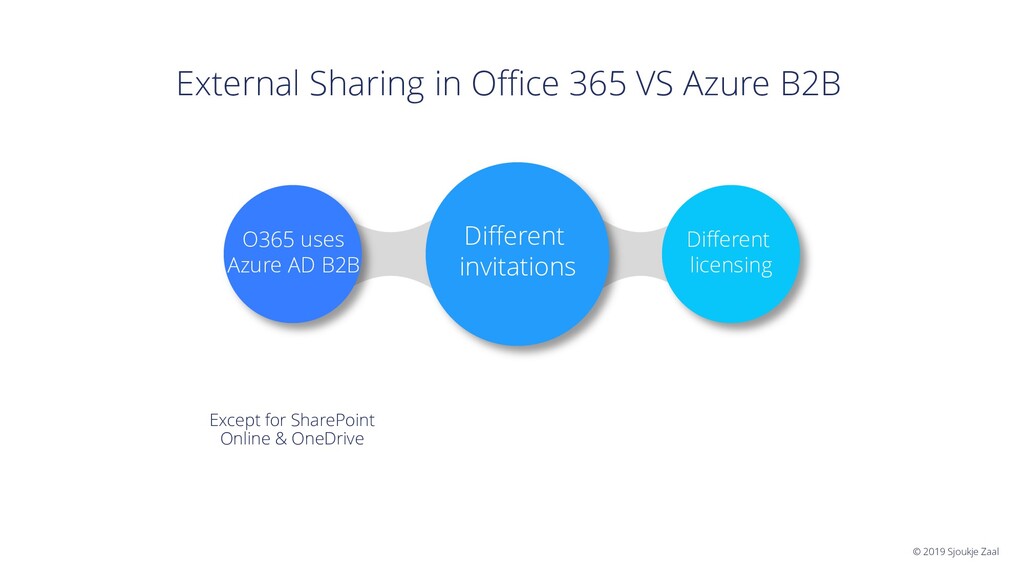
and Reporting Provided by Azure AD Conditional Access Policies e Azure AD Identity Protection Azure AD Premium P2 g PowerShell & Invitation APIs Bulk invitations & customizing onboarding Azure AD B2B Guest users sign in to your apps and services with their own work, school, or social identities.
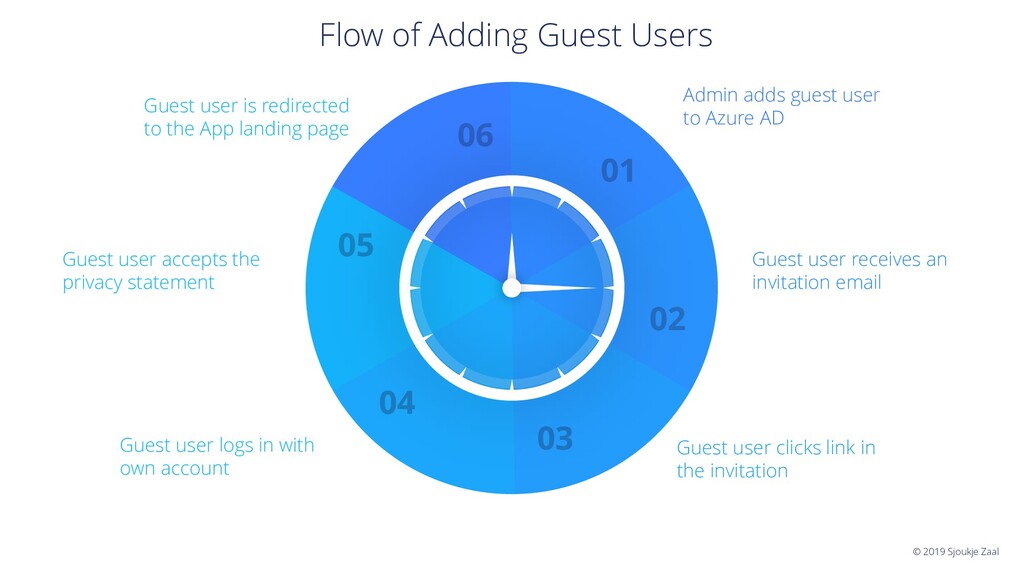
AD Guest user receives an invitation email Guest user clicks link in the invitation Guest user logs in with own account Guest user accepts the privacy statement Guest user is redirected to the App landing page Flow of Adding Guest Users
the applications User accepts the privacy terms User logs in using own credentials User accepts the invitation Step 1 Demo summary Step 2 Step 3 Step 4 Step 5
Access link to get access Shared the access link Enabled guest users and set expiration Added a group and application Step 1 Demo summary Step 2 Step 3 Step 4 Step 5
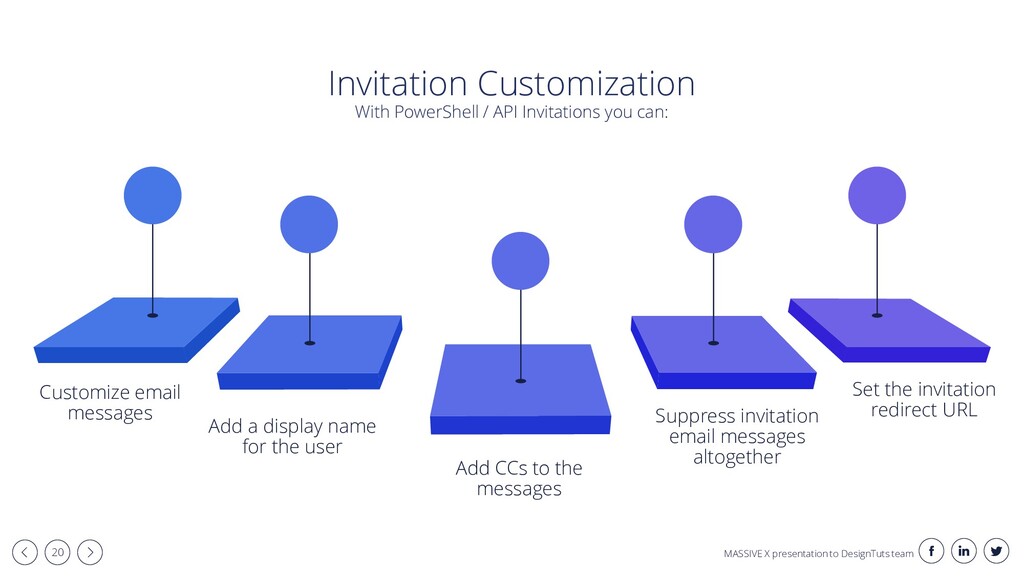
Add a display name for the user Add CCs to the messages Suppress invitation email messages altogether Set the invitation redirect URL Invitation Customization With PowerShell / API Invitations you can:
Used MFA to access the application Logged in as a guest user Enable MFA for guest users Select “All Guest Users” Step 1 Demo summary Step 2 Step 3 Step 4 Step 5
04 Azure AD app Step 03 Flow Step 02 Power App Step 01 Solution Components No code solution Automate tasks using workflows Register an app in Azure AD with the proper permissions Gateway to all data in Azure & Office 365
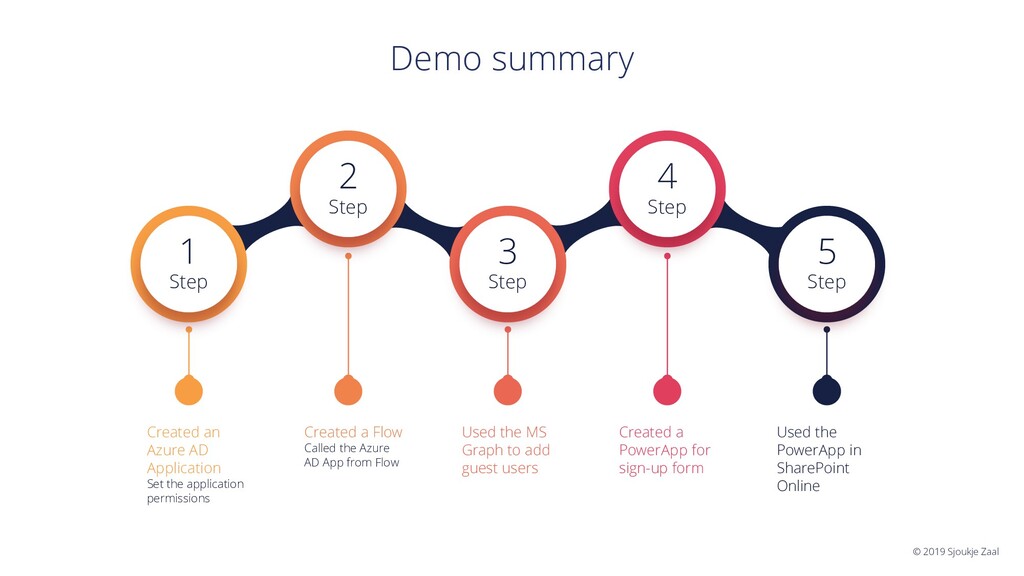
the application permissions Used the PowerApp in SharePoint Online Created a PowerApp for sign-up form Used the MS Graph to add guest users Created a Flow Called the Azure AD App from Flow Step 1 Demo summary Step 2 Step 3 Step 4 Step 5