Upgrade to Pro — share decks privately, control downloads, hide ads and more …

801_Clue.pdf

 801_Clue.pdf

Steve Fonti

February 28, 2024
Tweet

More Decks by Steve Fonti

Other Decks in Storyboards

Transcript

  1. Scene 1 Panel A Action Notes Smash cut to: INT.

    DRAWING ROOM - MOMENTS LATER Everyone but Joe and Priscilla have gathered around. Scene 1 Panel B Scene 1 Panel C
  2. Scene 1 Panel D Scene 1 Panel E Dialogue 206

    PETER All right, Action Notes Peter addresses them all. Scene 1 Panel F Dialogue my fault
  3. Scene 1 Panel G Dialogue that Joe got knocked out,

    Scene 1 Panel H Dialogue Scene 1 Panel I Dialogue it is now
  4. Scene 1 Panel J Dialogue my Scene 1 Panel K

    Dialogue responsibility Scene 1 Panel L Dialogue to take over the
  5. Scene 1 Panel M Dialogue investigation. Scene 1 Panel N

    Dialogue 207 BRIAN I don't know Scene 1 Panel O Dialogue if that actually follows.
  6. Scene 1 Panel P Dialogue 208 PETER Oh, it Scene

    1 Panel Q Dialogue does follow, Brian. Scene 1 Panel R Dialogue Because I'm the one
  7. Scene 1 Panel S Dialogue with the giant Scene 1

    Panel T Dialogue magnifying glass. Action Notes He holds a huge magnifying glass up to his face Scene 1 Panel U
  8. Scene 1 Panel V Action Notes and looks through it,

    right up to Brian's face. NO PANEL NO PANEL
  9. Scene 3 Panel A Dialogue 209 PETER (CONT'D) Is Scene

    3 Panel B Dialogue my eye Scene 3 Panel C Dialogue big?
  10. Scene 2_1 Panel A Scene 2_1 Panel B Dialogue 211

    PETER Good. Good, Scene 2_1 Panel C Dialogue that means progress.
  11. Scene 2_1 Panel D Scene 2_1 Panel E Dialogue 212

    BRIAN Alright, Scene 2_1 Panel F Dialogue let's figure out
  12. Scene 2_1 Panel G Dialogue what we know here. Scene

    2_1 Panel H Dialogue The gun was clearly meant Scene 2_1 Panel I Dialogue to kill
  13. Scene 2_1 Panel J Dialogue Jimmy Woods, Scene 2_1 Panel

    K Dialogue but Stephanie got in the way. Scene 2_1 Panel L Dialogue So the murderer
  14. Scene 2_1 Panel M Dialogue had to improvise Scene 2_1

    Panel N Dialogue and finish the job Scene 2_1 Panel O Dialogue by stabbing Jimmy Woods.
  15. Scene 1_1 Panel A Dialogue 213 PETER What, Scene 1_1

    Panel B Dialogue what, Scene 1_1 Panel C Dialogue what is-
  16. Scene 1_1 Panel D Dialogue what is that? Scene 1_1

    Panel E Dialogue 214 BRIAN What? Scene 1_1 Panel F Dialogue 215 PETER Don't call him
  17. Scene 1_1 Panel G Dialogue Jimmy Woods Scene 1_1 Panel

    H Dialogue like you're in the Scene 1_1 Panel I Dialogue Hollywood
  18. Scene 1_1 Panel L Dialogue Brian did Scene 1_1 Panel

    M Dialogue one TV pilot Scene 1_1 Panel N Dialogue and thinks he can call the star of "Cape Fear"
  19. Scene 1_2 Panel A Dialogue Hey, who's the director, Brian?

    Scene 1_2 Panel B Dialogue 217 BRIAN Marty Scorsese. Scene 1_2 Panel C Dialogue 218 STEWIE Who's the star of "Silence of the Lambs?"
  20. Scene 1_2 Panel D Dialogue 219 BRIAN Tony Hopkins. Scene

    1_2 Panel E Dialogue 220 STEWIE Who sang "Hold Onto The Night?" Scene 1_2 Panel F Dialogue 221 BRIAN Dick Marx.
  21. Scene 1_2 Panel G Dialogue 222 STEWIE Who was the

    cast of "Miami Vice?" Scene 1_2 Panel H Dialogue 223 BRIAN Donnie Johnny, Philly Mikey Tommy, and Eddie Jimmy Olmos. Scene 1_2 Panel I Dialogue 224 STEWIE Ugh,
  22. Scene 1_2 Panel J Dialogue you- you are, you are

    just-- Scene 1_2 Panel K Dialogue douchey Scene 1_2 Panel L Dialogue to the core.
  23. Scene 2_2 Panel A Dialogue 225 BRIAN Look, Scene 2_2

    Panel B Dialogue whoever the killer is, Scene 2_2 Panel C Dialogue they had a reason for wanting James Woods
  24. Scene 2_2 Panel D Dialogue dead. Scene 2_2 Panel E

    Dialogue Now who here Scene 2_2 Panel F Dialogue had a motive?
  25. Scene 2_3 Panel A Dialogue 226 LOIS Well, Scene 2_3

    Panel B Dialogue according to James Woods, Scene 2_3 Panel C Dialogue we all
  26. Scene 2_3 Panel D Dialogue did. Scene 2_3 Panel E

    Dialogue He brought us here Scene 2_3 Panel F Dialogue to make amends with us.
  27. Scene 2_3 Panel G Dialogue 227 MAYOR WEST But he

    wronged Scene 2_3 Panel H Dialogue one of us enough Scene 2_3 Panel I Dialogue to want
  28. Scene 2_3 Panel J Dialogue revenge. Scene 2_3 Panel K

    Dialogue The question is, Scene 2_3 Panel L Dialogue who?
  29. Scene 2_4 Panel A Dialogue 228 DIANE Well, Scene 2_4

    Panel B Dialogue I know one person Scene 2_4 Panel C Dialogue who could have.
  30. Scene 2_4 Panel D Scene 2_4 Panel E Dialogue My

    partner Scene 2_4 Panel F Dialogue Tom.
  31. Scene 2_4 Panel G Scene 2_4 Panel H Dialogue 228(a)

    EVERYONE Gasp!!! Action Notes They all gasp. NO PANEL
  32. Scene 2_5 Panel D Scene 2_5 Panel E Dialogue 229

    TOM TUCKER Alright, Scene 2_5 Panel F Dialogue it's true.
  33. Scene 2_5 Panel G Dialogue James Woods Scene 2_5 Panel

    H Dialogue ruined my career! NO PANEL
  34. Scene 2_6 Panel A Scene 2_6 Panel B Dialogue I

    originally wanted to be Scene 2_6 Panel C Dialogue an actor.
  35. Scene 2_6 Panel D Dialogue And I Scene 2_6 Panel

    E Dialogue booked the Scene 2_6 Panel F Dialogue lead role in
  36. Scene 2_6 Panel G Dialogue "Nightmare On Elm Street." Scene

    2_6 Panel H Dialogue But James Woods Scene 2_6 Panel I Dialogue said,
  37. Scene 2_6 Panel J Dialogue "Don't Scene 2_6 Panel K

    Dialogue bother, Scene 2_6 Panel L Dialogue something else
  38. Scene 2_6 Panel M Dialogue will come along." Scene 2_6

    Panel N Dialogue Well I turned it down. Scene 2_6 Panel O Dialogue And now this
  39. Scene 2_6 Panel P Dialogue Robert Scene 2_6 Panel Q

    Dialogue Englund Scene 2_6 Panel R Dialogue is the talk of the town.
  40. Scene 2_6 Panel S Dialogue That should Scene 2_6 Panel

    T Dialogue be me everyone's Scene 2_6 Panel U Dialogue talking about! Action Notes dissolve to:
  41. Scene 2_7 Panel A Dialogue 230 TEENAGER Oh my god,

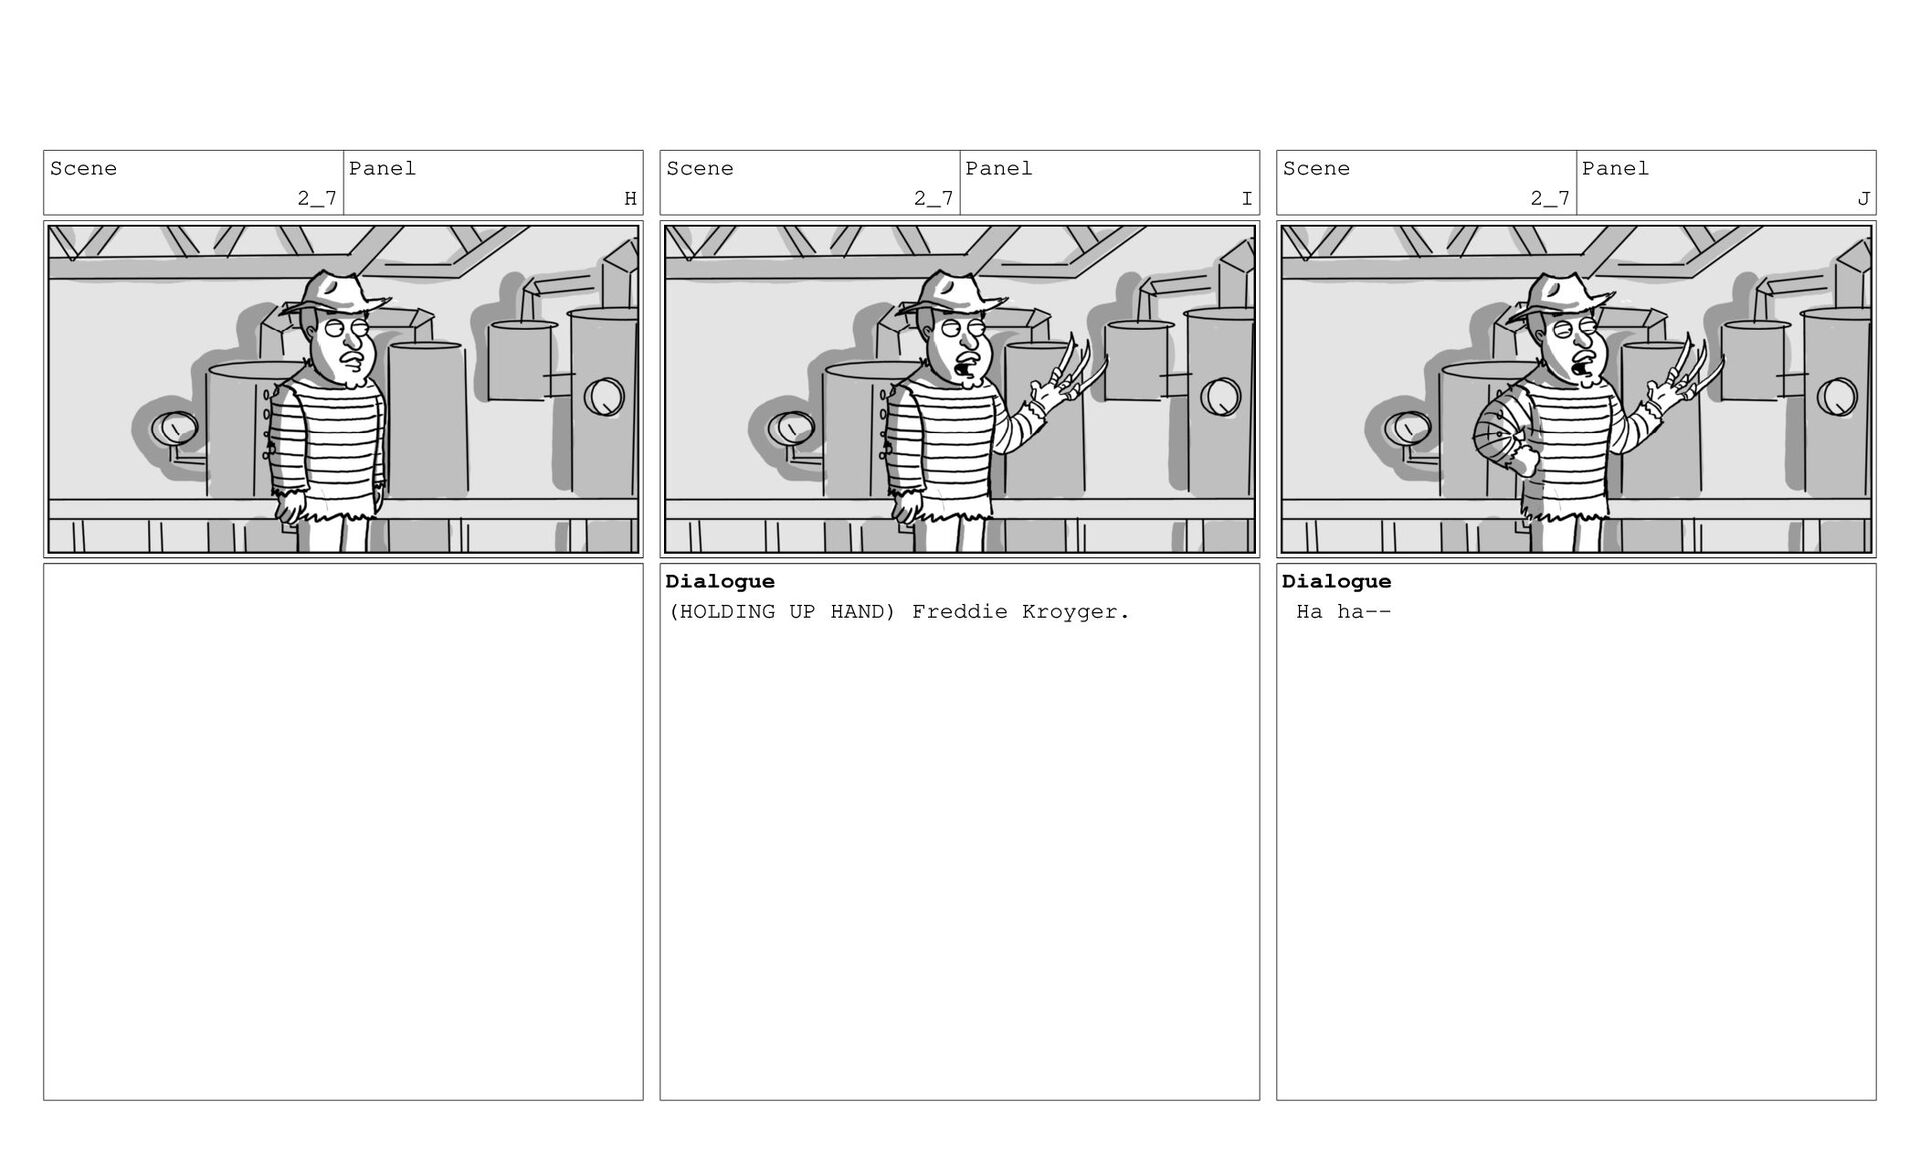
    you guys! Action Notes INT. BOILER ROOM - NIGHT (FLASHBACK) THREE TEENAGERS wander through an eerily-lit, skewed boiler room. Scene 2_7 Panel B Dialogue We must've fallen asleep!
  42. Scene 2_7 Panel C Dialogue We're in the dream right

    now! Scene 2_7 Panel D Dialogue 231 TOM TUCKER That's right Action Notes Tom Tucker enters, dressed as Freddie Krueger.
  43. Scene 2_7 Panel E Dialogue you are in a dream,

    children, Scene 2_7 Panel F Dialogue which means Scene 2_7 Panel G Dialogue you are going to get something of a serious scratching by me.
  44. Scene 2_7 Panel H Scene 2_7 Panel I Dialogue (HOLDING

    UP HAND) Freddie Kroyger. Scene 2_7 Panel J Dialogue Ha ha--
  45. Scene 2_7 Panel K Scene 2_7 Panel L Dialogue (TO

    CAMEaRA) Is it ... is it Scene 2_7 Panel M Dialogue Kroyger?
  46. Scene 2_8 Panel A Action Notes INT. DRAWING ROOM -

    NIGHT (BACK TO PRESENT) Scene 2_8 Panel B Dialogue 232 TOM TUCKER Was I Scene 2_8 Panel C Dialogue angry?
  47. Scene 2_8 Panel D Dialogue Yes, Action Notes Scene 2_8

    Panel E Dialogue of course! Scene 2_8 Panel F Dialogue But I didn't
  48. Scene 2_8 Panel J Dialogue What about Scene 2_8 Panel

    K Scene 2_8 Panel L Dialogue Seamus?
  49. Scene 2_8 Panel M Scene 2_8 Panel N Dialogue You

    Scene 2_8 Panel O Dialogue You
  50. Scene 2_8 Panel P Dialogue hated Scene 2_8 Panel Q

    Dialogue James Woods! Scene 2_8 Panel R Dialogue You told me so!
  51. Scene 2_31 Panel A Scene 2_31 Panel B Dialogue 233

    SEAMUS Aye. He's the one who made me Scene 2_31 Panel C Dialogue what I am today!
  52. Scene 2_9 Panel A Dialogue 234 JAMES WOODS (WISTFUL) I

    wish you were a real, live ornery sea captain. Action Notes dissolve to: INT. WORKSHOP - NIGHT (FLASHBACK) James Woods sits with a wood-carved puppet version of Seamus. NO PANEL NO PANEL
  53. Scene 2_10 Panel A Dialogue 235 SEAMUS But he didn't

    wish Scene 2_10 Panel B Dialogue hard enough! Scene 2_10 Panel C Dialogue It only worked on me head!
  54. Scene 2_10 Panel D Dialogue 236 PETER Oh my god,

    Scene 2_10 Panel E Dialogue seriously? Scene 2_10 Panel F Dialogue 237 SEAMUS Nah, actually
  55. Scene 2_10 Panel G Dialogue I was a normal guy

    until one night we dropped acid together Scene 2_10 Panel H Dialogue and he thought I was a steak. Scene 2_10 Panel I Dialogue Grilled me, ate me arms
  56. Scene 2_10 Panel J Dialogue and legs, Scene 2_10 Panel

    K Dialogue it was a whole thing. Scene 2_10 Panel L Dialogue But I'm not the killer!
  57. Scene 2_10 Panel M Dialogue (POINTS TO MAYOR WEST) What

    about the mayor? Scene 2_10 Panel N Dialogue He coulda killed him
  58. Scene 2_10 Panel O Dialogue and got himself off Scene

    2_10 Panel P Dialogue scot-free! Scene 2_10 Panel Q Dialogue
  59. Scene 2_30 Panel A Dialogue 238 MAYOR WEST (SIGH) Scene

    2_30 Panel B Dialogue He took the screen name Scene 2_30 Panel C Dialogue "Mayor West,"
  60. Scene 2_30 Panel D Dialogue so now I have to

    use Scene 2_30 Panel E Dialogue the screen name Scene 2_30 Panel F
  61. Scene 2_30 Panel G Dialogue "Mayor Scene 2_30 Panel H

    Dialogue underscore Scene 2_30 Panel I Dialogue West."
  62. Scene 2_30 Panel N Dialogue 239 DR. HARTMAN He switched

    around Scene 2_30 Panel O Dialogue all the bones on the skeleton in my office. Scene 2_30 Panel P Dialogue I don't know
  63. Scene 2_30 Panel Q Dialogue what's what Scene 2_30 Panel

    R Dialogue anymore. Scene 2_30 Panel S Dialogue I don't know
  64. Scene 2_12 Panel A Dialogue 240 DR. HARTMAN Let's take

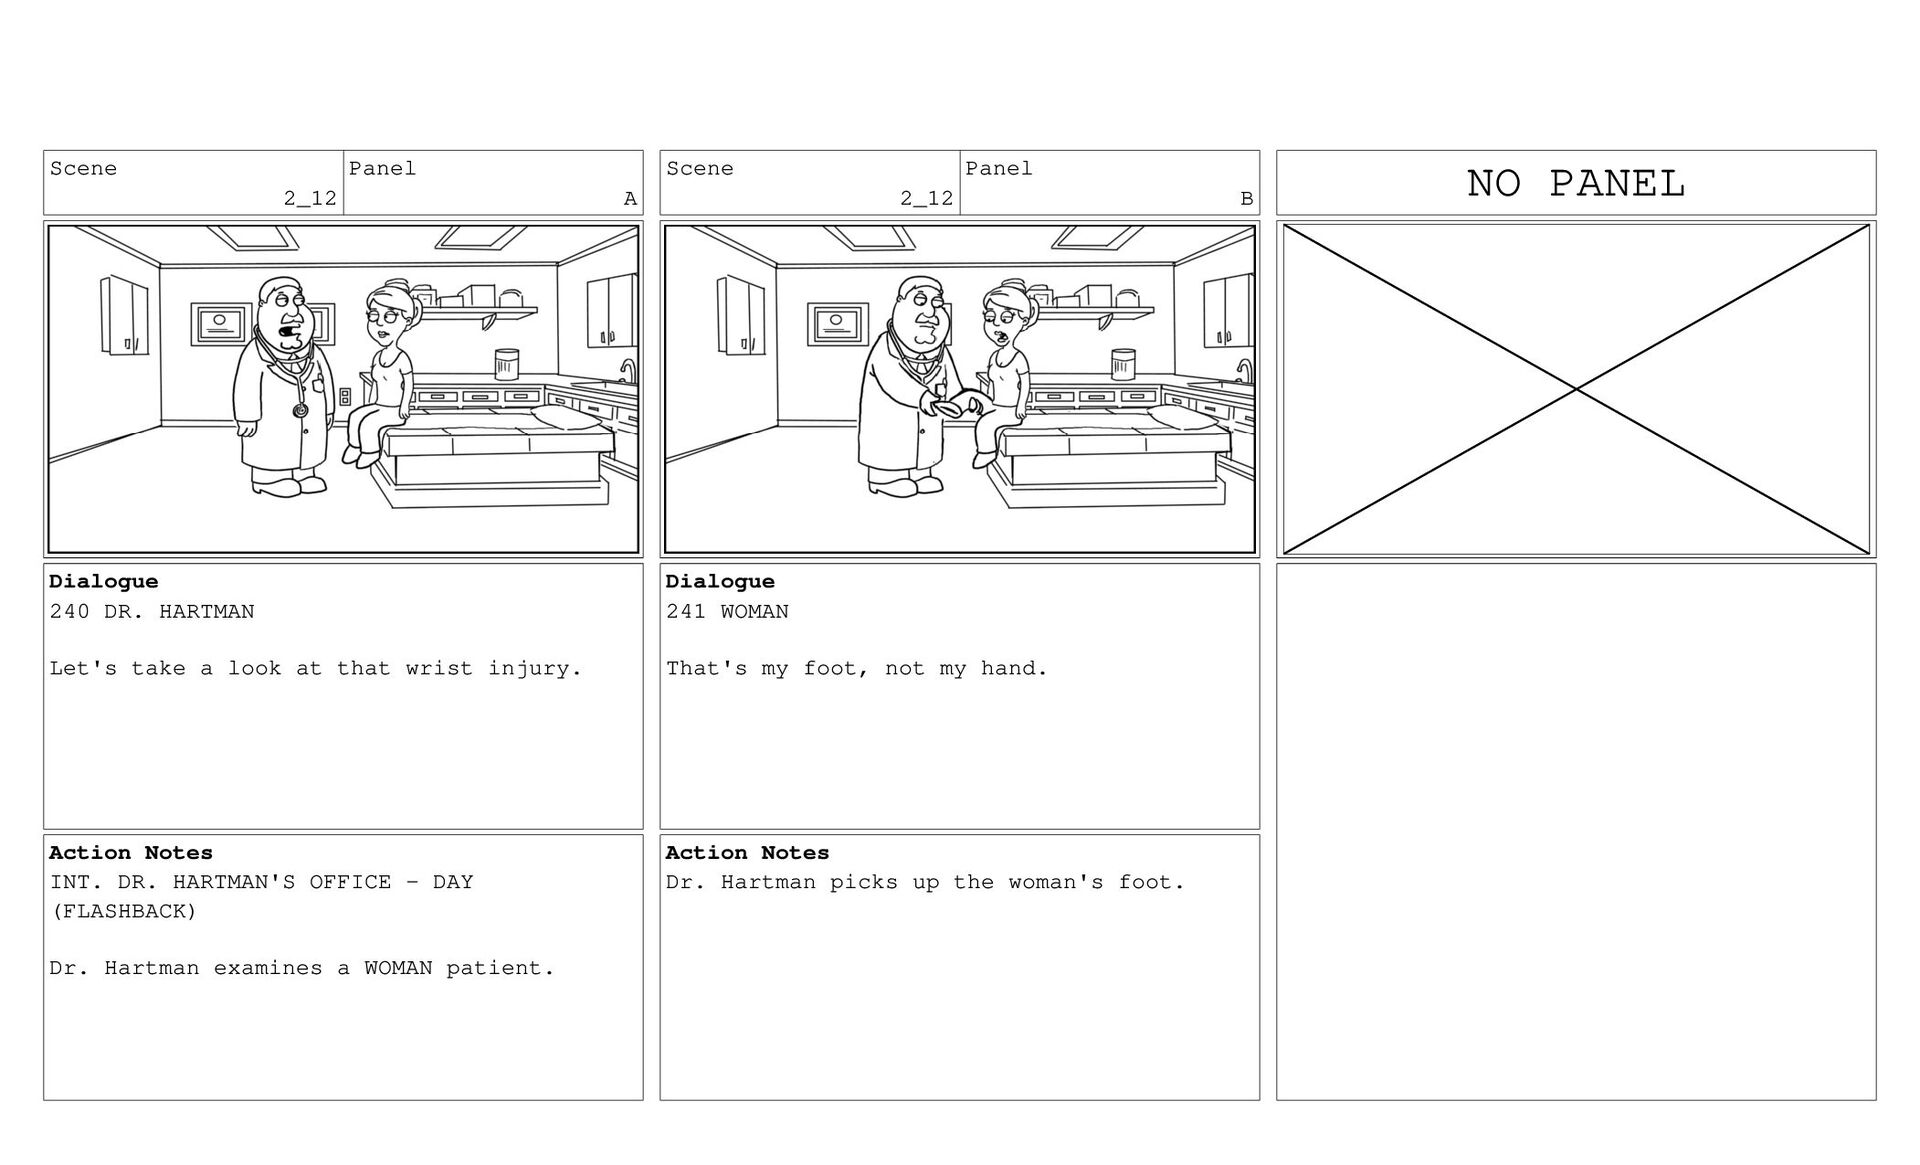
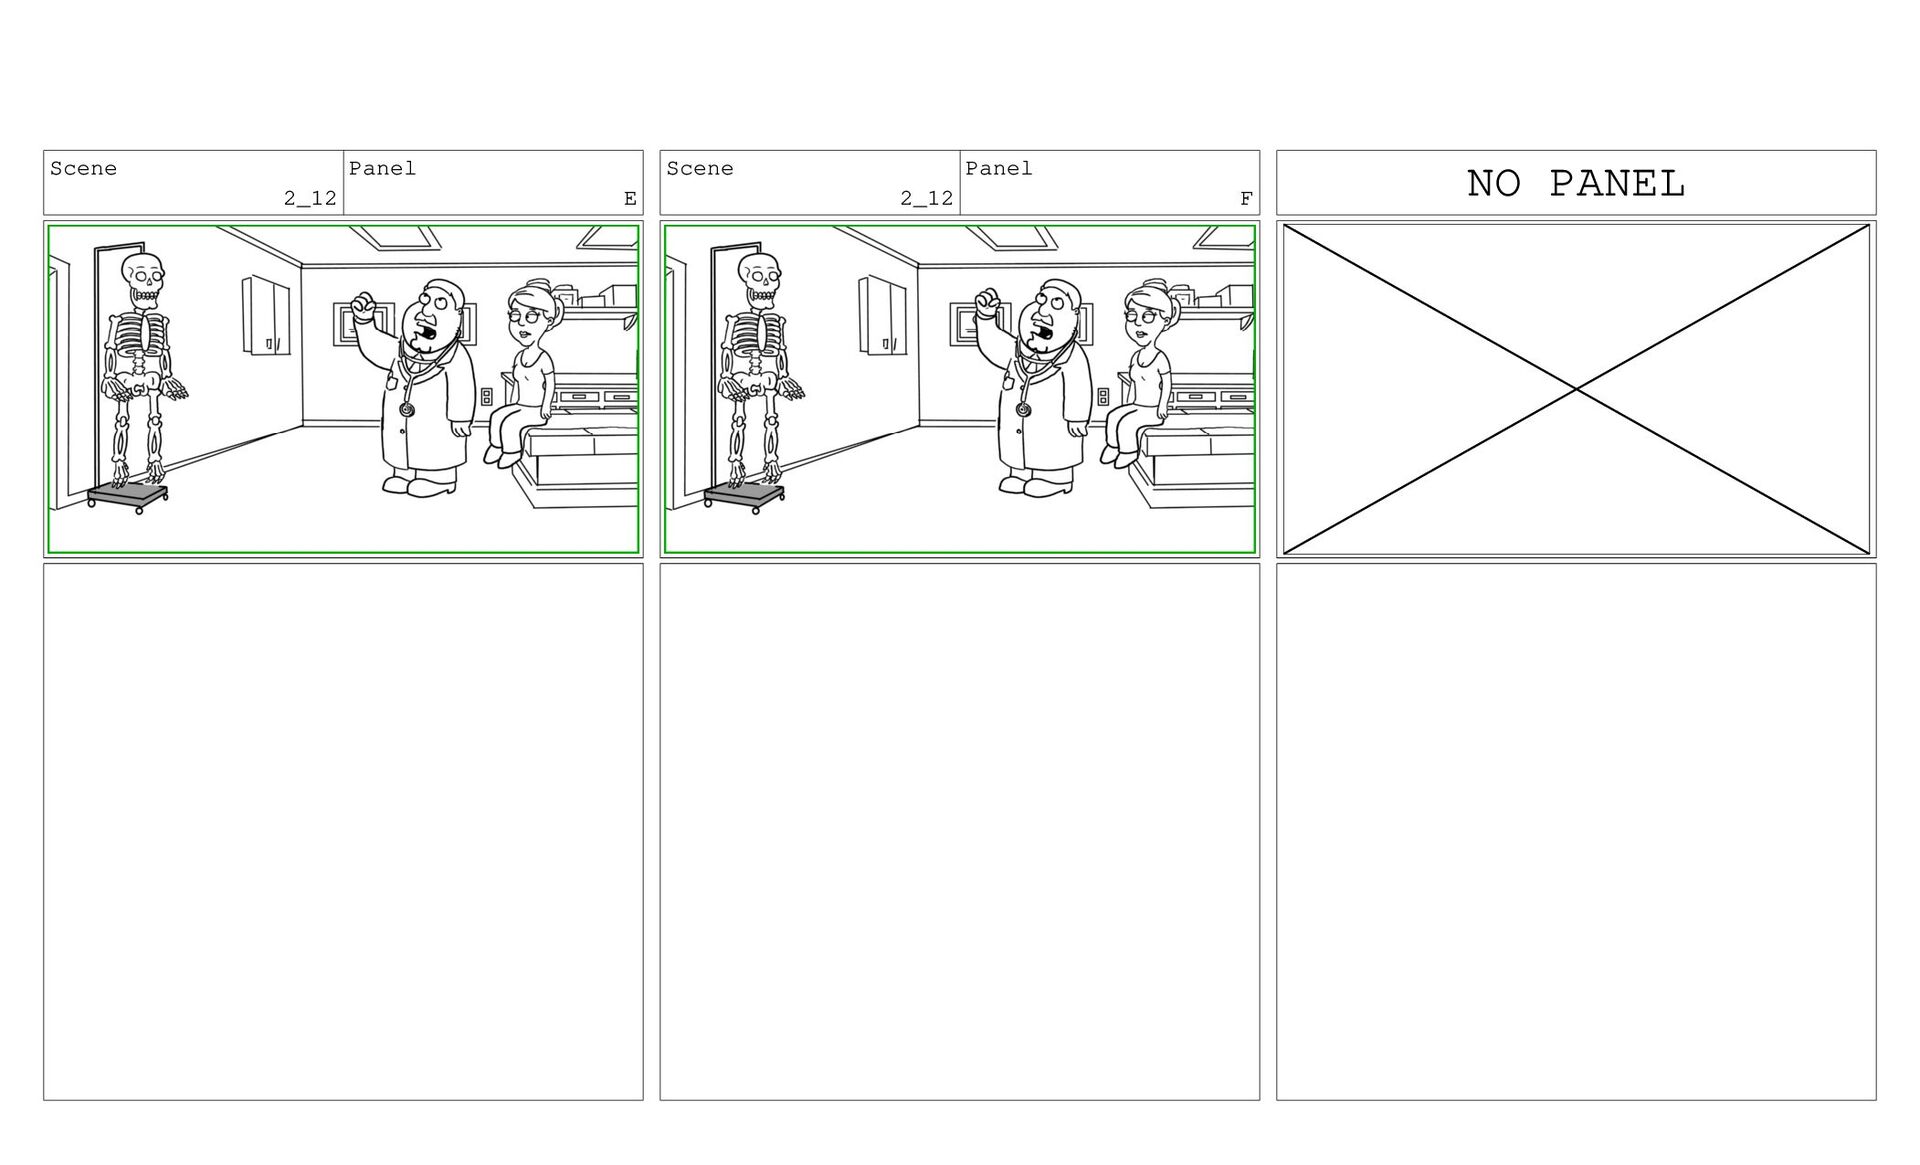
    a look at that wrist injury. Action Notes INT. DR. HARTMAN'S OFFICE - DAY (FLASHBACK) Dr. Hartman examines a WOMAN patient. Scene 2_12 Panel B Dialogue 241 WOMAN That's my foot, not my hand. Action Notes Dr. Hartman picks up the woman's foot. NO PANEL
  65. Scene 2_12 Panel C Action Notes Dr. Hartman turns to

    look at the skeleton, which has feet for hands. Scene 2_12 Panel D Dialogue 242 DR. HARTMAN (SHAKING FIST INTO THE AIR) Woods!
  66. Scene 2_13 Panel A Action Notes INT. DRAWING ROOM -

    NIGHT (BACK TO PRESENT) Scene 2_13 Panel B Scene 2_13 Panel C Dialogue 243 DR. HARTMAN Sure,
  67. Scene 2_13 Panel D Dialogue I hated him. Scene 2_13

    Panel E Scene 2_13 Panel F Dialogue
  68. Scene 2_13 Panel G Dialogue But so did Scene 2_13

    Panel H Dialogue Mort! Scene 2_13 Panel I Dialogue
  69. Scene 2_14 Panel A Dialogue 244 MORT He's terrible! Scene

    2_14 Panel B Dialogue He took a Penthouse into the pharmacy bathroom, Scene 2_14 Panel C Dialogue then left his work in the sink.
  70. Scene 2_14 Panel D Dialogue But I didn't kill him!

    Scene 2_14 Panel E Dialogue (THEN) Maybe it NO PANEL
  71. Scene 2_14 Panel H Dialogue Scene 2_14 Panel I Dialogue

    Scene 2_14 Panel J Dialogue 245 DIANE (sighs)
  72. Scene 2_14 Panel K Dialogue James Scene 2_14 Panel L

    Dialogue Woods Scene 2_14 Panel M Dialogue promised to
  73. Scene 2_14 Panel P Dialogue But instead Scene 2_14 Panel

    Q Dialogue he introduced me Scene 2_14 Panel R Dialogue to Danny Bonaduce.
  74. Scene 2_14 Panel S Dialogue I tell ya, Scene 2_14

    Panel T Dialogue that guy looks like a dog turning Scene 2_14 Panel U Dialogue thirty.
  75. Scene 2_14 Panel V Dialogue (THEN, RE: HERBERT) But what

    Scene 2_14 Panel W Dialogue the old guy? Scene 2_14 Panel X
  76. Scene 2_14 Panel Y Dialogue I heard him complaining about

    Woods Scene 2_14 Panel Z Dialogue in the dining room. Scene 2_14 Panel AA Dialogue 246 HERBERT That's true.
  77. Scene 2_14 Panel AB Dialogue He replaced my Cialis Scene

    2_14 Panel AC Dialogue with methamphetamines! NO PANEL
  78. Scene 2_15 Panel A Action Notes EXT. STREET - DAY

    (FLASHBACK) Two BOYS ride their bicycles as fast as they can. Scene 2_15 Panel B Scene 2_15 Panel C Dialogue 247 BOY #1 Pedal faster.
  79. Scene 2_15 Panel D Scene 2_15 Panel E Dialogue 248

    BOY #2 I can't go Scene 2_15 Panel F Dialogue any faster.
  80. Scene 2_15 Panel G Dialogue 249 HERBERT (SUPER FAST) Where

    you goin', Action Notes WIDEN TO REVEAL Herbert with his walker, moving incredibly fast behind them. Scene 2_15 Panel H Dialogue kids?
  81. Scene 2_15 Panel I Dialogue I just wanna Scene 2_15

    Panel J Dialogue talk to ya. Scene 2_15 Panel K Dialogue Why don't you
  82. Scene 2_15 Panel L Dialogue come over to Scene 2_15

    Panel M Dialogue my place for a Scene 2_15 Panel N Dialogue glass of wine and a
  83. Scene 2_15 Panel O Dialogue couple'a fruit pies Scene 2_15

    Panel P Dialogue and then we can go Scene 2_15 Panel Q Dialogue in the back room and play
  84. Scene 2_15 Panel R Dialogue crazy snakes - Scene 2_15

    Panel S Dialogue hee- Scene 2_15 Panel T Dialogue -hee-
  85. Scene 2_16 Panel A Dialogue 250 PETER Hey, wait a

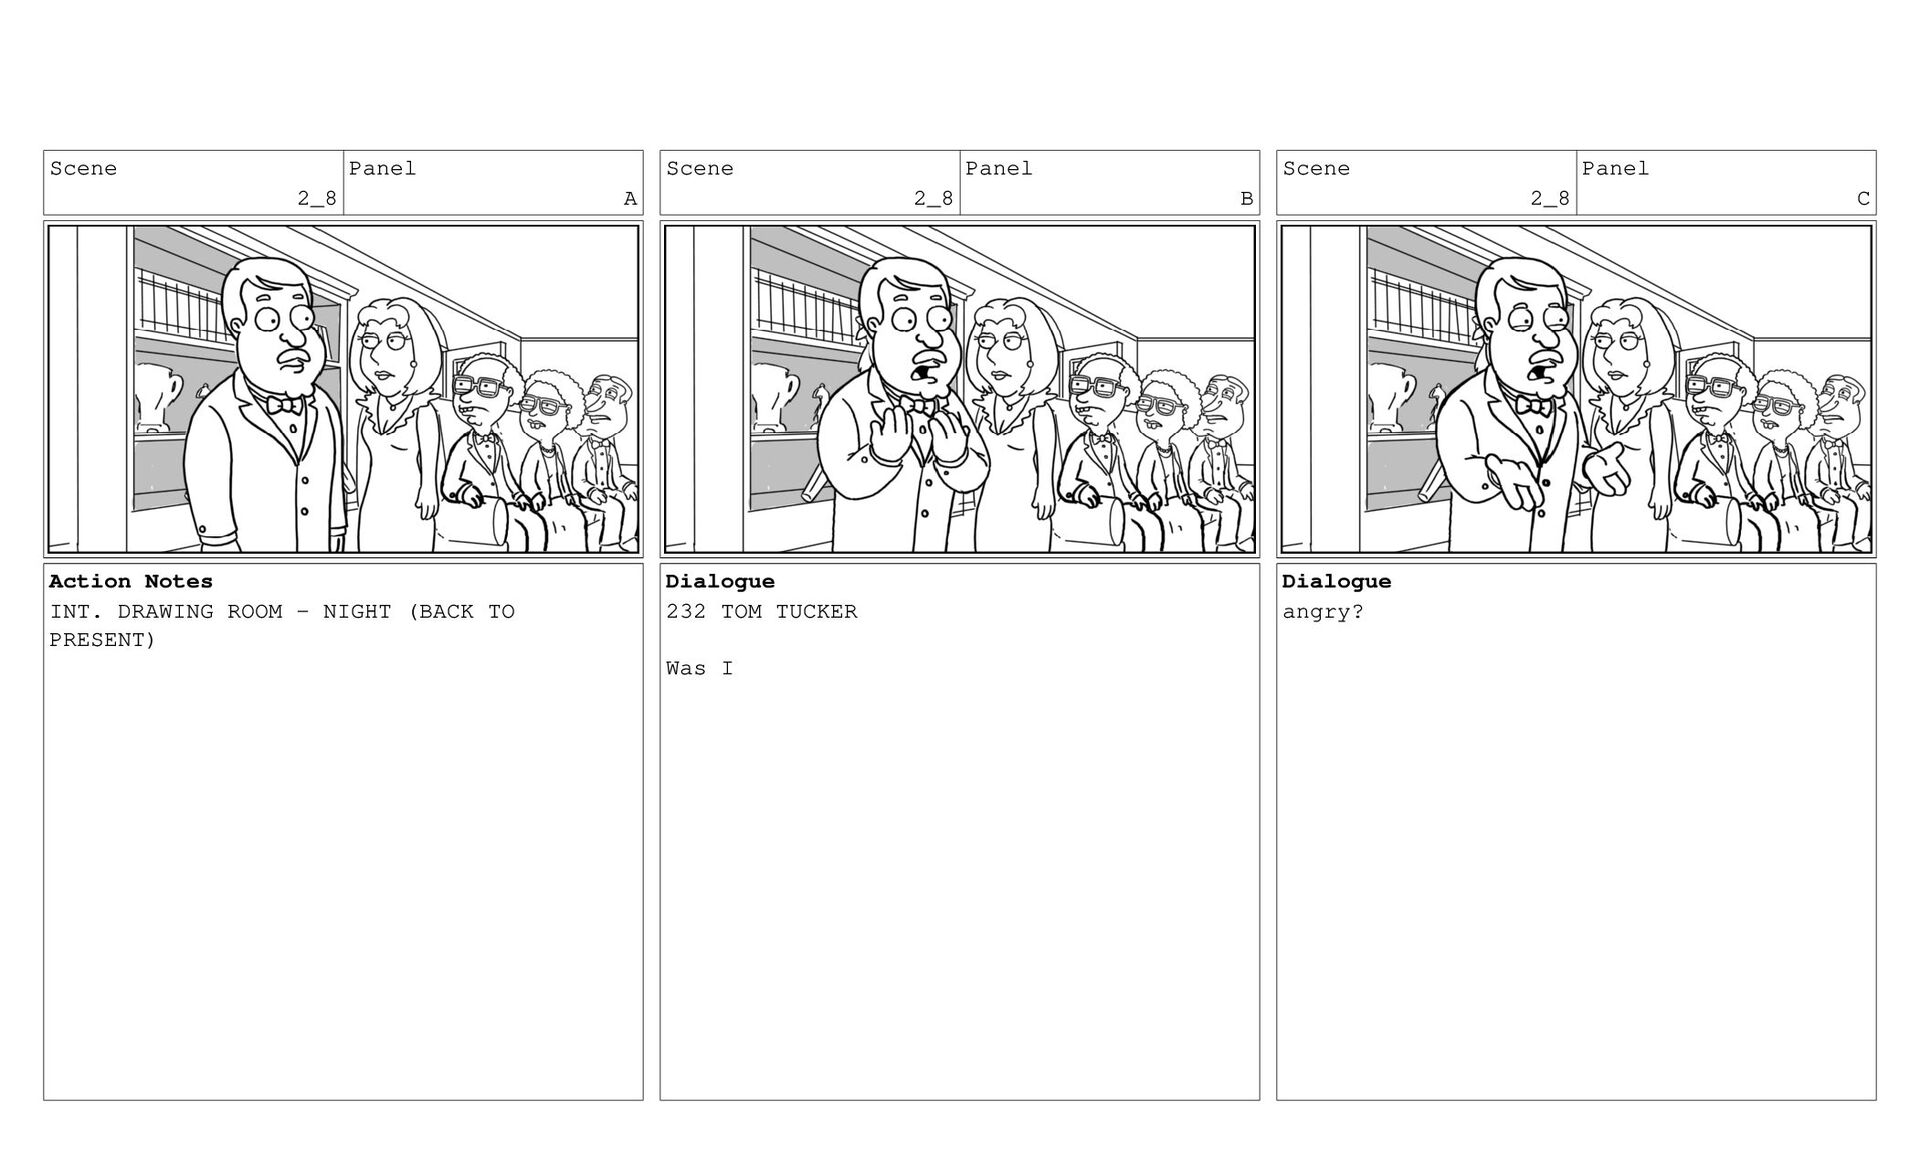
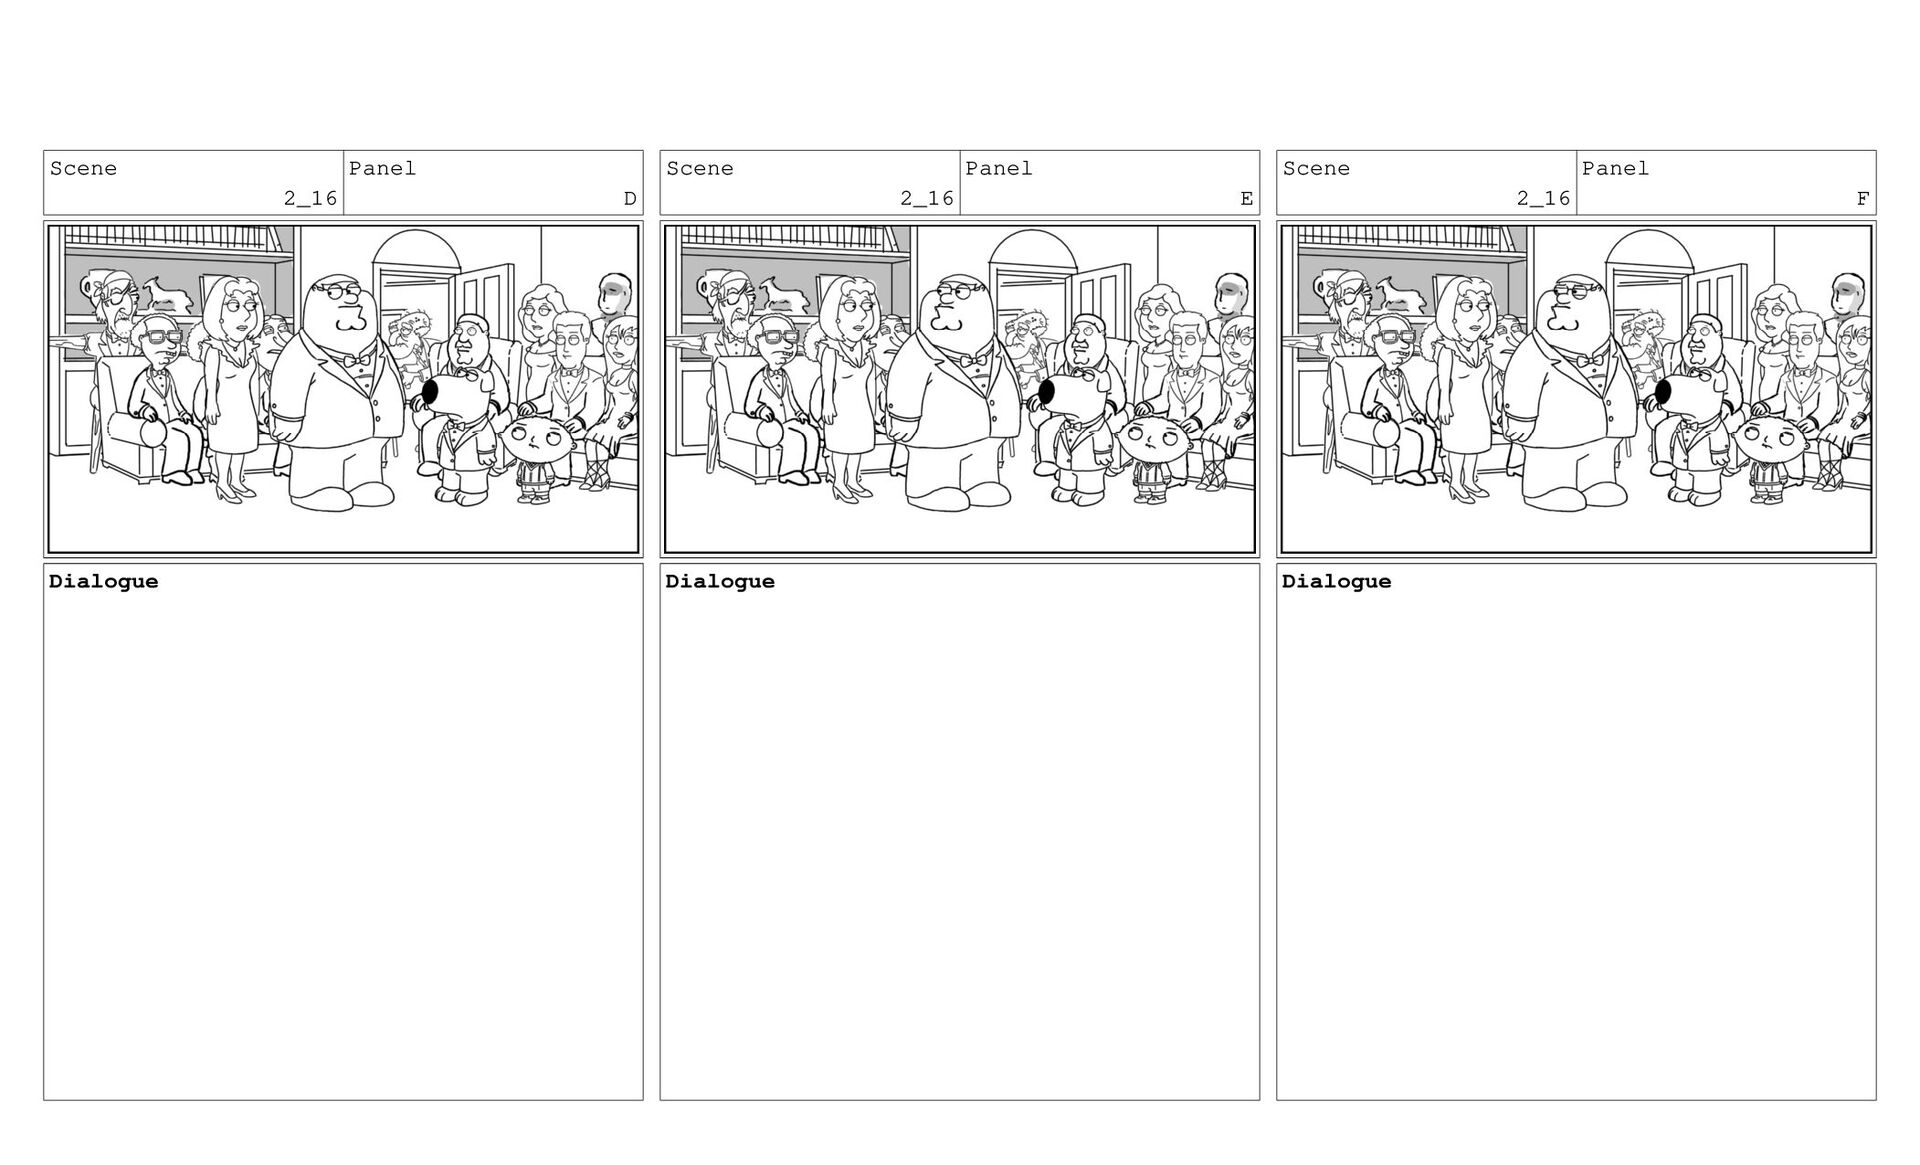
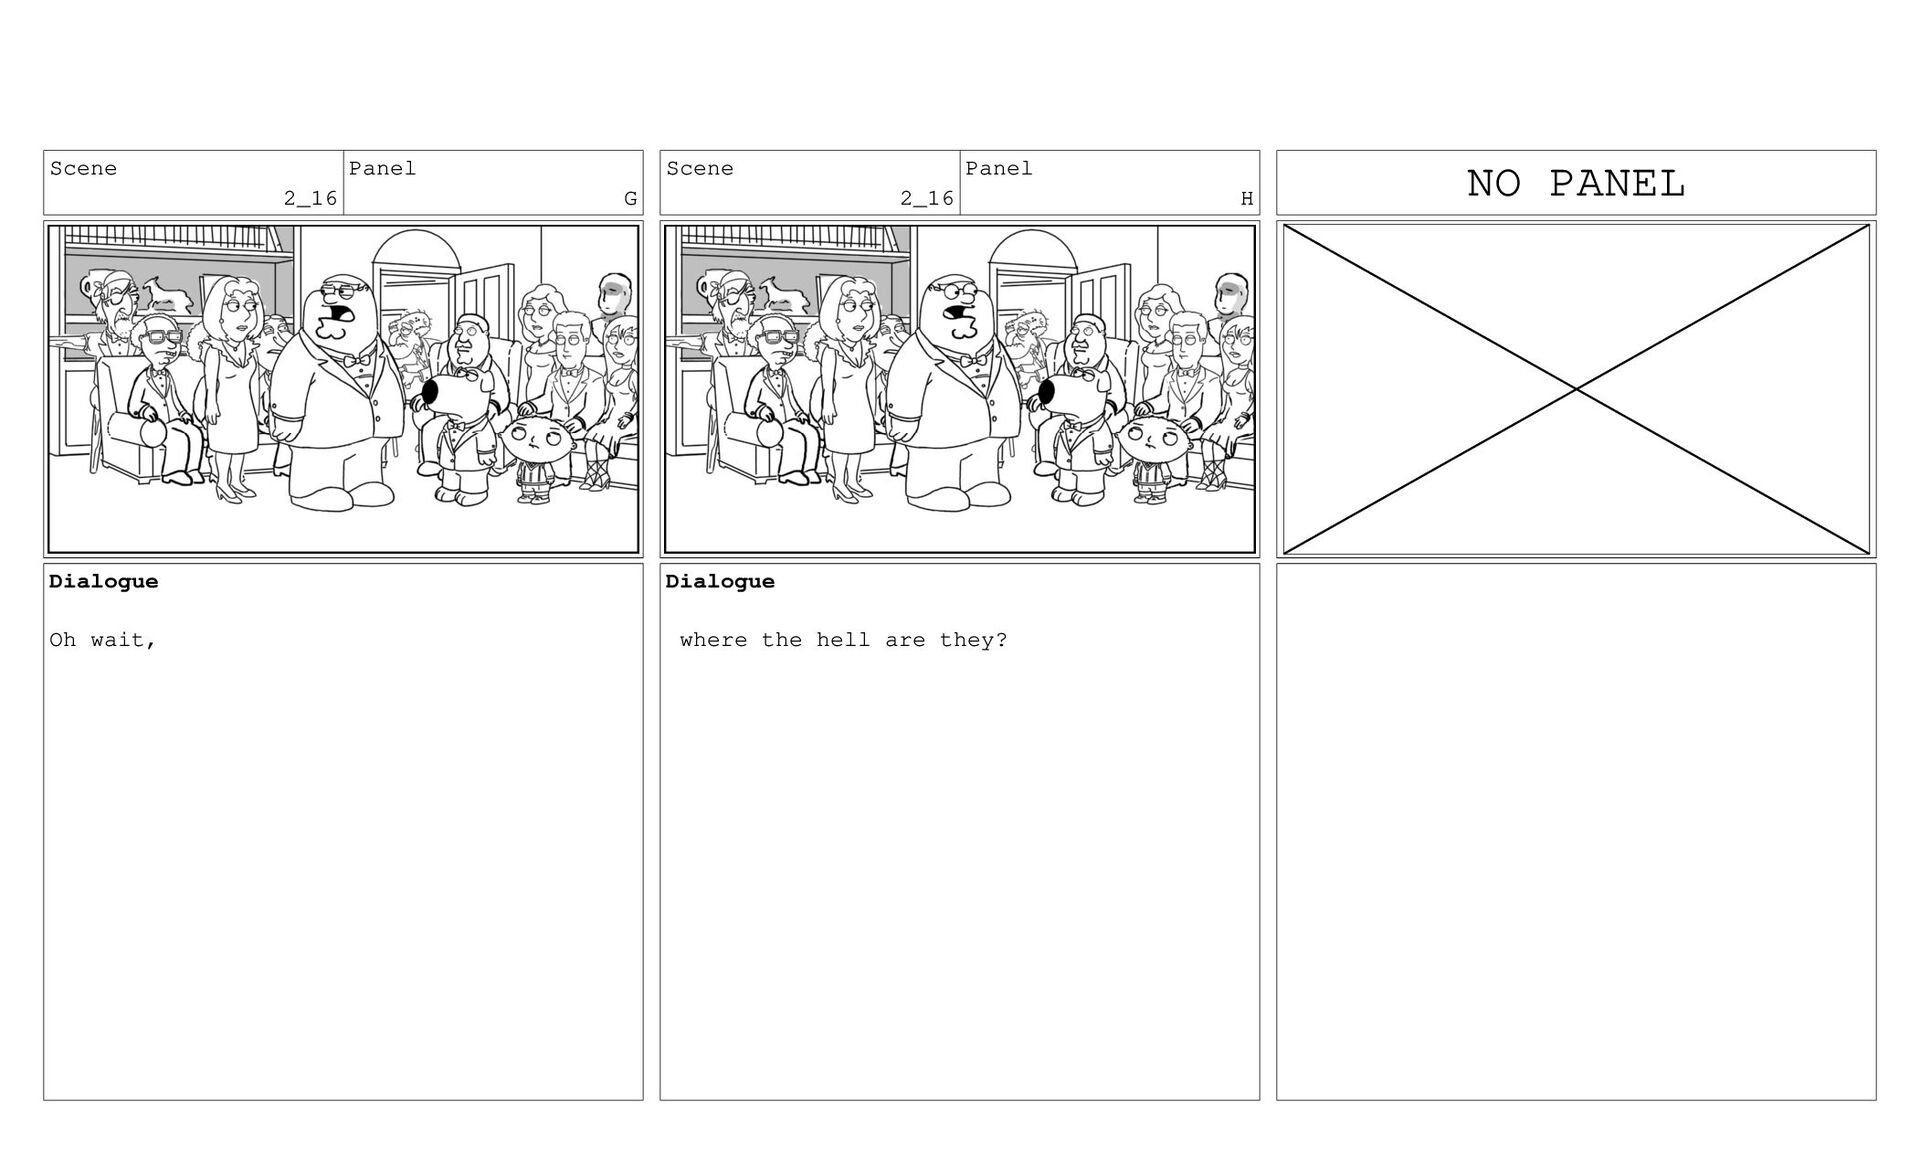
    minute, Action Notes INT. DRAWING ROOM - NIGHT (BACK TO PRESENT) Scene 2_16 Panel B Dialogue what about those two European guys? Scene 2_16 Panel C Dialogue They really hated James Woods.
  86. Scene 2_16 Panel G Dialogue Oh wait, Scene 2_16 Panel

    H Dialogue where the hell are they? NO PANEL
  87. Scene 2_17 Panel A Action Notes INT. APARTMENT - NIGHT

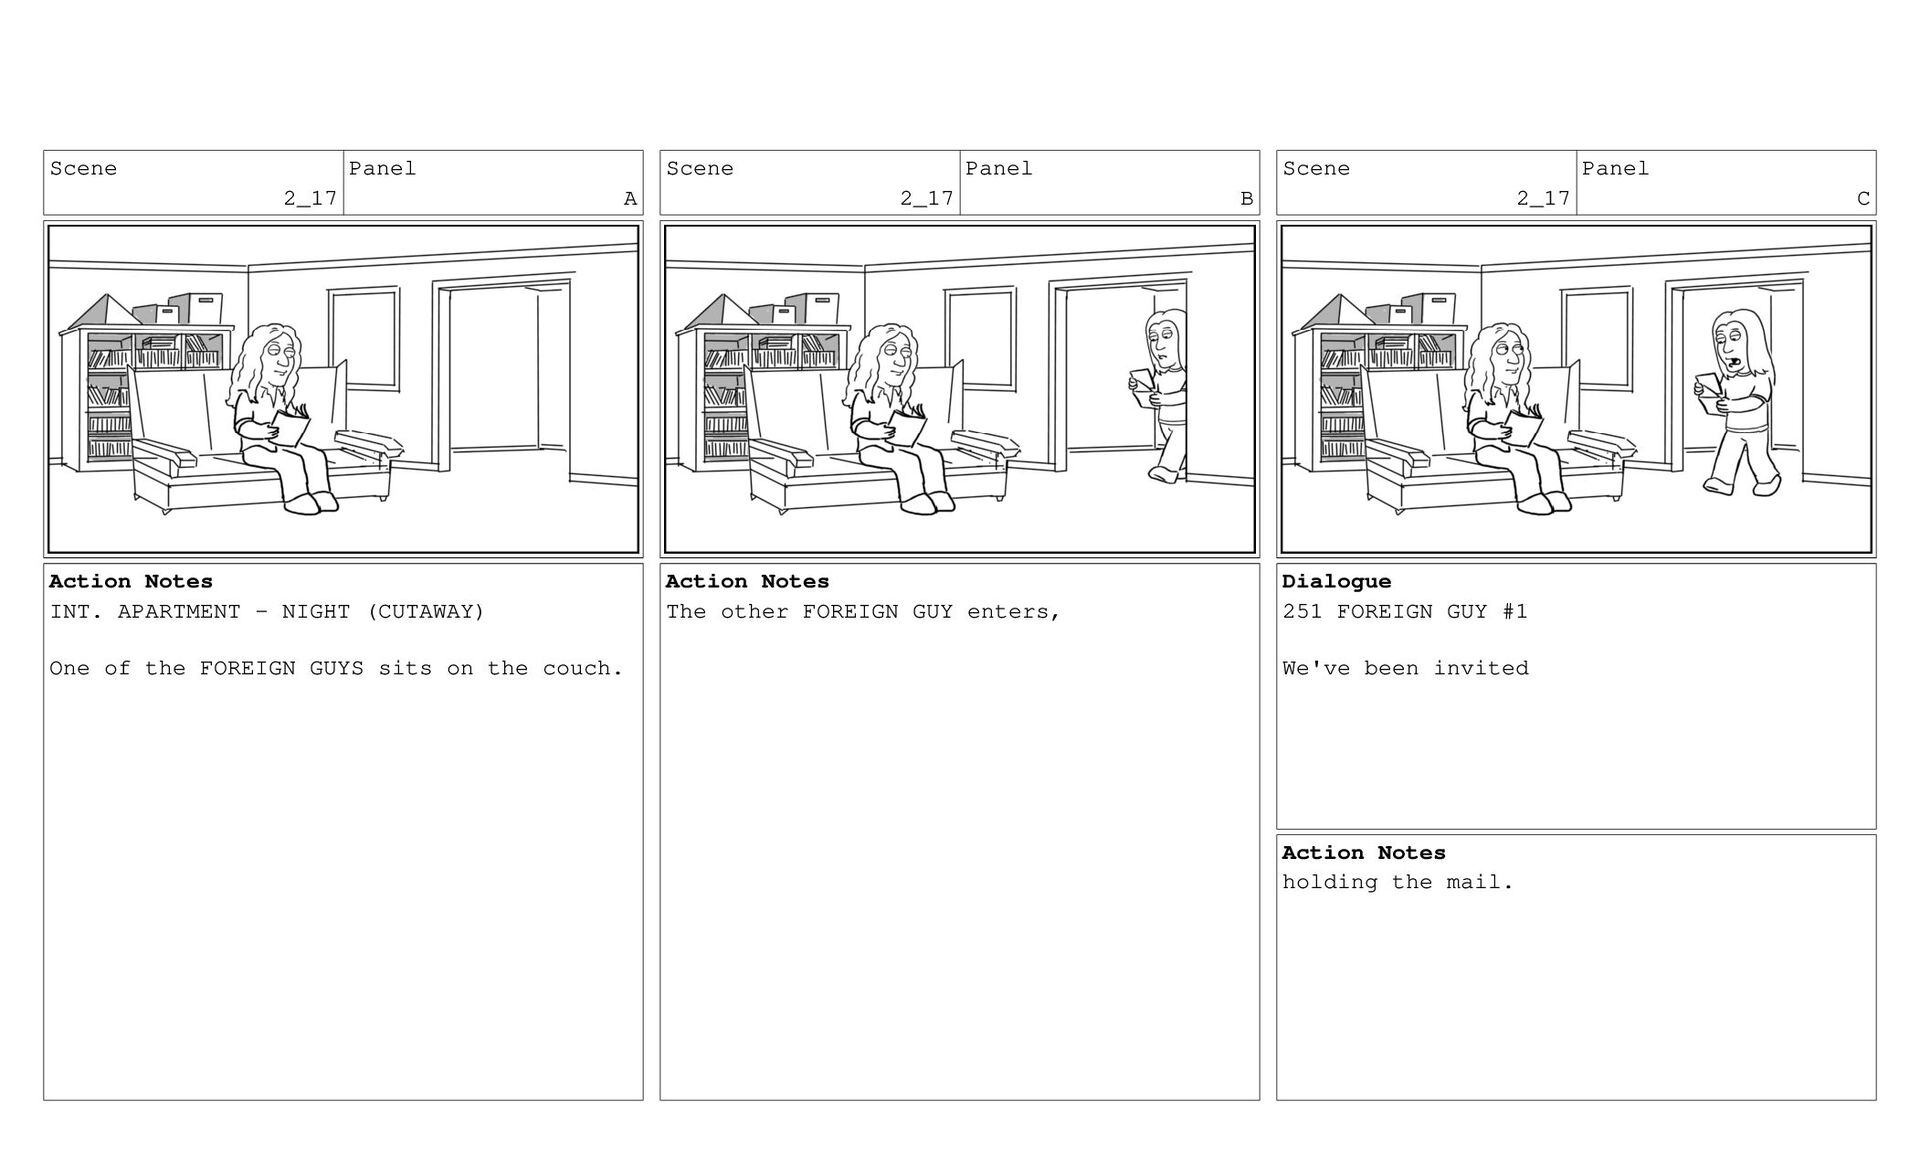
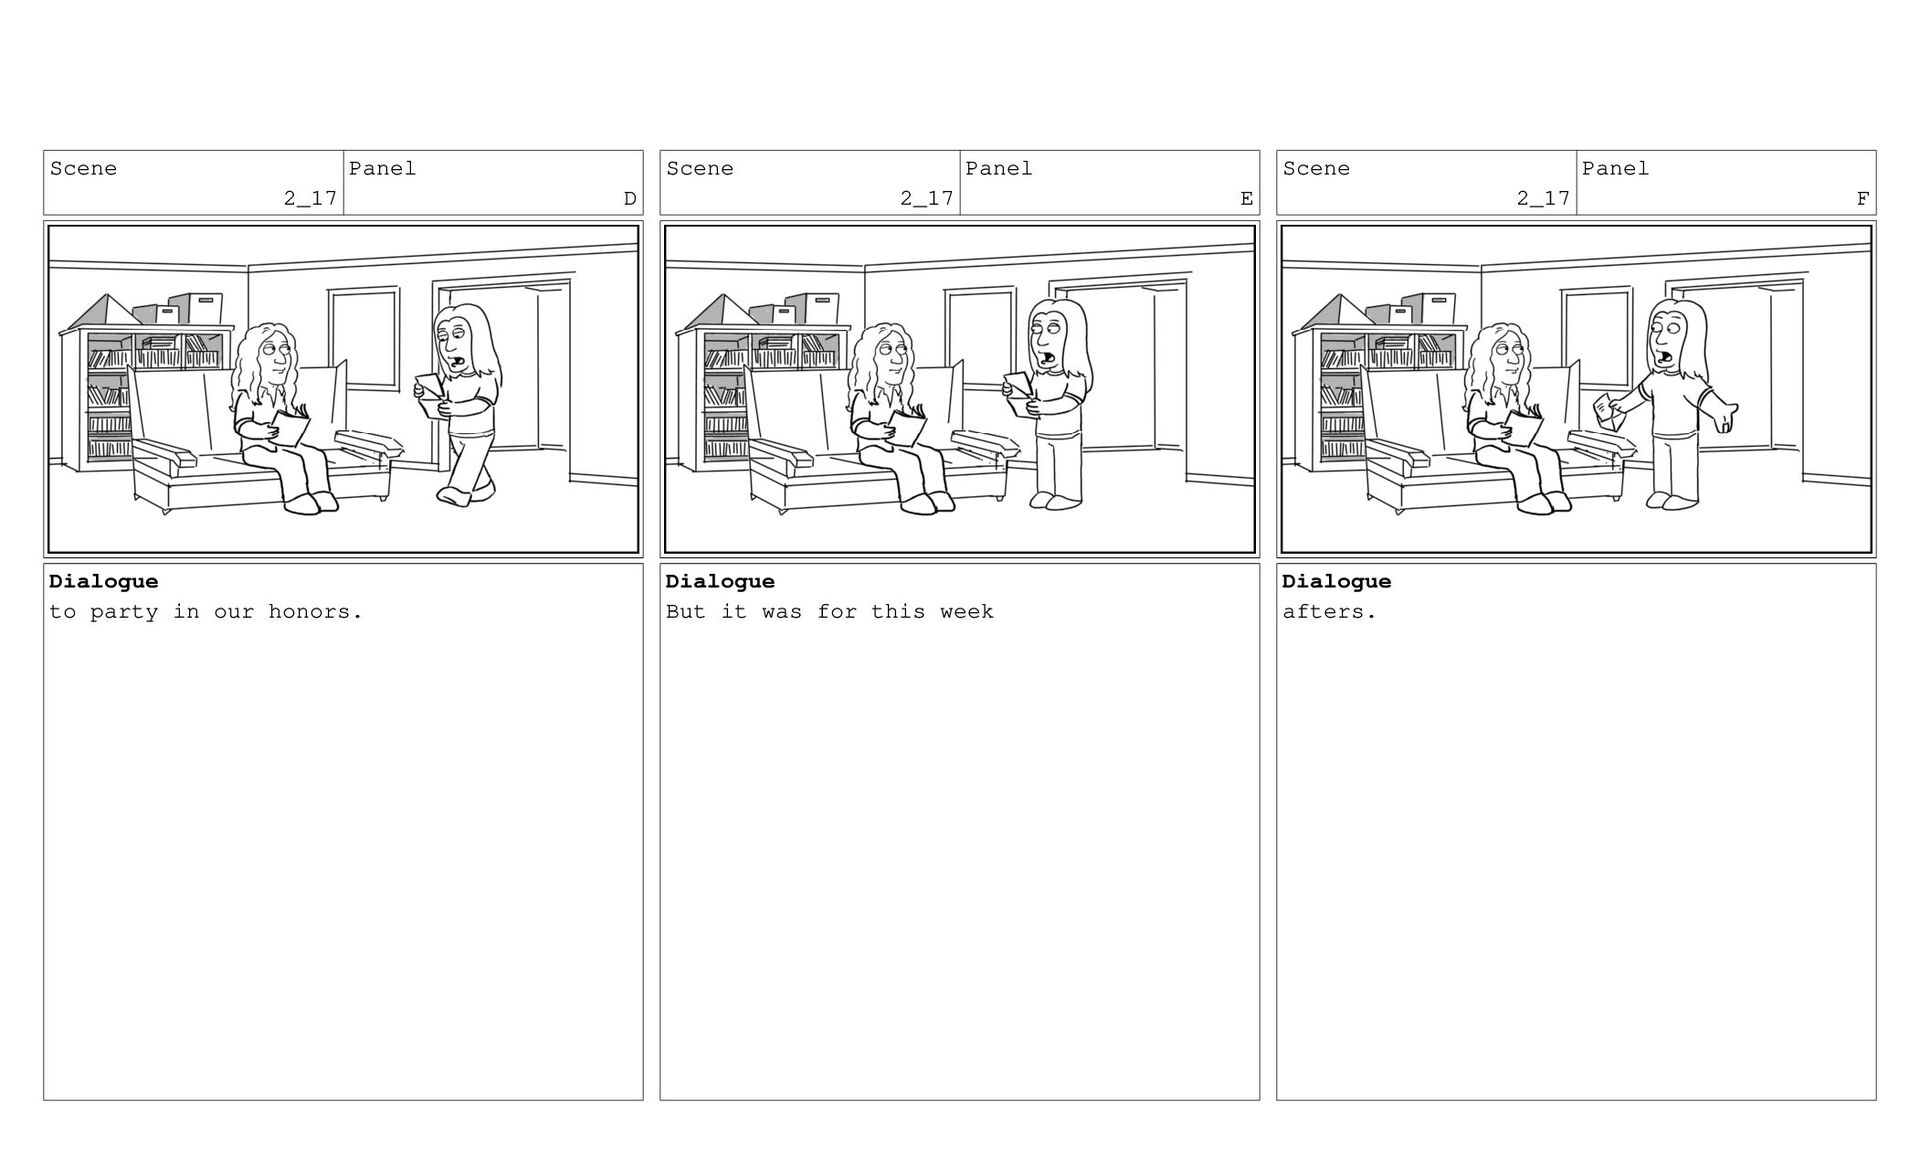
    (CUTAWAY) One of the FOREIGN GUYS sits on the couch. Scene 2_17 Panel B Action Notes The other FOREIGN GUY enters, Scene 2_17 Panel C Dialogue 251 FOREIGN GUY #1 We've been invited Action Notes holding the mail.
  88. Scene 2_17 Panel D Dialogue to party in our honors.

    Scene 2_17 Panel E Dialogue But it was for this week Scene 2_17 Panel F Dialogue afters.
  89. Scene 2_17 Panel G Dialogue 252 FOREIGN GUY #2 Well,

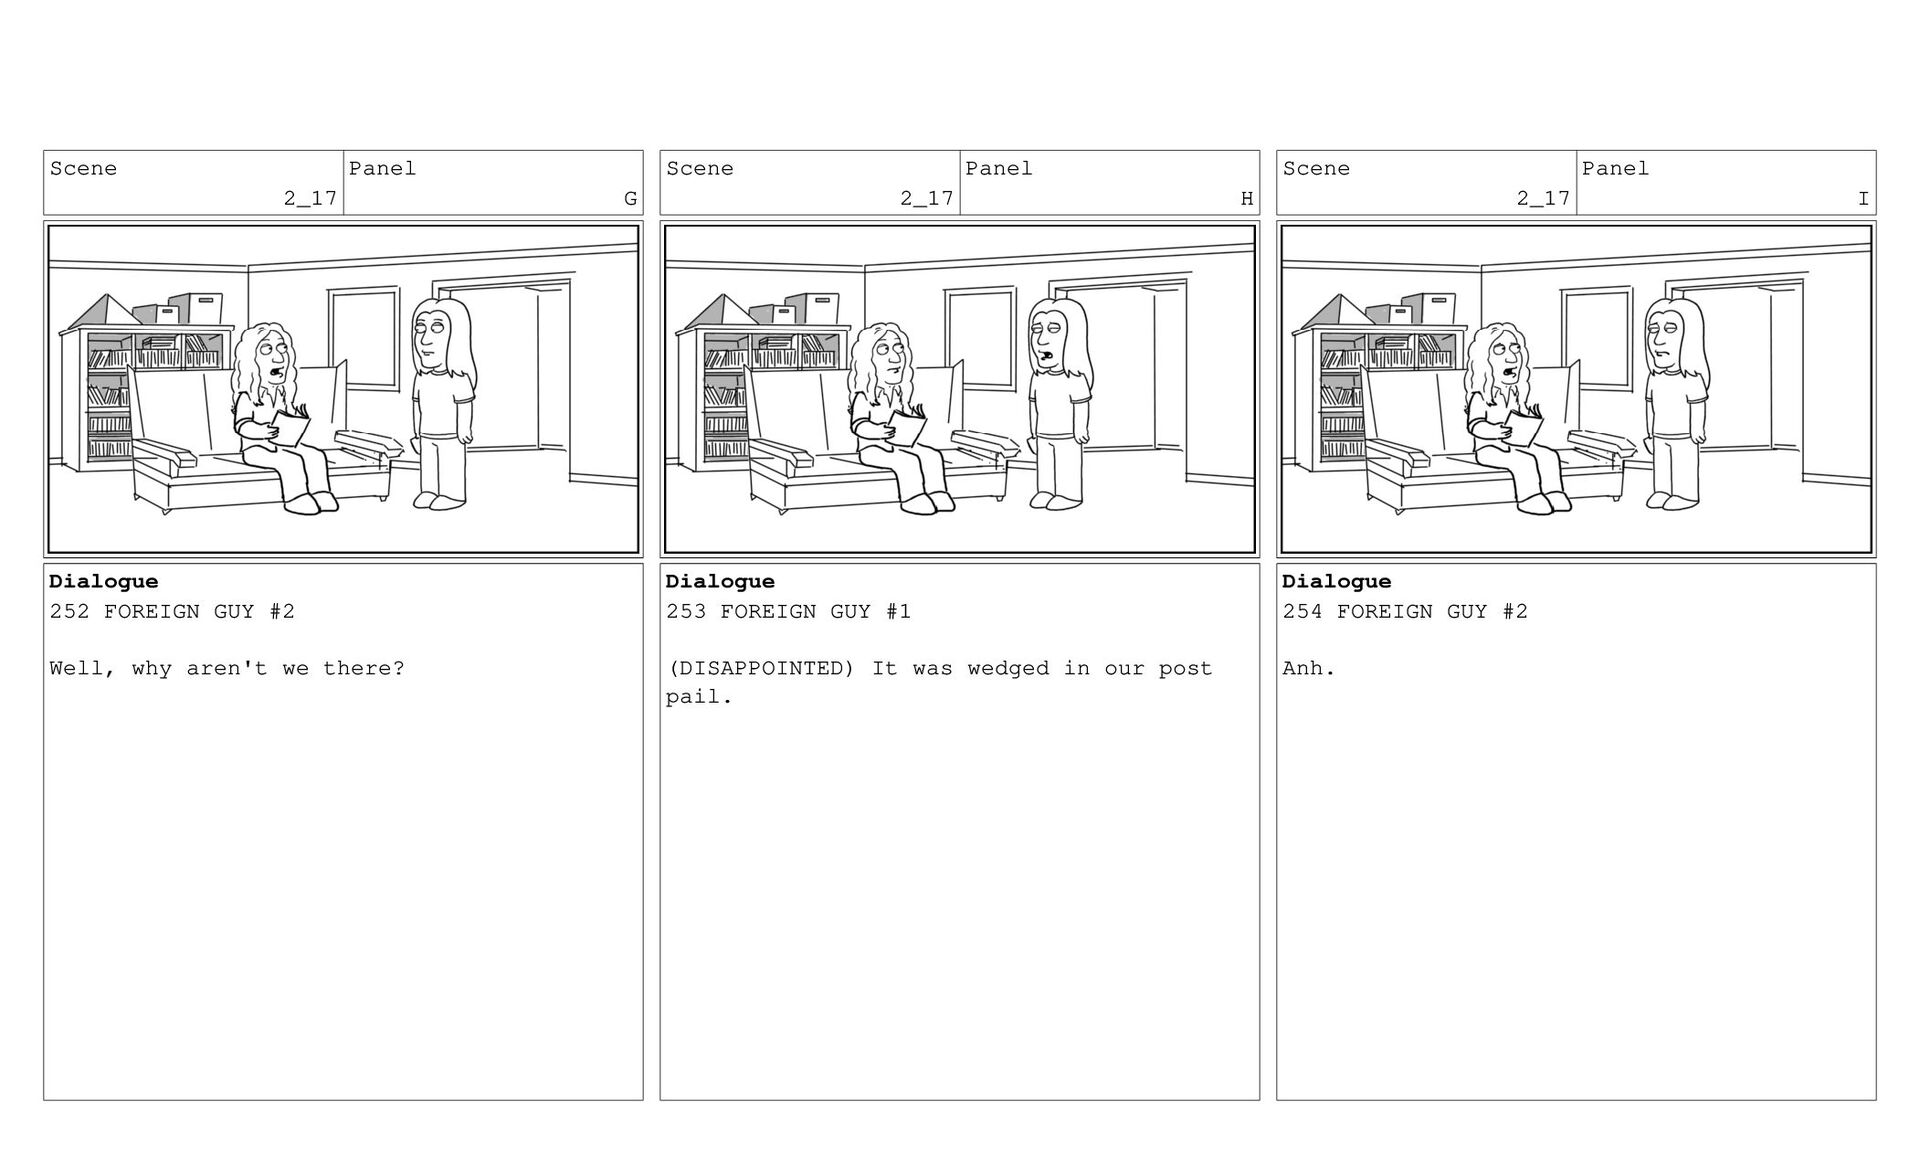
    why aren't we there? Scene 2_17 Panel H Dialogue 253 FOREIGN GUY #1 (DISAPPOINTED) It was wedged in our post pail. Scene 2_17 Panel I Dialogue 254 FOREIGN GUY #2 Anh.
  90. Scene 2_17 Panel J Dialogue 255 FOREIGN GUY #1 Anh.

    Scene 2_17 Panel K Dialogue 256 FOREIGN GUY #2 Anh. 257 FOREIGN GUY #1 Anh. NO PANEL
  91. Scene 2_18 Panel A Dialogue 258 PETER And what Action

    Notes INT. DRAWING ROOM - NIGHT (BACK TO SCENE) Scene 2_18 Panel B Dialogue about Scene 2_18 Panel C Dialogue (POINTING TO QUAGMIRE) Quagmire?
  92. Scene 2_18 Panel F Dialogue Scene 2_18 Panel G Dialogue

    259 QUAGMIRE Fine! Scene 2_18 Panel H Dialogue So he stole
  93. Scene 2_18 Panel K Dialogue (POINTS AT BRIAN) He ruined

    Scene 2_18 Panel L Dialogue your TV pilot!
  94. Scene 2_18 Panel M Dialogue 260 BRIAN Go to Scene

    2_18 Panel N Dialogue hell, Scene 2_18 Panel O Dialogue I backed out of that project willingly!
  95. Scene 2_18 Panel P Dialogue 261 QUAGMIRE Oh, yeah, Scene

    2_18 Panel Q Dialogue that's what every Scene 2_18 Panel R Dialogue hack says--
  96. Scene 2_18 Panel S Dialogue --ya know , Brian... Scene

    2_18 Panel T Dialogue (not in script, only record-- between 261 & 261 a) Brian I am Scene 2_18 Panel U Dialogue telling you--
  97. Scene 2_18 Panel V Dialogue 261a EVERYONE (yelling-) Action Notes

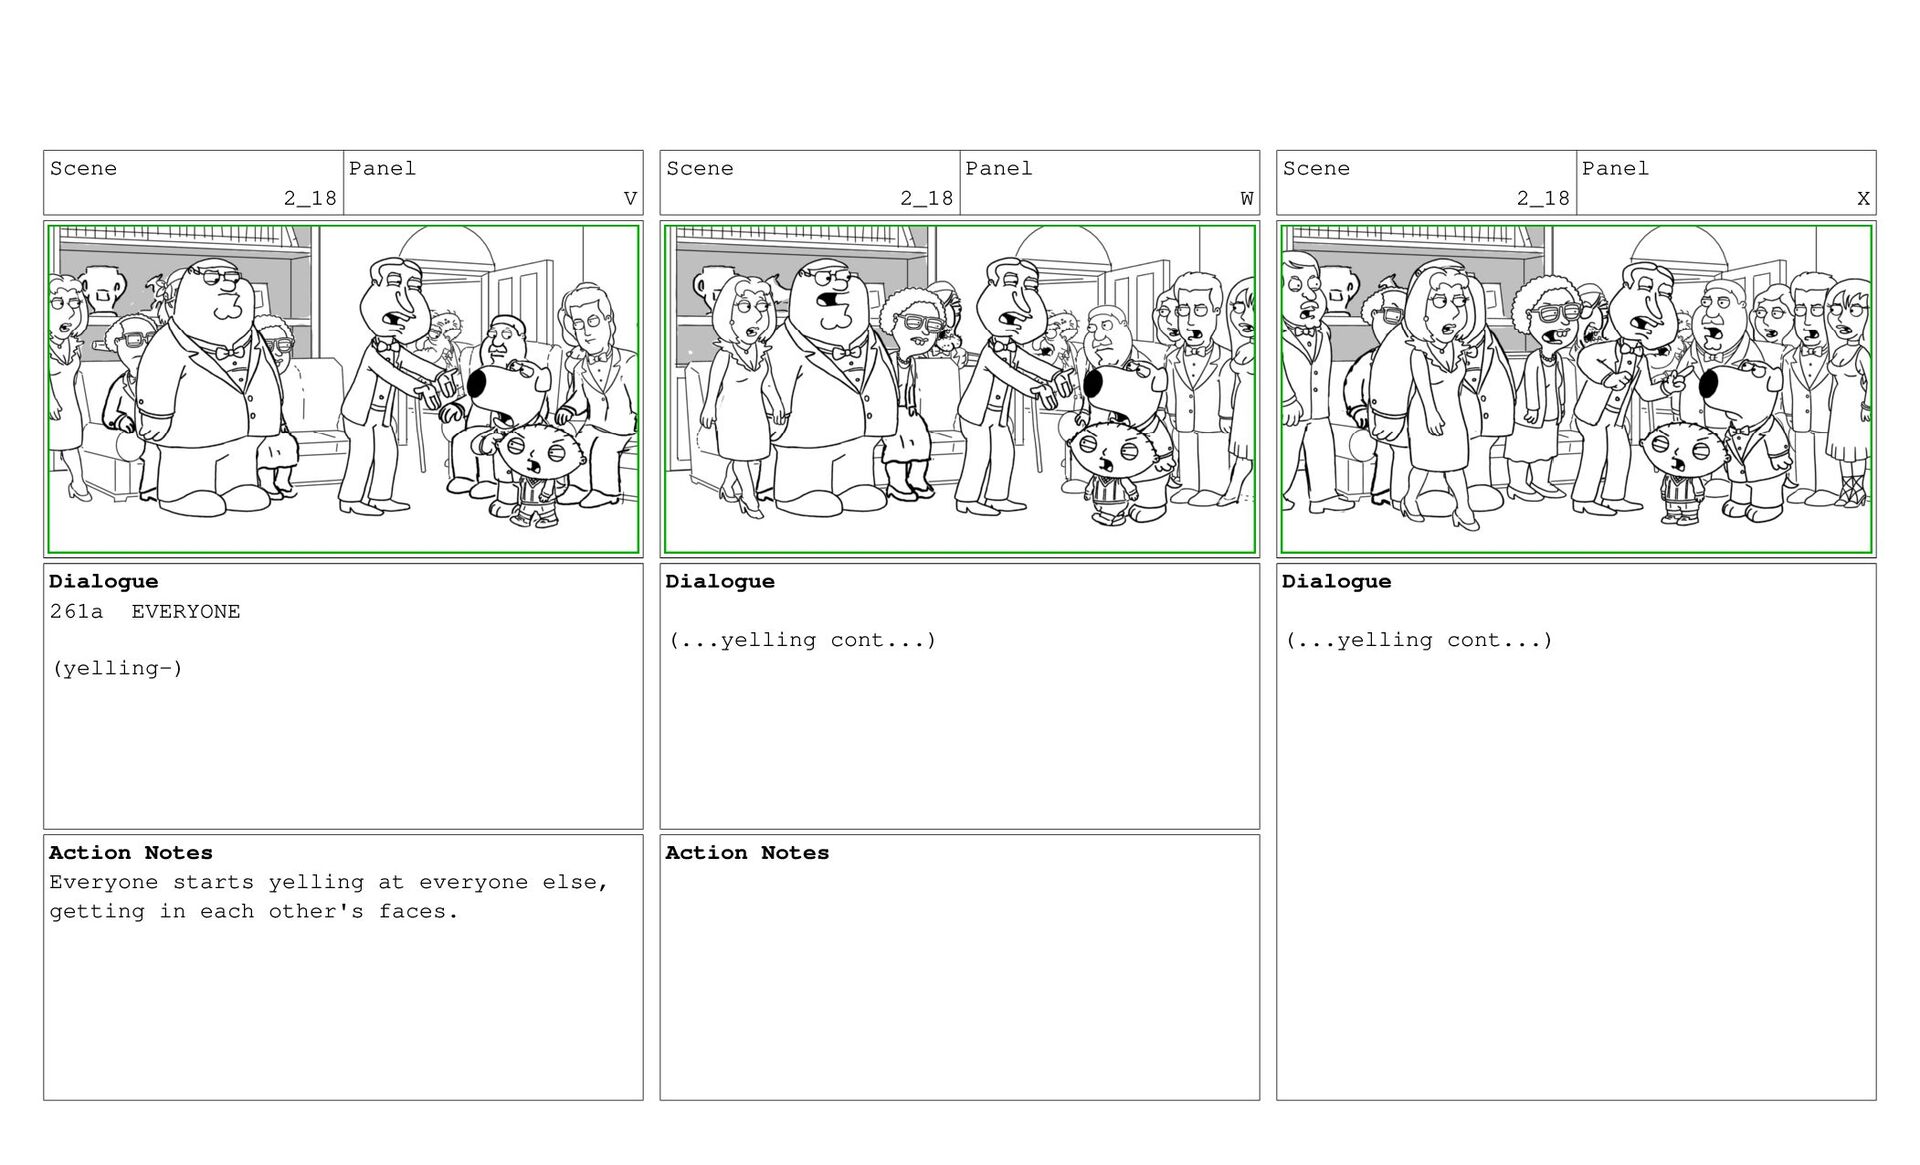
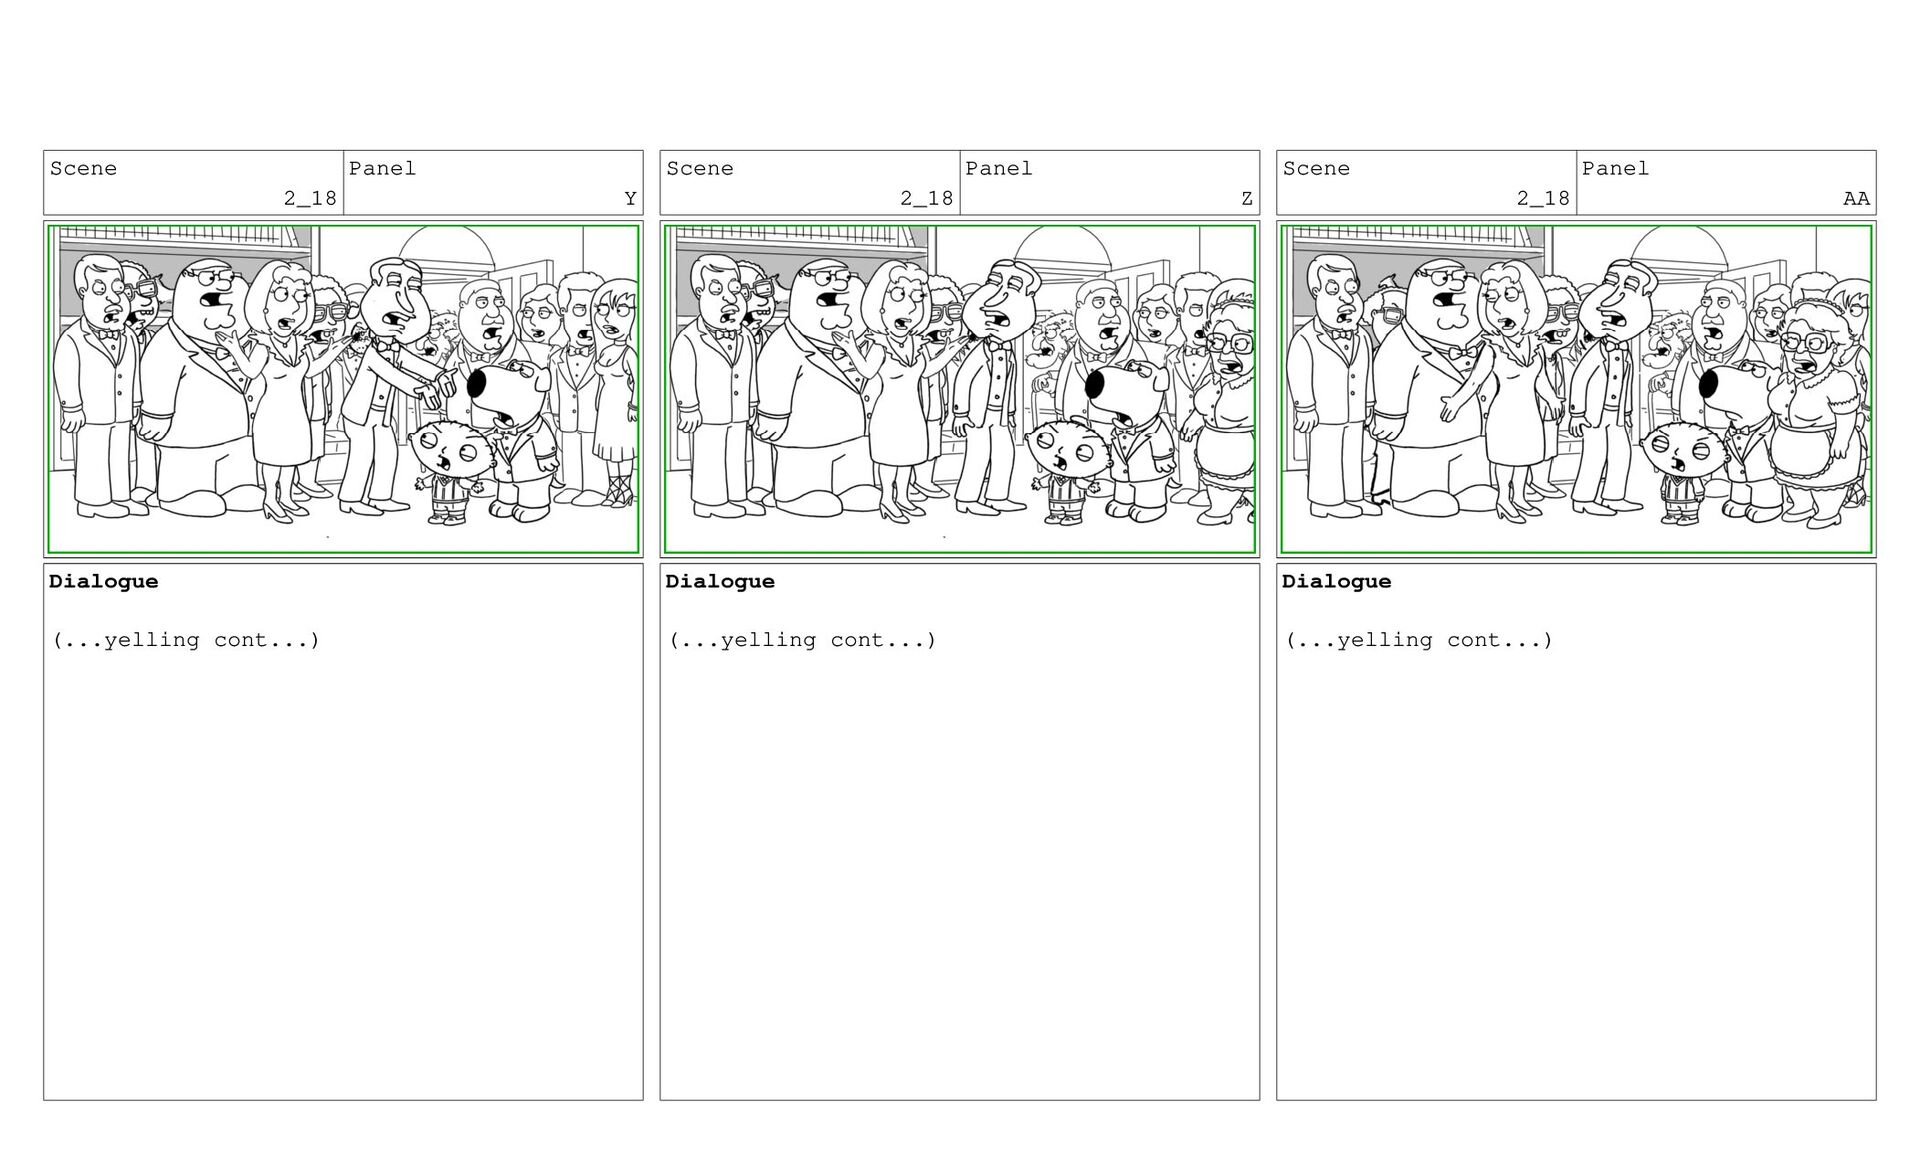
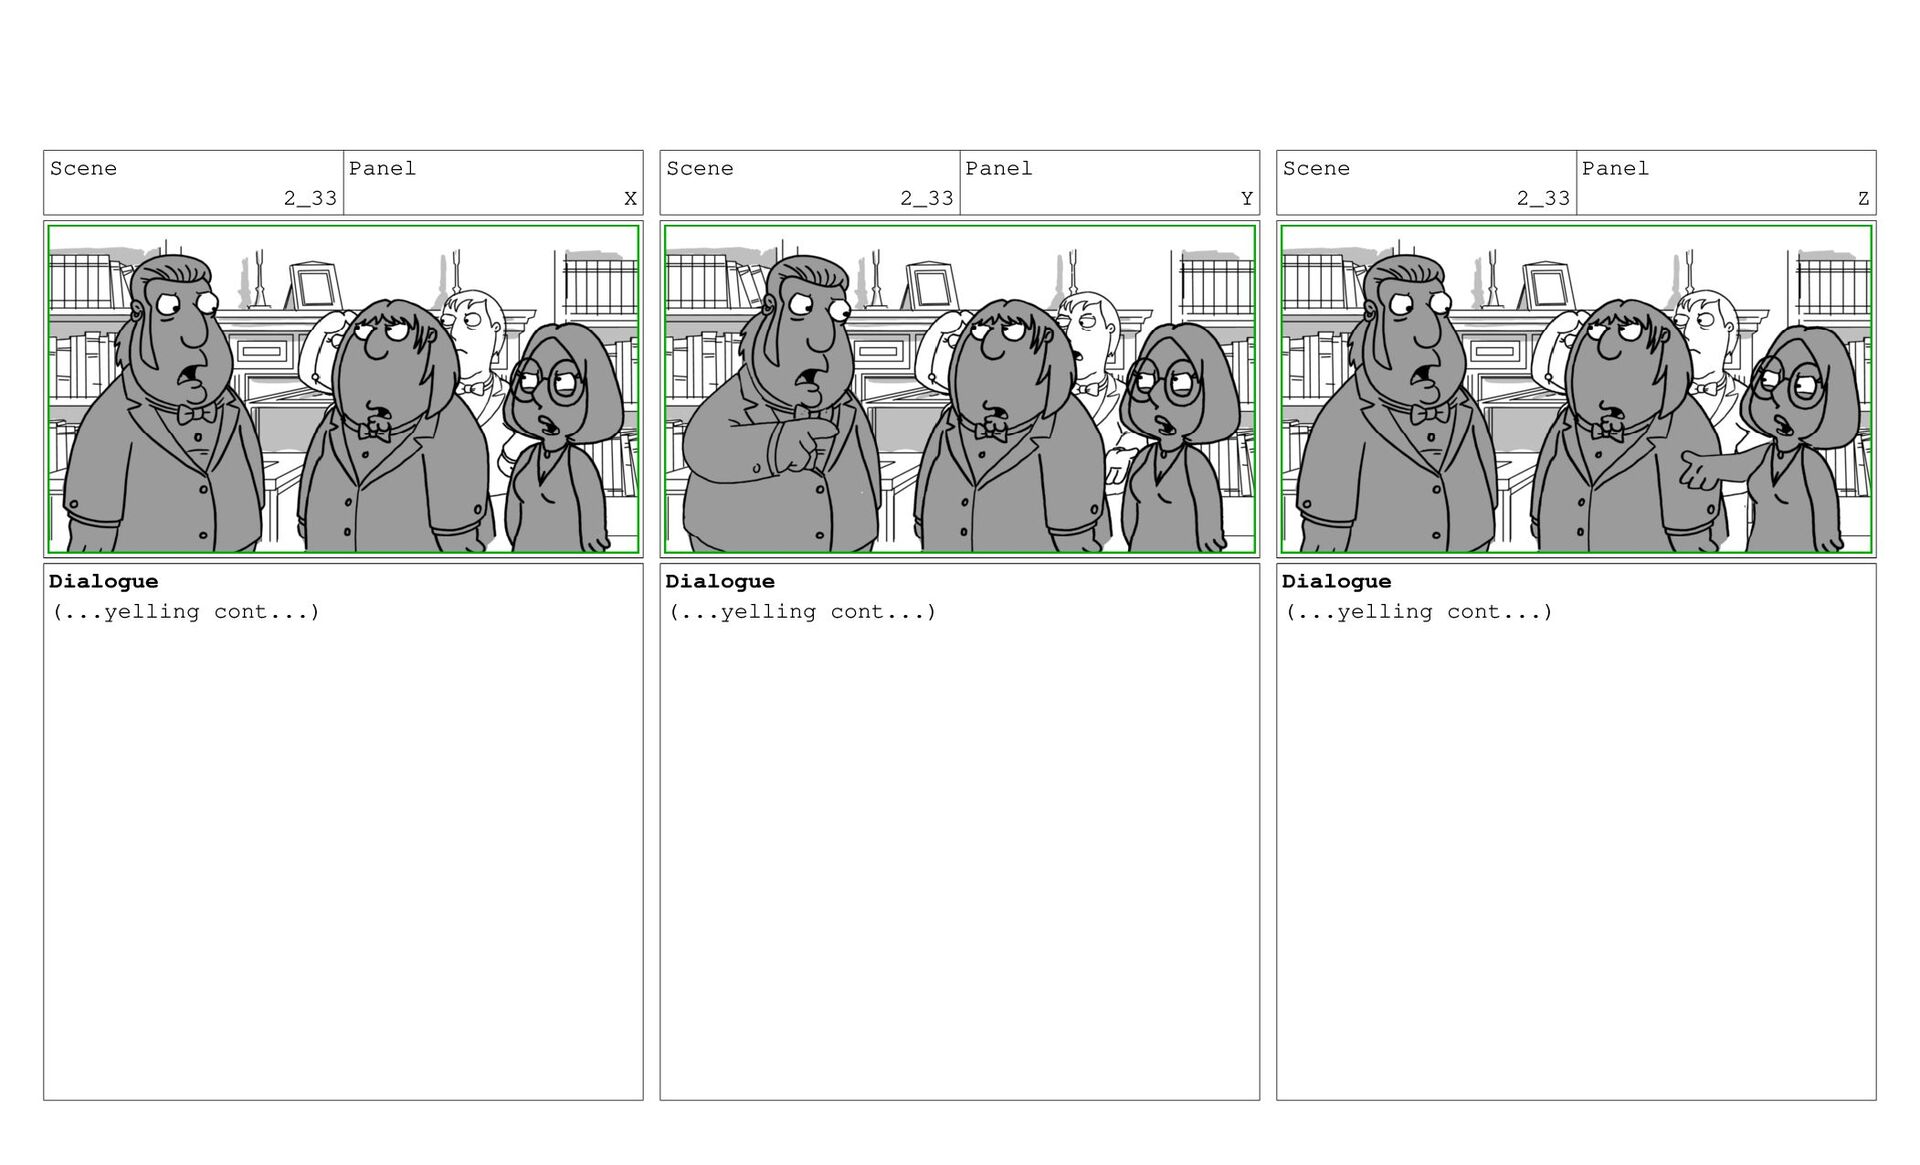
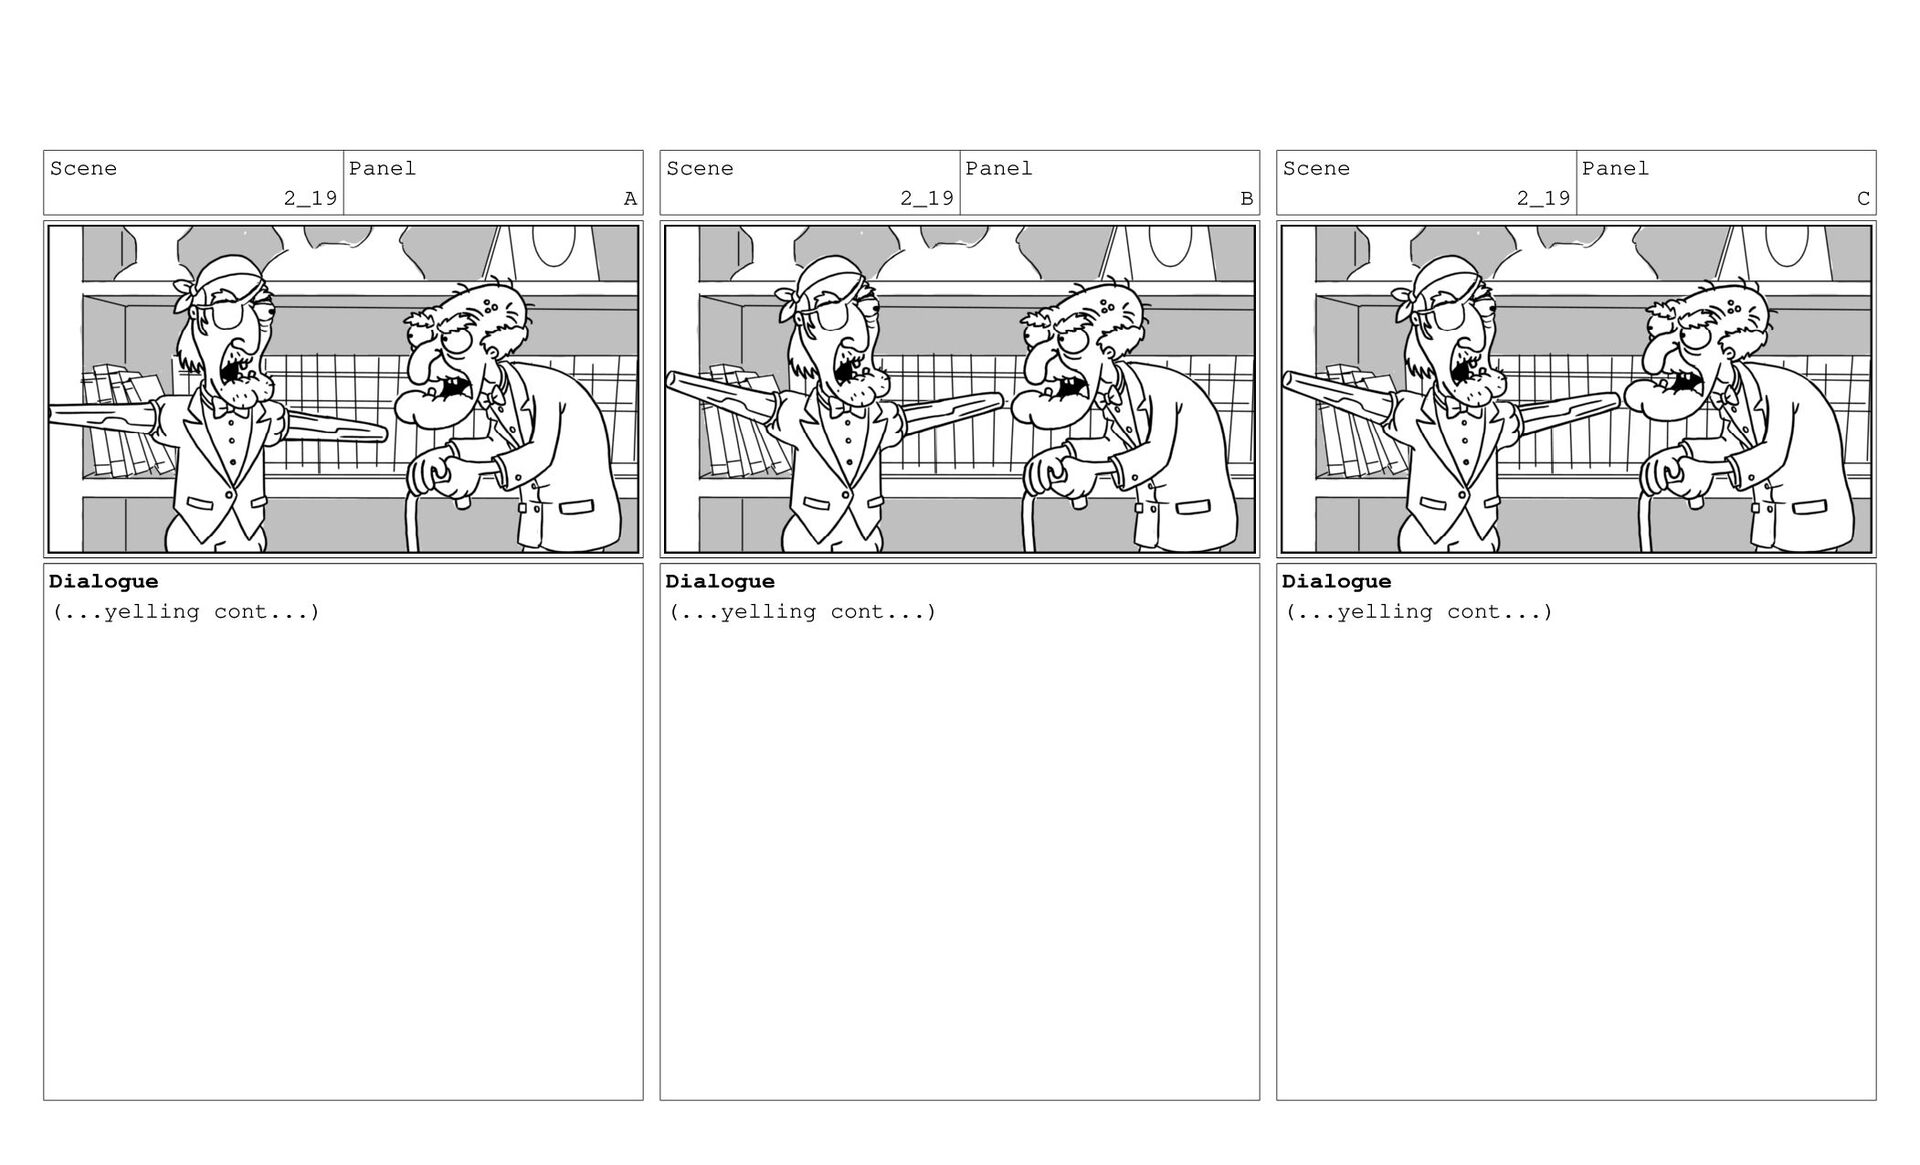
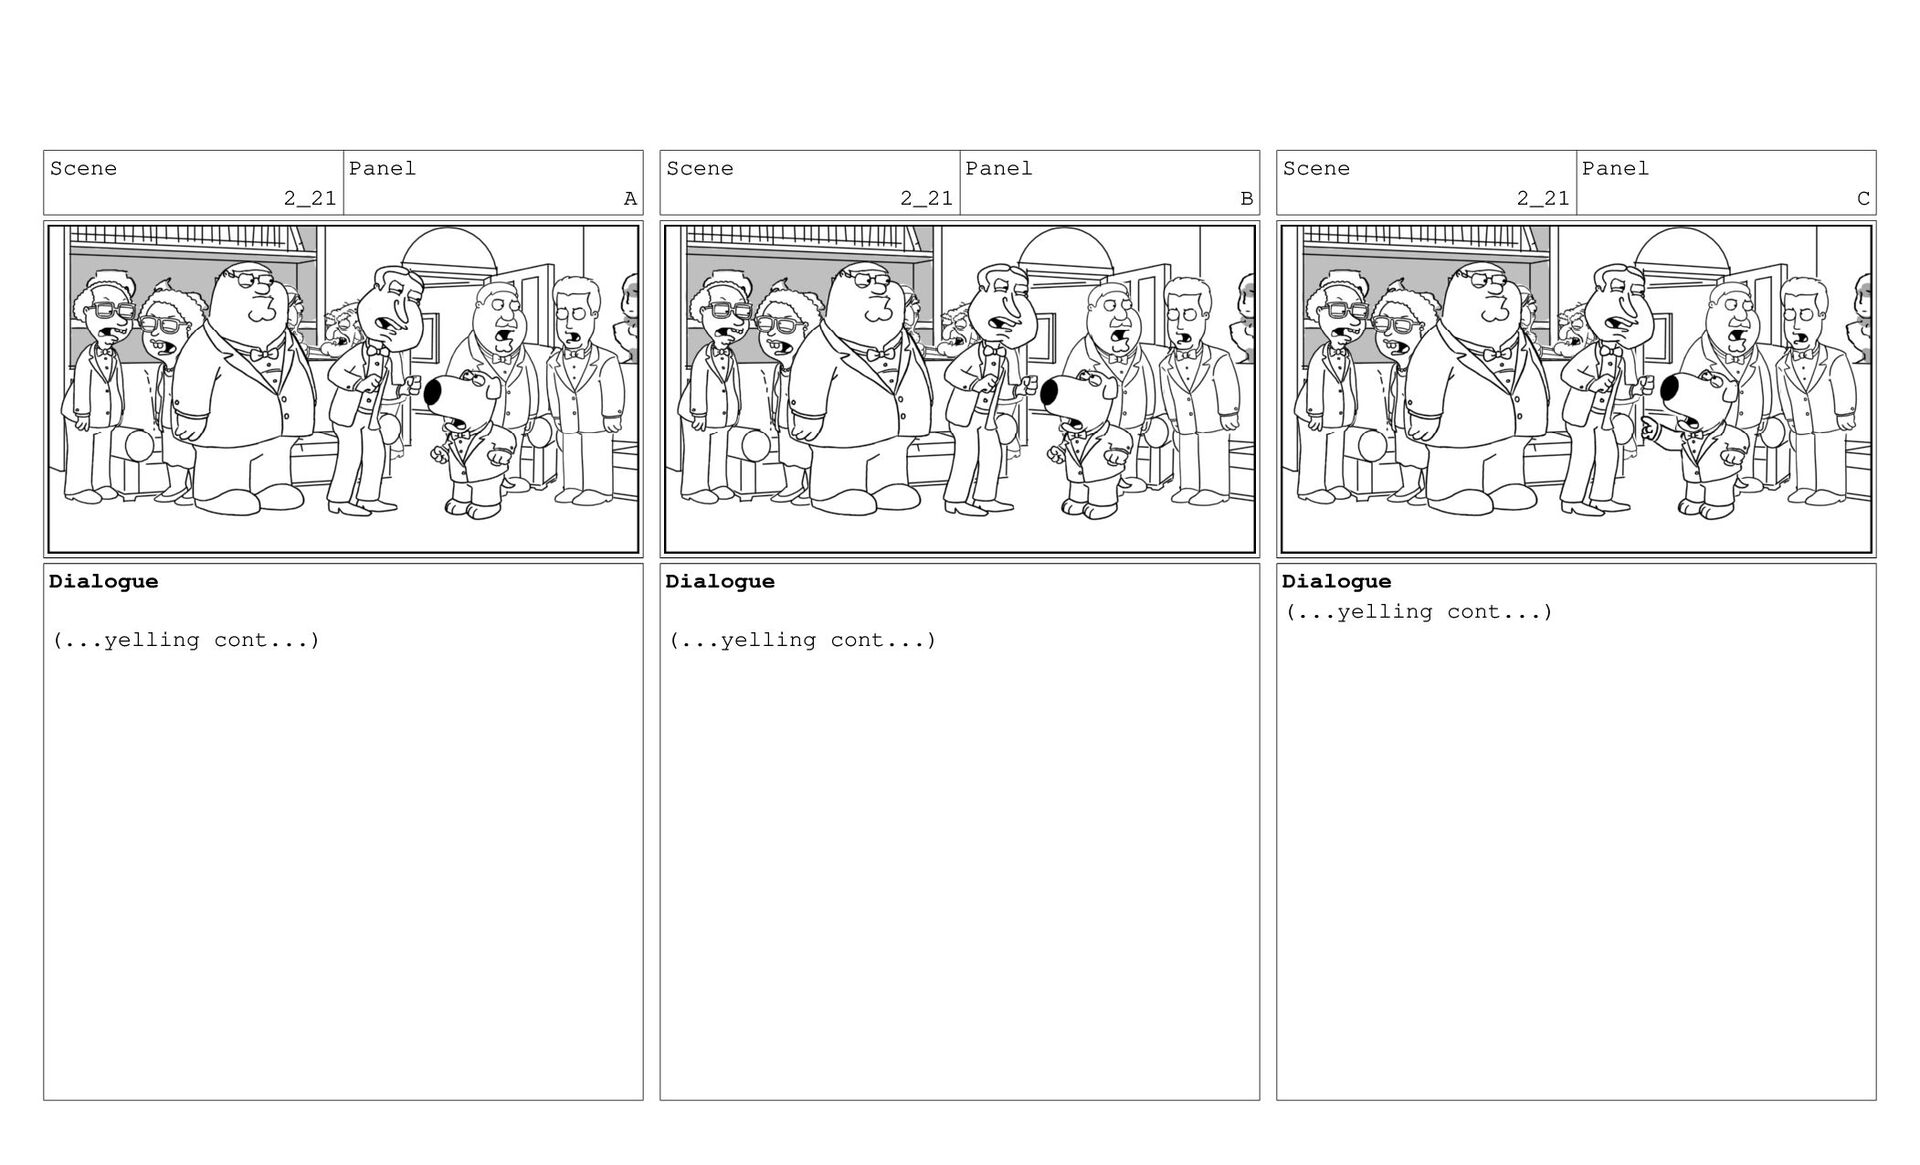
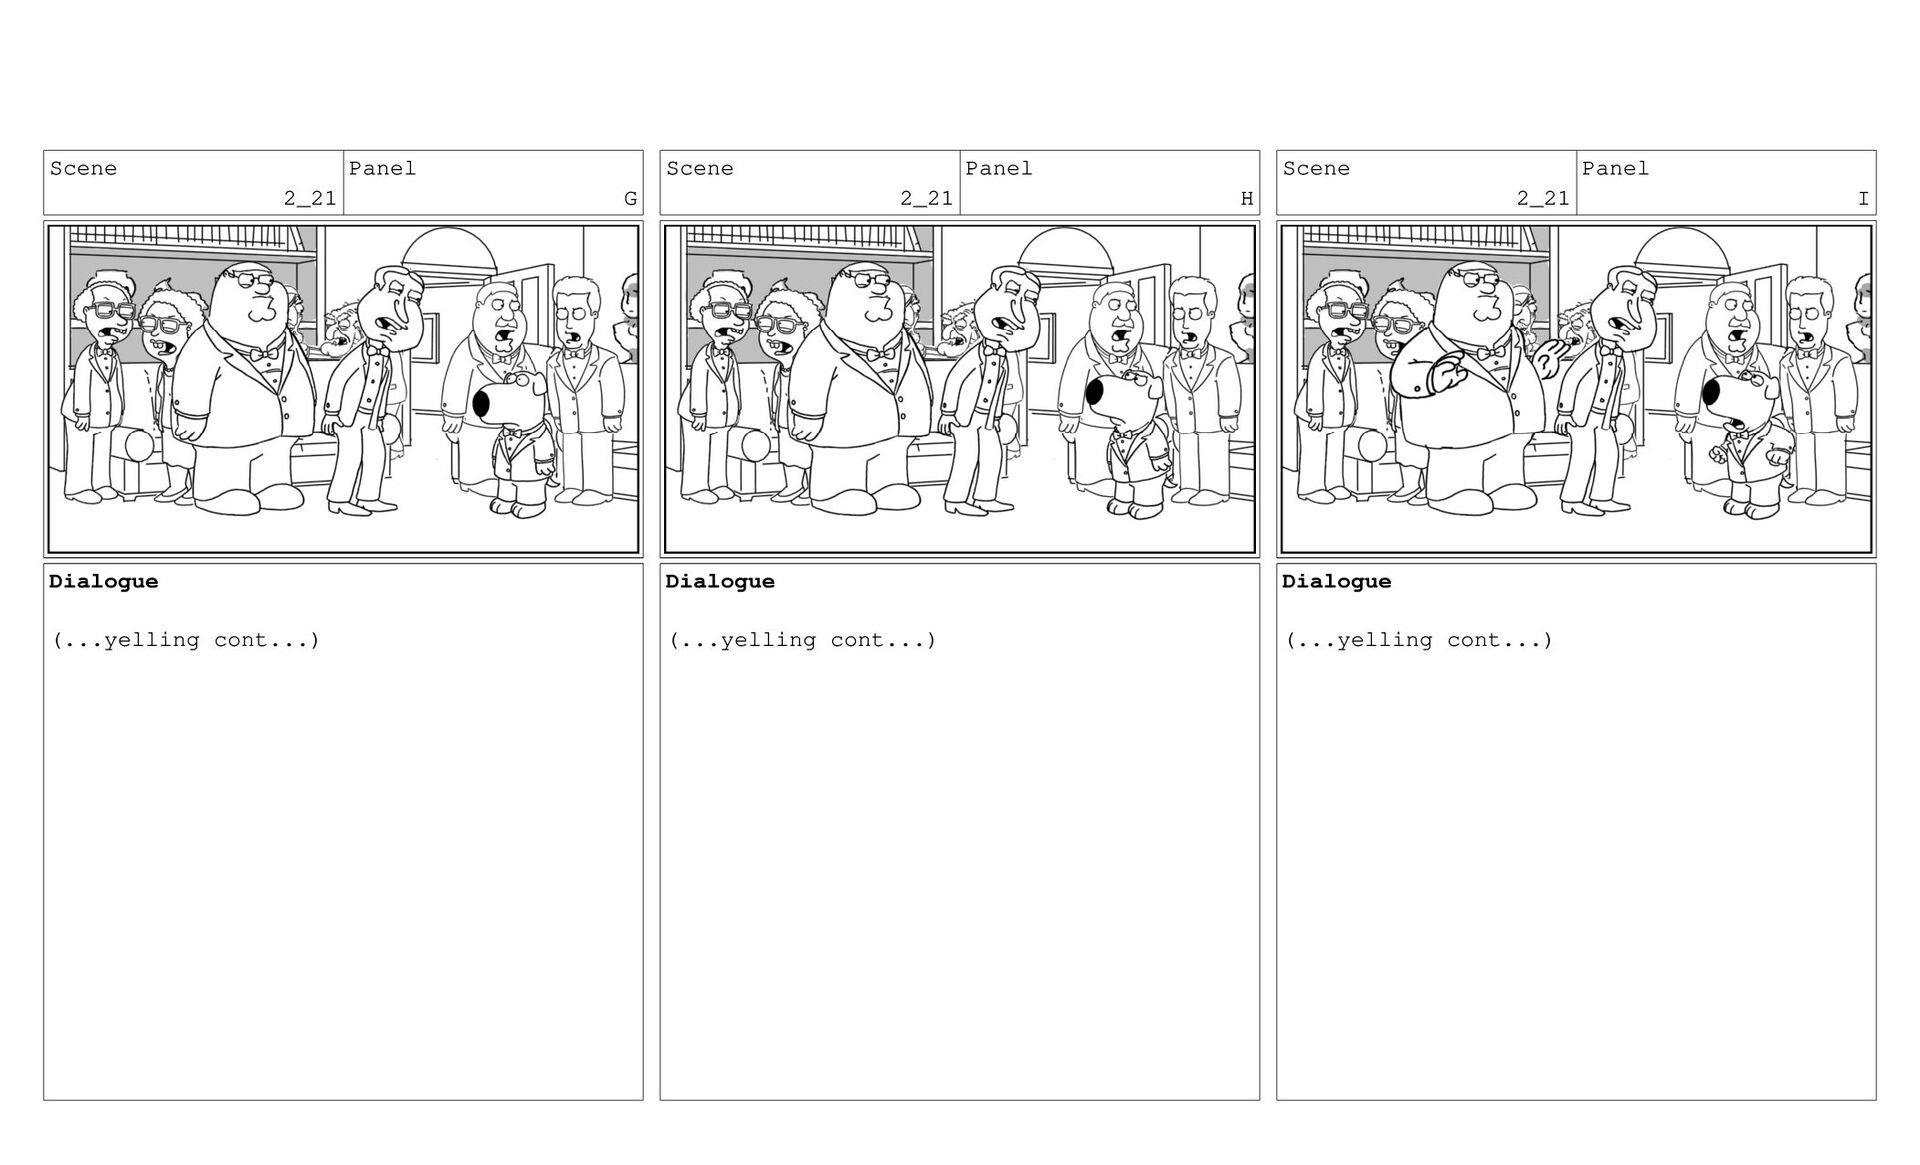
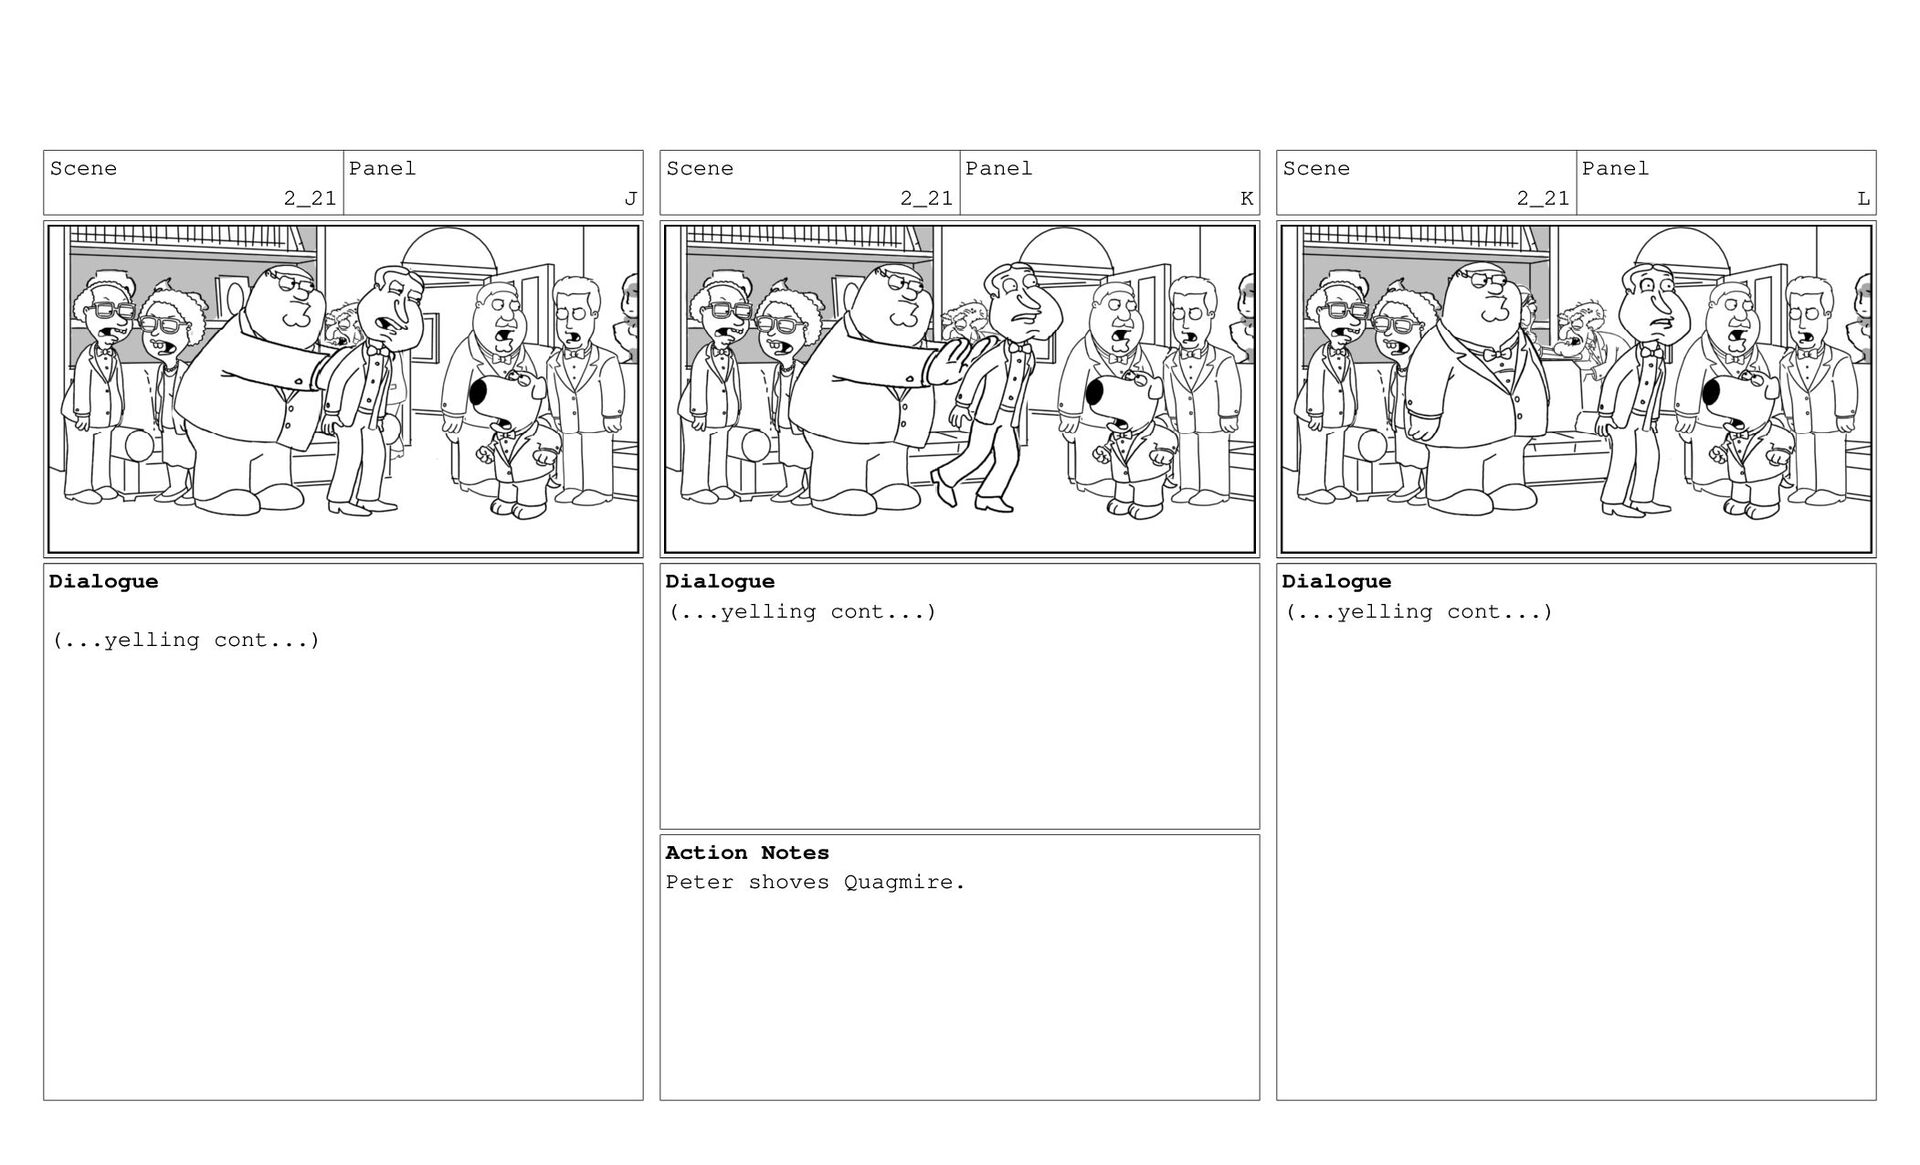
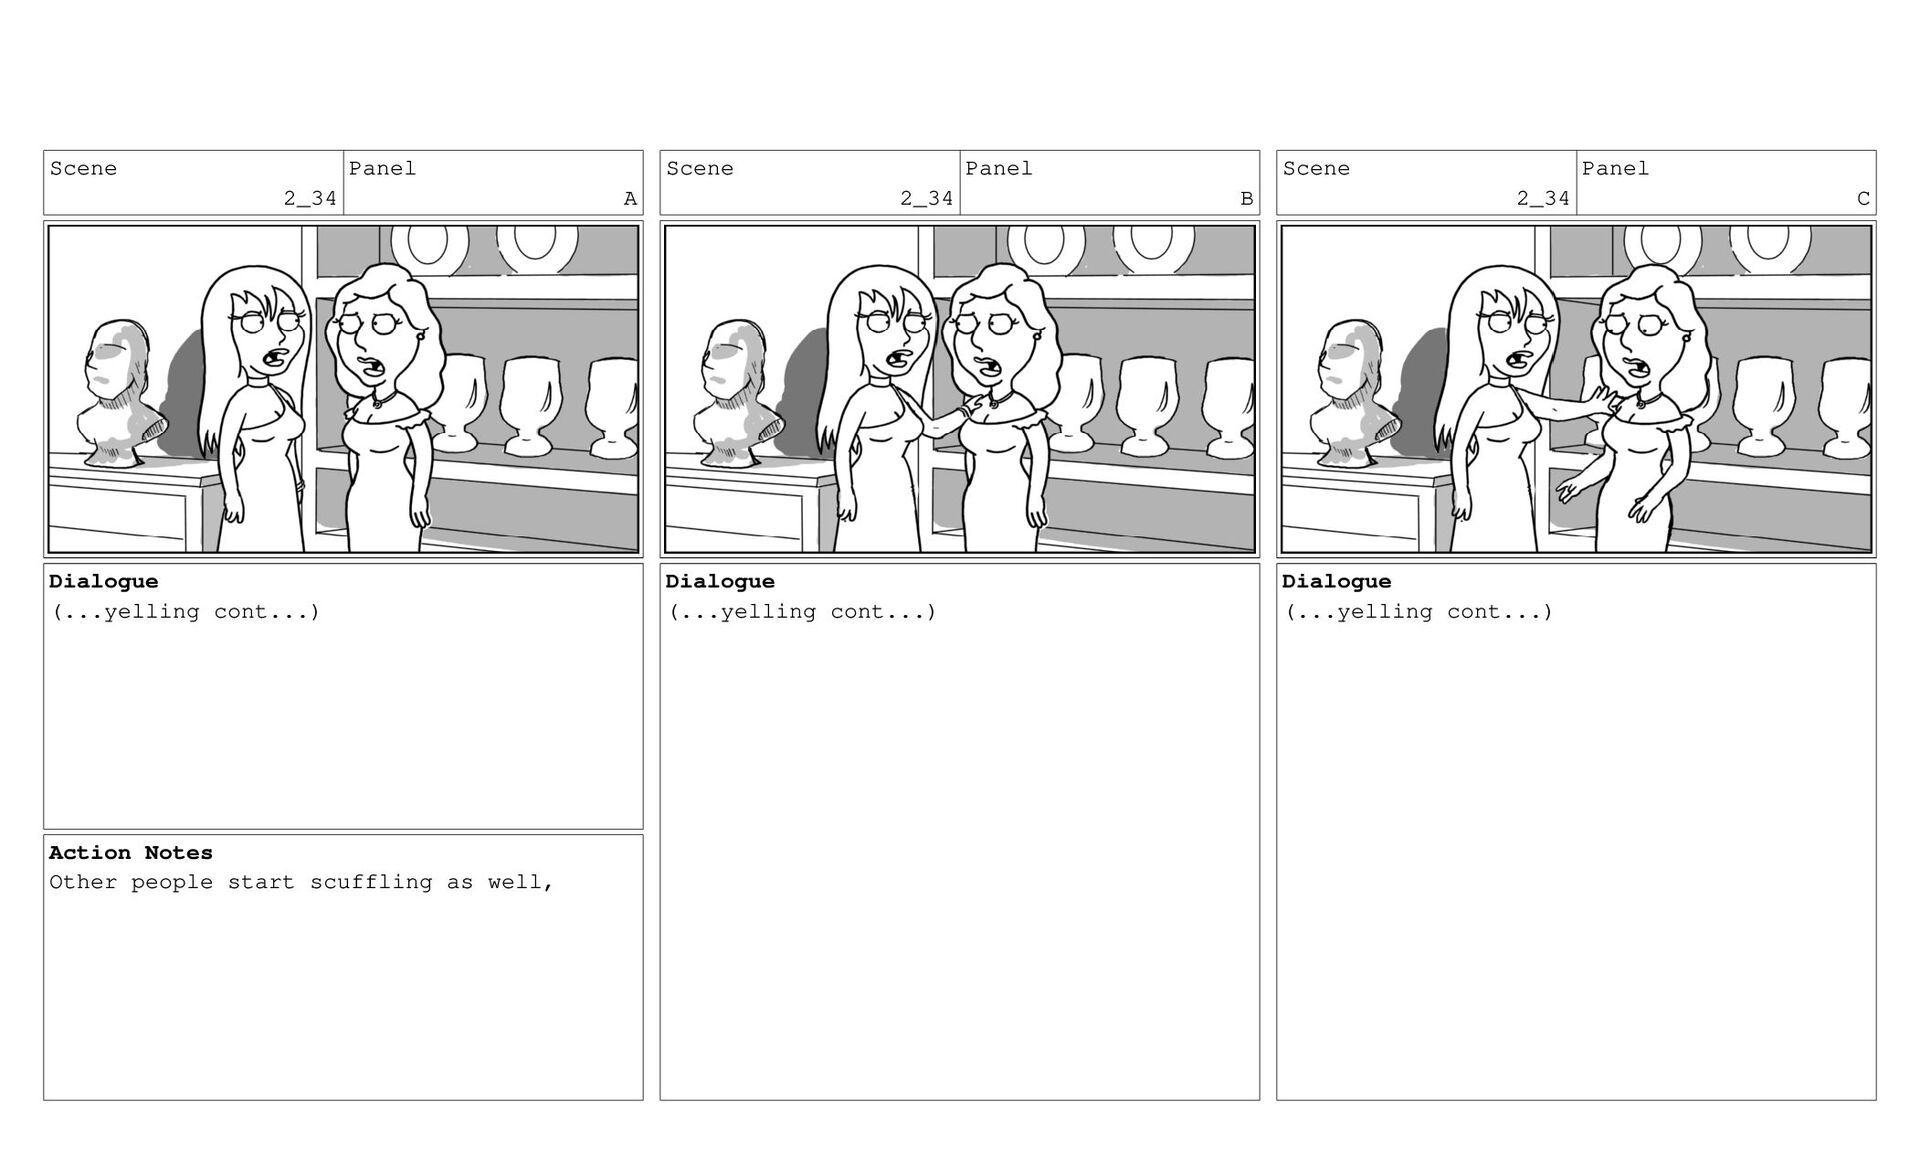
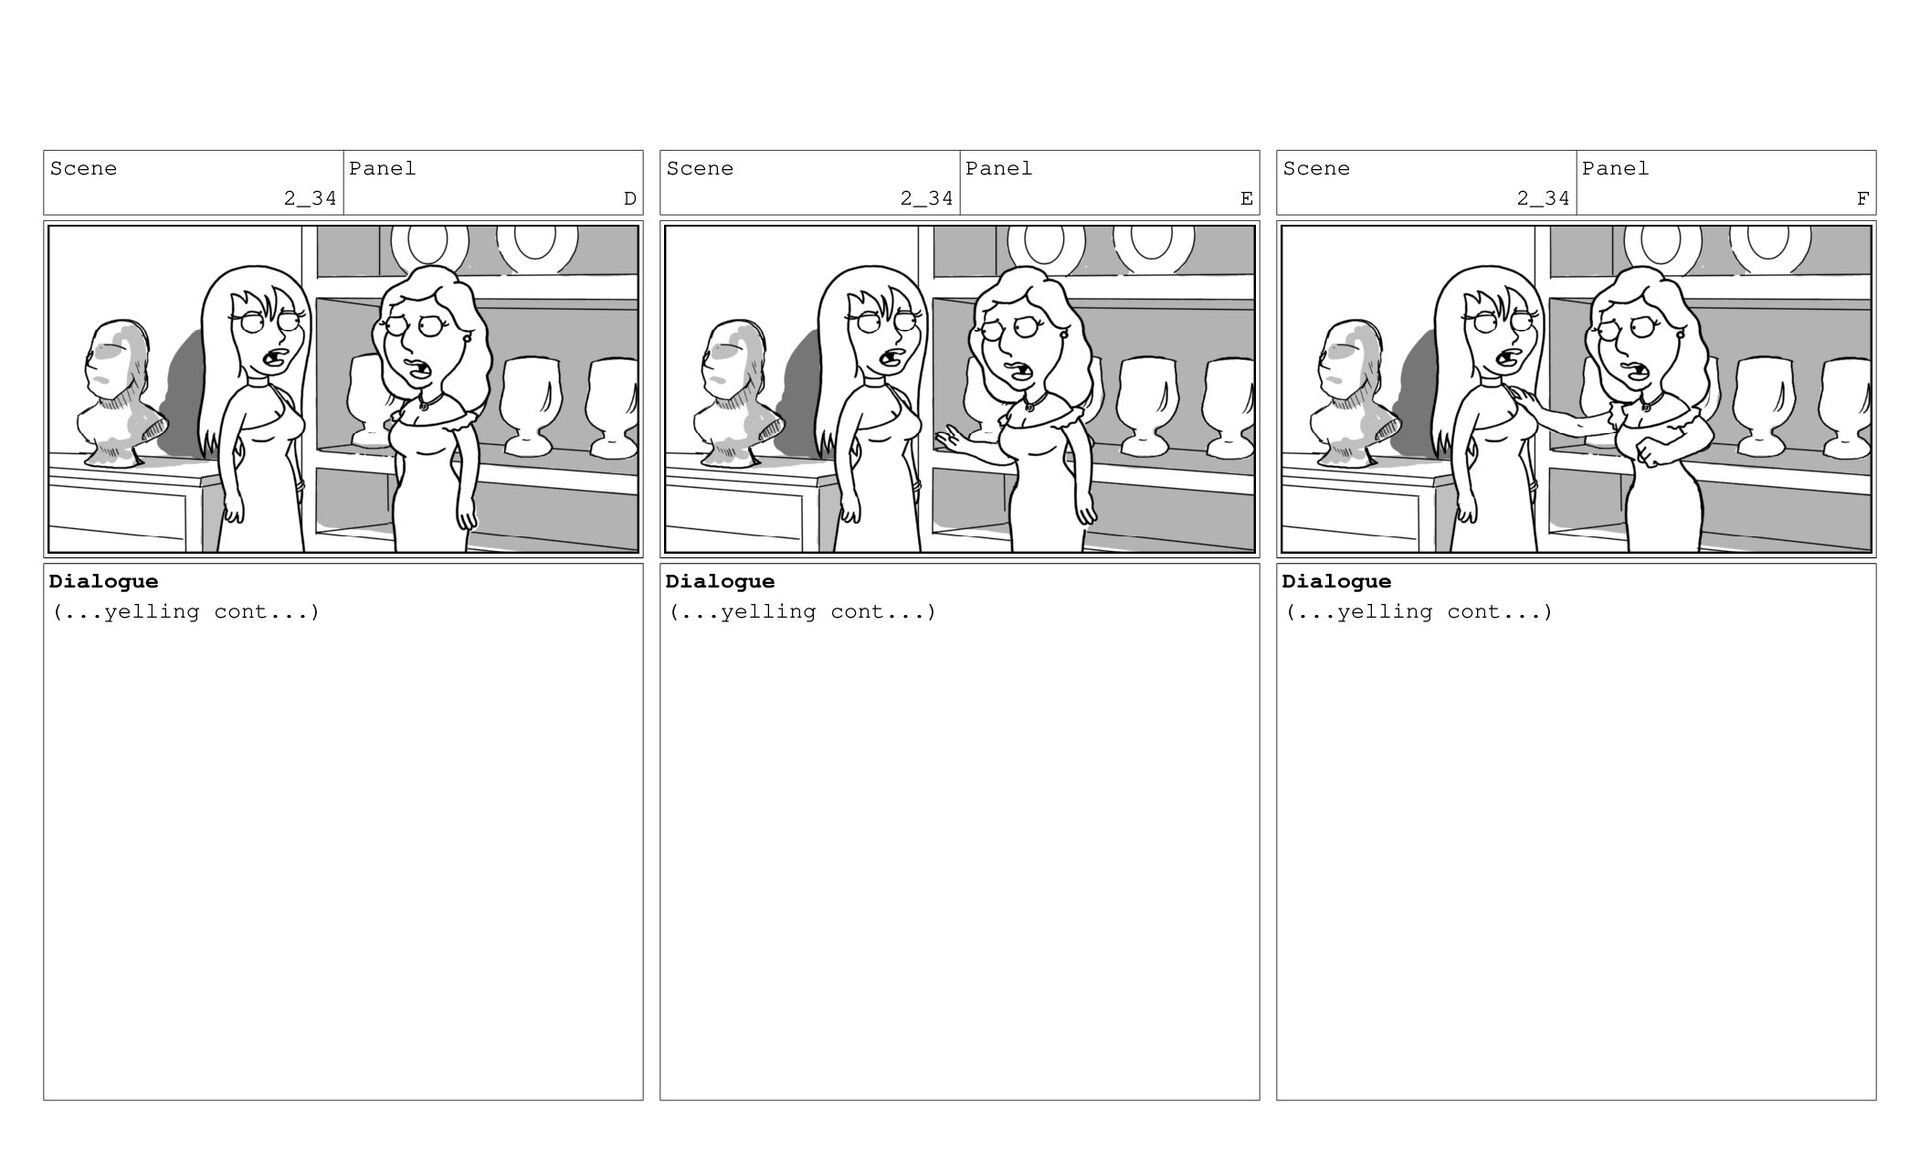
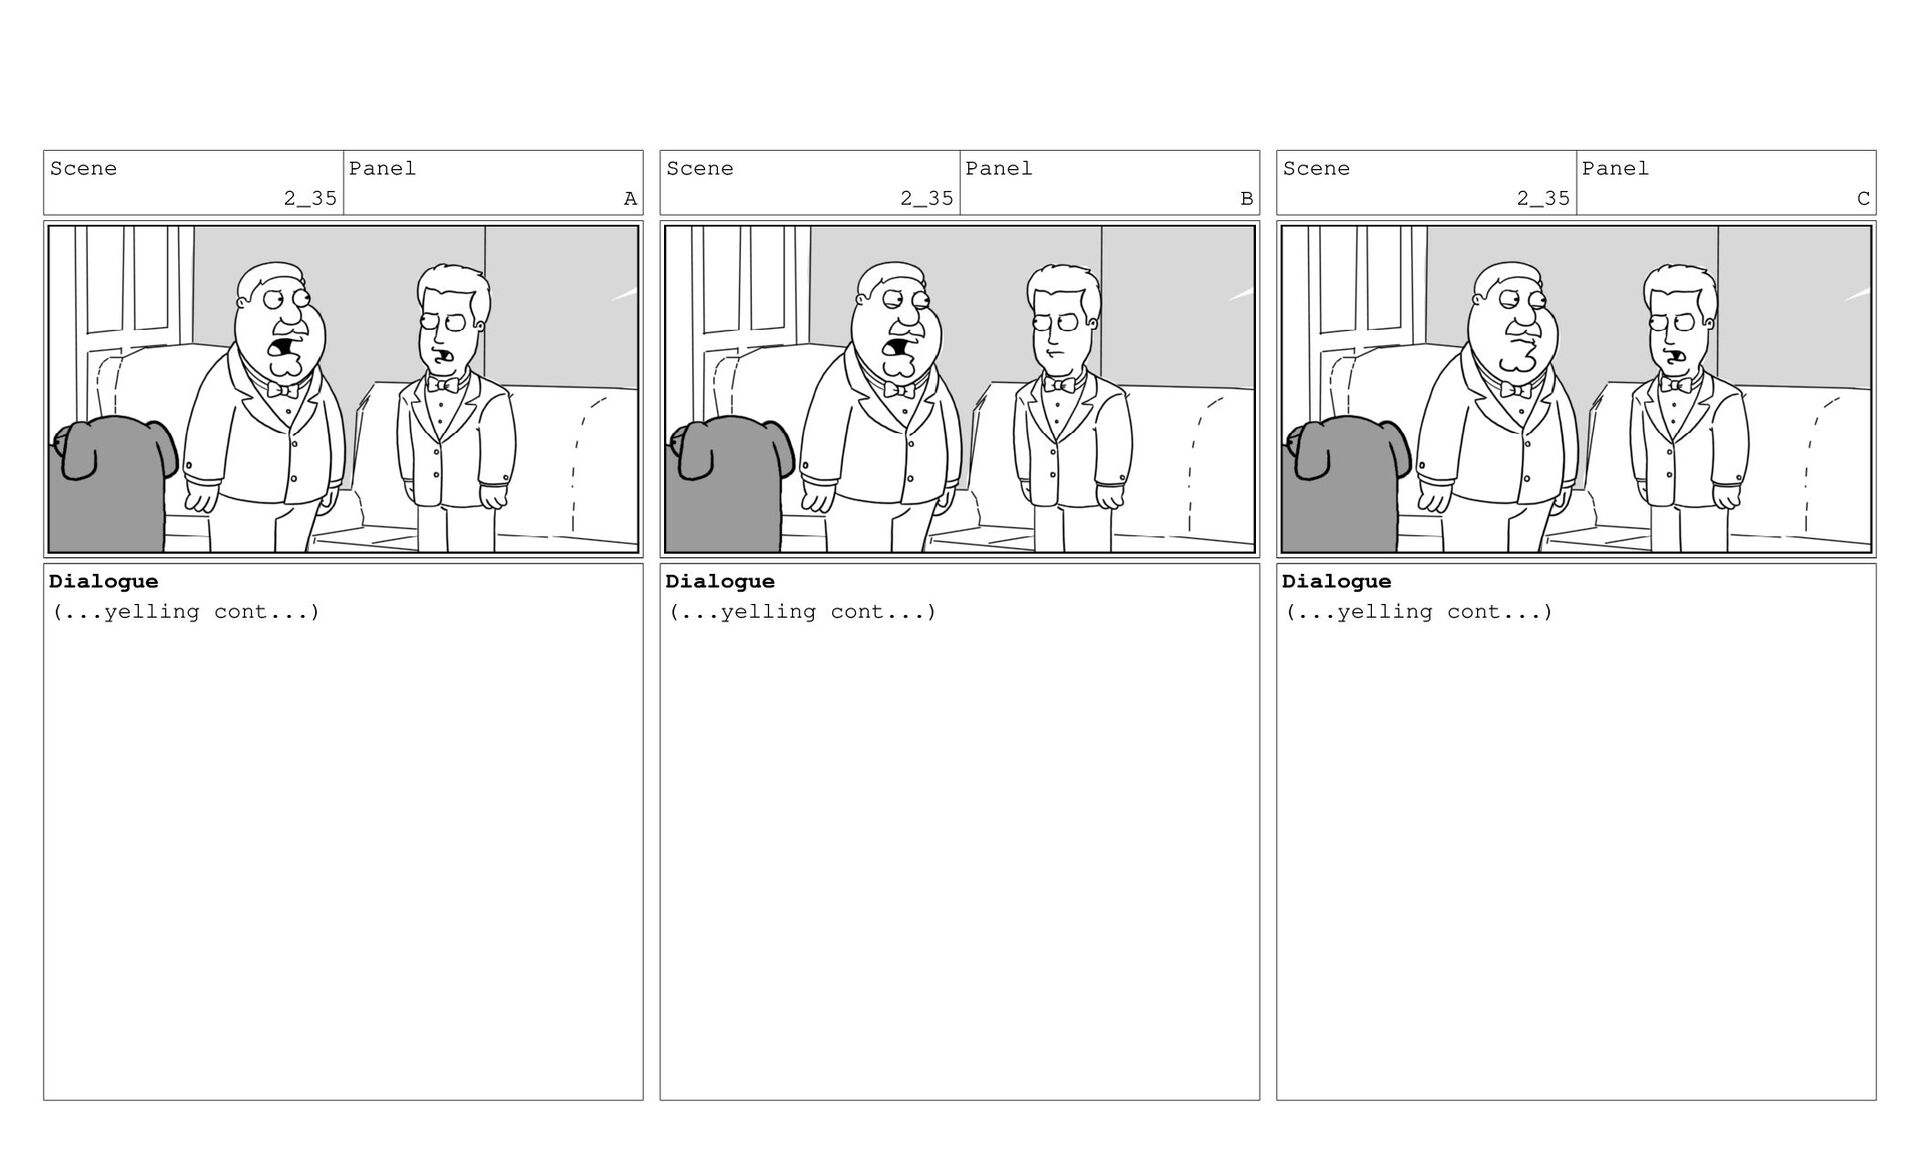
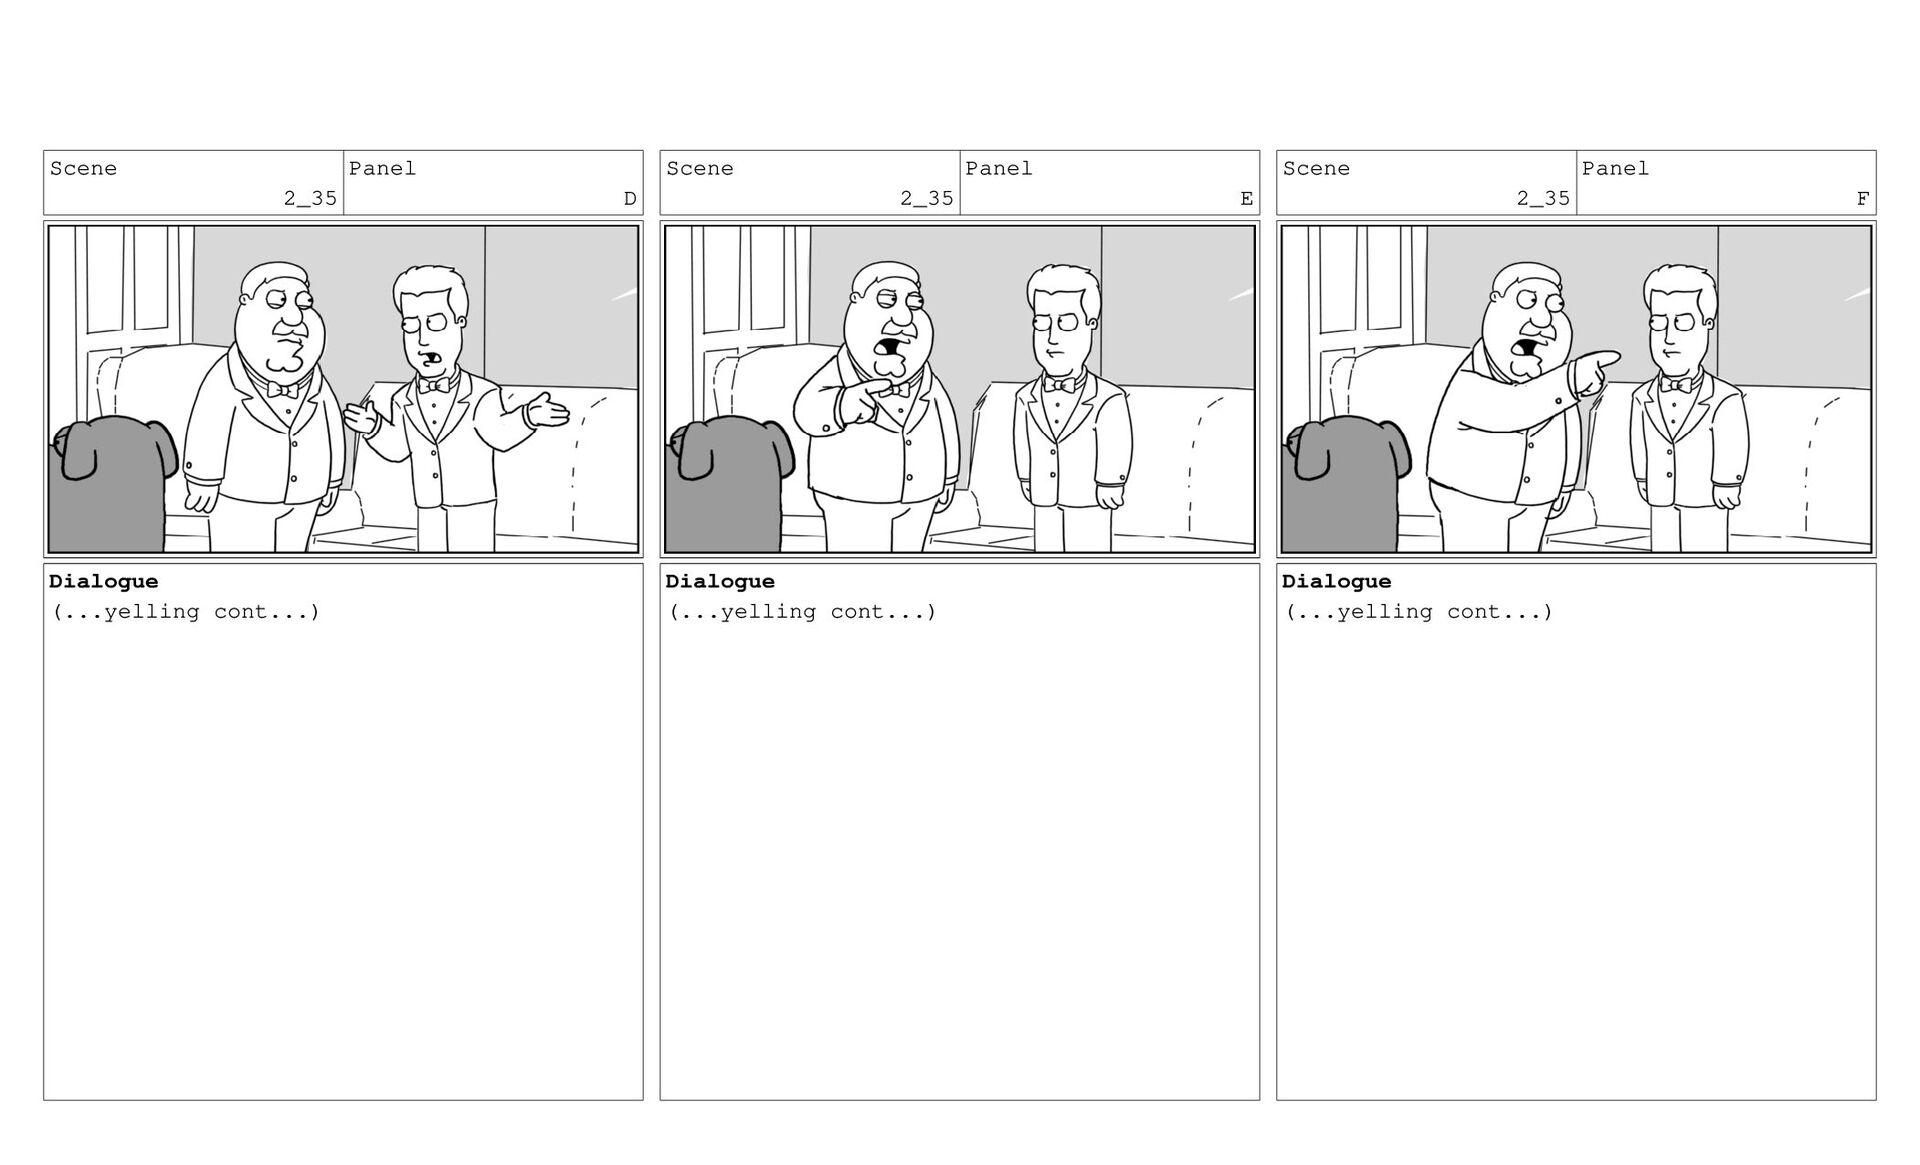
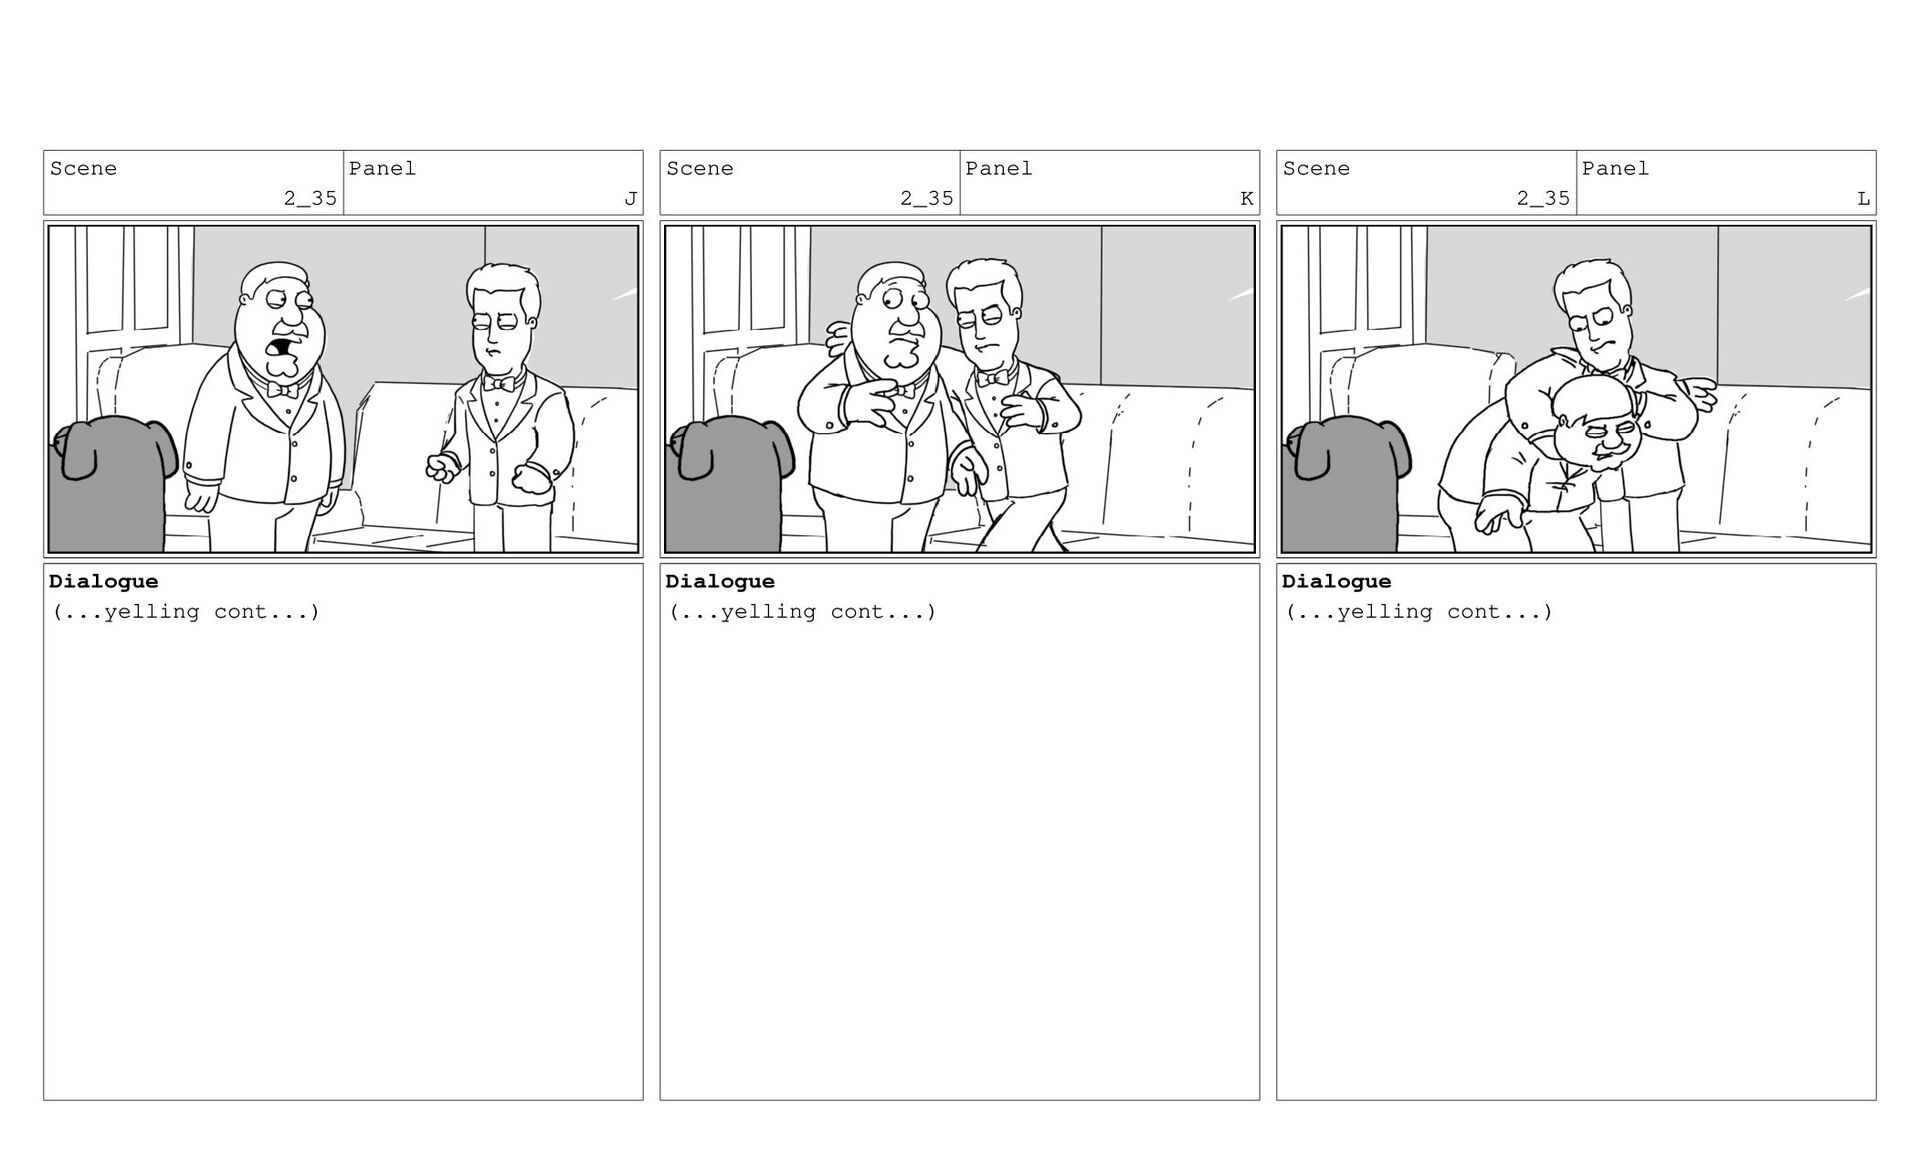
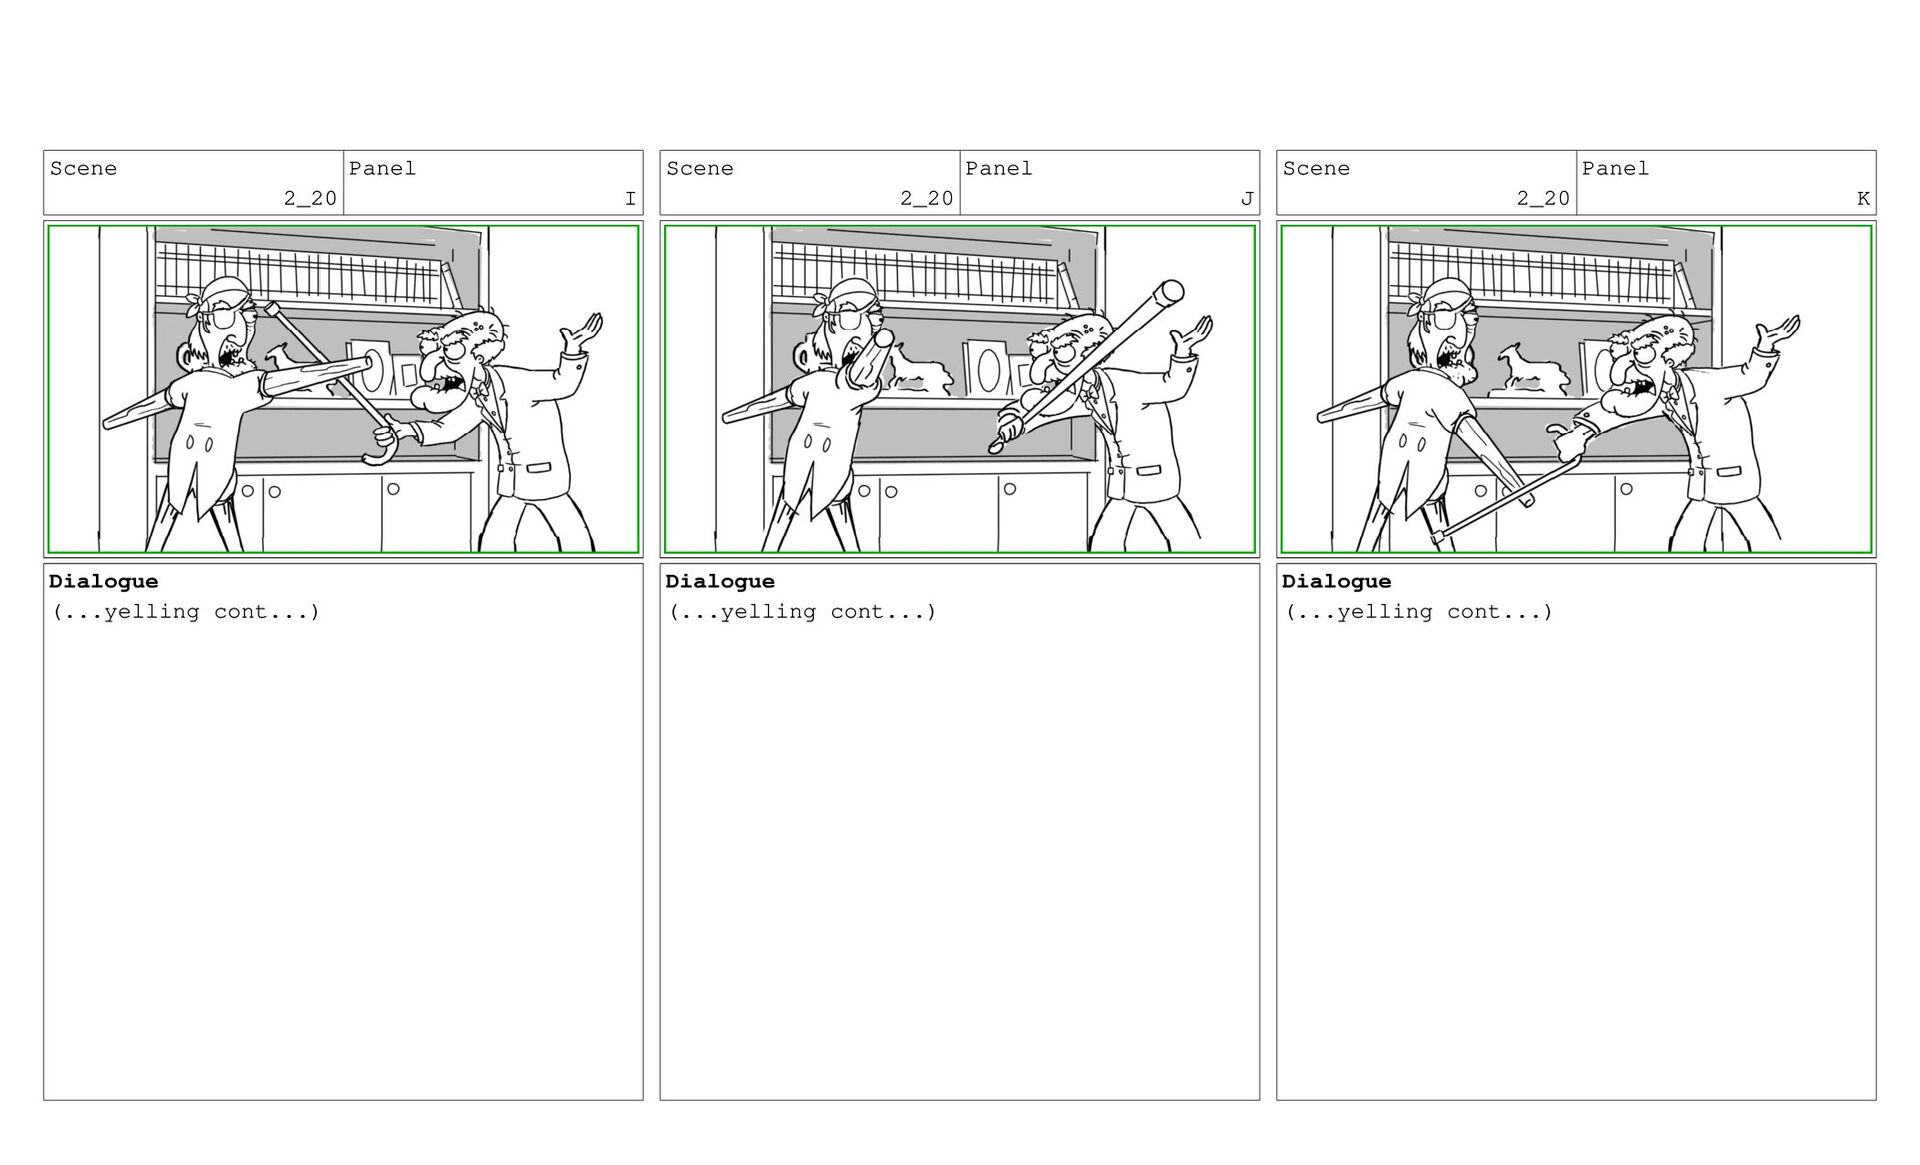
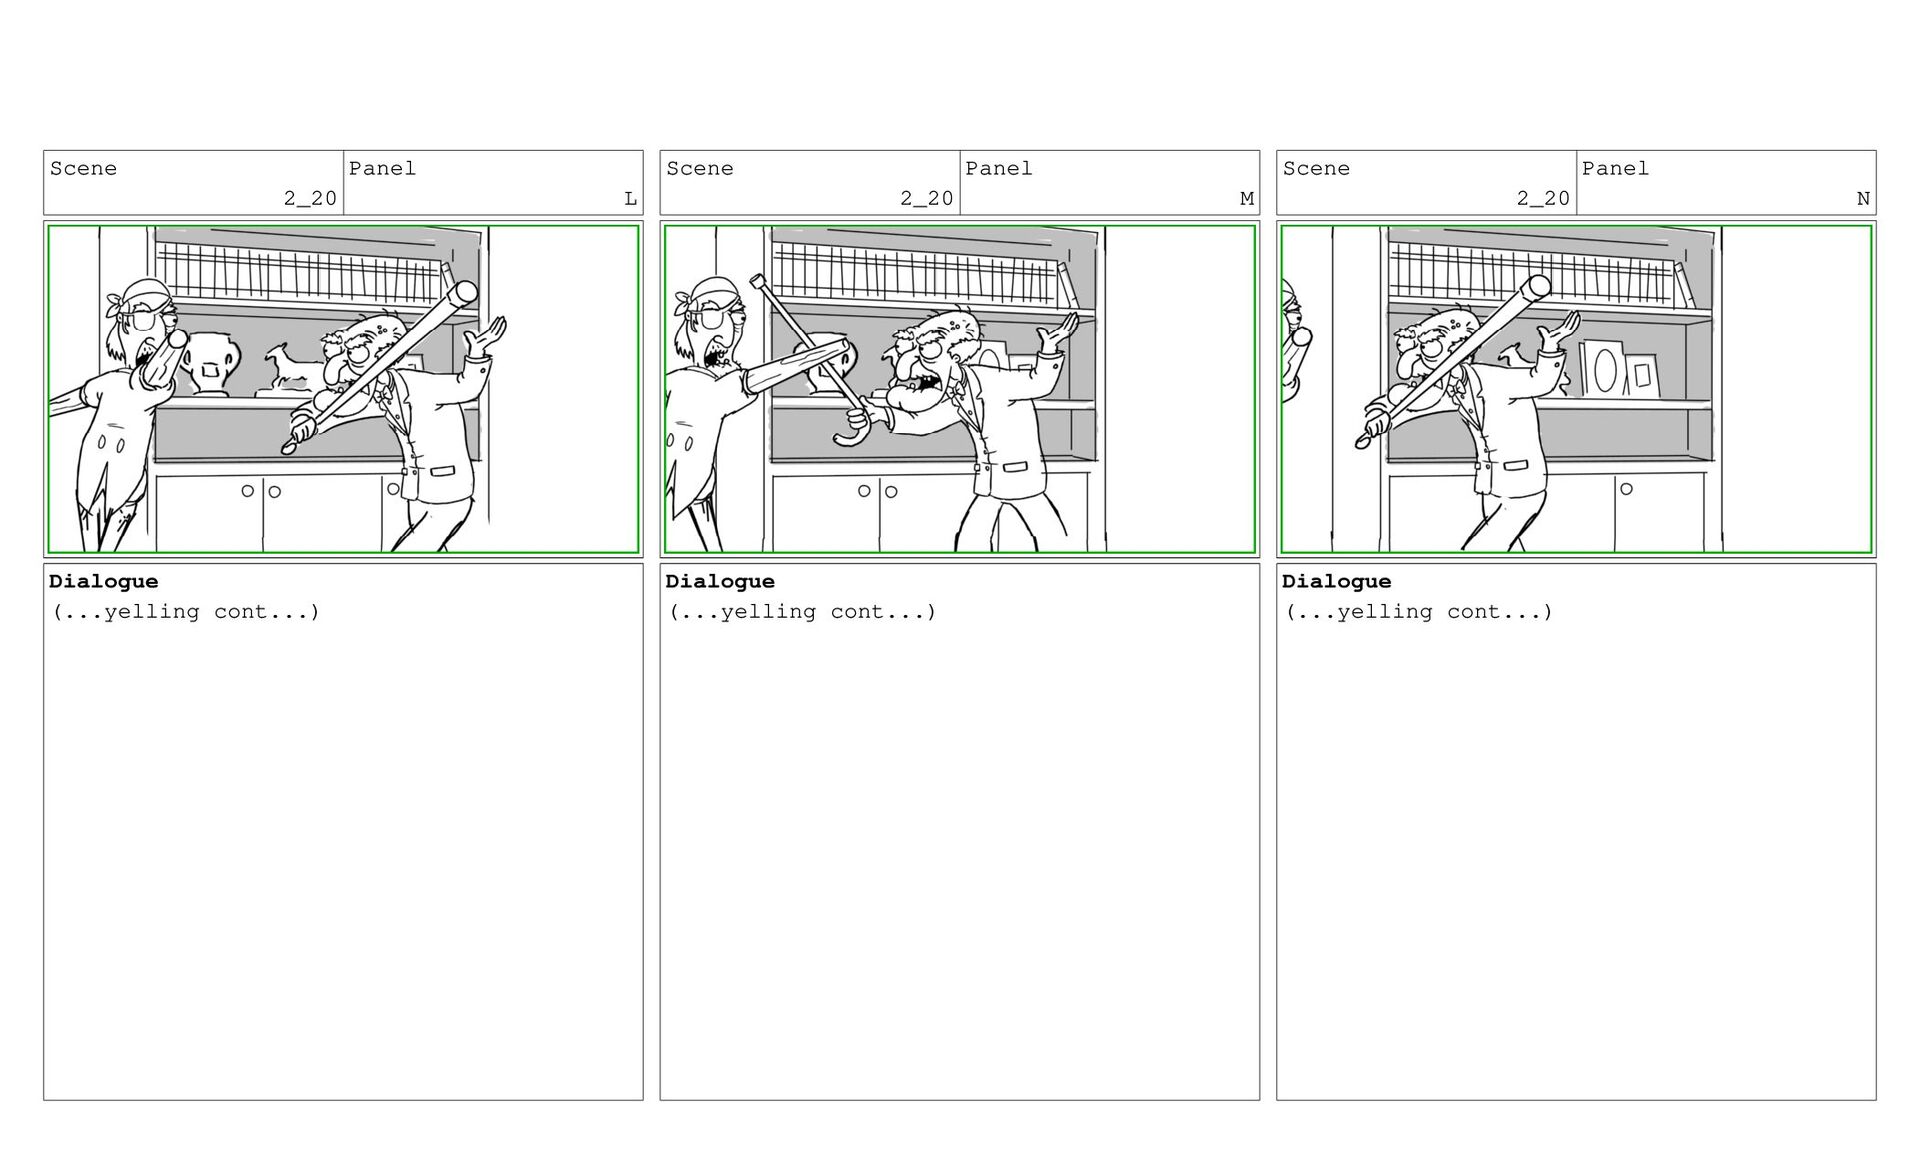
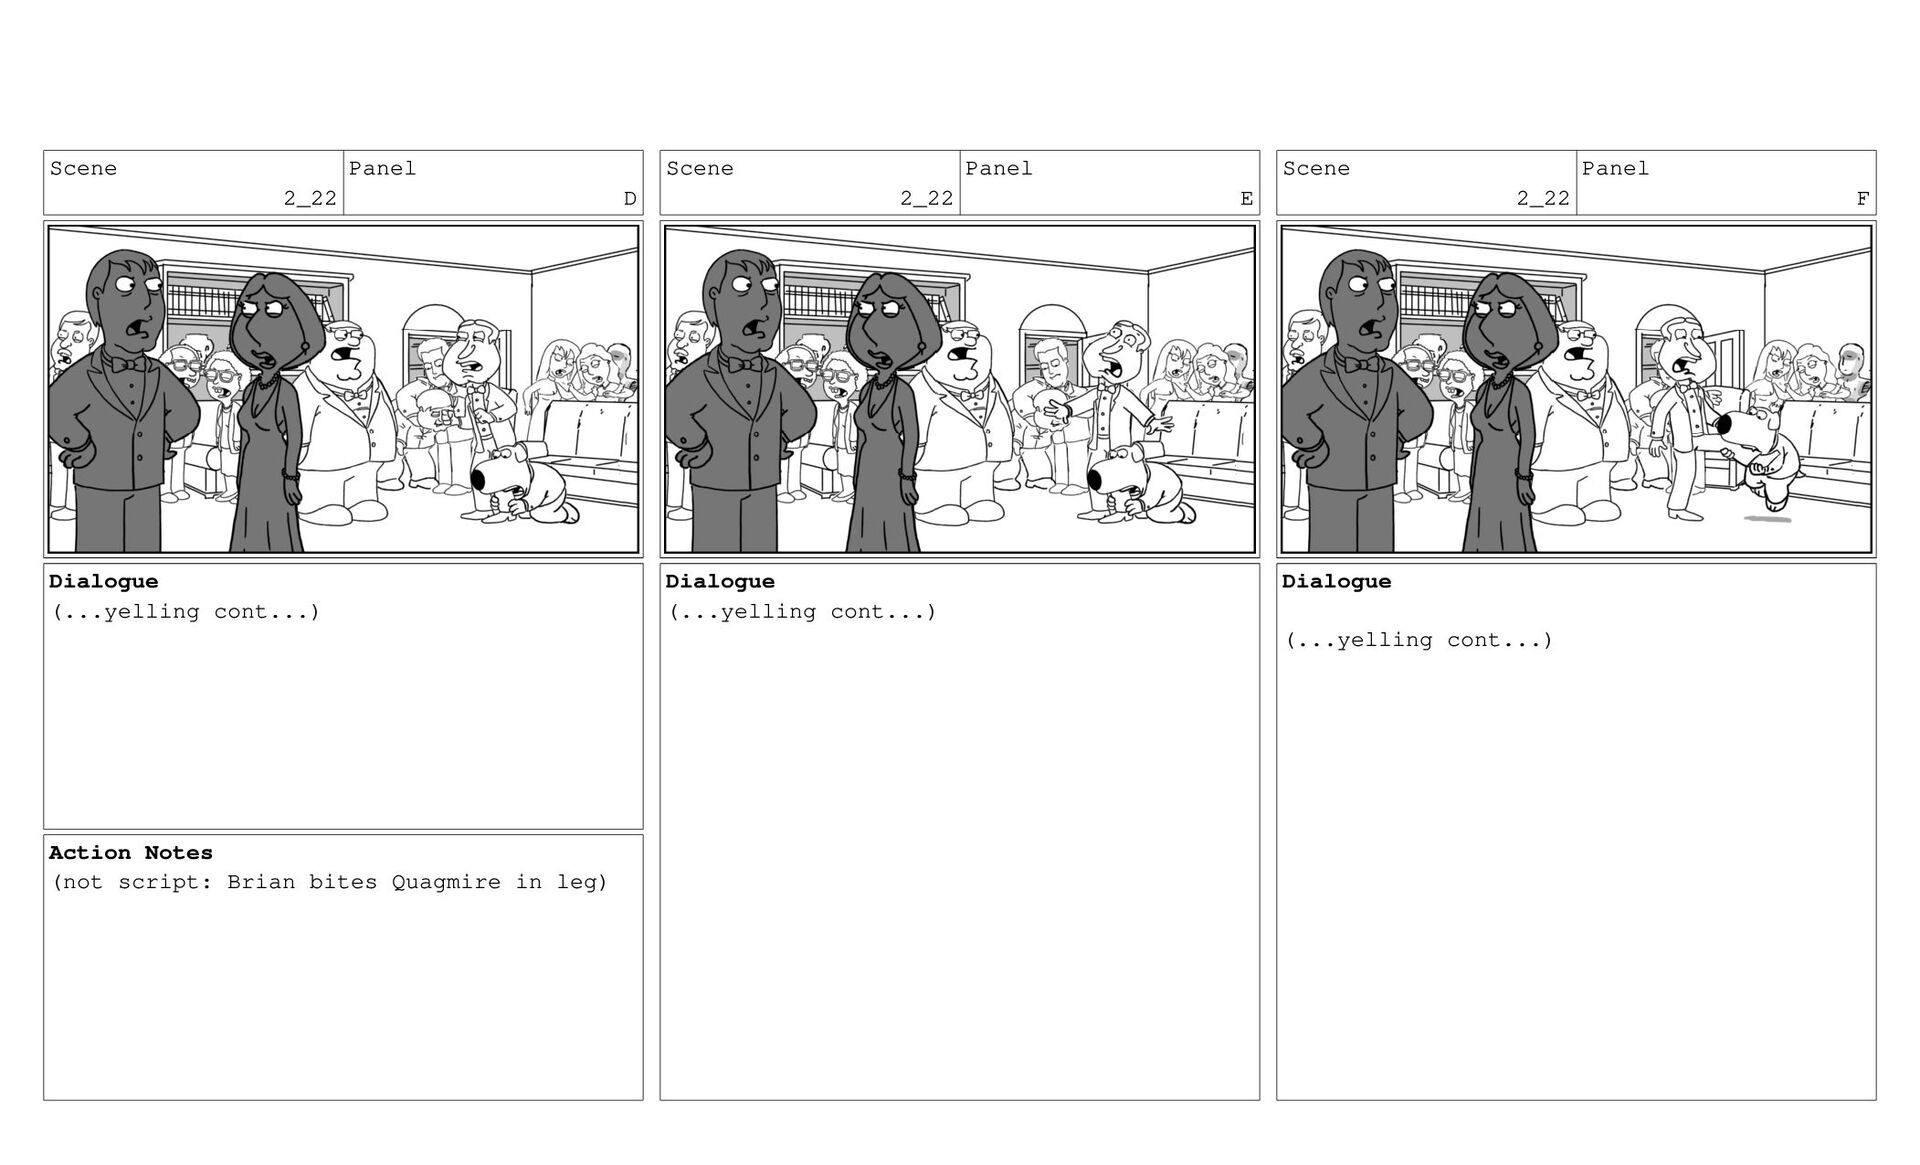
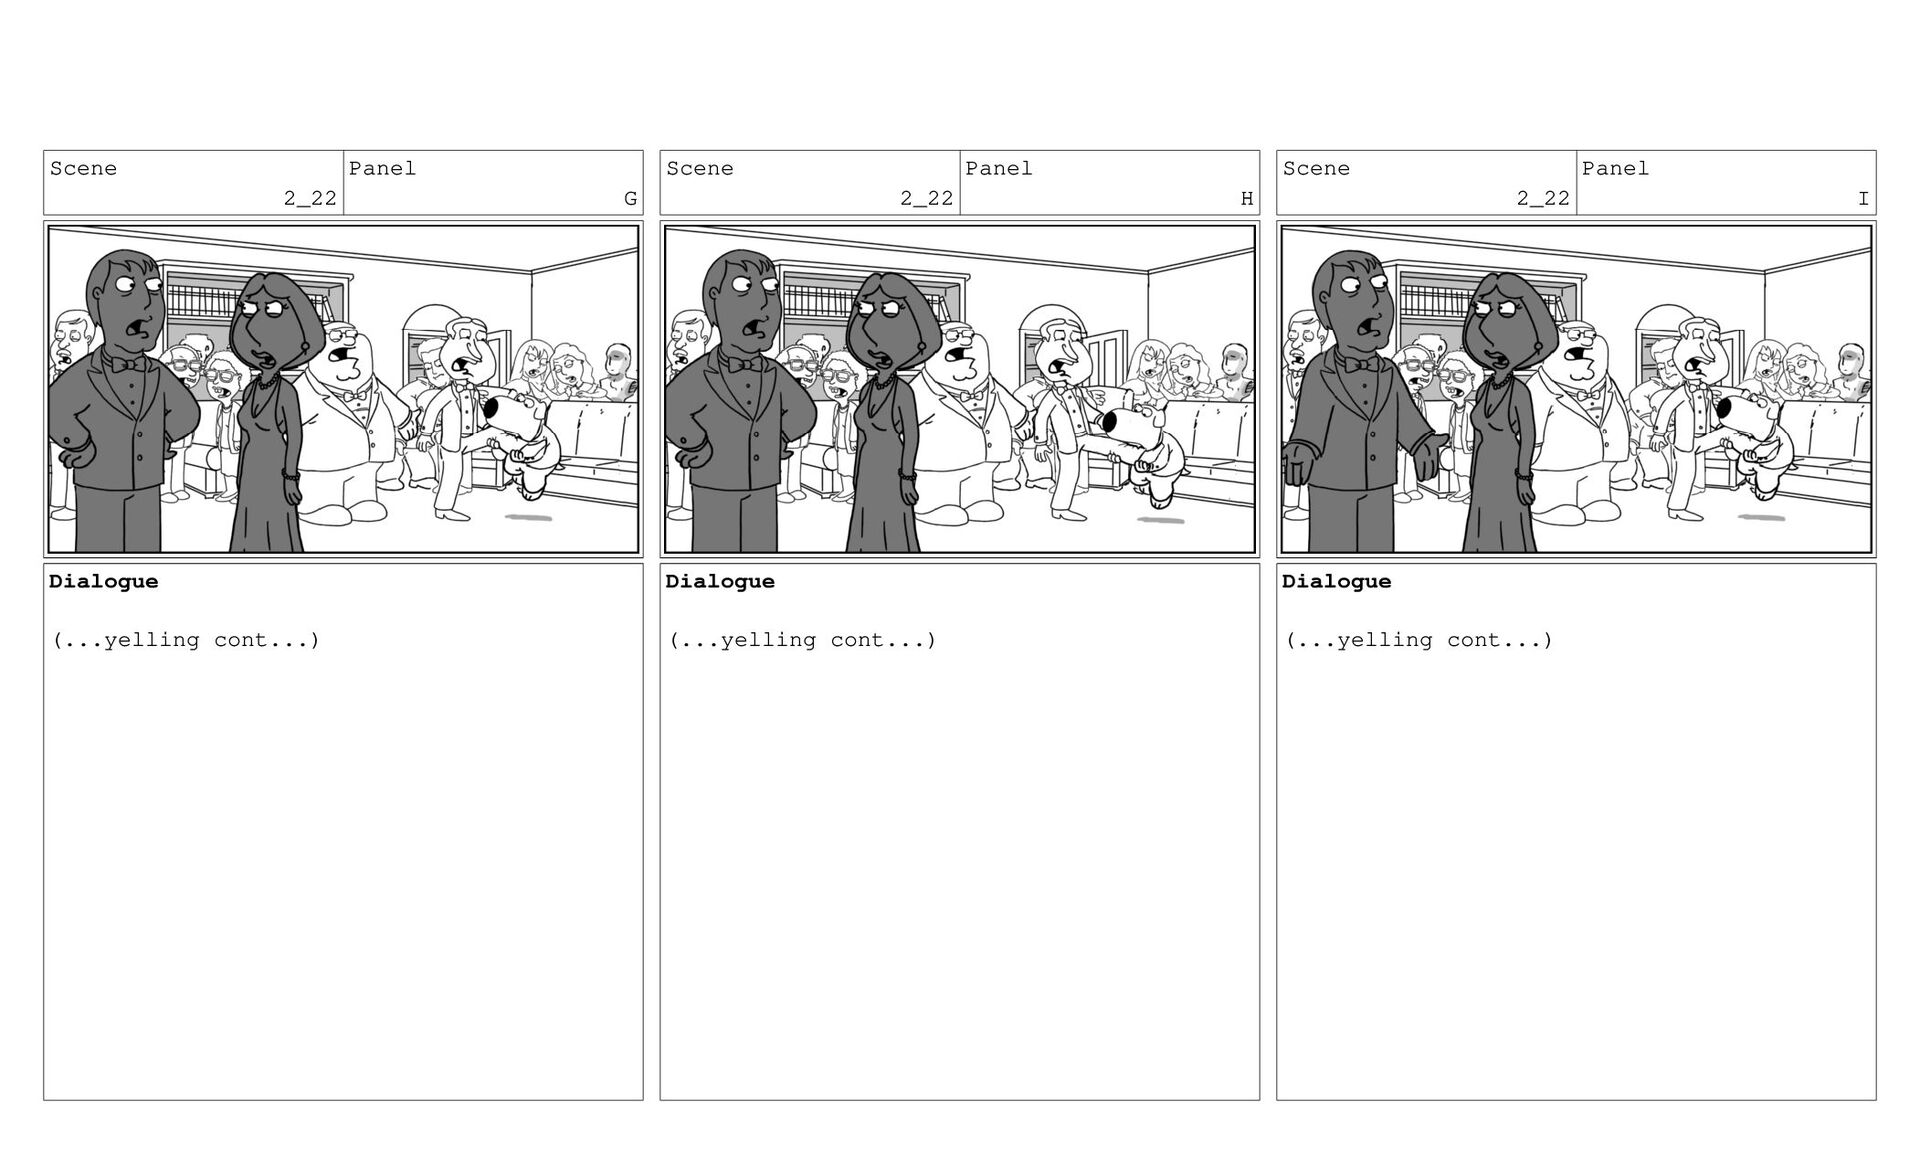
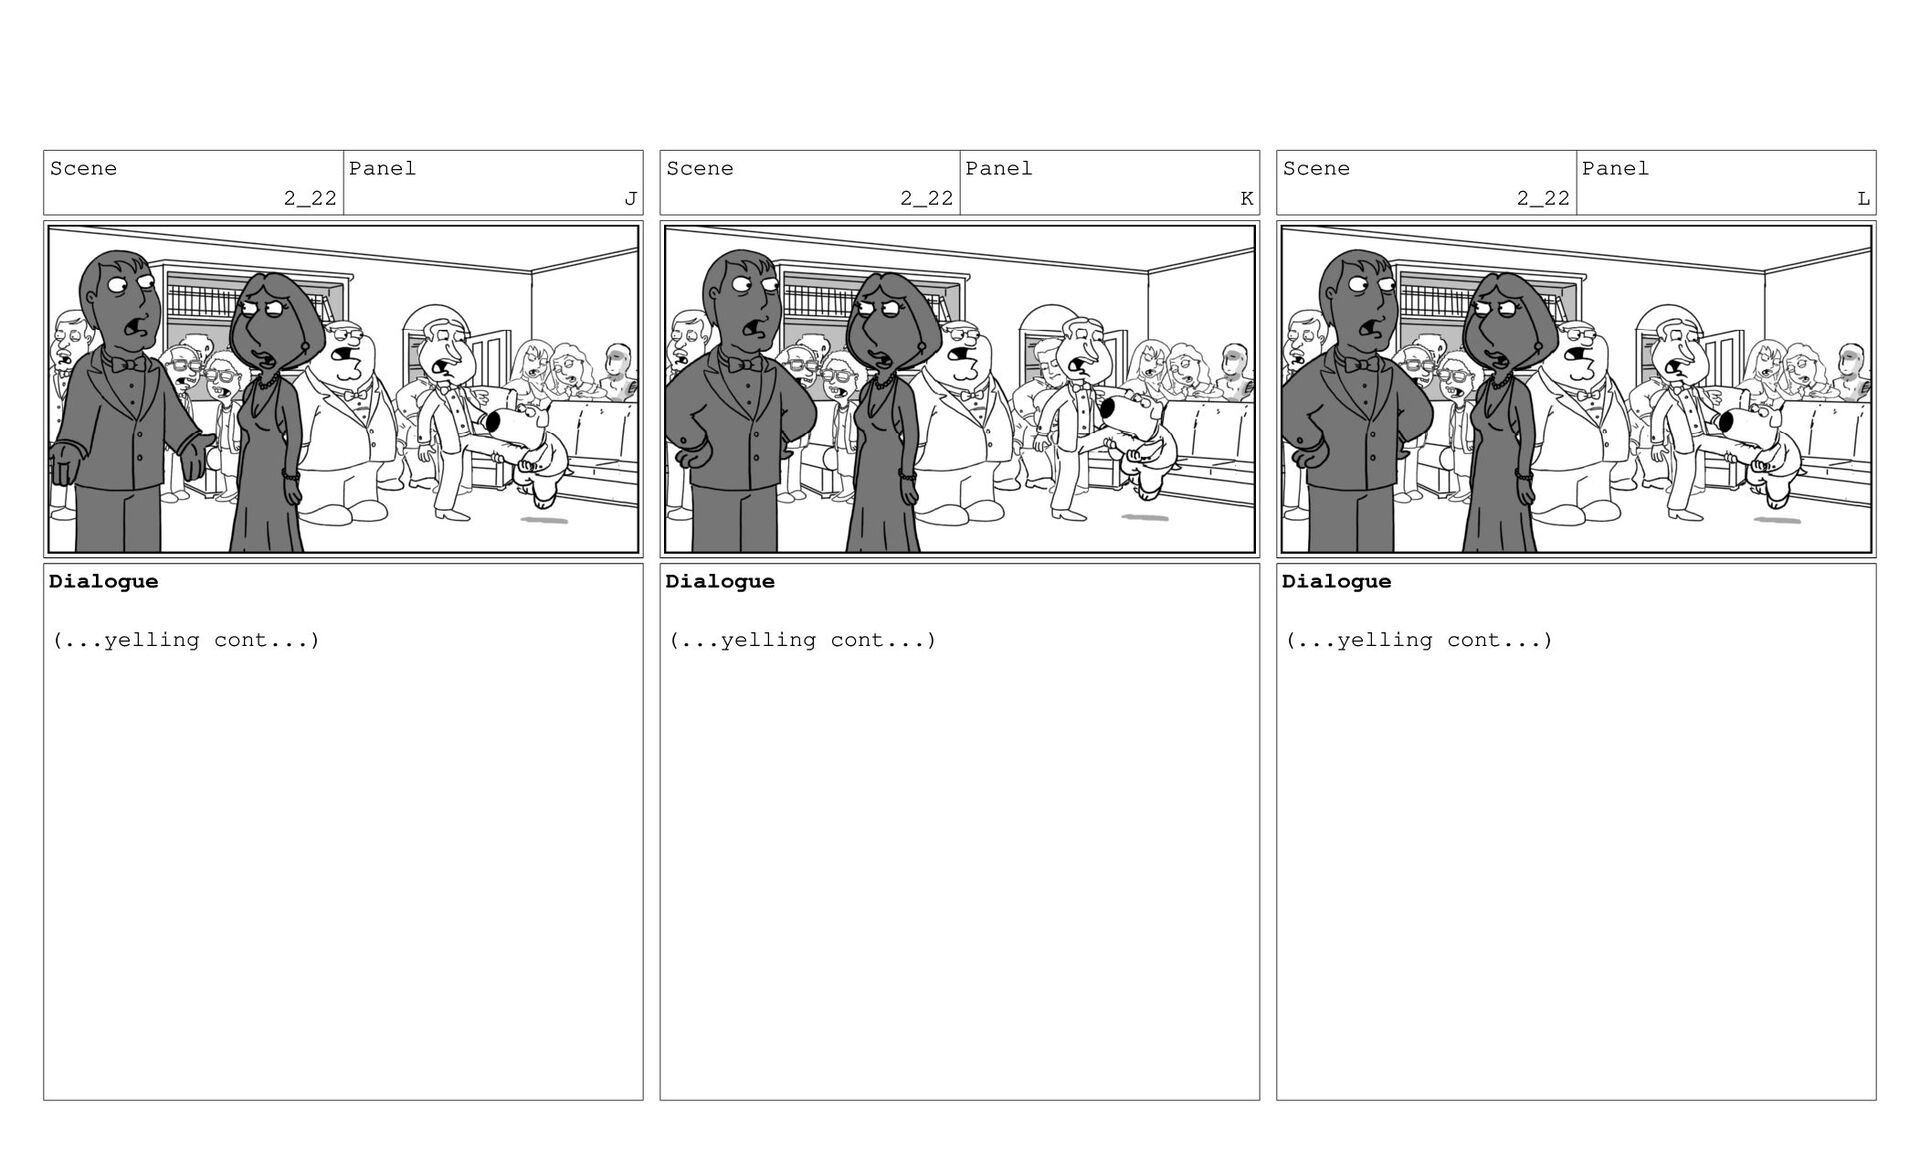
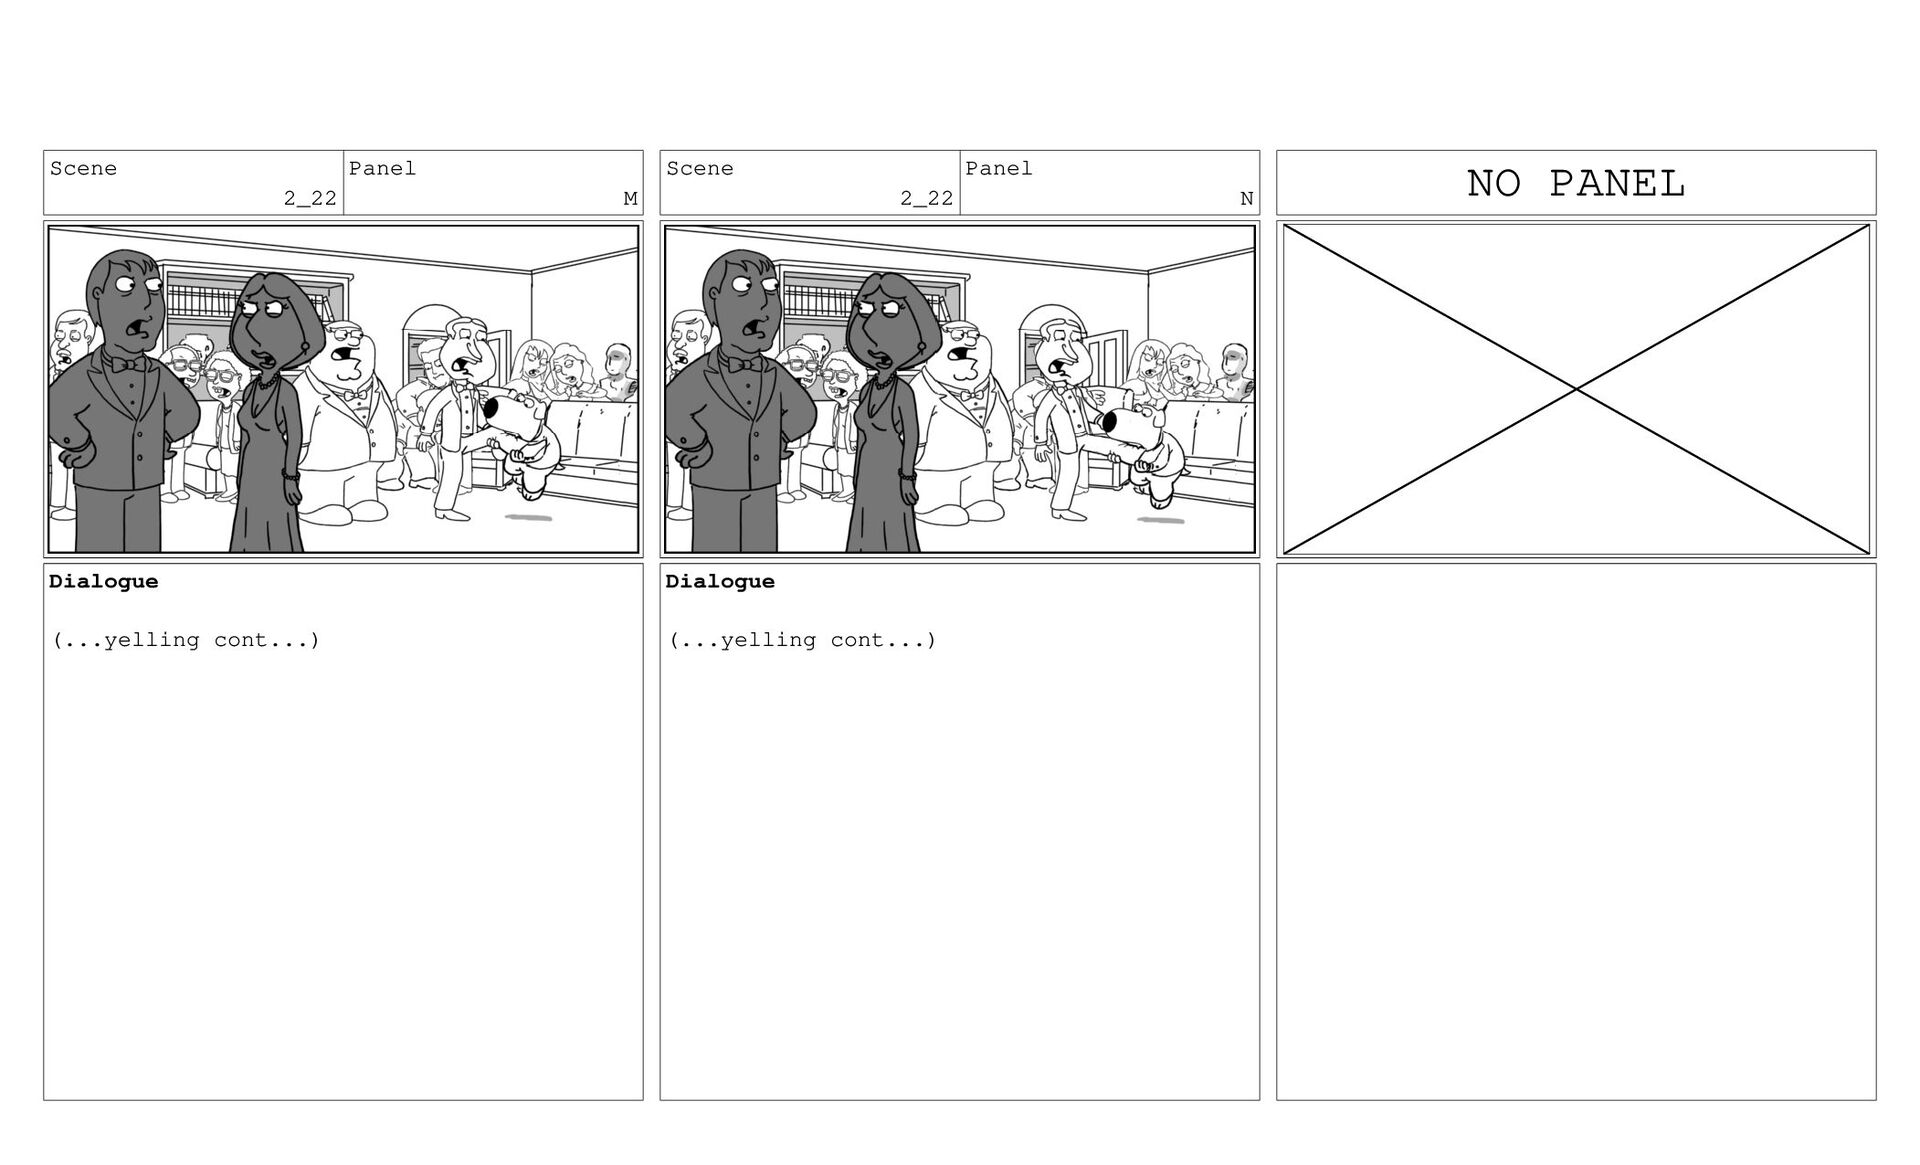
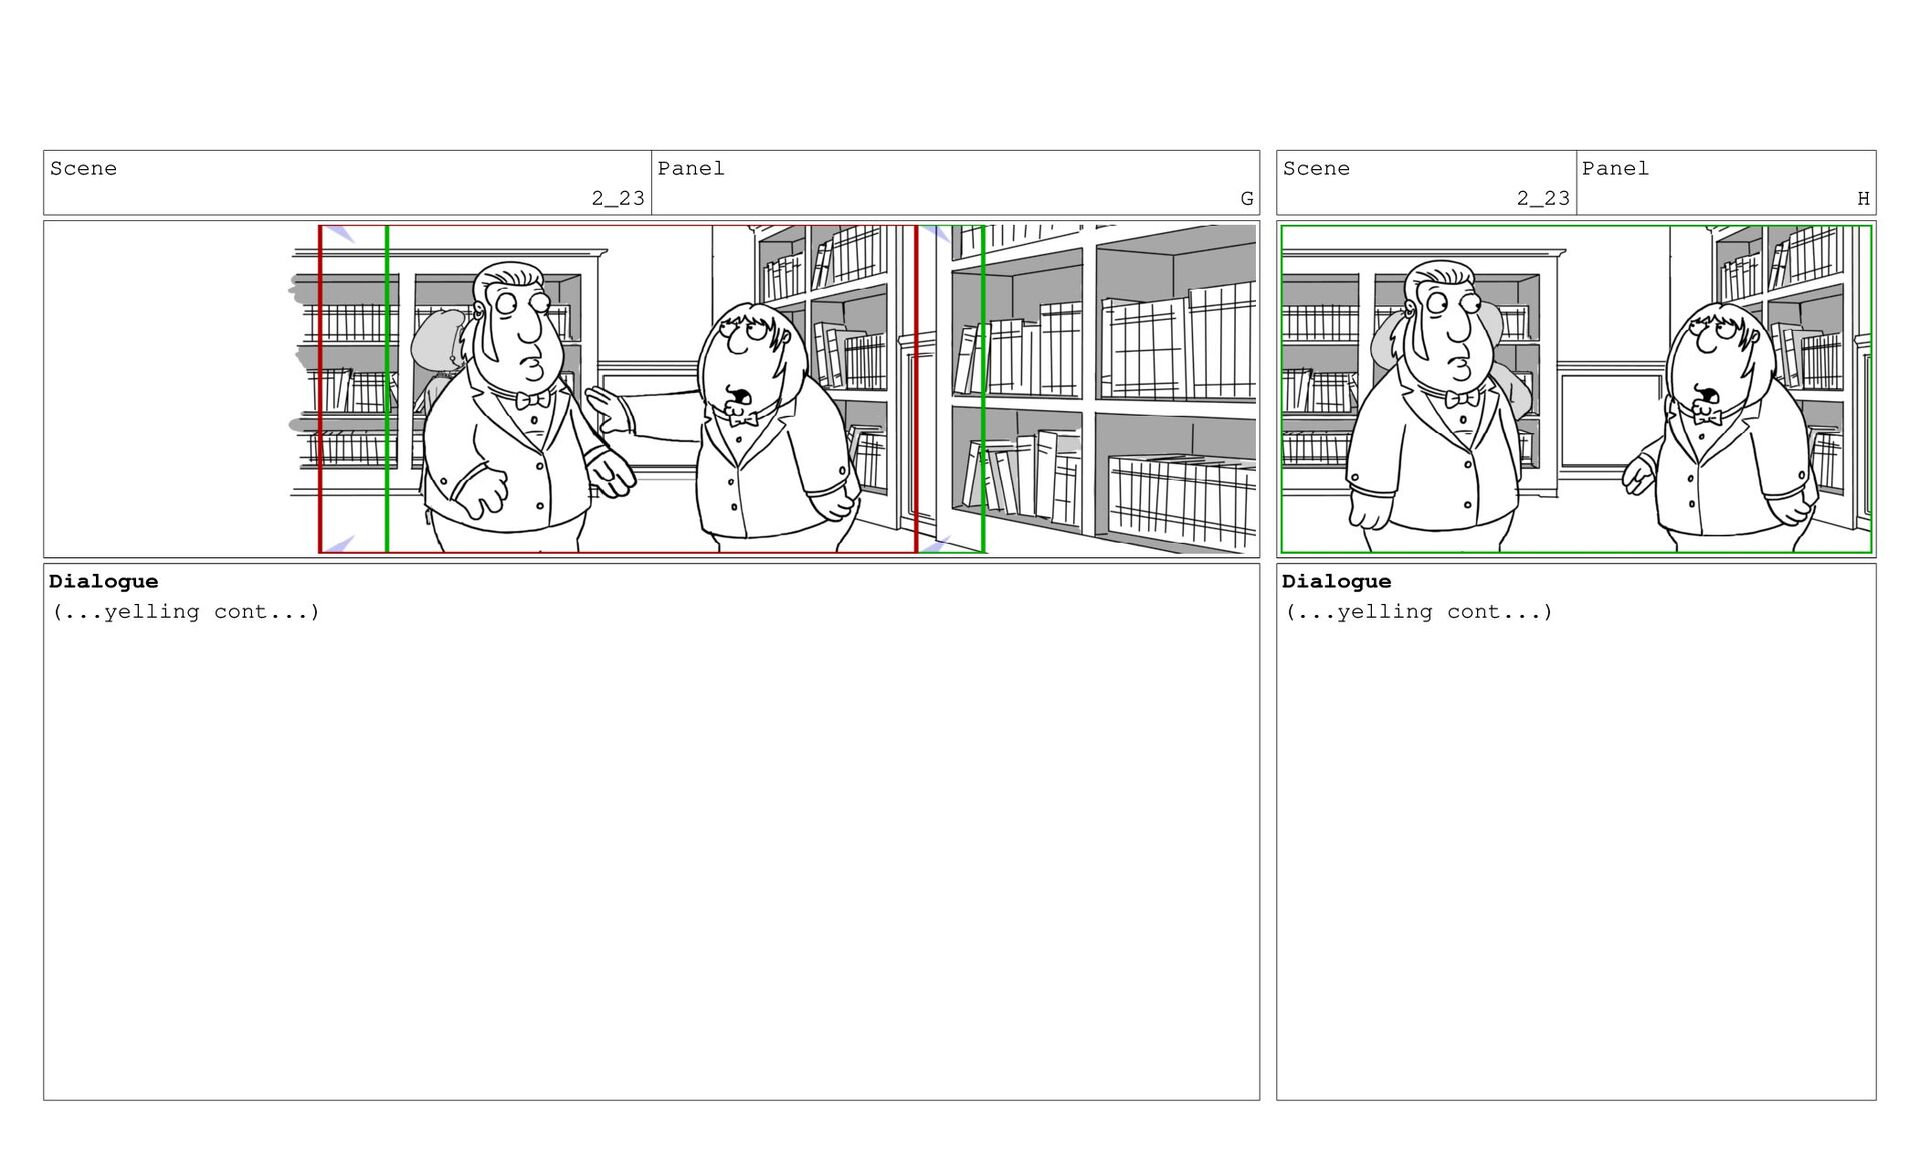
    Everyone starts yelling at everyone else, getting in each other's faces. Scene 2_18 Panel W Dialogue (...yelling cont...) Action Notes Scene 2_18 Panel X Dialogue (...yelling cont...)
  98. Scene 2_18 Panel Y Dialogue (...yelling cont...) Scene 2_18 Panel

    Z Dialogue (...yelling cont...) Scene 2_18 Panel AA Dialogue (...yelling cont...)
  99. Scene 2_33 Panel A Dialogue (...yelling cont...) Scene 2_33 Panel

    B Dialogue (...yelling cont...) Slugging Scene 2_33 Panel C Dialogue (...yelling cont...)
  100. Scene 2_33 Panel D Dialogue (...yelling cont...) Scene 2_33 Panel

    E Dialogue (...yelling cont...) Scene 2_33 Panel F Dialogue (...yelling cont...)
  101. Scene 2_33 Panel G Dialogue (...yelling cont...) Scene 2_33 Panel

    H Dialogue (...yelling cont...) Scene 2_33 Panel I Dialogue (...yelling cont...)
  102. Scene 2_33 Panel J Dialogue (...yelling cont...) Scene 2_33 Panel

    K Dialogue (...yelling cont...) Scene 2_33 Panel L Dialogue (...yelling cont...)
  103. Scene 2_33 Panel M Dialogue (...yelling cont...) Scene 2_33 Panel

    N Dialogue (...yelling cont...) Scene 2_33 Panel O Dialogue (...yelling cont...)
  104. Scene 2_33 Panel P Dialogue (...yelling cont...) Scene 2_33 Panel

    Q Dialogue (...yelling cont...) Scene 2_33 Panel R Dialogue (...yelling cont...)
  105. Scene 2_33 Panel S Dialogue (...yelling cont...) Scene 2_33 Panel

    T Dialogue (...yelling cont...) Scene 2_33 Panel U Dialogue (...yelling cont...)
  106. Scene 2_33 Panel X Dialogue (...yelling cont...) Scene 2_33 Panel

    Y Dialogue (...yelling cont...) Scene 2_33 Panel Z Dialogue (...yelling cont...)
  107. Scene 2_36 Panel A Dialogue (...yelling cont...) Scene 2_36 Panel

    B Dialogue (...yelling cont...) Scene 2_36 Panel C Dialogue (...yelling cont...)
  108. Scene 2_37 Panel A Dialogue (...yelling cont...) Scene 2_37 Panel

    B Dialogue (...yelling cont...) Scene 2_37 Panel C Dialogue (...yelling cont...)
  109. Scene 2_19 Panel A Dialogue (...yelling cont...) Scene 2_19 Panel

    B Dialogue (...yelling cont...) Scene 2_19 Panel C Dialogue (...yelling cont...)
  110. Scene 2_21 Panel A Dialogue (...yelling cont...) Scene 2_21 Panel

    B Dialogue (...yelling cont...) Scene 2_21 Panel C Dialogue (...yelling cont...)
  111. Scene 2_21 Panel D Dialogue (...yelling cont...) Scene 2_21 Panel

    E Dialogue (...yelling cont...) Scene 2_21 Panel F Dialogue (...yelling cont...) Action Notes Quagmire shoves Brian.
  112. Scene 2_21 Panel G Dialogue (...yelling cont...) Scene 2_21 Panel

    H Dialogue (...yelling cont...) Scene 2_21 Panel I Dialogue (...yelling cont...)
  113. Scene 2_21 Panel J Dialogue (...yelling cont...) Scene 2_21 Panel

    K Dialogue (...yelling cont...) Action Notes Peter shoves Quagmire. Scene 2_21 Panel L Dialogue (...yelling cont...)
  114. Scene 2_34 Panel A Dialogue (...yelling cont...) Action Notes Other

    people start scuffling as well, Scene 2_34 Panel B Dialogue (...yelling cont...) Scene 2_34 Panel C Dialogue (...yelling cont...)
  115. Scene 2_34 Panel D Dialogue (...yelling cont...) Scene 2_34 Panel

    E Dialogue (...yelling cont...) Scene 2_34 Panel F Dialogue (...yelling cont...)
  116. Scene 2_34 Panel G Dialogue (...yelling cont...) Scene 2_34 Panel

    H Dialogue (...yelling cont...) Scene 2_34 Panel I Dialogue (...yelling cont...)
  117. Scene 2_34 Panel J Dialogue (...yelling cont...) Scene 2_34 Panel

    K Dialogue (...yelling cont...) Scene 2_34 Panel L Dialogue (...yelling cont...)
  118. Scene 2_35 Panel A Dialogue (...yelling cont...) Scene 2_35 Panel

    B Dialogue (...yelling cont...) Scene 2_35 Panel C Dialogue (...yelling cont...)
  119. Scene 2_35 Panel D Dialogue (...yelling cont...) Scene 2_35 Panel

    E Dialogue (...yelling cont...) Scene 2_35 Panel F Dialogue (...yelling cont...)
  120. Scene 2_35 Panel G Dialogue (...yelling cont...) Scene 2_35 Panel

    H Dialogue (...yelling cont...) Scene 2_35 Panel I Dialogue (...yelling cont...)
  121. Scene 2_35 Panel J Dialogue (...yelling cont...) Scene 2_35 Panel

    K Dialogue (...yelling cont...) Scene 2_35 Panel L Dialogue (...yelling cont...)
  122. Scene 2_20 Panel A Dialogue (...yelling cont...) Scene 2_20 Panel

    B Dialogue (...yelling cont...) Scene 2_20 Panel C Dialogue (...yelling cont...)
  123. Scene 2_20 Panel F Dialogue (...yelling cont...) Scene 2_20 Panel

    G Dialogue (...yelling cont...) Scene 2_20 Panel H Dialogue (...yelling cont...)
  124. Scene 2_20 Panel I Dialogue (...yelling cont...) Scene 2_20 Panel

    J Dialogue (...yelling cont...) Scene 2_20 Panel K Dialogue (...yelling cont...)
  125. Scene 2_20 Panel L Dialogue (...yelling cont...) Scene 2_20 Panel

    M Dialogue (...yelling cont...) Scene 2_20 Panel N Dialogue (...yelling cont...)
  126. Scene 2_22 Panel A Dialogue (...yelling cont...) Scene 2_22 Panel

    B Dialogue (...yelling cont...) Scene 2_22 Panel C Dialogue (...yelling cont...)
  127. Scene 2_22 Panel D Dialogue (...yelling cont...) Action Notes (not

    script: Brian bites Quagmire in leg) Scene 2_22 Panel E Dialogue (...yelling cont...) Scene 2_22 Panel F Dialogue (...yelling cont...)
  128. Scene 2_22 Panel G Dialogue (...yelling cont...) Scene 2_22 Panel

    H Dialogue (...yelling cont...) Scene 2_22 Panel I Dialogue (...yelling cont...)
  129. Scene 2_22 Panel J Dialogue (...yelling cont...) Scene 2_22 Panel

    K Dialogue (...yelling cont...) Scene 2_22 Panel L Dialogue (...yelling cont...)
  130. Scene 2_23 Panel A Dialogue (...yelling cont...) Scene 2_23 Panel

    B Dialogue (...yelling cont...) Scene 2_23 Panel C Dialogue (...yelling cont...)
  131. Scene 2_23 Panel D Dialogue (...yelling cont...) Scene 2_23 Panel

    E Dialogue (...yelling cont...) Scene 2_23 Panel F Dialogue (...yelling cont...)
  132. Scene 2_23 Panel L Dialogue (...yelling cont...) Scene 2_23 Panel

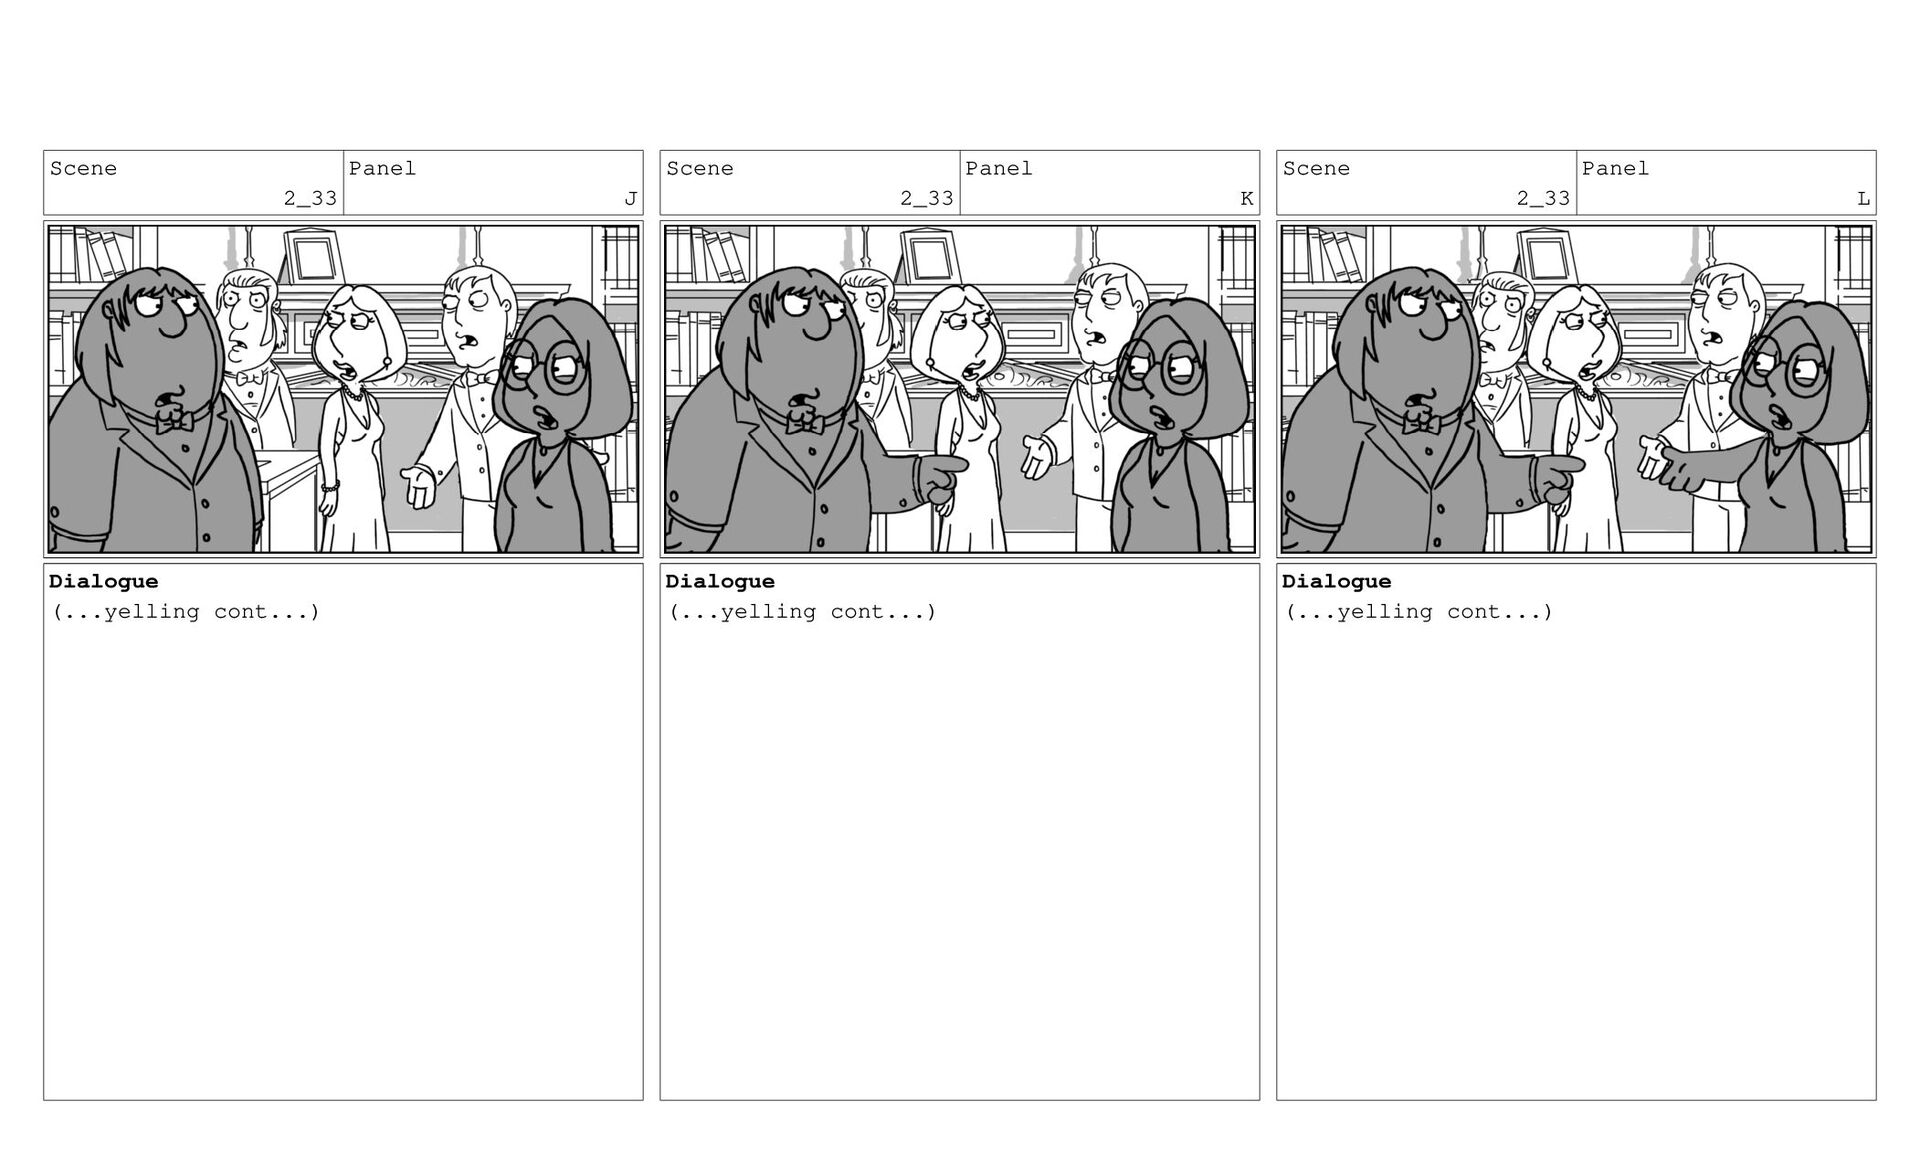
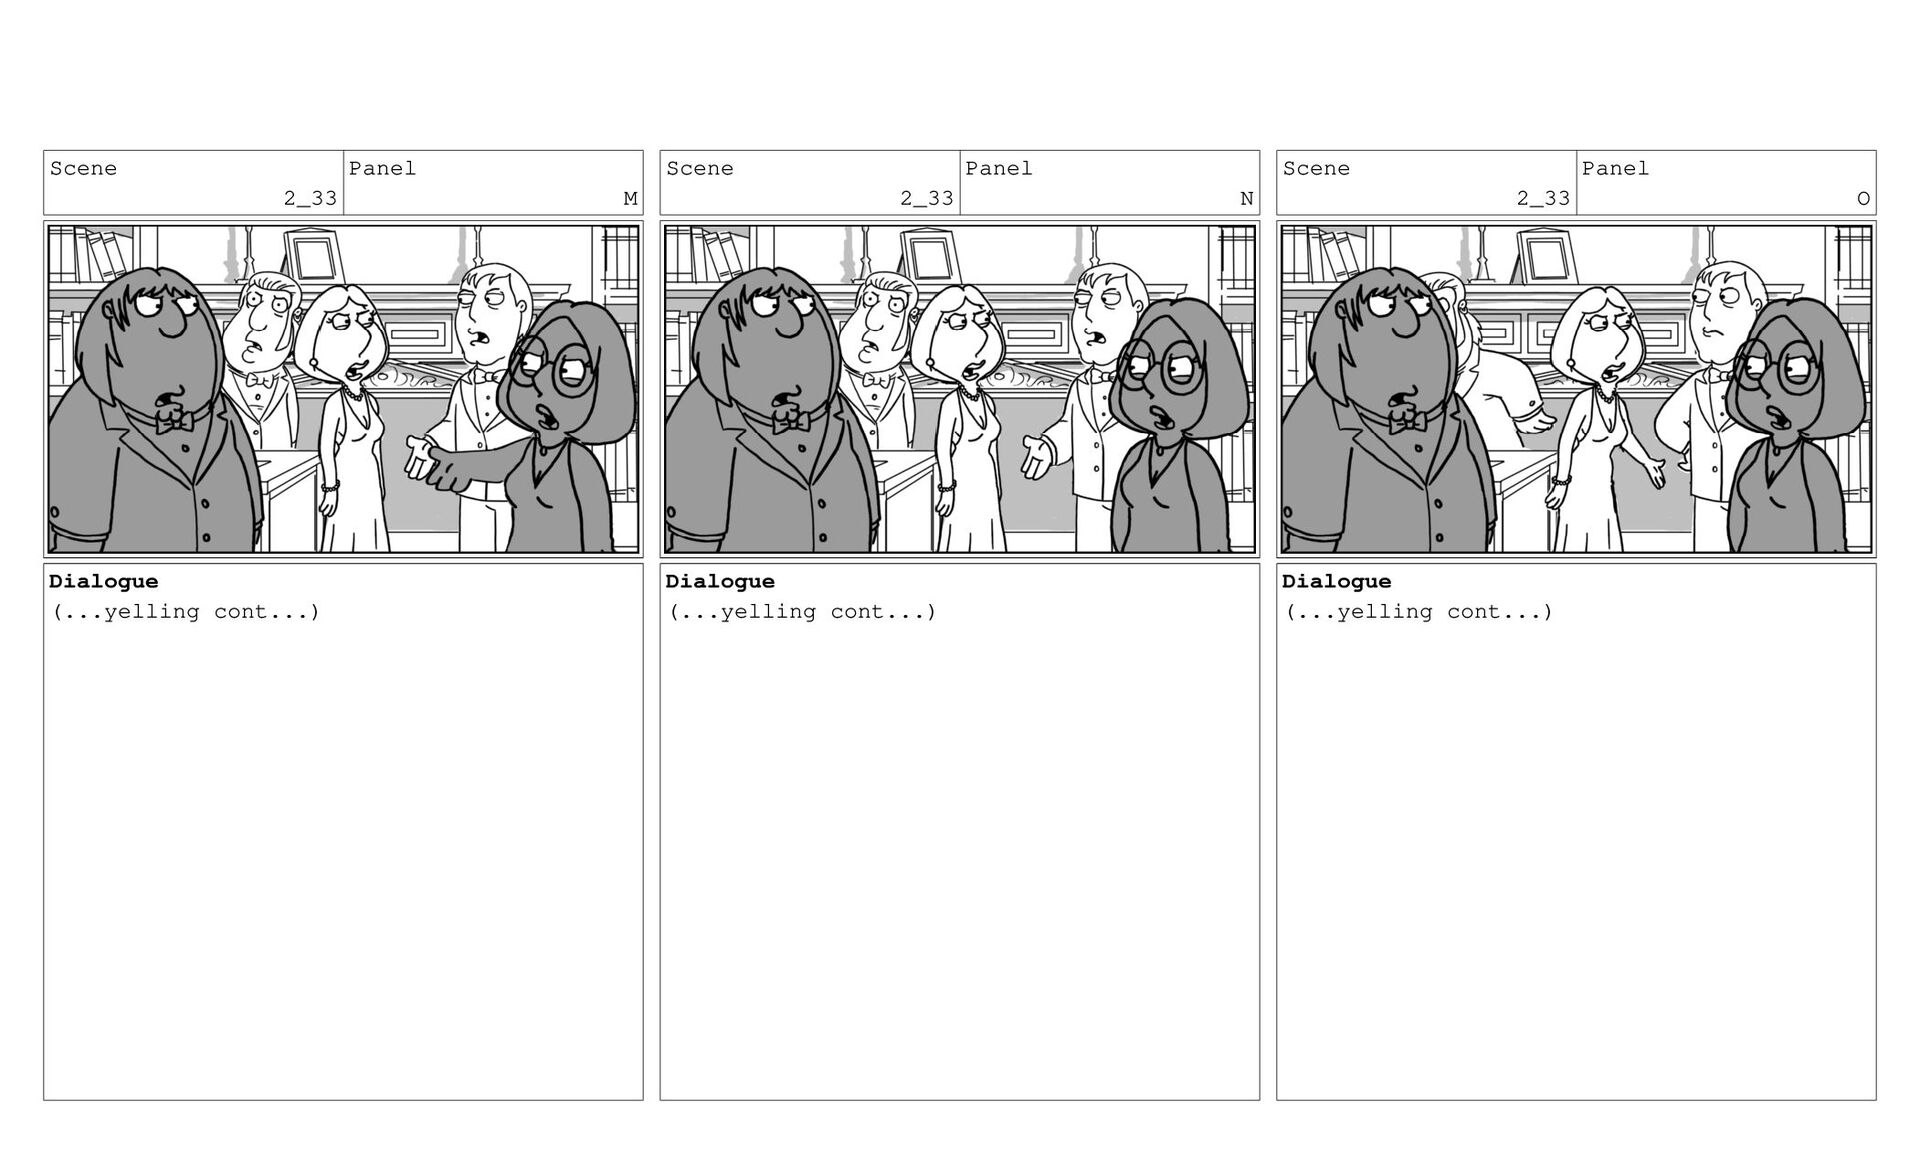
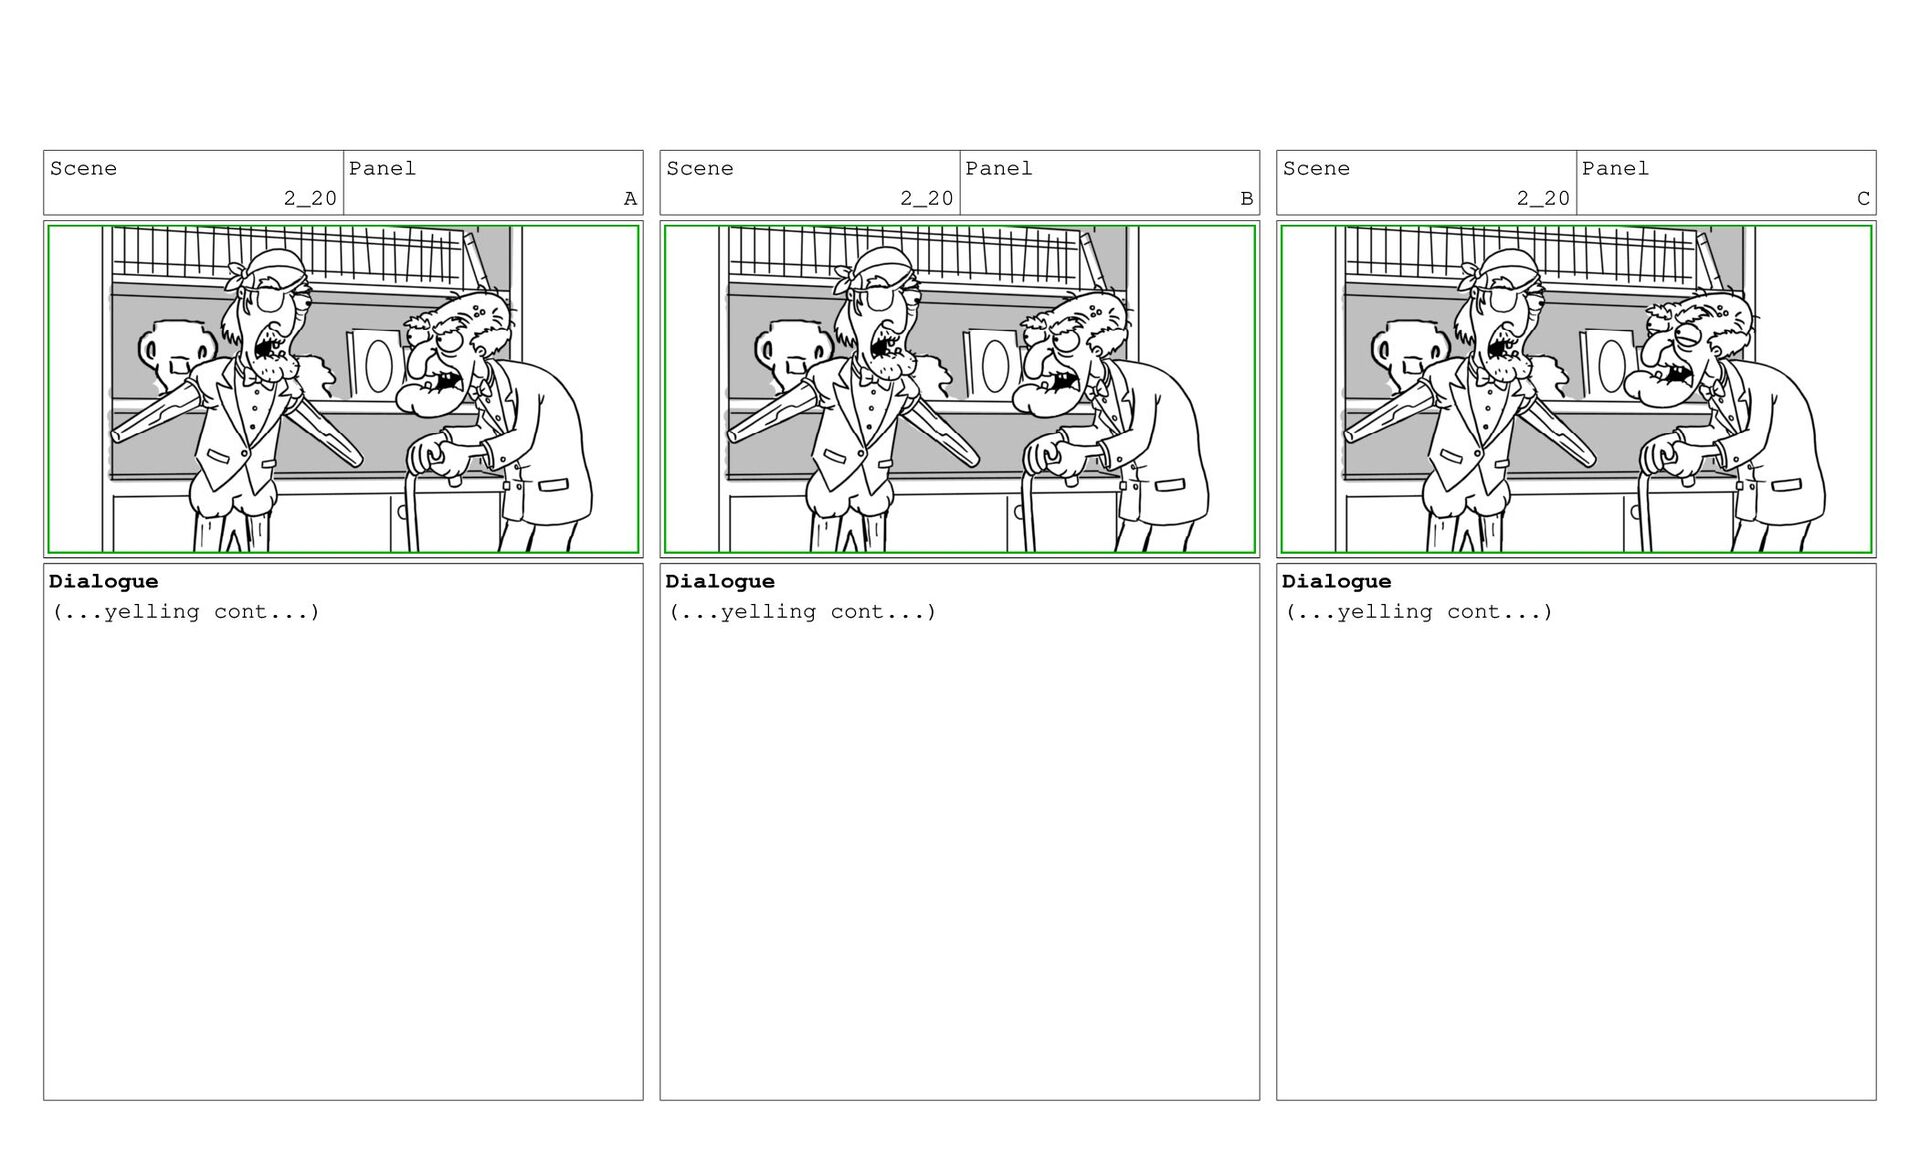
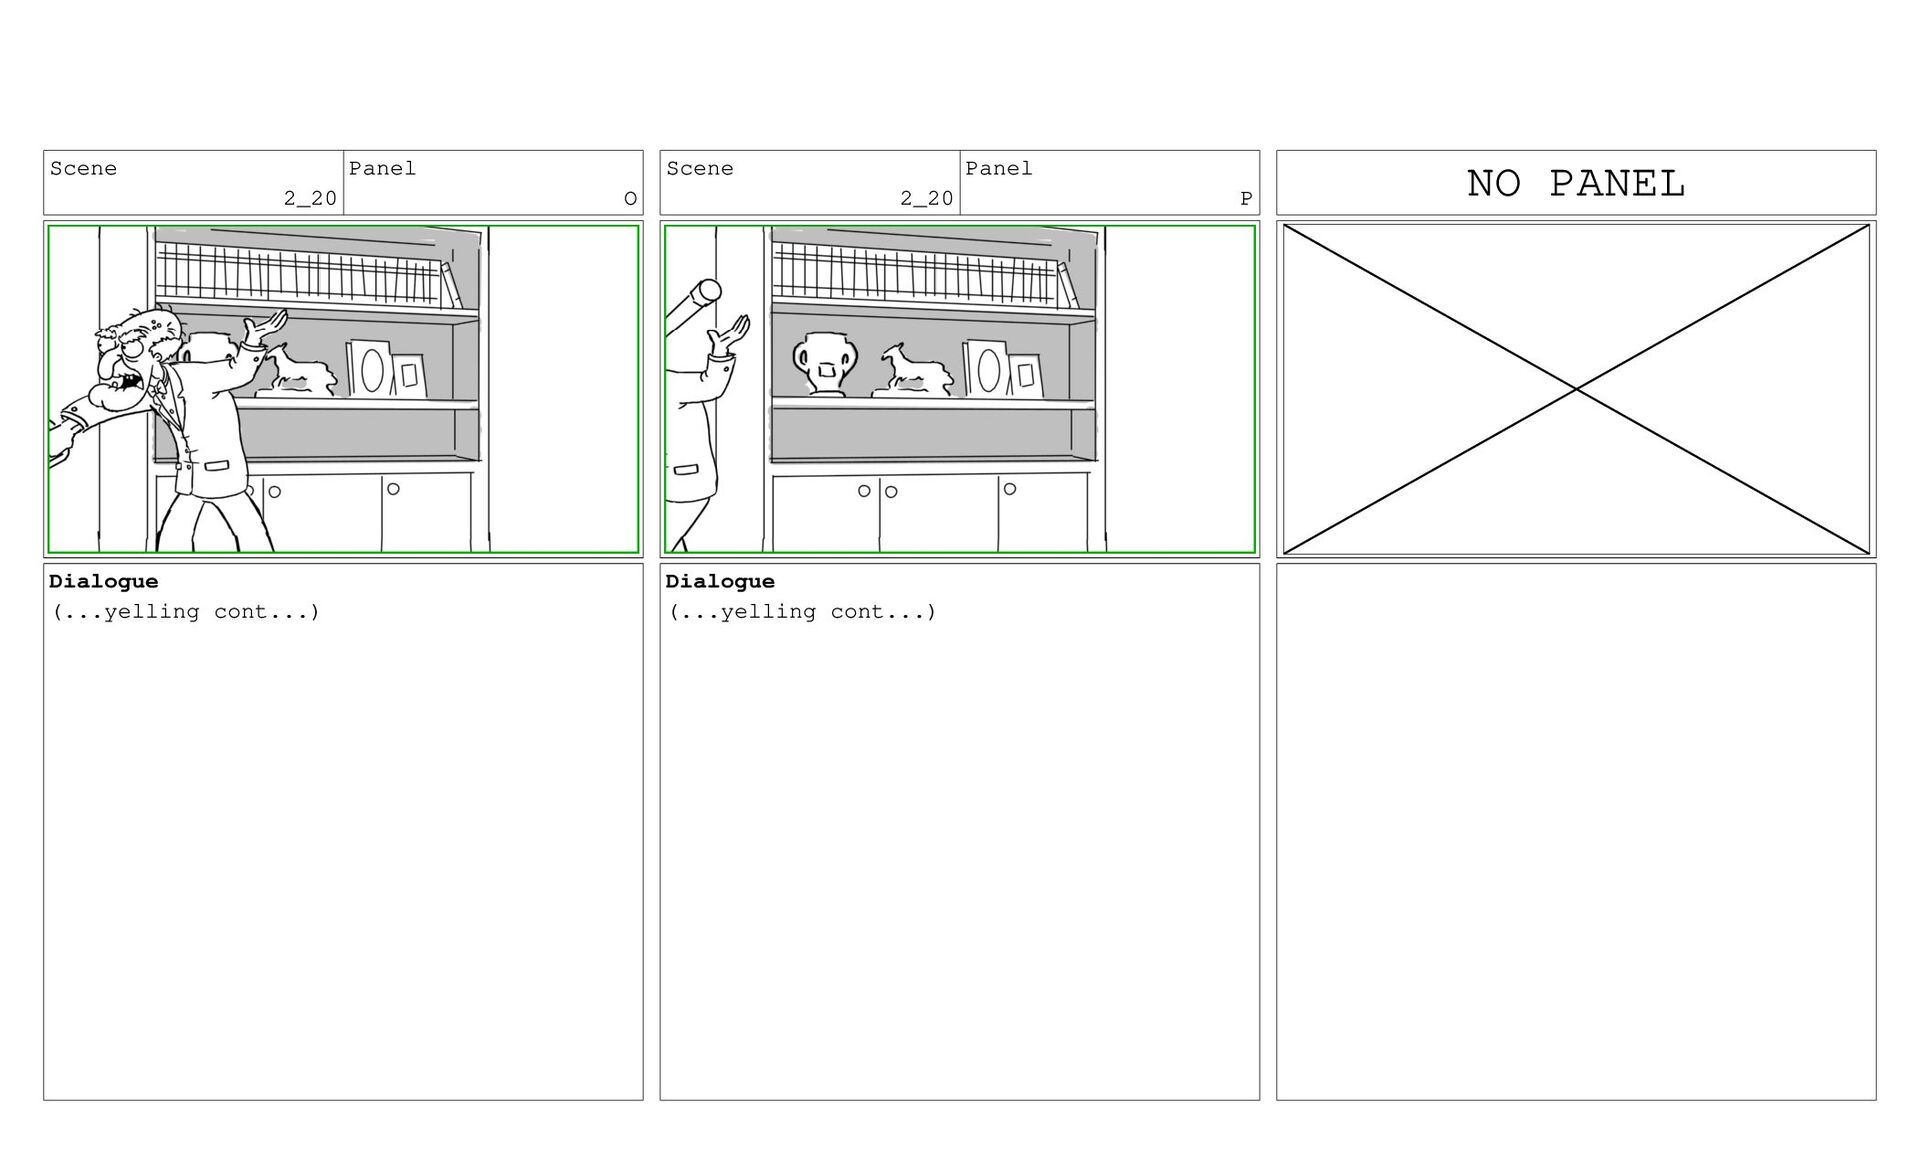
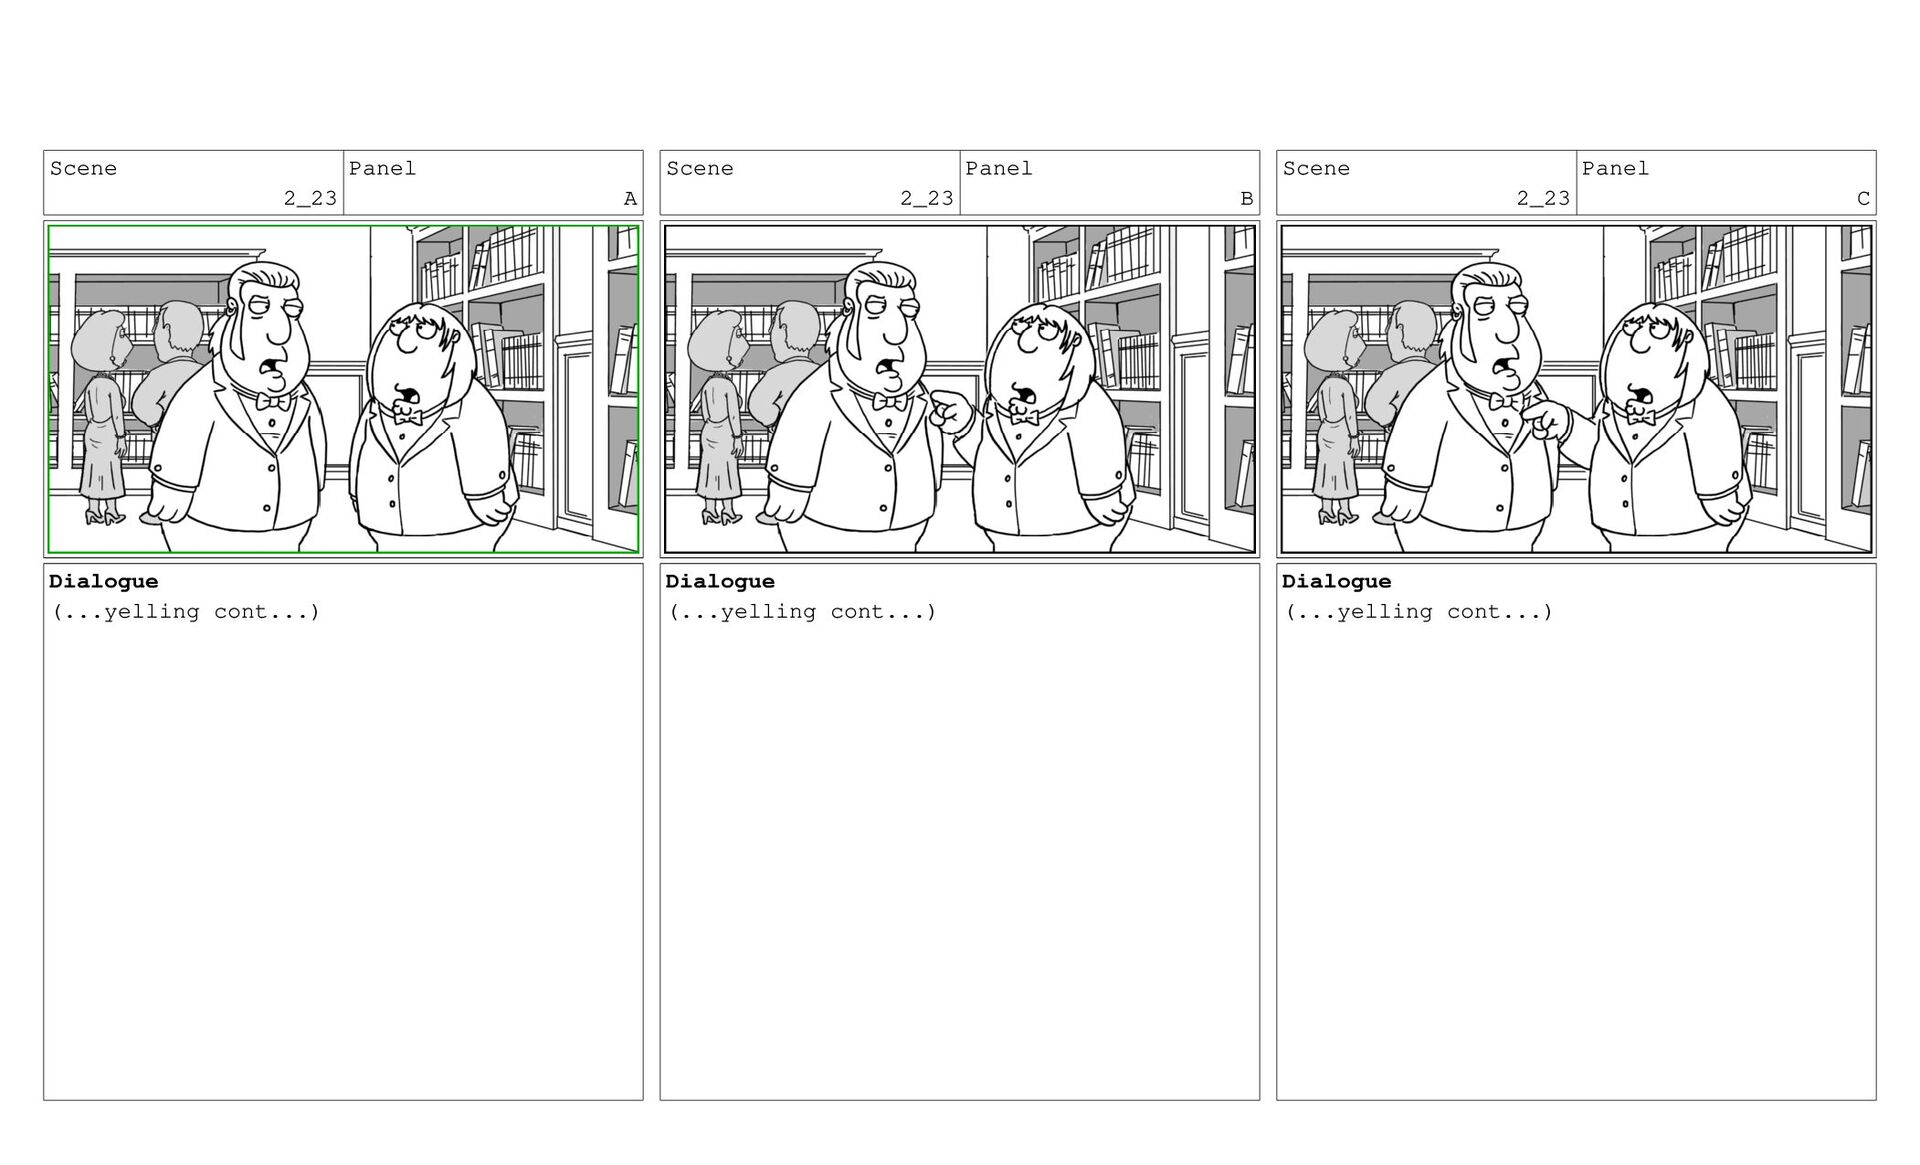
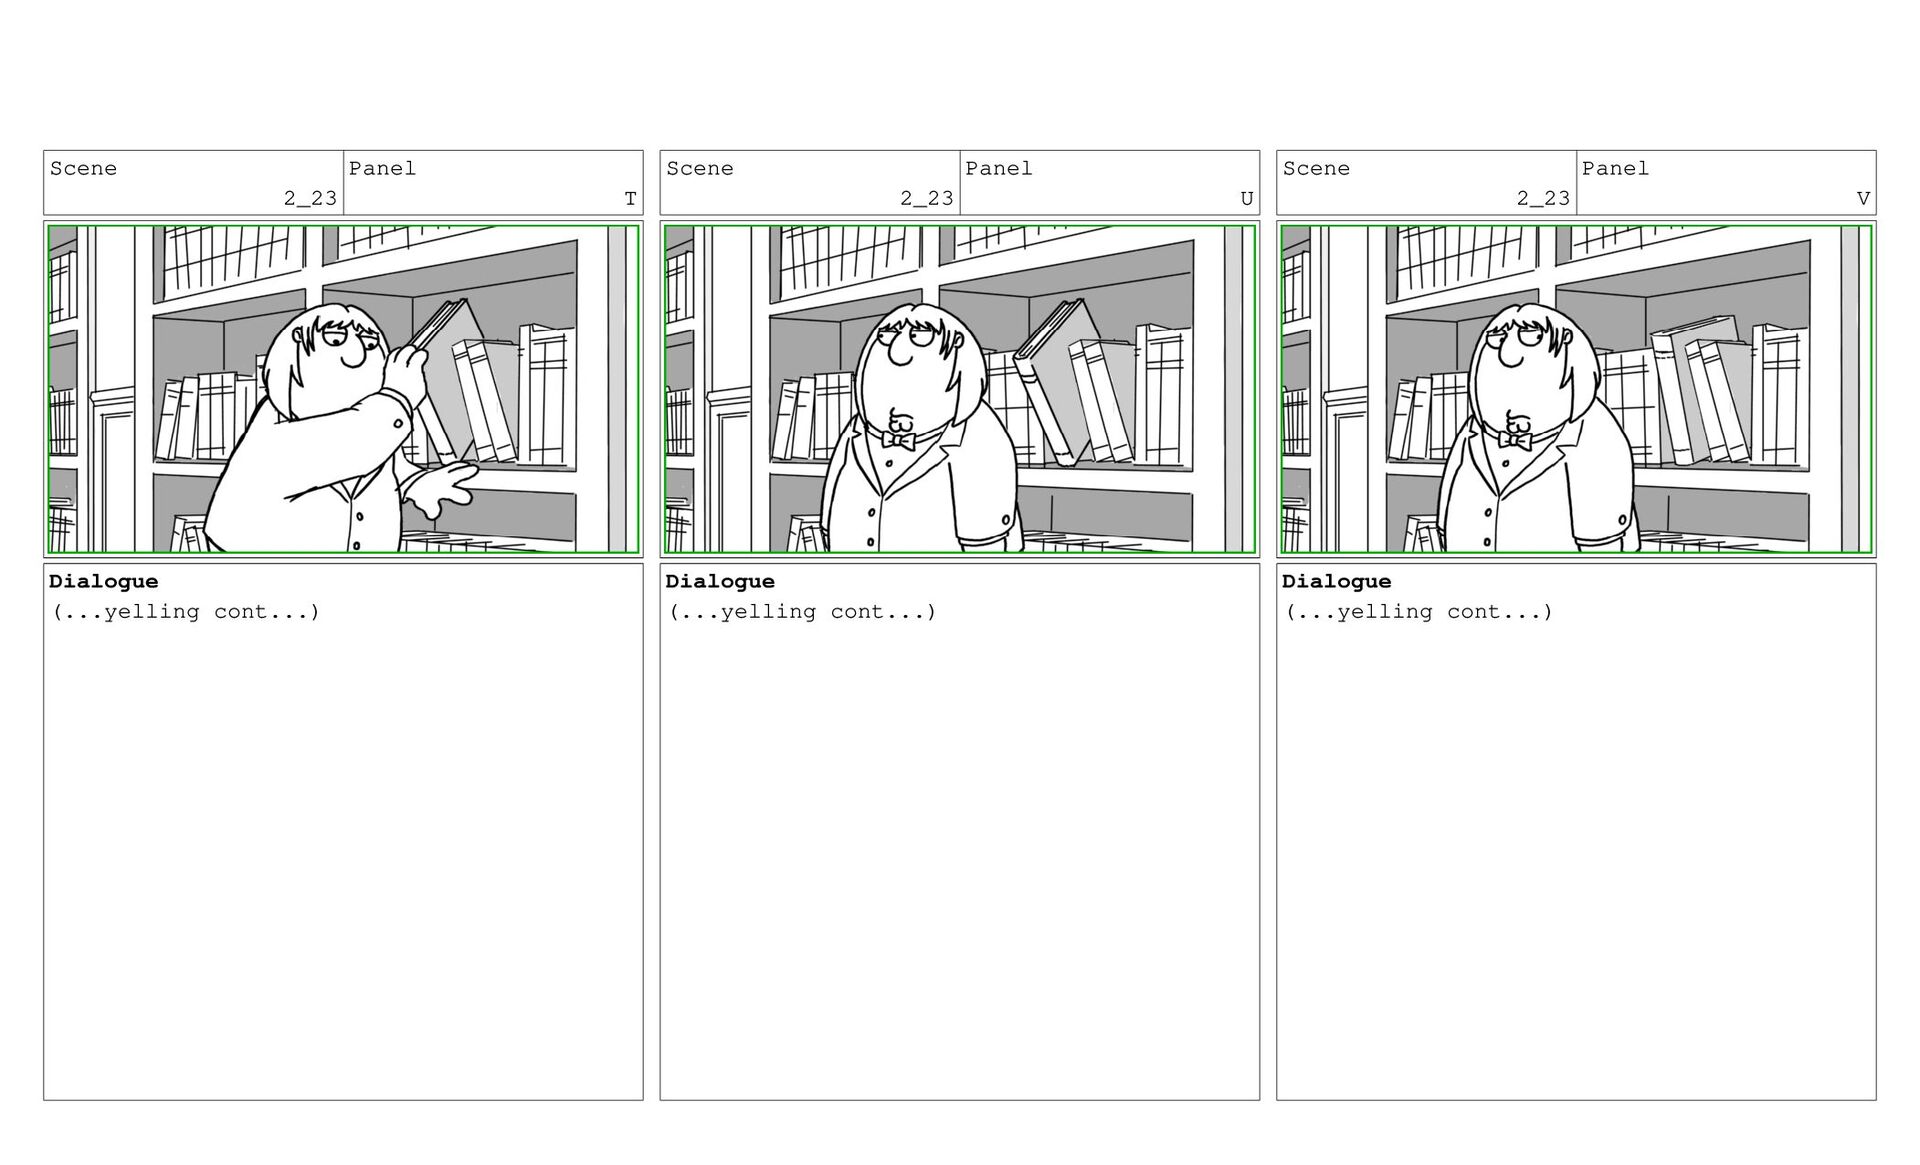
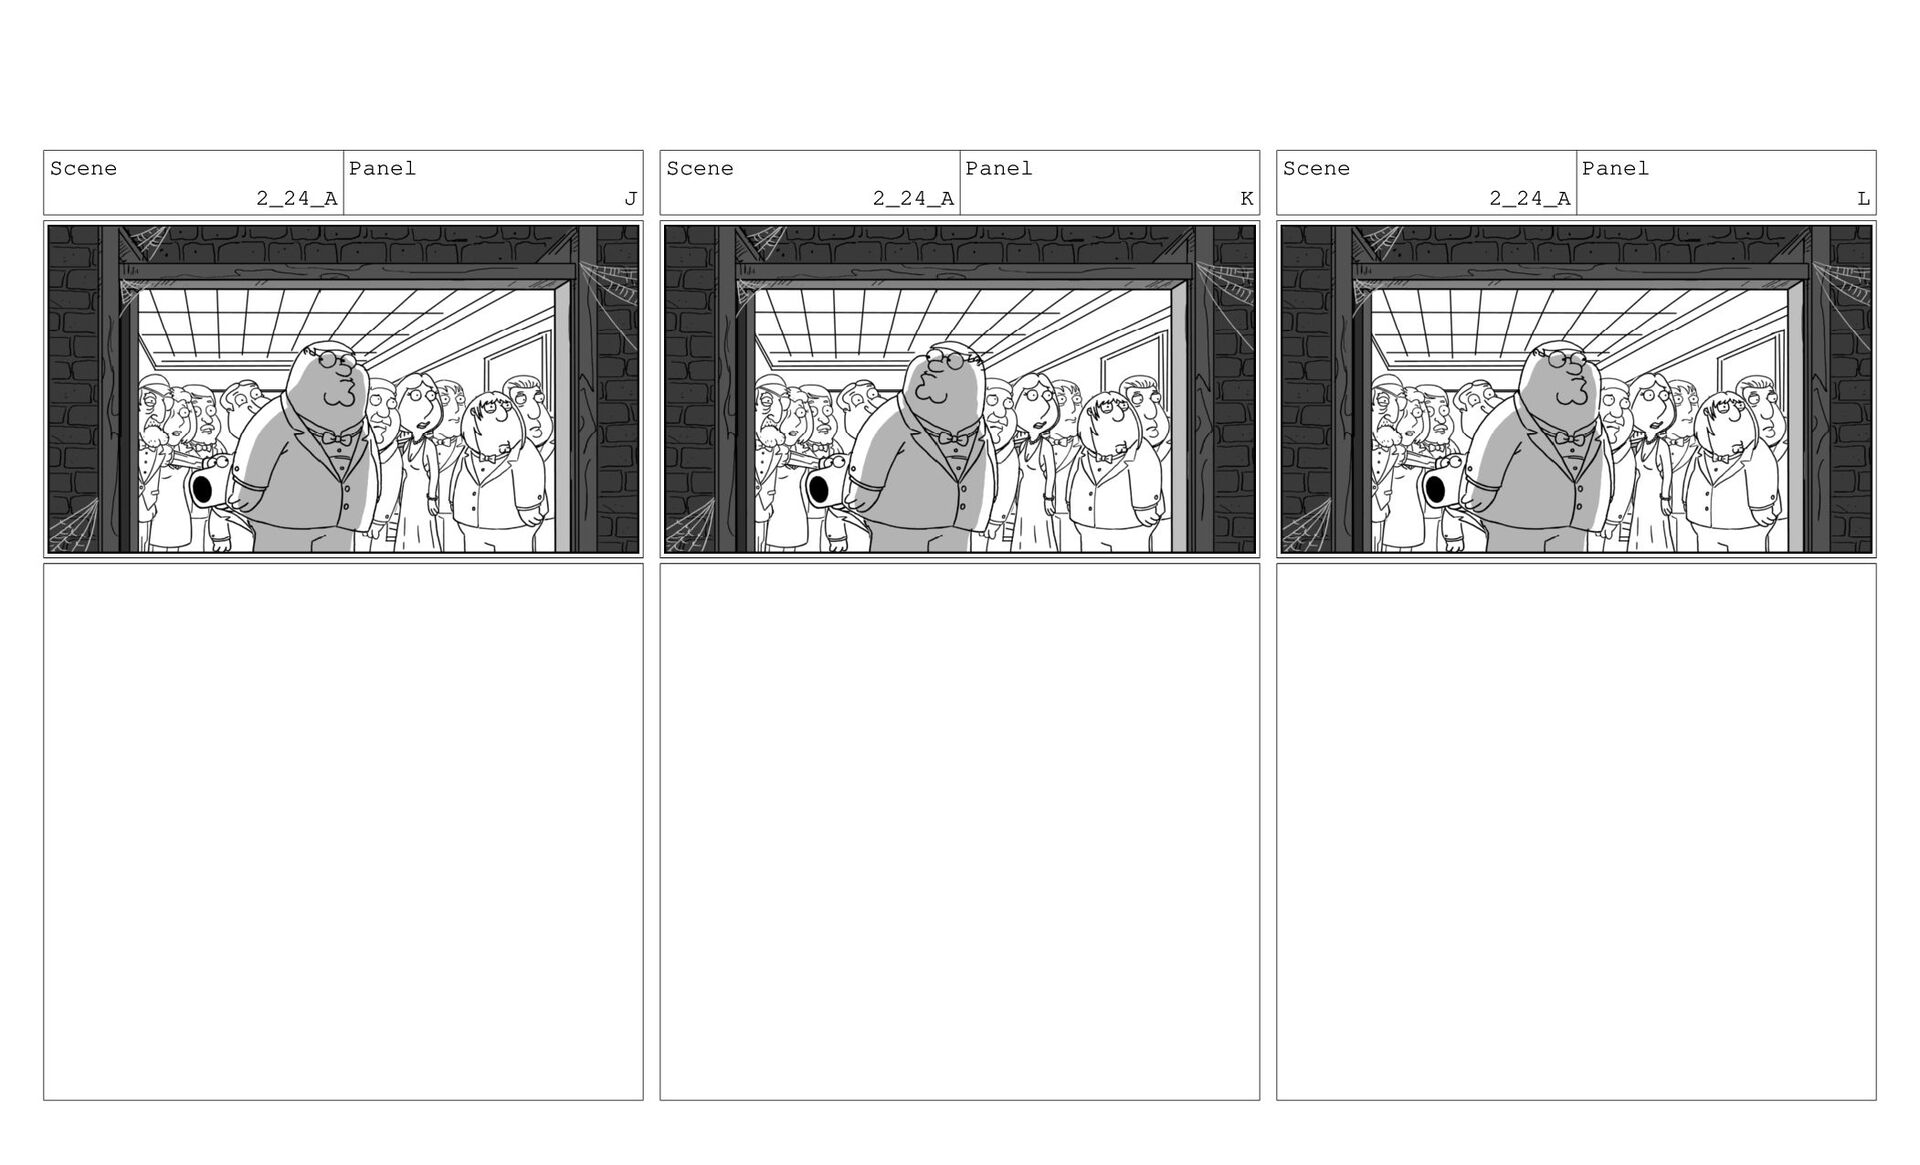
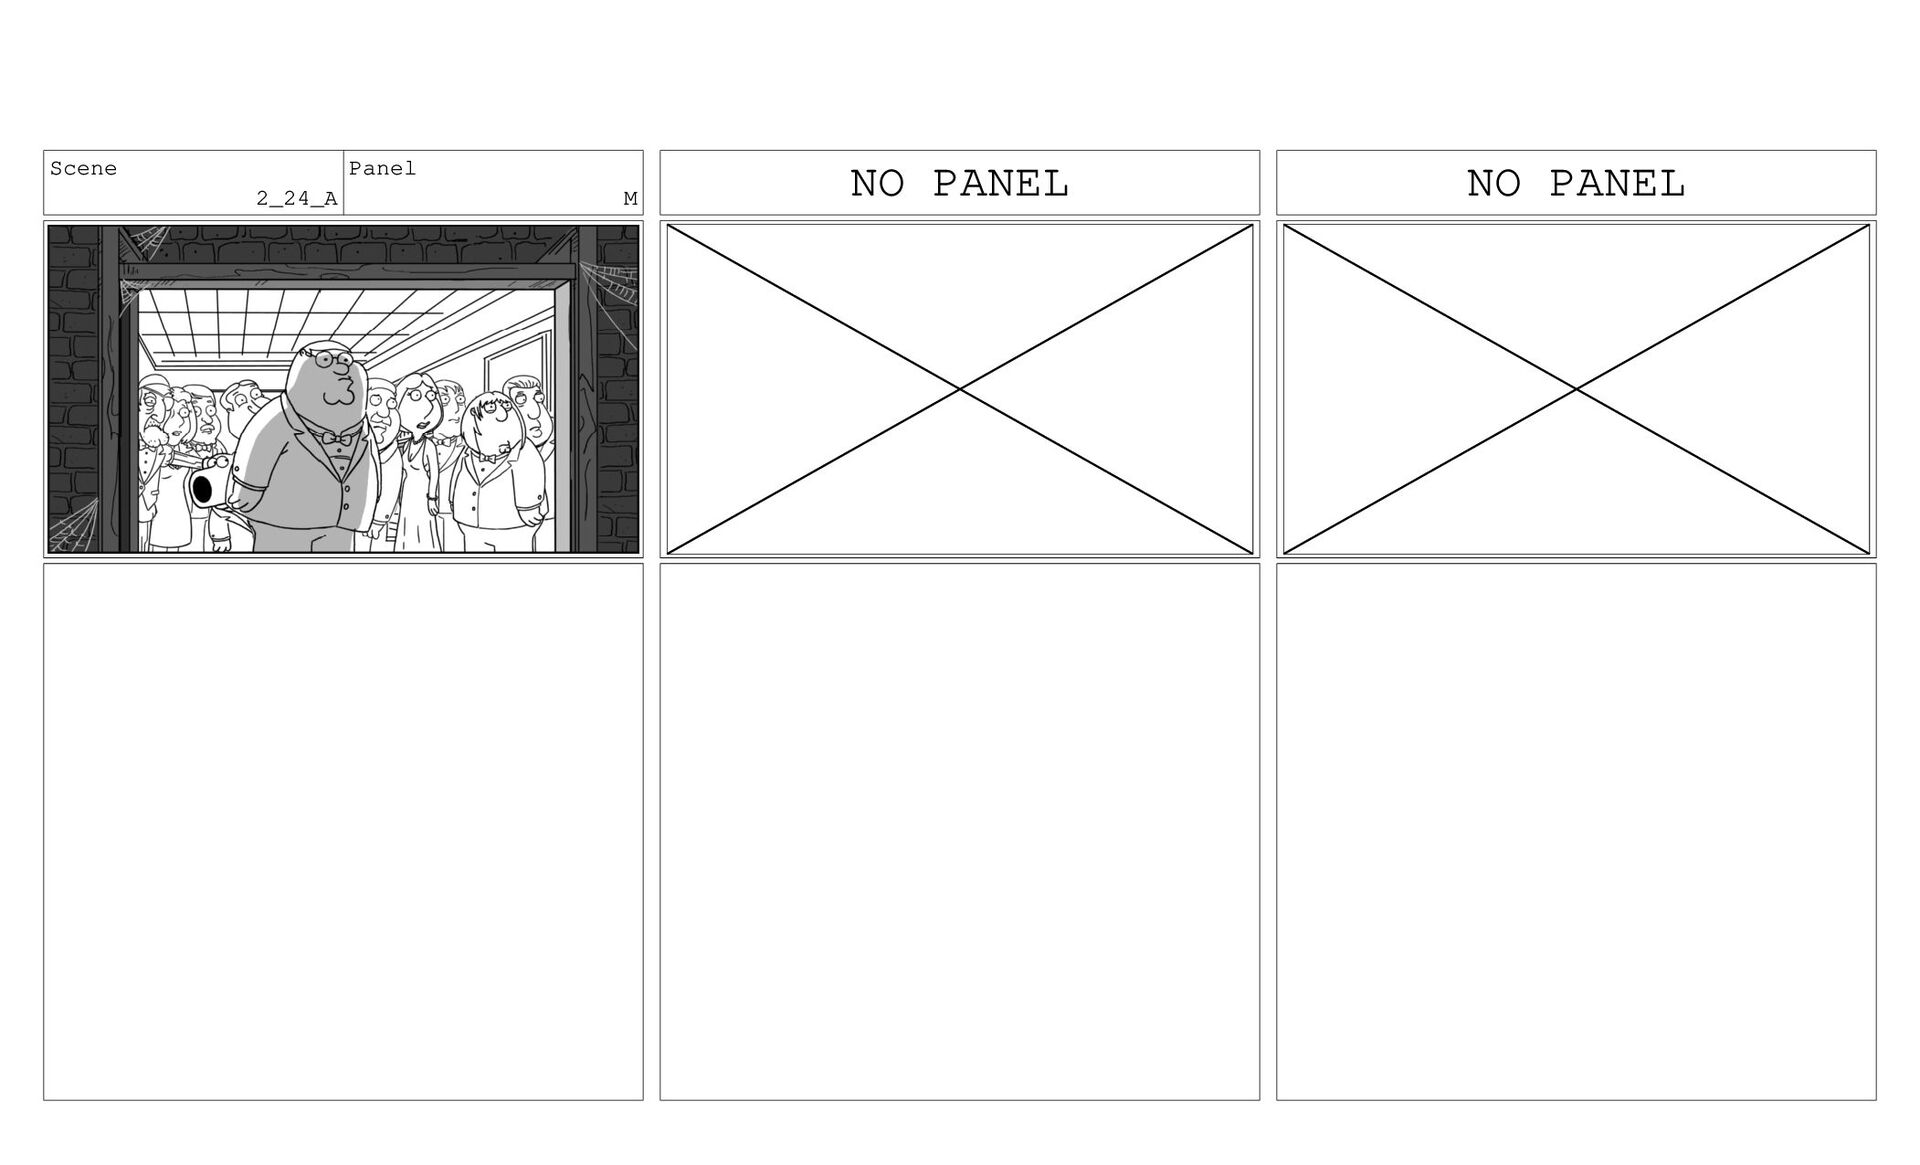
    M Dialogue (...yelling cont...) Action Notes until finally somebody gets slammed against one of the bookshelves built into the wall. Some books fall off the shelf...
  133. Scene 2_23 Panel N Dialogue (...yelling cont...) Scene 2_23 Panel

    O Dialogue (...yelling cont...) Scene 2_23 Panel P Dialogue (...yelling cont...)
  134. Scene 2_23 Panel T Dialogue (...yelling cont...) Scene 2_23 Panel

    U Dialogue (...yelling cont...) Scene 2_23 Panel V Dialogue (...yelling cont...)
  135. Scene 2_23 Panel Y Dialogue (...yelling cont...) Action Notes and

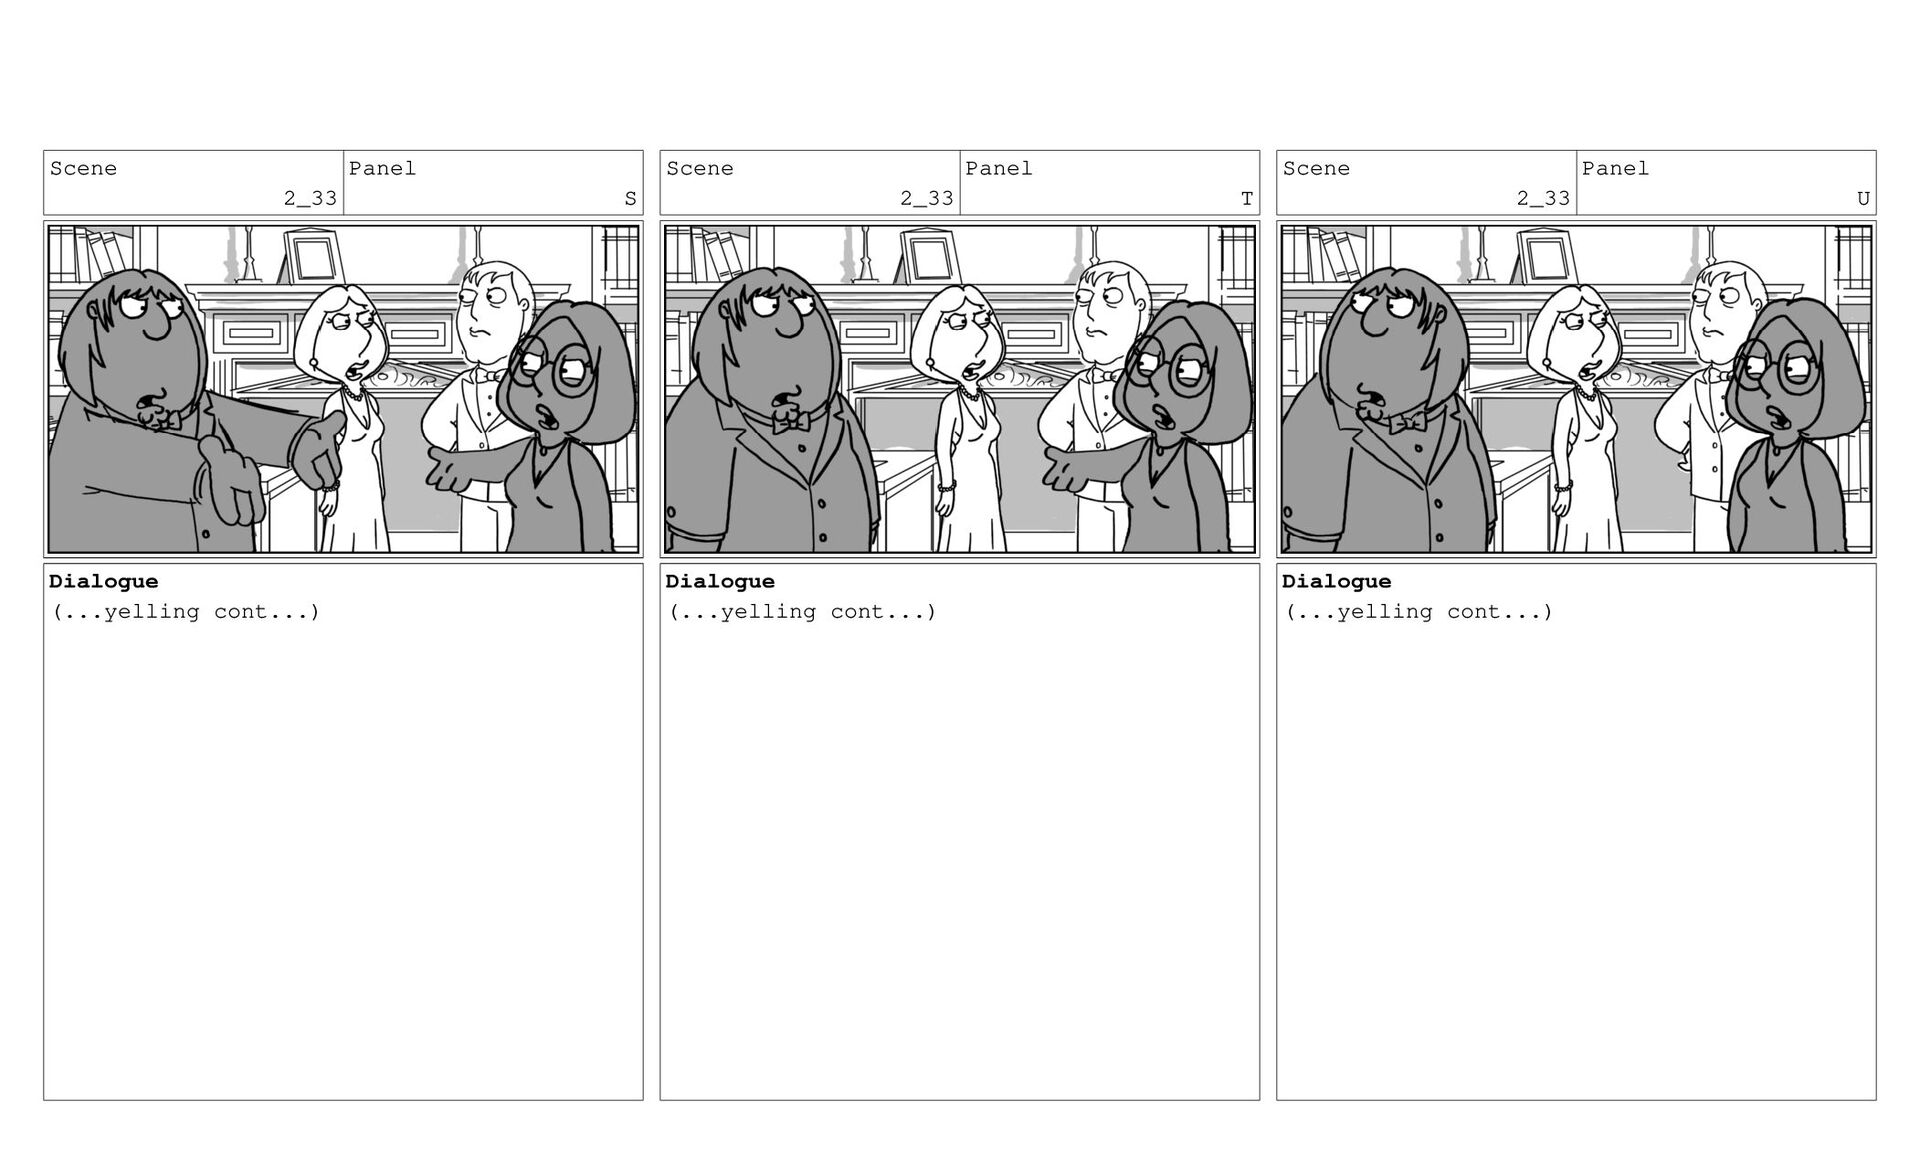
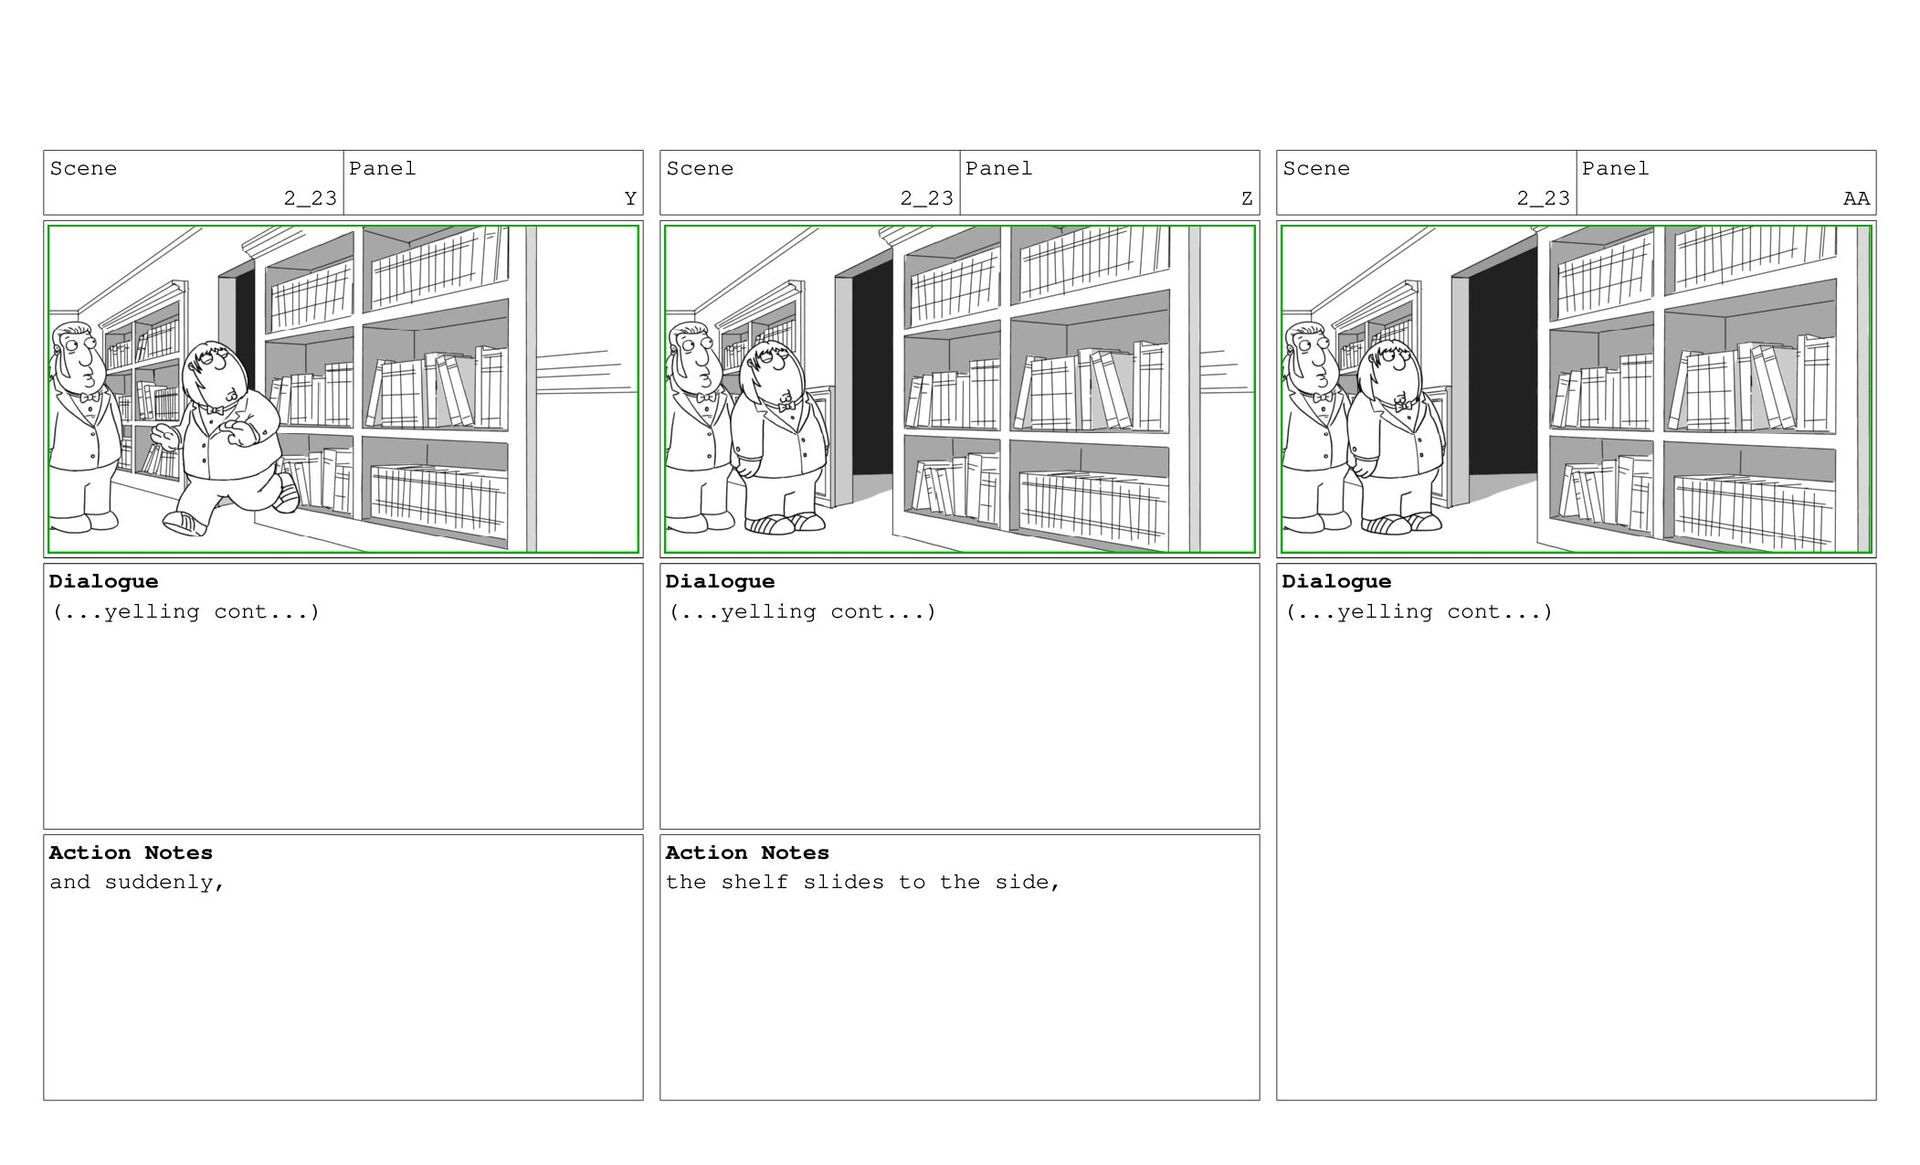
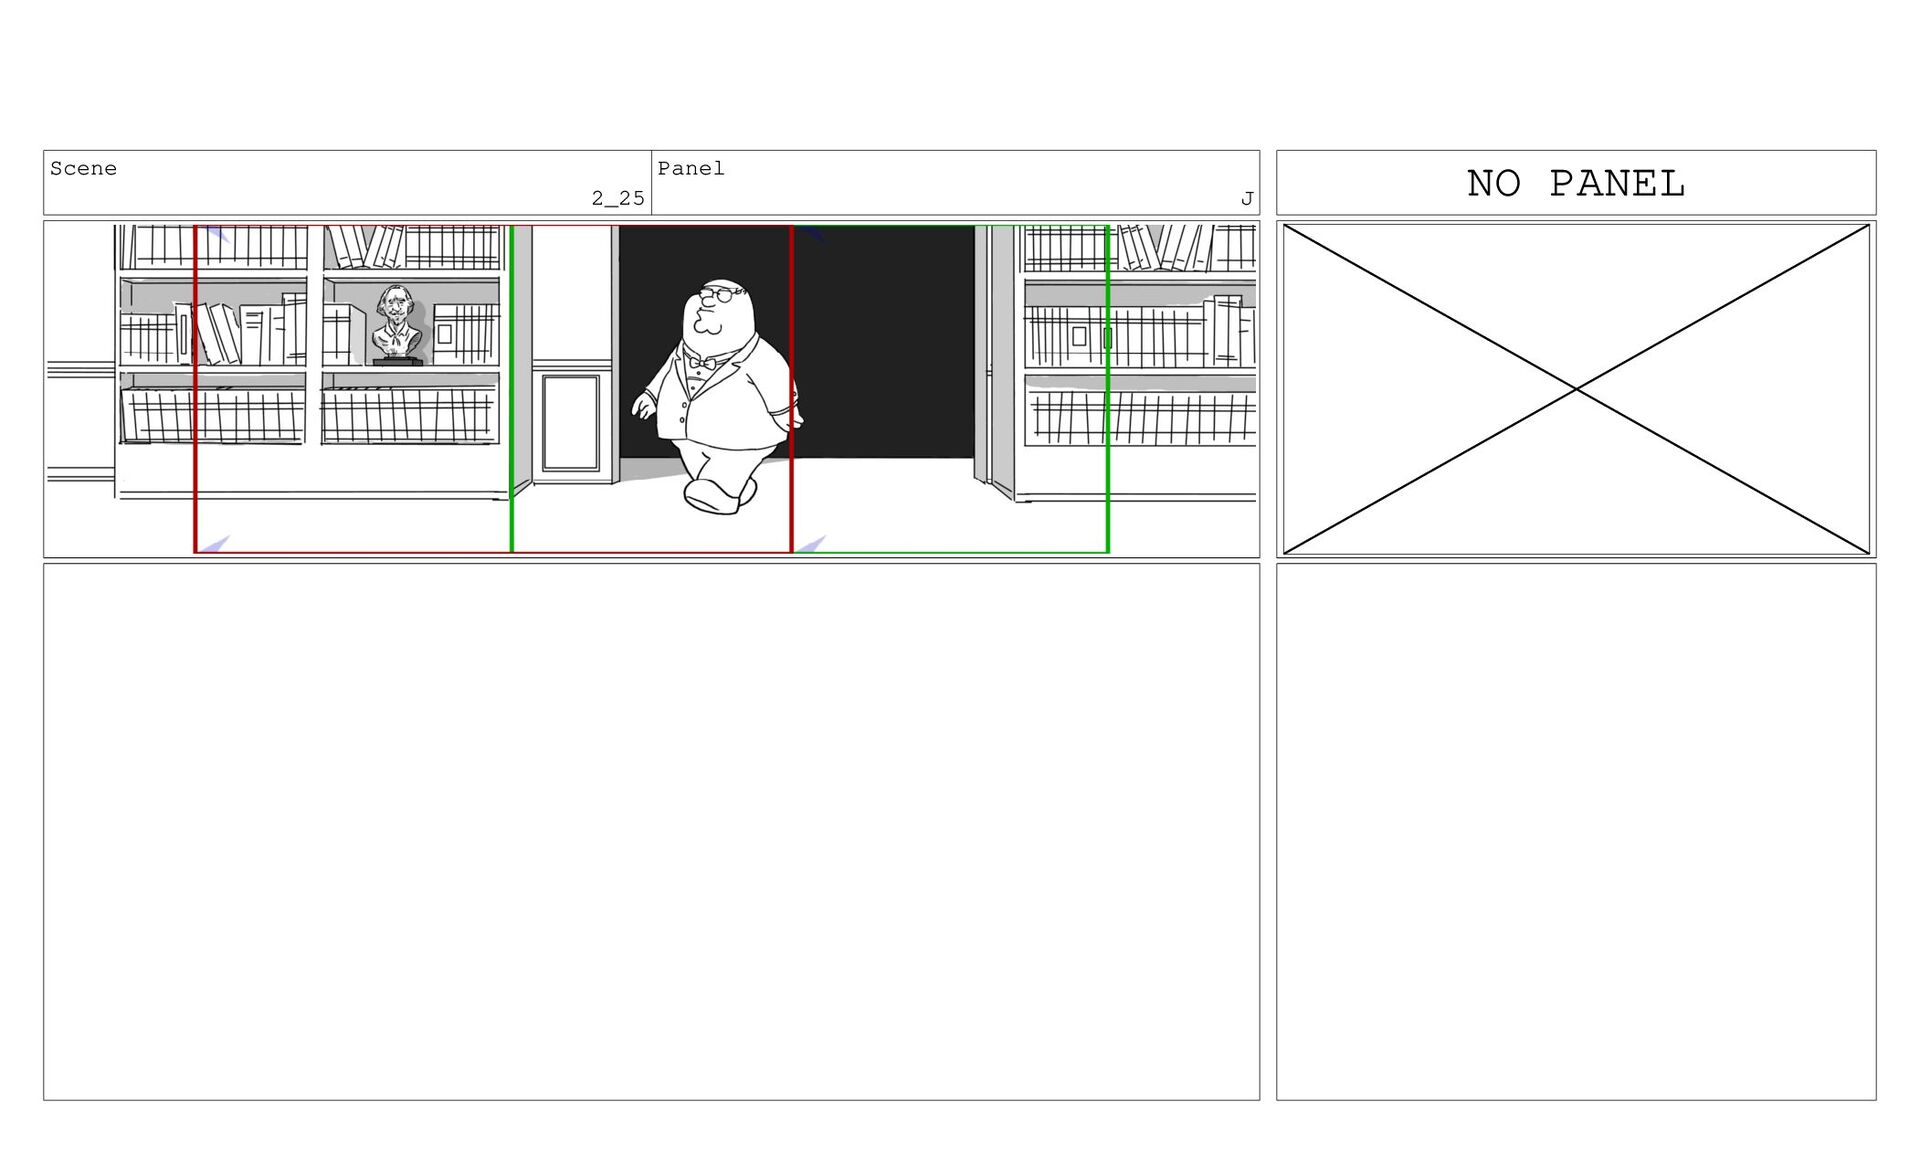
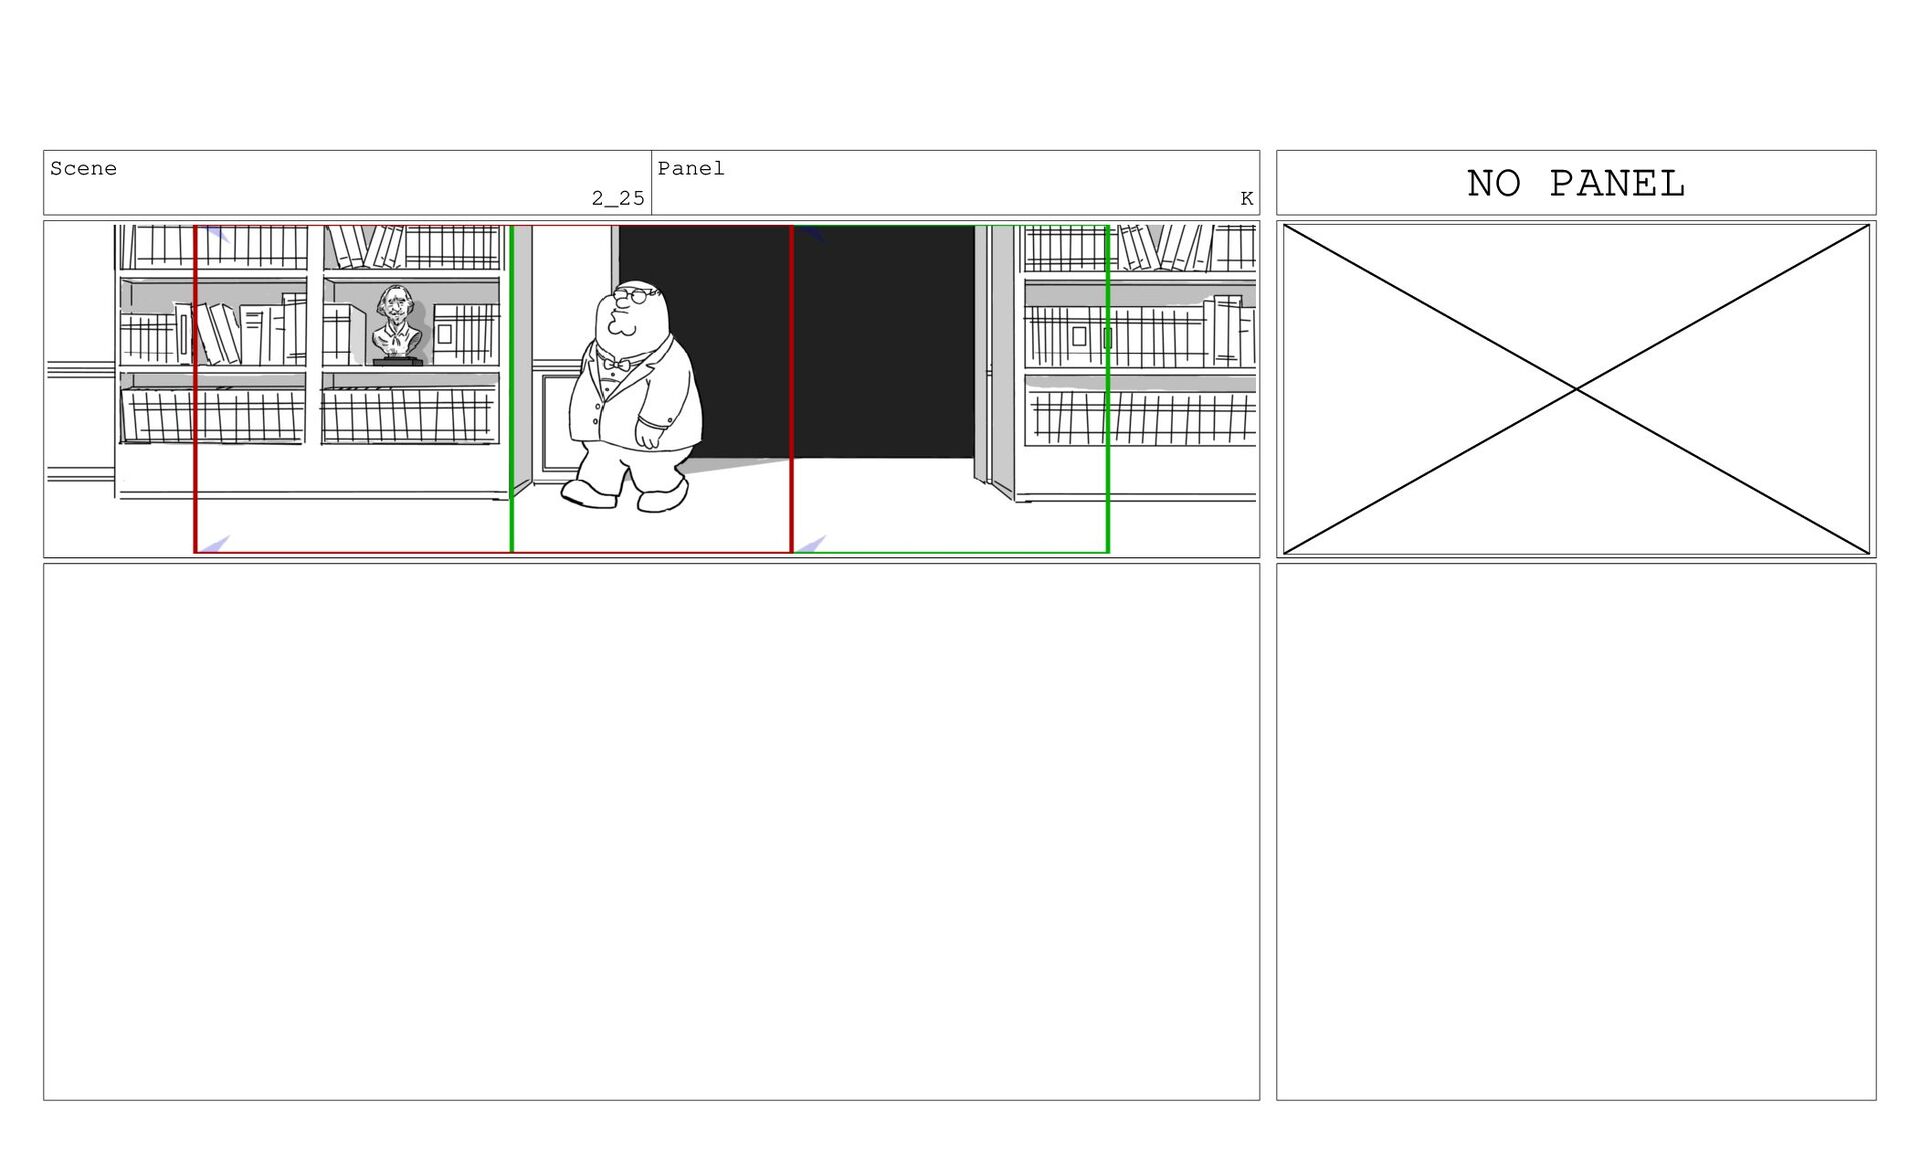
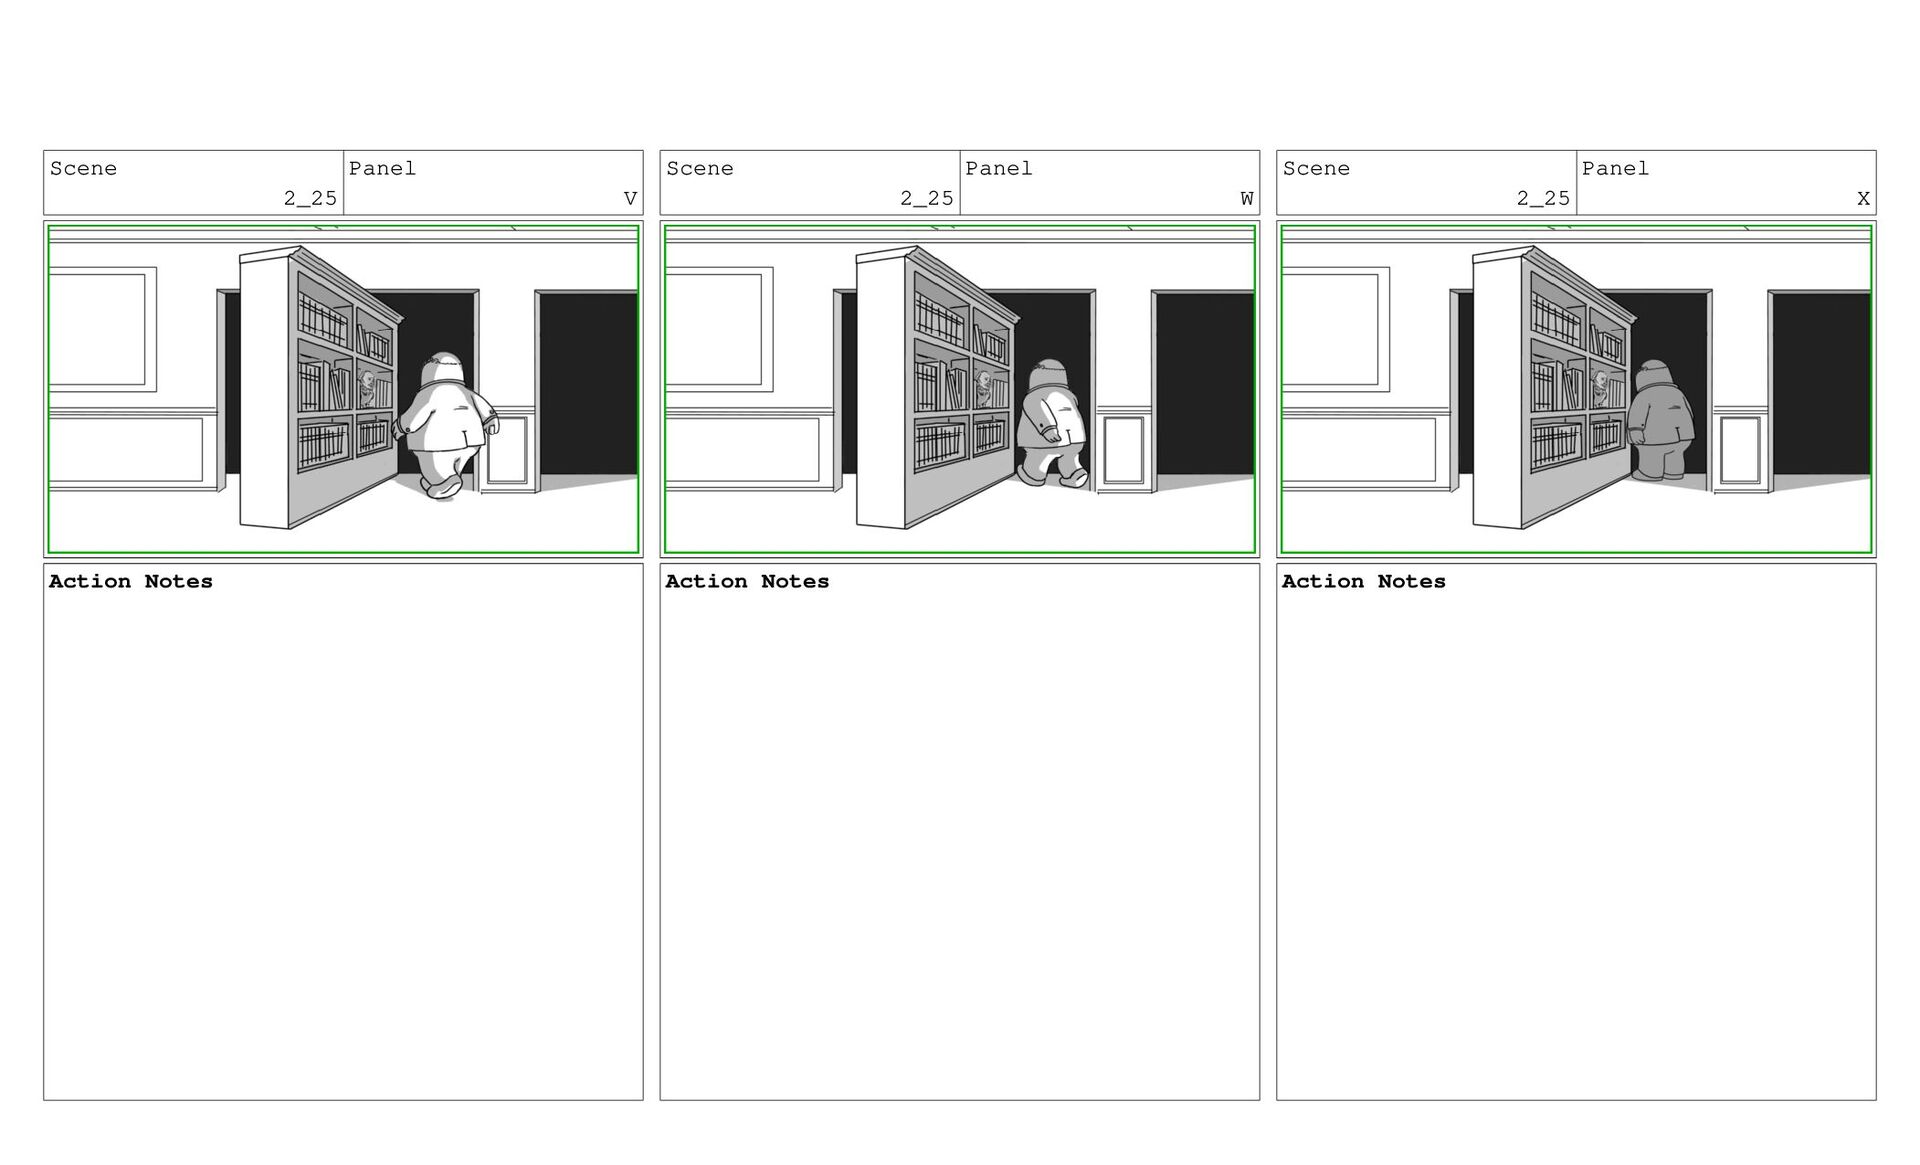
    suddenly, Scene 2_23 Panel Z Dialogue (...yelling cont...) Action Notes the shelf slides to the side, Scene 2_23 Panel AA Dialogue (...yelling cont...)
  136. Scene 2_24 Panel A Dialogue (...yelling cont...) Action Notes revealing

    a secret room. Scene 2_24 Panel B Dialogue (...yelling STOPS.) Scene 2_24 Panel C
  137. Scene 2_24_A Panel D Dialogue 261b EVERYONE (Gasps) Action Notes

    Everyone gasps. Scene 2_24_A Panel E Dialogue 262 STEWIE Eh. My secret room's bigger. 263 HERBERT Mine's smaller. Scene 2_24_A Panel F
  138. Scene 2_27 Panel A Scene 2_27 Panel B Dialogue 264

    PETER All right, stand back. This could be dangerous. Scene 2_27 Panel C
  139. Scene 2_27 Panel G Action Notes Peter goes into the

    secret room. Scene 2_27 Panel H Dialogue 265 PETER (O.S.) (CONT'D) Ohp, laundry room. (CALLING BACK) Laundry room, everybody. NO PANEL
  140. Scene 2_25 Panel A Scene 2_25 Panel B Scene 2_25

    Panel C Action Notes Peter comes back out,
  141. Scene 2_25 Panel G Action Notes looks around for a

    beat, Scene 2_25 Panel H Scene 2_25 Panel I
  142. Scene 2_25 Panel N Scene 2_25 Panel O Action Notes

    and turns the head on a statue of Shakespeare on another bookshelf. Scene 2_25 Panel P
  143. Scene 2_25 Panel S Dialogue 266 PETER (CONT'D) Oh, see,

    Scene 2_25 Panel T Dialogue here we Scene 2_25 Panel U Dialogue go.
  144. Scene 2_25 Panel V Action Notes Scene 2_25 Panel W

    Action Notes Scene 2_25 Panel X Action Notes
  145. Scene 2_26 Panel A Action Notes revealing a narrow, winding

    staircase going down. NO PANEL NO PANEL
  146. Scene 2_29 Panel D Scene 2_29 Panel E Scene 2_29

    Panel F Action Notes Everyone walks down the staircase into: