design and theme for the app. • Even though design elements keep the same or similar form, there are variations to communicate state or to differentiate sections of the app.
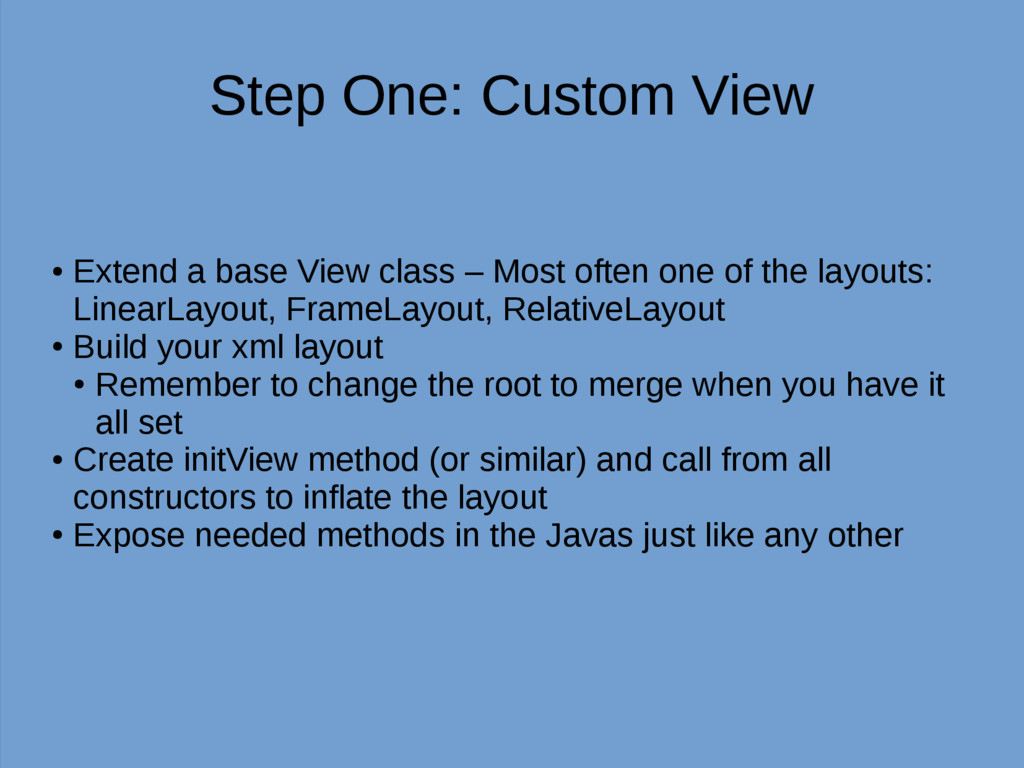
– Most often one of the layouts: LinearLayout, FrameLayout, RelativeLayout • Build your xml layout • Remember to change the root to merge when you have it all set • Create initView method (or similar) and call from all constructors to inflate the layout • Expose needed methods in the Javas just like any other
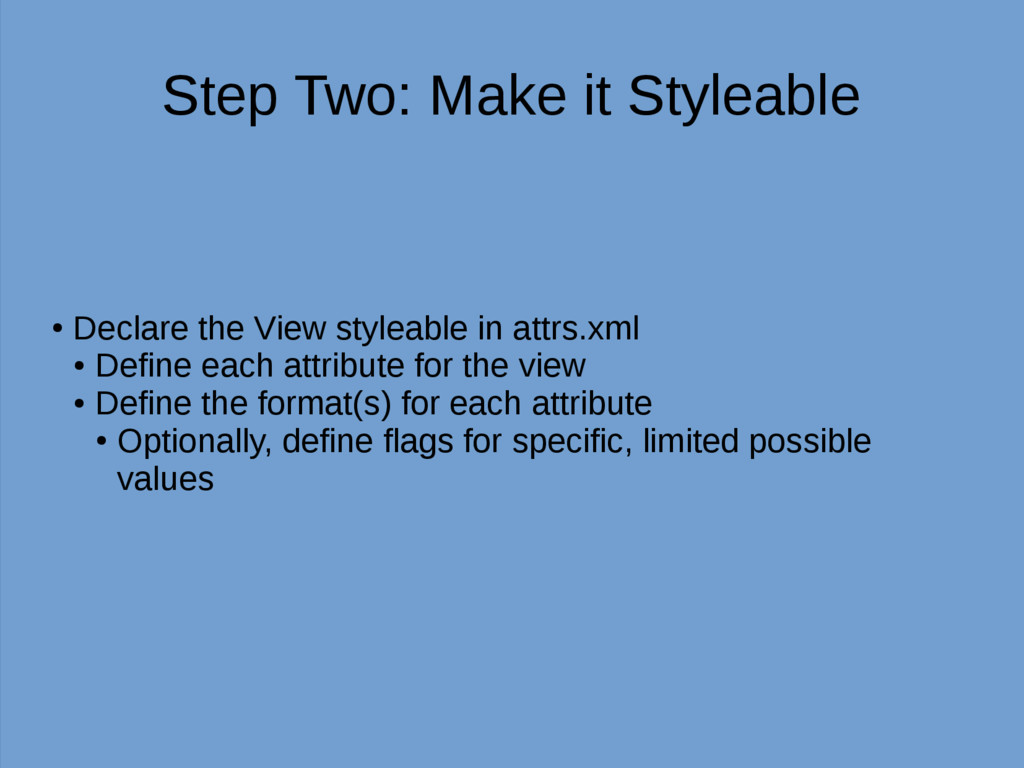
in attrs.xml • Define each attribute for the view • Define the format(s) for each attribute • Optionally, define flags for specific, limited possible values
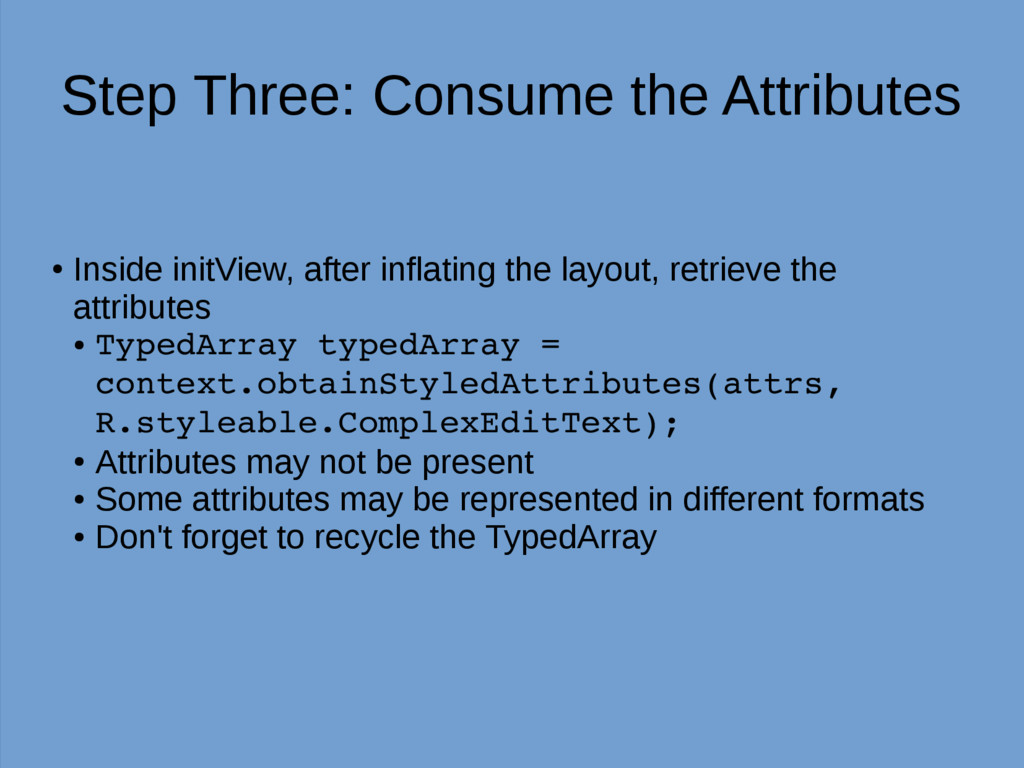
the layout, retrieve the attributes • TypedArray typedArray = context.obtainStyledAttributes(attrs, R.styleable.ComplexEditText); • Attributes may not be present • Some attributes may be represented in different formats • Don't forget to recycle the TypedArray
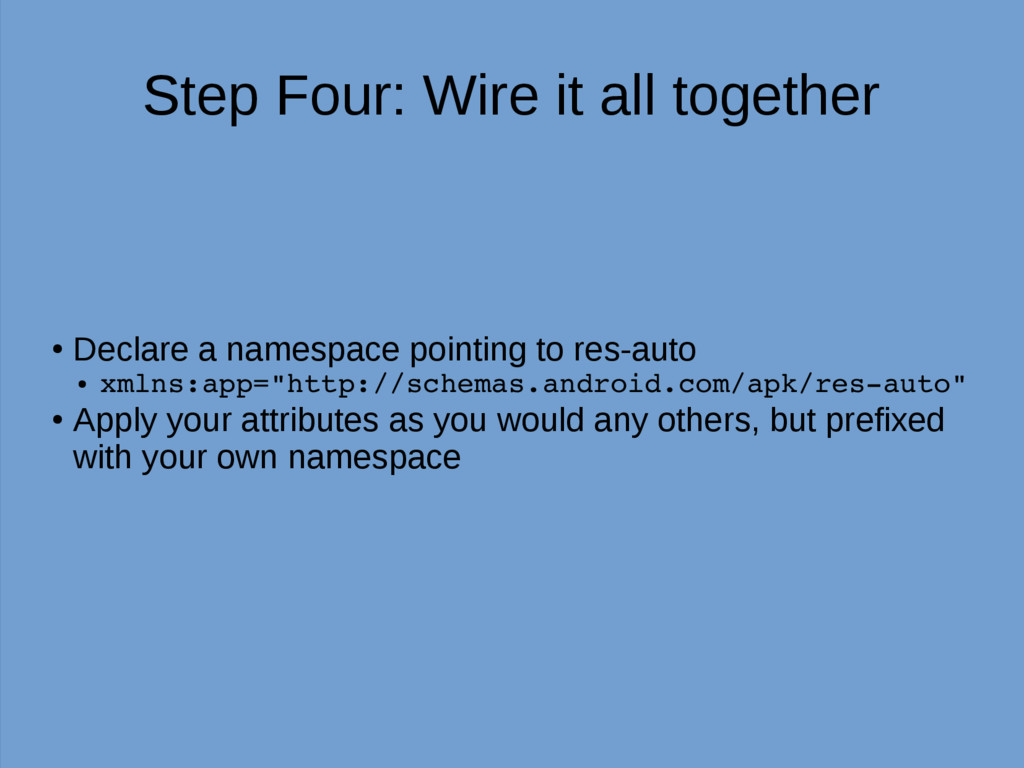
pointing to res-auto • xmlns:app="http://schemas.android.com/apk/resauto" • Apply your attributes as you would any others, but prefixed with your own namespace