Upgrade to Pro — share decks privately, control downloads, hide ads and more …

Design Arduino compatible hardware

Design Arduino compatible hardware

The Arduino platform is 15 years old. It has shaped a new generation of makers. It has reduced the gap between inaccessible embedded world and wide variety of designers, makers and artists.

The talk will describe a software developer’s point of view on designing Arduino compatible hardware. It will help you to understand what is behind the Arduino and why it is so popular.

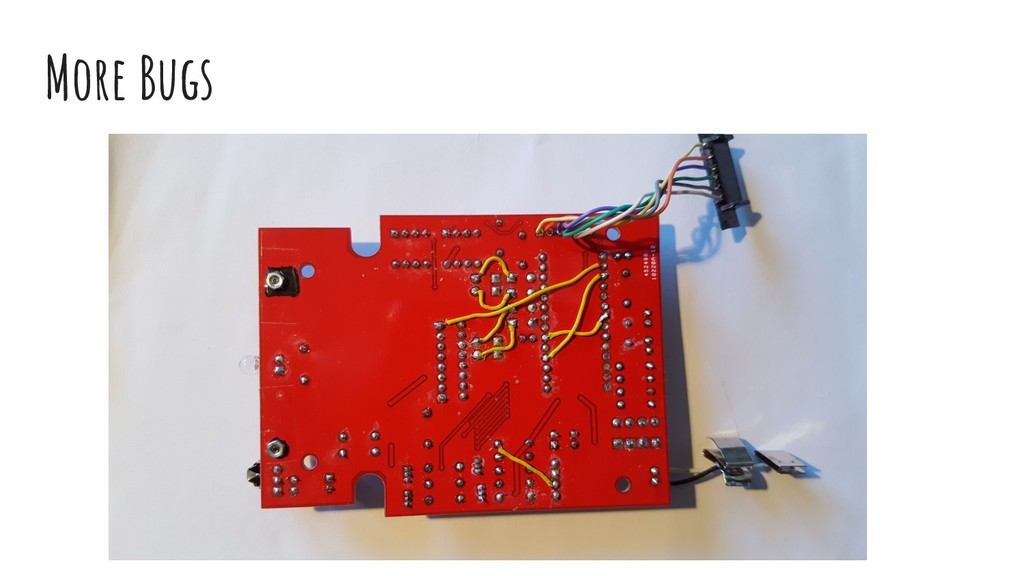
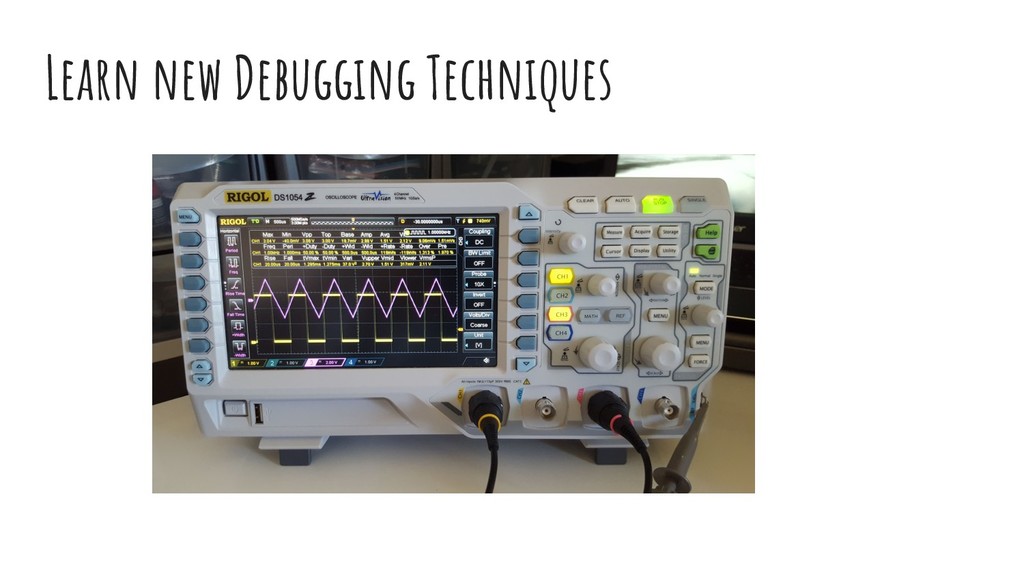
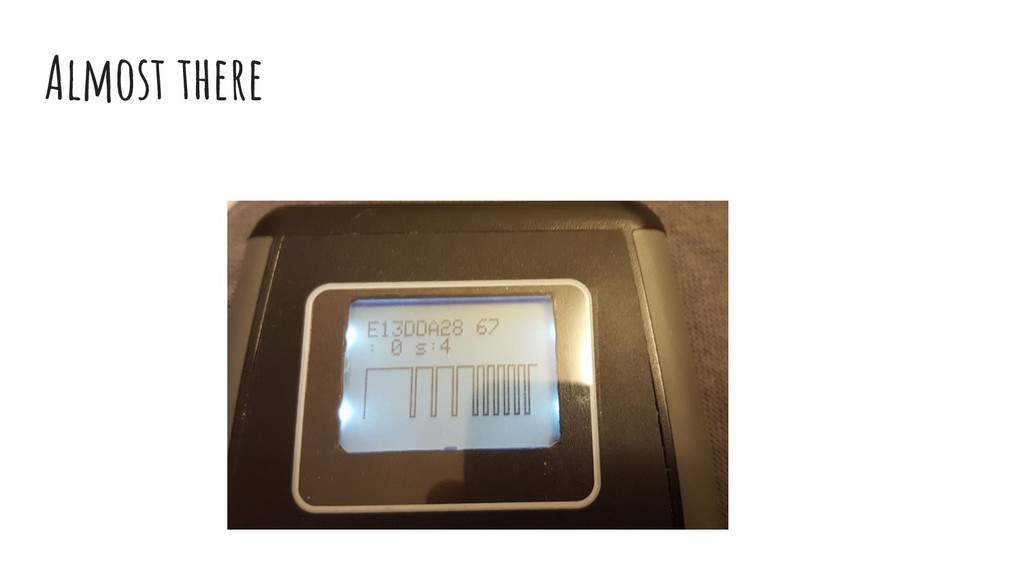
We will disassemble it to basic blocks and create a new project – Programmable Infrared Remote Recorder (PIRR). The talk will present challenges, failures and final results from designing your own embedded device.

https://www.meetup.com/Linuxing-In-London/events/250777638/
https://skillsmatter.com/skillscasts/12239-design-arduino-compatible-hardware

amczarny

June 21, 2018
Tweet

More Decks by amczarny

Other Decks in Programming

Transcript

  1. Design Arduino compatible hardware Software developer’s view on hardware design

    Andrzej Czarny 2018 https://hackaday.io/project/27229-irblack
  2. Arduino ecosystem Single-board microcontroller Pre-programmed with a bootloader (Optiboot) Arduino

    IDE (sketch .ino)- HAL Large number of libraries Large Open Source community https://en.wikipedia.org/wiki/Arduino
  3. Simple sketch - Blinky #define LED_PIN 13 // Pin number

    attached to LED. void setup() { pinMode(LED_PIN, OUTPUT); // Configure pin 13 to be a digital output. } void loop() { digitalWrite(LED_PIN, HIGH); // Turn on the LED. delay(1000); // Wait 1 second (1000 milliseconds). digitalWrite(LED_PIN, LOW); // Turn off the LED. delay(1000); // Wait 1 second. } https://en.wikipedia.org/wiki/Arduino
  4. Why to use HAL - blinky example #include <avr/io.h> #define

    LED PD6 #define output_low(port,pin) port &= ~(1<<pin) #define output_high(port,pin) port |= (1<<pin) #define set_input(portdir,pin) portdir &= ~(1<<pin) #define set_output(portdir,pin) portdir |= (1<<pin) void delay_ms(uint8_t ms) { uint16_t delay_count = F_CPU / 17500; volatile uint16_t i; while (ms != 0) { for (i=0; i != delay_count; i++); ms--; } } int main(void) { set_output(DDRD, LED); // initialize the direction of PORTD #6 to be an output while (1) { output_high(PORTD, LED); // turn on the LED for 200ms delay_ms(200); output_low(PORTD, LED); // now turn off the LED for another 200ms delay_ms(200); // now start over } } http://www.ladyada.net/learn/proj1/blinky.html
  5. Understand schematics External oscillator ATMEGA 328PU microcontroller Reset to allow

    upload Voltage regulator capacitor resistor LED switch External pins
  6. PIRR requirements Battery operated 2 x AA (3V or 2.4V)

    Low power consumption 3,3V below 10mA Display Auto shutdown Wake up on any button press Record IR signal Replay IR signal
  7. PIRR Architecture Atmega328P 2 x EEPROM 24LC256 Display Nokia 5110

    LCD - 84x48 Boost converter Pololu 3.3V Keyboard SoftSwitch SPI I2C IR receiver IR transmitter GPIO GPIO GPIO
  8. Resources Tutorials and Courses Circuits and Electronics EDX by MIT

    PCBDesign tutorial by David Jones KiCad tutorial Blinky by Chris Gammell Manufacturing KiCad SeeedStudio PCBShopper Other TheAmpHour podcast EEVBlog Embedded.fm Software http://kicad-pcb.org/ http://everycircuit.com/ Eclipse Arduino C++ IDE