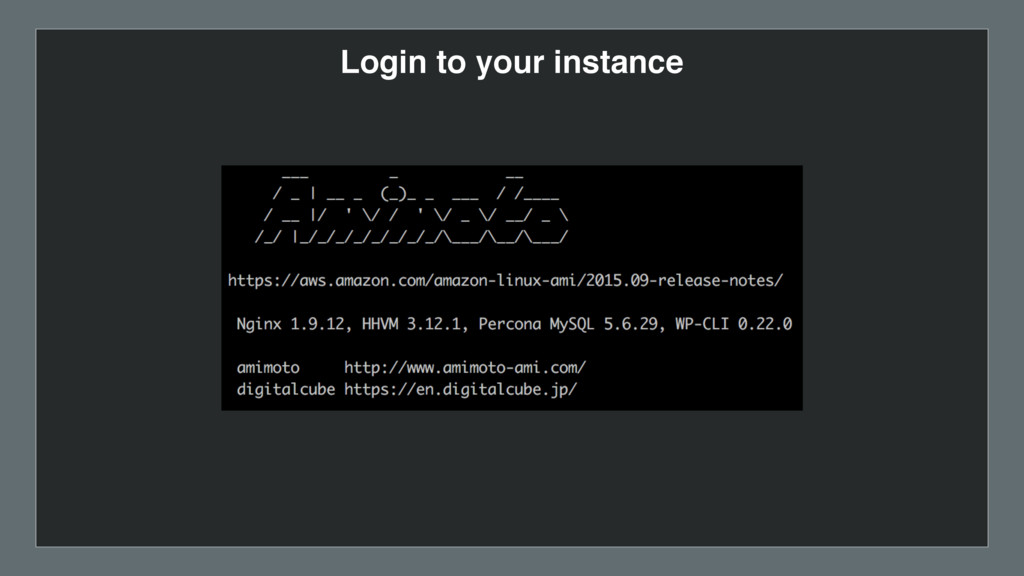
of your server using SSH: $ ssh -i /Users/macpil/Desktop/example.pem ec2-user@instance_ip or domain 2. Run the following command: $ mysql -h {endpoint} -P 3306 -u {mymasteruser} -p
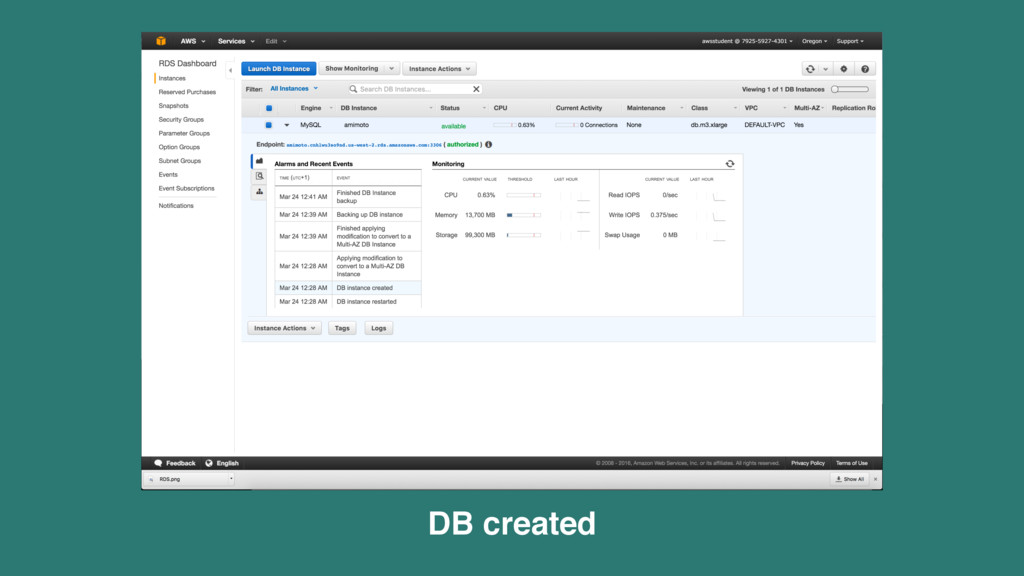
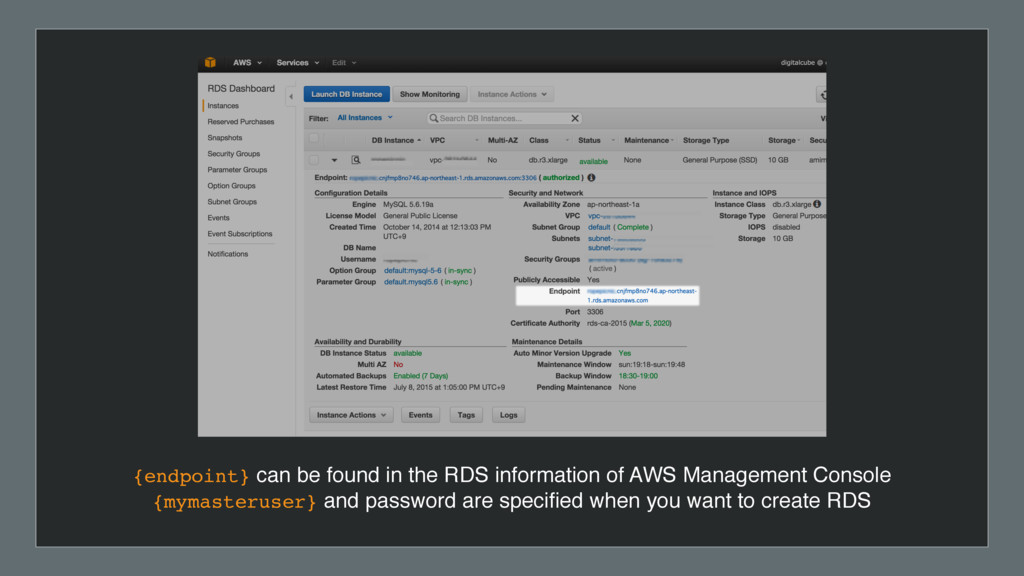
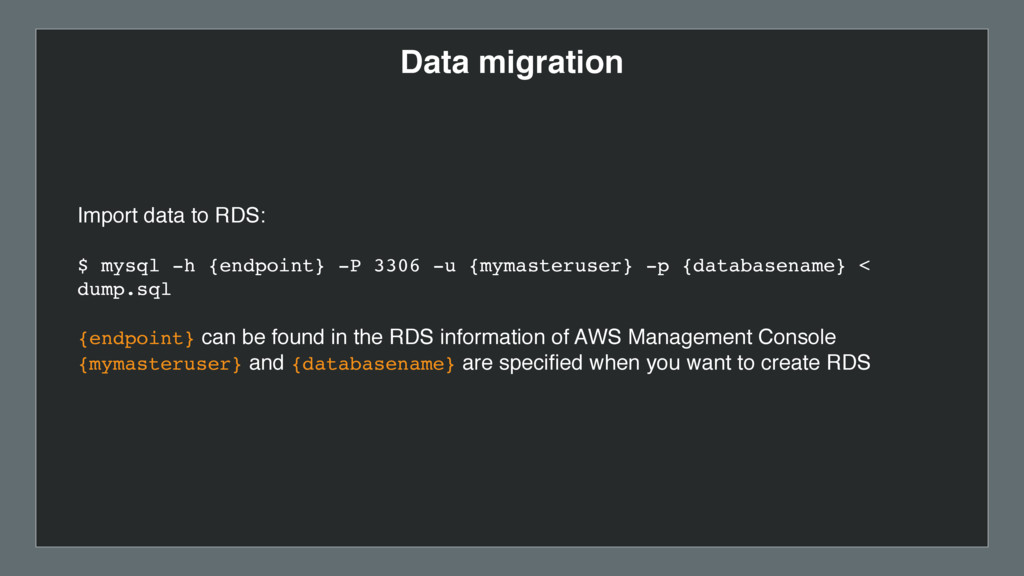
{endpoint} -P 3306 -u {mymasteruser} -p {databasename} < dump.sql {endpoint} can be found in the RDS information of AWS Management Console {mymasteruser} and {databasename} are specified when you want to create RDS
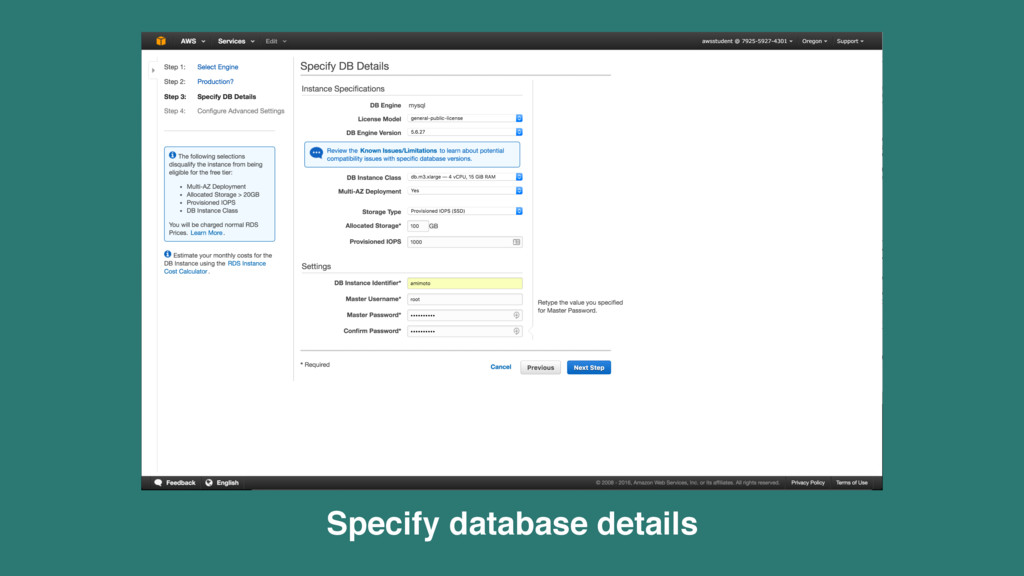
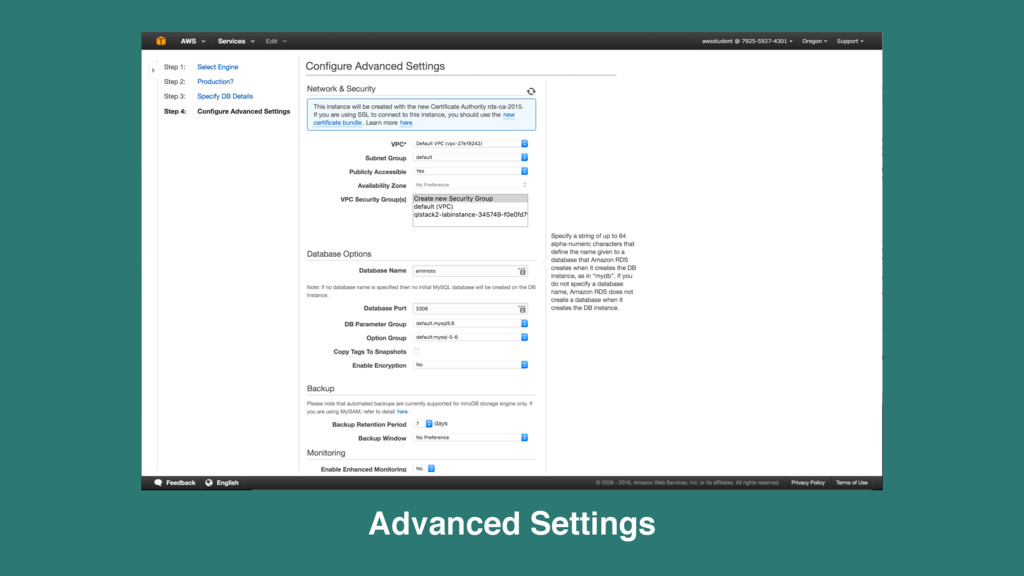
Advanced Settings RDS_USER_NAME_HERE Master Username which was set in Specify DB Details RDS_PASSWORD_HERE Master Password which was set in Specify DB Details RDS_ENDPOINT_HERE RDS endpoint When you set as above in wp-config.php, let’s check if you can connect to WordPress.
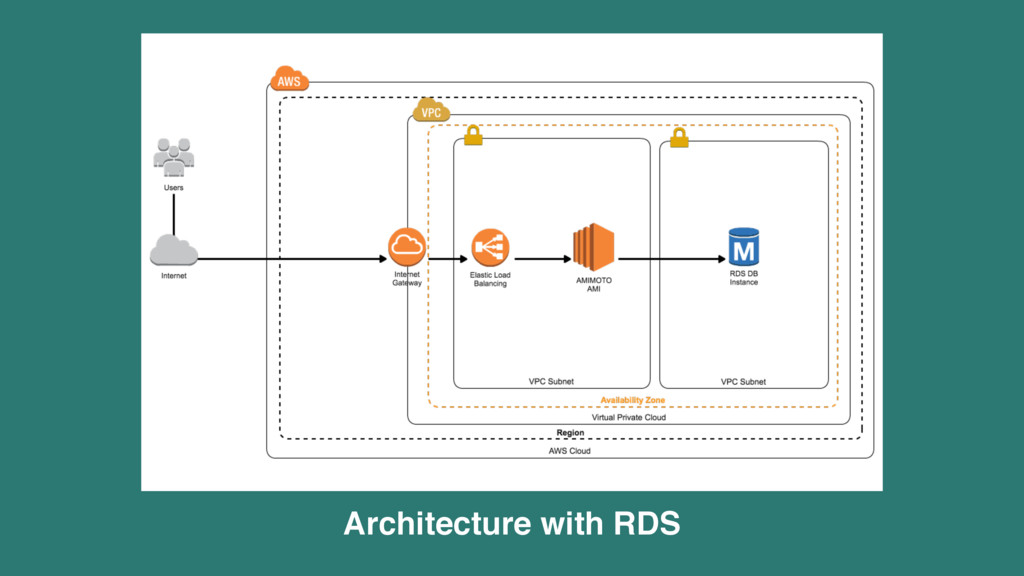
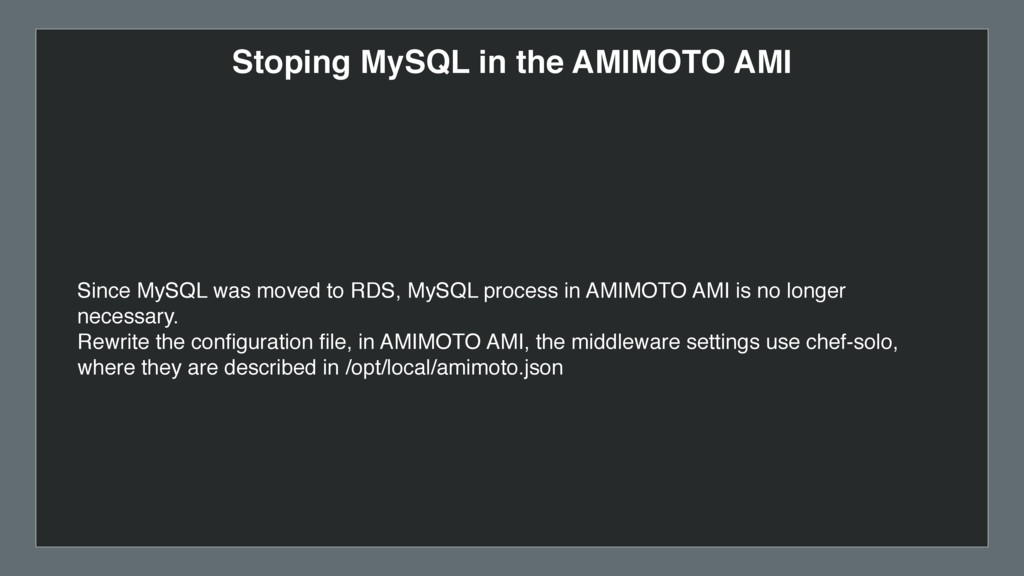
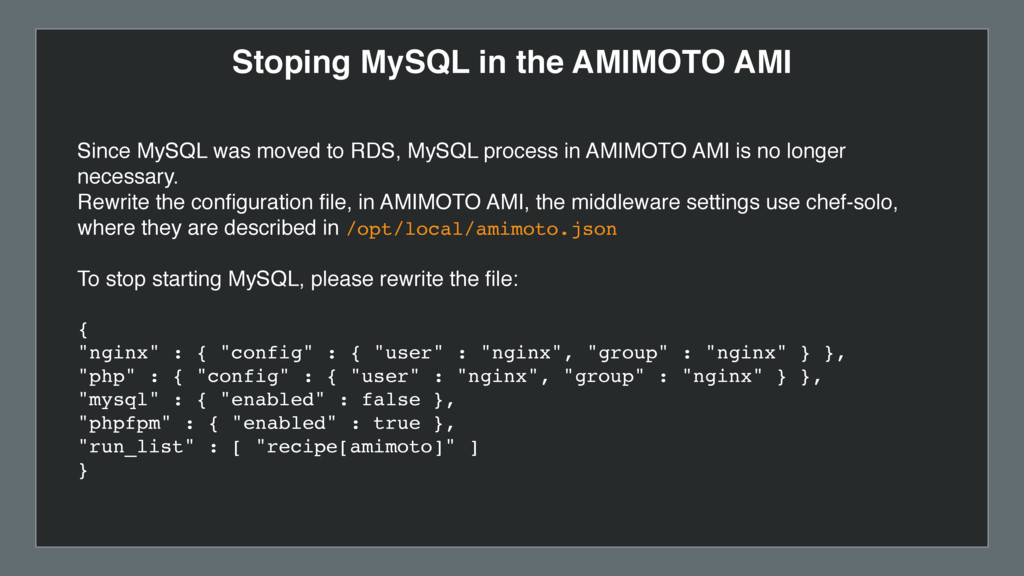
to RDS, MySQL process in AMIMOTO AMI is no longer necessary. Rewrite the configuration file, in AMIMOTO AMI, the middleware settings use chef-solo, where they are described in /opt/local/amimoto.json
to RDS, MySQL process in AMIMOTO AMI is no longer necessary. Rewrite the configuration file, in AMIMOTO AMI, the middleware settings use chef-solo, where they are described in /opt/local/amimoto.json To stop starting MySQL, please rewrite the file: { "nginx" : { "config" : { "user" : "nginx", "group" : "nginx" } }, "php" : { "config" : { "user" : "nginx", "group" : "nginx" } }, "mysql" : { "enabled" : false }, "phpfpm" : { "enabled" : true }, "run_list" : [ "recipe[amimoto]" ] }
back and archiving of data • Static website hosting • Uploading, storage and downloading of practically any file or object up to 5 GB • No limit on the number of items that a subscriber can store • Data is stored on redundant servers in multiple data centers