Upgrade to Pro — share decks privately, control downloads, hide ads and more …

Commercial Mushroom Cultivation guide 2018

Commercial Mushroom Cultivation guide 2018

mushroom cultivation is one the important agribusiness. this guide provides a simple technique to start commercial mushroom farming
source: https://agricultureguruji.com/mushroom-cultivation/

amar sawant

May 08, 2018
Tweet

Other Decks in Science

Transcript

  1. April 20, 2018 Commercial Mushroom Cultivation guide 2018 agricultureguruji.com/mushroom-cultivation/ Today

    you learn about Commercial Mushroom Cultivation: Mushroom cultivation is one of the most significant agriculture business in the world. Mushroom Cultivation History The first mushroom ” Auricularia auricula” was cultivated about 600 A.D. Later, around 800- 900A. D. “Flammulina velutipes” cultivated in China In India, commercial mushroom farming started recently, Himachal Pradesh, Punjab, Haryana, Uttar Pradesh, Maharashtra, Tamil Nadu, Karnataka and Andhra Pradesh is a major mushroom producing state. Nutritional Value of Mushrooms 1/10
  2. Mushrooms contain more protein than fruits & vegetable and, Mushrooms

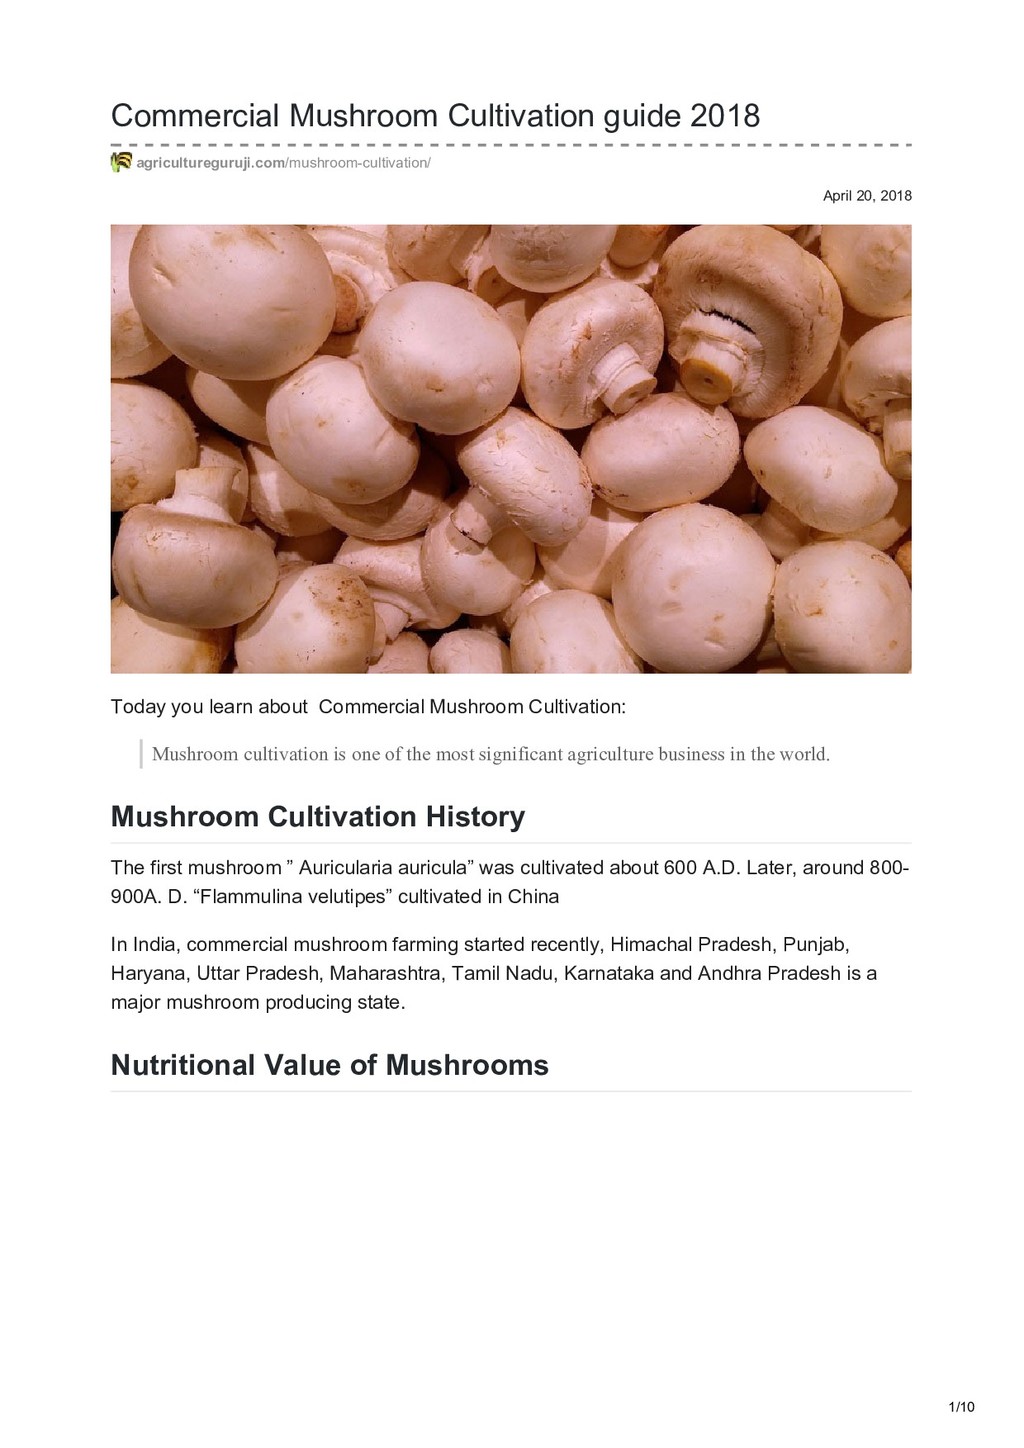
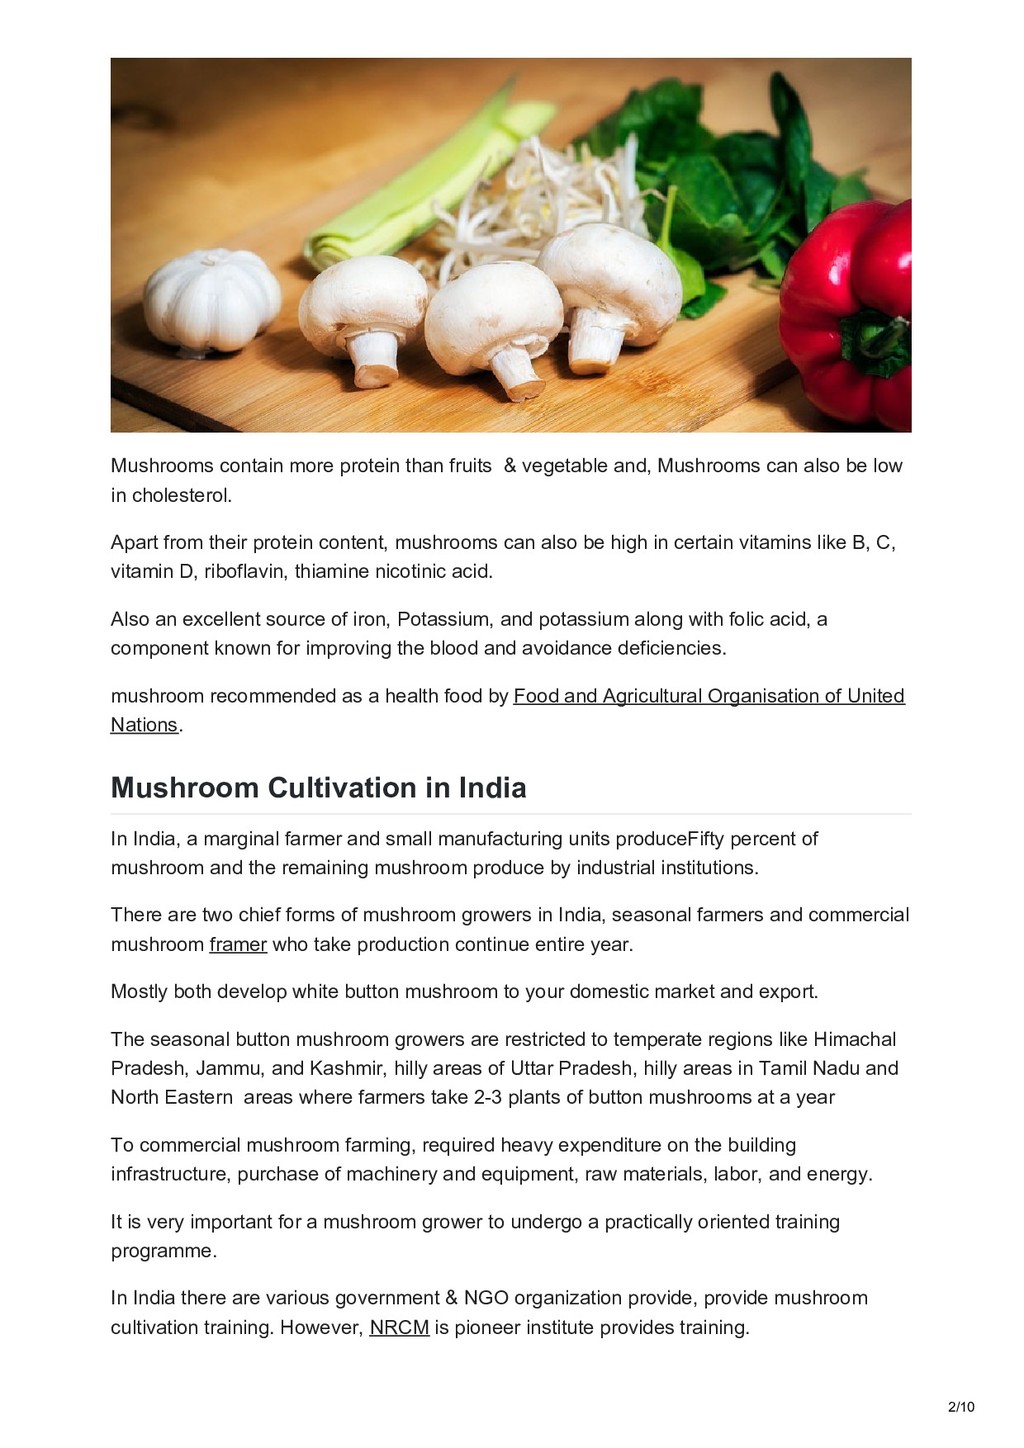
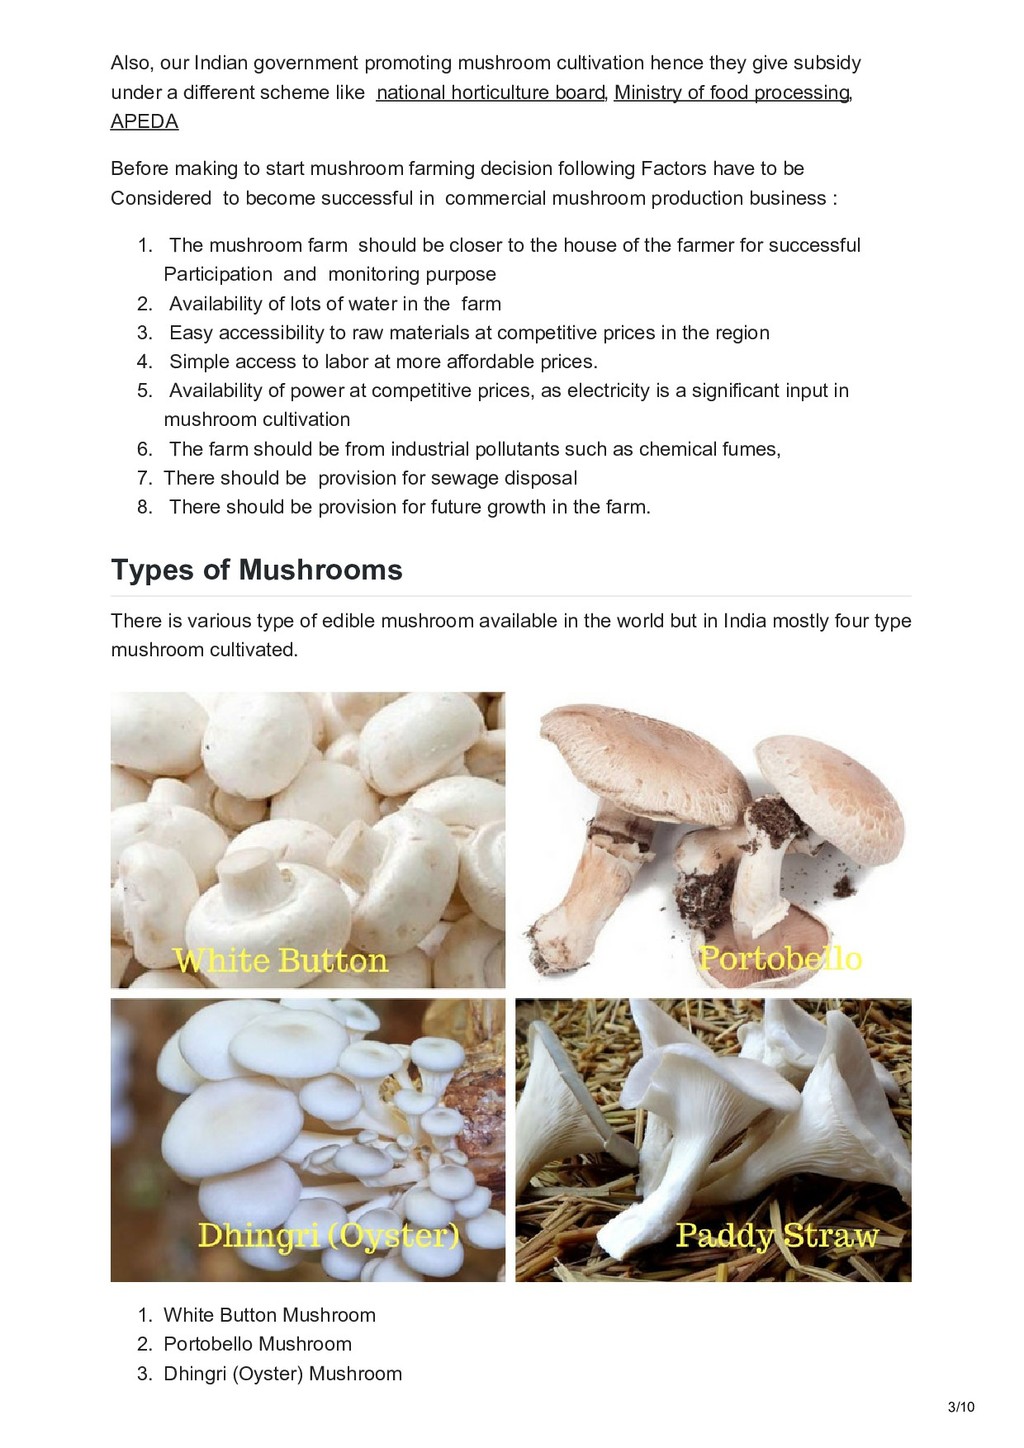
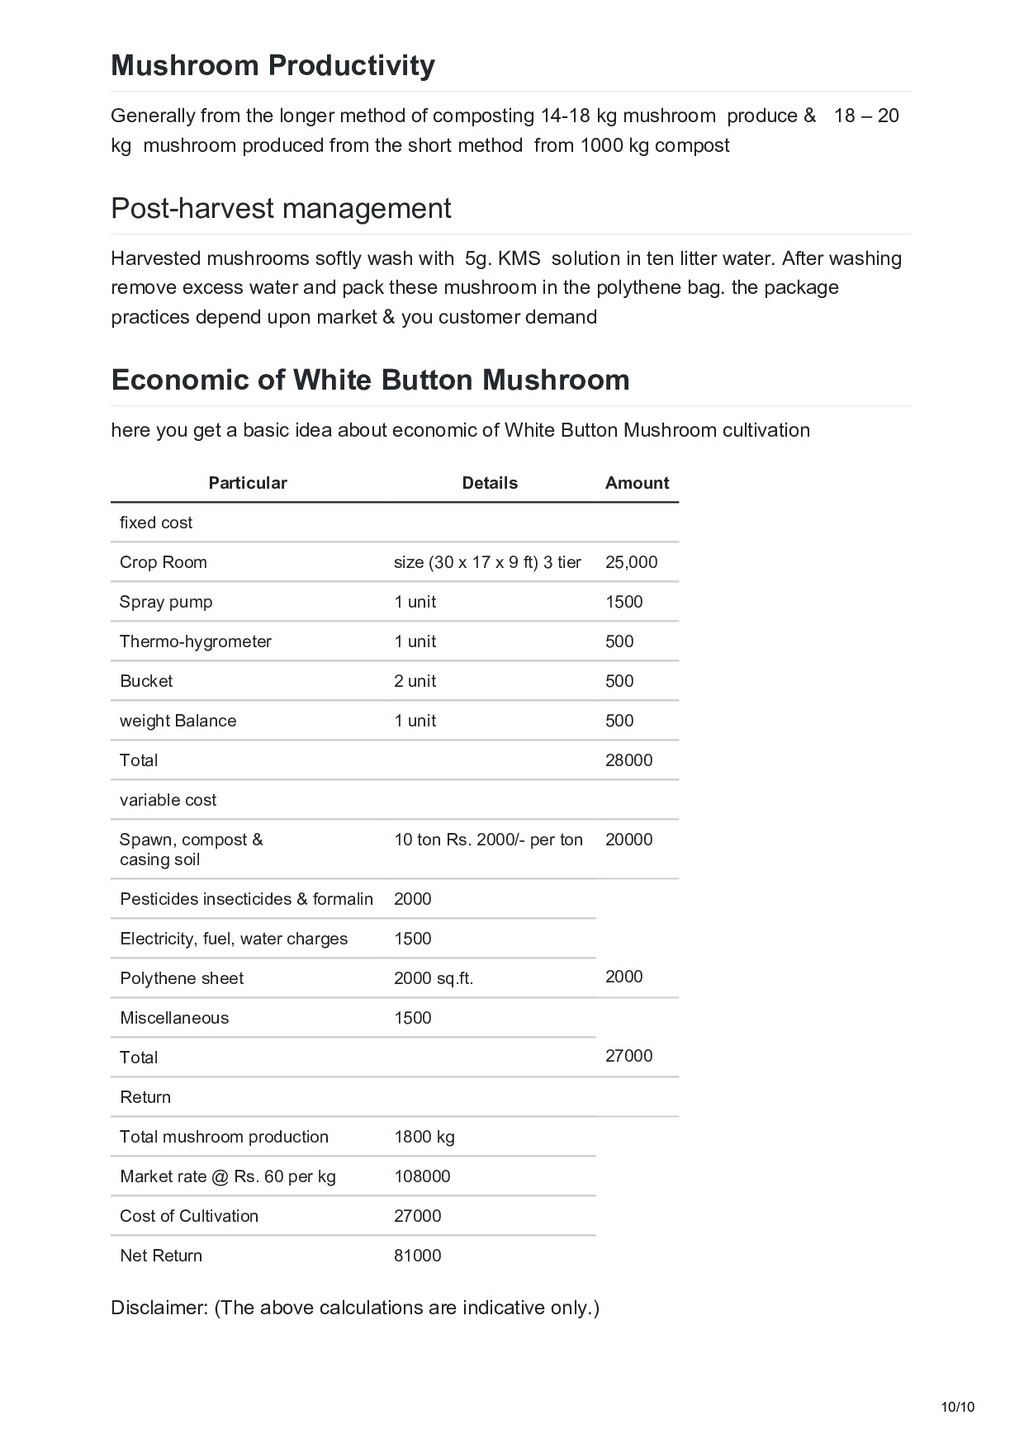
    can also be low in cholesterol. Apart from their protein content, mushrooms can also be high in certain vitamins like B, C, vitamin D, riboflavin, thiamine nicotinic acid. Also an excellent source of iron, Potassium, and potassium along with folic acid, a component known for improving the blood and avoidance deficiencies. mushroom recommended as a health food by Food and Agricultural Organisation of United Nations. Mushroom Cultivation in India In India, a marginal farmer and small manufacturing units produceFifty percent of mushroom and the remaining mushroom produce by industrial institutions. There are two chief forms of mushroom growers in India, seasonal farmers and commercial mushroom framer who take production continue entire year. Mostly both develop white button mushroom to your domestic market and export. The seasonal button mushroom growers are restricted to temperate regions like Himachal Pradesh, Jammu, and Kashmir, hilly areas of Uttar Pradesh, hilly areas in Tamil Nadu and North Eastern areas where farmers take 2-3 plants of button mushrooms at a year To commercial mushroom farming, required heavy expenditure on the building infrastructure, purchase of machinery and equipment, raw materials, labor, and energy. It is very important for a mushroom grower to undergo a practically oriented training programme. In India there are various government & NGO organization provide, provide mushroom cultivation training. However, NRCM is pioneer institute provides training. 2/10
  3. Also, our Indian government promoting mushroom cultivation hence they give

    subsidy under a different scheme like national horticulture board, Ministry of food processing, APEDA Before making to start mushroom farming decision following Factors have to be Considered to become successful in commercial mushroom production business : 1. The mushroom farm should be closer to the house of the farmer for successful Participation and monitoring purpose 2. Availability of lots of water in the farm 3. Easy accessibility to raw materials at competitive prices in the region 4. Simple access to labor at more affordable prices. 5. Availability of power at competitive prices, as electricity is a significant input in mushroom cultivation 6. The farm should be from industrial pollutants such as chemical fumes, 7. There should be provision for sewage disposal 8. There should be provision for future growth in the farm. Types of Mushrooms There is various type of edible mushroom available in the world but in India mostly four type mushroom cultivated. 1. White Button Mushroom 2. Portobello Mushroom 3. Dhingri (Oyster) Mushroom 3/10
  4. 4. Paddy Straw Mushroom Among all above White Button mushroom

    has high demand the most popular hence most farmer select this variety for commercially mushroom farming. Average price for white button mushroom is in between 50-100 rs per kg this depends upon market demand. White Button mushroom is mostly consumed mostly hotels and metro cities. Button mushroom cultivation process For the cultivation of button mushroom “Agaricus bisporus” species is chosen because, Regarding production, it comes first place in the world. In India, the favorable season for mushroom cultivation is October to march. Cultivation Procedure has Five Main steps 1. Mushroom Spawn 2. preparing of compost 3. Spawning of mulch 4. Casing 5. Cropping and harvest administration Mushroom Spawn: 4/10
  5. Spawn is planting material for mushroom cultivation that is it

    is a seed of mushroom. For the preparation of mushroom spawn required greater technical skill & investment mostly mushroom spawn produce large institute. mushroom grower import spawn from the renowned source here you can find a list of mushroom spawn producer Good Qualities mushroom spawn has following qualities 1. The spawn should Be rapidly growing in the compost 2. Provide early pruning following casing 3. high yielding 4. It must create the greater grade of mushroom Preparing of compost 5/10
  6. Compost is an artificially prepared growth medium from which mushroom

    can derive essential nutrients necessary for growth. There are two primary methods for compost preparation: Longer Method Short Method Short Method takes less time to prepare compost than longer method but requires more capital and resources. The compost made by the short method is suitable for high yielding mushroom production. Longer Method: This is an outdoor procedure and takes around 28 days in its conclusion with a total of seven turnings. Materials are required for the longer method is as follows. Ingredient weight Wheat straw 300 kg Wheat bran 15 kg calcium ammonium nitrate 9 kg Urea 4 kg Muriate of Potash 3 kg Superphosphate 3 kg Gypsum 20 Kg Before creating compost, The mixture of wheat straw is placed for 1-2 days (24-48 hours) on the floor and spray water several times in a day with a fixed time interval. Day 0: In this stage, the above Ingredient except Gypsum is mixed well and make a 5-feet-wide, 5- foot-high stack. With wooden box help or any other equipment. The length of the stack depends on the amount of material, but the height and width should not be more or less than the measurements written above and It kept as it is as for five days. Water is spray as per the requirement of lower moisture in the outer layers. The temperature of this stack in about two to three days gets around 65-70 ° C, which is a good sign. First turnaround (6th day) On the sixth day, start the first turnaround. Keep in mind that during the turning point, each part of the stack should be thoroughly mixed, and enough air circulates so that humidity to get rid of each piece of compost. 6/10
  7. If the moisture content in the compost is reduced, then

    the water is sprayed as per the requirement. The size and size of the new pile are similar to the first one. Second turnaround (10th day) The second turnaround is as similar as the first turnaround Third turnaround (13th day): In the third turnaround add Gypsum follow the same procedure as the first turnaround me & mix completely Fourth turnaround (16th day) same process as the first turnaround Fifth turnaround (19th day) same procedure as the first turnaround 6th Turnaround (22nd Day) Seventh turnaround (25th day): Sprinkle Nuwan or Malathion (0.1%). at this turnover Eighth turnaround(28th day) check Ammonia and moisture in compost on the twenty-eighth day. To know the level of moisture, press the compost in the palm and check moister level; if the fingers become wet on the press, but the water with the compost does not squeeze, in this condition, the humidity level is appropriate in the compost in this situation, in the compost, 68-70 Percent moisture is present which is suitable for seed production. To check ammonia, in compost, the compost is smoked, I if there is the smell of ammonia, give the difference of 3 days should provide one or two flip-outs. When the smell of ammonia is finally finished, and the sweet aroma comes from the compost, then compost is spread on the floor and let it cool down to 25 degree Celsius temperature. Short Method Compost prepared by this method gives the high-quality product, and there is very little chance of infections. Ingredient weight Wheat straw 1000 kg Chicken manure 600 kg Wheat bran 60 kg Urea 15 kg 7/10
  8. Gypsum 50 Kg This method is complete in two stages:

    I- Outdoor composting Mix Wheat straw with chicken manure and spray water. First turning start on the fourth day and create 45cm high heap. On the seventh day start second turning whet bran, urea and gypsum are add mix thoroughly and maintain inner temperature of the compost in between 70-75 ° C. third turning start on the eighth day on the tenth day, compost is a transferred toward pasteurization tunnel and start second phase indoor composting. II- Indoor composting In this stage, pasteurization Process carried out in a closed environment. Fill Compost in the pasteurization tunnel and the moment the compost at the tunnel has stuffed the doors, and new air damper is appropriately closed, and the blower is placed on for recirculation of air @ 150-250 cubic meter/ 1000 pound compost/ hour. The stage II indoor composting procedure is complete in 3 phases: I) Pre-peak heating point: After about 12-15 hours of mulch filling, the temperature of compost begins climbing, and after 48-50° C is got, it needs to be kept for 36-40 hours together with the venting system. Ordinarily, such temperatures are achieved by self-production of heat from the compost mass with no steam injection ii) Peak heat PoInt : Increase the warmth of compost to 57-58° C by self-production of heat from parasitic activity if it’s not obtained. Injecting the live steam at the majority chamber and keep for 8 hours to guarantee effective pasteurization. New air introduced by launching of the fresh air damper into 1/6 or even 1/4 of its capacity and air socket also is exposed to the identical extent. iii) Post- peak heat point: Lower the temperature slowly to 48-52 ° C.and keep until no indications of ammonia have been found in compost. This can take 3-4 times in a balanced formula. After the mulch is free of ammonia, complete clean air is brought on by opening the damper to the utmost capacity and cool the compost down to about 250C That’s considered as the favorable temperature for spawning Spawning 8/10
  9. The seeds are a mix of the compost. Before seeding,

    wash the utensils used in seeding and seeding in 2% formalin solution and wash the hands of the person working in the seedling with soap so that any infection can be avoided. After this, add seed to 0.5 to 0.75 percent, that is, 100 kg G 500-750 grams of seeds are sufficient for ready compost. Casing soil The importance of casing soil would be to keep the moisture content and exchange of pollutants inside the top layer of the compost which assists in the correct development of the mycelium. The pH of this casing soil should be 7.5-7.8 and have to be free of any disease. The casing soil is stacked on the cemented ground and can be treated with 4% formalin solution. Through rotation of the ground is completed and it’s covered with polythene sheet for another 3-4 days. Pasteurization of shell soil at 65° C for 6-8 hours is shown to be a lot more successful. 3-4cm thick coating of casing soil has been spread thickly on the compost once the surface was coated with white mycelium of this fungus. Formalin solution (0.5 percent) is subsequently being sprayed. Appropriate ventilation ought to be organized together with water being sprayed a couple of times every day. Harvesting of crop Mushroom Pinhead initiation starts after 10-12 days and mushroom crop harvested in 50- 60 days. Harvest Mushrooms by light twisting without bothering the casing soil and When the harvesting is finished then fill the gap on beds with fresh, sterilized casing material and spray water. The crop should be harvested before the gills available because this might diminish its quality and market worth. 9/10
  10. Mushroom Productivity Generally from the longer method of composting 14-18

    kg mushroom produce & 18 – 20 kg mushroom produced from the short method from 1000 kg compost Post-harvest management Harvested mushrooms softly wash with 5g. KMS solution in ten litter water. After washing remove excess water and pack these mushroom in the polythene bag. the package practices depend upon market & you customer demand Economic of White Button Mushroom here you get a basic idea about economic of White Button Mushroom cultivation Particular Details Amount fixed cost Crop Room size (30 x 17 x 9 ft) 3 tier 25,000 Spray pump 1 unit 1500 Thermo-hygrometer 1 unit 500 Bucket 2 unit 500 weight Balance 1 unit 500 Total 28000 variable cost Spawn, compost & casing soil 10 ton Rs. 2000/- per ton 20000 Pesticides insecticides & formalin 2000 Electricity, fuel, water charges 1500 Polythene sheet 2000 sq.ft. 2000 Miscellaneous 1500 Total 27000 Return Total mushroom production 1800 kg Market rate @ Rs. 60 per kg 108000 Cost of Cultivation 27000 Net Return 81000 Disclaimer: (The above calculations are indicative only.) 10/10