This talk gives a basic overview on how to use webpack and add it to your project. The sample code can be found on https://github.com/dmies/webpack-talk
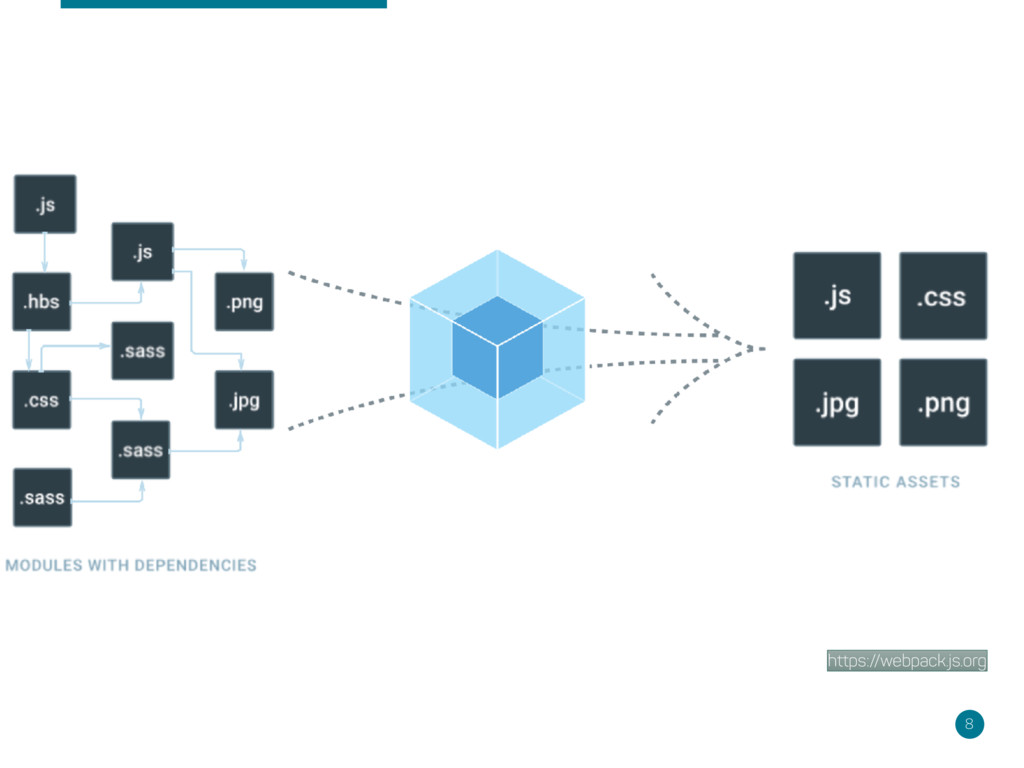
main purpose is to bundle JavaScript files for usage in a browser, yet it is also capable of transforming, bundling, or packaging just about any resource or asset. https://github.com/webpack/webpack
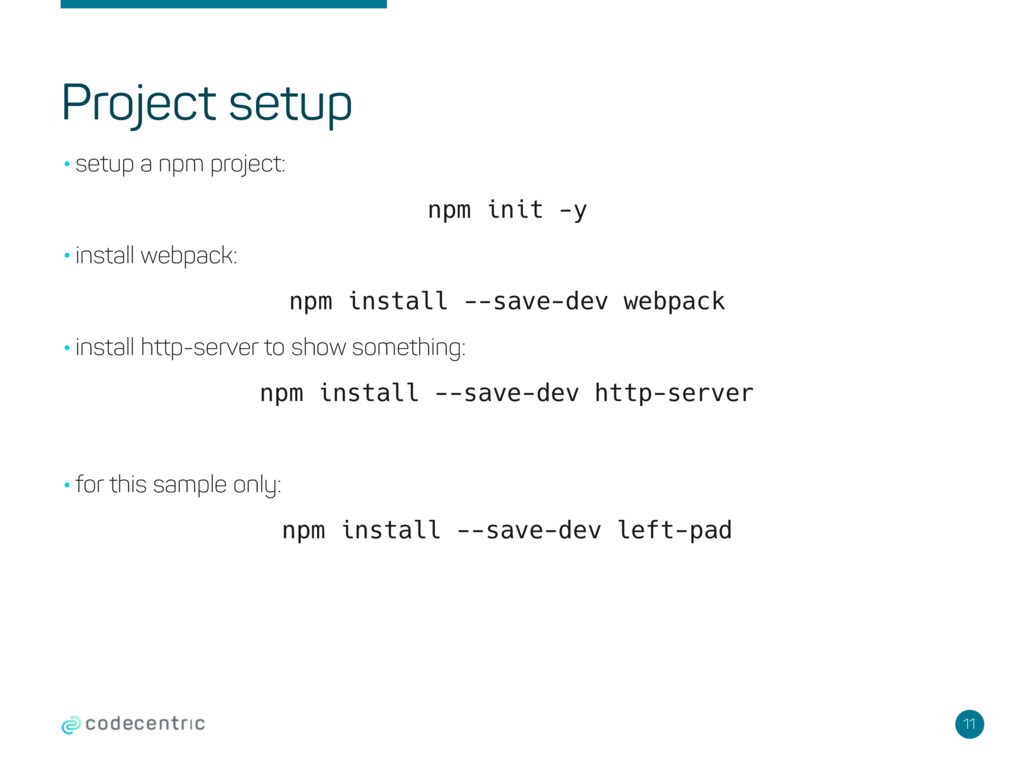
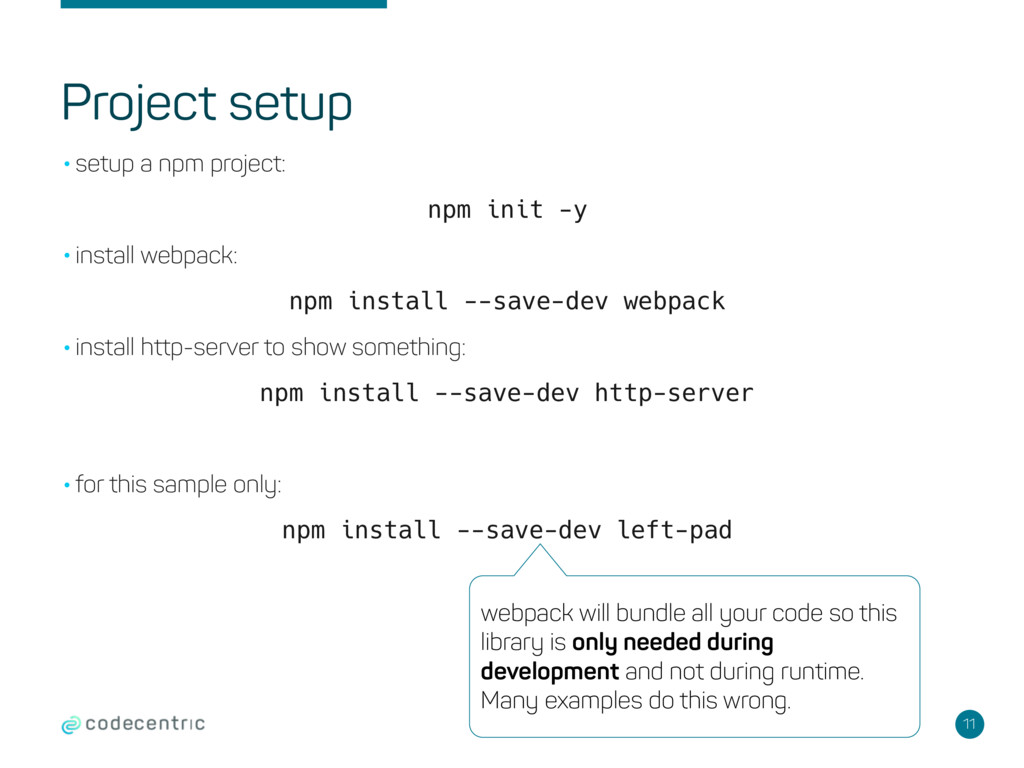
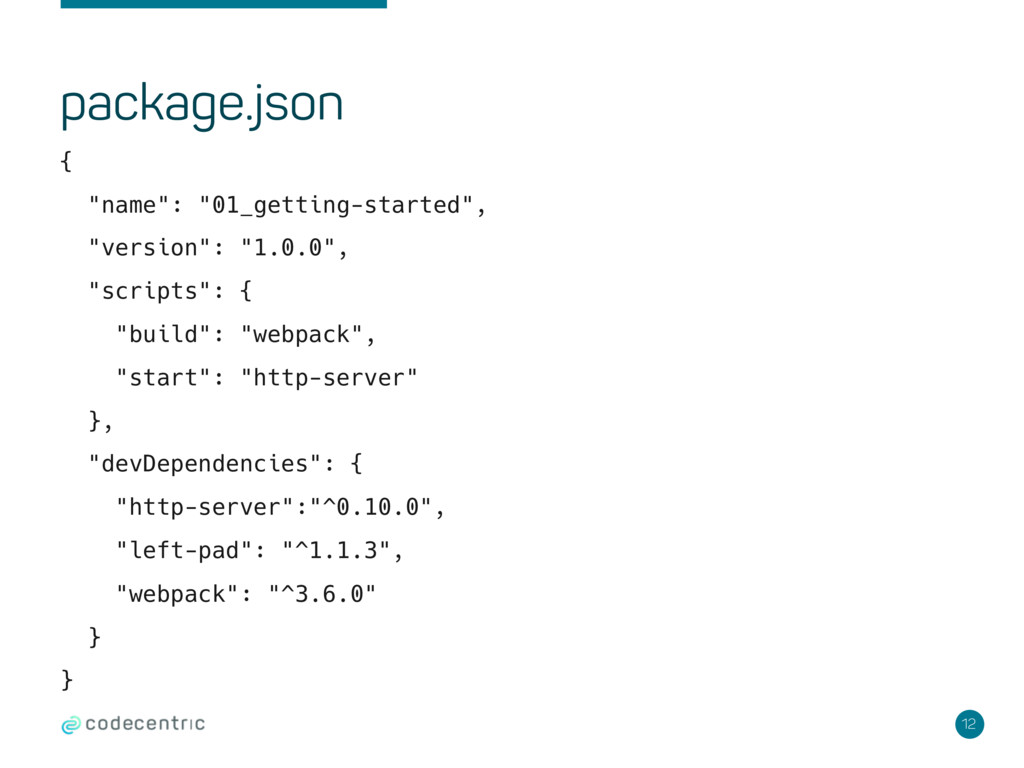
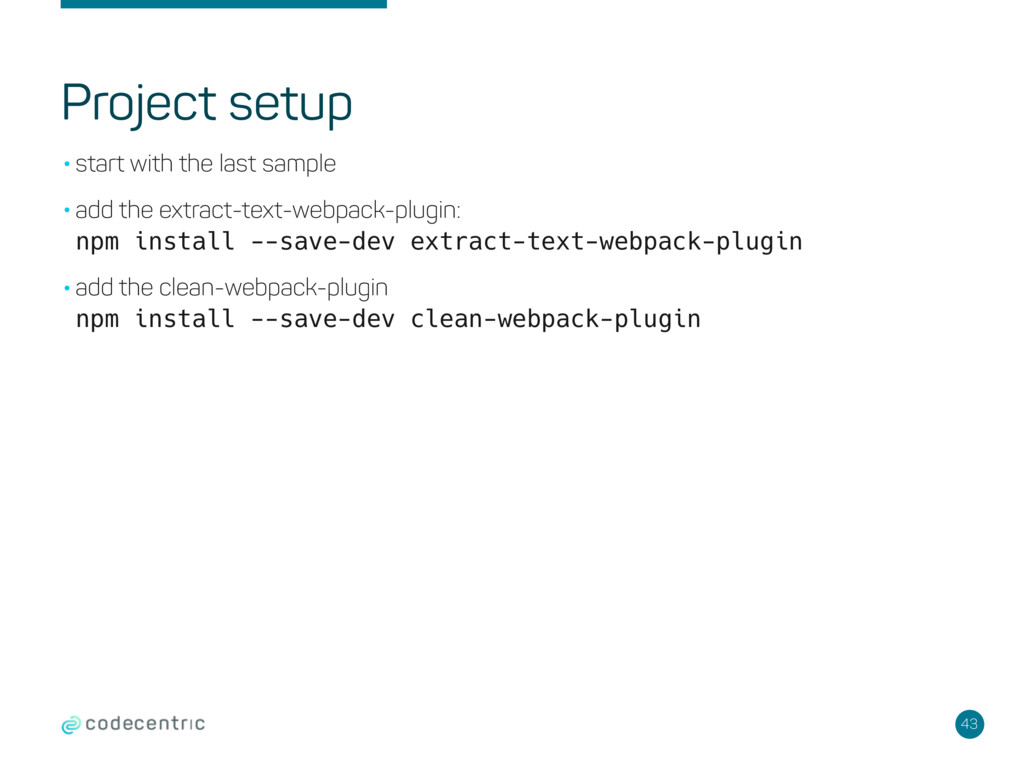
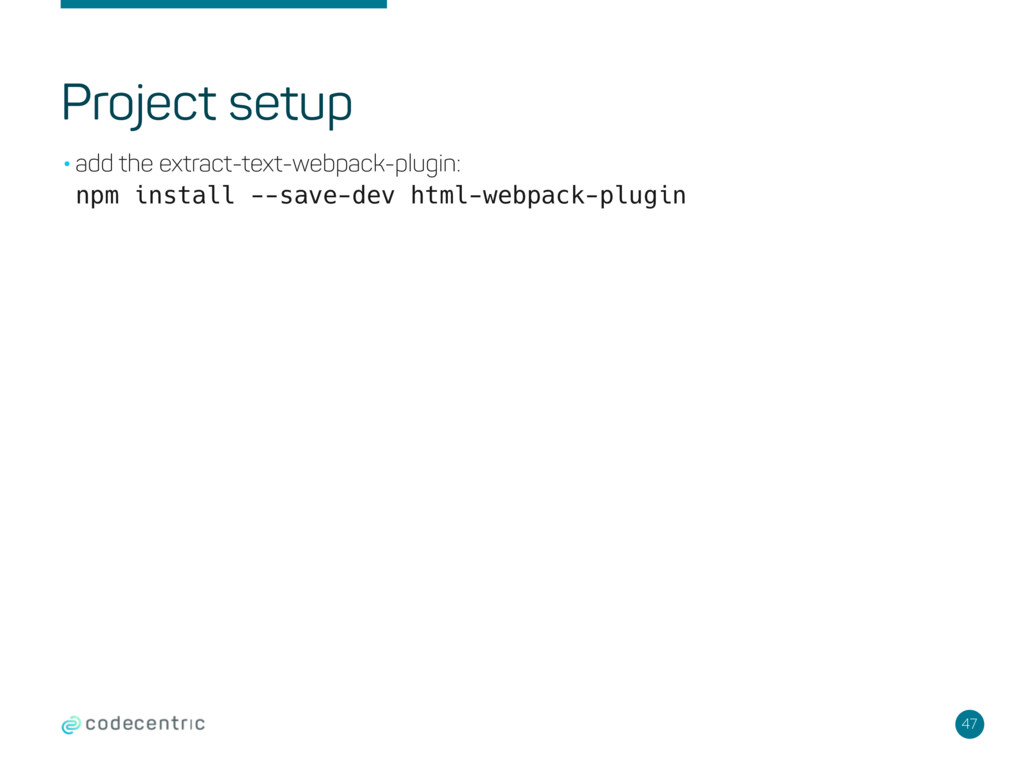
•install webpack: npm install --save-dev webpack •install http-server to show something: npm install --save-dev http-server •for this sample only: npm install --save-dev left-pad webpack will bundle all your code so this library is only needed during development and not during runtime. Many examples do this wrong.
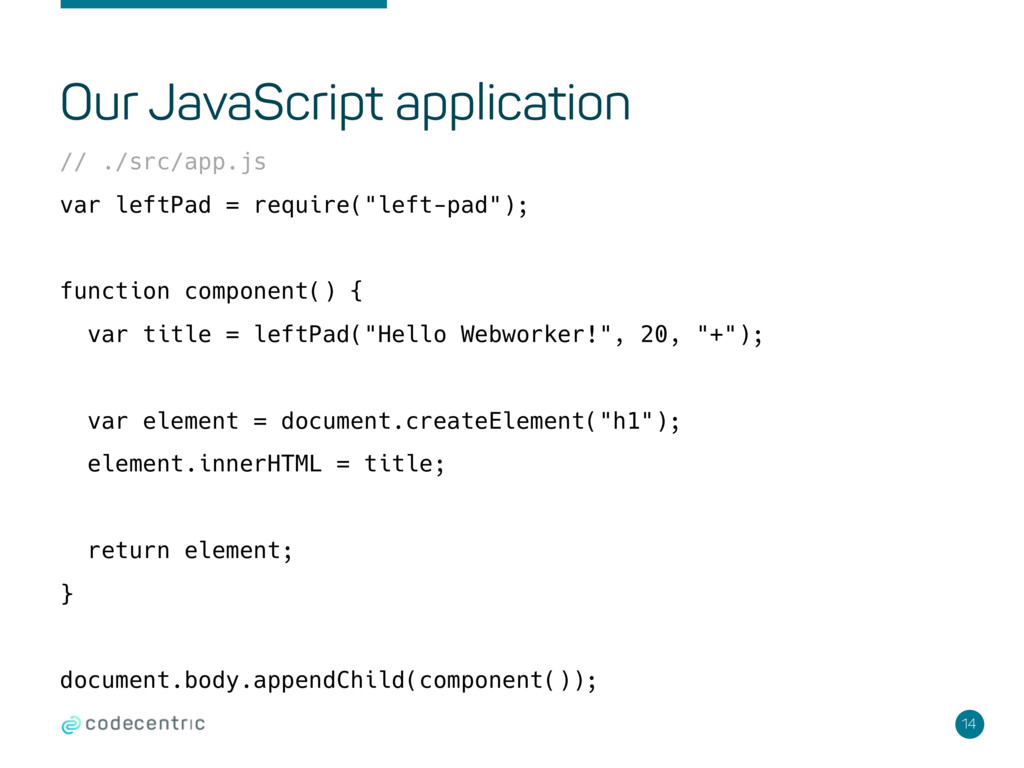
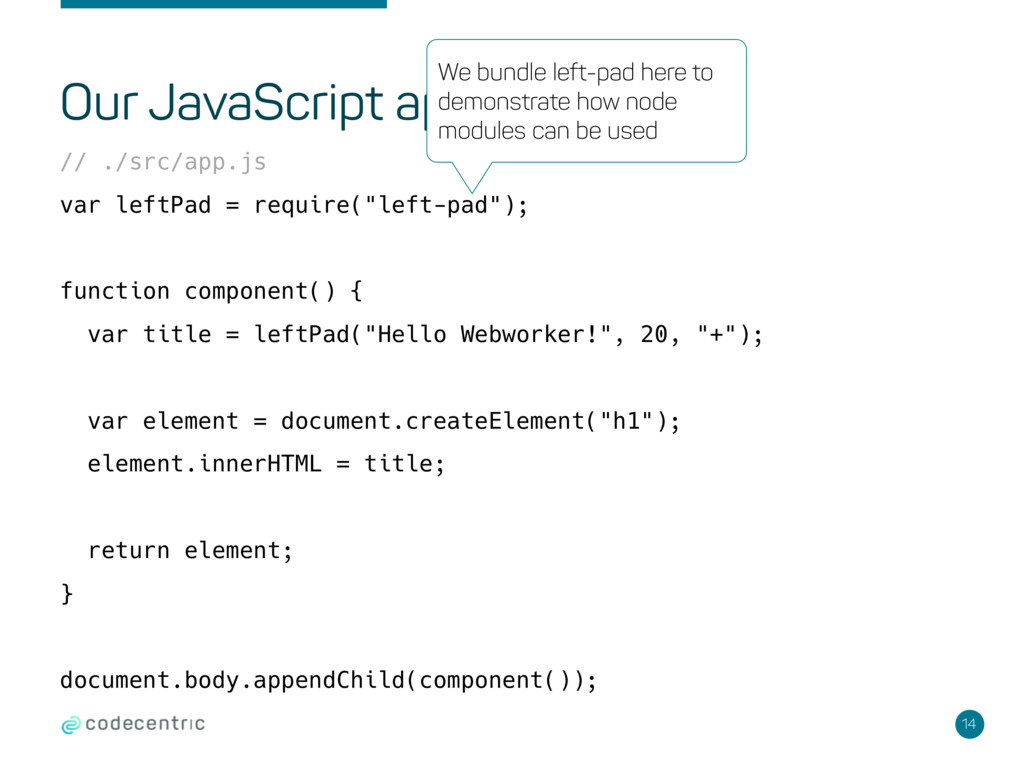
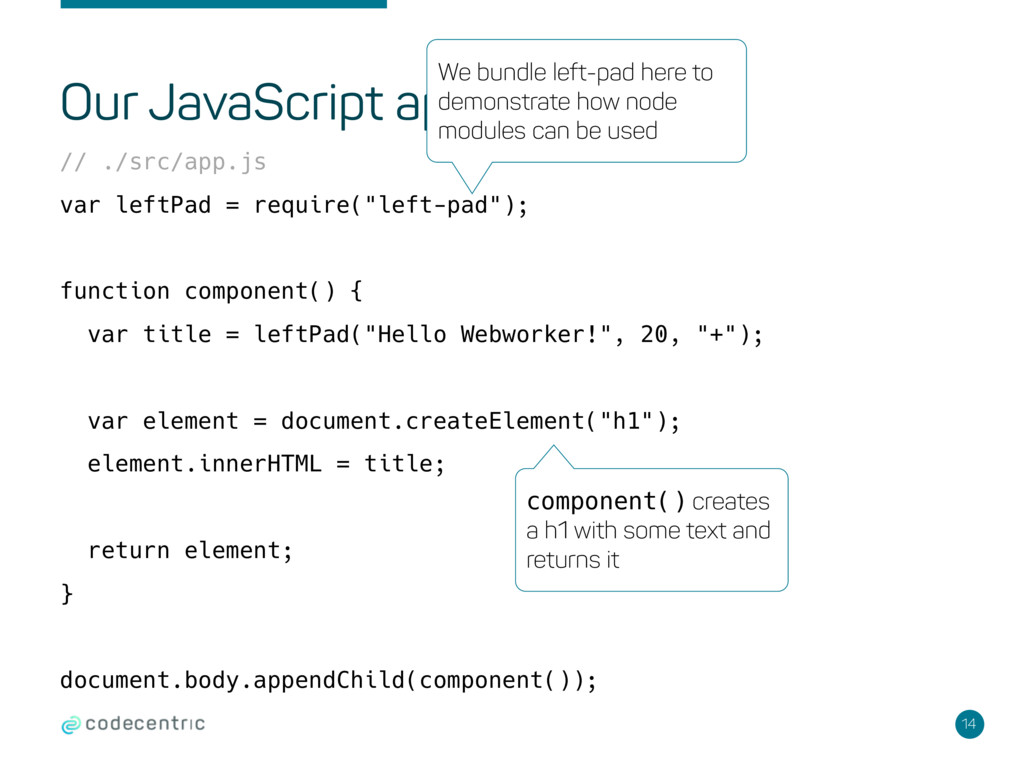
function component() { var title = leftPad("Hello Webworker!", 20, "+"); var element = document.createElement("h1"); element.innerHTML = title; return element; } document.body.appendChild(component());
function component() { var title = leftPad("Hello Webworker!", 20, "+"); var element = document.createElement("h1"); element.innerHTML = title; return element; } document.body.appendChild(component()); We bundle left-pad here to demonstrate how node modules can be used
function component() { var title = leftPad("Hello Webworker!", 20, "+"); var element = document.createElement("h1"); element.innerHTML = title; return element; } document.body.appendChild(component()); We bundle left-pad here to demonstrate how node modules can be used component() creates a h1 with some text and returns it
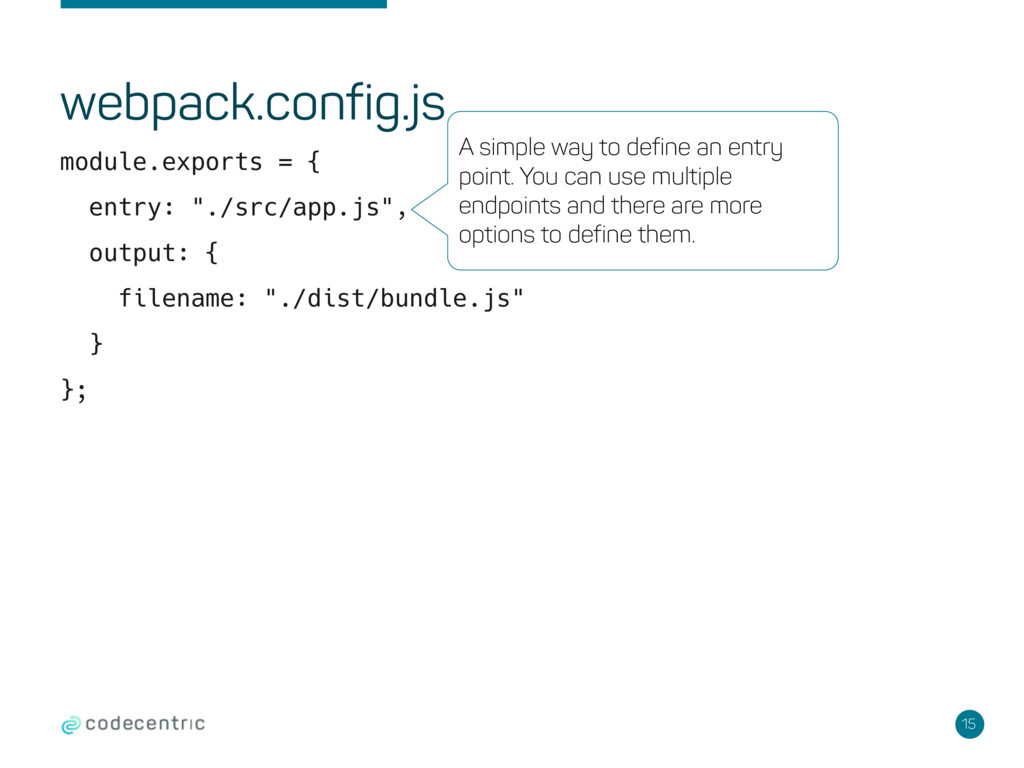
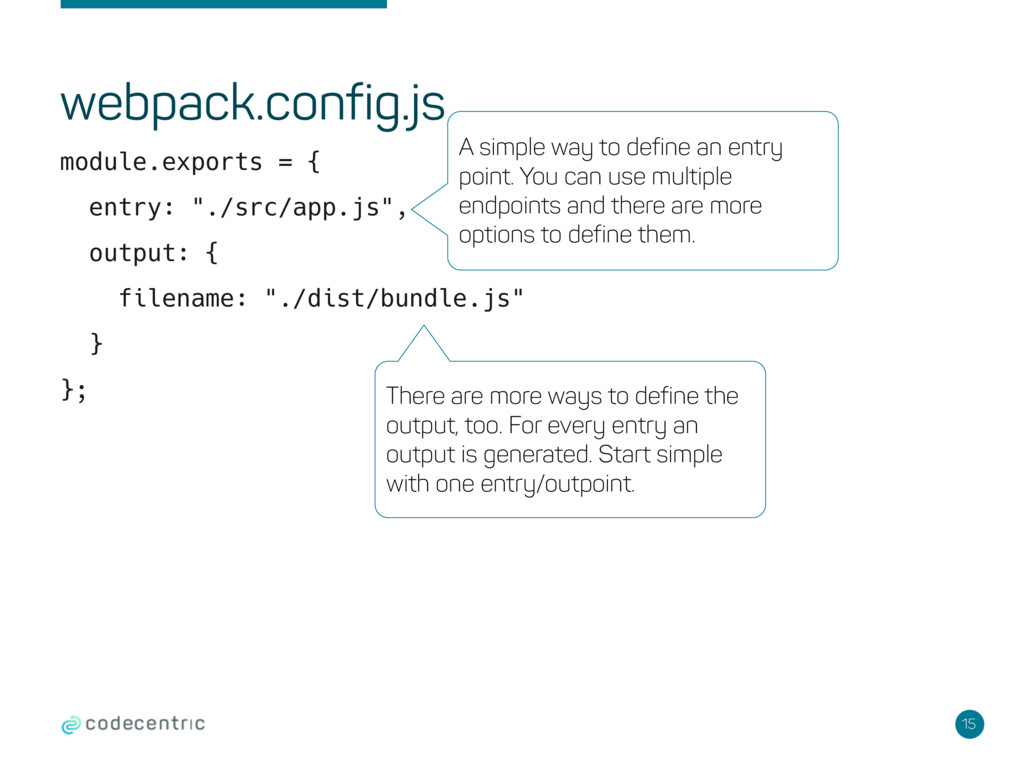
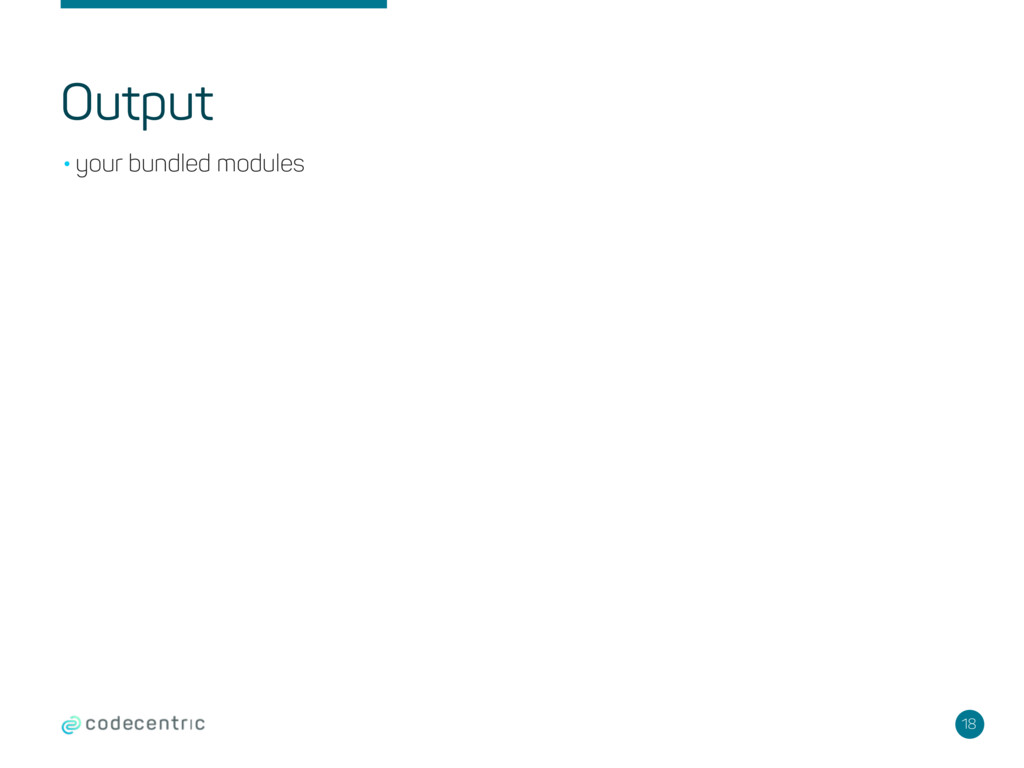
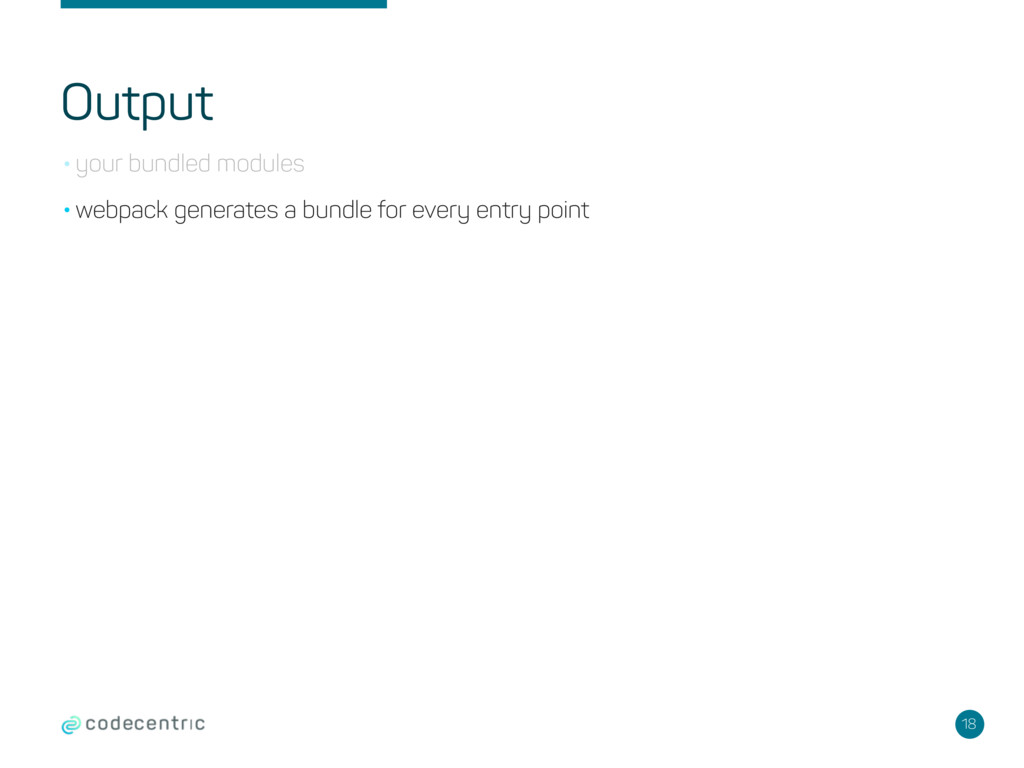
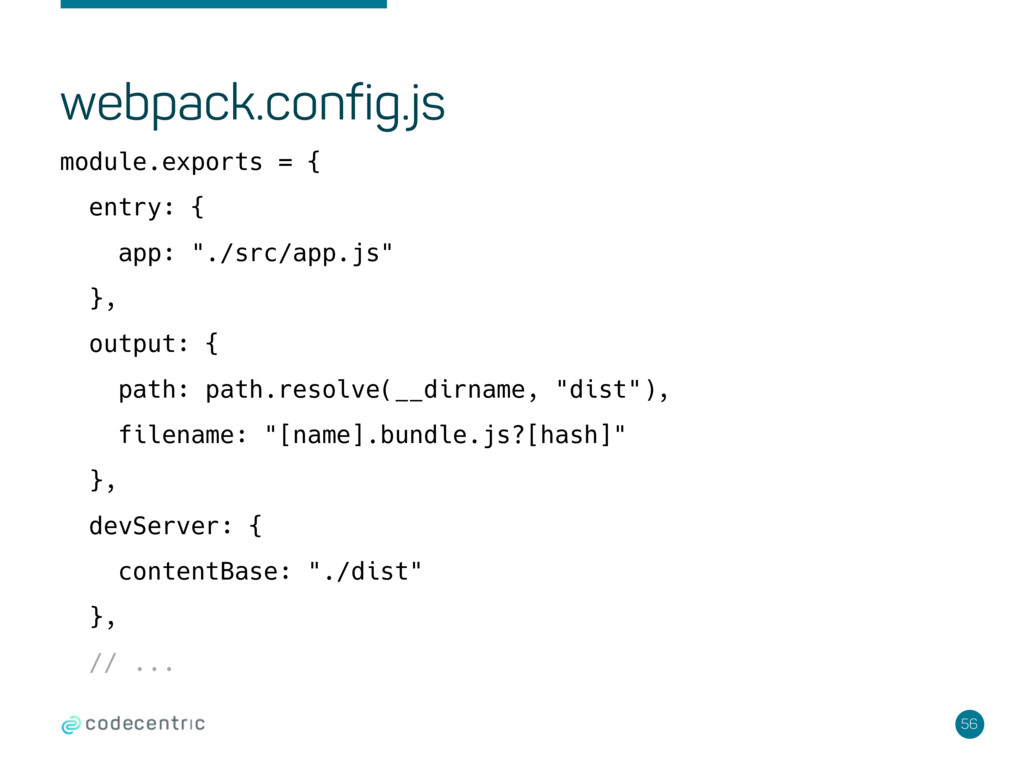
"./dist/bundle.js" } }; A simple way to define an entry point. You can use multiple endpoints and there are more options to define them. There are more ways to define the output, too. For every entry an output is generated. Start simple with one entry/outpoint.
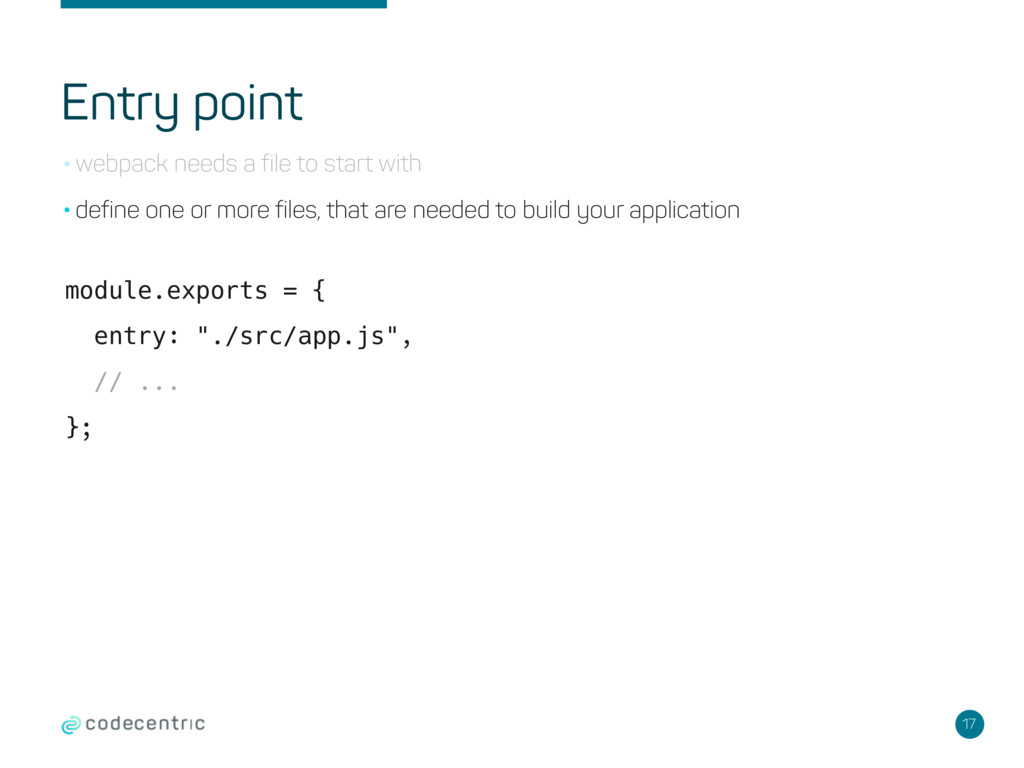
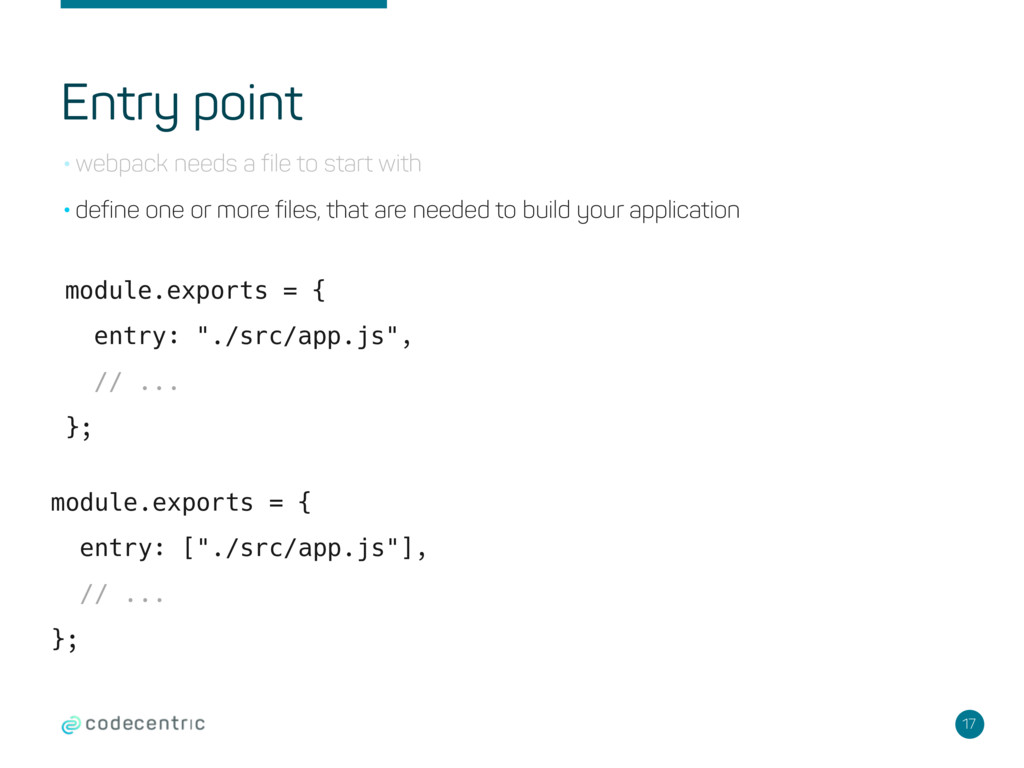
•define one or more files, that are needed to build your application module.exports = { entry: ["./src/app.js"], // ... }; module.exports = { entry: "./src/app.js", // ... };
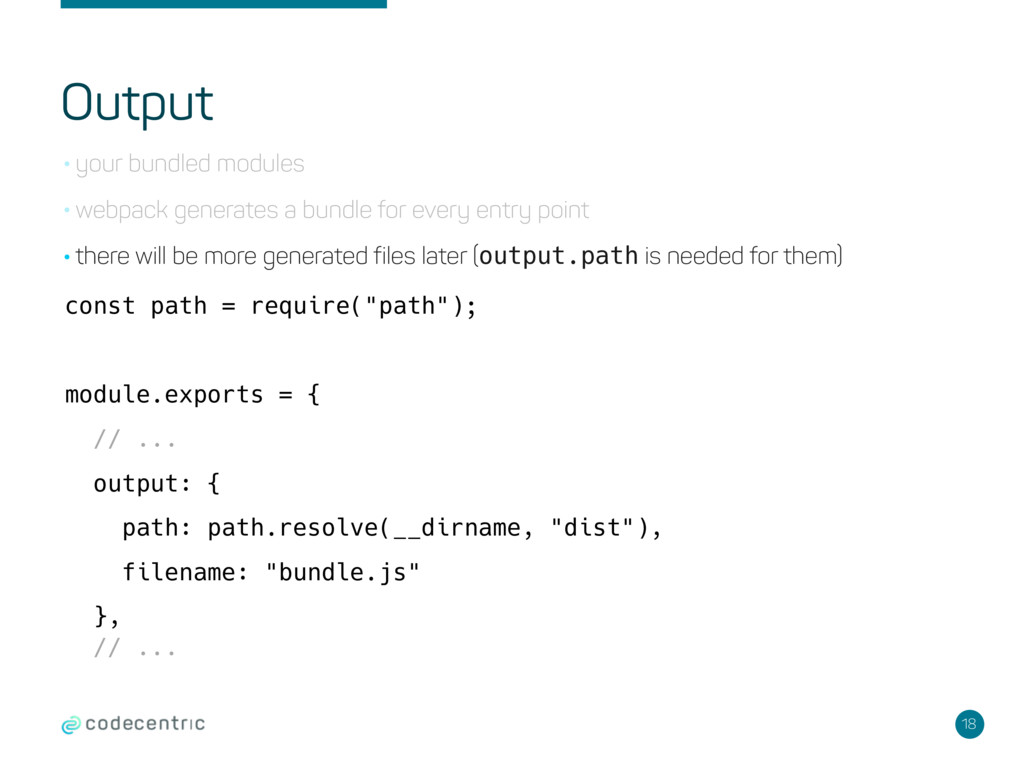
every entry point •there will be more generated files later (output.path is needed for them) const path = require("path"); module.exports = { // ... output: { path: path.resolve(__dirname, "dist"), filename: "bundle.js" }, // ...
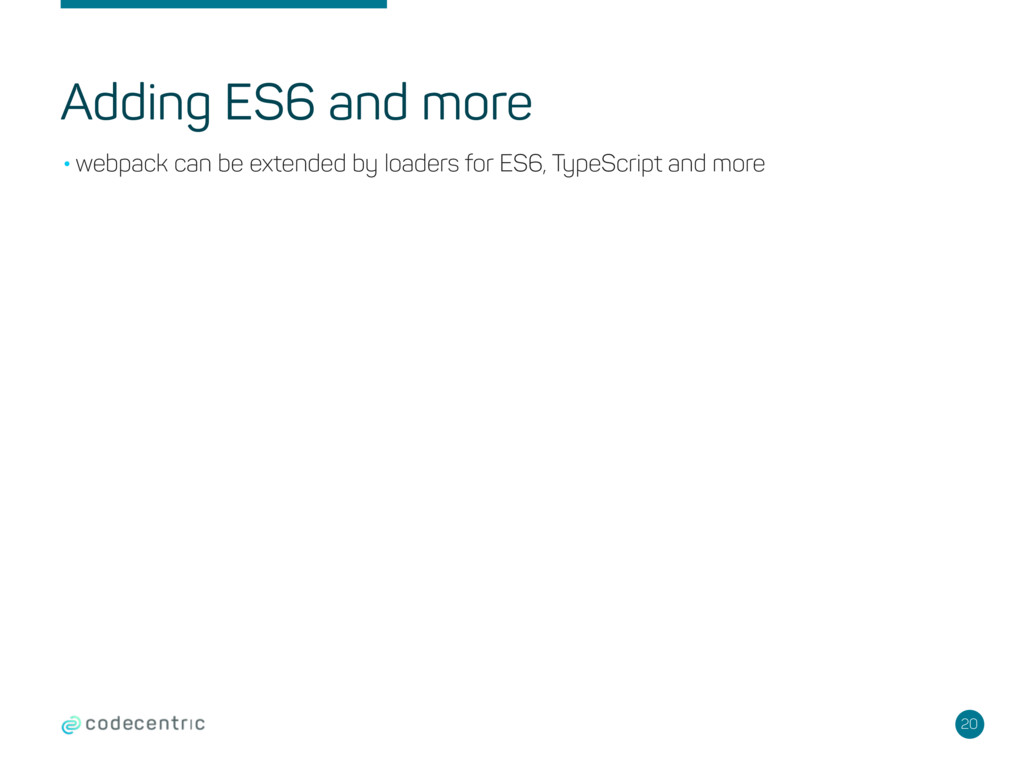
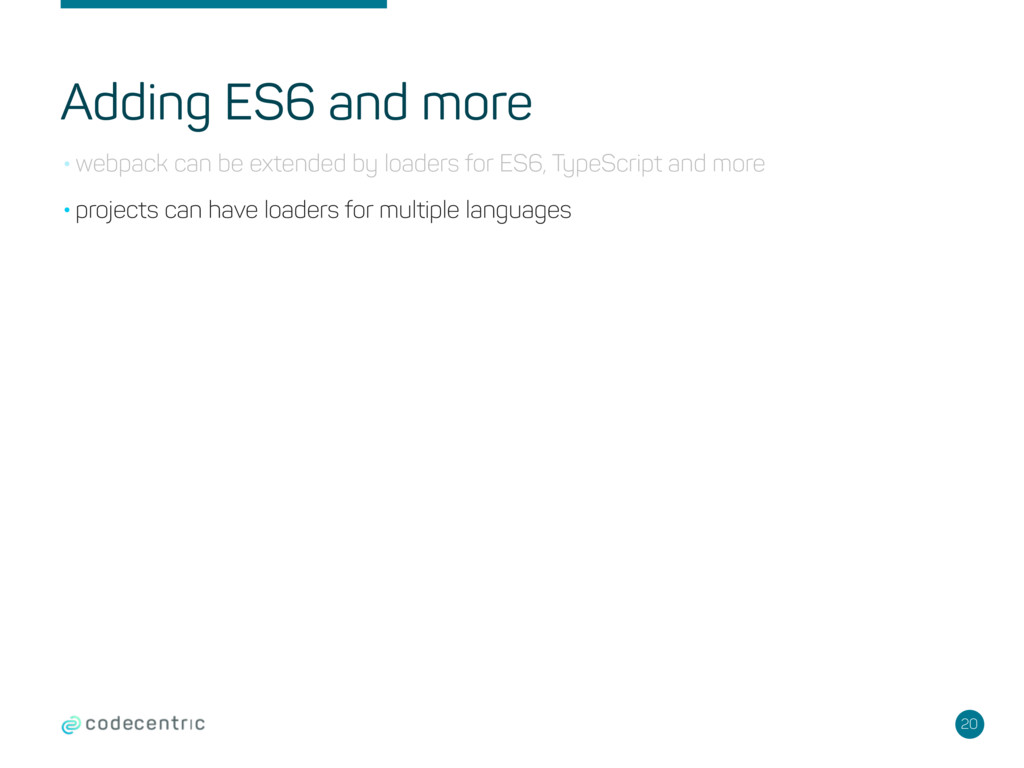
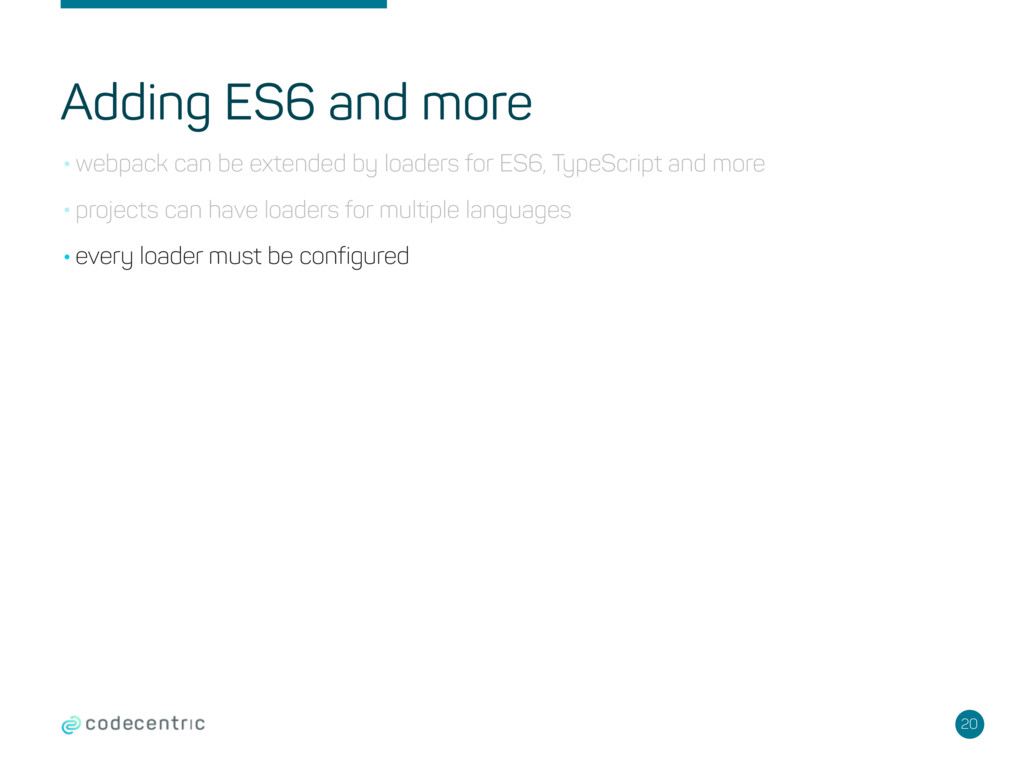
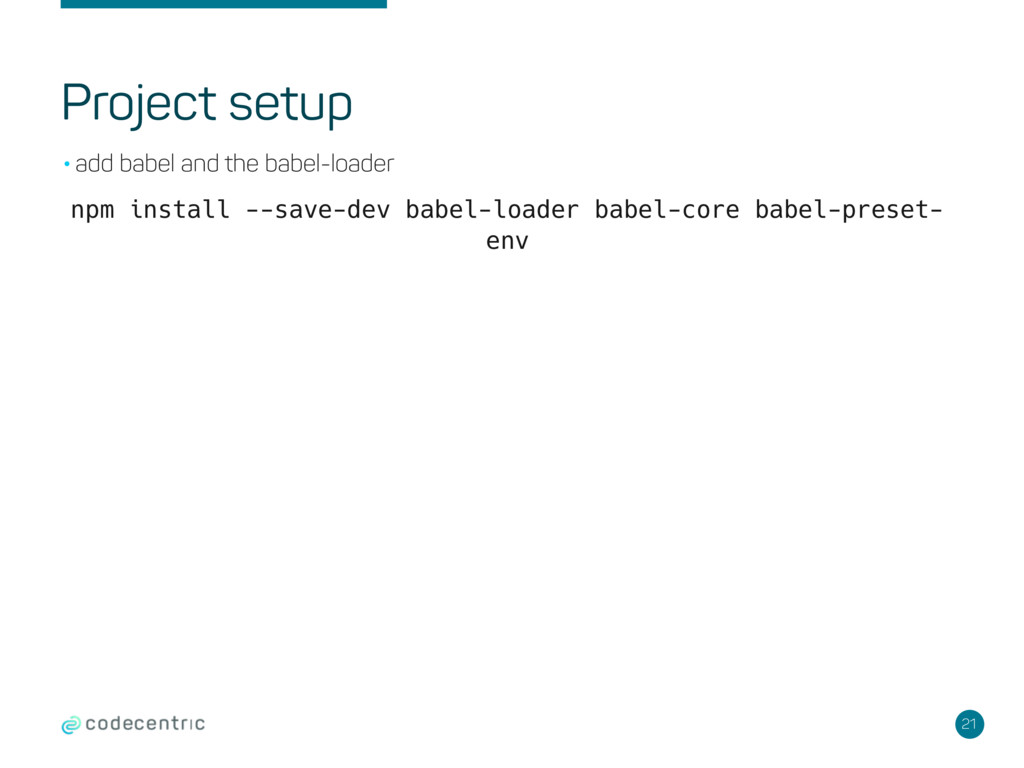
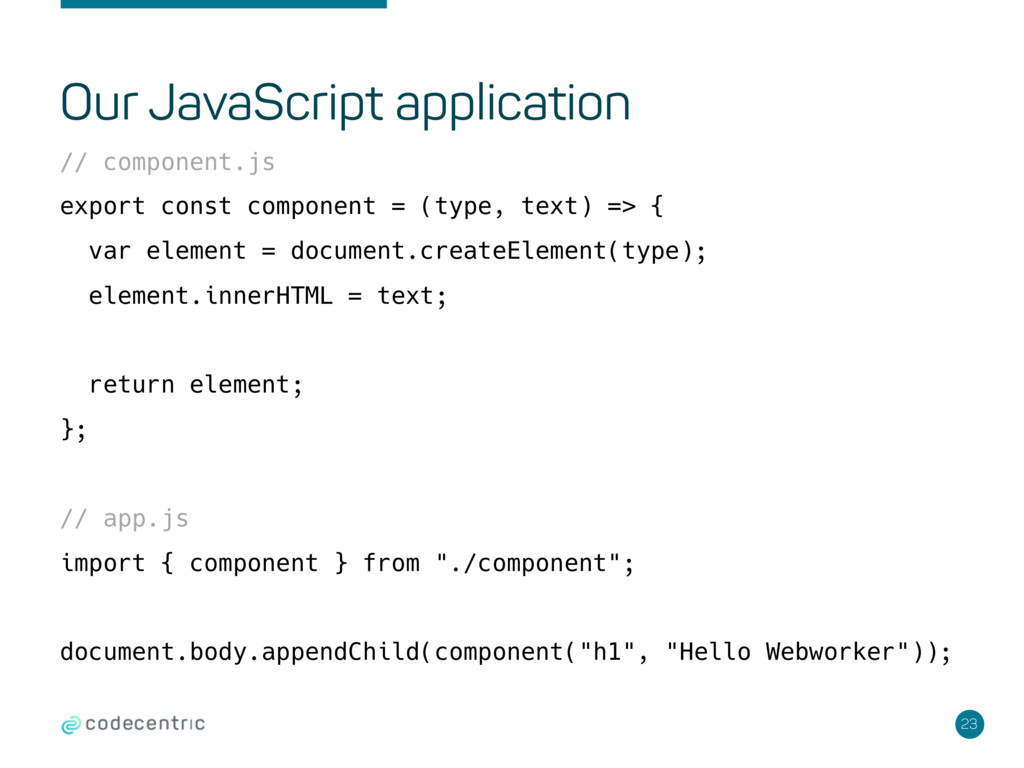
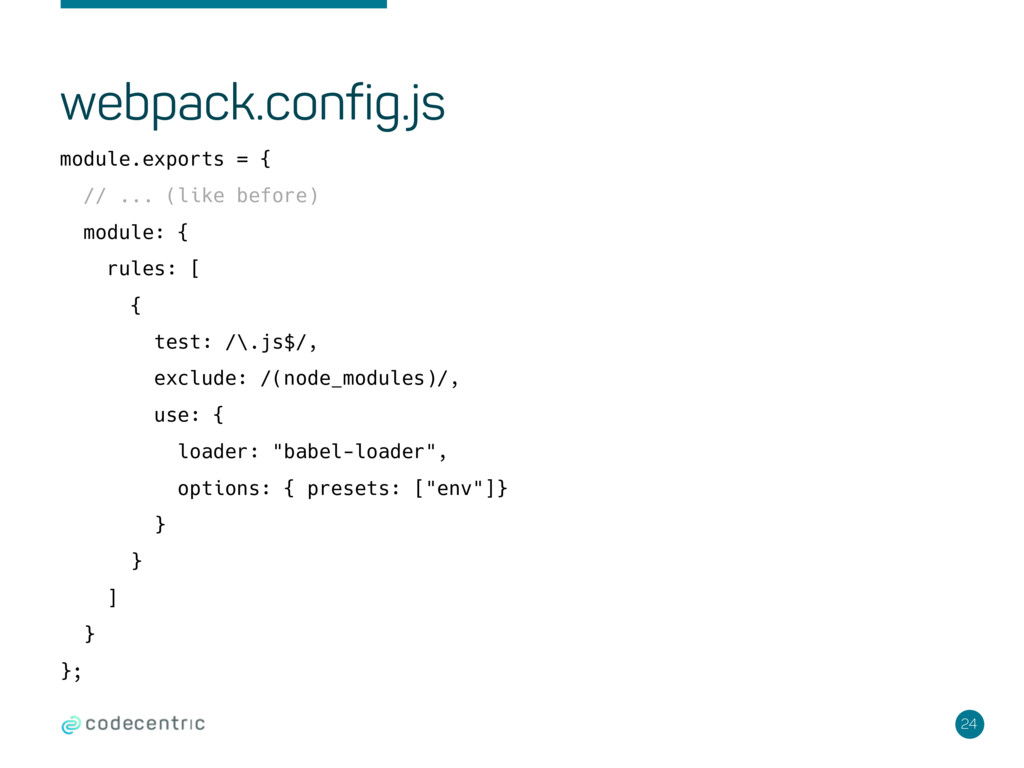
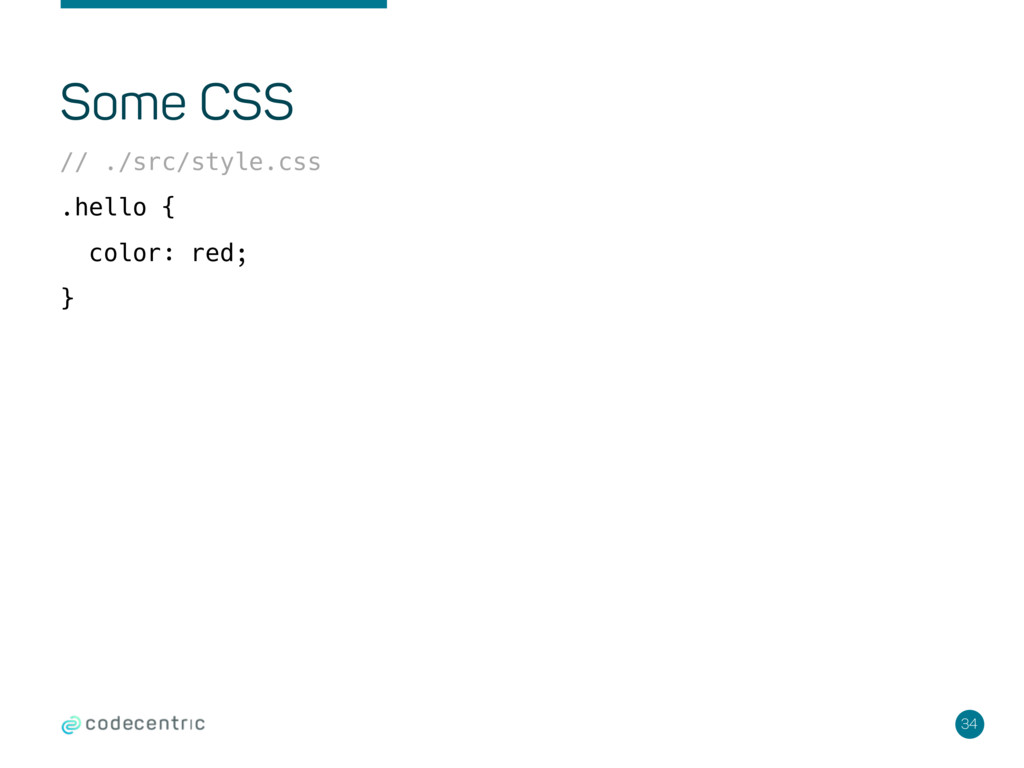
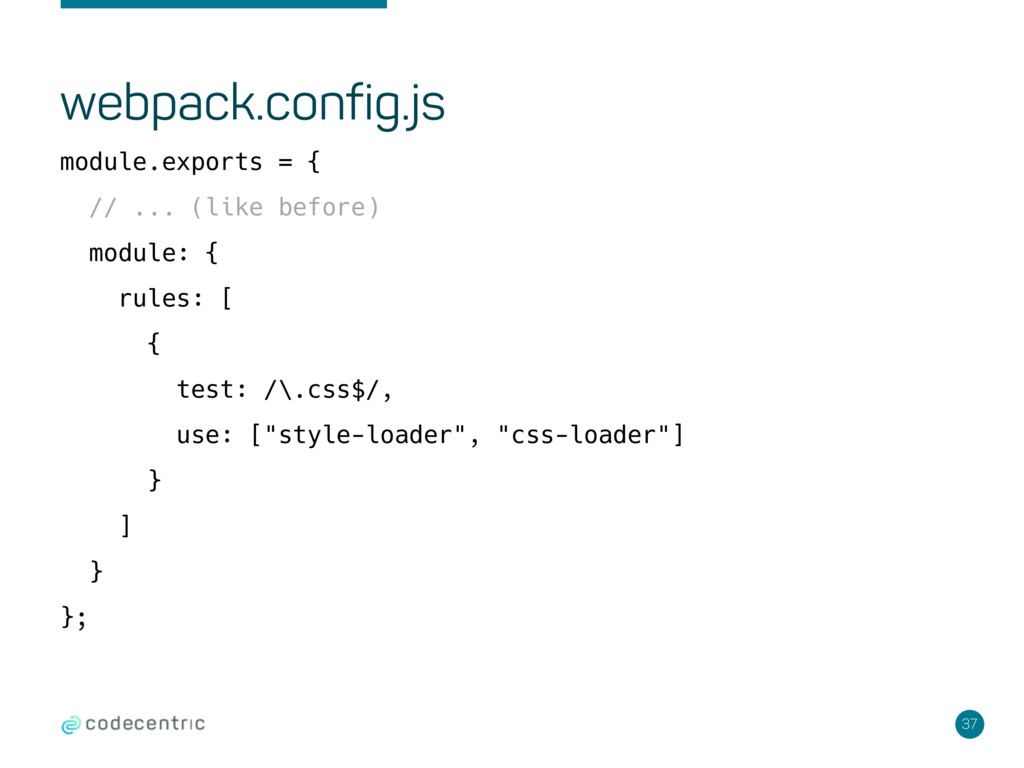
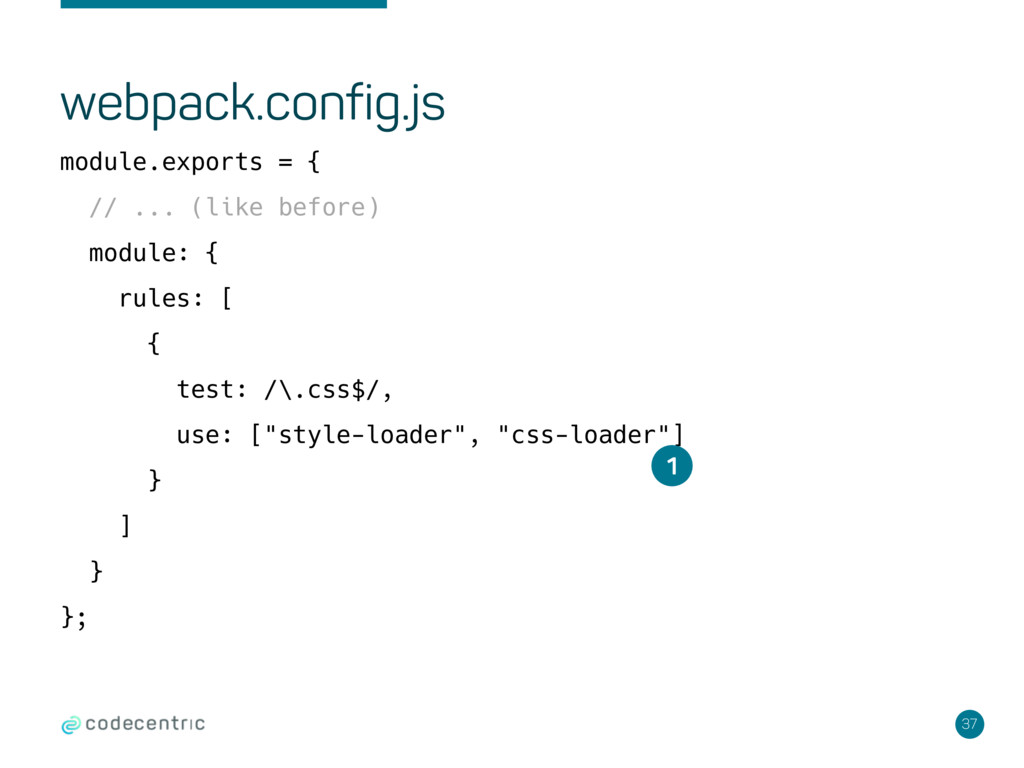
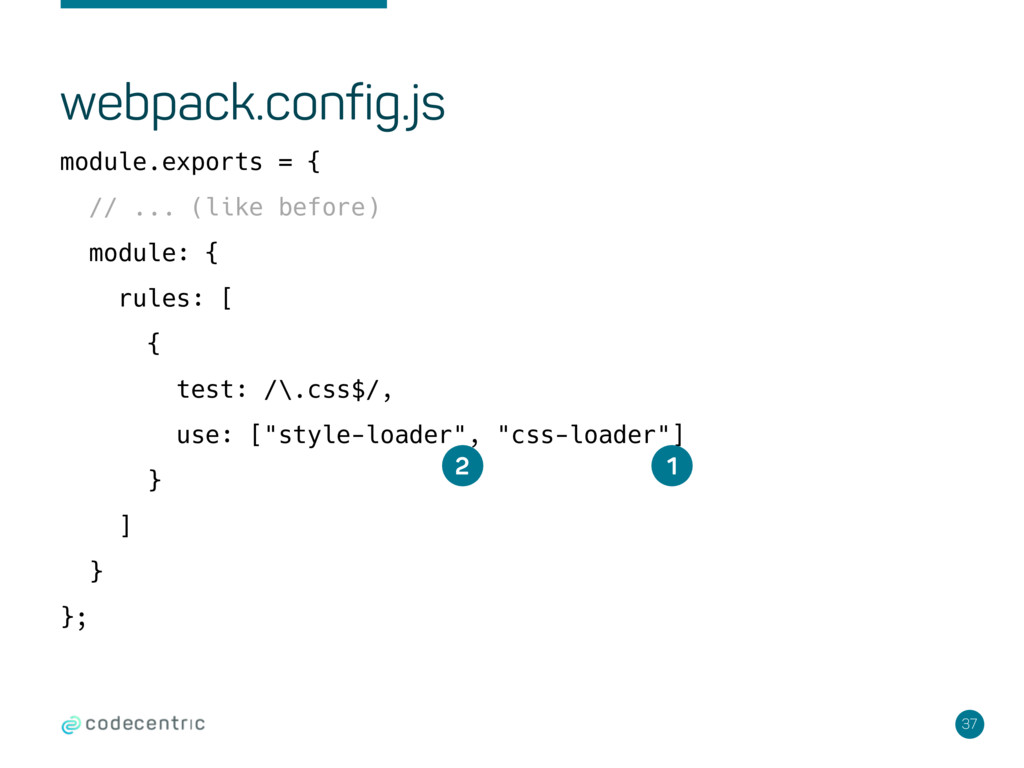
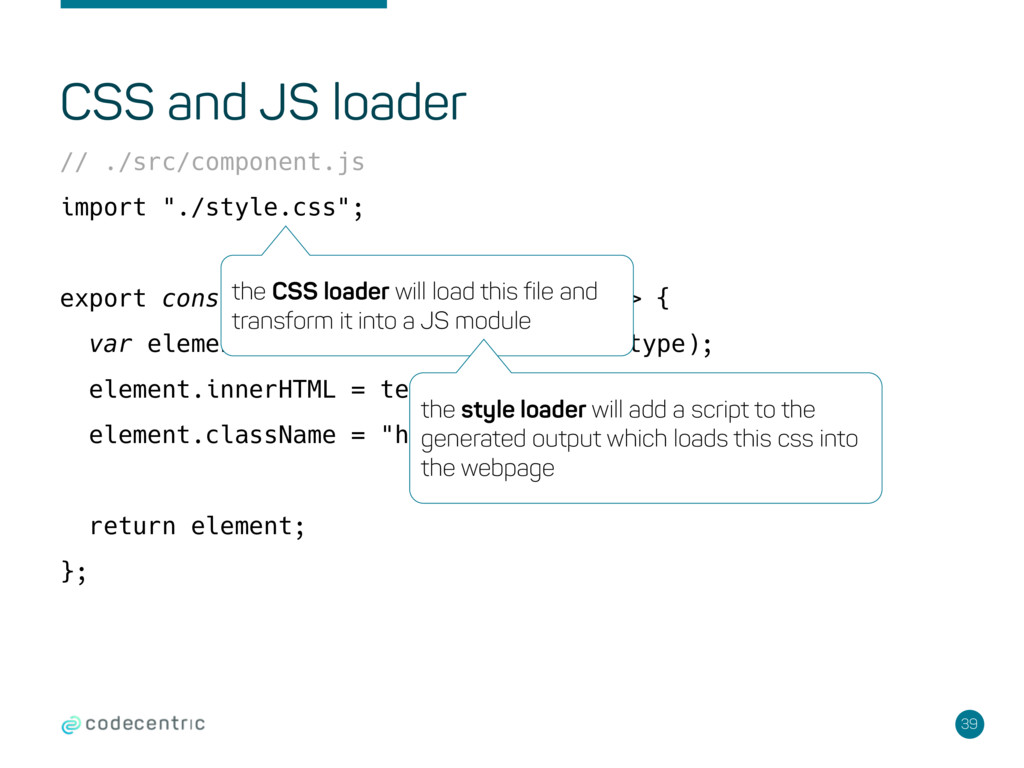
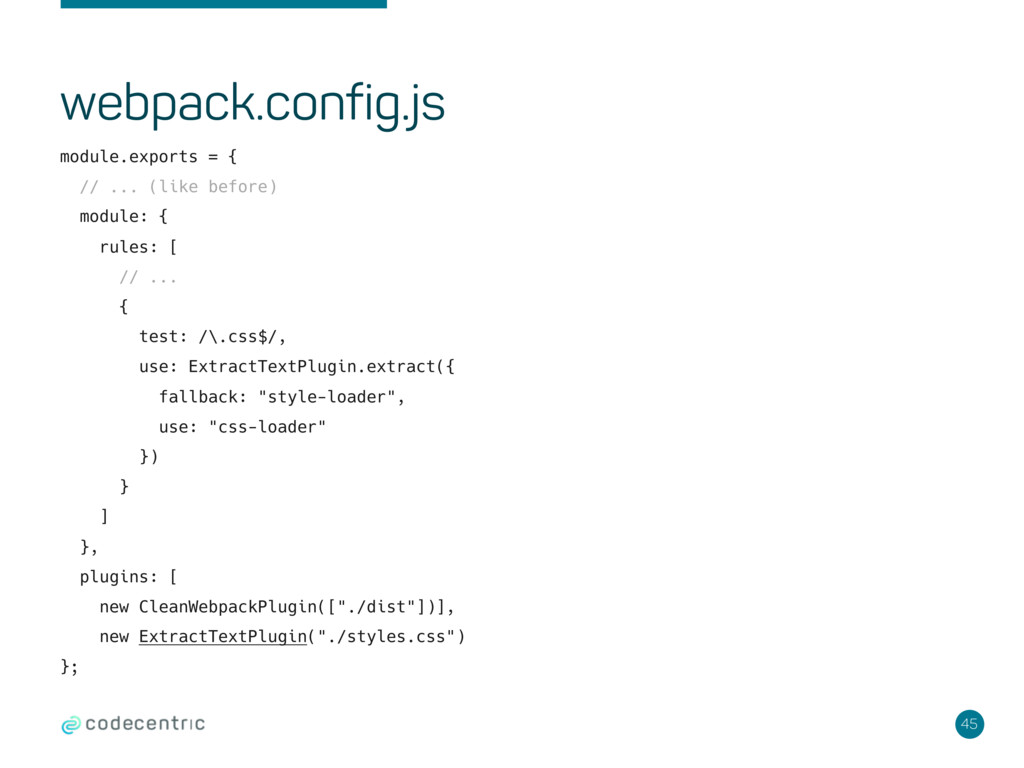
to use JavaScript in your application •webpack allows to load all kinds of assets, like CSS, SASS or images, too •all you need is a loader that supports your type of asset
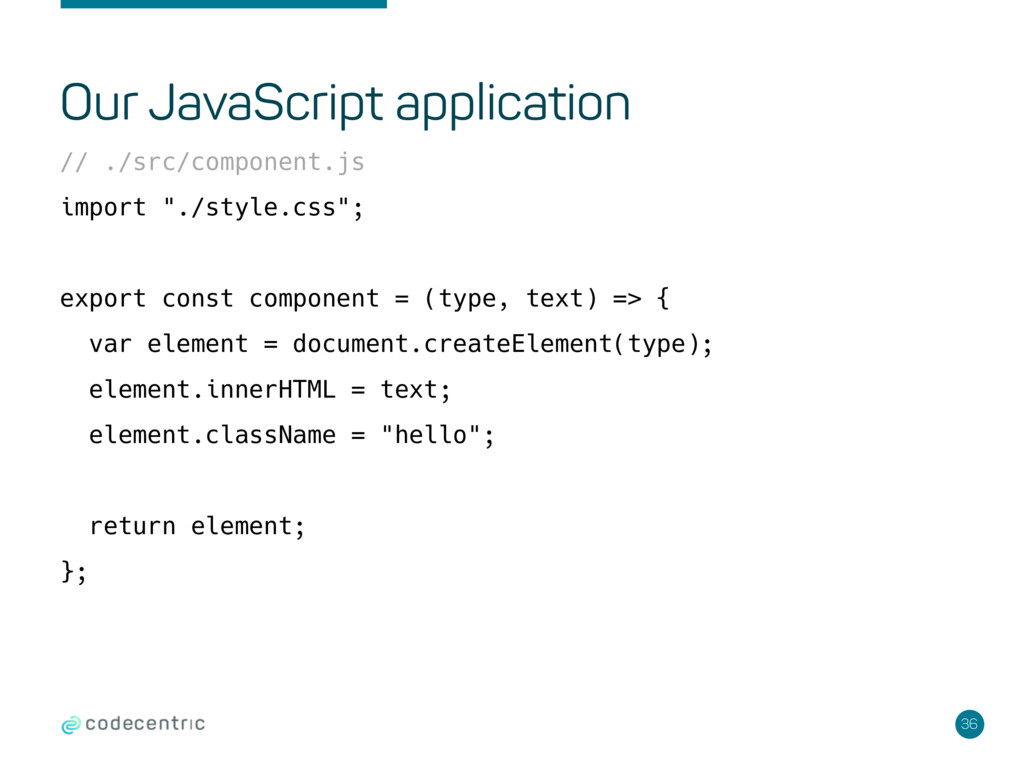
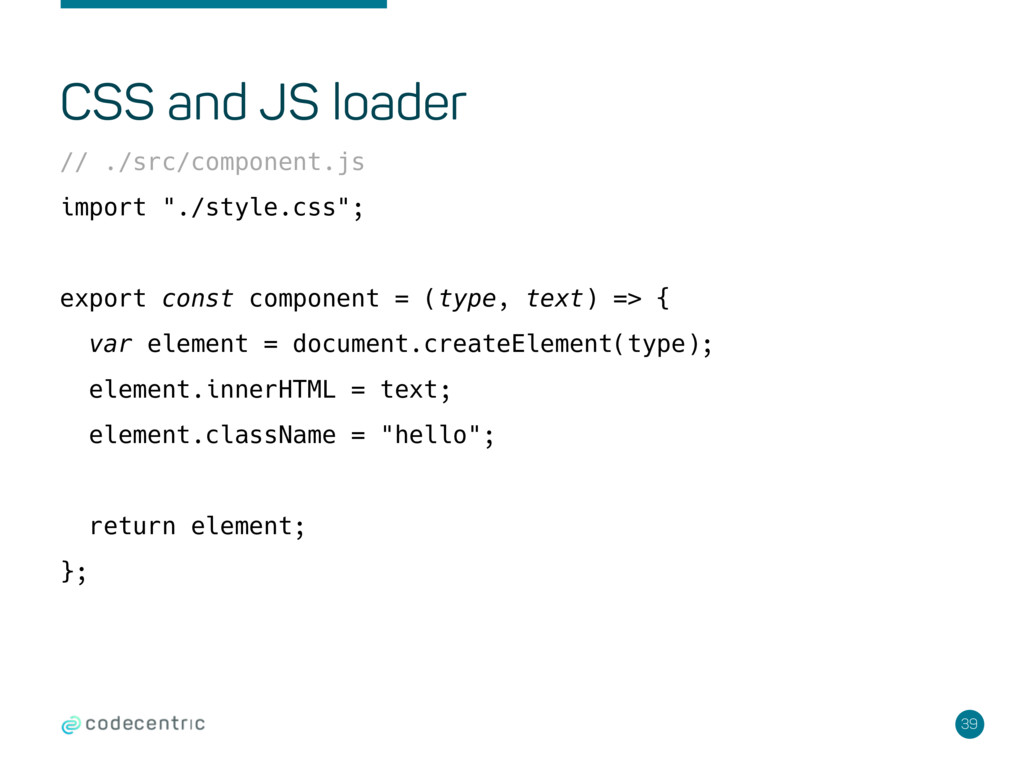
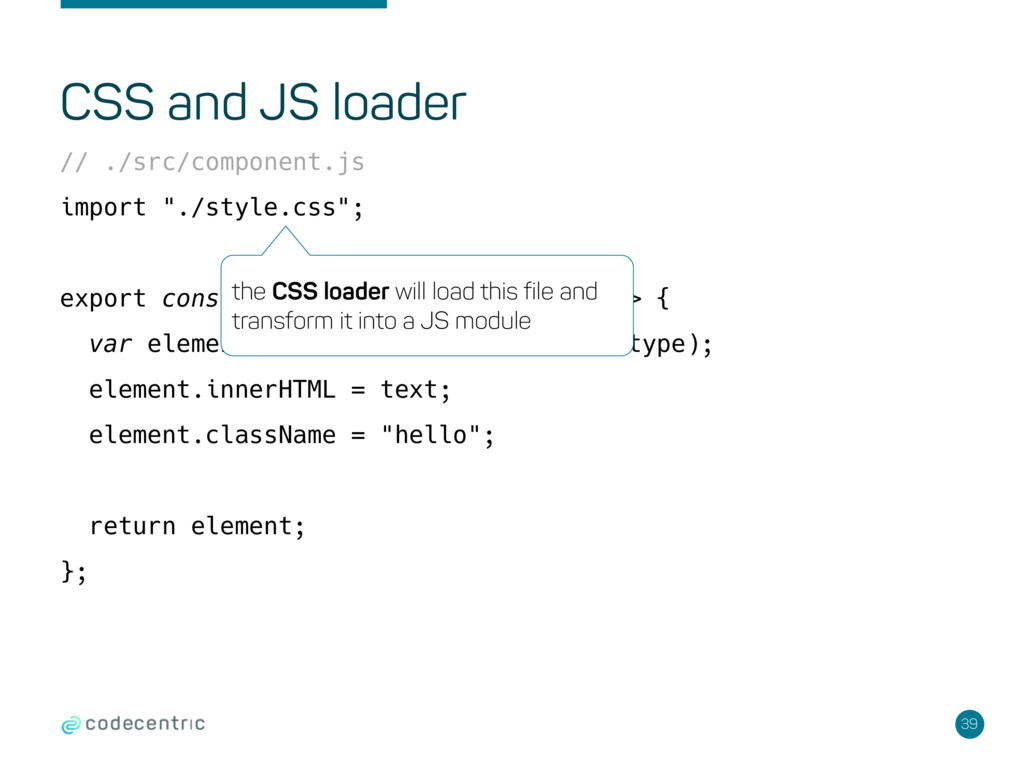
const component = (type, text) => { var element = document.createElement(type); element.innerHTML = text; element.className = "hello"; return element; }; the CSS loader will load this file and transform it into a JS module
const component = (type, text) => { var element = document.createElement(type); element.innerHTML = text; element.className = "hello"; return element; }; the CSS loader will load this file and transform it into a JS module the style loader will add a script to the generated output which loads this css into the webpage
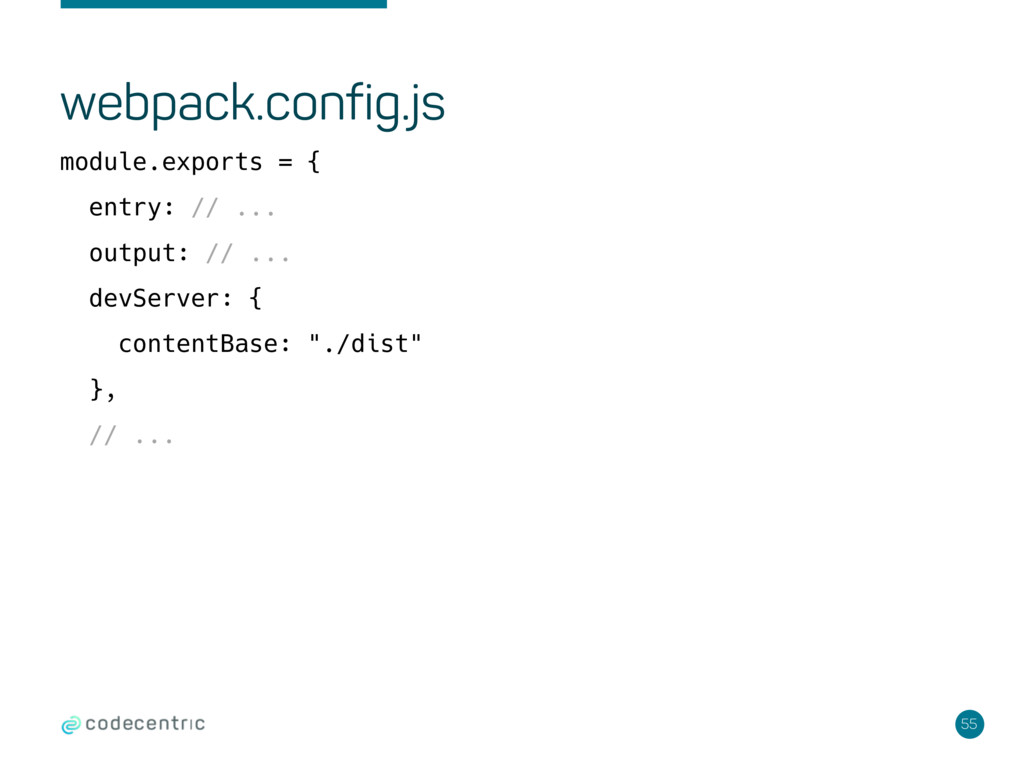
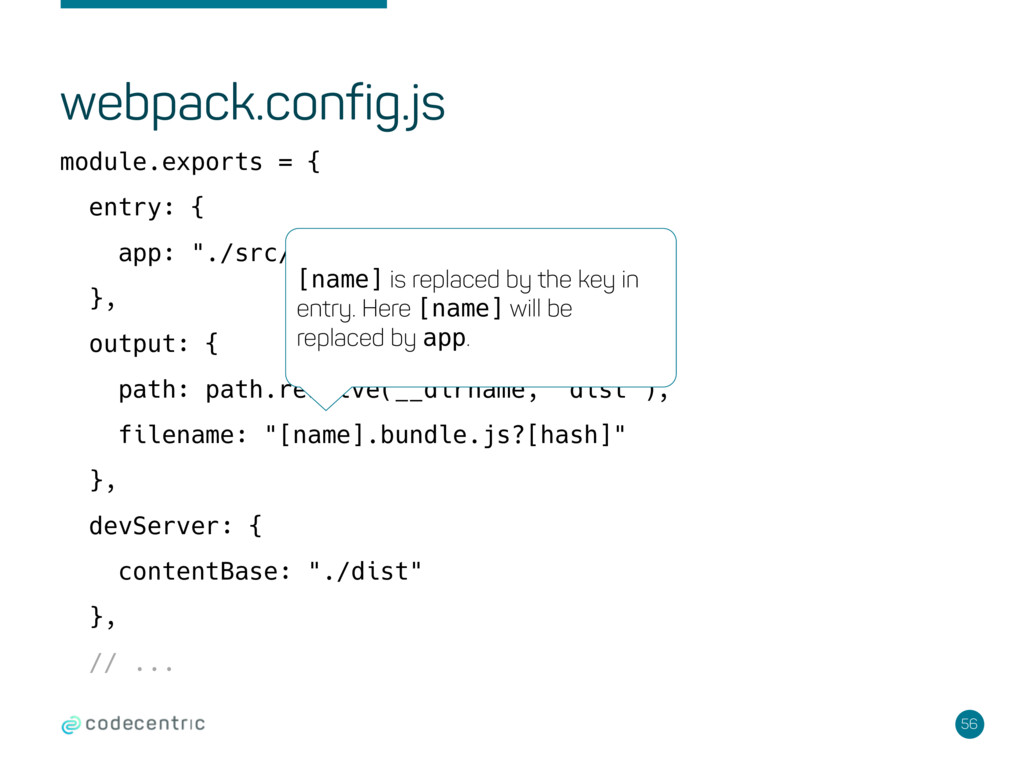
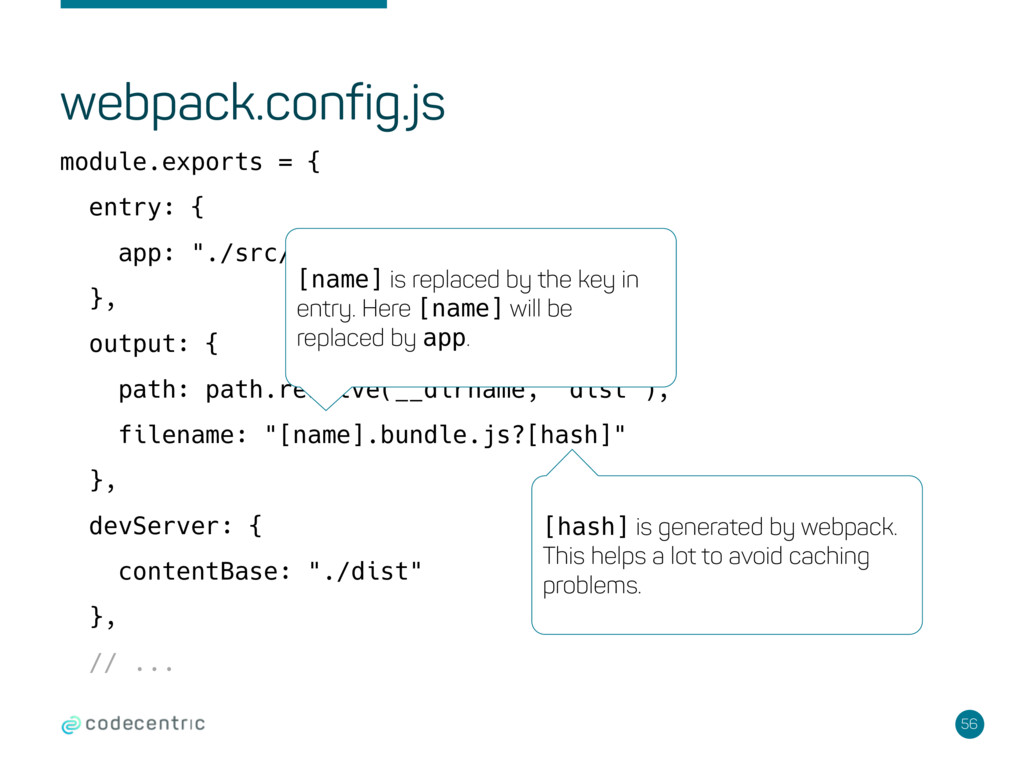
output: { path: path.resolve(__dirname, "dist"), filename: "[name].bundle.js?[hash]" }, devServer: { contentBase: "./dist" }, // ... [name] is replaced by the key in entry. Here [name] will be replaced by app.
output: { path: path.resolve(__dirname, "dist"), filename: "[name].bundle.js?[hash]" }, devServer: { contentBase: "./dist" }, // ... [name] is replaced by the key in entry. Here [name] will be replaced by app. [hash] is generated by webpack. This helps a lot to avoid caching problems.
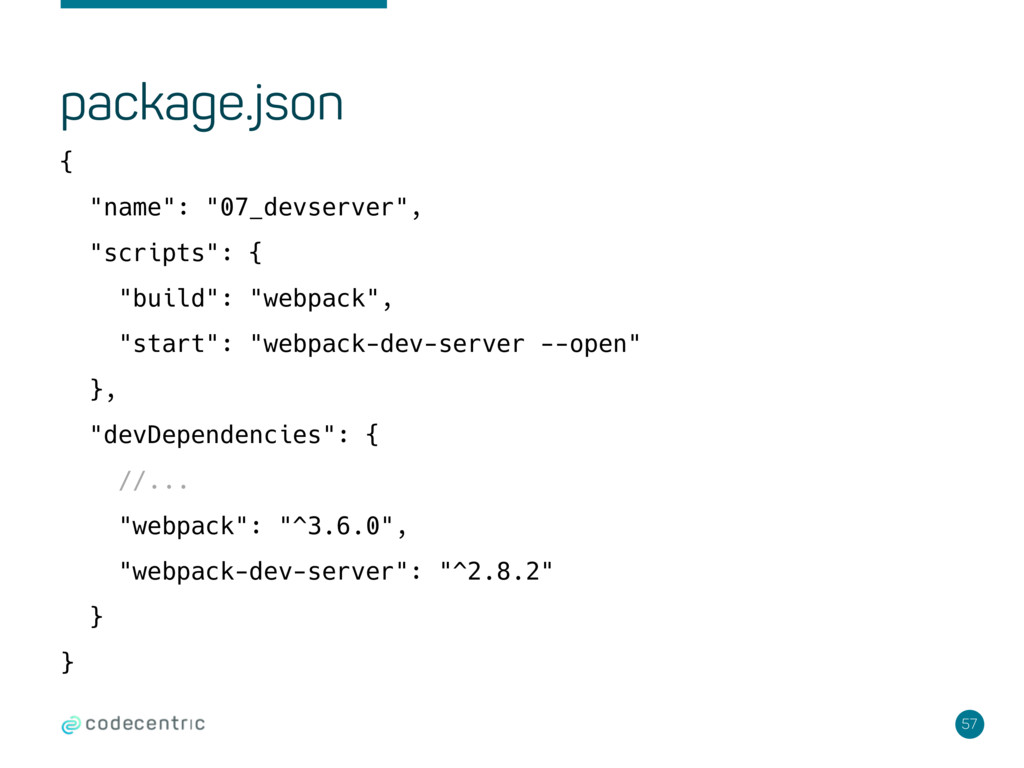
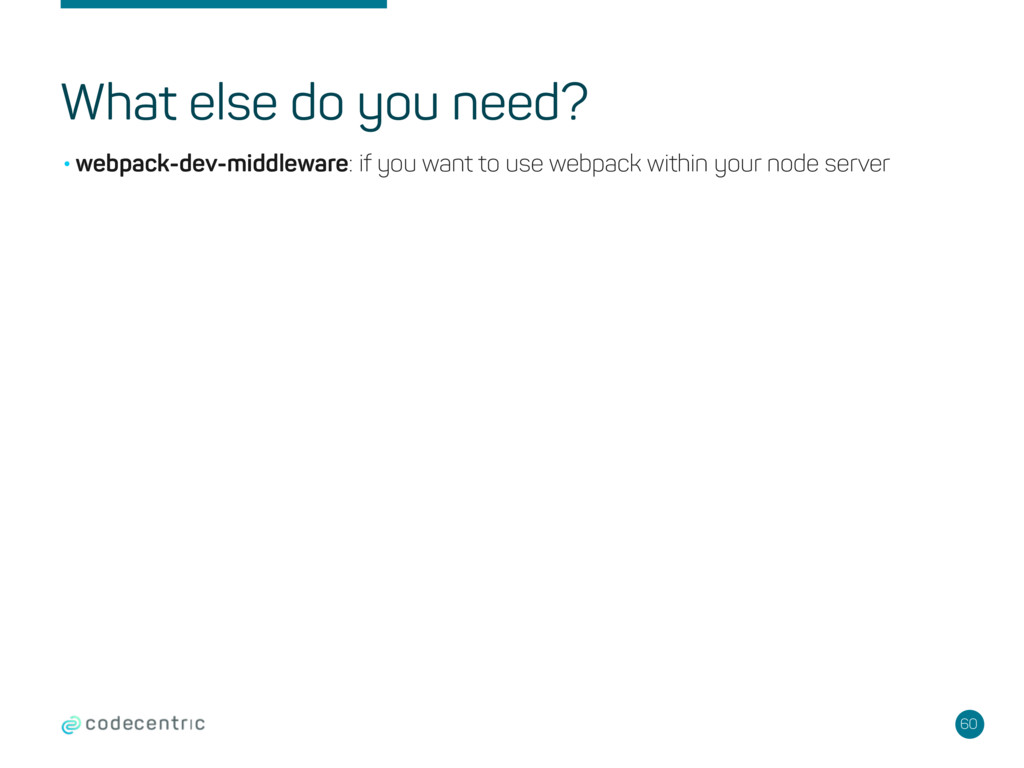
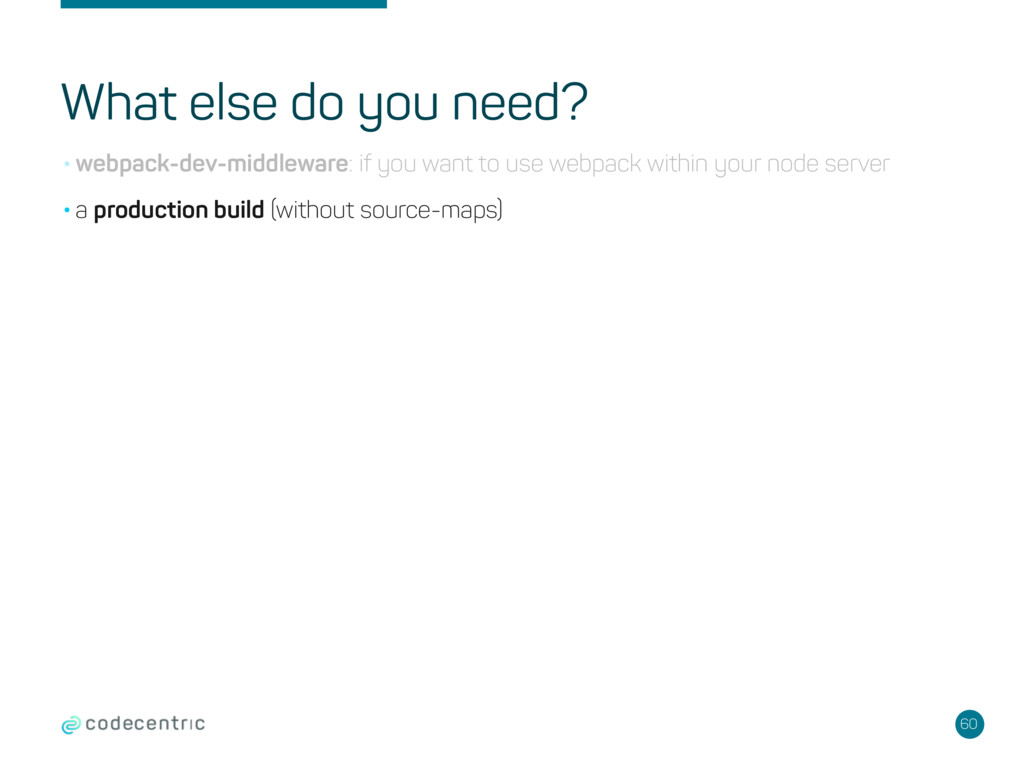
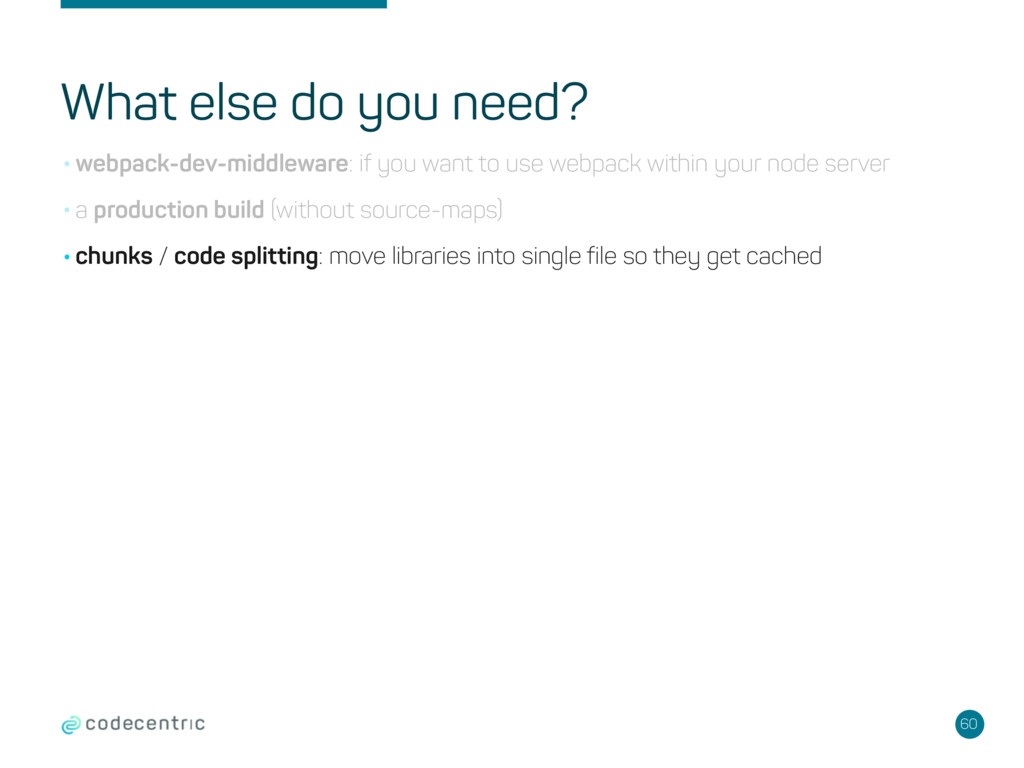
to use webpack within your node server •a production build (without source-maps) •chunks / code splitting: move libraries into single file so they get cached
to use webpack within your node server •a production build (without source-maps) •chunks / code splitting: move libraries into single file so they get cached •more loaders, e.g. for images and fonts
to use webpack within your node server •a production build (without source-maps) •chunks / code splitting: move libraries into single file so they get cached •more loaders, e.g. for images and fonts this sample build is more than enough to get started