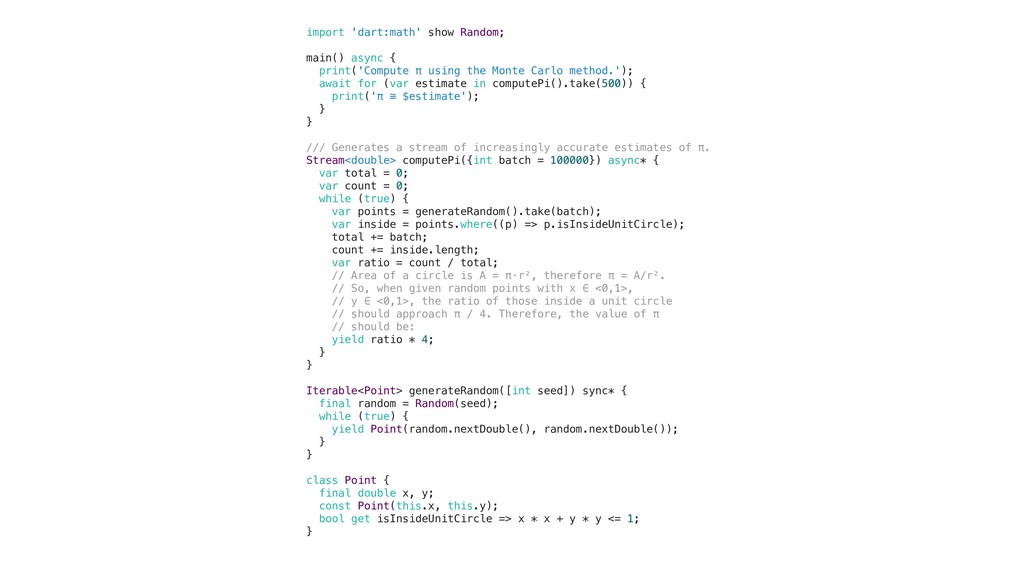
the Monte Carlo method.'); await for (var estimate in computePi().take(500)) { print('π ≅ $estimate'); } } /// Generates a stream of increasingly accurate estimates of π. Stream<double> computePi({int batch = 100000}) async* { var total = 0; var count = 0; while (true) { var points = generateRandom().take(batch); var inside = points.where((p) => p.isInsideUnitCircle); total += batch; count += inside.length; var ratio = count / total; // Area of a circle is A = π⋅r², therefore π = A/r². // So, when given random points with x ∈ <0,1>, // y ∈ <0,1>, the ratio of those inside a unit circle // should approach π / 4. Therefore, the value of π // should be: yield ratio * 4; } } Iterable<Point> generateRandom([int seed]) sync* { final random = Random(seed); while (true) { yield Point(random.nextDouble(), random.nextDouble()); } } class Point { final double x, y; const Point(this.x, this.y); bool get isInsideUnitCircle => x * x + y * y <= 1; }
the Monte Carlo method.'); await for (var estimate in computePi().take(500)) { print('π ≅ $estimate'); } } /// Generates a stream of increasingly accurate estimates of π. Stream<double> computePi({int batch = 100000}) async* { var total = 0; var count = 0; while (true) { var points = generateRandom().take(batch); var inside = points.where((p) => p.isInsideUnitCircle); total += batch; count += inside.length; var ratio = count / total; // Area of a circle is A = π⋅r², therefore π = A/r². // So, when given random points with x ∈ <0,1>, // y ∈ <0,1>, the ratio of those inside a unit circle // should approach π / 4. Therefore, the value of π // should be: yield ratio * 4; } } Iterable<Point> generateRandom([int seed]) sync* { final random = Random(seed); while (true) { yield Point(random.nextDouble(), random.nextDouble()); } } class Point { final double x, y; const Point(this.x, this.y); bool get isInsideUnitCircle => x * x + y * y <= 1; } 이정도 문법이면, 할만한걸?
스타일 뷰 (Reactive Style View) 를 지원하는데, React Native의 JavaScript 브릿지 (브릿지)가 필요없고, Dart 라는 언어를 사용하여, 안드로이드 / 크롬 등에서 사용하는 Skia 엔진을 사 용합니다. Dart는 플랫폼에 따라서 네이티브 코드로 최적화되며, 퍼포먼스도 좋아집니다. 01. UI Type 02. State 03. Code Structure 04. Native Component 05. Performance 00. Flutter
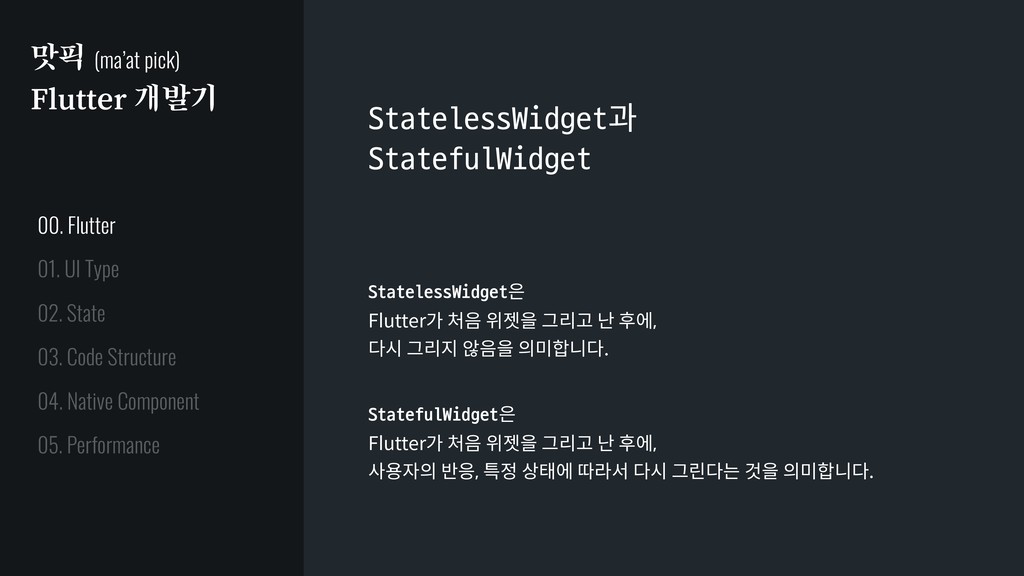
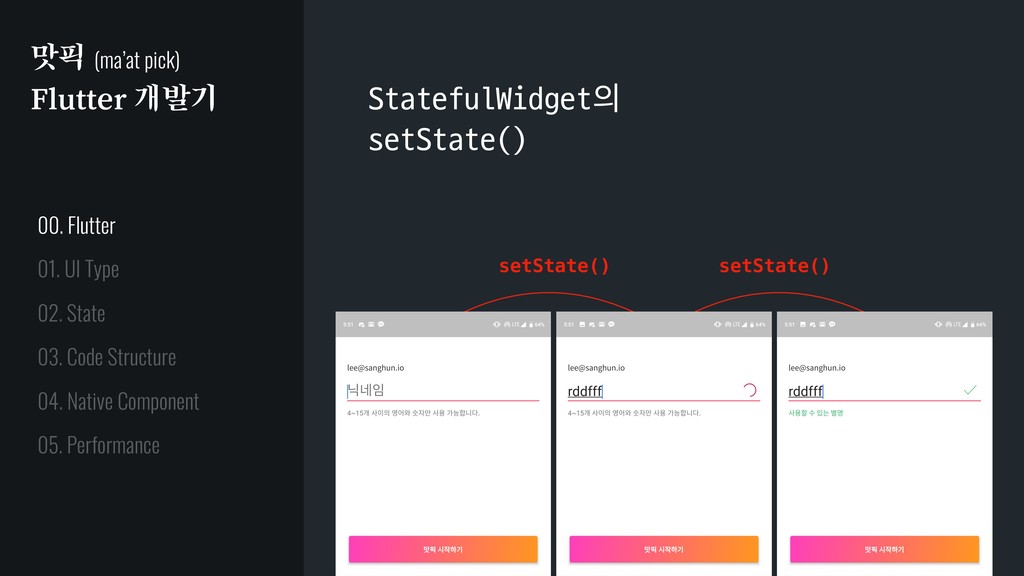
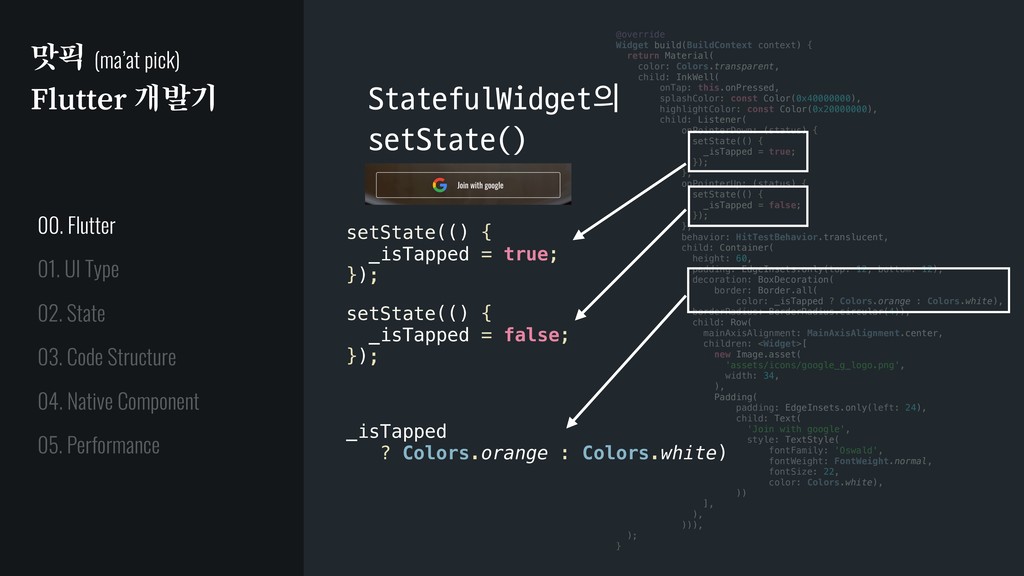
위젯을 그리고 난 후에, 다시 그리지 않음을 의미합니다. StatefulWidget은 Flutter가 처음 위젯을 그리고 난 후에, 사용자의 반응, 특정 상태에 따라서 다시 그린다는 것을 의미합니다. 01. UI Type 02. State 03. Code Structure 04. Native Component 05. Performance 00. Flutter
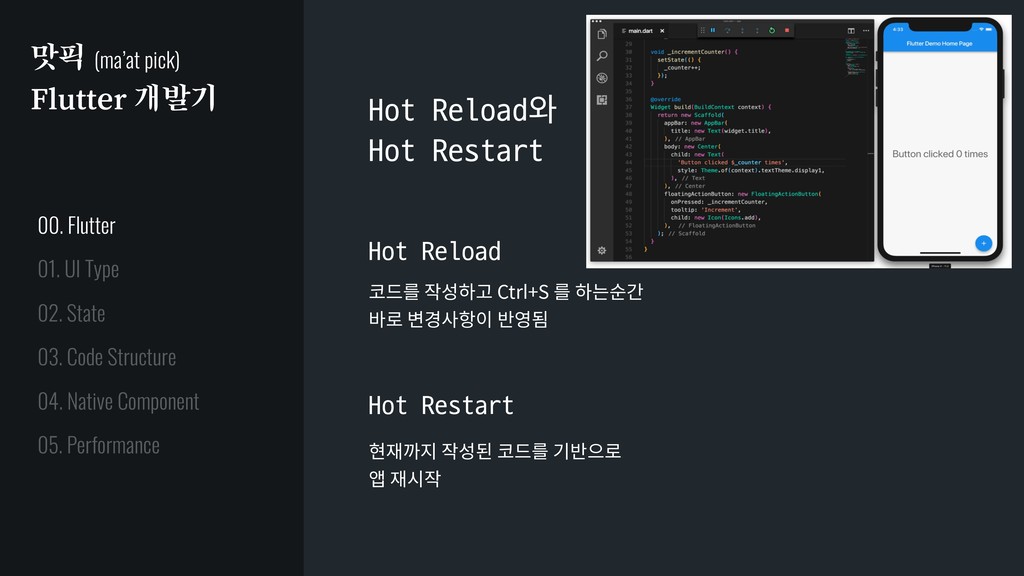
작성하고 Ctrl+S 를 하는순간 바로 변경사항이 반영됨 Hot Reload 현재까지 작성된 코드를 기반으로 앱 재시작 Hot Restart 01. UI Type 02. State 03. Code Structure 04. Native Component 05. Performance 00. Flutter
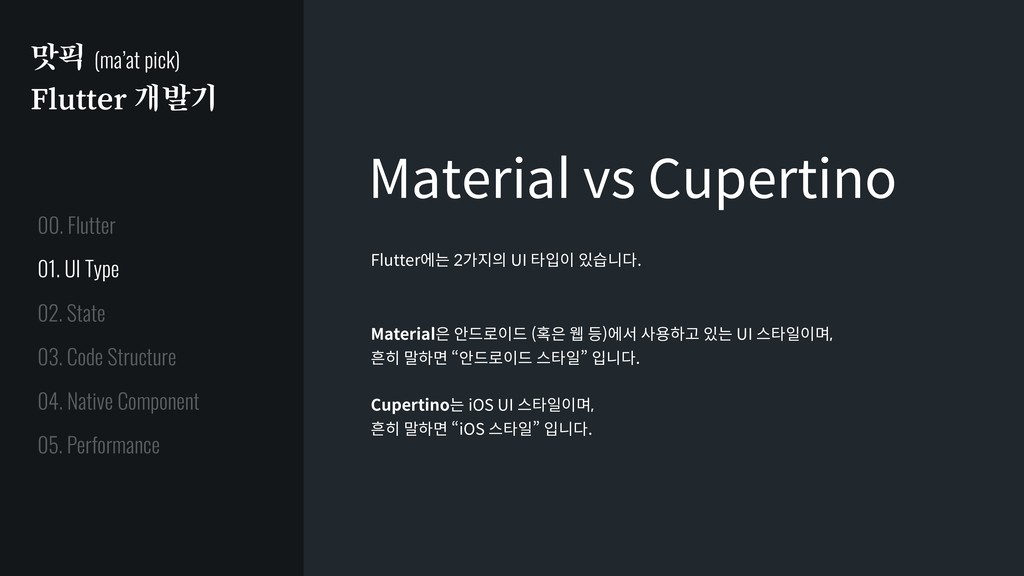
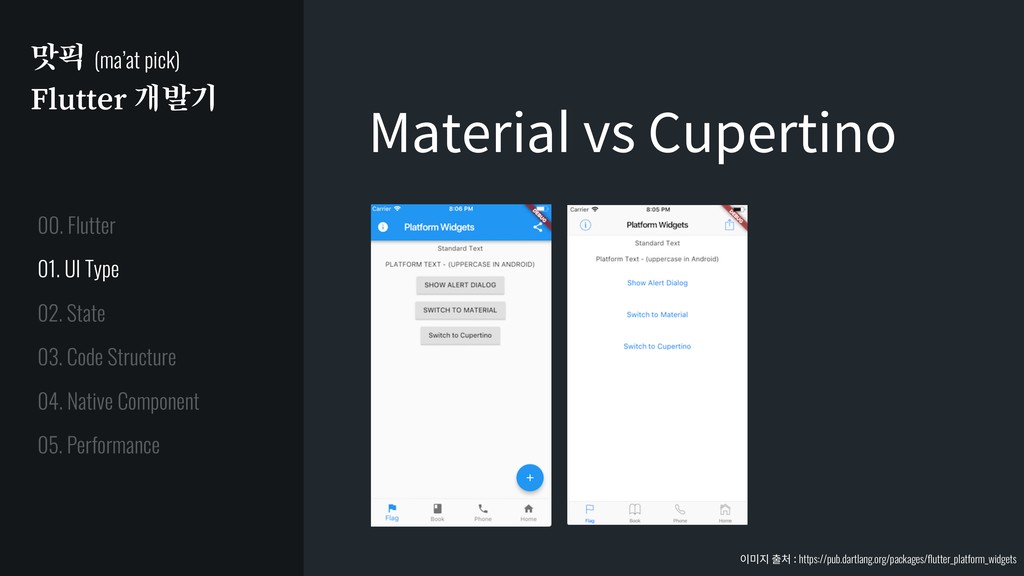
UI 타입이 있습니다. Material은 안드로이드 (혹은 웹 등)에서 사용하고 있는 UI 스타일이며, 흔히 말하면 “안드로이드 스타일” 입니다. Cupertino는 iOS UI 스타일이며, 흔히 말하면 “iOS 스타일” 입니다. 01. UI Type 02. State 03. Code Structure 04. Native Component 05. Performance 00. Flutter
저장한걸 불러오고 해야할 때가 있습니다. 예를들어 API 호출을 한 후, 응답받은 다음 리스트를 보여줘야할 때 등이 있죠. 이럴 때 사용하는 것이 ‘상태관리’ 입니다. 상태관리에는 여러가지가 있지만, 제가 맛픽을 만들 때에 두가지 중 하나 (Redux / BLoC) 에서 고민했습니다. 01. UI Type 02. State 03. Code Structure 04. Native Component 05. Performance 00. Flutter
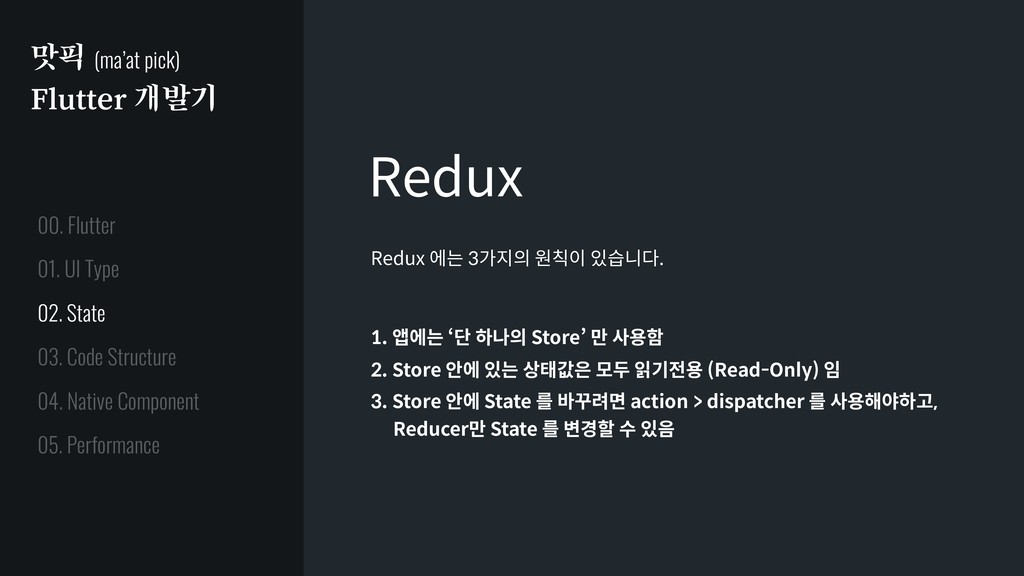
있습니다. 1. 앱에는 ‘단 하나의 Store’ 만 사용함 2. Store 안에 있는 상태값은 모두 읽기전용 (Read-Only) 임 3. Store 안에 State 를 바꾸려면 action > dispatcher 를 사용해야하고, Reducer만 State 를 변경할 수 있음 01. UI Type 02. State 03. Code Structure 04. Native Component 05. Performance 00. Flutter
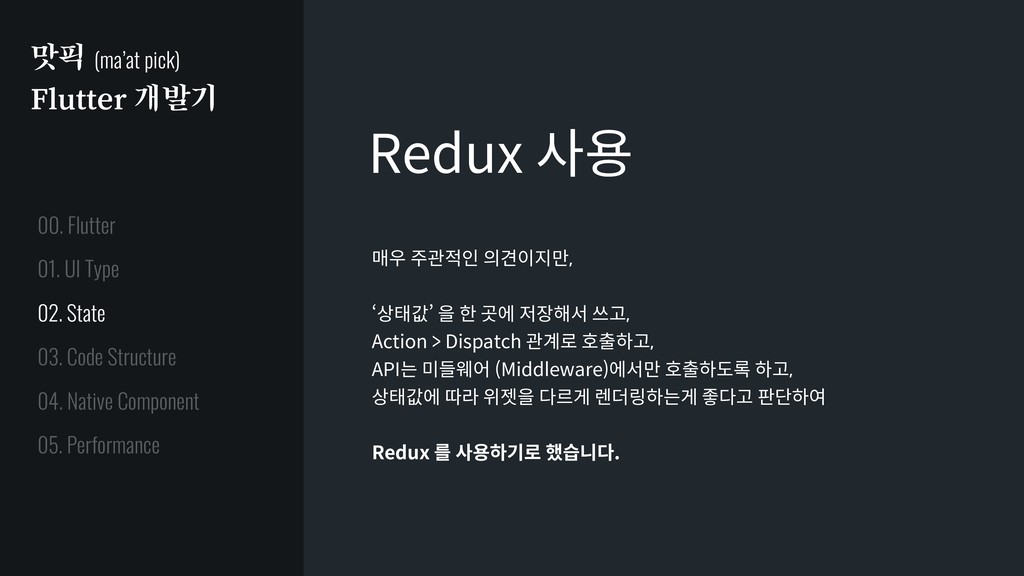
‘상태값’ 을 한 곳에 저장해서 쓰고, Action > Dispatch 관계로 호출하고, API는 미들웨어 (Middleware)에서만 호출하도록 하고, 상태값에 따라 위젯을 다르게 렌더링하는게 좋다고 판단하여 Redux 를 사용하기로 했습니다. 01. UI Type 02. State 03. Code Structure 04. Native Component 05. Performance 00. Flutter
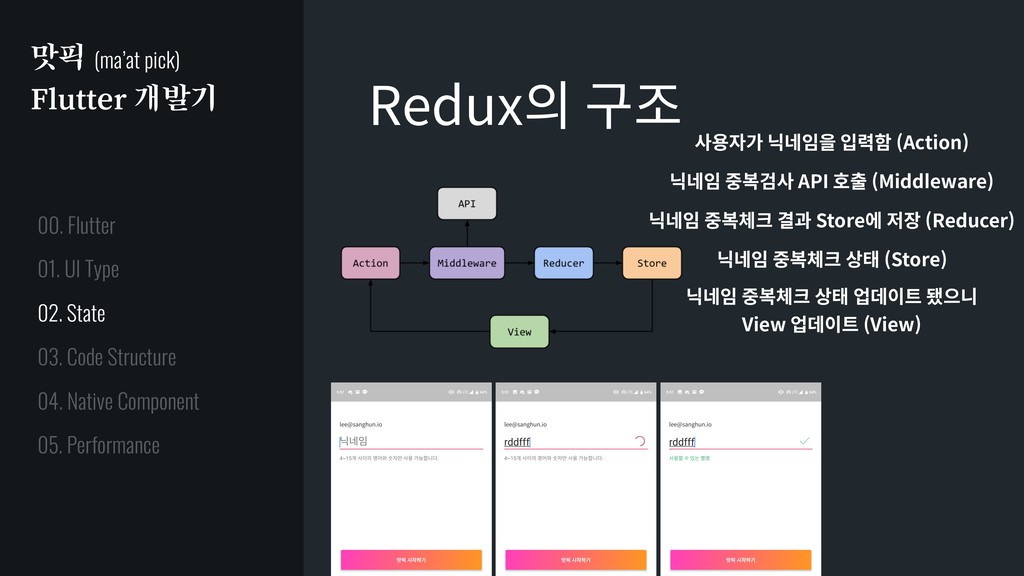
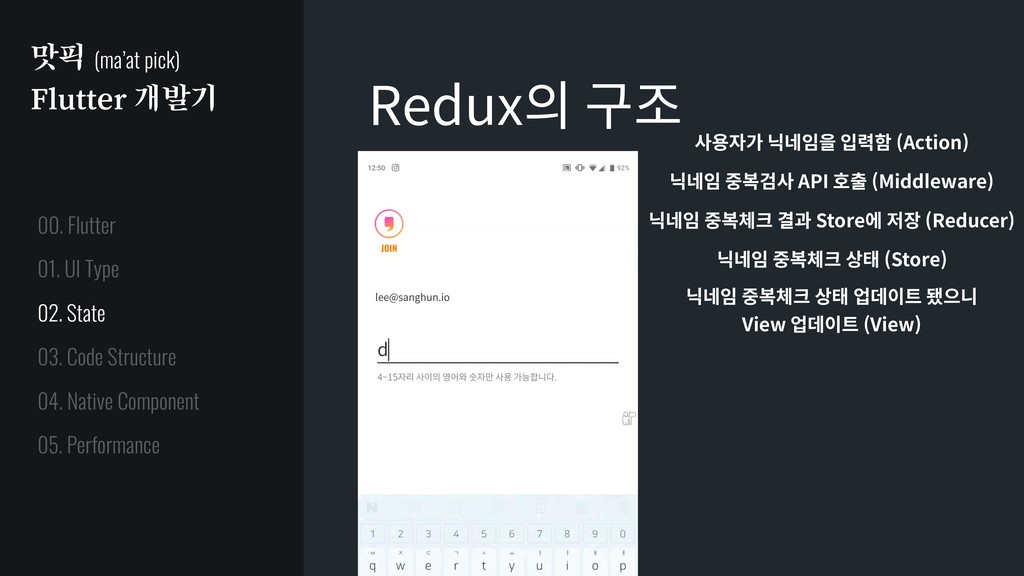
(Action) 닉네임 중복검사 API 호출 (Middleware) 닉네임 중복체크 결과 Store에 저장 (Reducer) 닉네임 중복체크 상태 (Store) 닉네임 중복체크 상태 업데이트 됐으니 View 업데이트 (View) 01. UI Type 02. State 03. Code Structure 04. Native Component 05. Performance 00. Flutter
중복검사 API 호출 (Middleware) 닉네임 중복체크 결과 Store에 저장 (Reducer) 닉네임 중복체크 상태 (Store) 닉네임 중복체크 상태 업데이트 됐으니 View 업데이트 (View) Redux의 구조 01. UI Type 02. State 03. Code Structure 04. Native Component 05. Performance 00. Flutter
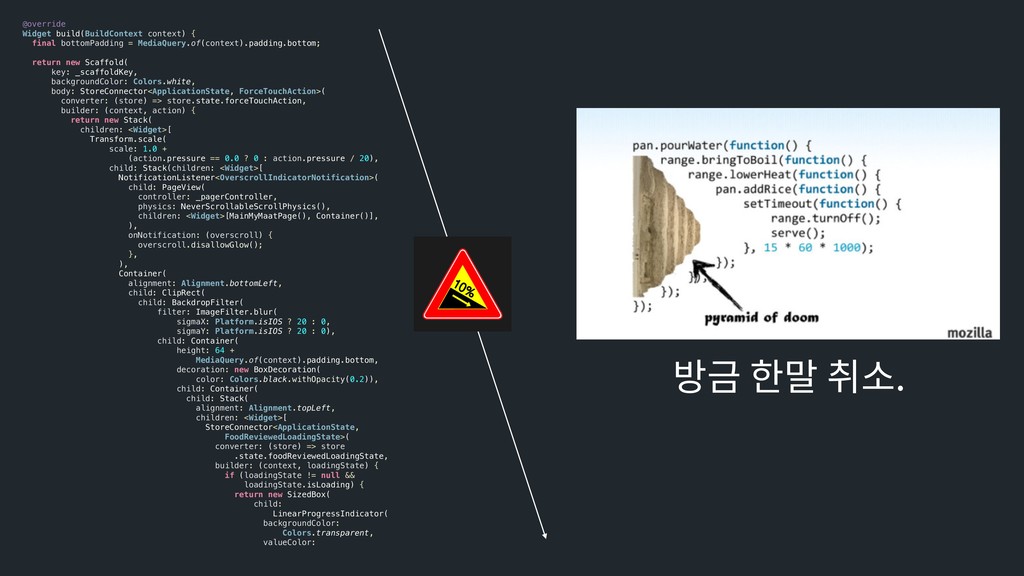
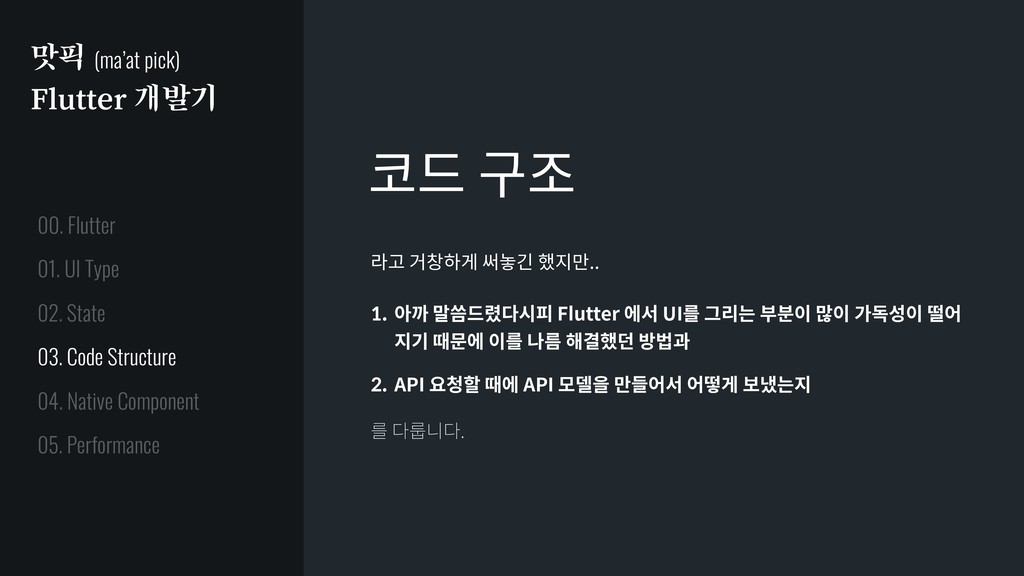
했지만.. 1. 아까 말씀드렸다시피 Flutter 에서 UI를 그리는 부분이 많이 가독성이 떨어 지기 때문에 이를 나름 해결했던 방법과 2. API 요청할 때에 API 모델을 만들어서 어떻게 보냈는지 를 다룹니다. 01. UI Type 02. State 03. Code Structure 04. Native Component 05. Performance 00. Flutter
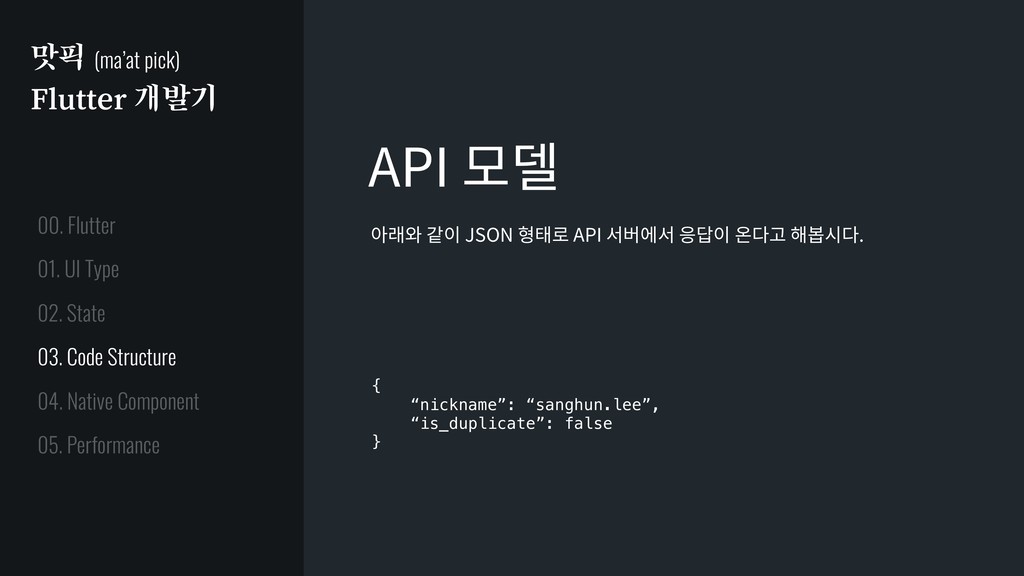
“is_duplicate”: false } 아래와 같이 JSON 형태로 API 서버에서 응답이 온다고 해봅시다. 01. UI Type 02. State 03. Code Structure 04. Native Component 05. Performance 00. Flutter
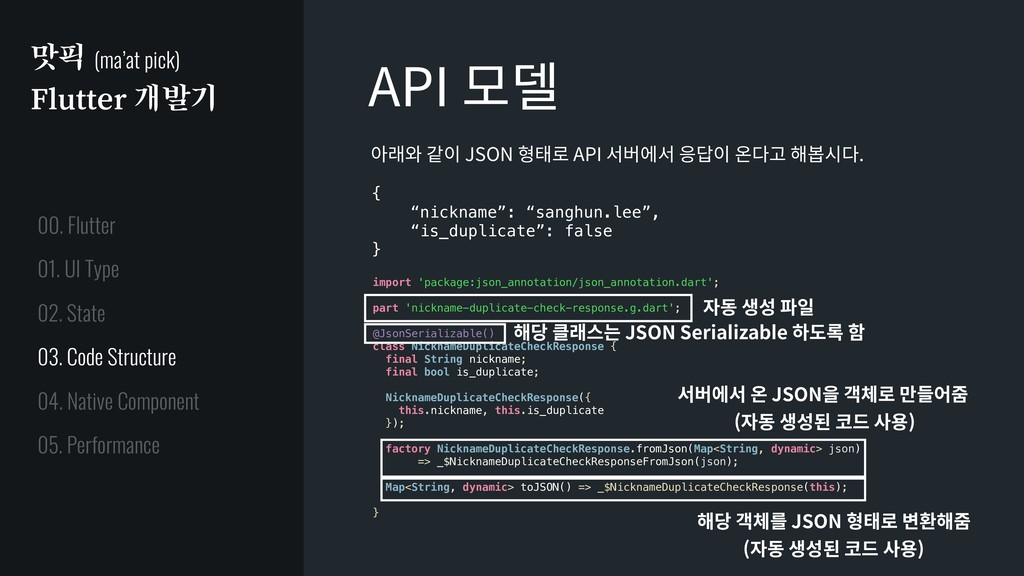
'nickname-duplicate-check-response.g.dart'; @JsonSerializable() class NicknameDuplicateCheckResponse { final String nickname; final bool is_duplicate; NicknameDuplicateCheckResponse({ this.nickname, this.is_duplicate }); factory NicknameDuplicateCheckResponse.fromJson(Map<String, dynamic> json) => _$NicknameDuplicateCheckResponseFromJson(json); Map<String, dynamic> toJSON() => _$NicknameDuplicateCheckResponse(this); } 아래와 같이 JSON 형태로 API 서버에서 응답이 온다고 해봅시다. 자동 생성 파일 해당 클래스는 JSON Serializable 하도록 함 서버에서 온 JSON을 객체로 만들어줌 (자동 생성된 코드 사용) 해당 객체를 JSON 형태로 변환해줌 (자동 생성된 코드 사용) 01. UI Type 02. State 03. Code Structure 04. Native Component 05. Performance 00. Flutter { “nickname”: “sanghun.lee”, “is_duplicate”: false }
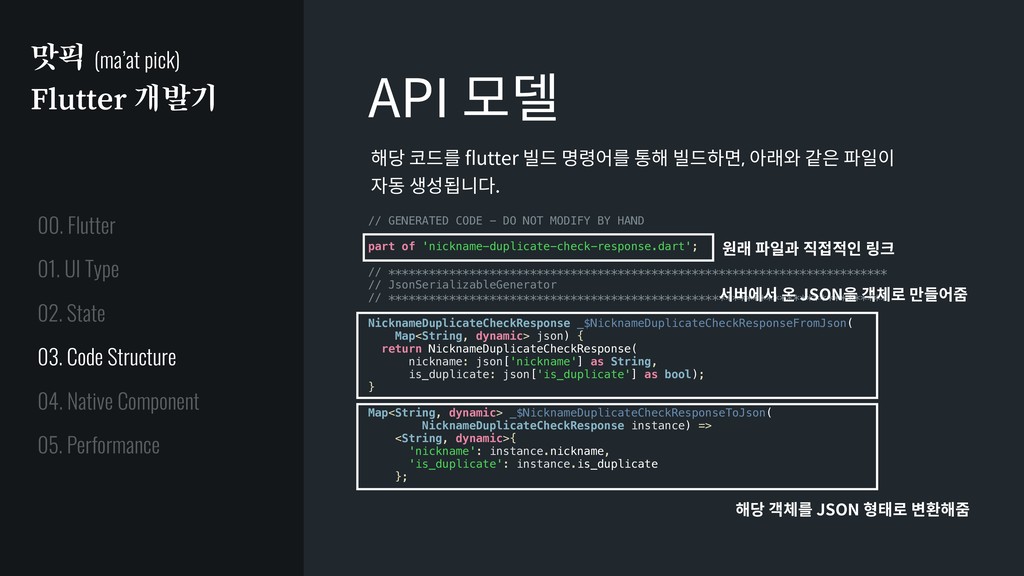
빌드 명령어를 통해 빌드하면, 아래와 같은 파일이 자동 생성됩니다. // GENERATED CODE - DO NOT MODIFY BY HAND part of 'nickname-duplicate-check-response.dart'; // ************************************************************************** // JsonSerializableGenerator // ************************************************************************** NicknameDuplicateCheckResponse _$NicknameDuplicateCheckResponseFromJson( Map<String, dynamic> json) { return NicknameDuplicateCheckResponse( nickname: json['nickname'] as String, is_duplicate: json['is_duplicate'] as bool); } Map<String, dynamic> _$NicknameDuplicateCheckResponseToJson( NicknameDuplicateCheckResponse instance) => <String, dynamic>{ 'nickname': instance.nickname, 'is_duplicate': instance.is_duplicate }; 원래 파일과 직접적인 링크 서버에서 온 JSON을 객체로 만들어줌 해당 객체를 JSON 형태로 변환해줌 01. UI Type 02. State 03. Code Structure 04. Native Component 05. Performance 00. Flutter
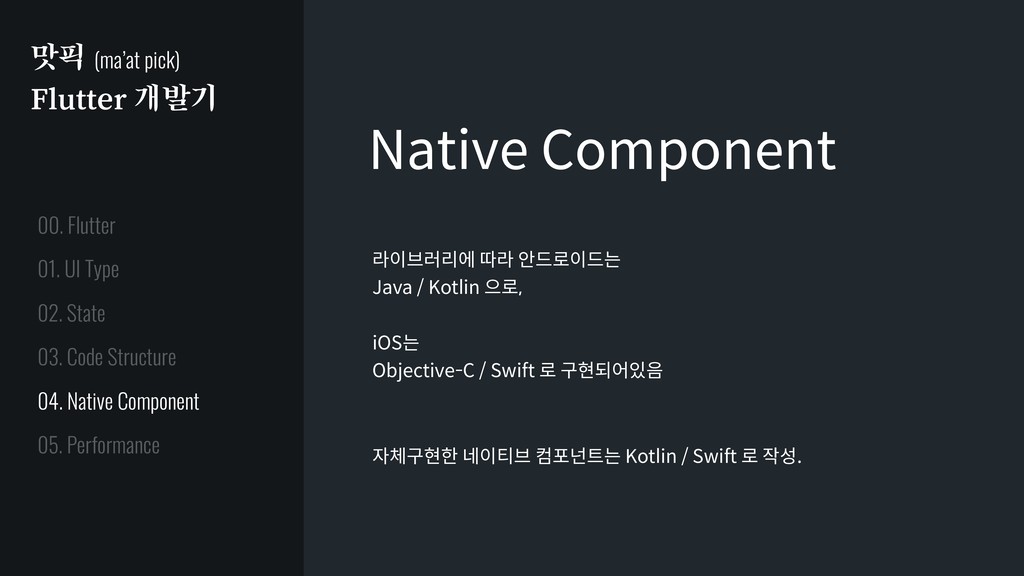
않은 네이티브 뷰 (비디오 플레이어 등), 네이티브 기능 (환경설정에 저장, 권한 요청 등)이 필요한 경우가 있습니다. 01. UI Type 02. State 03. Code Structure 04. Native Component 05. Performance 00. Flutter
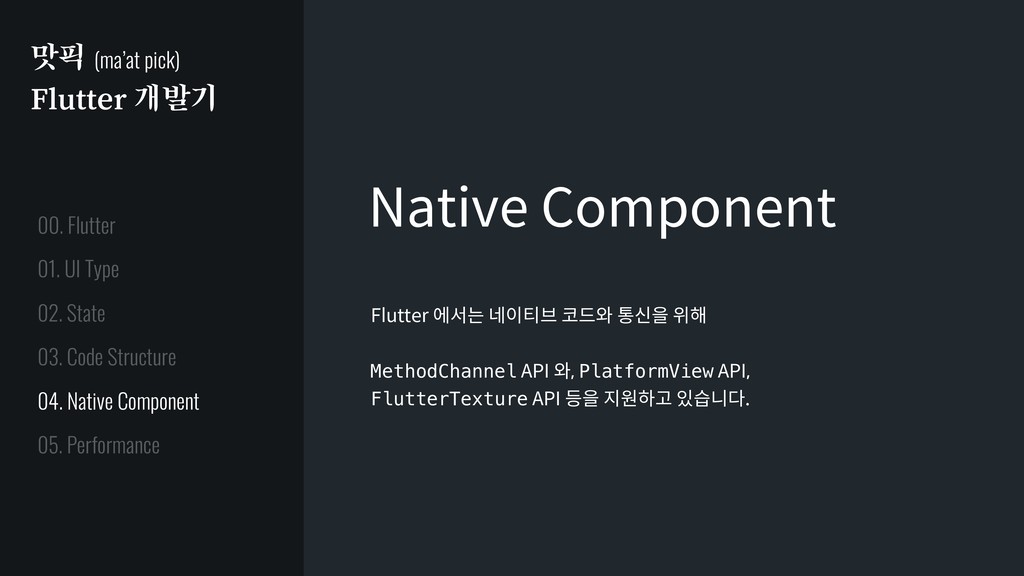
코드와 통신을 위해 MethodChannel API 와, PlatformView API, FlutterTexture API 등을 지원하고 있습니다. 01. UI Type 02. State 03. Code Structure 04. Native Component 05. Performance 00. Flutter
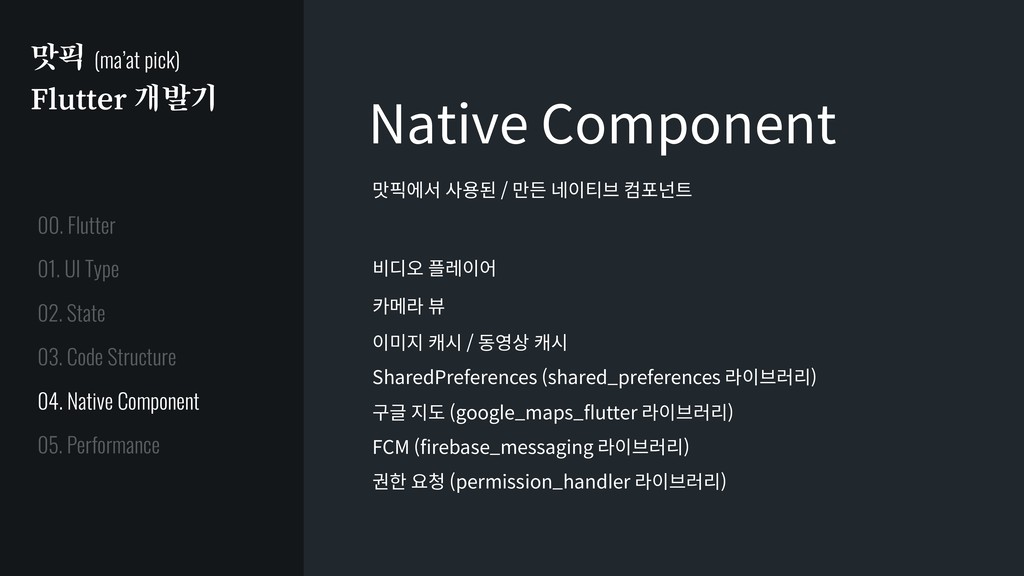
만든 네이티브 컴포넌트 비디오 플레이어 카메라 뷰 이미지 캐시 / 동영상 캐시 SharedPreferences (shared_preferences 라이브러리) 구글 지도 (google_maps_flutter 라이브러리) FCM (firebase_messaging 라이브러리) 권한 요청 (permission_handler 라이브러리) 01. UI Type 02. State 03. Code Structure 04. Native Component 05. Performance 00. Flutter
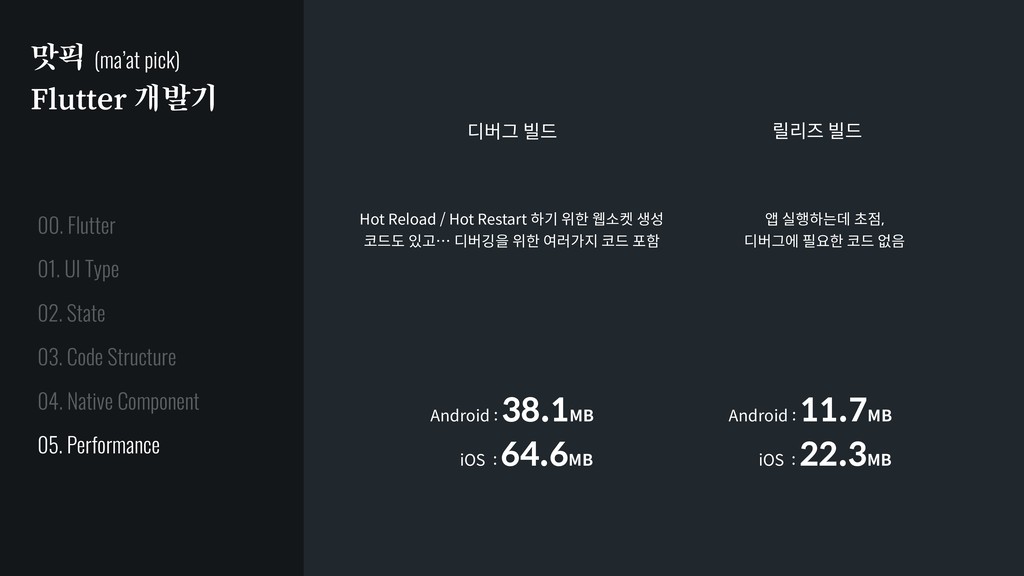
UI Type 02. State 03. Code Structure 04. Native Component 05. Performance 00. Flutter Android : 38.1MB iOS : 64.6MB Android : 11.7MB iOS : 22.3MB Hot Reload / Hot Restart 하기 위한 웹소켓 생성 코드도 있고… 디버깅을 위한 여러가지 코드 포함 앱 실행하는데 초점, 디버그에 필요한 코드 없음
![맛픽 (ma’at pick) Flutter 개발기 loplat. sanghun.lee ([email protected])](https://files.speakerdeck.com/presentations/8bfc141c655144718a0b3a49157a6a32/slide_0.jpg)