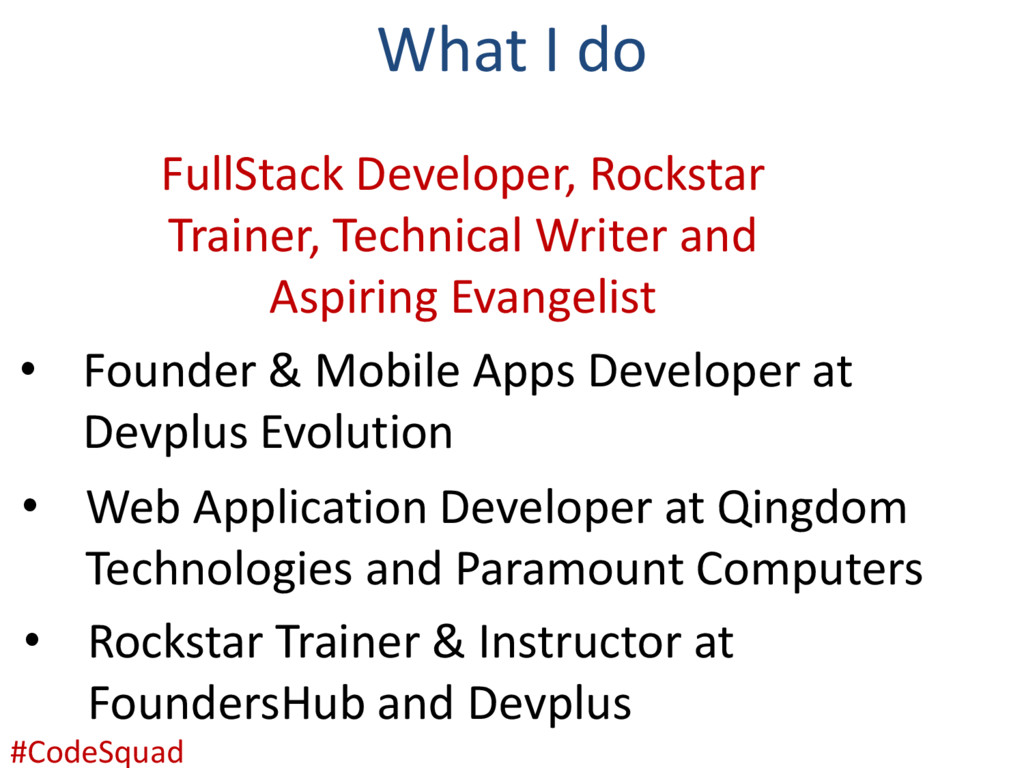
Aspiring Evangelist • Founder & Mobile Apps Developer at Devplus Evolution • Web Application Developer at Qingdom Technologies and Paramount Computers • Rockstar Trainer & Instructor at FoundersHub and Devplus #CodeSquad
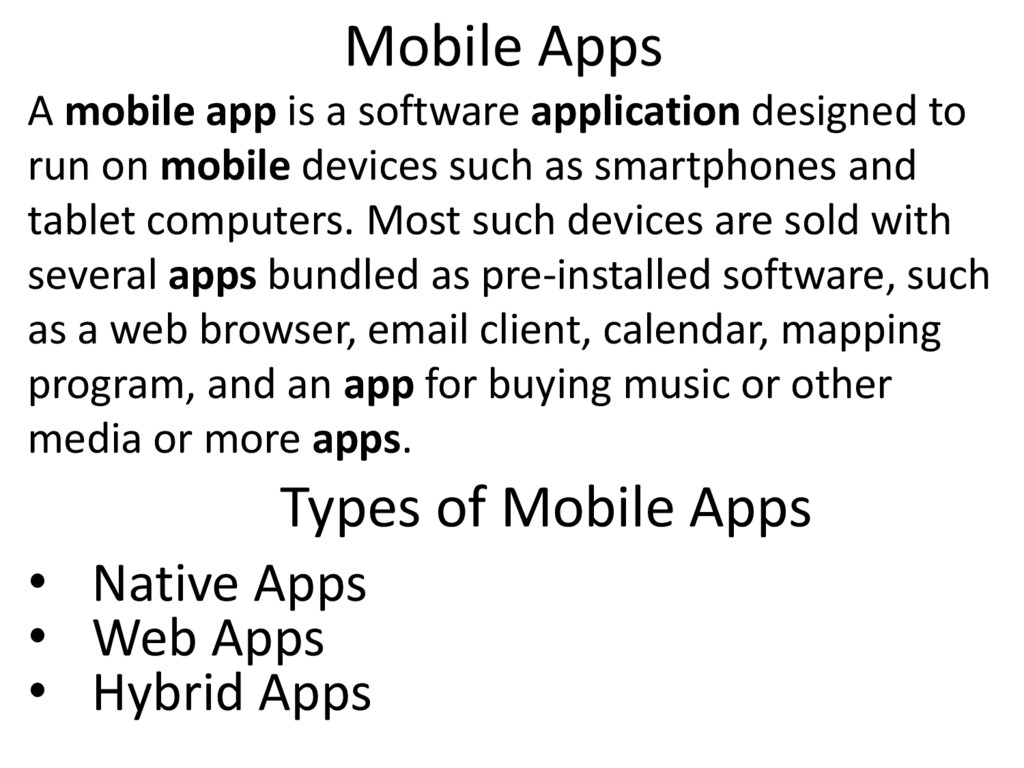
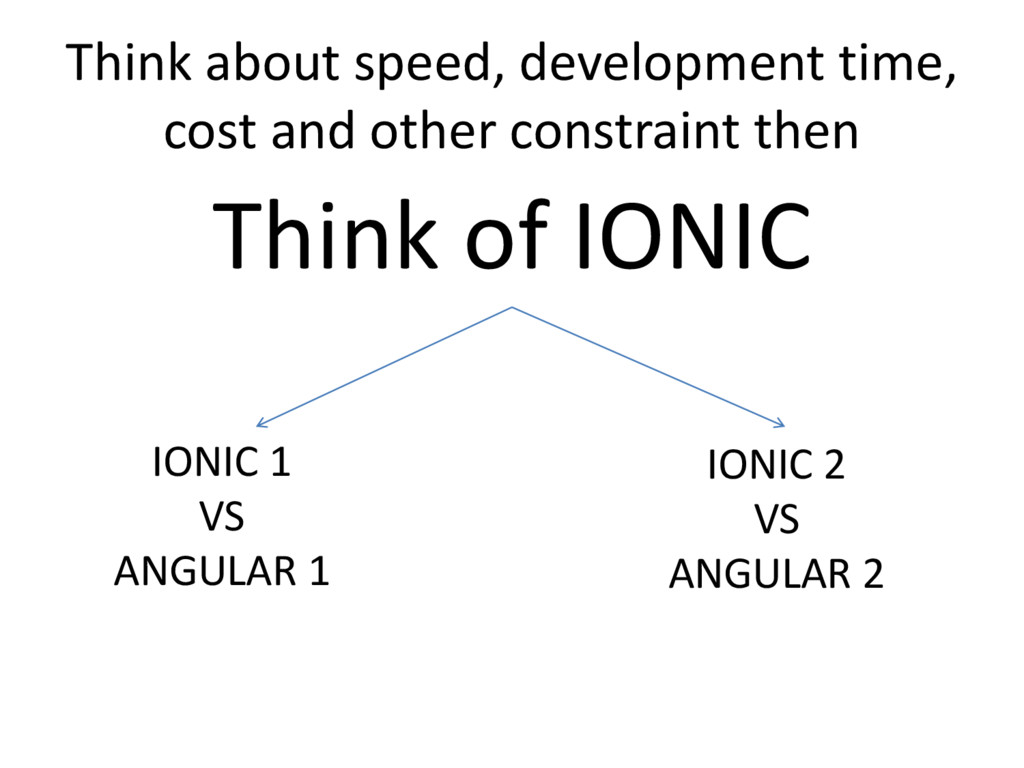
to run on mobile devices such as smartphones and tablet computers. Most such devices are sold with several apps bundled as pre-installed software, such as a web browser, email client, calendar, mapping program, and an app for buying music or other media or more apps. Types of Mobile Apps • Native Apps • Web Apps • Hybrid Apps
web apps. (Because of that, many people incorrectly call them “web apps”). Like native apps, they live in an app store and can take advantage of the many device features available. Like web apps, they rely on HTML being rendered in a browser, with the caveat that the browser is embedded within the app.
web page; in that way, they hope to get a presence in the app store, without spending significant effort for developing a different app. Hybrid apps are also popular because they allow crossplatform development and thus significantly reduce development costs: that is, the same HTML code components can be reused on different mobile operating systems. Tools such as PhoneGap and Sencha Touch allow people to design and code across platforms, using the power of HTML.
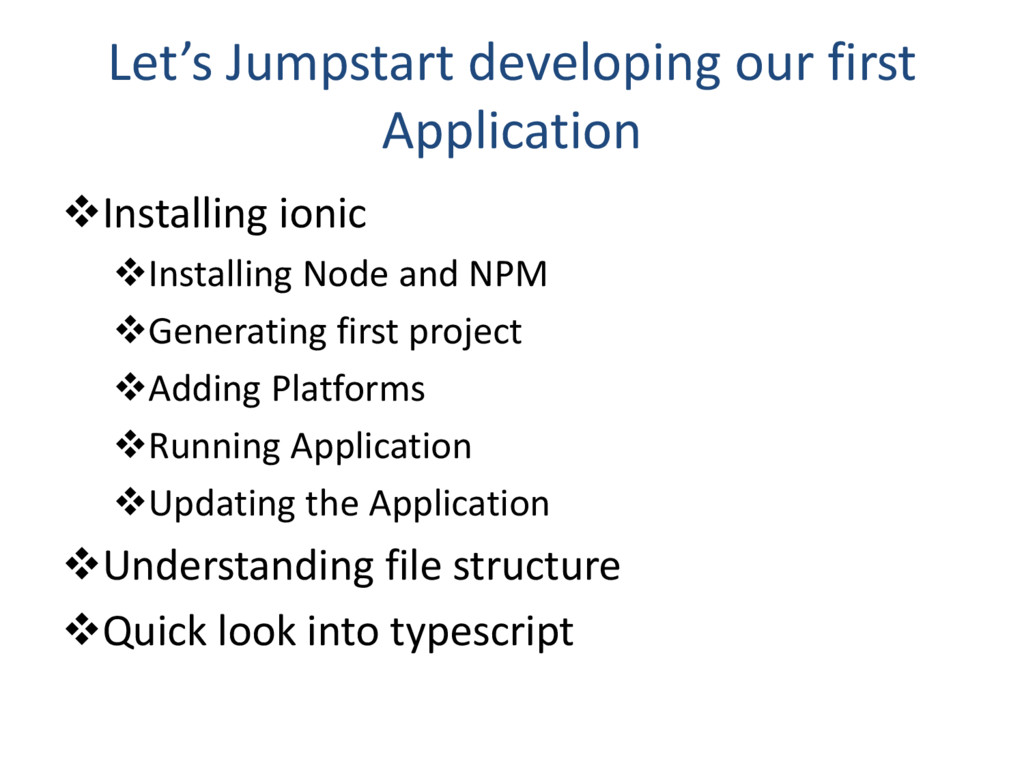
and NPM Generating first project Adding Platforms Running Application Updating the Application Understanding file structure Quick look into typescript
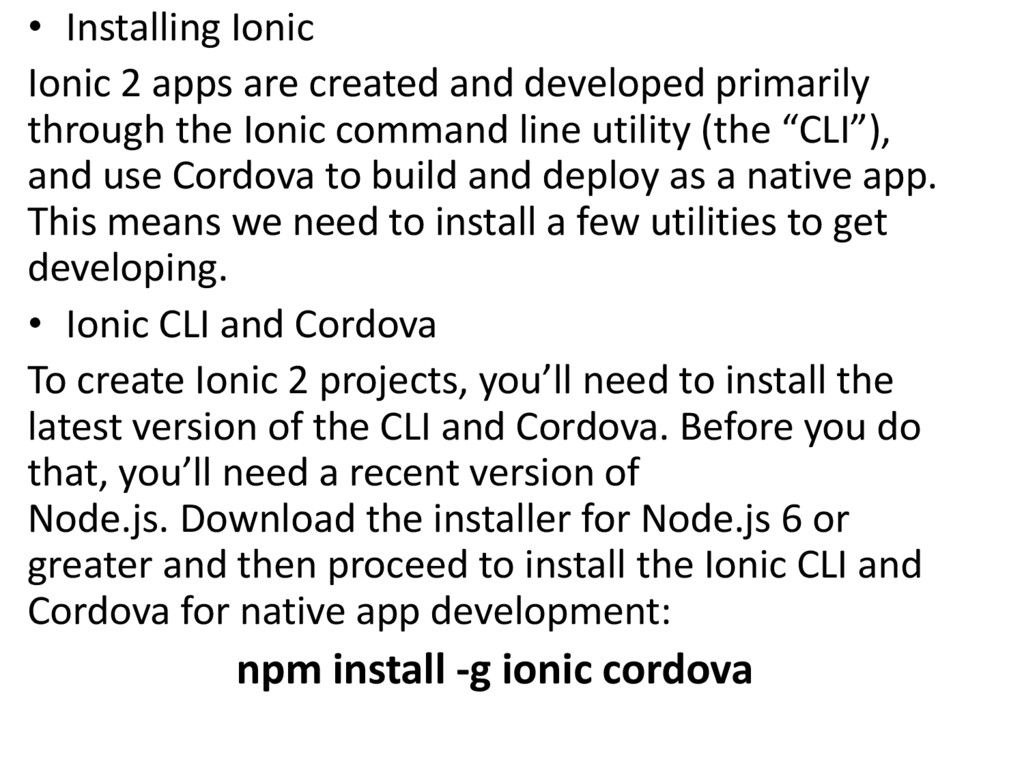
primarily through the Ionic command line utility (the “CLI”), and use Cordova to build and deploy as a native app. This means we need to install a few utilities to get developing. • Ionic CLI and Cordova To create Ionic 2 projects, you’ll need to install the latest version of the CLI and Cordova. Before you do that, you’ll need a recent version of Node.js. Download the installer for Node.js 6 or greater and then proceed to install the Ionic CLI and Cordova for native app development: npm install -g ionic cordova
Interface), which will allow you to generate Ionic 2 applications. It also installs Cordova which is a wrapper that allows you to access native functionality, and submit your application to app stores. It's important to note that if you have existing Ionic 1 projects this will make no difference. You can continue working on your Ionic 1 projects as per normal, even with the Ionic 2 CLI installed. Running the following command: ionic start MyApp blank Will just generate an Ionic 1 application. In order to generate an Ionic 2 application, you must provide the -- v2 flag: ionic start MyApp blank --v2
the files and folders generated, it all looks pretty similar to an Ionic 1 application initially. We have a pretty typical Cordova style project structure. • If you look in the src folder though (which is where most of your development will occur), things start looking a little bit different:
static files you want to include in your project like images, or JSON data files. Anything in this folder will be copied over to your build folder each time the application is built.
for your applications. Most of the styling in your application will be done by using each components own .scss file, but you can use the global.scss file to define any custom styles, and you can modify the SASS variables in the variables.scss file to modify the style of your application in various ways.
This is not all that different to all the other components in your application, one obvious difference you will notice though is that it is in its own app folder, and is named app.component.ts.
weird @Something things that sit above your class definitions. Essentially, they allow you to add some meta data to your class. They look a little strange at first, but they are quite simple once you wrap your head around it.
is important - it's how you can get from one page to another in your application. Navigation works quite differently in Ionic 2, adopting a native style stack navigation, where you can push and pop views.
is pretty sleek, but you probably don't want to release an app to the app store like that. You will at least want your own colours and branding, and you may even want to take the theme even further to enhance the users experience. There's a bunch of different ways you can alter your applications theme with Ionic 2, so it's important you understand the different methods.
is that it is super easy to incorporate native functionality like the devices Camera. To make it even easier in Ionic 2, the Ionic team have created Ionic Native.
a blank Ionic 2 app • Add pages using the CLI • Styling the components of your app • Add a service to structure your code • Implement a simple navigation flow Sounds like a lot? • Well it is, but you want to learn the basics of Ionic 2 so it’s best to just dive right into the fun!
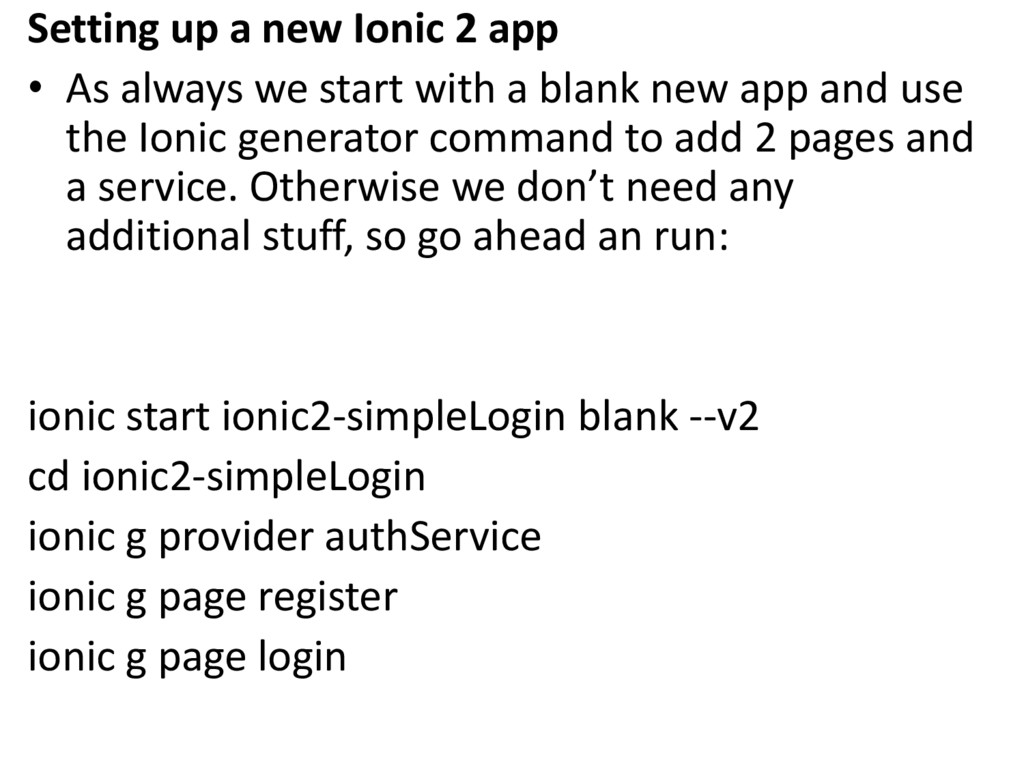
we start with a blank new app and use the Ionic generator command to add 2 pages and a service. Otherwise we don’t need any additional stuff, so go ahead an run: ionic start ionic2-simpleLogin blank --v2 cd ionic2-simpleLogin ionic g provider authService ionic g page register ionic g page login
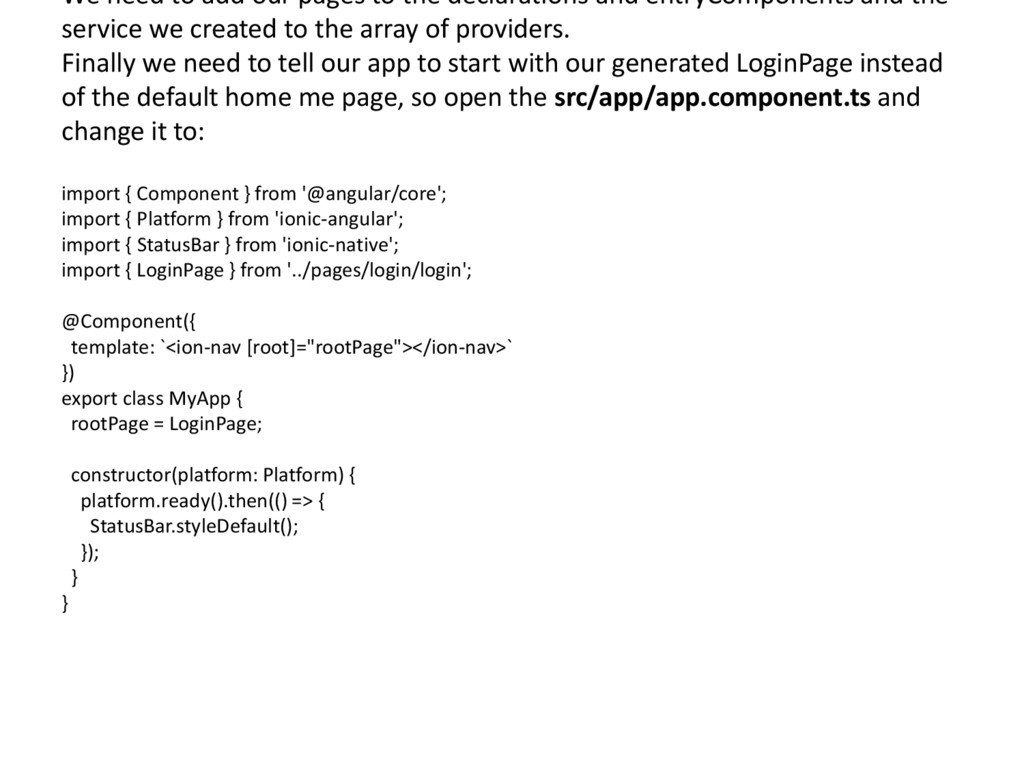
entryComponents and the service we created to the array of providers. Finally we need to tell our app to start with our generated LoginPage instead of the default home me page, so open the src/app/app.component.ts and change it to: import { Component } from '@angular/core'; import { Platform } from 'ionic-angular'; import { StatusBar } from 'ionic-native'; import { LoginPage } from '../pages/login/login'; @Component({ template: `<ion-nav [root]="rootPage"></ion-nav>` }) export class MyApp { rootPage = LoginPage; constructor(platform: Platform) { platform.ready().then(() => { StatusBar.styleDefault(); }); } }
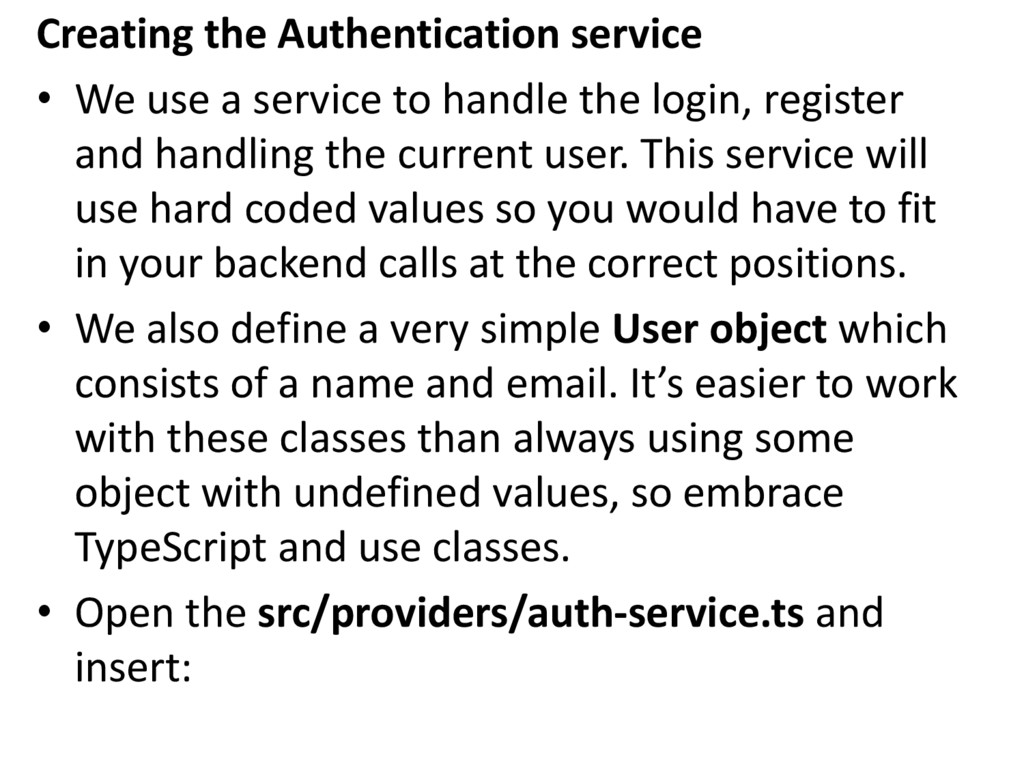
handle the login, register and handling the current user. This service will use hard coded values so you would have to fit in your backend calls at the correct positions. • We also define a very simple User object which consists of a name and email. It’s easier to work with these classes than always using some object with undefined values, so embrace TypeScript and use classes. • Open the src/providers/auth-service.ts and insert:
import 'rxjs/add/operator/map'; export class User { name: string; email: string; constructor(name: string, email: string) { this.name = name; this.email = email; } } @Injectable() export class AuthService { currentUser: User; public login(credentials) { if (credentials.email === null || credentials.password === null) { return Observable.throw("Please insert credentials"); } else { return Observable.create(observer => { // At this point make a request to your backend to make a real check! let access = (credentials.password === "pass" && credentials.email === "email"); this.currentUser = new User('Simon', '[email protected]'); observer.next(access); observer.complete(); }); } } public register(credentials) { if (credentials.email === null || credentials.password === null) { return Observable.throw("Please insert credentials"); } else { // At this point store the credentials to your backend! return Observable.create(observer => { observer.next(true); observer.complete(); }); } } public getUserInfo() : User { return this.currentUser; } public logout() { return Observable.create(observer => { this.currentUser = null; observer.next(true); observer.complete(); }); } }
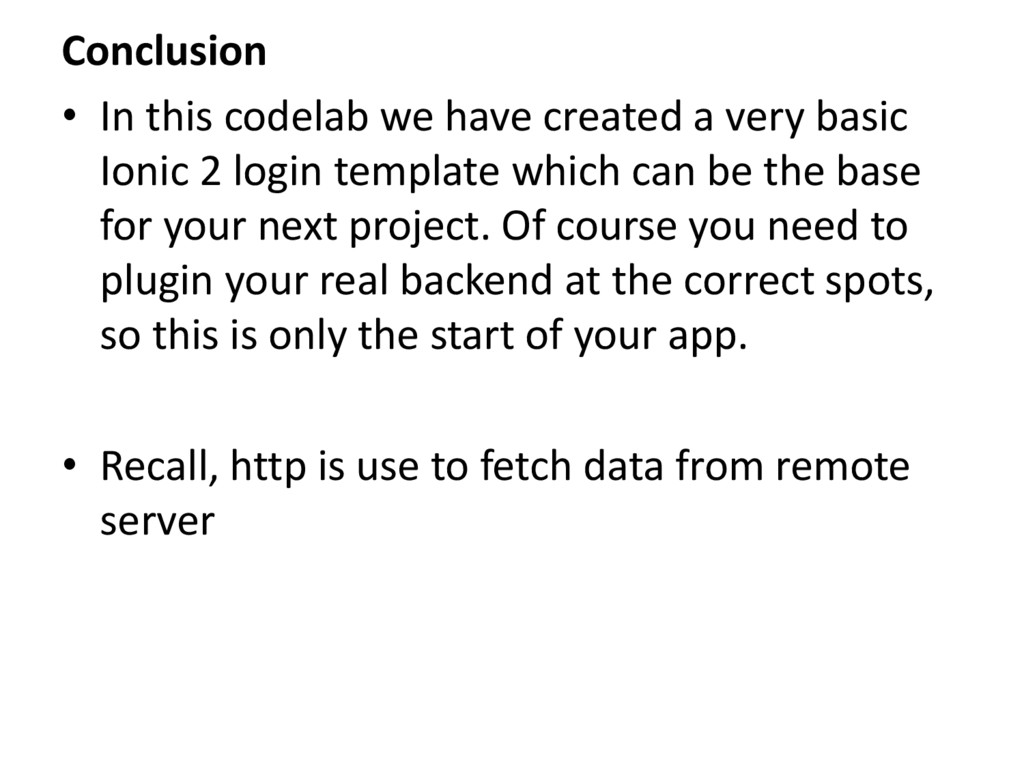
basic Ionic 2 login template which can be the base for your next project. Of course you need to plugin your real backend at the correct spots, so this is only the start of your app. • Recall, http is use to fetch data from remote server