Upgrade to Pro — share decks privately, control downloads, hide ads and more …

Getting started with Django on Windows

Getting started with Django on Windows

Django Book Ch2: Getting started - Windows version

flywindy

May 29, 2013
Tweet

More Decks by flywindy

Other Decks in Programming

Transcript

  1. 2 Agenda  Before install Django 1. (Optional) Install PowerShell

    (Download) 2. Install Python 3. (Optional) Install pip  Install Django  Run server
  2. 3 Unlike most Unix systems and services, Windows does not

    require Python natively and thus does not pre-install a version of Python. Install Python
  3. 4 Step 1: Download Python  The core Django framework

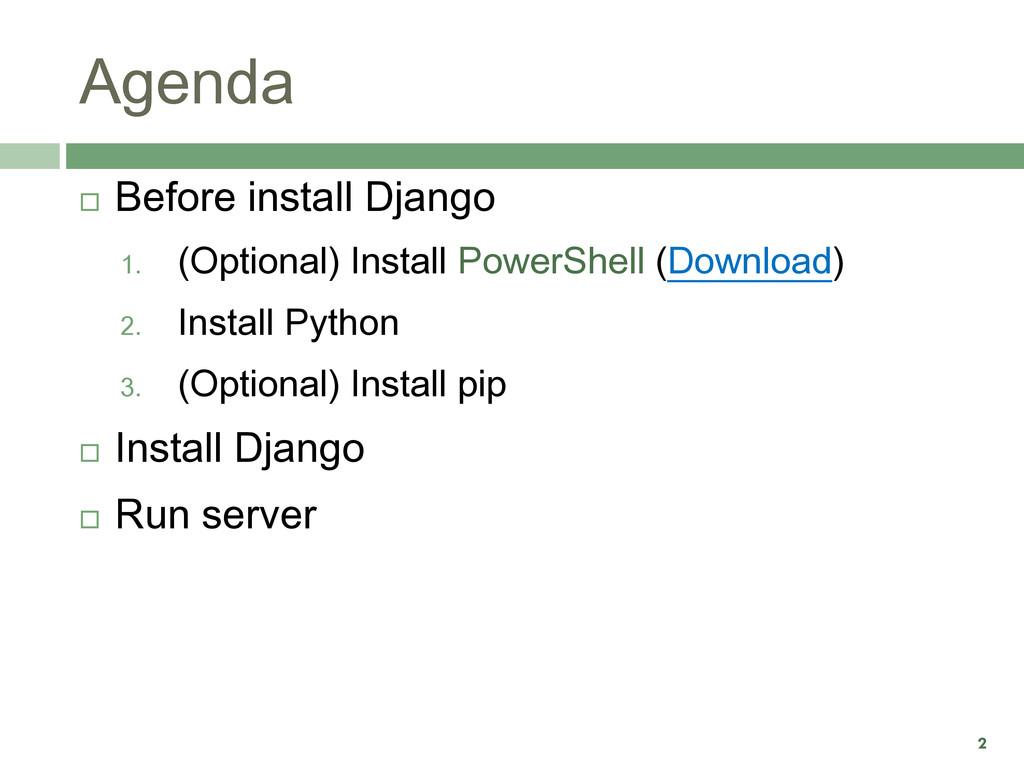
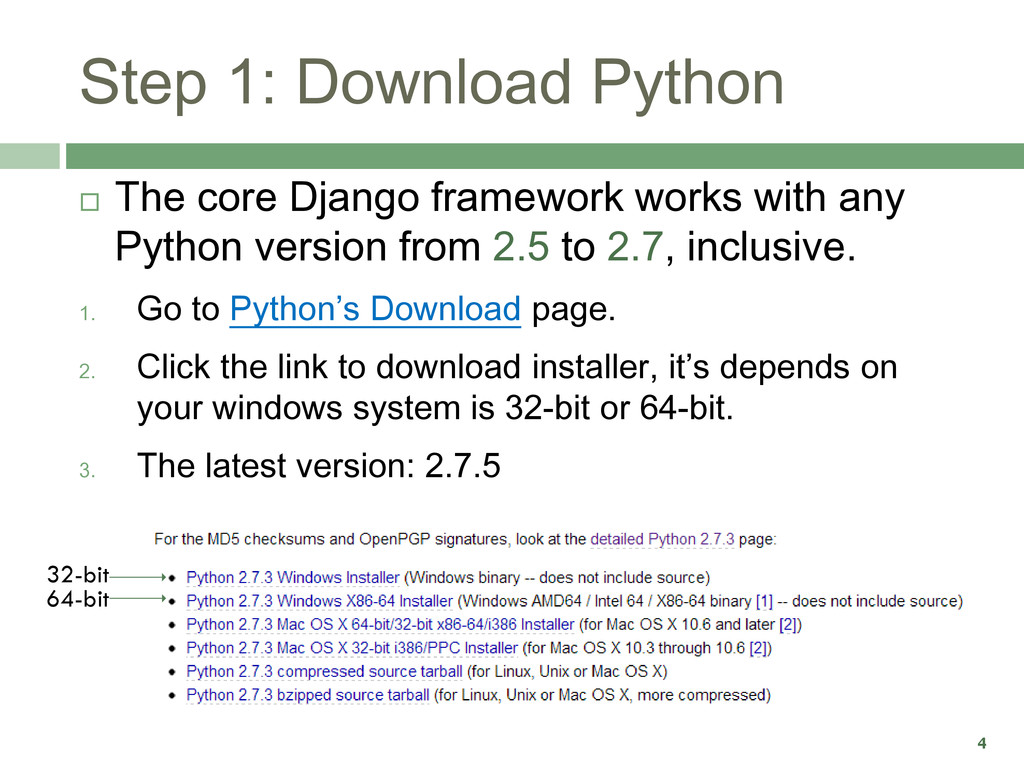
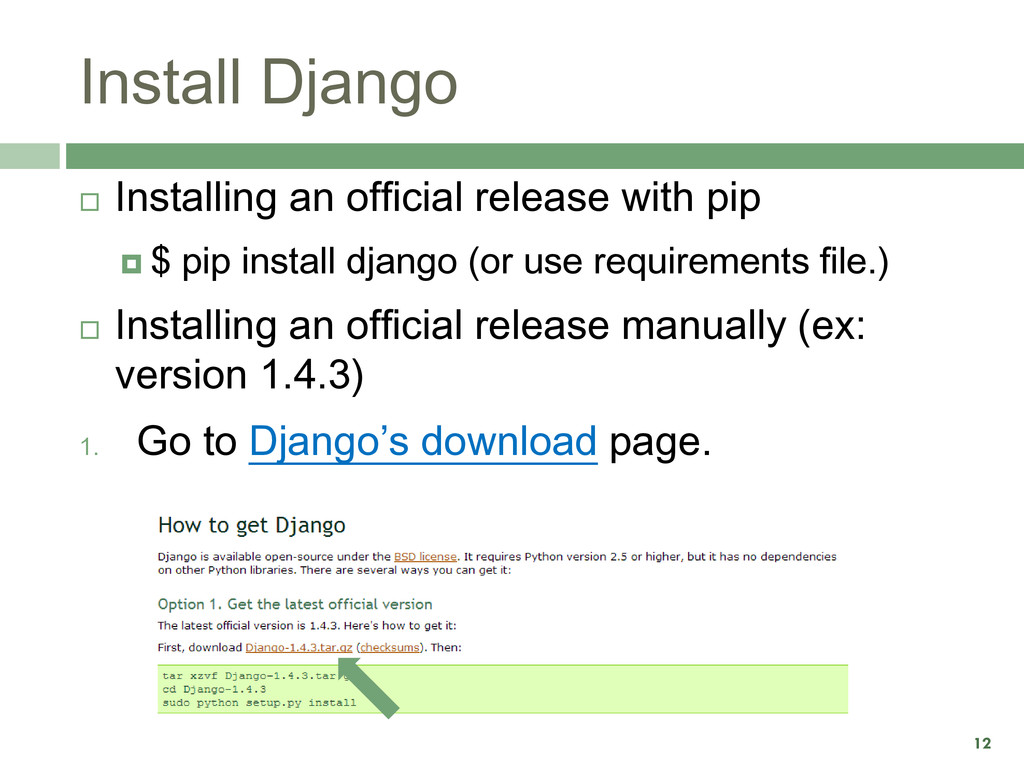
    works with any Python version from 2.5 to 2.7, inclusive. 1. Go to Python’s Download page. 2. Click the link to download installer, it’s depends on your windows system is 32-bit or 64-bit. 3. The latest version: 2.7.5 32-bit 64-bit
  4. 5 Step 2: Run installer 1. Click the file you

    downloaded, and run the installer. 2. Select a directory for Python, for example I choose C disk.
  5. 7 Step 4: Try it! “Hello world” 1. Open “Python

    (command line)”, or open cmd (powershell) and input “python” 2. Type print “Hello world” 3. If output “Hello world”, it works.
  6. 9 Install pip  Option 1 1. Download the get-pip.py

    script 2. Run it using Python  C:\> python get-pip.py  Option 2 1. Download and install it.
  7. 10 Requirements files 1. Create a requirements file something like:

    2. If you save this in pip-requirements.txt, then you can type this on you commend line:  pip install -r pip-requirements.txt Django==1.4.5 ……
  8. 11 If you are upgrading your installation of Django from

    a previous version, you will need to uninstall the old Django version before installing the new version. Install Django
  9. 12 Install Django  Installing an official release with pip

     $ pip install django (or use requirements file.)  Installing an official release manually (ex: version 1.4.3) 1. Go to Django’s download page.
  10. 13 Install Django 2. Click “Django-1.4.3.tar.gz” to download. 3. Unzip

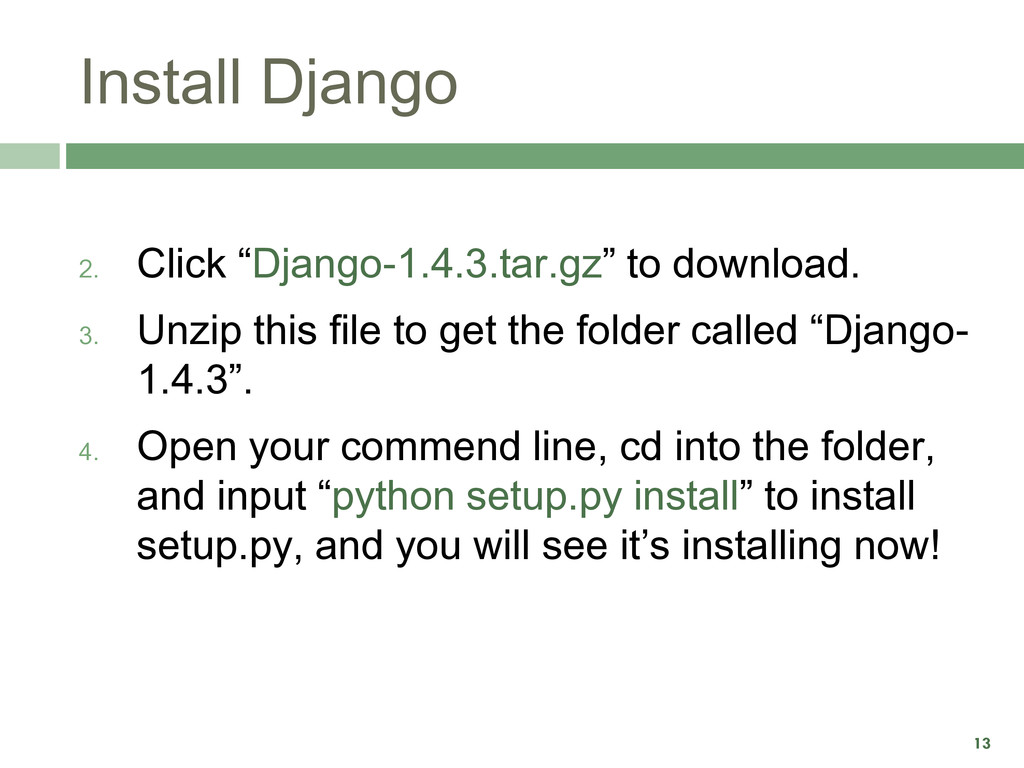
    this file to get the folder called “Django- 1.4.3”. 4. Open your commend line, cd into the folder, and input “python setup.py install” to install setup.py, and you will see it’s installing now!
  11. 14 Step 3: Try it! 1. In cmd or powershell,

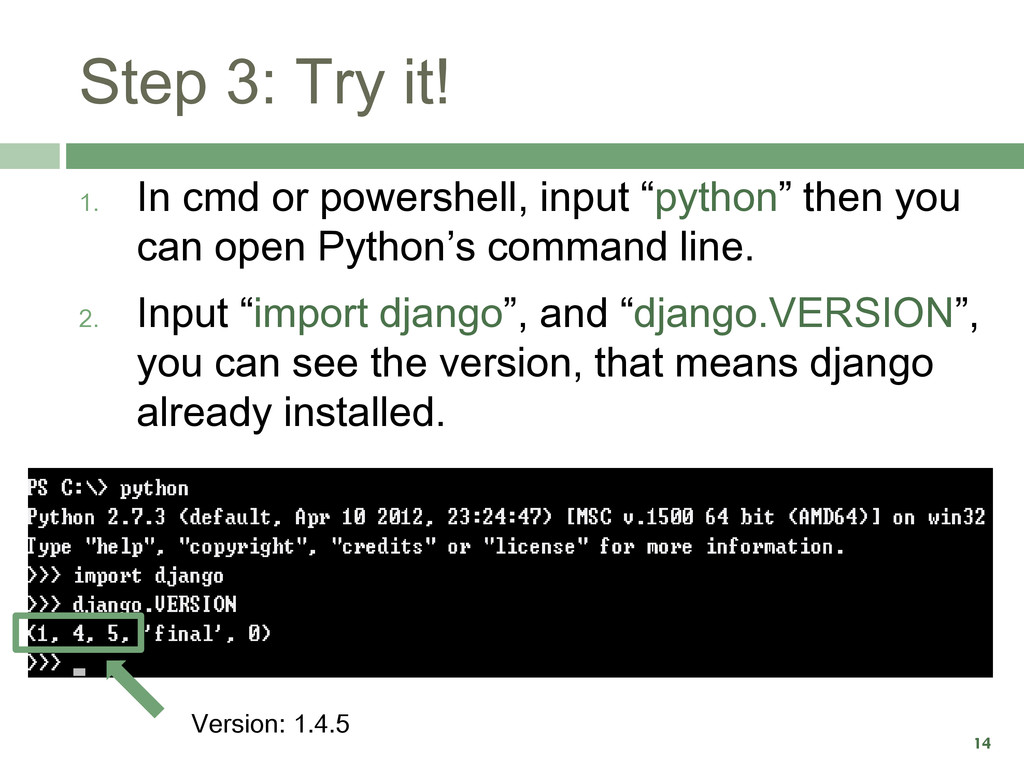
    input “python” then you can open Python’s command line. 2. Input “import django”, and “django.VERSION”, you can see the version, that means django already installed. Version: 1.4.5
  12. 15 Step 4: setup path 1. Go to “Environment Variables”

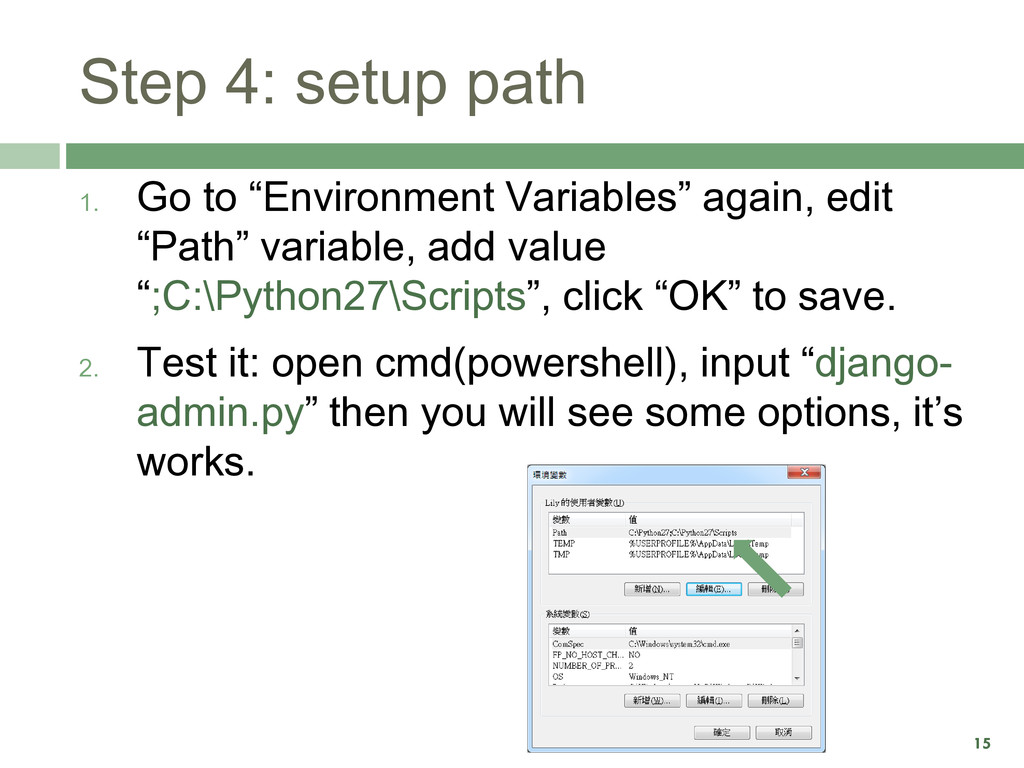
    again, edit “Path” variable, add value “;C:\Python27\Scripts”, click “OK” to save. 2. Test it: open cmd(powershell), input “django- admin.py” then you will see some options, it’s works.
  13. 17 Step 1: create project  We use “django-admin.py startproject

    [projectname]” to create project, for example the project name is “mysite”. 1. Open cmd(powershell), go to the folder that you want to put project, input “django- admin.py startproject mysite” ,then you can see the new project already in your folder.
  14. 18 Step 2: run server 1. In your project, input

    “python manage.py runserver”, if see “Development server is running at http://127.0.0.1:8000/”,then go to the link, you can see “It worked!”.
  15. 19 Reference  Using Python on Windows  The Django

    Book  Django doc  Unofficial Windows Binaries for Python Extension Packages (ex: pip or PIL…)  Pip requirements files