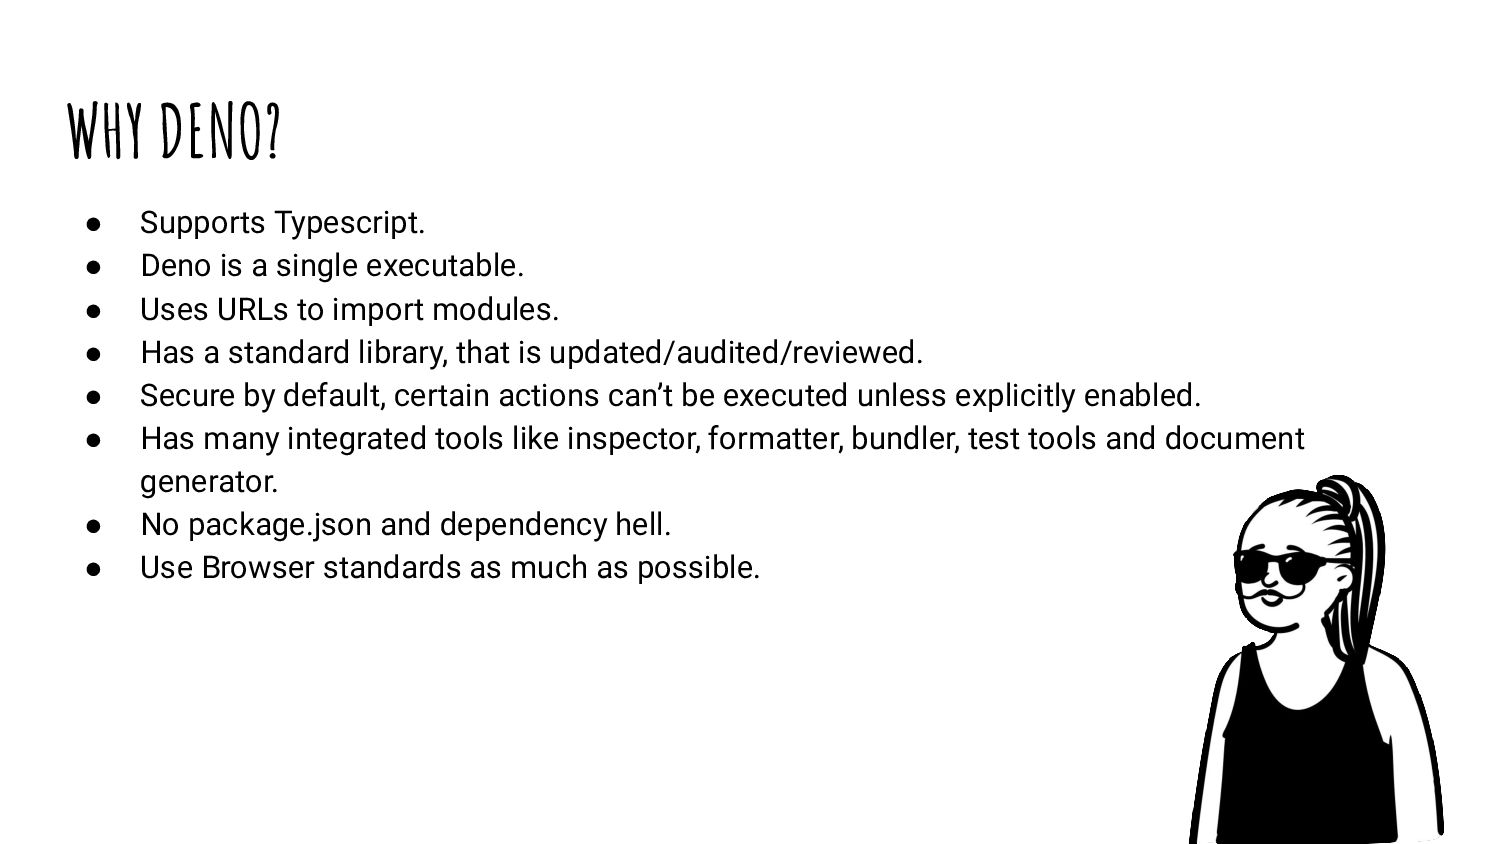
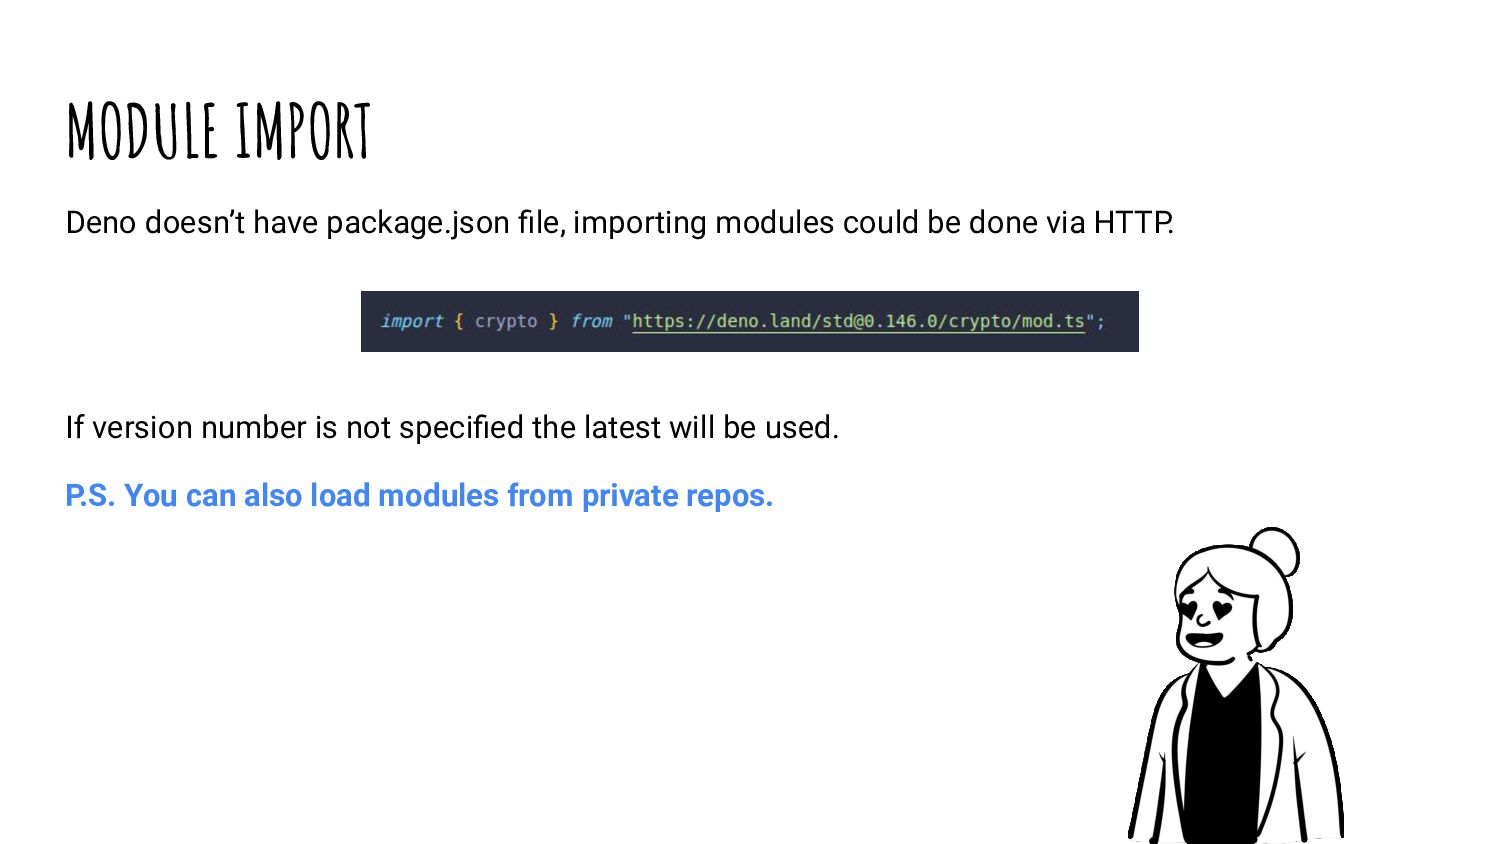
executable. • Uses URLs to import modules. • Has a standard library, that is updated/audited/reviewed. • Secure by default, certain actions can’t be executed unless explicitly enabled. • Has many integrated tools like inspector, formatter, bundler, test tools and document generator. • No package.json and dependency hell. • Use Browser standards as much as possible.
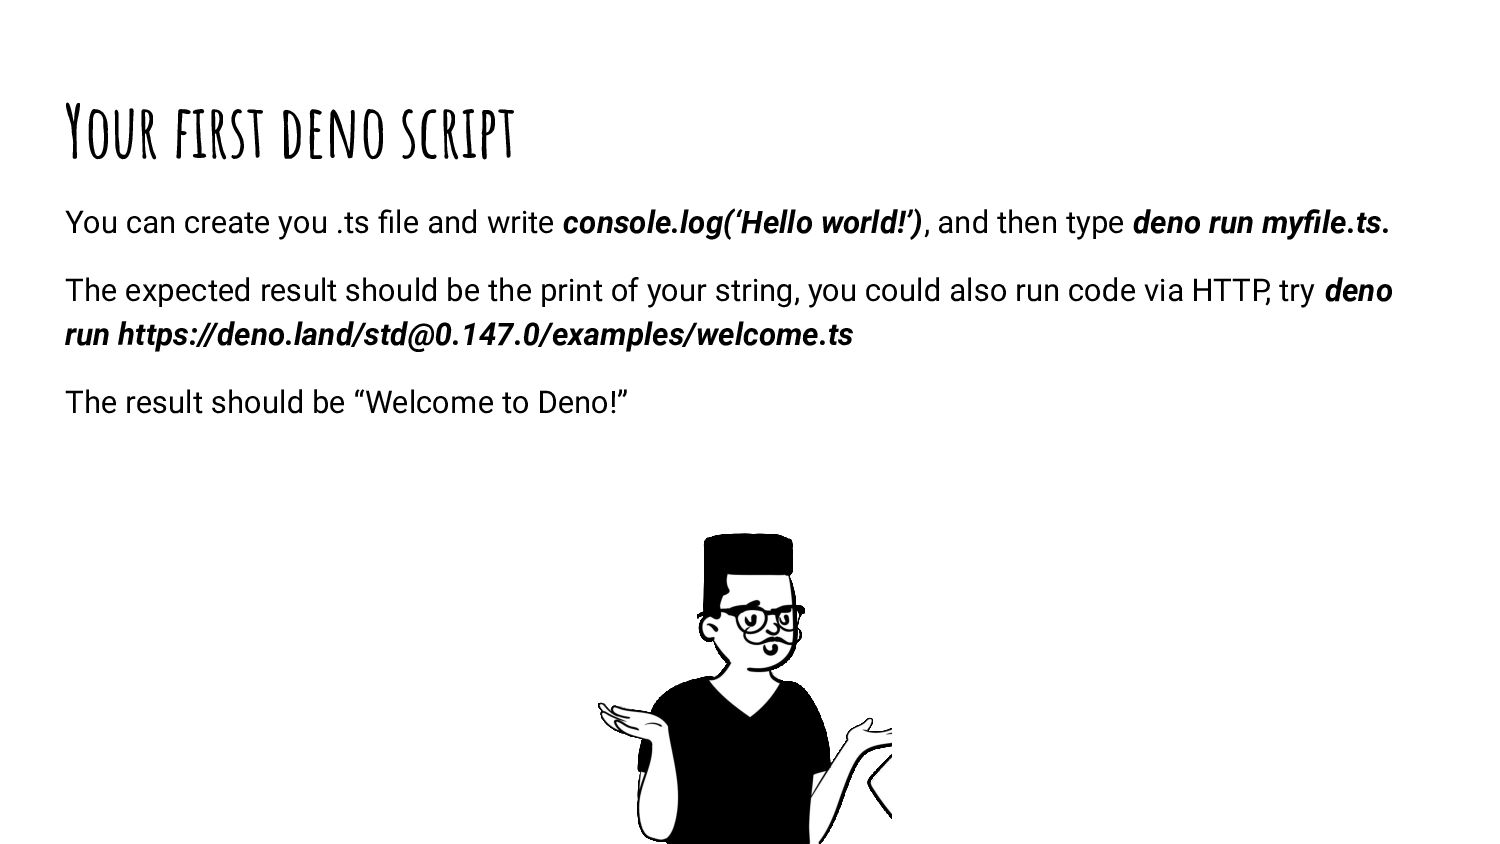
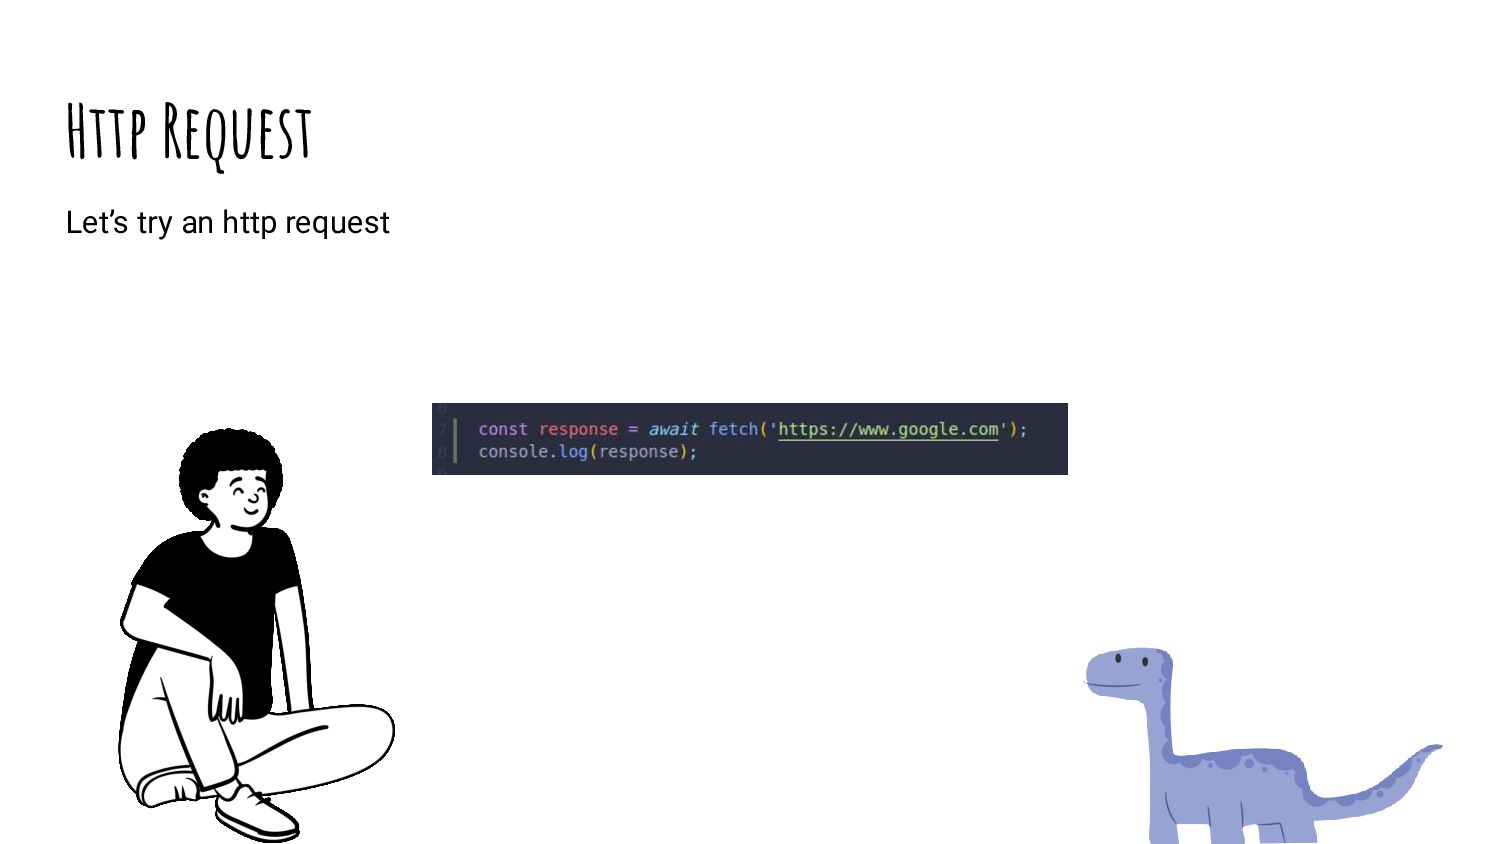
and write console.log(‘Hello world!’), and then type deno run myfile.ts. The expected result should be the print of your string, you could also run code via HTTP, try deno run https://deno.land/[email protected]/examples/welcome.ts The result should be “Welcome to Deno!”
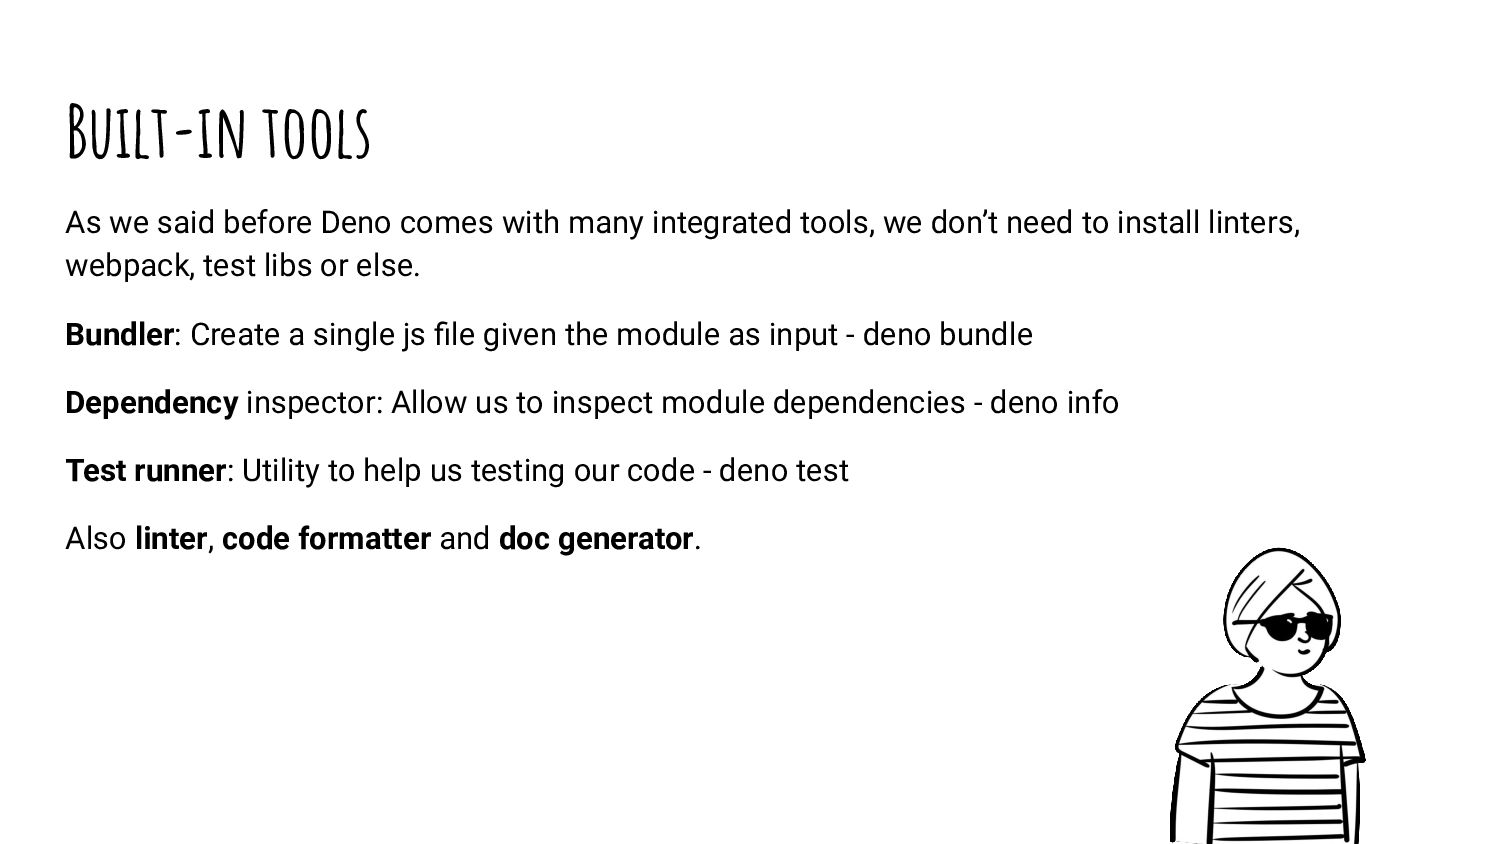
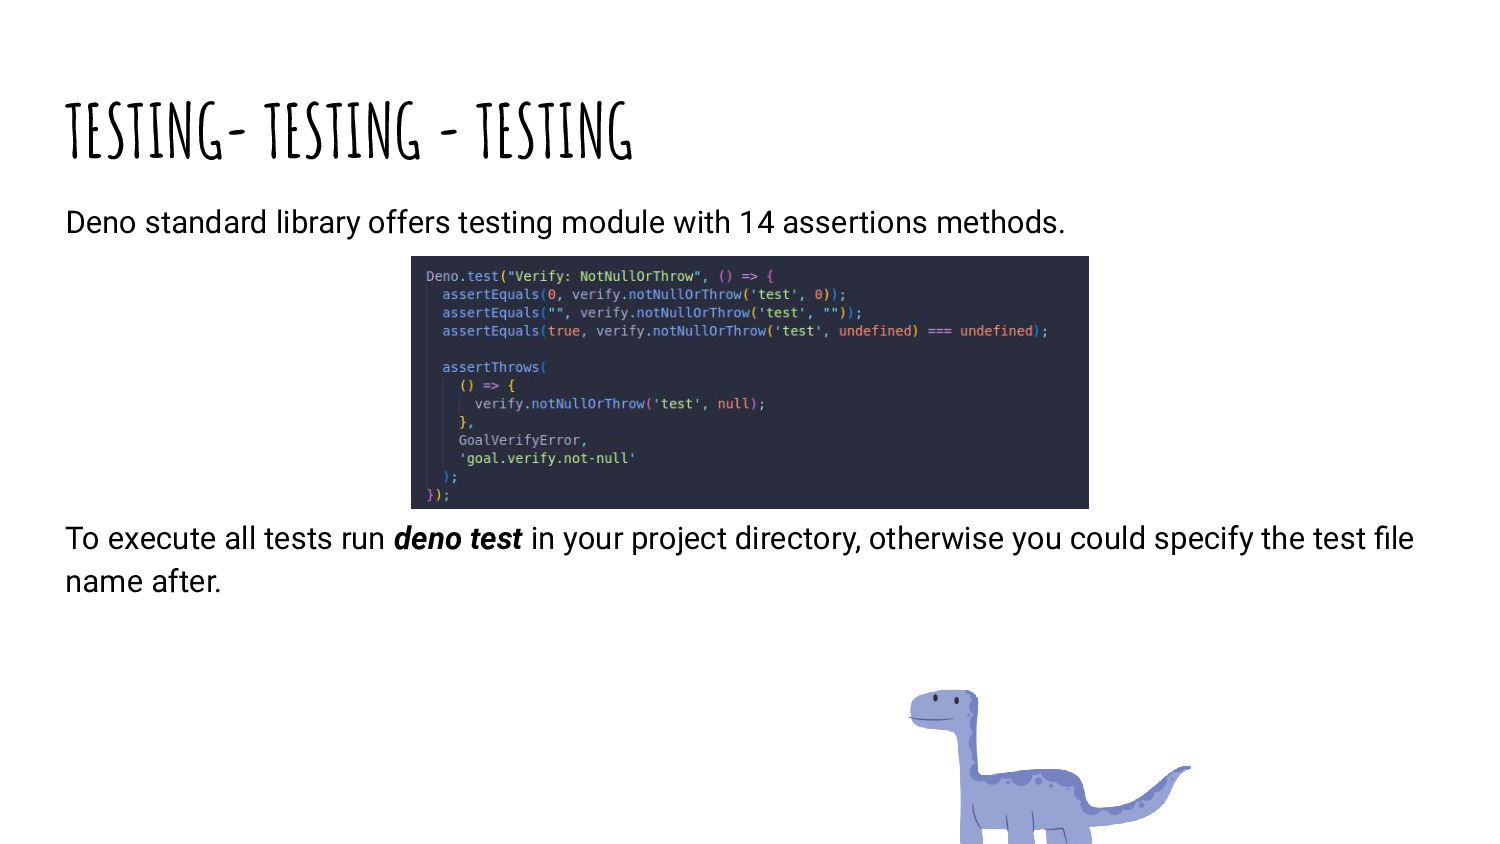
integrated tools, we don’t need to install linters, webpack, test libs or else. Bundler: Create a single js file given the module as input - deno bundle Dependency inspector: Allow us to inspect module dependencies - deno info Test runner: Utility to help us testing our code - deno test Also linter, code formatter and doc generator.
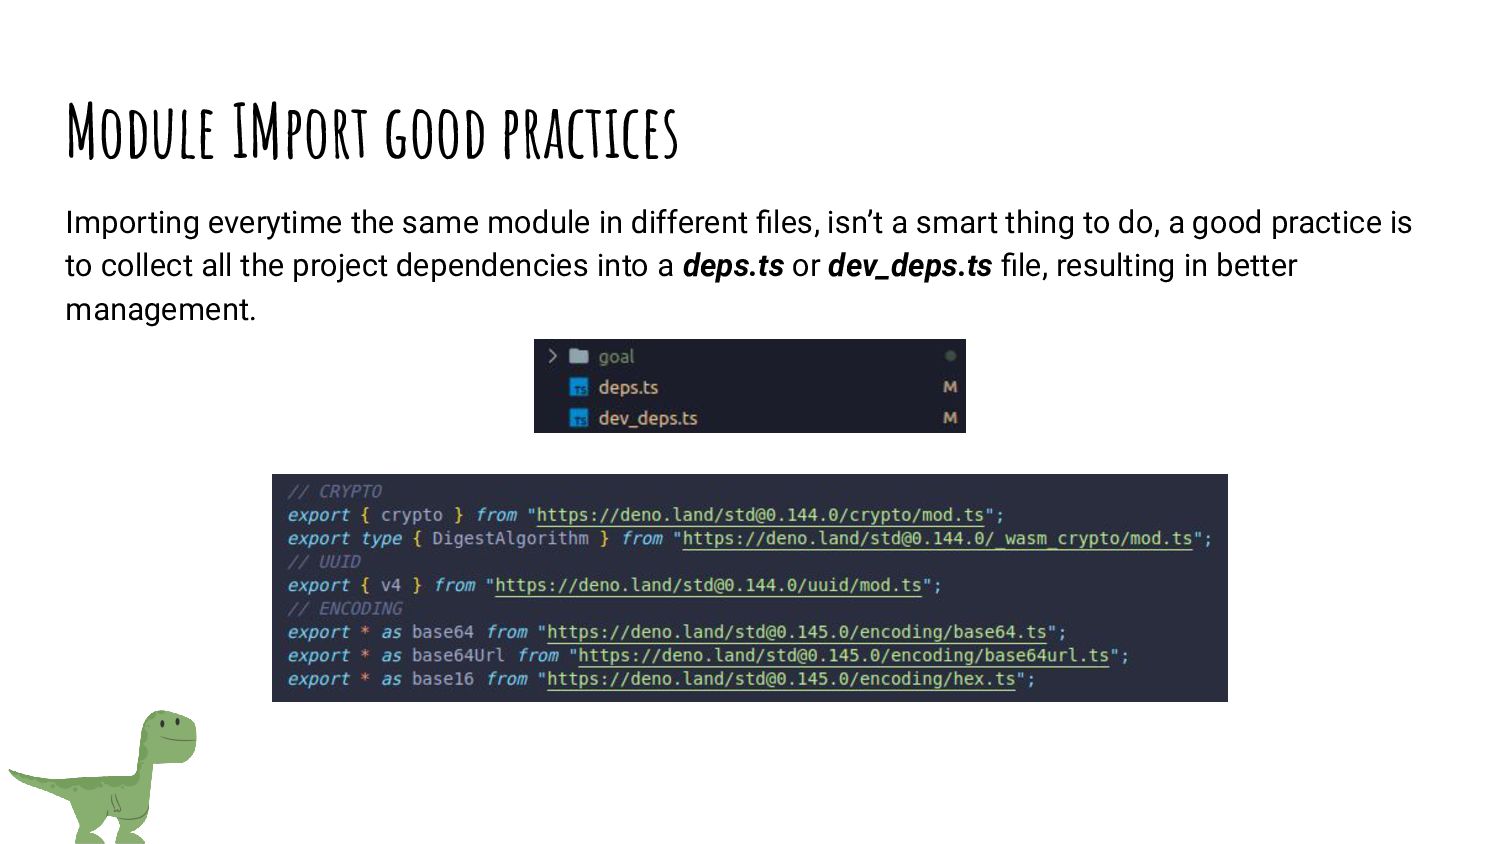
different files, isn’t a smart thing to do, a good practice is to collect all the project dependencies into a deps.ts or dev_deps.ts file, resulting in better management.
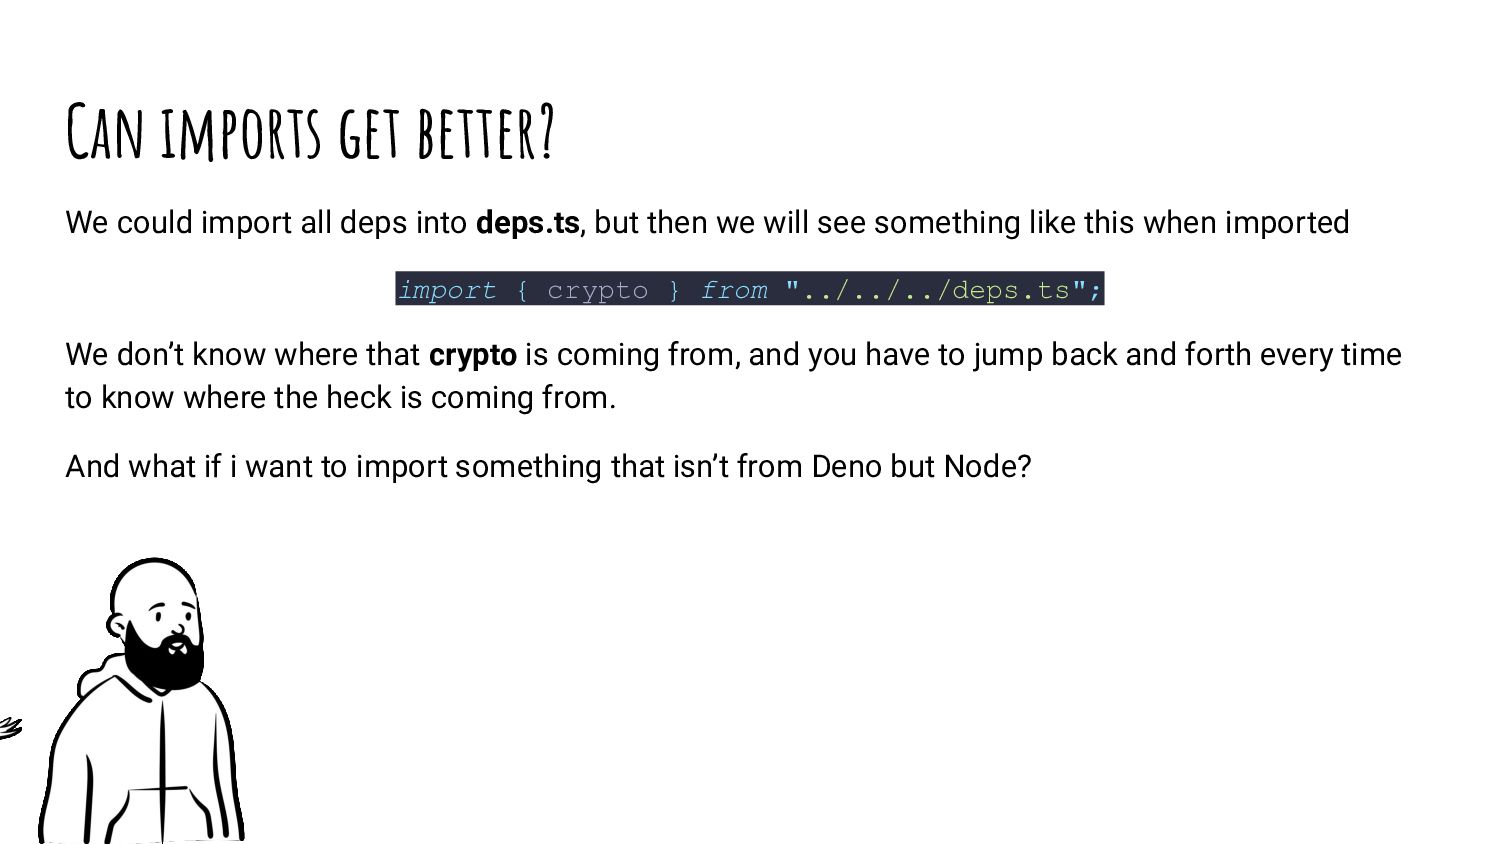
deps.ts, but then we will see something like this when imported import { crypto } from "../../../deps.ts"; We don’t know where that crypto is coming from, and you have to jump back and forth every time to know where the heck is coming from. And what if i want to import something that isn’t from Deno but Node?
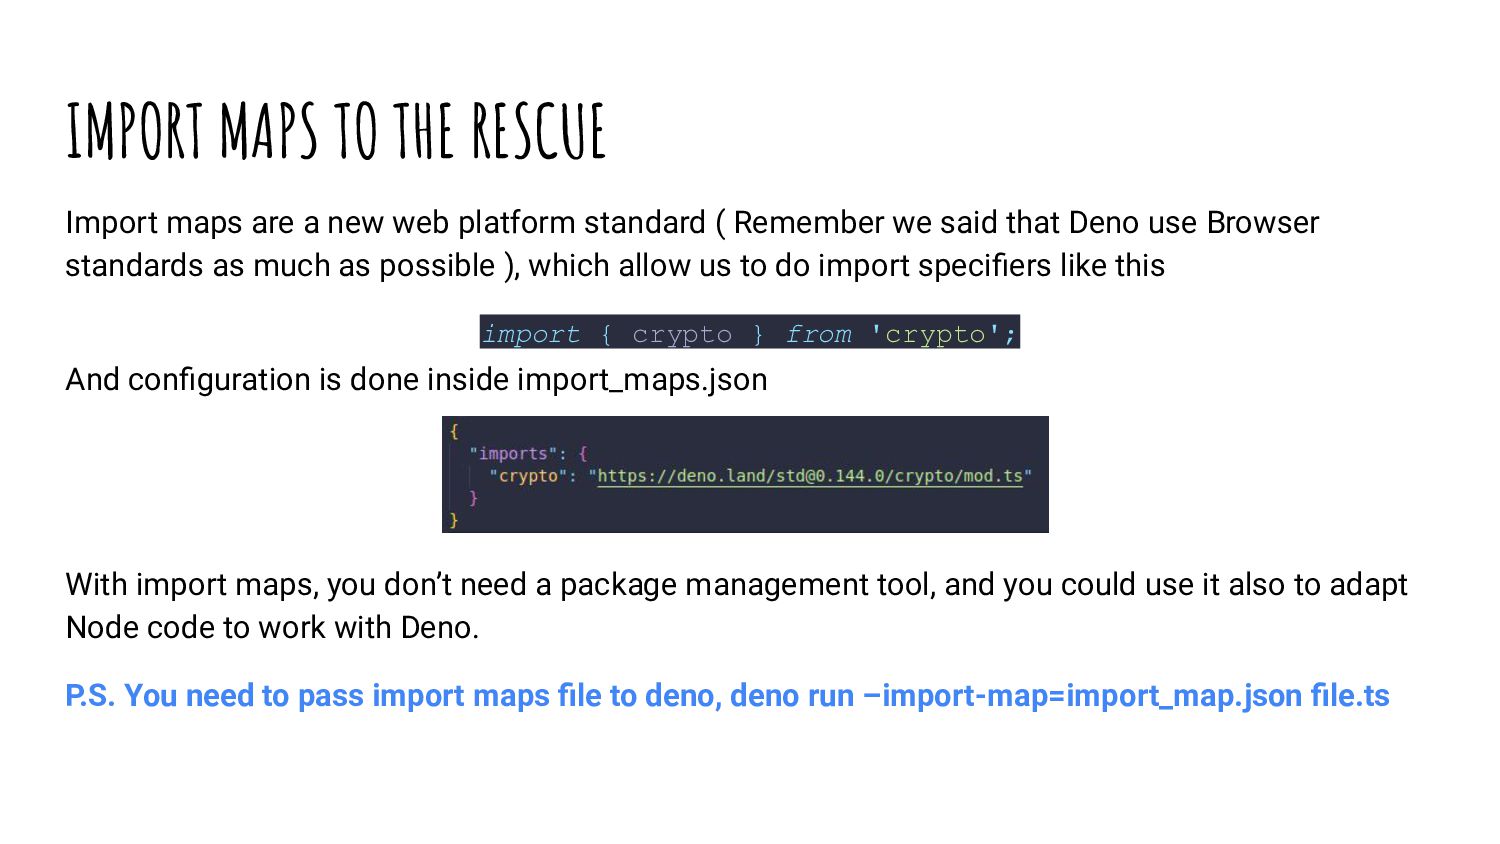
web platform standard ( Remember we said that Deno use Browser standards as much as possible ), which allow us to do import specifiers like this import { crypto } from 'crypto'; And configuration is done inside import_maps.json With import maps, you don’t need a package management tool, and you could use it also to adapt Node code to work with Deno. P.S. You need to pass import maps file to deno, deno run –import-map=import_map.json file.ts
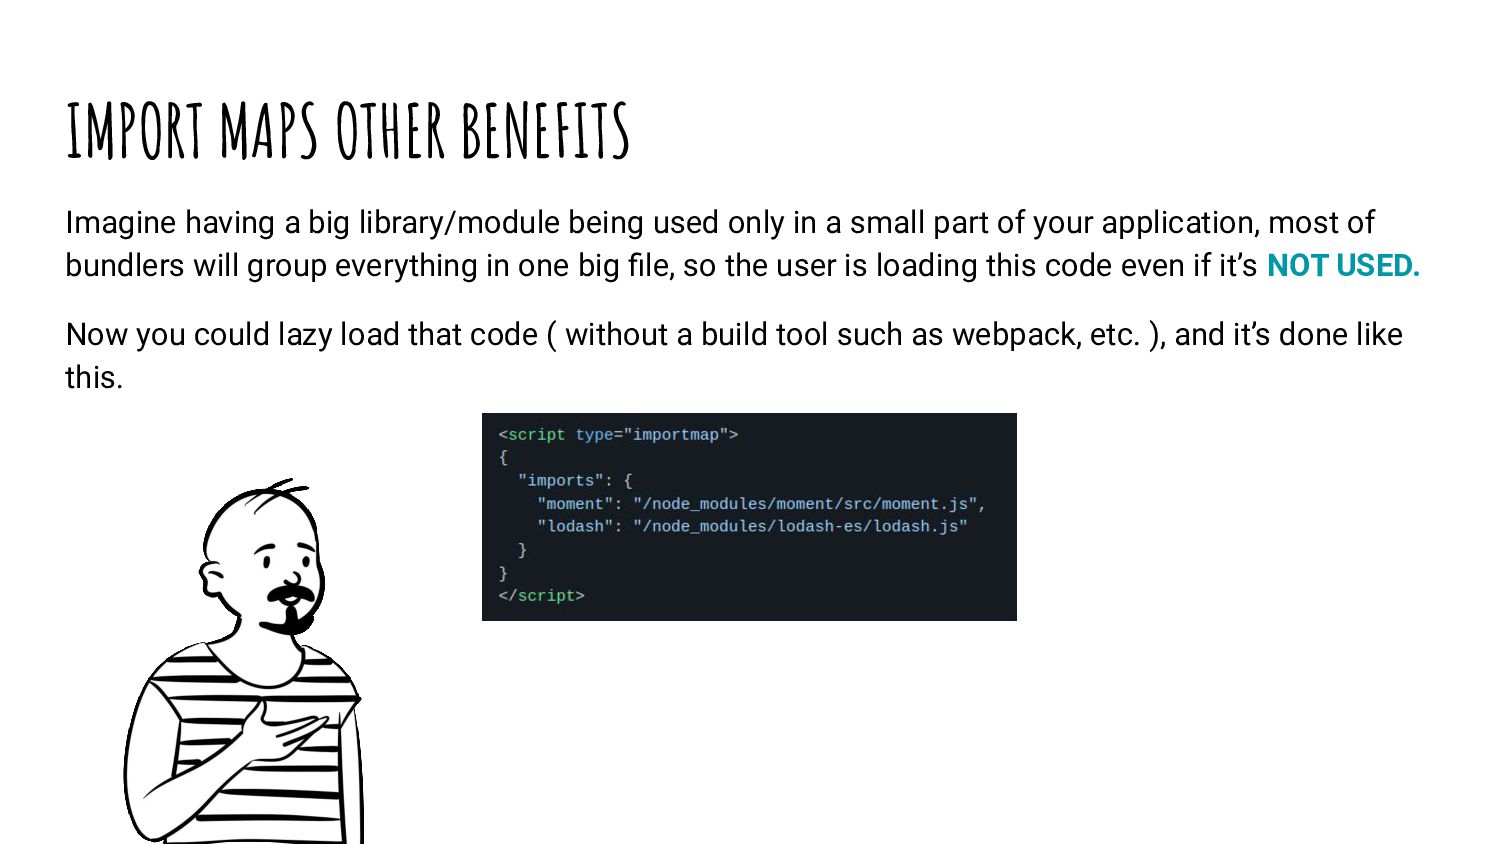
used only in a small part of your application, most of bundlers will group everything in one big file, so the user is loading this code even if it’s NOT USED. Now you could lazy load that code ( without a build tool such as webpack, etc. ), and it’s done like this.
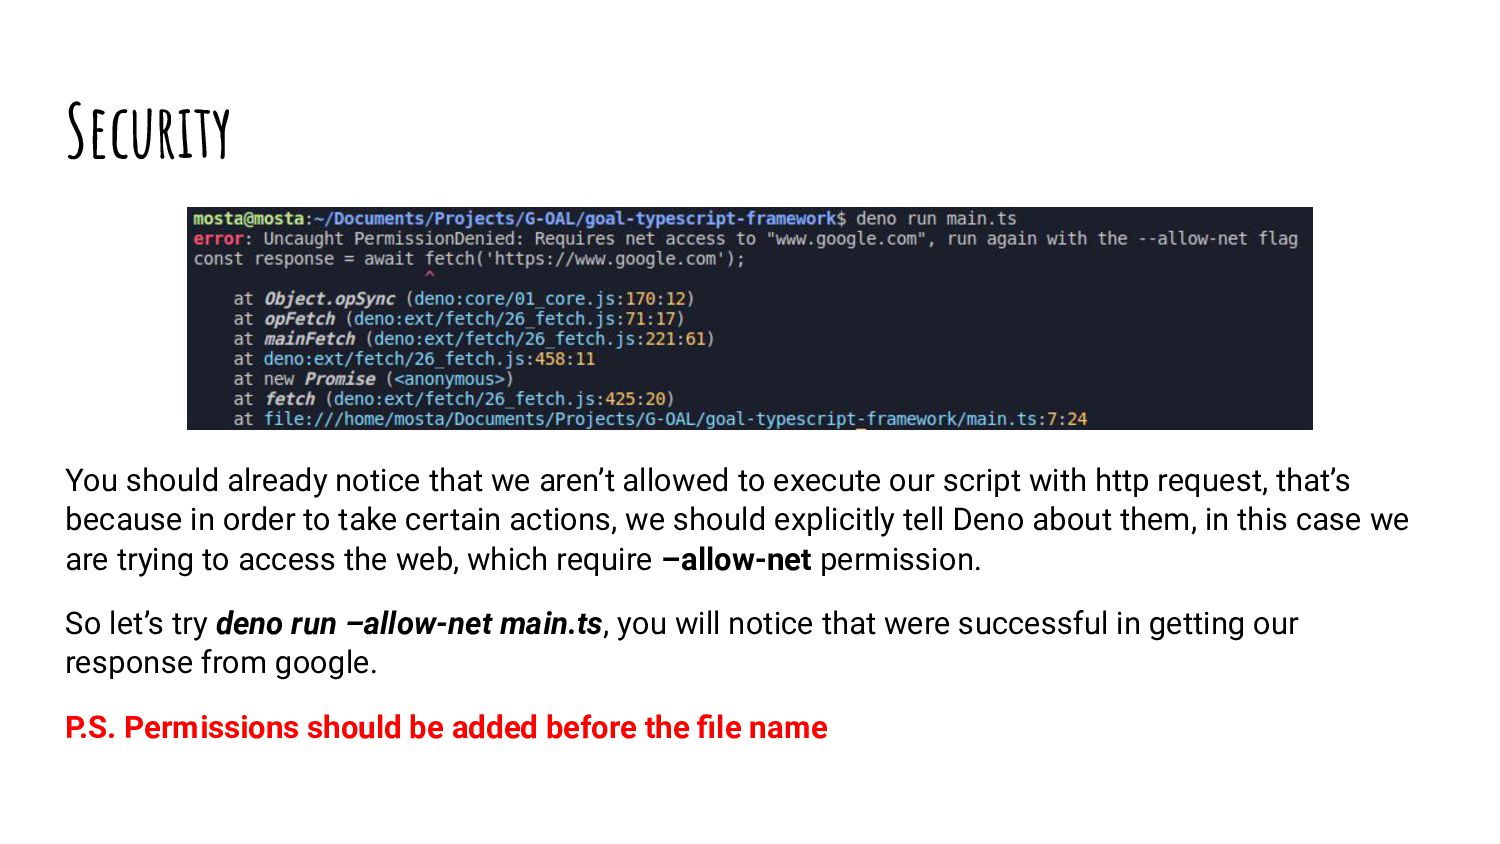
execute our script with http request, that’s because in order to take certain actions, we should explicitly tell Deno about them, in this case we are trying to access the web, which require –allow-net permission. So let’s try deno run –allow-net main.ts, you will notice that were successful in getting our response from google. P.S. Permissions should be added before the file name
will run destructive commands, for example: rm -rf / Deno prevents any sort of unwanted and malicious actions by using permissions. Without giving the permission –allow-run=rm -rf, the malicious code will not be executed. Some Deno permissions are configurable, to give access to certain files, servers, etc.
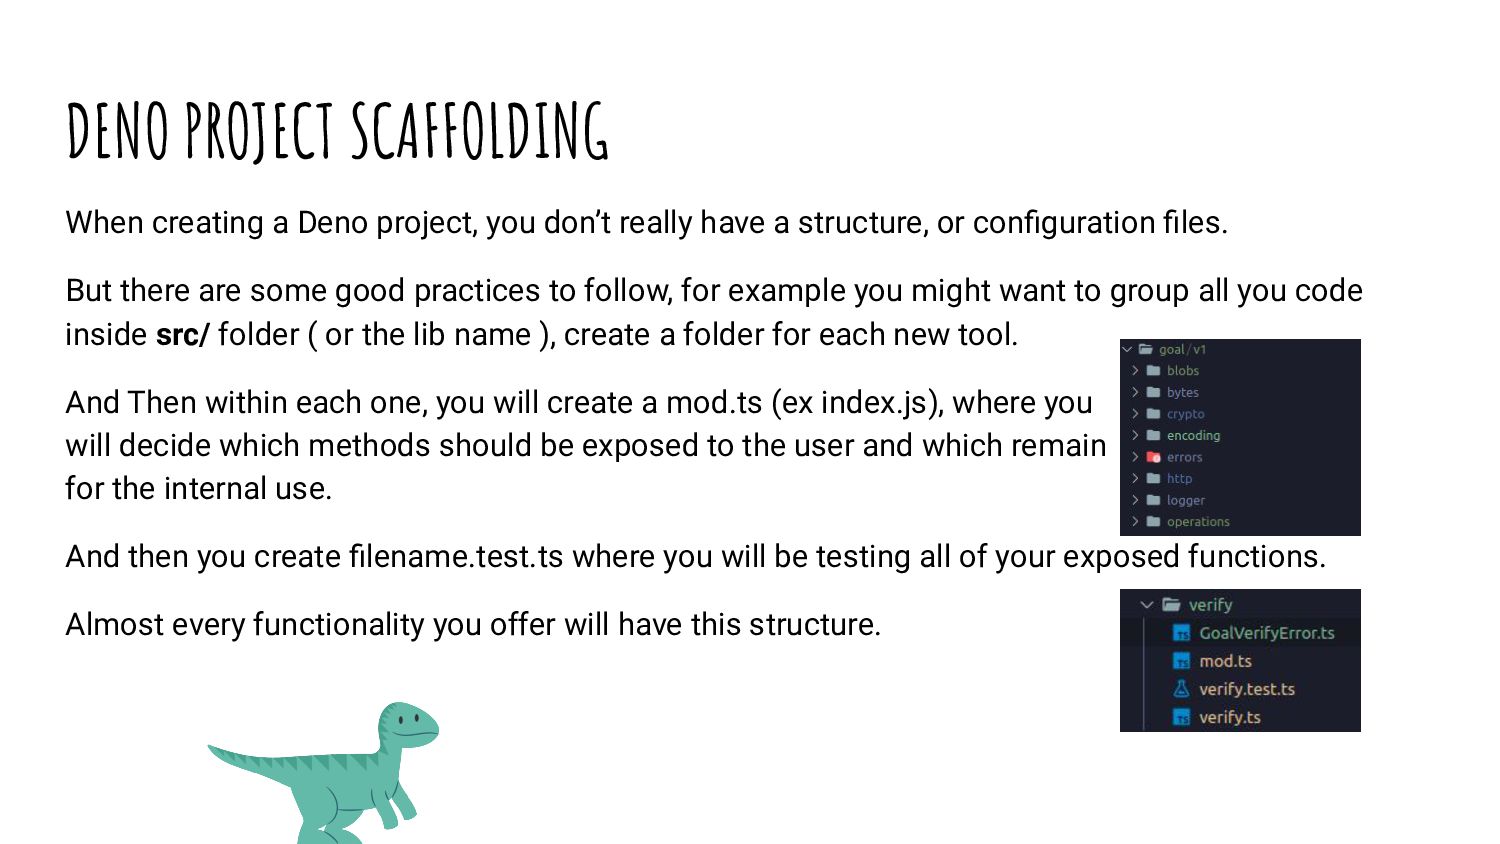
really have a structure, or configuration files. But there are some good practices to follow, for example you might want to group all you code inside src/ folder ( or the lib name ), create a folder for each new tool. And Then within each one, you will create a mod.ts (ex index.js), where you will decide which methods should be exposed to the user and which remain for the internal use. And then you create filename.test.ts where you will be testing all of your exposed functions. Almost every functionality you offer will have this structure.
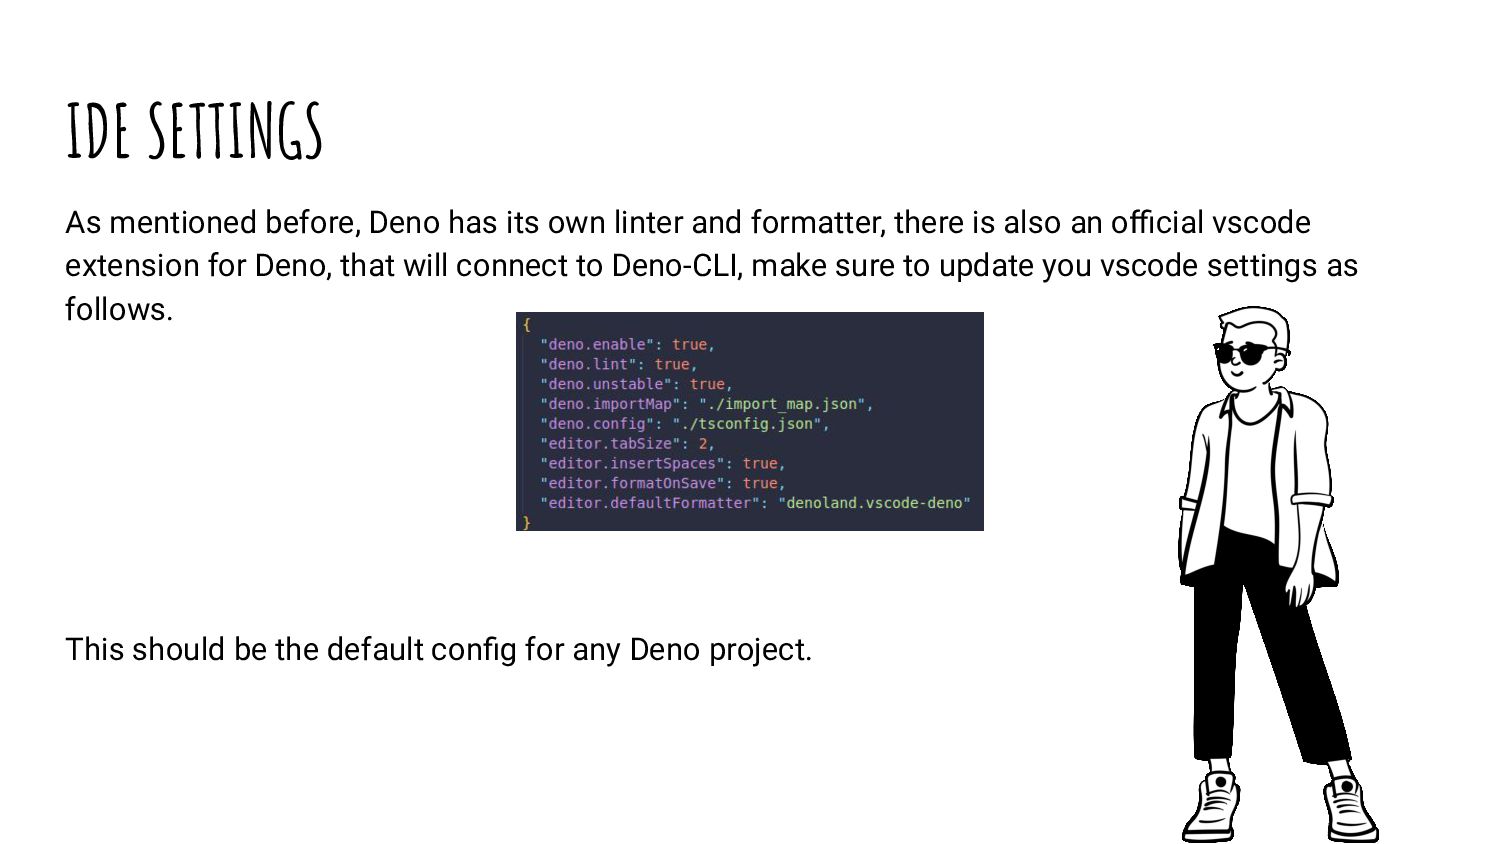
and formatter, there is also an official vscode extension for Deno, that will connect to Deno-CLI, make sure to update you vscode settings as follows. This should be the default config for any Deno project.
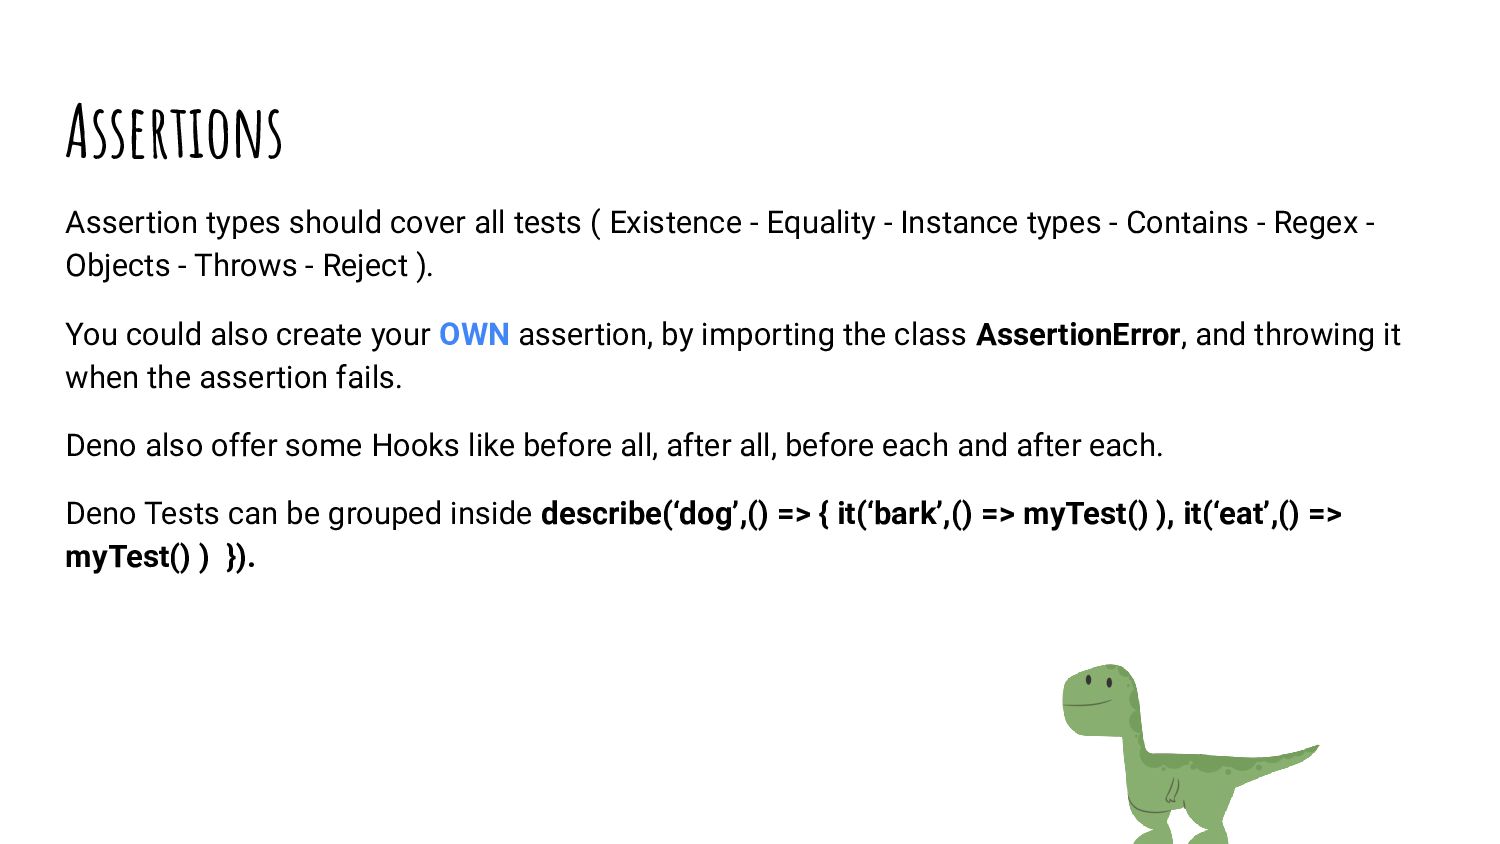
Equality - Instance types - Contains - Regex - Objects - Throws - Reject ). You could also create your OWN assertion, by importing the class AssertionError, and throwing it when the assertion fails. Deno also offer some Hooks like before all, after all, before each and after each. Deno Tests can be grouped inside describe(‘dog’,() => { it(‘bark’,() => myTest() ), it(‘eat’,() => myTest() ) }).
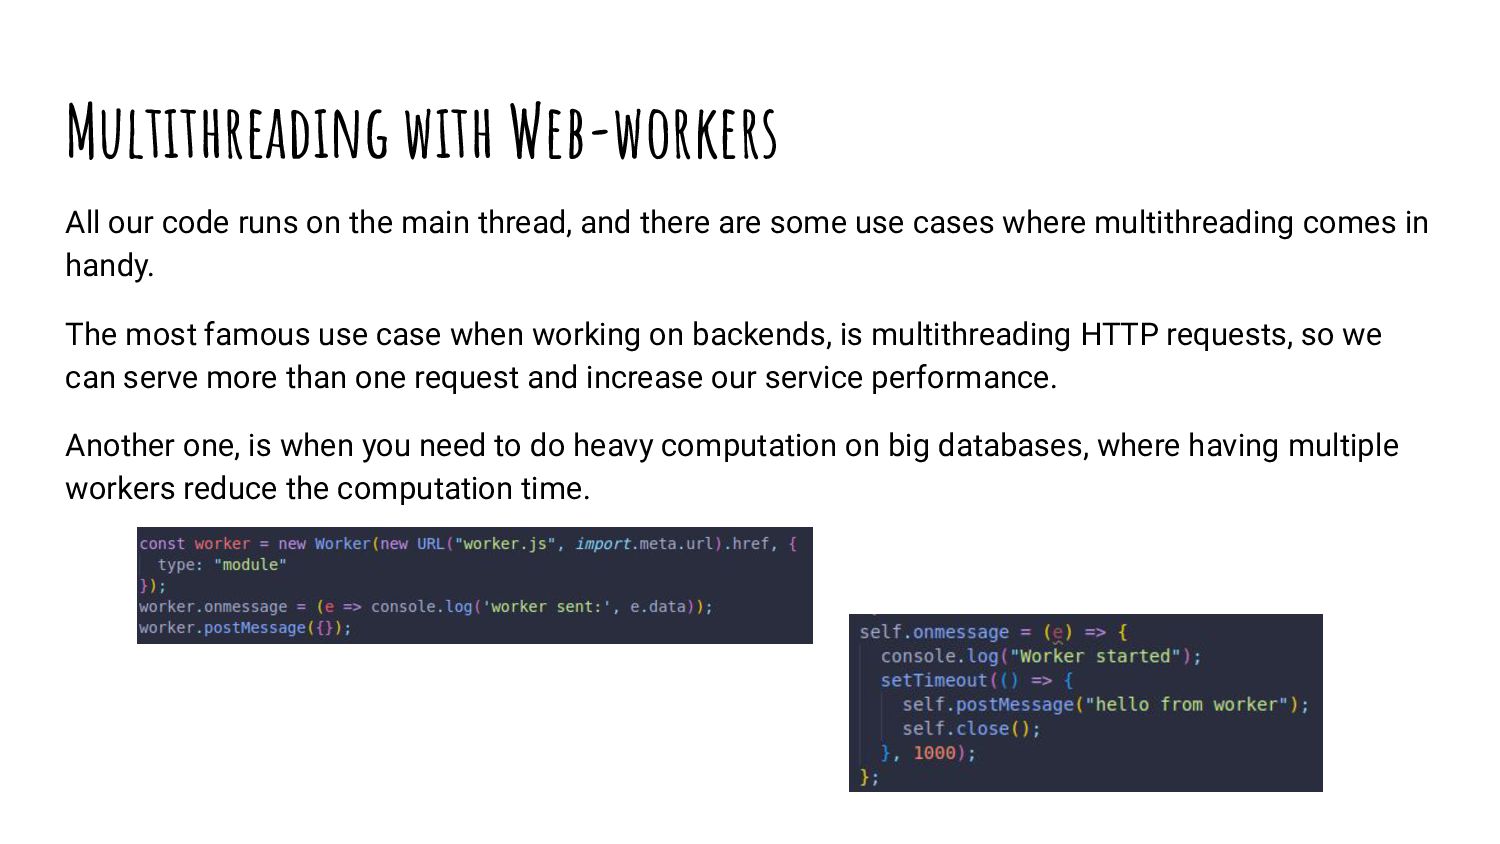
thread, and there are some use cases where multithreading comes in handy. The most famous use case when working on backends, is multithreading HTTP requests, so we can serve more than one request and increase our service performance. Another one, is when you need to do heavy computation on big databases, where having multiple workers reduce the computation time.
front-end applications, but for different purposes. In some cases, you don’t want to block the main thread, causing the UI to freeze, and do heavy calculations for you app on other threads. Do not confuse Web-workers with service-workers ( both run on different thread ), which are used to offer offline functionalities for you web apps, making your app works with no internet connection, managing requests and serving lazy loaded chunks of your app.