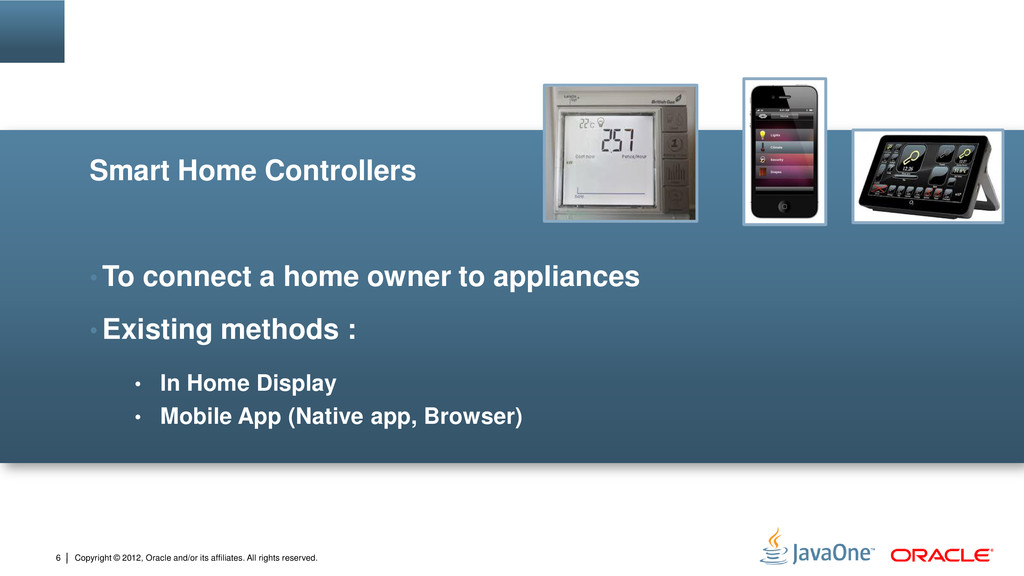
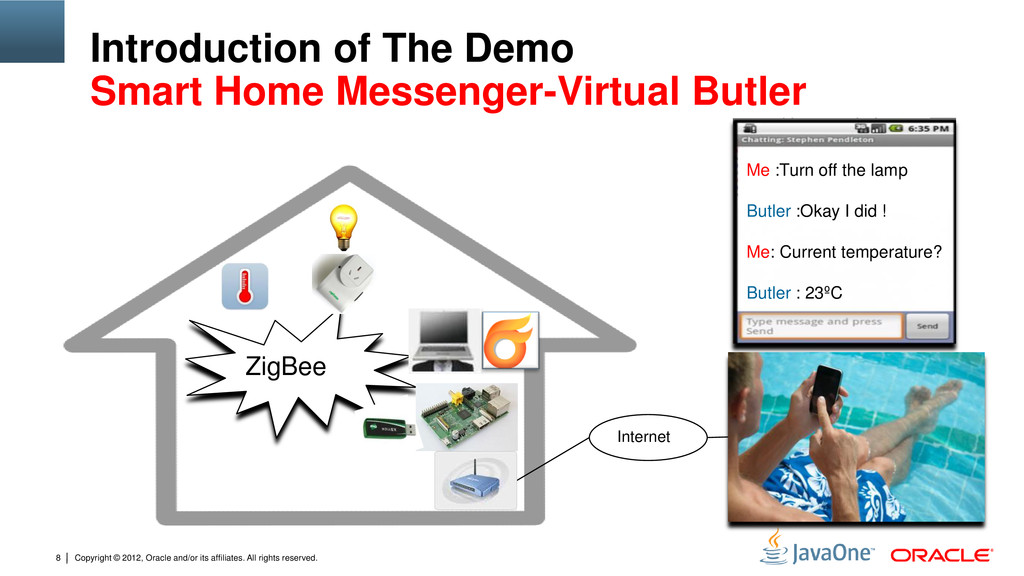
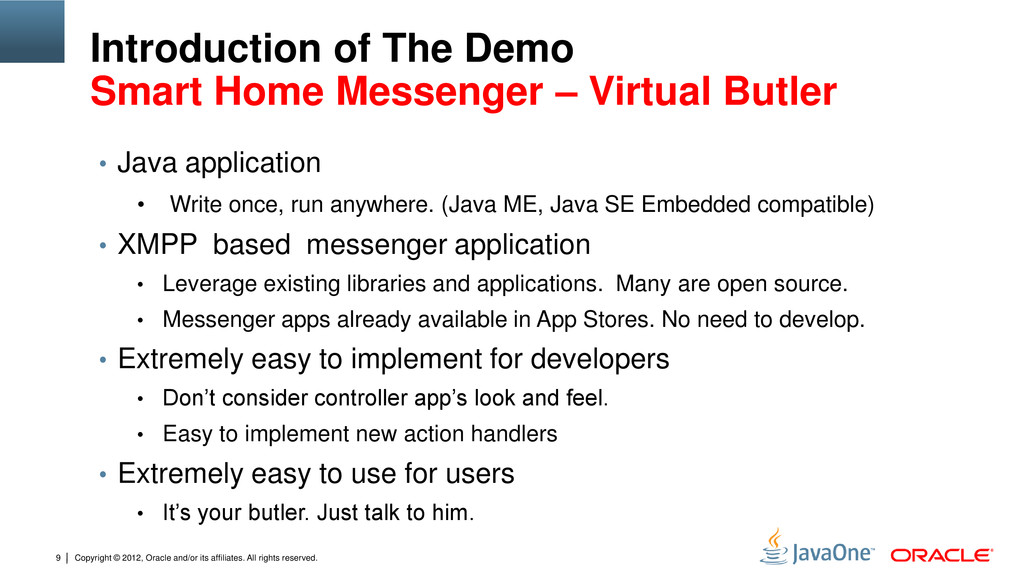
8 Introduction of The Demo Smart Home Messenger-Virtual Butler ZigBee Internet Me :Turn off the lamp Butler :Okay I did ! Me: Current temperature? Butler : 23ºC
9 Introduction of The Demo Smart Home Messenger – Virtual Butler • Java application • Write once, run anywhere. (Java ME, Java SE Embedded compatible) • XMPP based messenger application • Leverage existing libraries and applications. Many are open source. • Messenger apps already available in App Stores. No need to develop. • Extremely easy to implement for developers • Don’t consider controller app’s look and feel. • Easy to implement new action handlers • Extremely easy to use for users • It’s your butler. Just talk to him.
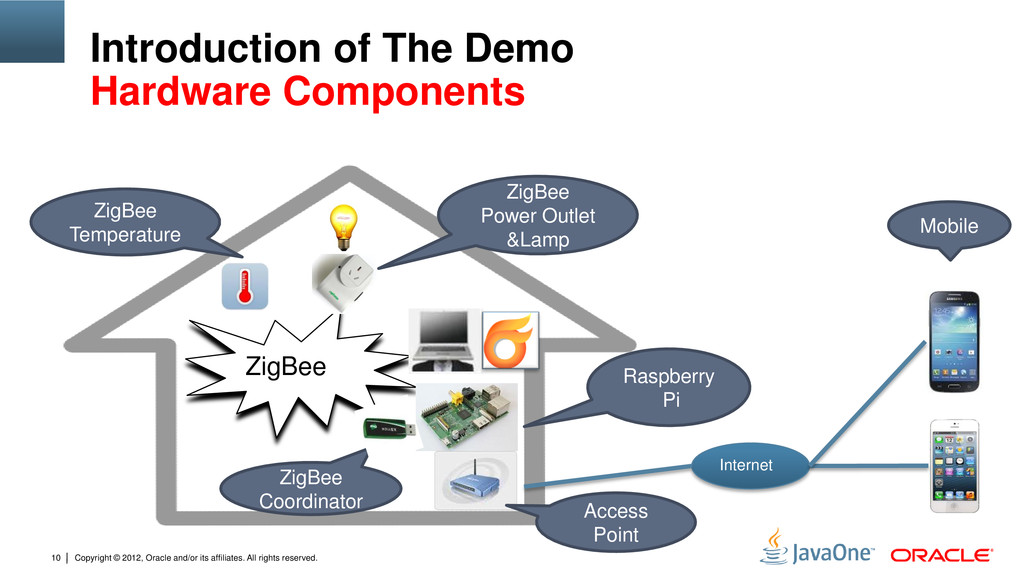
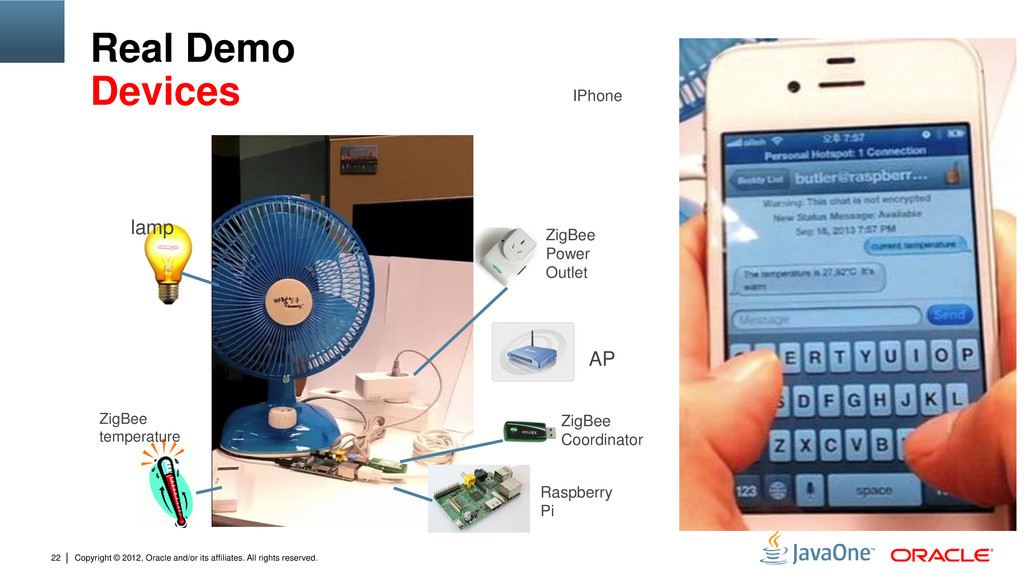
10 Introduction of The Demo Hardware Components ZigBee Internet ZigBee Power Outlet &Lamp ZigBee Temperature Raspberry Pi ZigBee Coordinator Mobile Access Point
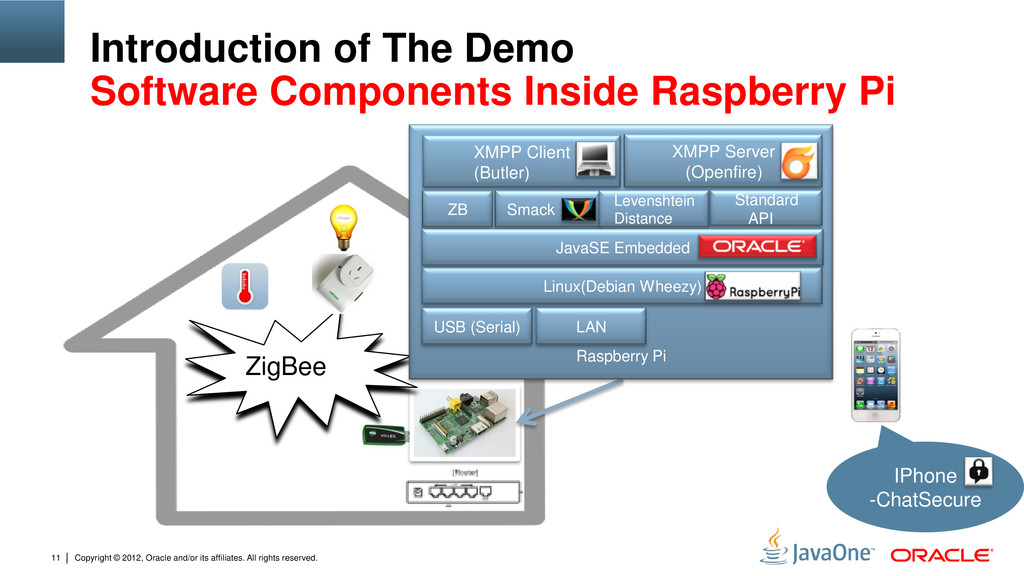
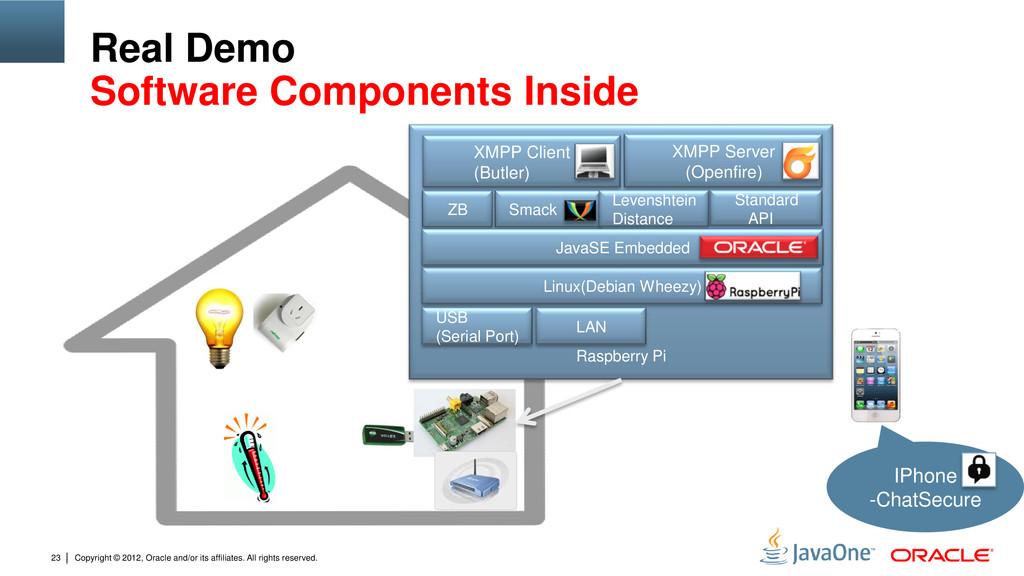
11 Introduction of The Demo Software Components Inside Raspberry Pi IPhone -ChatSecure ZigBee Raspberry Pi ZB XMPP Server (Openfire) XMPP Client (Butler) Smack - Levenshtein Distance Linux(Debian Wheezy) USB (Serial) LAN Standard API JavaSE Embedded
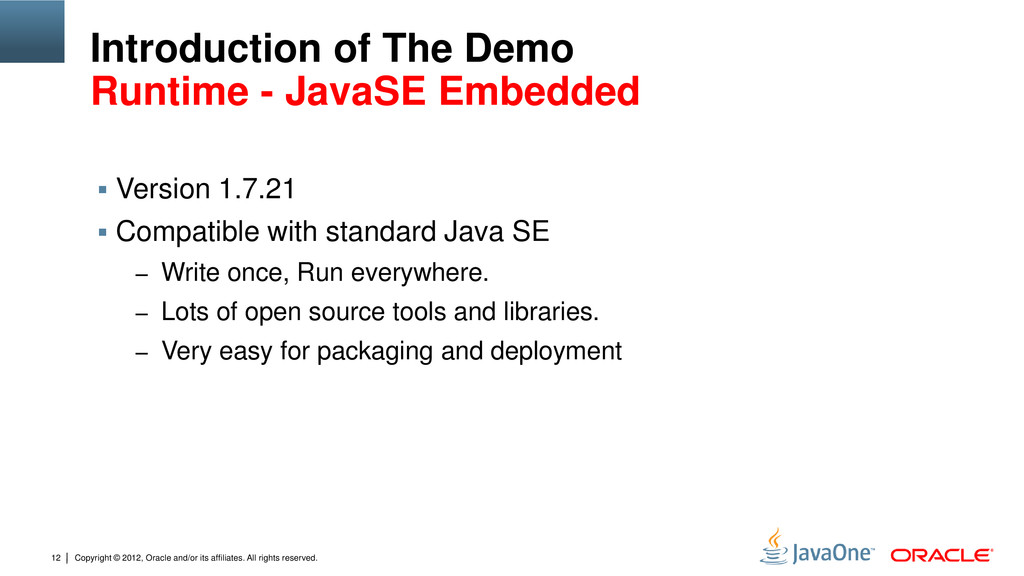
12 Introduction of The Demo Runtime - JavaSE Embedded Version 1.7.21 Compatible with standard Java SE – Write once, Run everywhere. – Lots of open source tools and libraries. – Very easy for packaging and deployment
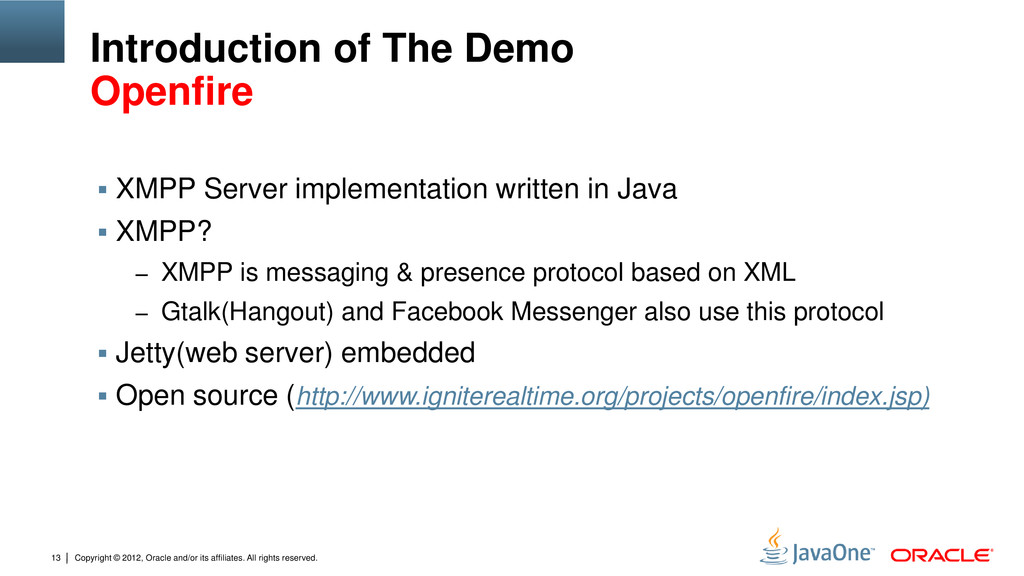
13 Introduction of The Demo Openfire XMPP Server implementation written in Java XMPP? – XMPP is messaging & presence protocol based on XML – Gtalk(Hangout) and Facebook Messenger also use this protocol Jetty(web server) embedded Open source (http://www.igniterealtime.org/projects/openfire/index.jsp)
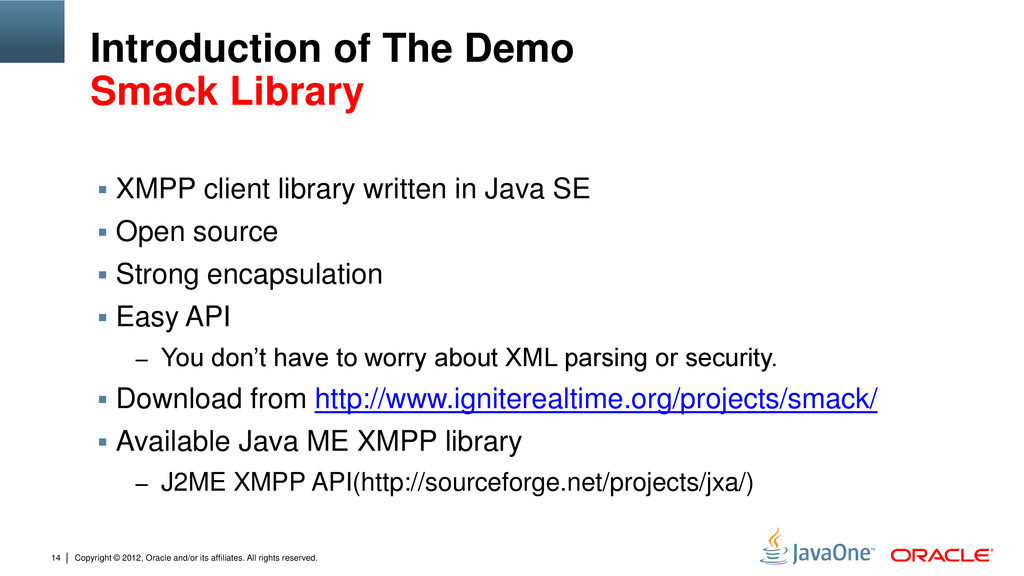
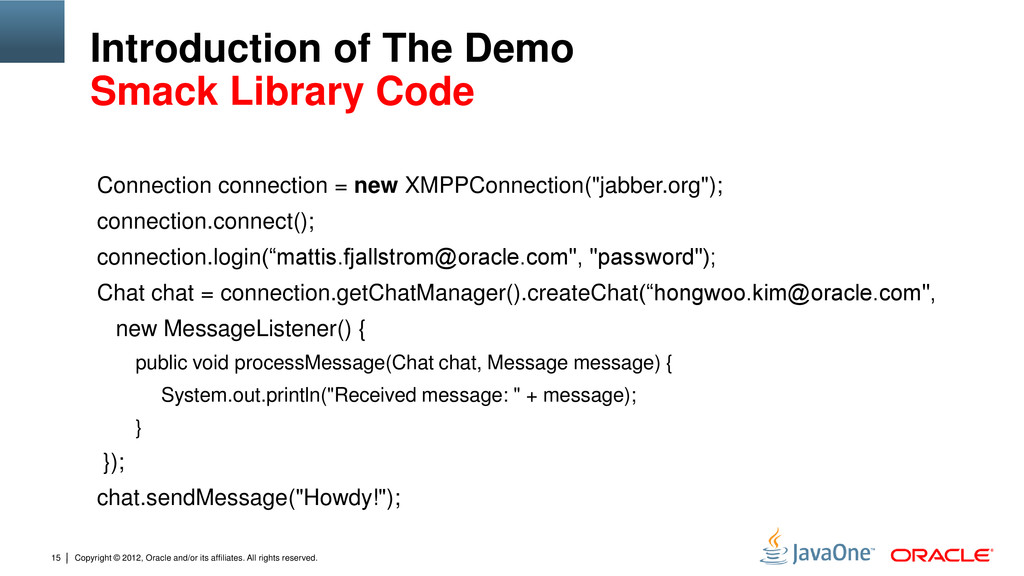
14 Introduction of The Demo Smack Library XMPP client library written in Java SE Open source Strong encapsulation Easy API – You don’t have to worry about XML parsing or security. Download from http://www.igniterealtime.org/projects/smack/ Available Java ME XMPP library – J2ME XMPP API(http://sourceforge.net/projects/jxa/)
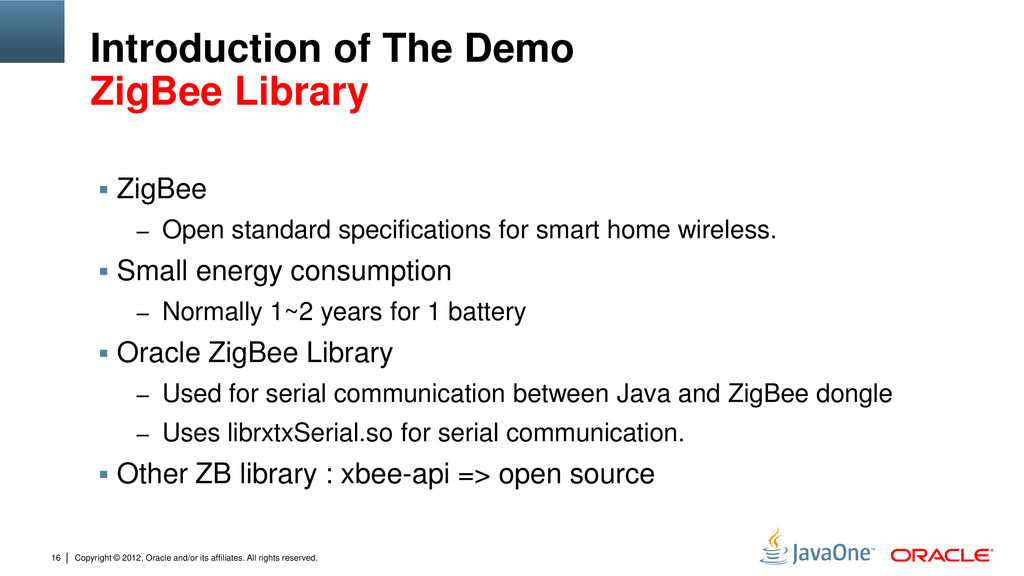
16 Introduction of The Demo ZigBee Library ZigBee – Open standard specifications for smart home wireless. Small energy consumption – Normally 1~2 years for 1 battery Oracle ZigBee Library – Used for serial communication between Java and ZigBee dongle – Uses librxtxSerial.so for serial communication. Other ZB library : xbee-api => open source
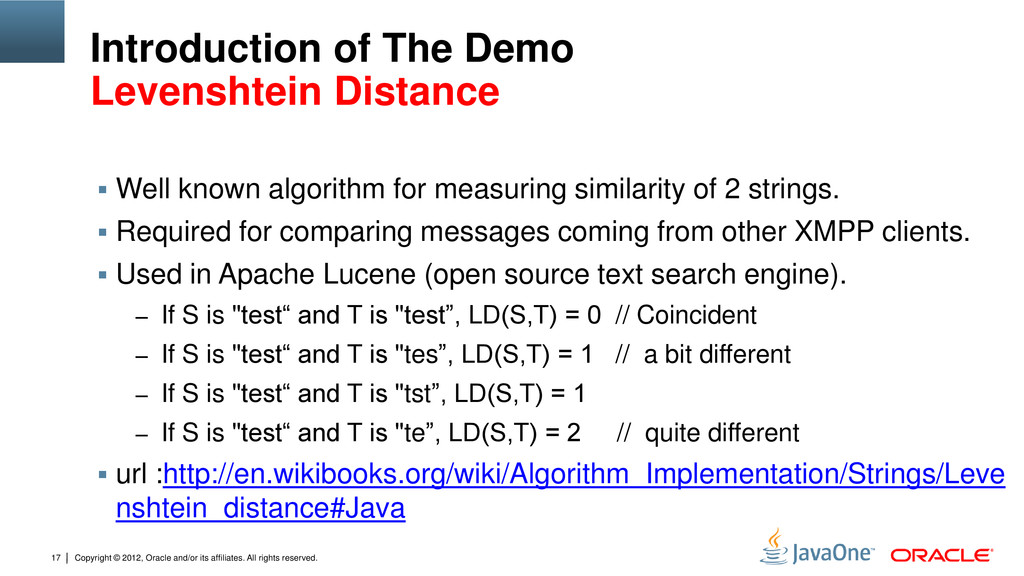
17 Introduction of The Demo Levenshtein Distance Well known algorithm for measuring similarity of 2 strings. Required for comparing messages coming from other XMPP clients. Used in Apache Lucene (open source text search engine). – If S is "test“ and T is "test”, LD(S,T) = 0 // Coincident – If S is "test“ and T is "tes”, LD(S,T) = 1 // a bit different – If S is "test“ and T is "tst”, LD(S,T) = 1 – If S is "test“ and T is "te”, LD(S,T) = 2 // quite different url :http://en.wikibooks.org/wiki/Algorithm_Implementation/Strings/Leve nshtein_distance#Java
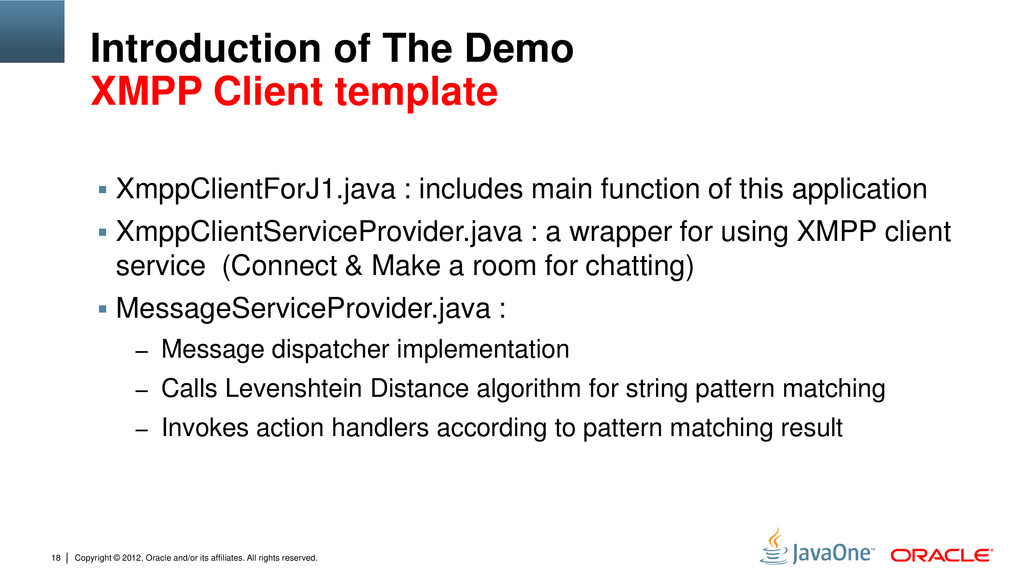
18 Introduction of The Demo XMPP Client template XmppClientForJ1.java : includes main function of this application XmppClientServiceProvider.java : a wrapper for using XMPP client service (Connect & Make a room for chatting) MessageServiceProvider.java : – Message dispatcher implementation – Calls Levenshtein Distance algorithm for string pattern matching – Invokes action handlers according to pattern matching result
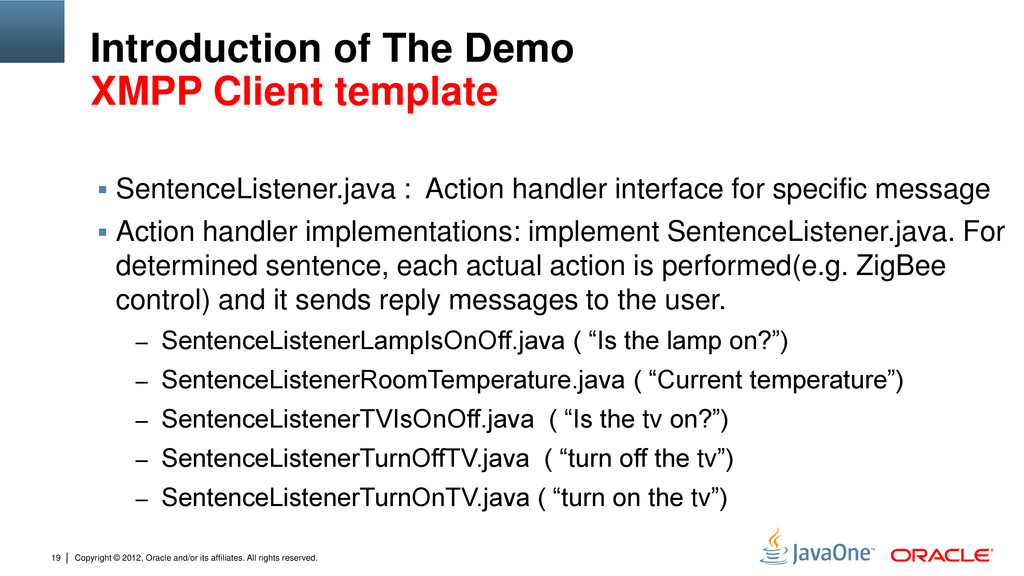
19 Introduction of The Demo XMPP Client template SentenceListener.java : Action handler interface for specific message Action handler implementations: implement SentenceListener.java. For determined sentence, each actual action is performed(e.g. ZigBee control) and it sends reply messages to the user. – SentenceListenerLampIsOnOff.java ( “Is the lamp on?”) – SentenceListenerRoomTemperature.java ( “Current temperature”) – SentenceListenerTVIsOnOff.java ( “Is the tv on?”) – SentenceListenerTurnOffTV.java ( “turn off the tv”) – SentenceListenerTurnOnTV.java ( “turn on the tv”)
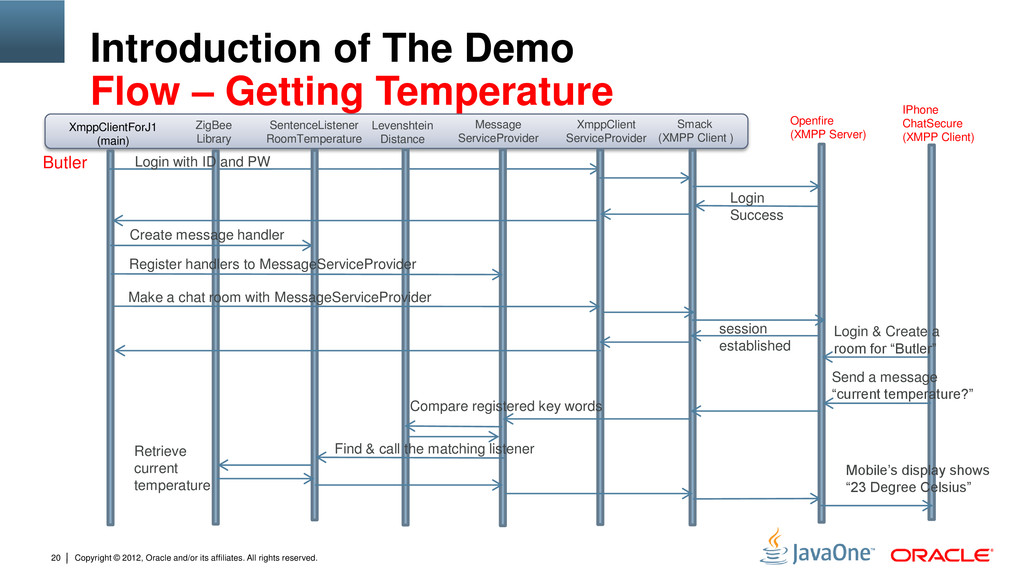
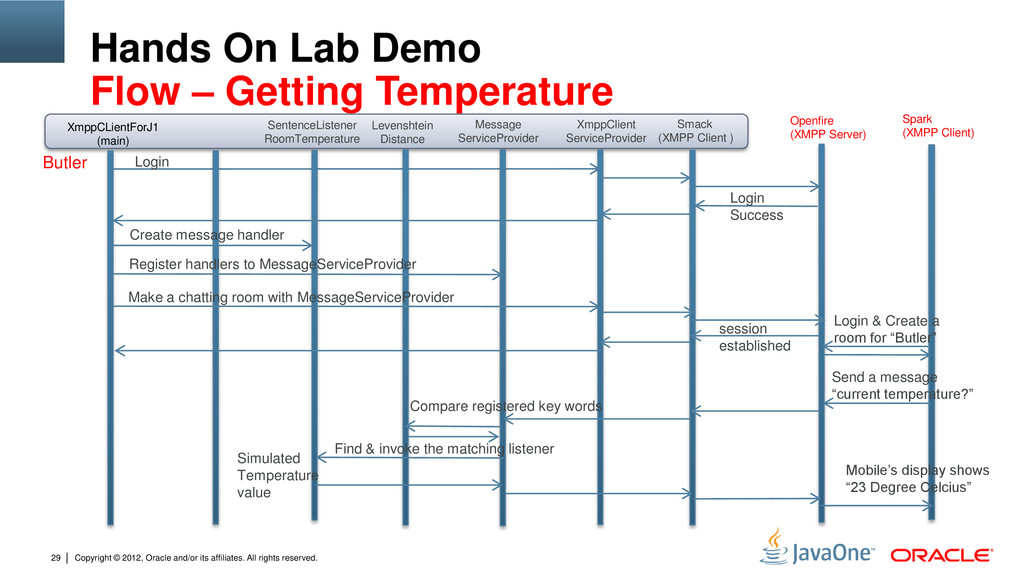
20 Introduction of The Demo Flow – Getting Temperature IPhone ChatSecure (XMPP Client) Openfire (XMPP Server) Smack (XMPP Client ) Levenshtein Distance XmppClientForJ1 (main) XmppClient ServiceProvider Message ServiceProvider SentenceListener RoomTemperature ZigBee Library Login with ID and PW Login Success Make a chat room with MessageServiceProvider session established Create message handler Register handlers to MessageServiceProvider Login & Create a room for “Butler” Send a message “current temperature?” Compare registered key words Find & call the matching listener Retrieve current temperature Mobile’s display shows “23 Degree Celsius” Butler
23 Raspberry Pi Real Demo Software Components Inside IPhone -ChatSecure ZB XMPP Server (Openfire) XMPP Client (Butler) Smack - Levenshtein Distance Linux(Debian Wheezy) USB (Serial Port) LAN Standard API JavaSE Embedded
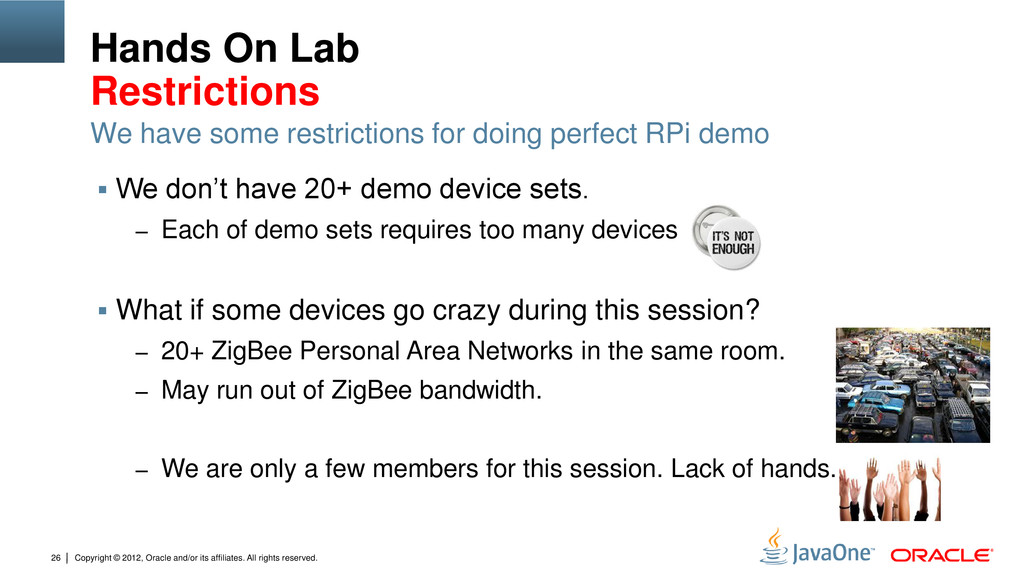
26 Hands On Lab Restrictions We don’t have 20+ demo device sets. – Each of demo sets requires too many devices What if some devices go crazy during this session? – 20+ ZigBee Personal Area Networks in the same room. – May run out of ZigBee bandwidth. – We are only a few members for this session. Lack of hands. We have some restrictions for doing perfect RPi demo
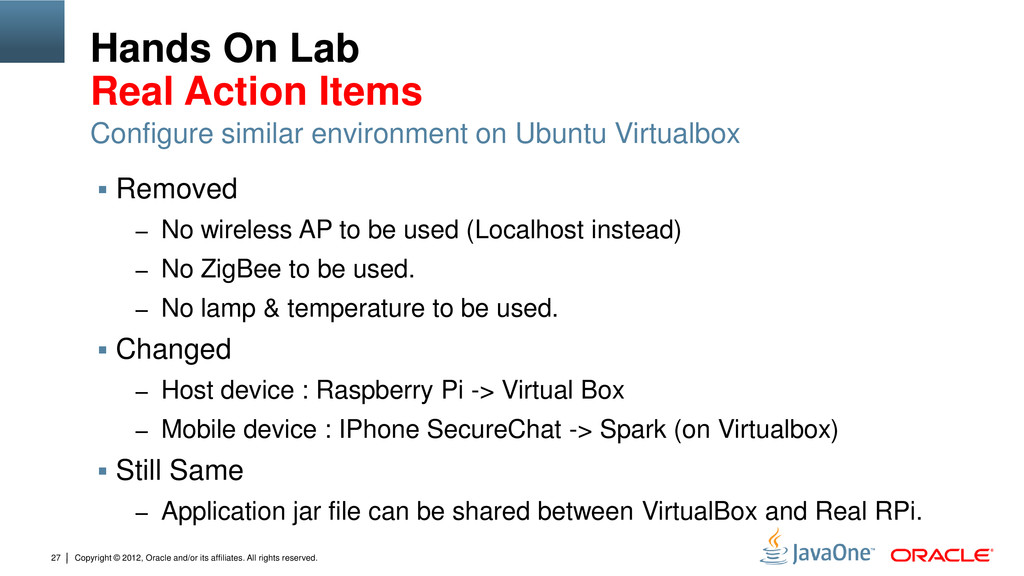
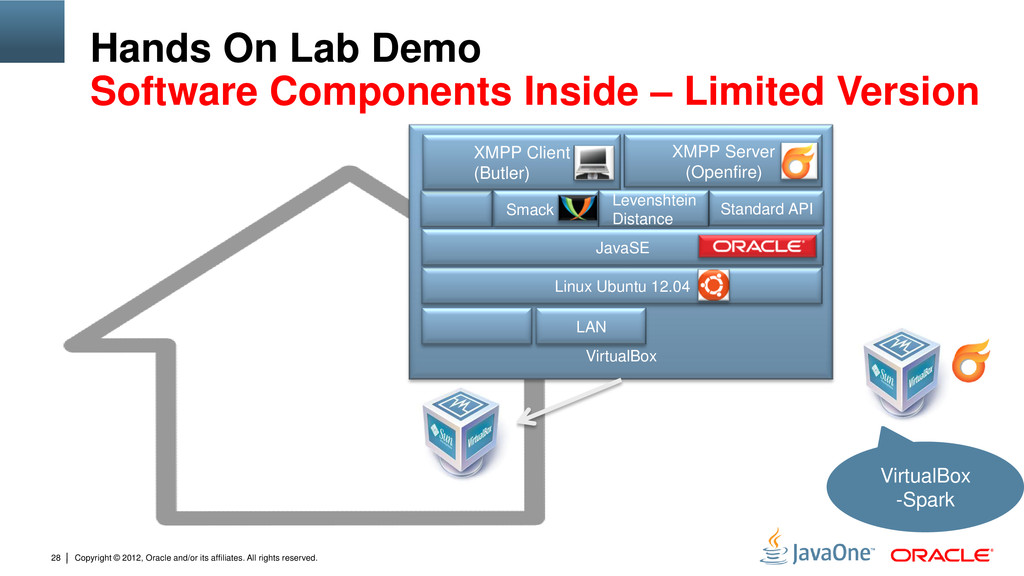
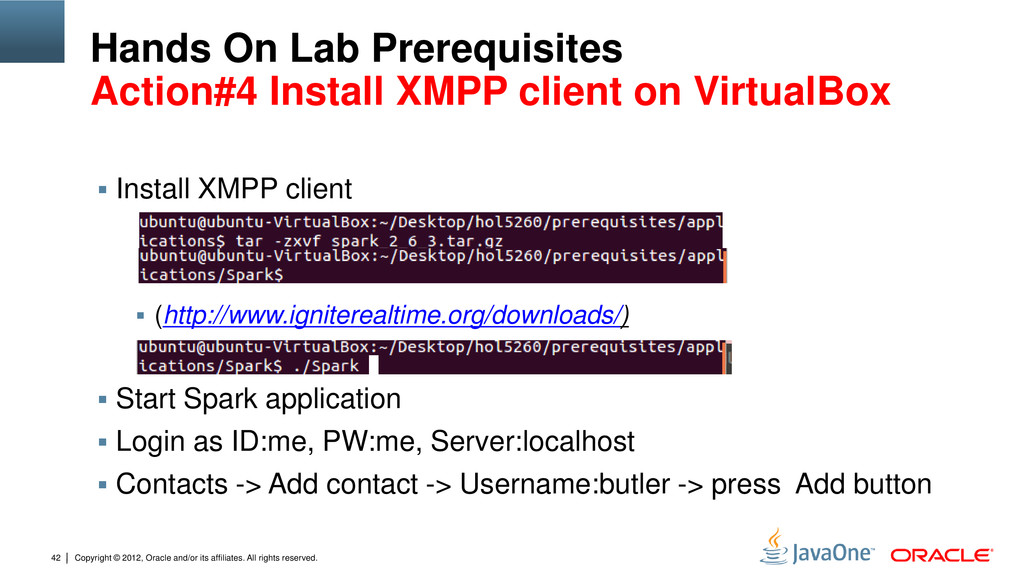
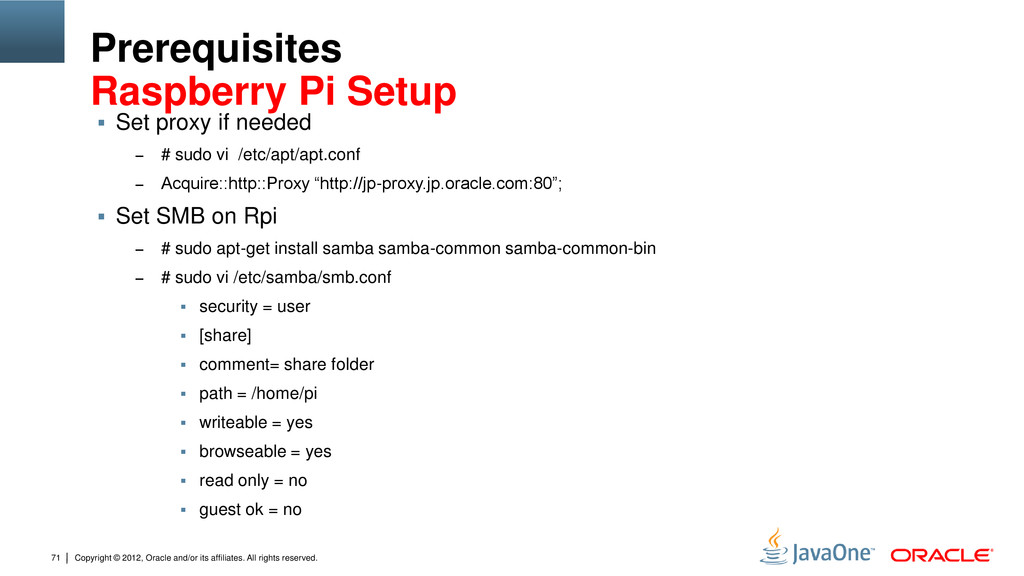
27 Hands On Lab Real Action Items Removed – No wireless AP to be used (Localhost instead) – No ZigBee to be used. – No lamp & temperature to be used. Changed – Host device : Raspberry Pi -> Virtual Box – Mobile device : IPhone SecureChat -> Spark (on Virtualbox) Still Same – Application jar file can be shared between VirtualBox and Real RPi. Configure similar environment on Ubuntu Virtualbox
28 VirtualBox Hands On Lab Demo Software Components Inside – Limited Version VirtualBox -Spark XMPP Server (Openfire) XMPP Client (Butler) Smack sds Levenshtein Distance Linux Ubuntu 12.04 LAN Standard API JavaSE
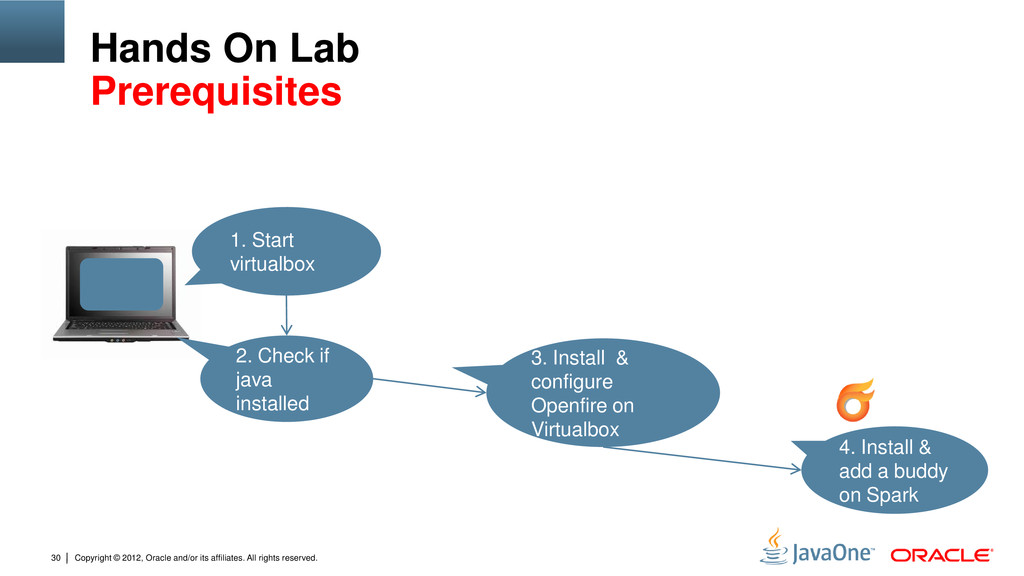
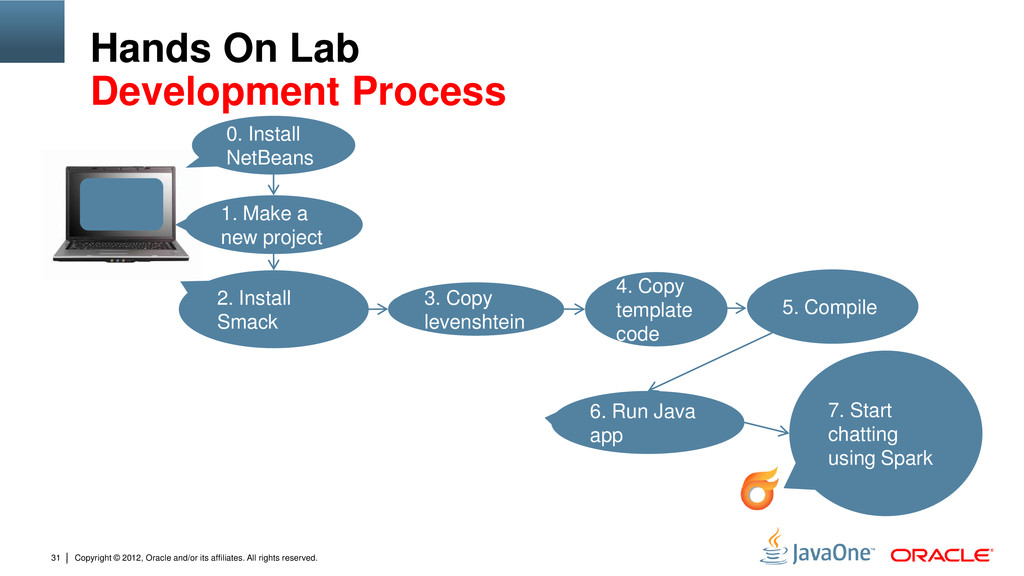
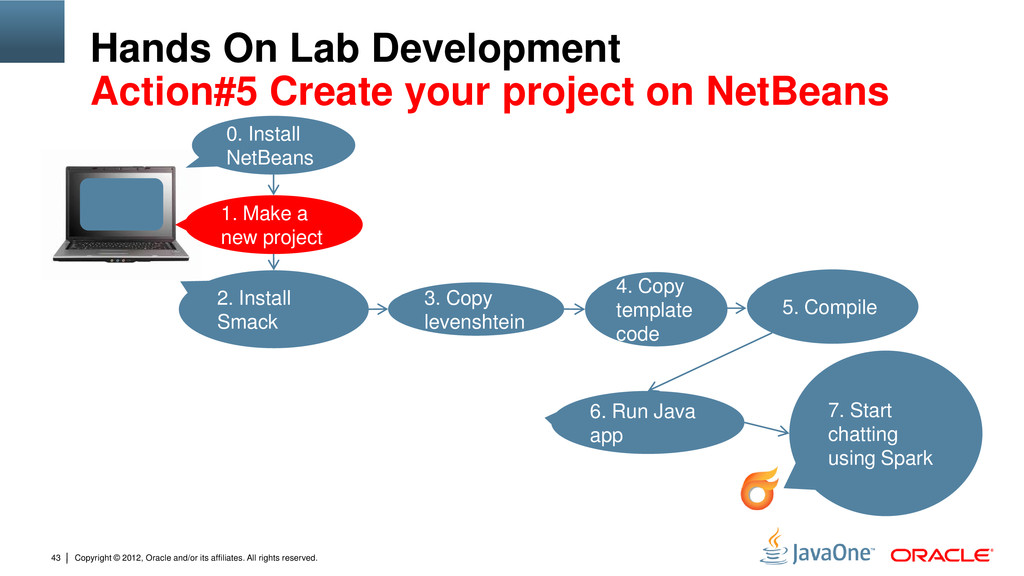
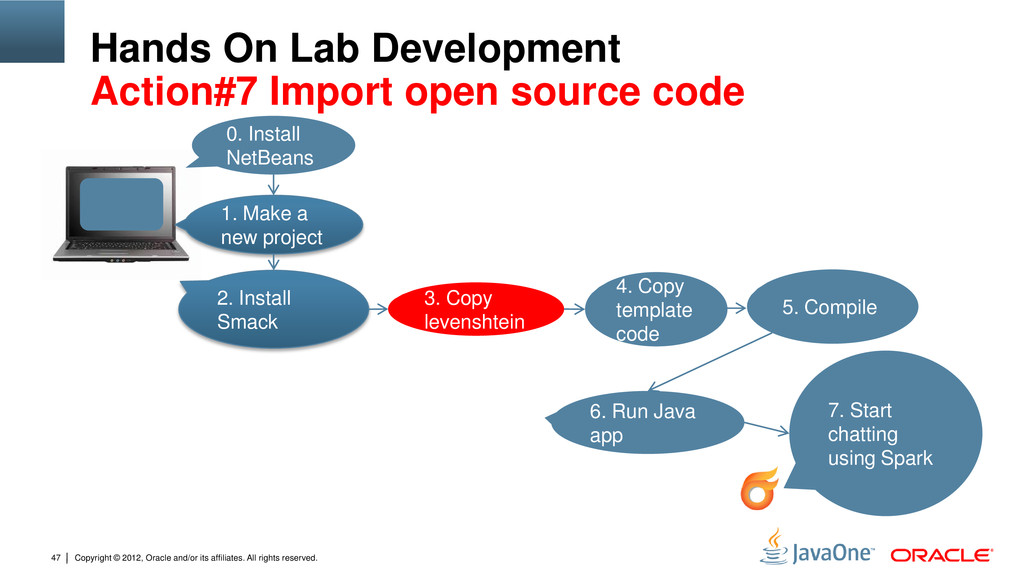
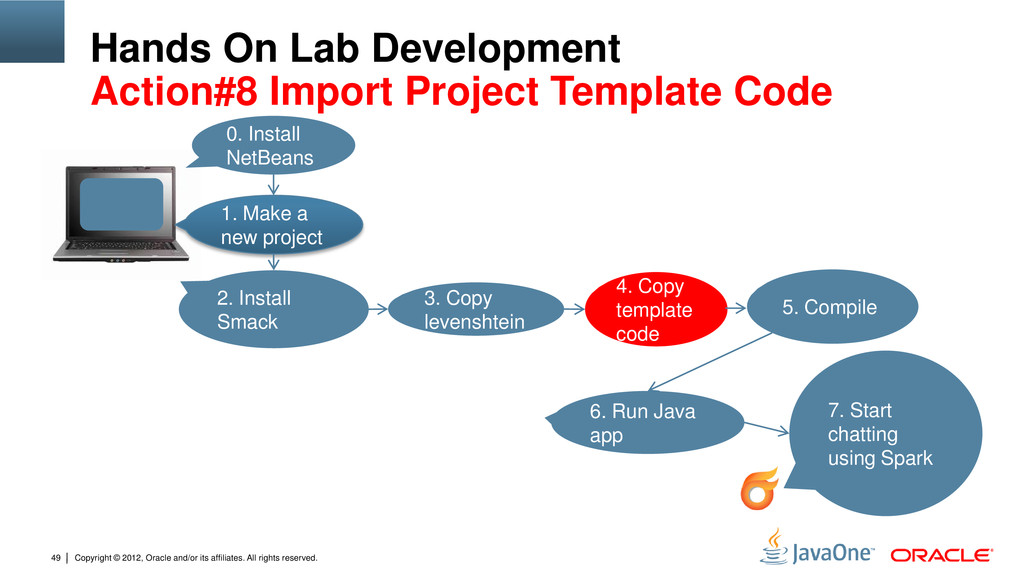
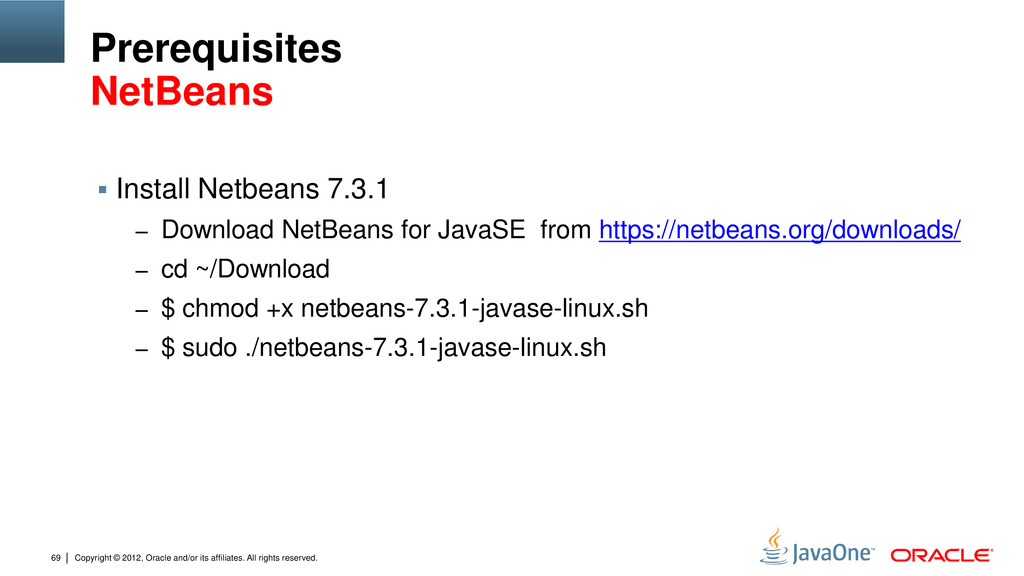
31 Hands On Lab Development Process 2. Install Smack 6. Run Java app 7. Start chatting using Spark 0. Install NetBeans 3. Copy levenshtein 1. Make a new project 4. Copy template code 5. Compile
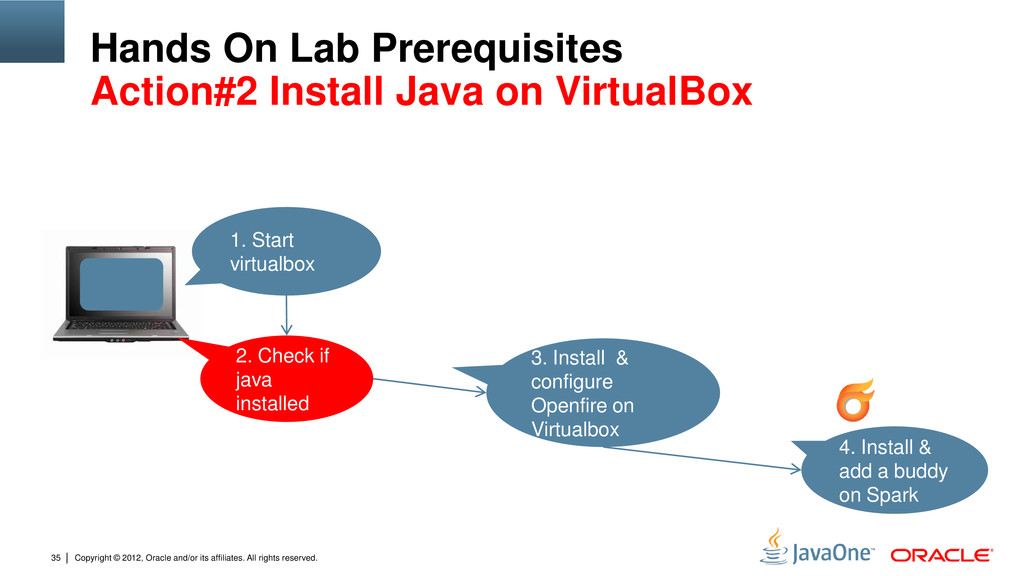
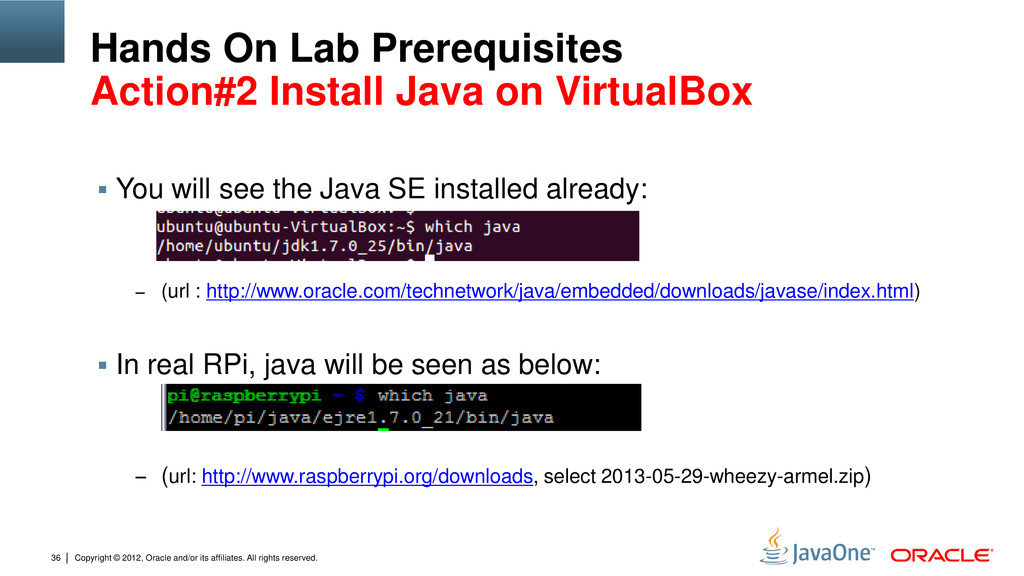
36 Hands On Lab Prerequisites Action#2 Install Java on VirtualBox You will see the Java SE installed already: – (url : http://www.oracle.com/technetwork/java/embedded/downloads/javase/index.html) In real RPi, java will be seen as below: – (url: http://www.raspberrypi.org/downloads, select 2013-05-29-wheezy-armel.zip)
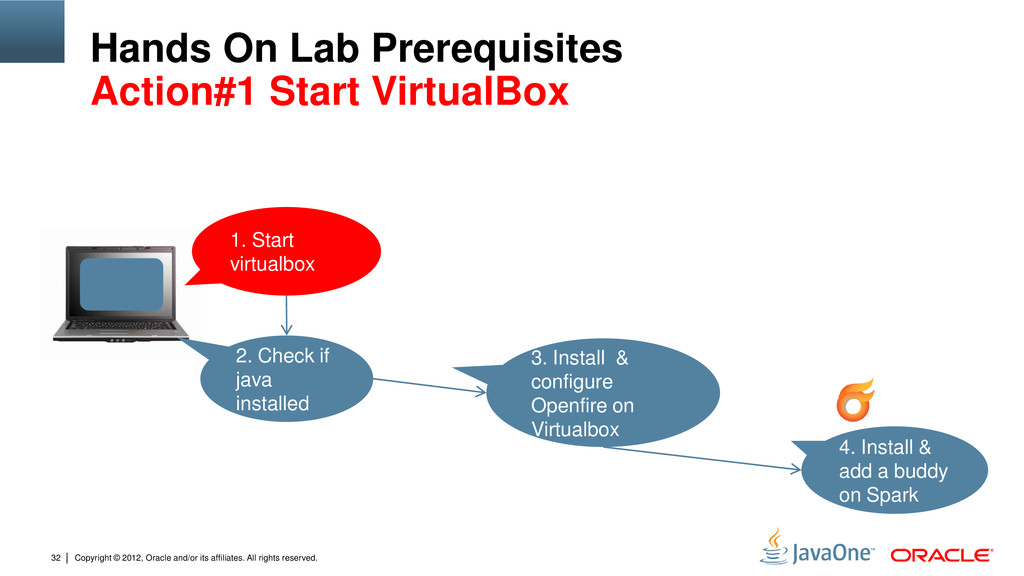
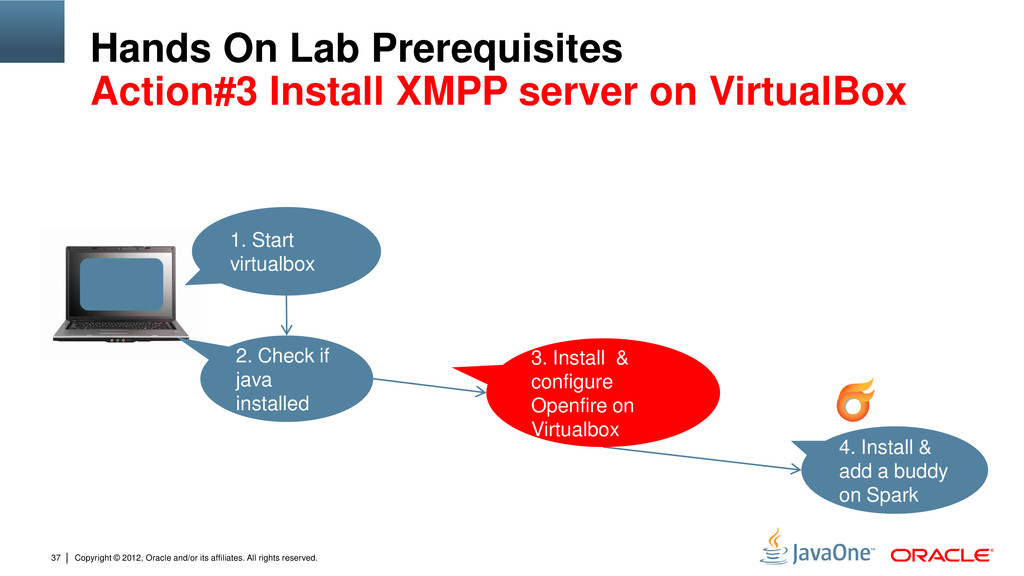
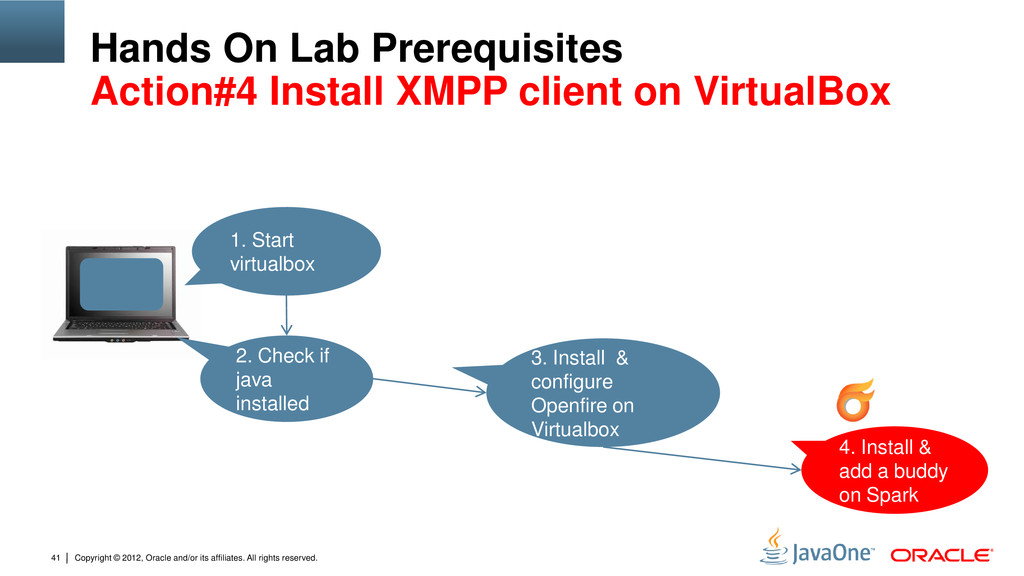
37 Hands On Lab Prerequisites Action#3 Install XMPP server on VirtualBox 2. Check if java installed 4. Install & add a buddy on Spark 1. Start virtualbox 3. Install & configure Openfire on Virtualbox
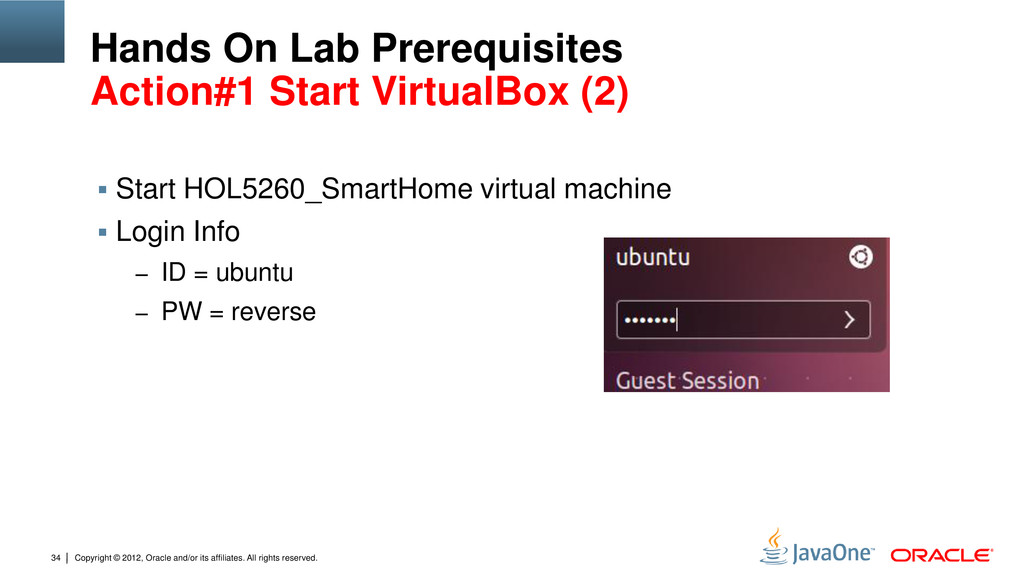
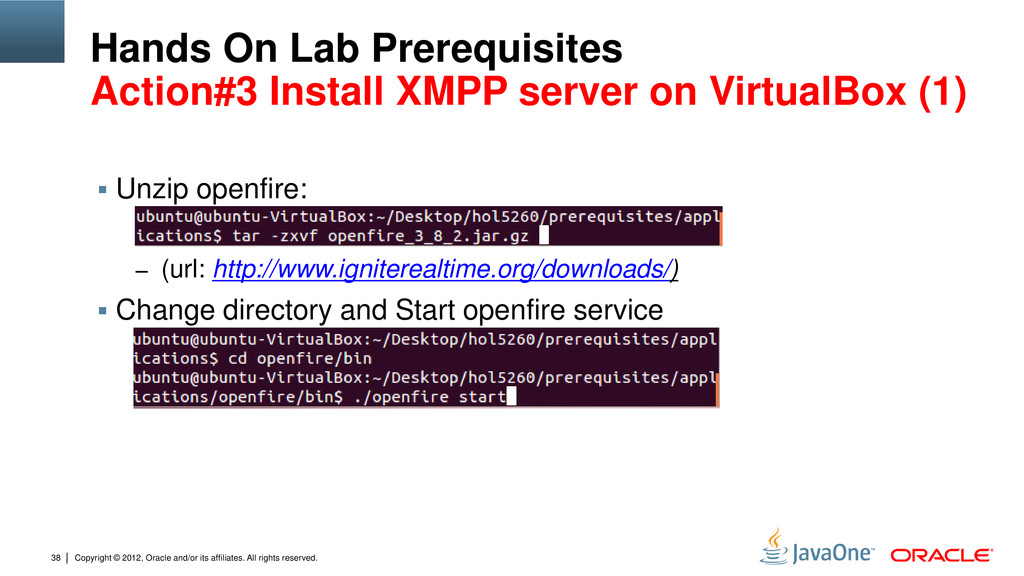
38 Hands On Lab Prerequisites Action#3 Install XMPP server on VirtualBox (1) Unzip openfire: – (url: http://www.igniterealtime.org/downloads/) Change directory and Start openfire service
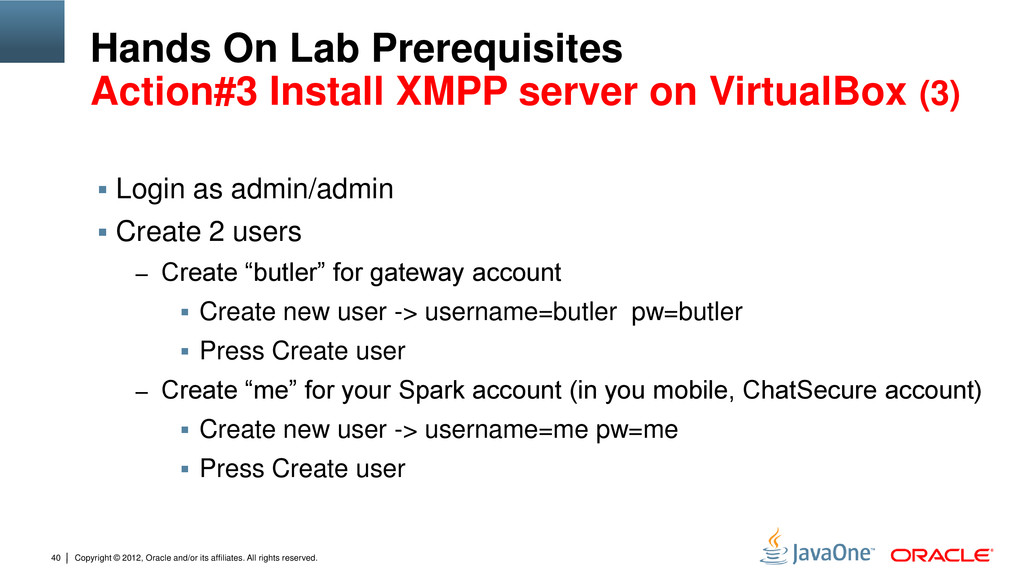
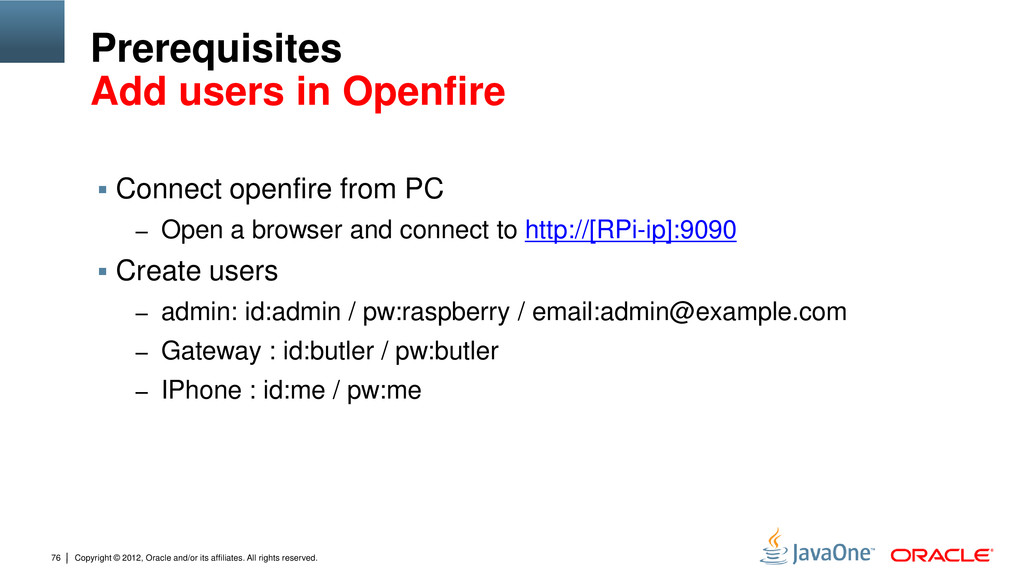
40 Hands On Lab Prerequisites Action#3 Install XMPP server on VirtualBox (3) Login as admin/admin Create 2 users – Create “butler” for gateway account Create new user -> username=butler pw=butler Press Create user – Create “me” for your Spark account (in you mobile, ChatSecure account) Create new user -> username=me pw=me Press Create user
43 Hands On Lab Development Action#5 Create your project on NetBeans 2. Install Smack 6. Run Java app 7. Start chatting using Spark 0. Install NetBeans 3. Copy levenshtein 1. Make a new project 4. Copy template code 5. Compile
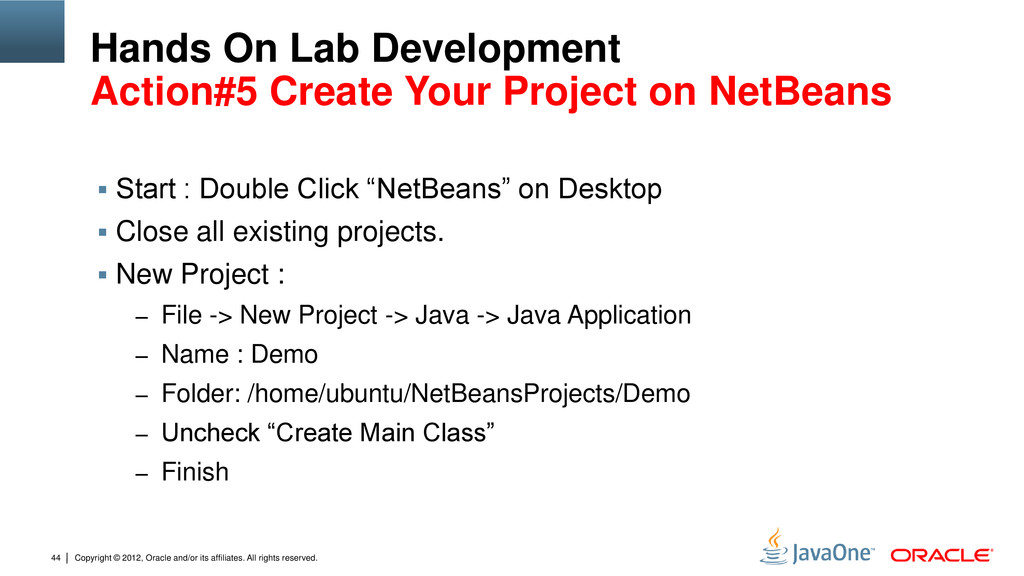
44 Hands On Lab Development Action#5 Create Your Project on NetBeans Start : Double Click “NetBeans” on Desktop Close all existing projects. New Project : – File -> New Project -> Java -> Java Application – Name : Demo – Folder: /home/ubuntu/NetBeansProjects/Demo – Uncheck “Create Main Class” – Finish
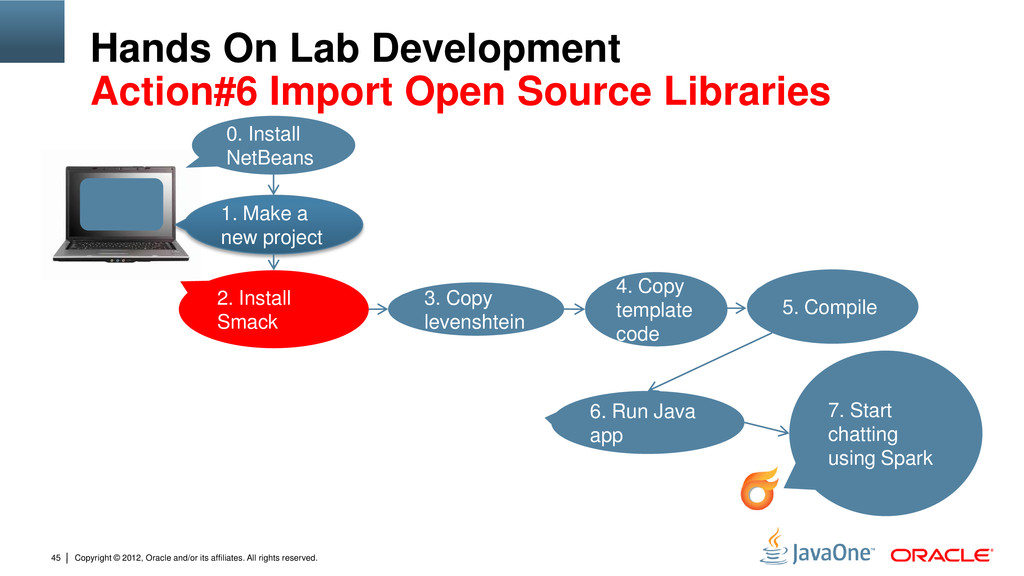
45 Hands On Lab Development Action#6 Import Open Source Libraries 2. Install Smack 6. Run Java app 7. Start chatting using Spark 0. Install NetBeans 3. Copy levenshtein 1. Make a new project 4. Copy template code 5. Compile
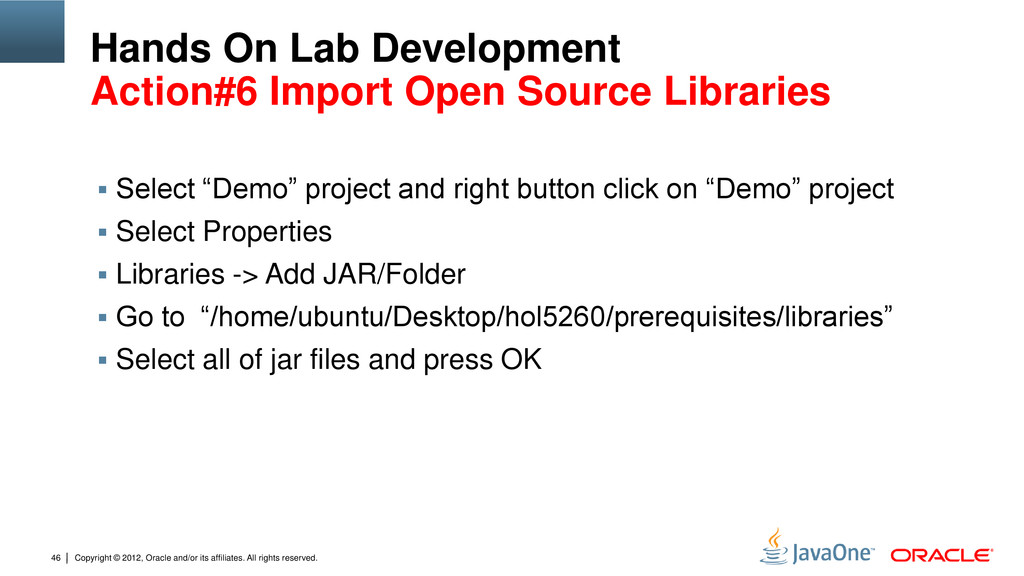
46 Hands On Lab Development Action#6 Import Open Source Libraries Select “Demo” project and right button click on “Demo” project Select Properties Libraries -> Add JAR/Folder Go to “/home/ubuntu/Desktop/hol5260/prerequisites/libraries” Select all of jar files and press OK
47 Hands On Lab Development Action#7 Import open source code 2. Install Smack 6. Run Java app 7. Start chatting using Spark 0. Install NetBeans 3. Copy levenshtein 1. Make a new project 4. Copy template code 5. Compile
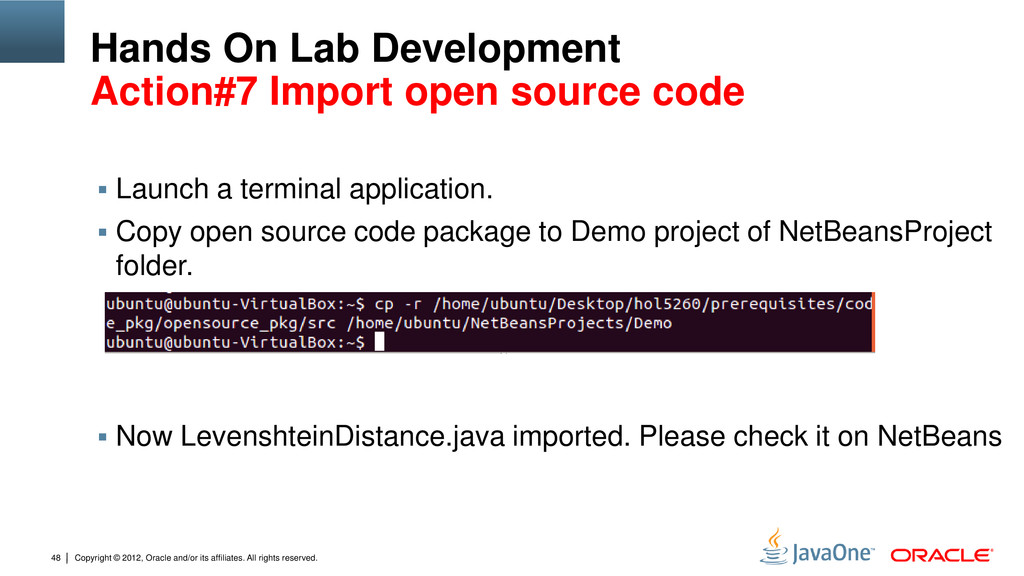
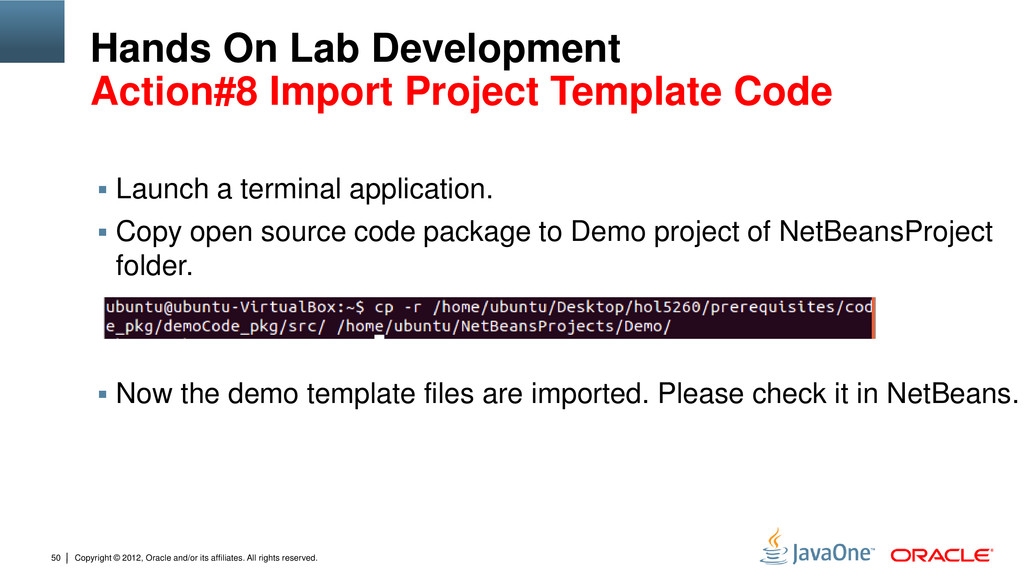
48 Hands On Lab Development Action#7 Import open source code Launch a terminal application. Copy open source code package to Demo project of NetBeansProject folder. Now LevenshteinDistance.java imported. Please check it on NetBeans
50 Hands On Lab Development Action#8 Import Project Template Code Launch a terminal application. Copy open source code package to Demo project of NetBeansProject folder. Now the demo template files are imported. Please check it in NetBeans.
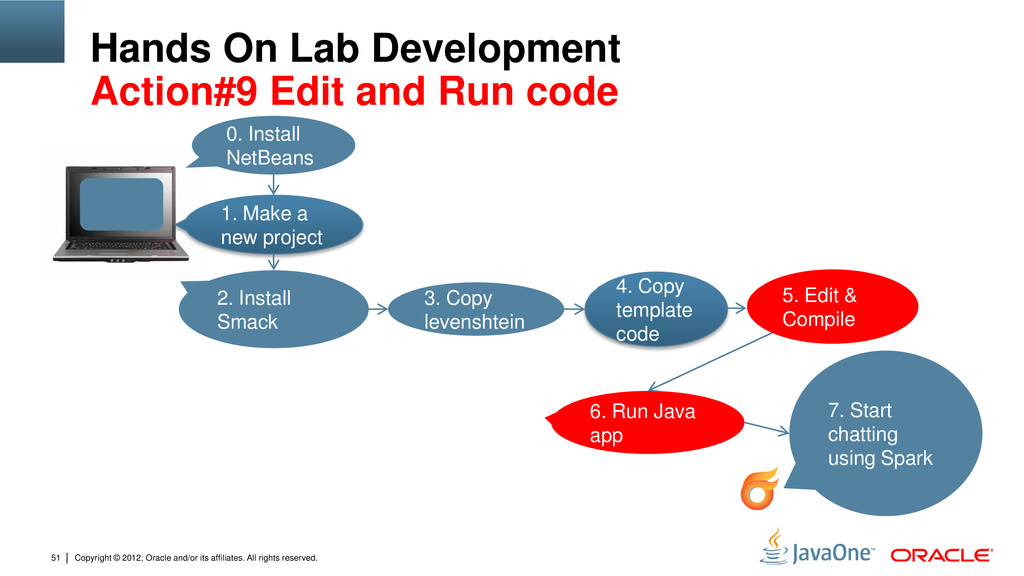
51 Hands On Lab Development Action#9 Edit and Run code 2. Install Smack 6. Run Java app 7. Start chatting using Spark 0. Install NetBeans 3. Copy levenshtein 1. Make a new project 4. Copy template code 5. Edit & Compile
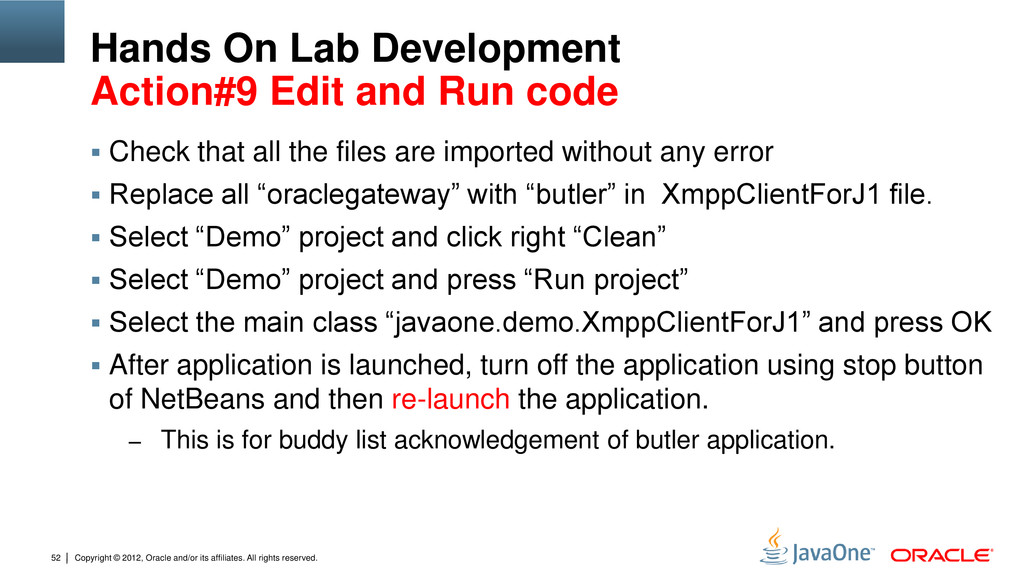
52 Hands On Lab Development Action#9 Edit and Run code Check that all the files are imported without any error Replace all “oraclegateway” with “butler” in XmppClientForJ1 file. Select “Demo” project and click right “Clean” Select “Demo” project and press “Run project” Select the main class “javaone.demo.XmppClientForJ1” and press OK After application is launched, turn off the application using stop button of NetBeans and then re-launch the application. – This is for buddy list acknowledgement of butler application.
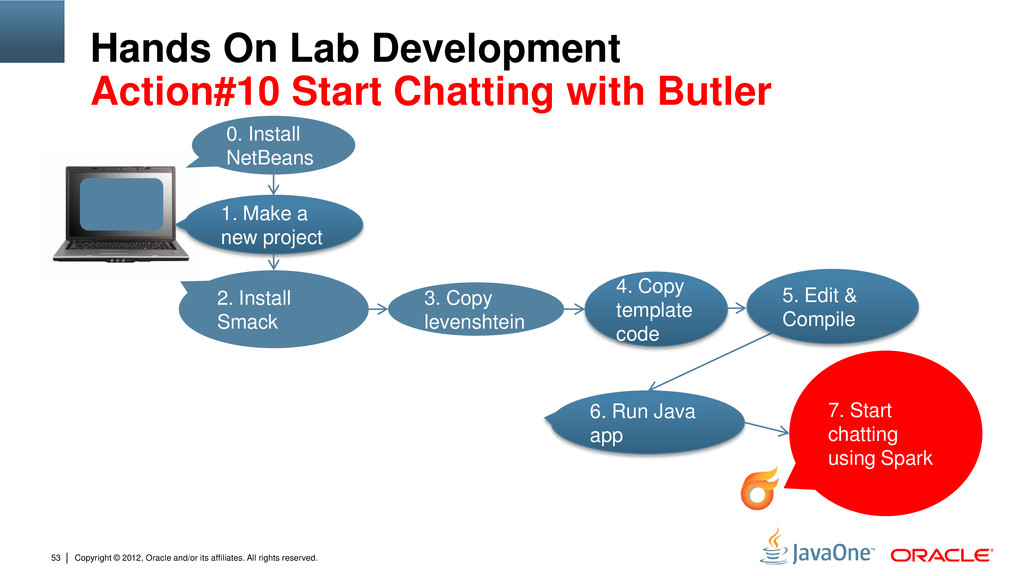
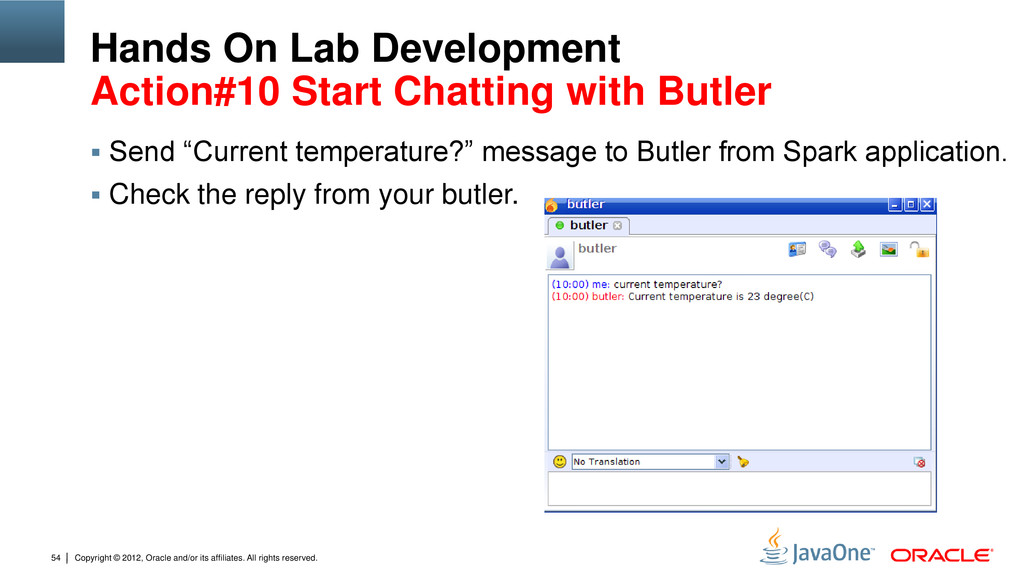
54 Hands On Lab Development Action#10 Start Chatting with Butler Send “Current temperature?” message to Butler from Spark application. Check the reply from your butler.
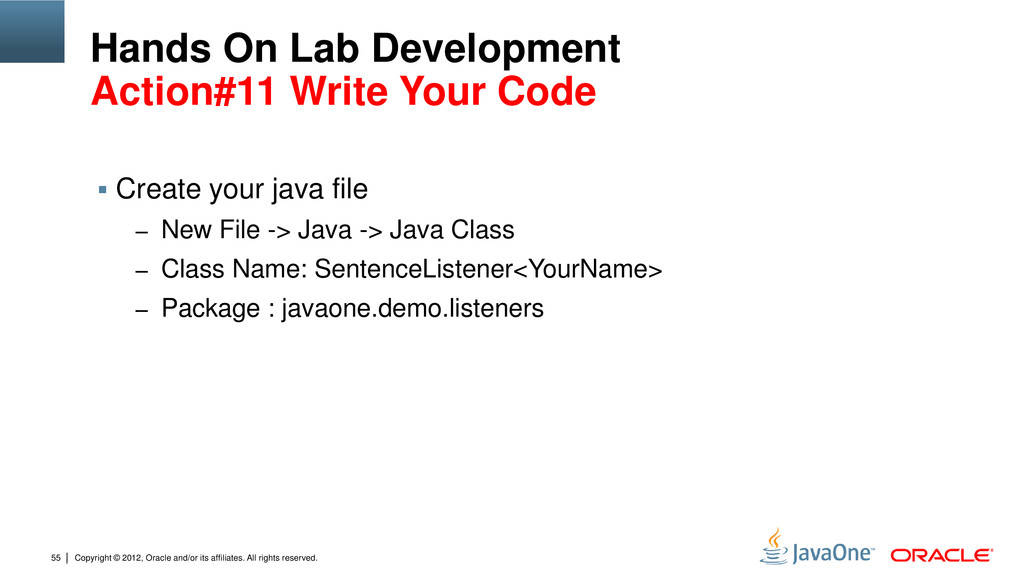
55 Hands On Lab Development Action#11 Write Your Code Create your java file – New File -> Java -> Java Class – Class Name: SentenceListener<YourName> – Package : javaone.demo.listeners
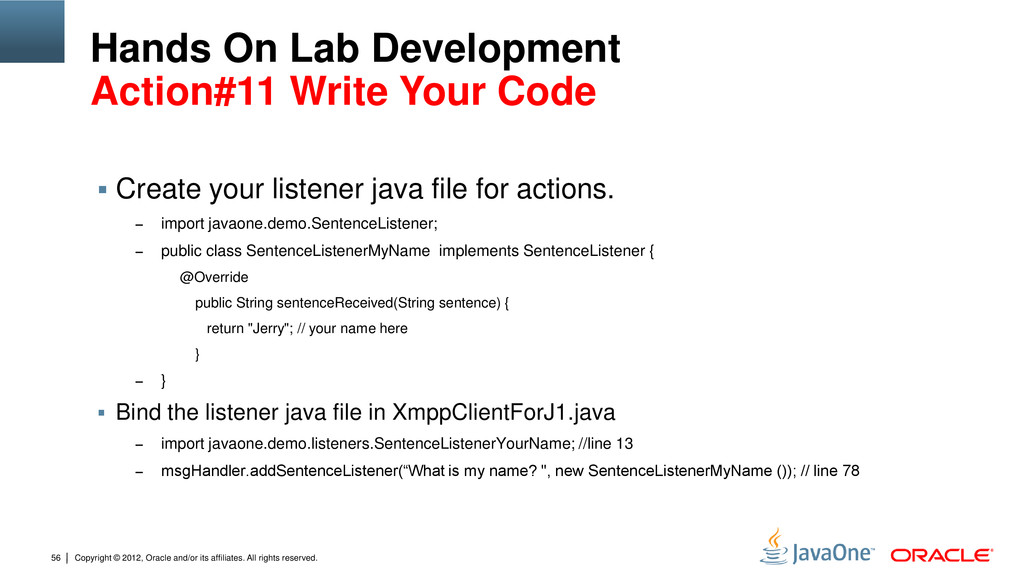
56 Hands On Lab Development Action#11 Write Your Code Create your listener java file for actions. – import javaone.demo.SentenceListener; – public class SentenceListenerMyName implements SentenceListener { @Override public String sentenceReceived(String sentence) { return "Jerry"; // your name here } – } Bind the listener java file in XmppClientForJ1.java – import javaone.demo.listeners.SentenceListenerYourName; //line 13 – msgHandler.addSentenceListener(“What is my name? ", new SentenceListenerMyName ()); // line 78
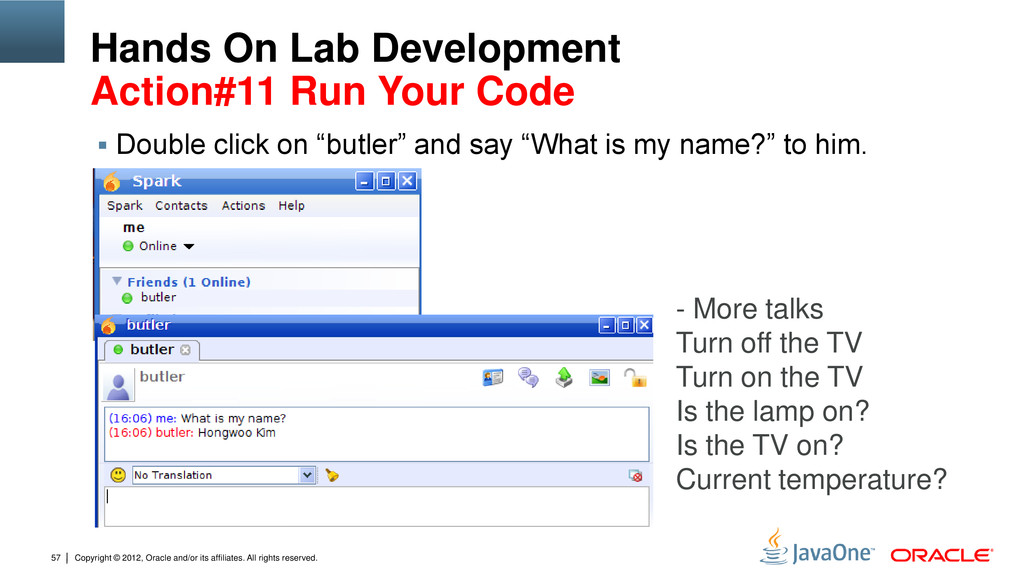
57 Hands On Lab Development Action#11 Run Your Code Double click on “butler” and say “What is my name?” to him. - More talks Turn off the TV Turn on the TV Is the lamp on? Is the TV on? Current temperature?
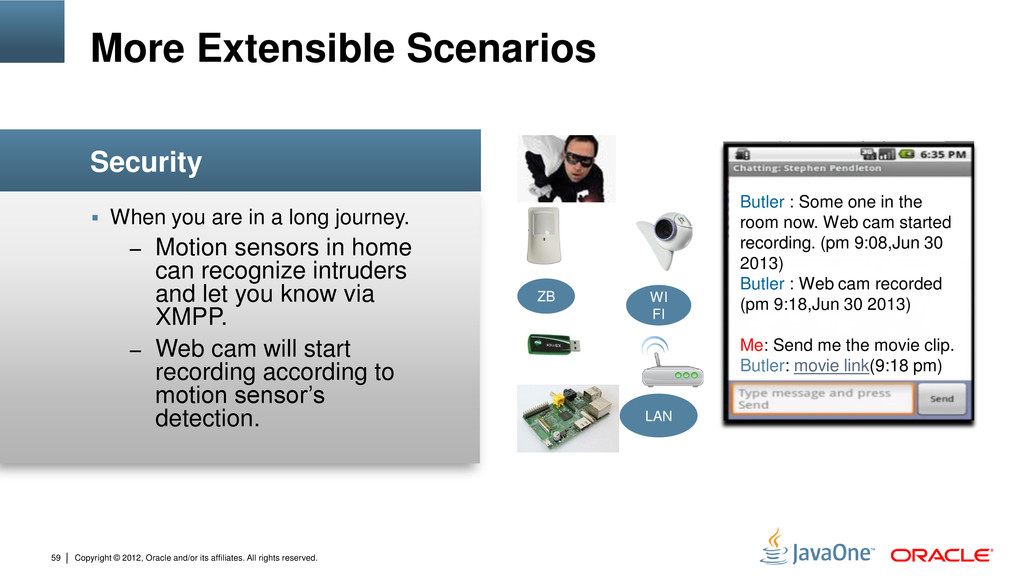
59 When you are in a long journey. – Motion sensors in home can recognize intruders and let you know via XMPP. – Web cam will start recording according to motion sensor’s detection. Security More Extensible Scenarios Butler : Some one in the room now. Web cam started recording. (pm 9:08,Jun 30 2013) Butler : Web cam recorded (pm 9:18,Jun 30 2013) Me: Send me the movie clip. Butler: movie link(9:18 pm) ZB WI FI LAN
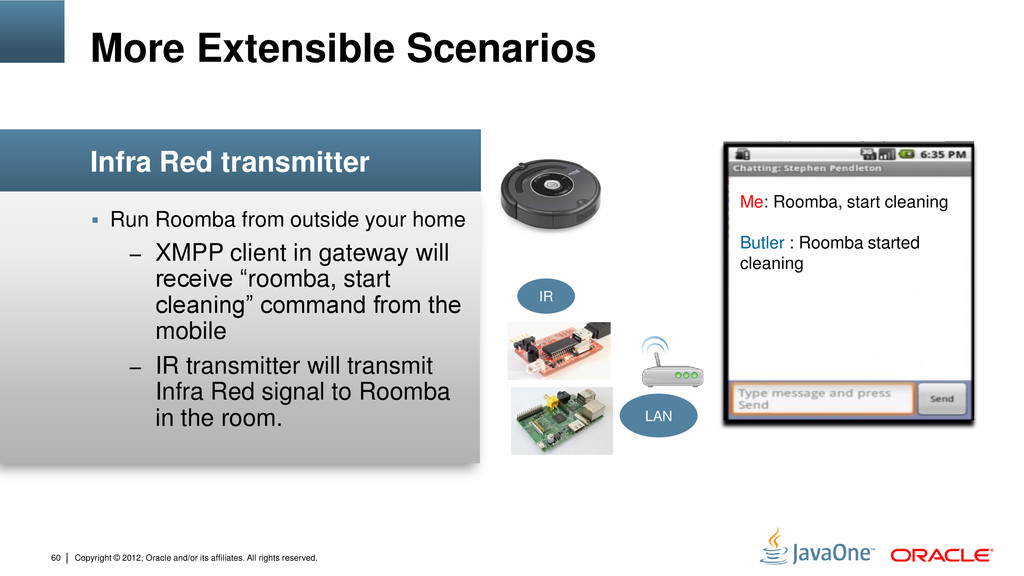
60 Run Roomba from outside your home – XMPP client in gateway will receive “roomba, start cleaning” command from the mobile – IR transmitter will transmit Infra Red signal to Roomba in the room. Infra Red transmitter More Extensible Scenarios Me: Roomba, start cleaning Butler : Roomba started cleaning IR LAN
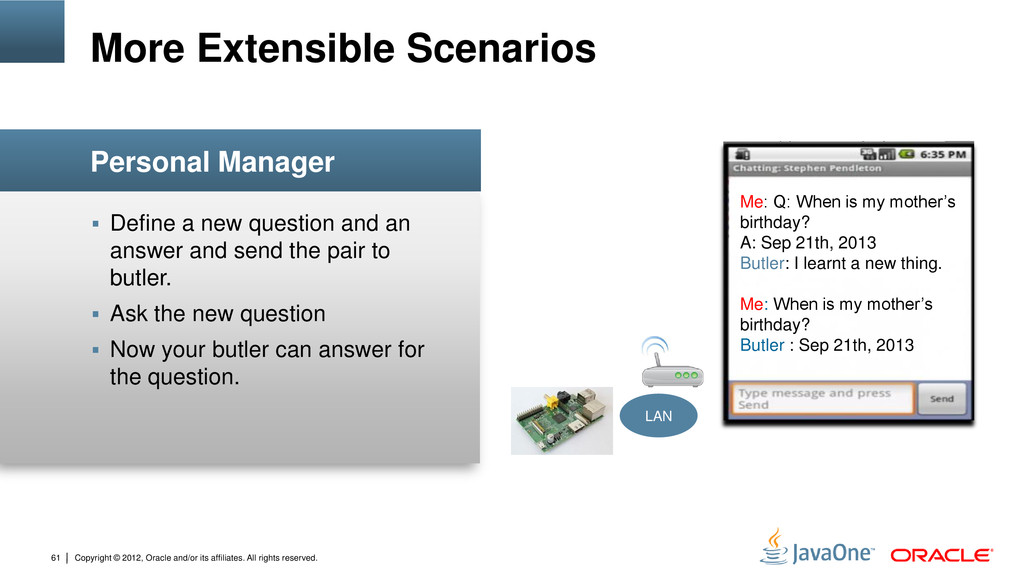
61 Define a new question and an answer and send the pair to butler. Ask the new question Now your butler can answer for the question. Personal Manager More Extensible Scenarios Me: Q: When is my mother’s birthday? A: Sep 21th, 2013 Butler: I learnt a new thing. Me: When is my mother’s birthday? Butler : Sep 21th, 2013 LAN
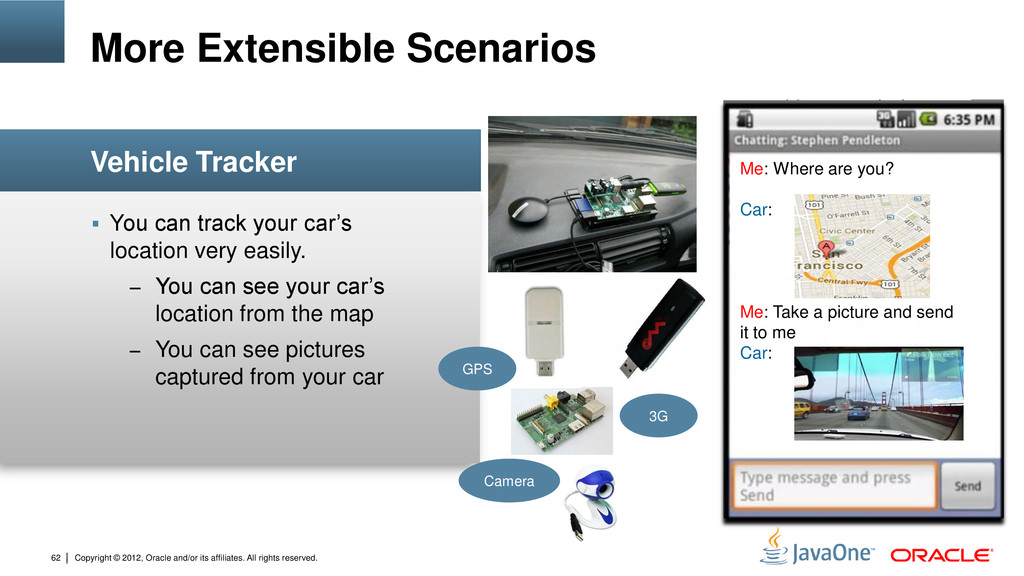
62 You can track your car’s location very easily. – You can see your car’s location from the map – You can see pictures captured from your car Vehicle Tracker More Extensible Scenarios Me: Where are you? Car: Me: Take a picture and send it to me Car: 3G GPS Camera
63 Now it is your turn! More Extensible Scenarios Any devices in your home can run virtual butler if they have Java SE Embedded. – RaspberryPi, NAS laptop , etc.. Let’s play with it !
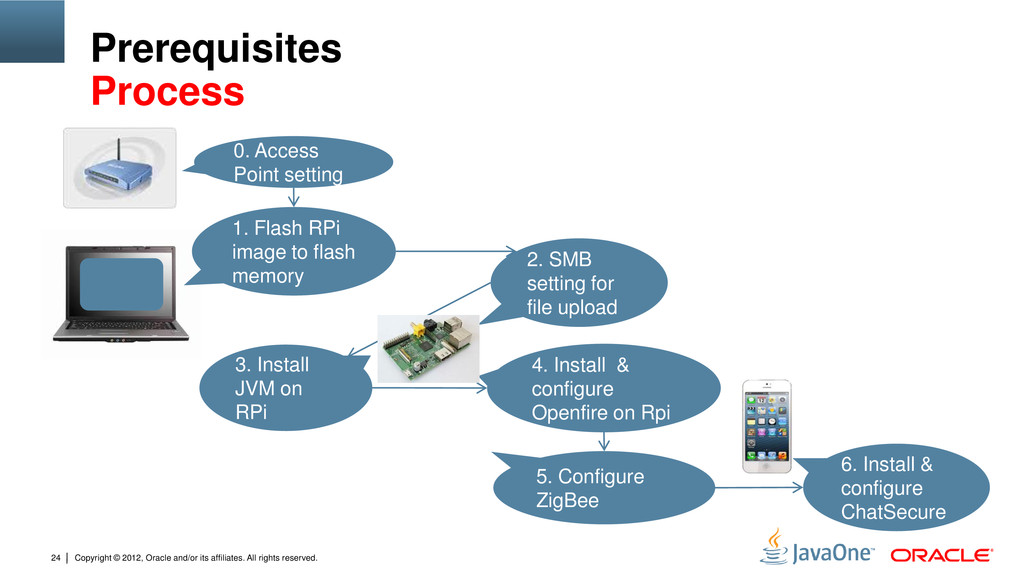
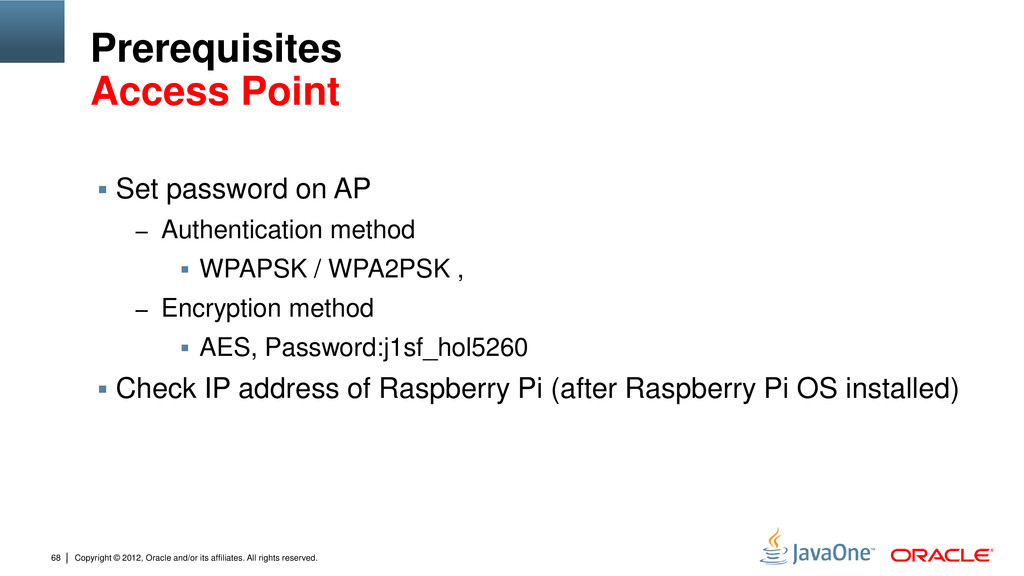
68 Prerequisites Access Point Set password on AP – Authentication method WPAPSK / WPA2PSK , – Encryption method AES, Password:j1sf_hol5260 Check IP address of Raspberry Pi (after Raspberry Pi OS installed)
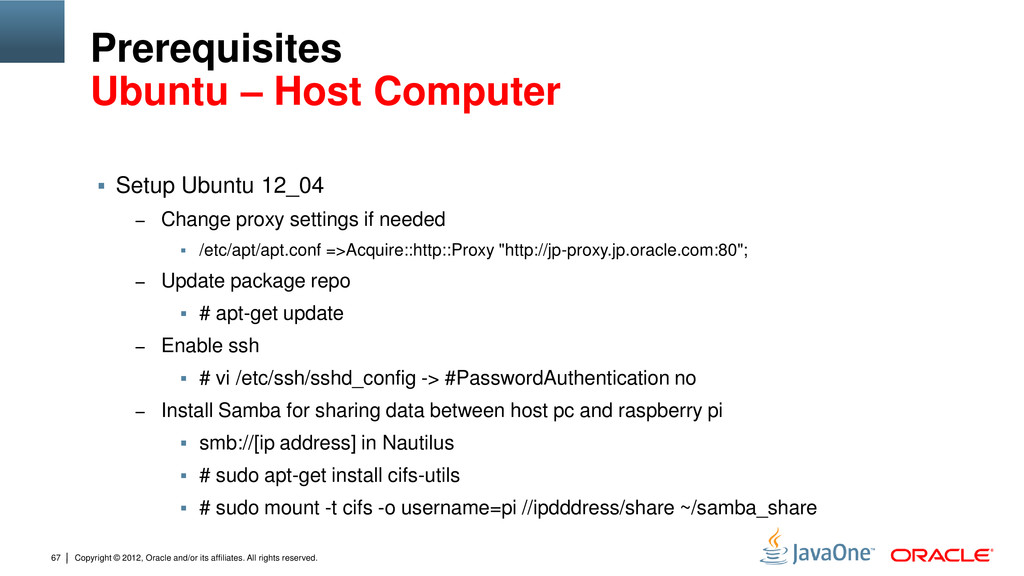
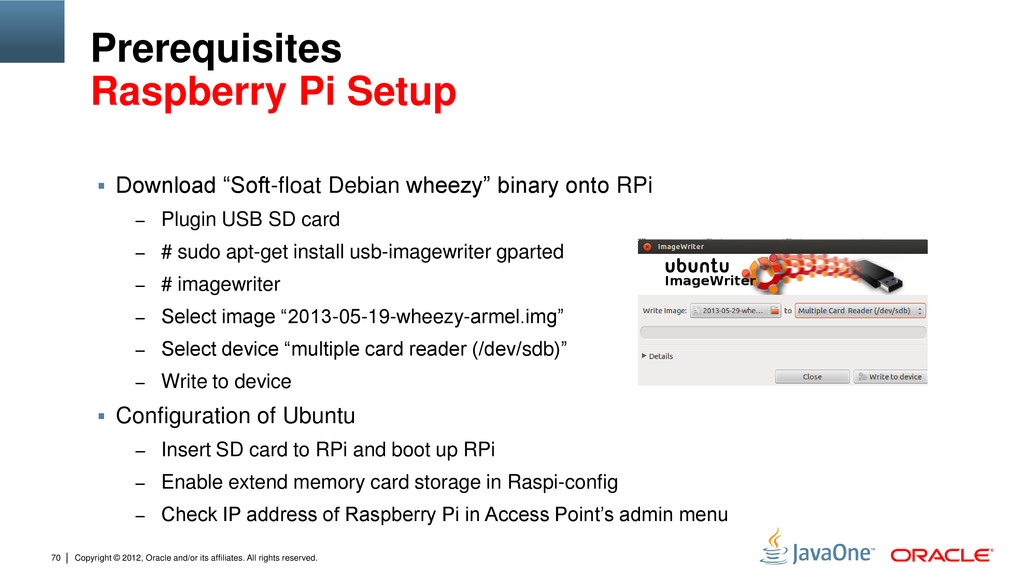
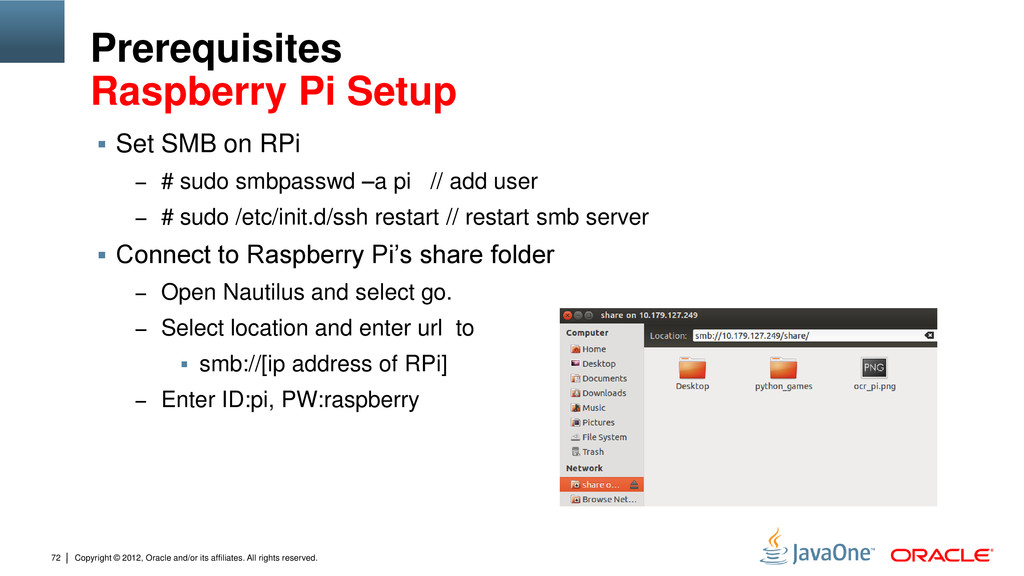
72 Prerequisites Raspberry Pi Setup Set SMB on RPi – # sudo smbpasswd –a pi // add user – # sudo /etc/init.d/ssh restart // restart smb server Connect to Raspberry Pi’s share folder – Open Nautilus and select go. – Select location and enter url to smb://[ip address of RPi] – Enter ID:pi, PW:raspberry
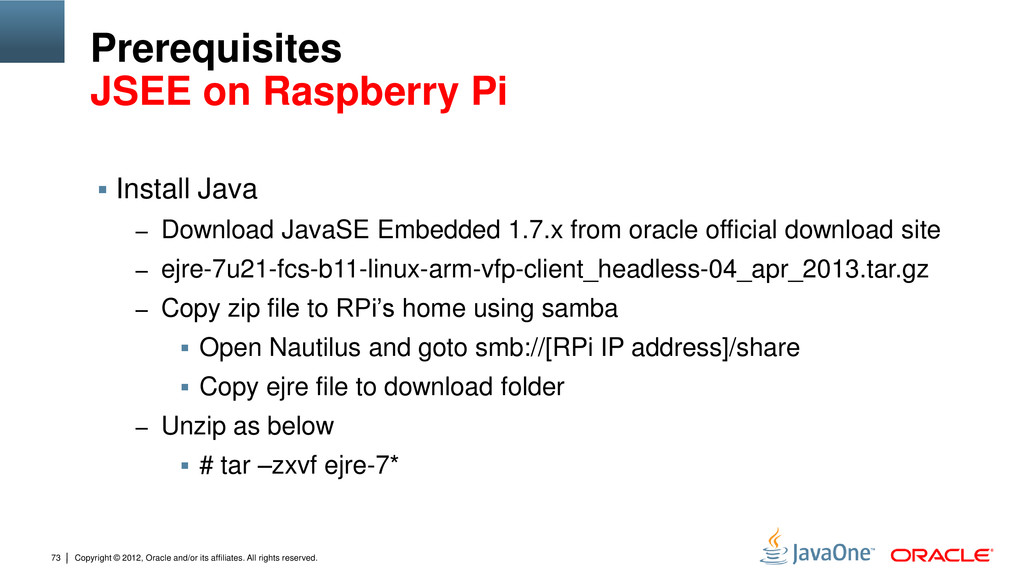
73 Prerequisites JSEE on Raspberry Pi Install Java – Download JavaSE Embedded 1.7.x from oracle official download site – ejre-7u21-fcs-b11-linux-arm-vfp-client_headless-04_apr_2013.tar.gz – Copy zip file to RPi’s home using samba Open Nautilus and goto smb://[RPi IP address]/share Copy ejre file to download folder – Unzip as below # tar –zxvf ejre-7*
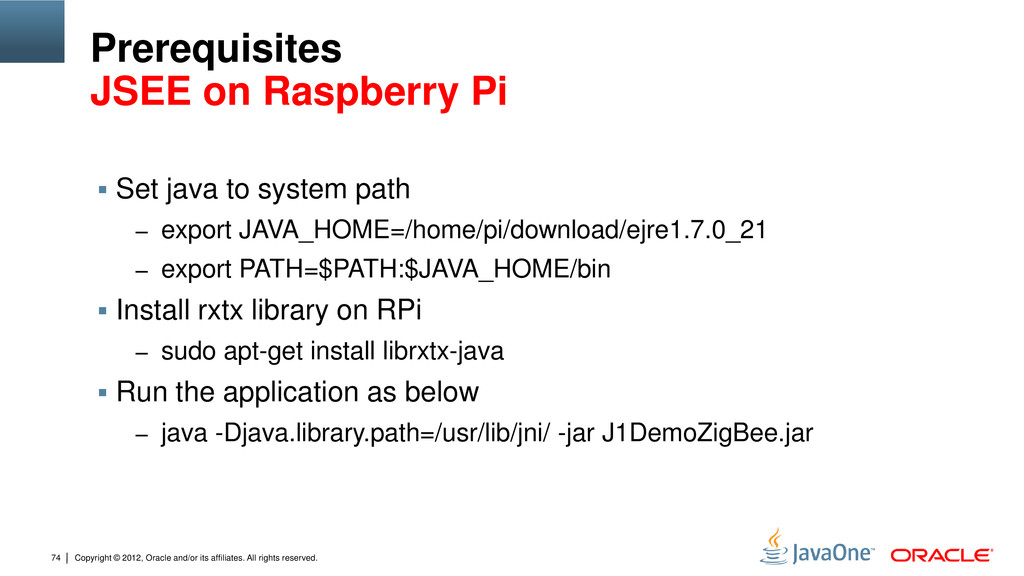
74 Prerequisites JSEE on Raspberry Pi Set java to system path – export JAVA_HOME=/home/pi/download/ejre1.7.0_21 – export PATH=$PATH:$JAVA_HOME/bin Install rxtx library on RPi – sudo apt-get install librxtx-java Run the application as below – java -Djava.library.path=/usr/lib/jni/ -jar J1DemoZigBee.jar
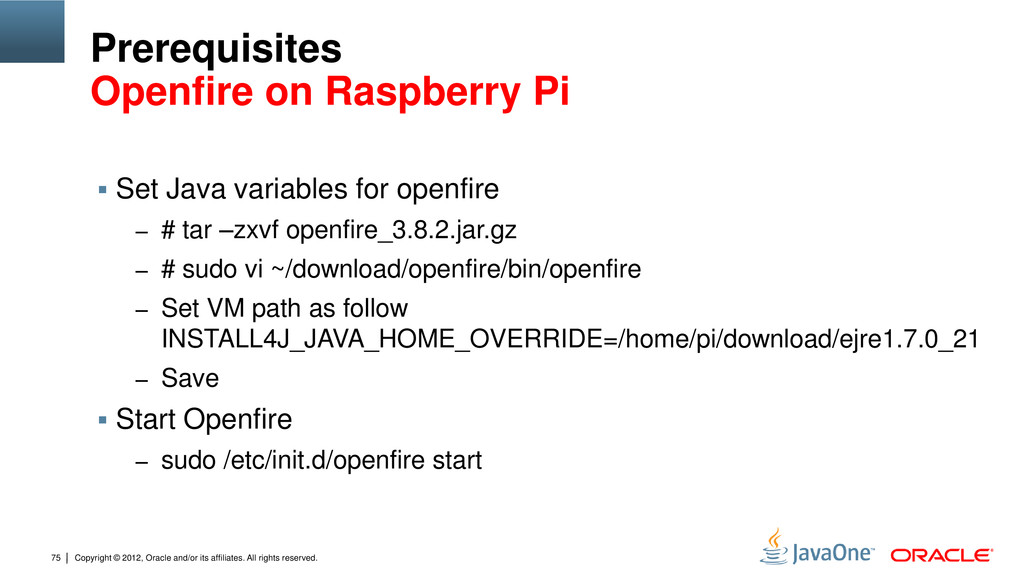
75 Prerequisites Openfire on Raspberry Pi Set Java variables for openfire – # tar –zxvf openfire_3.8.2.jar.gz – # sudo vi ~/download/openfire/bin/openfire – Set VM path as follow INSTALL4J_JAVA_HOME_OVERRIDE=/home/pi/download/ejre1.7.0_21 – Save Start Openfire – sudo /etc/init.d/openfire start
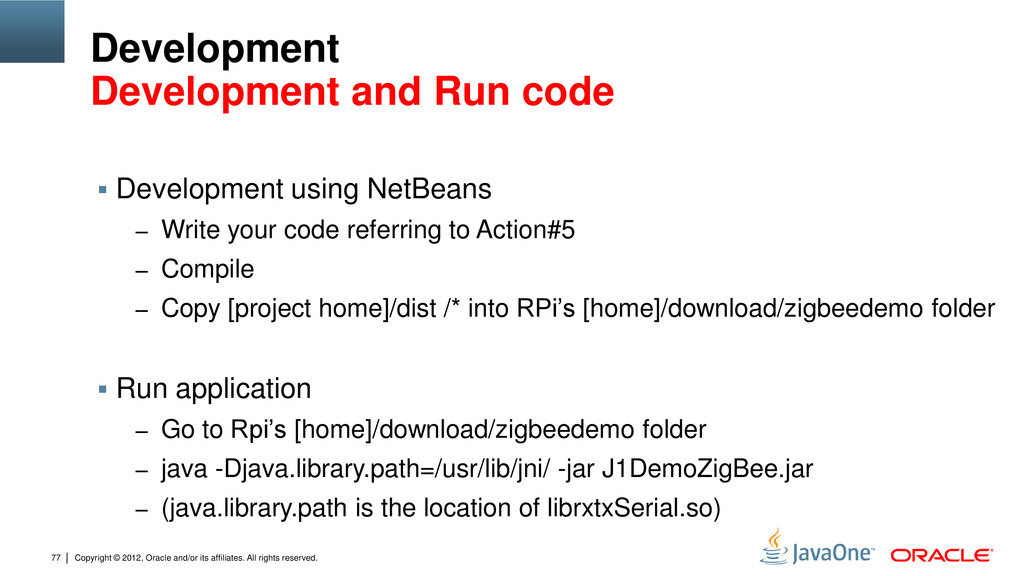
77 Development Development and Run code Development using NetBeans – Write your code referring to Action#5 – Compile – Copy [project home]/dist /* into RPi’s [home]/download/zigbeedemo folder Run application – Go to Rpi’s [home]/download/zigbeedemo folder – java -Djava.library.path=/usr/lib/jni/ -jar J1DemoZigBee.jar – (java.library.path is the location of librxtxSerial.so)
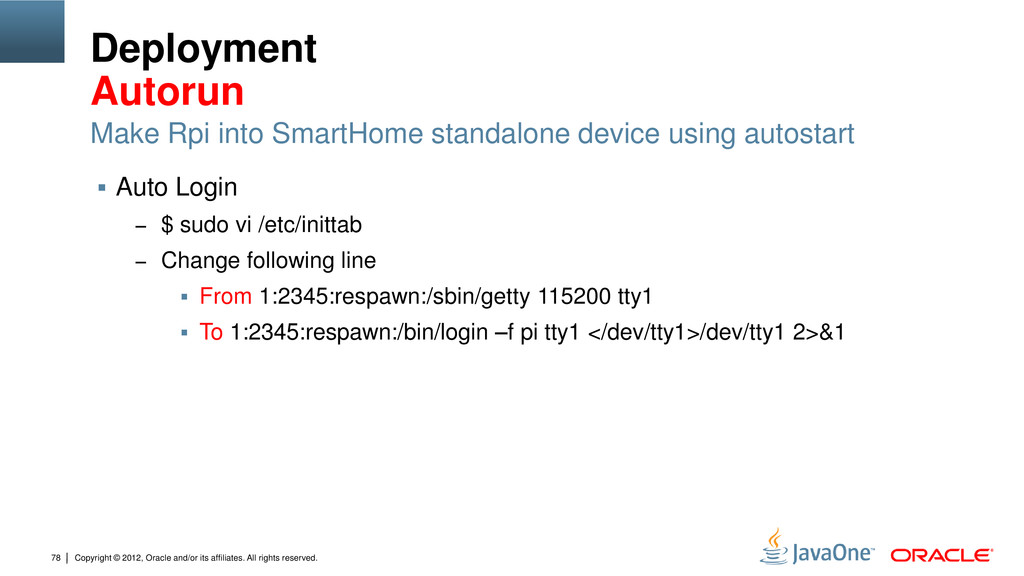
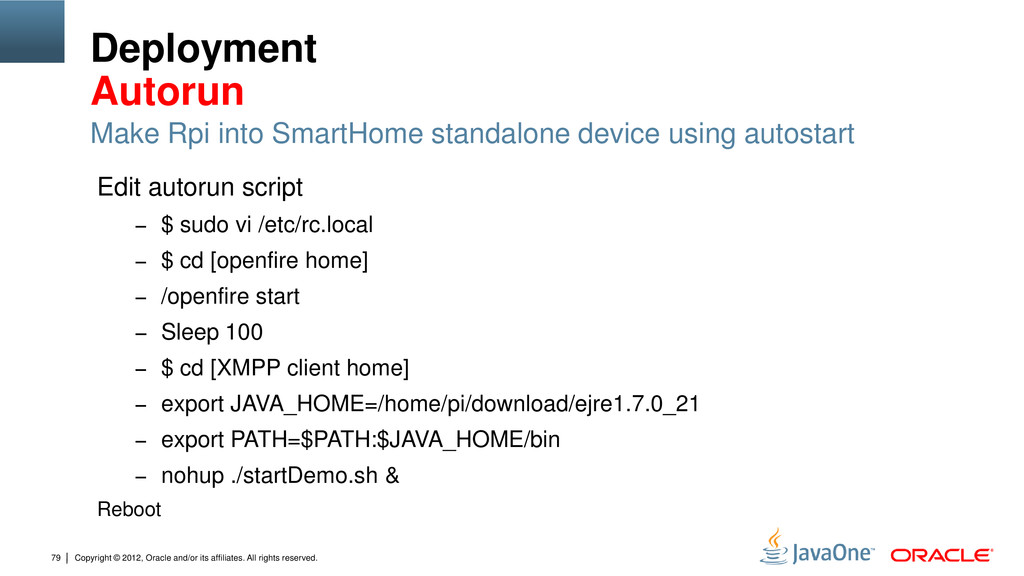
78 Deployment Autorun Auto Login – $ sudo vi /etc/inittab – Change following line From 1:2345:respawn:/sbin/getty 115200 tty1 To 1:2345:respawn:/bin/login –f pi tty1 </dev/tty1>/dev/tty1 2>&1 Make Rpi into SmartHome standalone device using autostart


 texmeijin
 kawashimo0
 uyuki234
 tmikov2023
 steliosf
 o0h
o0h
 andpad
 optim
optim
 kishida
 clockmaker
 sylph01
 guaca
guaca
 marketingsoph
 gurzu
gurzu
 addyosmani
 aleyda
 aemeredith
 katarinadahlin
 greggifford
 elsirapls
 davidcarrasco
 smashingmag
 baasie