Upgrade to Pro — share decks privately, control downloads, hide ads and more …

An Introduction to Server Automation with Puppet

An Introduction to Server Automation with Puppet

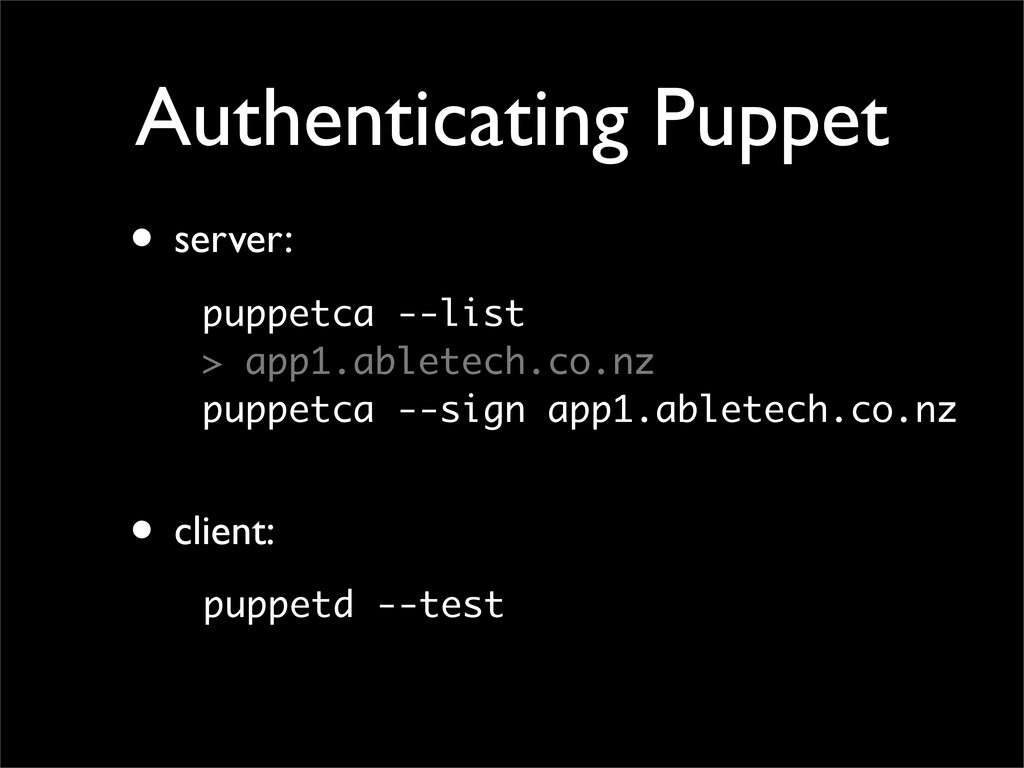
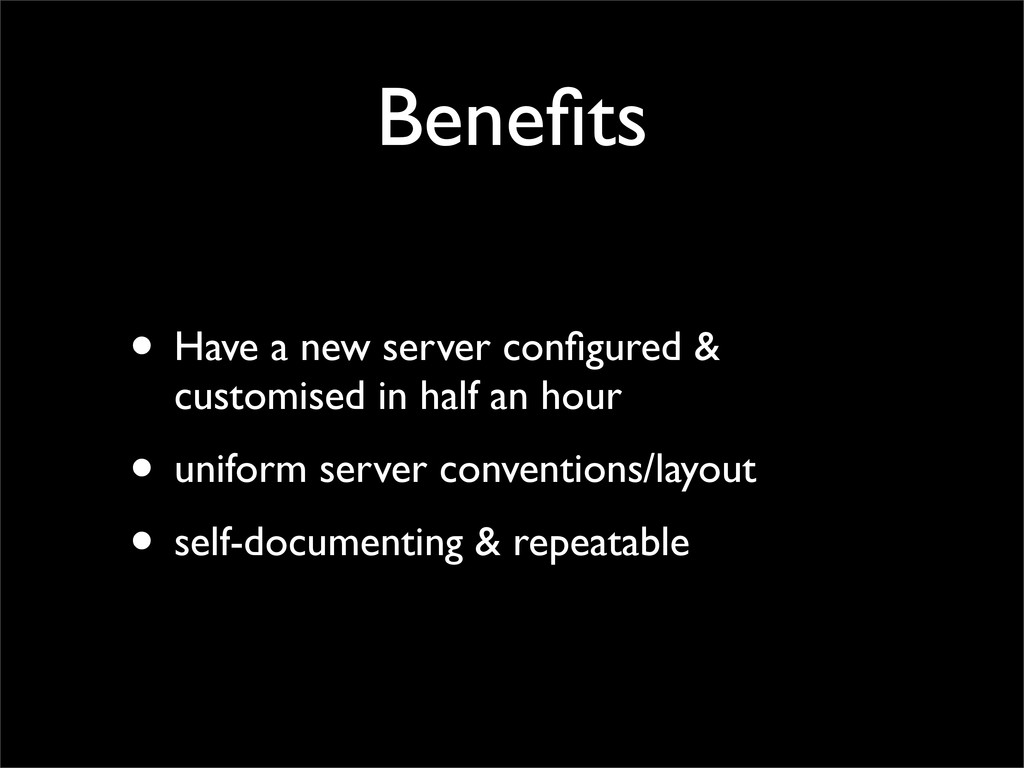
A look at getting started using puppet, for the purpose of installing a server ready for web application deployment

Jeremy Olliver

January 13, 2012
Tweet

More Decks by Jeremy Olliver

Other Decks in Programming

Transcript

  1. Why automate? • A good developer is a lazy developer

    • Saves time • Easier to get right/consistent • Otherwise you’ll have to write documentation
  2. Popular tools for Automating • Puppet • Chef • O/S

    package provider specific (Kick start) • others
  3. Chef • DSL written in pure ruby • Highly customisable

    • Uses a large amount of boilerplate code for configuration • Steep learning curve
  4. Puppet • Uses a configuration DSL (not actual coding language)

    • simple to configure • Large community • easy installation
  5. Puppet vs. Chef Example • Both use an ERB template

    • Chef declares much more meta-data • Puppet example is simpler and easier to configure
  6. Use the right tool for the job • Both have

    their advantages & downsides • Investigate both and see if they fit your requirements • we’ll be talking about using puppet
  7. Puppet Architecture • Server-client • Puppet Master runs a ruby

    application under ssl • puppet client connects to master & pulls down config • clients generate a cert to be authenticated by the puppet master
  8. Setting up Puppet • Install as either a ruby gem,

    or via distribution package (e.g. apt, yum) • server: apt-get install puppetmasterd # /etc/puppet/puppet.conf service puppetmaster start
  9. Puppet client apt-get install puppet # Edit /etc/hosts 192.168.0.3 puppet

    # Edit /etc/hostname 127.0.0.1 app1.abletech.co.nz app1 hostname --fqdn puppetd --test # or: service puppetd start
  10. Benefits • Have a new server configured & customised in

    half an hour • uniform server conventions/layout • self-documenting & repeatable