Goes through each step of the BEAST to explain how it works and address any confusing/quirky aspects. Also summarizes my experience with running the BEAST on XSEDE.
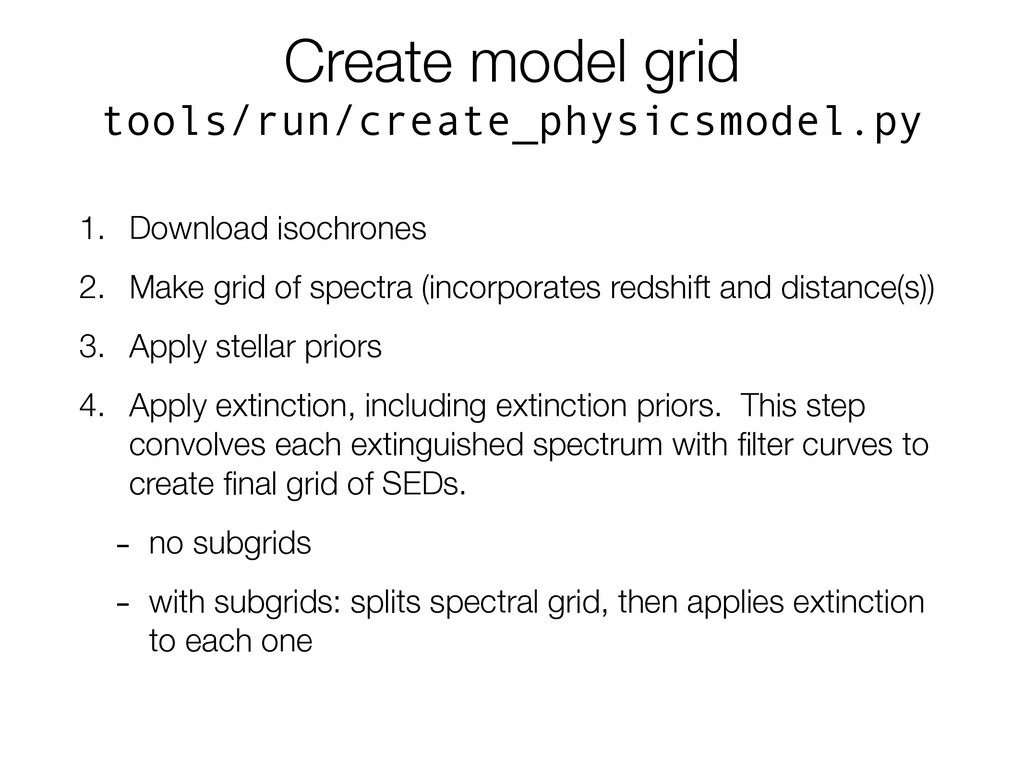
of spectra (incorporates redshift and distance(s)) 3. Apply stellar priors 4. Apply extinction, including extinction priors. This step convolves each extinguished spectrum with filter curves to create final grid of SEDs. - no subgrids - with subgrids: splits spectral grid, then applies extinction to each one
SD step4 Editcatalog 1 Removeanysources 1 There's an original aremissingameasurem photometriccatalog y a i i ofsources flaggedforone reasonor soooosources sources canlawmeasu iftheir locationis nea werebeingtauen 2 wethentakethatcatalog Step 5 Edit ASTs andbreamit upintos arcsecond 1 oi any sourcest a i i squares or Step 6 SplitCatalog 1 Splitthecatalogint sub binsisthereare 3 The ofsourcesineach particularSDbin squareis men counted up and a only h i i ano every sourceis then assigned so 2 or asourcedensity basedon whileso4was o theregion is in a sub bins onec wts note sources witha SD b s 3 ontheirfluxtypica Start with photometry catalog Split into 5" pixels Calculate the sources per arcsec^2 in each pixel 1 2 3 BUT.... only want to consider the flux range where the catalog is complete. beast/plotting/ plot_mag_hist.py will find the max of the magnitude histogram to use as a cut.
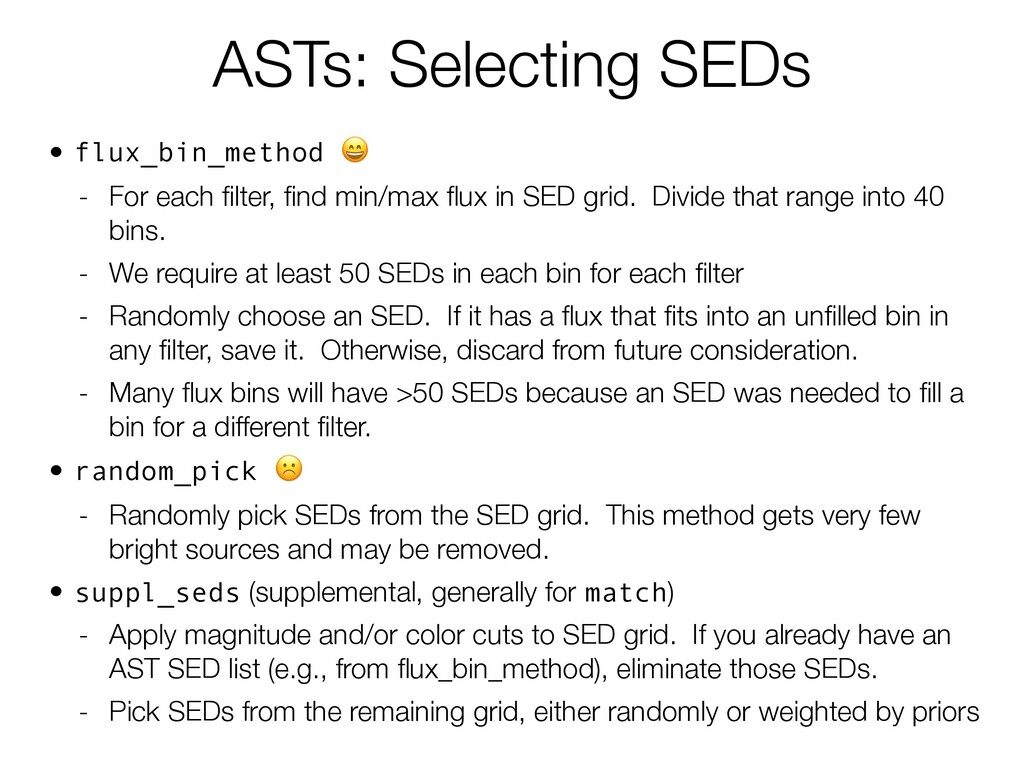
flux in SED grid. Divide that range into 40 bins. - We require at least 50 SEDs in each bin for each filter - Randomly choose an SED. If it has a flux that fits into an unfilled bin in any filter, save it. Otherwise, discard from future consideration. - Many flux bins will have >50 SEDs because an SED was needed to fill a bin for a different filter. •random_pick ☹ - Randomly pick SEDs from the SED grid. This method gets very few bright sources and may be removed. •suppl_seds (supplemental, generally for match) - Apply magnitude and/or color cuts to SED grid. If you already have an AST SED list (e.g., from flux_bin_method), eliminate those SEDs. - Pick SEDs from the remaining grid, either randomly or weighted by priors
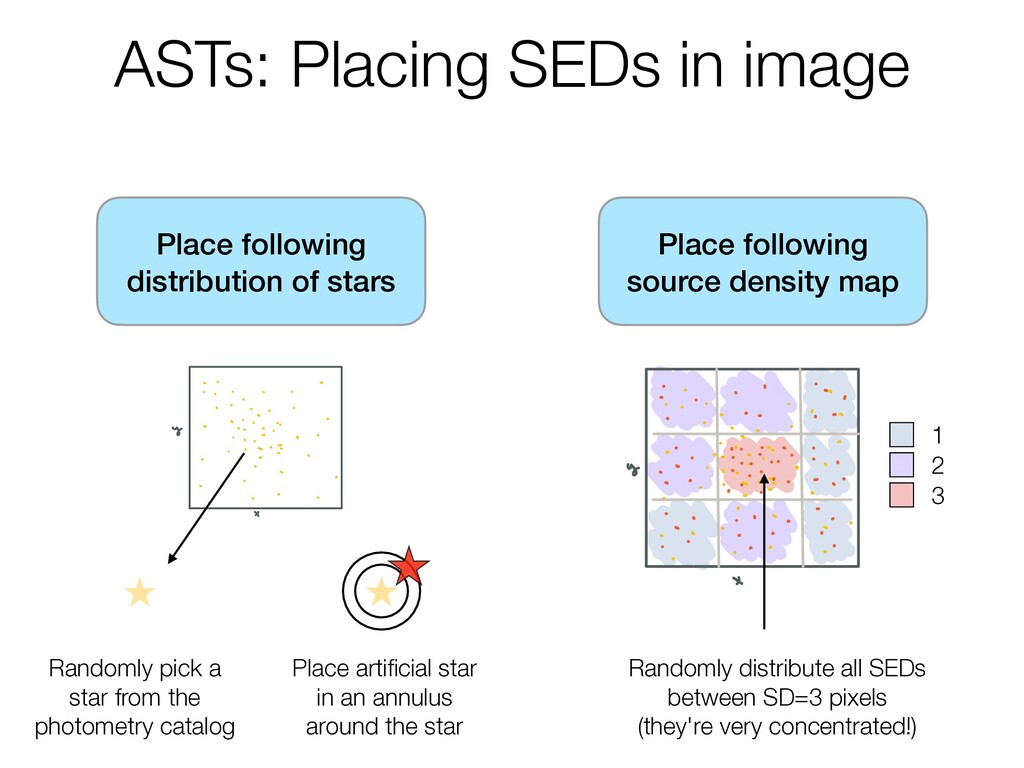
Step 1 Source Density SD step4 Editcatalog 1 Removeanysources from 1 There's an original aremissingameasurement i photometriccatalog y a i i ofsources flaggedforone reasonoranot soooosources sources canlawmeasureme iftheir locationis near thee werebeingtauen 2 wethentakethatcatalog Step 5 Edit ASTs andbreamit upintos arcsecond 1 oi any sourcesthat a i i squares or Step 6 SplitCatalogbys 1 Splitthecatalogintoso sub binsistherearemor 3 The ofsourcesineach particularSDbin squareis men counted up and a only have source assigned so 2 Randomly pick a star from the photometry catalog Place artificial star in an annulus around the star Place following source density map start selec SEDs genera s so SED grioins 9 i mm tomea no so w w cwewan atle magnitudes notethisisdone for each binsot cambinwil every filter that our originalobservation nao lothigherth really it's once an mobins otamaybe haveacease soso.es that sooo but l we canstop 1 visu 3Assign po Taneanth and putth areregion z thenre i regions th is anoso on r s i o Thisisthen whatwe send offtoB reanalyzed ano such 1 2 3 Randomly distribute all SEDs between SD=1 pixels
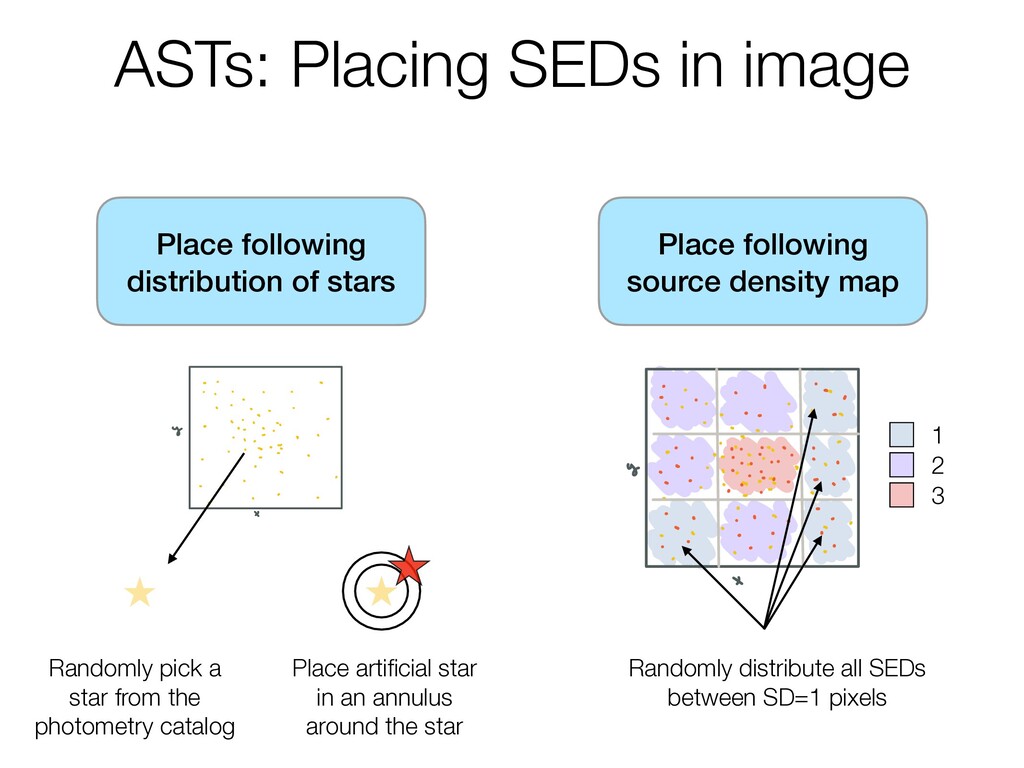
start selec SEDs genera s so SED grioins 9 i mm tomea no so w w cwewan atle magnitudes notethisisdone for each binsot cambinwil every filter that our originalobservation nao lothigherth really it's once an mobins otamaybe haveacease soso.es that sooo but l we canstop 1 visu 3Assign po Taneanth and putth areregion z thenre i regions th is anoso on r s i o Thisisthen whatwe send offtoB reanalyzed ano such Place following distribution of stars Step 1 Source Density SD step4 Editcatalog 1 Removeanysources from 1 There's an original aremissingameasurement i photometriccatalog y a i i ofsources flaggedforone reasonoranot soooosources sources canlawmeasureme iftheir locationis near thee werebeingtauen 2 wethentakethatcatalog Step 5 Edit ASTs andbreamit upintos arcsecond 1 oi any sourcesthat a i i squares or Step 6 SplitCatalogbys 1 Splitthecatalogintoso sub binsistherearemor 3 The ofsourcesineach particularSDbin squareis men counted up and a only have source assigned so 2 Randomly pick a star from the photometry catalog Place artificial star in an annulus around the star 1 2 3 Randomly distribute all SEDs between SD=2 pixels
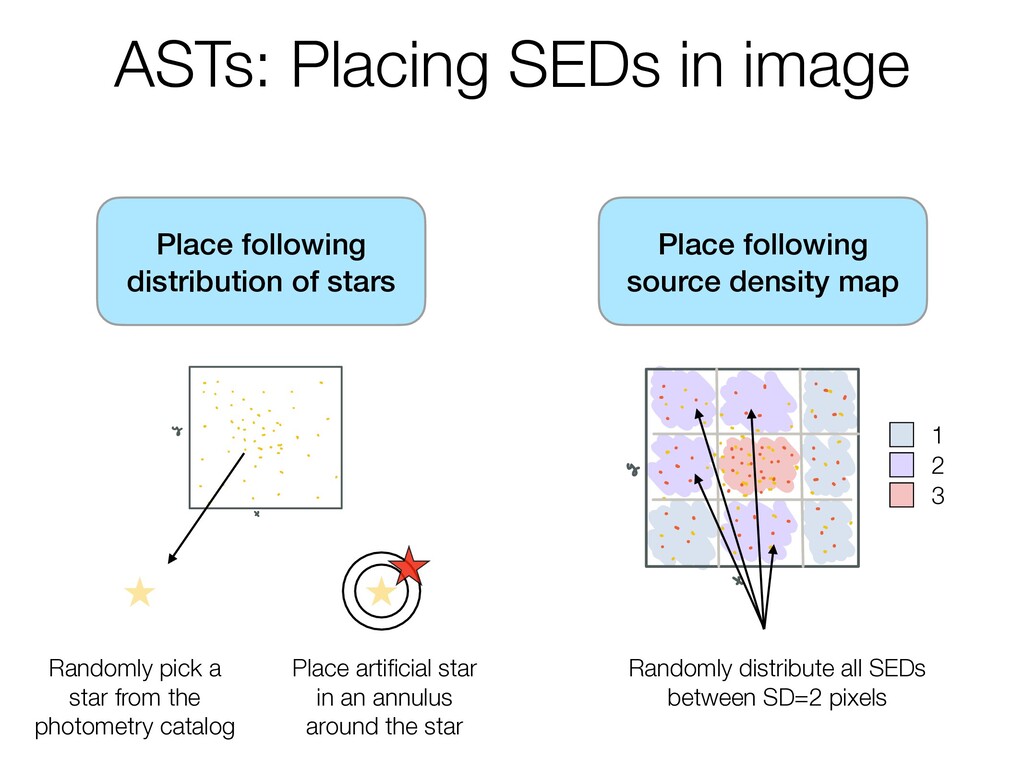
start selec SEDs genera s so SED grioins 9 i mm tomea no so w w cwewan atle magnitudes notethisisdone for each binsot cambinwil every filter that our originalobservation nao lothigherth really it's once an mobins otamaybe haveacease soso.es that sooo but l we canstop 1 visu 3Assign po Taneanth and putth areregion z thenre i regions th is anoso on r s i o Thisisthen whatwe send offtoB reanalyzed ano such Place following distribution of stars Step 1 Source Density SD step4 Editcatalog 1 Removeanysources from 1 There's an original aremissingameasurement i photometriccatalog y a i i ofsources flaggedforone reasonoranot soooosources sources canlawmeasureme iftheir locationis near thee werebeingtauen 2 wethentakethatcatalog Step 5 Edit ASTs andbreamit upintos arcsecond 1 oi any sourcesthat a i i squares or Step 6 SplitCatalogbys 1 Splitthecatalogintoso sub binsistherearemor 3 The ofsourcesineach particularSDbin squareis men counted up and a only have source assigned so 2 Randomly pick a star from the photometry catalog Place artificial star in an annulus around the star 1 2 3 Randomly distribute all SEDs between SD=3 pixels (they're very concentrated!)
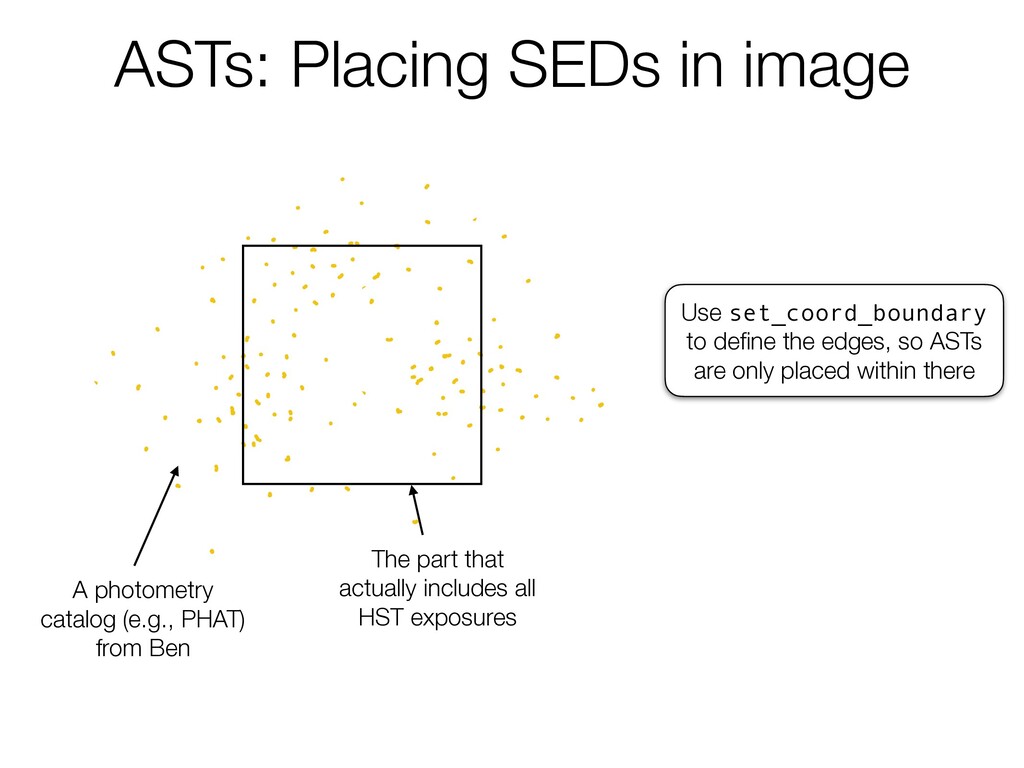
ofsources soooosources 2 wethentakethat cata andbreamit upintos a a i i squares or 3 The ofsou square is m ano every so asourcede theregio w Step 1 Source Density 1 There's an origin photometriccat y a i i ofsources soooosourc 2 wethe andbr a i i squ or Step 1 Source Density S 1 There's an or photometri y a i i ofsources soooo 2 we an ASTs: Placing SEDs in image A photometry catalog (e.g., PHAT) from Ben The part that actually includes all HST exposures Use set_coord_boundary to define the edges, so ASTs are only placed within there
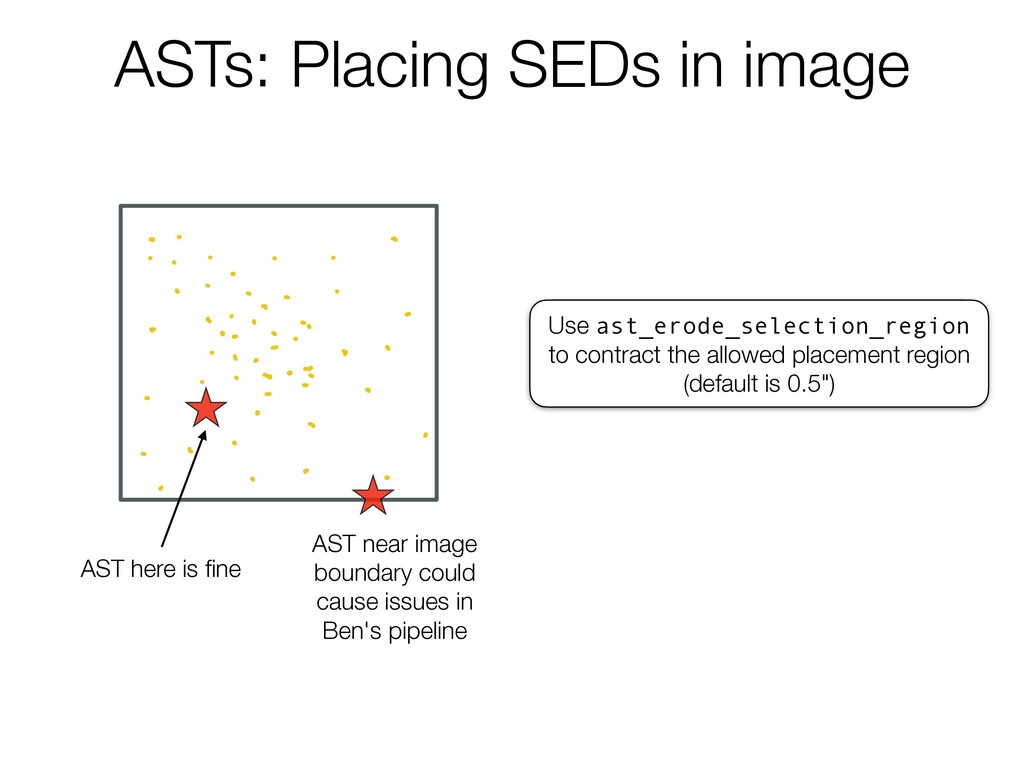
1 There's an original photometriccatalog y a i i ofsources soooosources 2 wethentakethatcata andbreamit upintos arc a i i squares or AST here is fine AST near image boundary could cause issues in Ben's pipeline Use ast_erode_selection_region to contract the allowed placement region (default is 0.5")
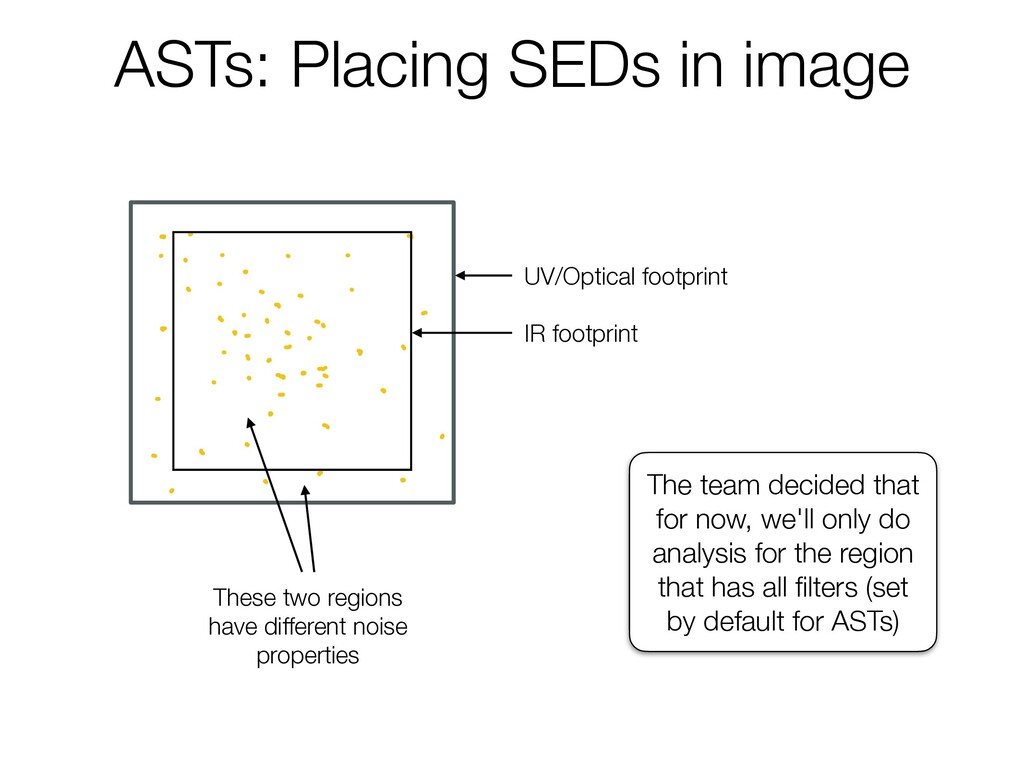
1 There's an original photometriccatalog y a i i ofsources soooosources 2 wethentakethatcat andbreamit upintos a a i i squares or UV/Optical footprint IR footprint These two regions have different noise properties The team decided that for now, we'll only do analysis for the region that has all filters (set by default for ASTs)
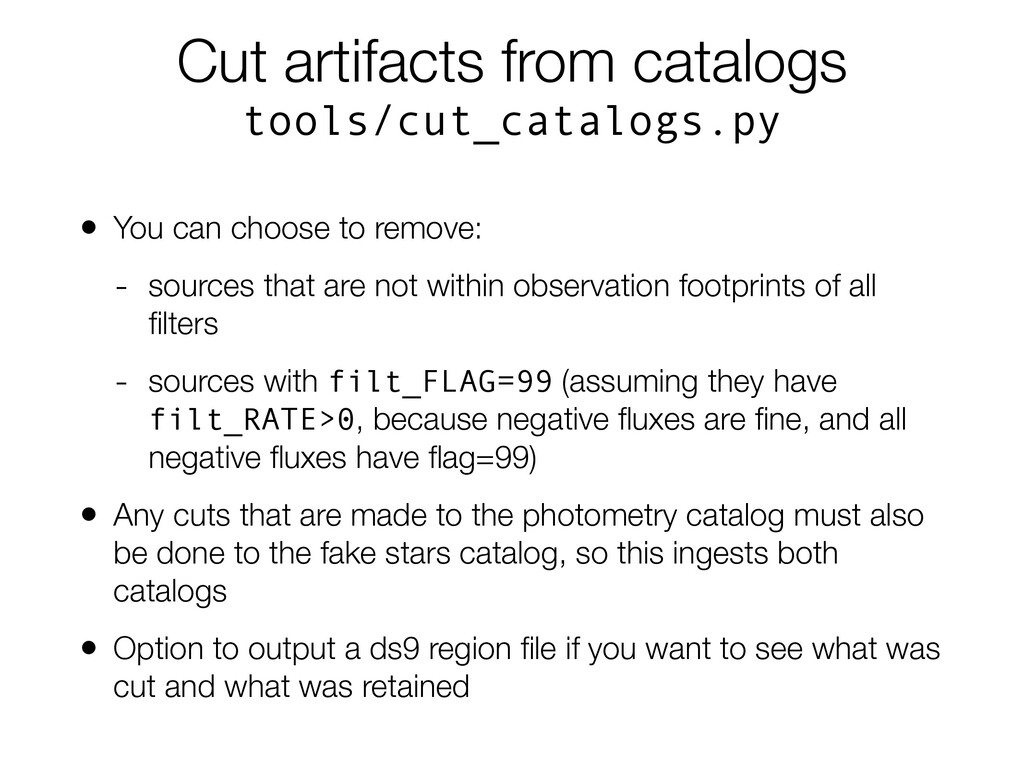
remove: - sources that are not within observation footprints of all filters - sources with filt_FLAG=99 (assuming they have filt_RATE>0, because negative fluxes are fine, and all negative fluxes have flag=99) • Any cuts that are made to the photometry catalog must also be done to the fake stars catalog, so this ingests both catalogs • Option to output a ds9 region file if you want to see what was cut and what was retained
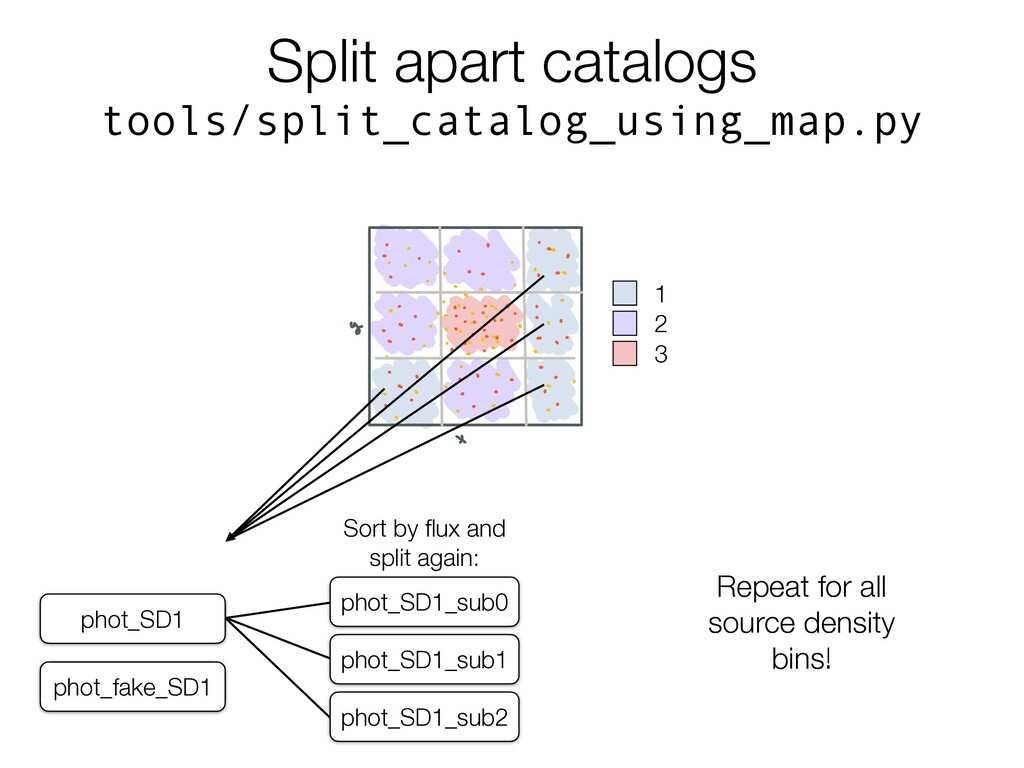
w w cwewan atleastso seas in magnitudes notethisisdone for each binsotheaverage for cambinwill probably bea every filter that our originalobservation nao lothigherthanso witha really it's once an mobins otamaybe comingin around haveacease soso.es that sooo but lets saya ton we canstop 1 visuals 3Assign positions based off SD Taneanthestars from before and putthem anywhere within areregionsthathave asoot z thenrepeat witna the i regions thathaveasoot5 is fora totalofns.oooasts anoso on r so we need roasts ineach region on this plot Thisisthen whatwe send offtoBentobe reanalyzed ano such 1 2 3 phot_fake_SD1 phot_SD1 Sort by flux and split again: phot_SD1_sub0 phot_SD1_sub1 phot_SD1_sub2 Repeat for all source density bins!
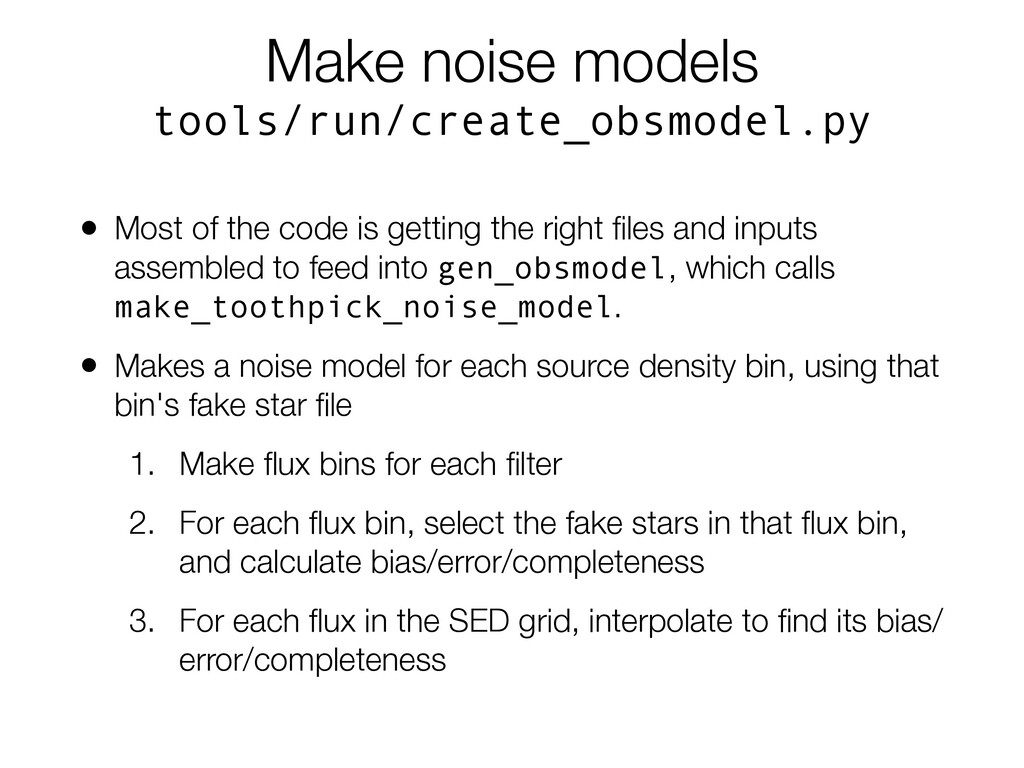
getting the right files and inputs assembled to feed into gen_obsmodel, which calls make_toothpick_noise_model. • Makes a noise model for each source density bin, using that bin's fake star file 1. Make flux bins for each filter 2. For each flux bin, select the fake stars in that flux bin, and calculate bias/error/completeness 3. For each flux in the SED grid, interpolate to find its bias/ error/completeness
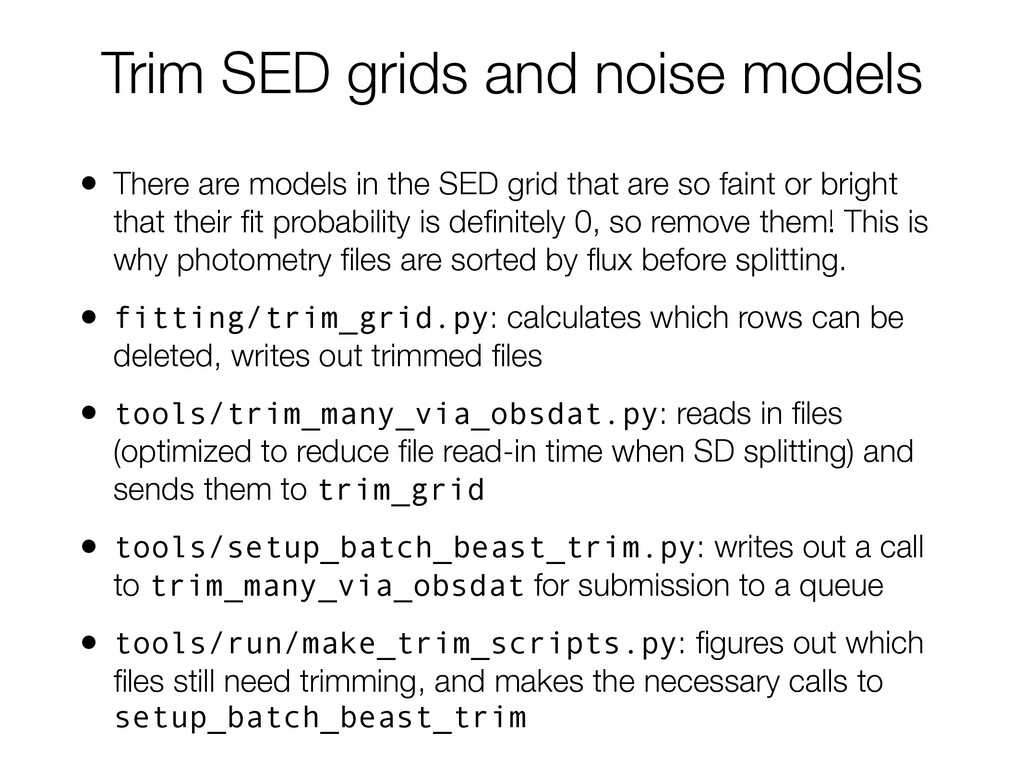
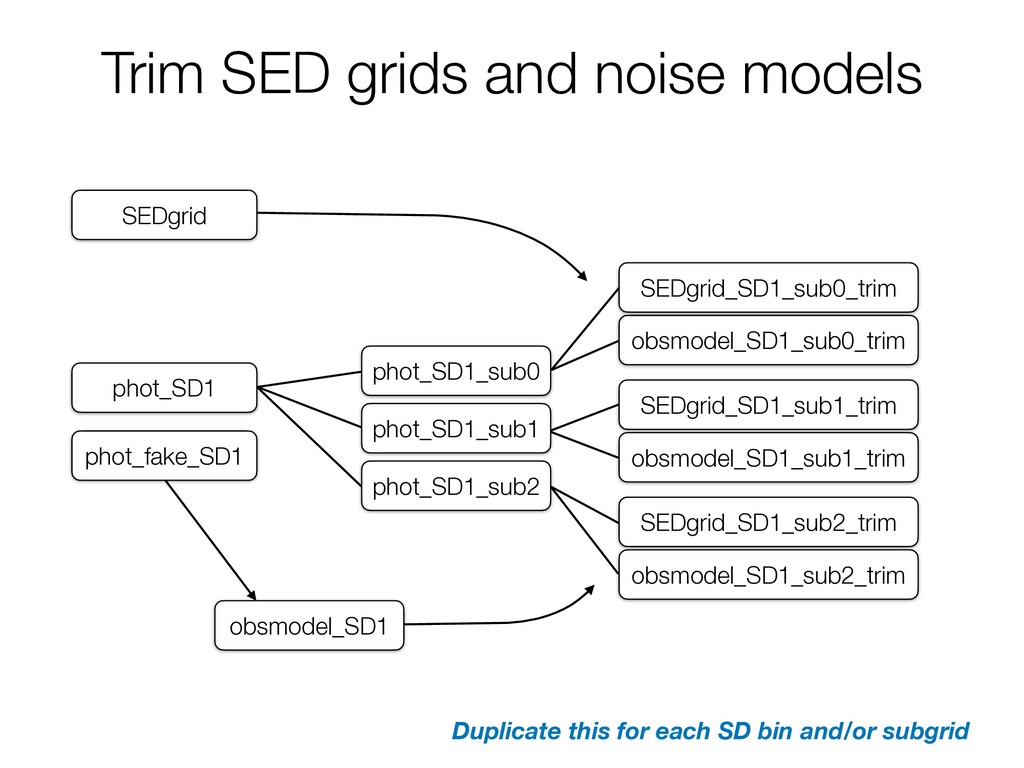
in the SED grid that are so faint or bright that their fit probability is definitely 0, so remove them! This is why photometry files are sorted by flux before splitting. • fitting/trim_grid.py: calculates which rows can be deleted, writes out trimmed files • tools/trim_many_via_obsdat.py: reads in files (optimized to reduce file read-in time when SD splitting) and sends them to trim_grid • tools/setup_batch_beast_trim.py: writes out a call to trim_many_via_obsdat for submission to a queue • tools/run/make_trim_scripts.py: figures out which files still need trimming, and makes the necessary calls to setup_batch_beast_trim
obsmodel_SD1 phot_fake_SD1 SEDgrid obsmodel_SD1_sub0_trim SEDgrid_SD1_sub0_trim obsmodel_SD1_sub1_trim SEDgrid_SD1_sub1_trim obsmodel_SD1_sub2_trim SEDgrid_SD1_sub2_trim Duplicate this for each SD bin and/or subgrid
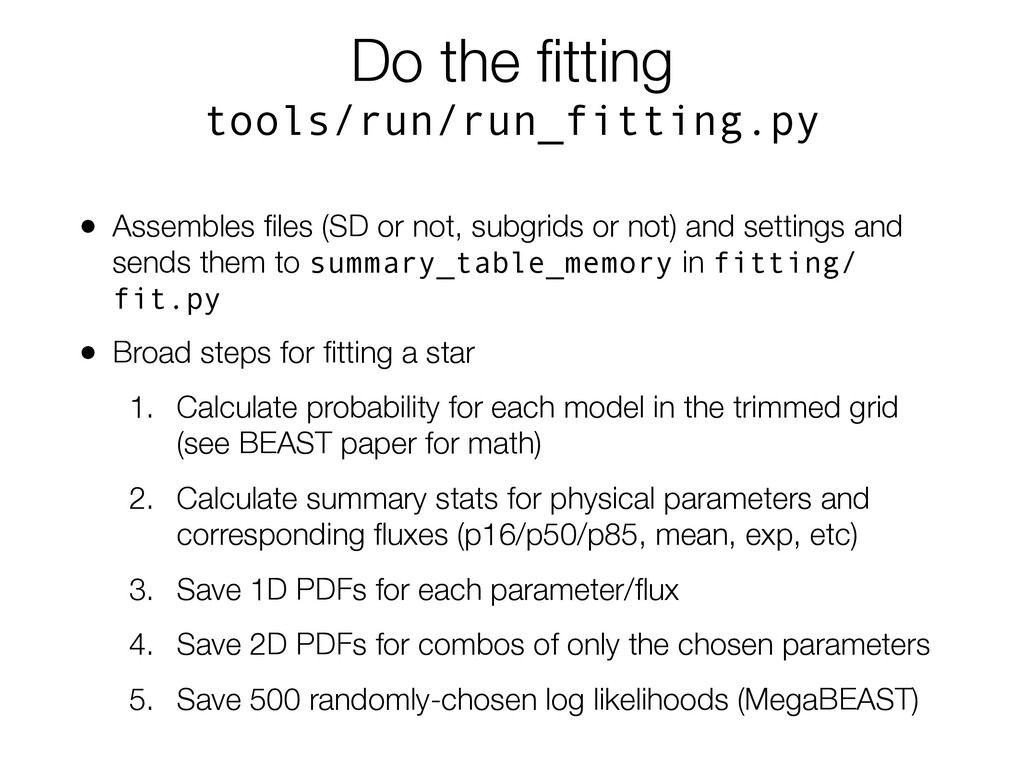
subgrids or not) and settings and sends them to summary_table_memory in fitting/ fit.py • Broad steps for fitting a star 1. Calculate probability for each model in the trimmed grid (see BEAST paper for math) 2. Calculate summary stats for physical parameters and corresponding fluxes (p16/p50/p85, mean, exp, etc) 3. Save 1D PDFs for each parameter/flux 4. Save 2D PDFs for combos of only the chosen parameters 5. Save 500 randomly-chosen log likelihoods (MegaBEAST)
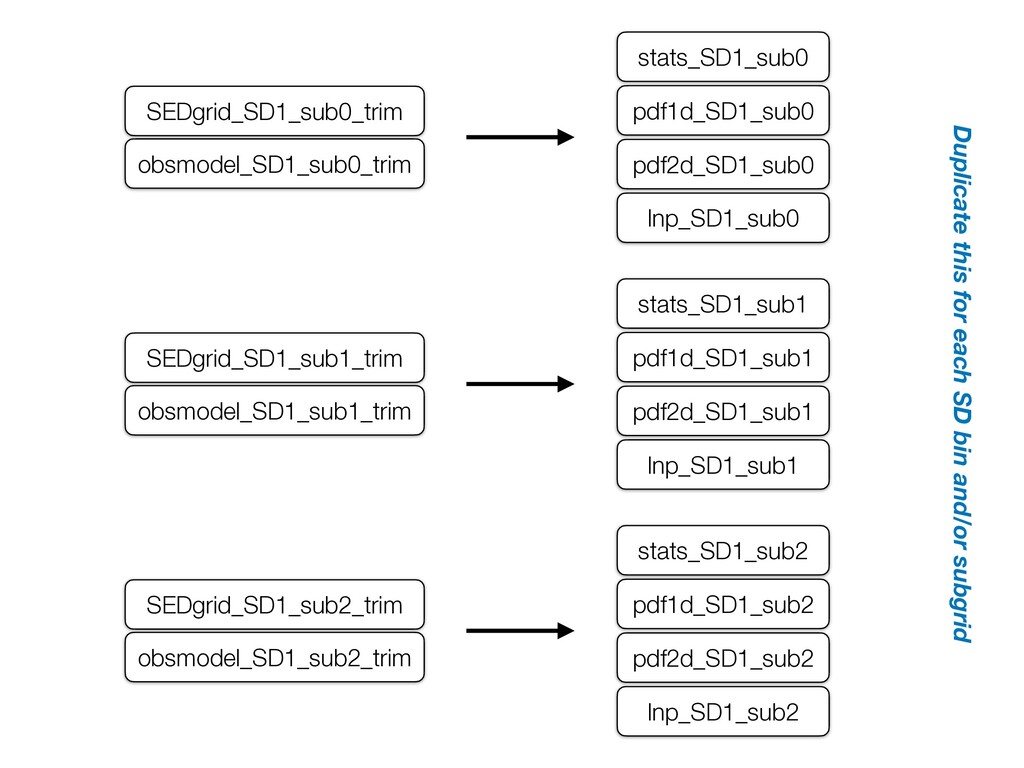
pdf2d_SD1_sub1 pdf1d_SD1_sub1 stats_SD1_sub1 lnp_SD1_sub1 pdf2d_SD1_sub2 pdf1d_SD1_sub2 stats_SD1_sub2 lnp_SD1_sub2 Duplicate this for each SD bin and/or subgrid
subgrids, this will merge fitting results • Not all types of merging are currently supported (e.g., with only SD splitting, 1D PDF bins are different, so they can't be merged)
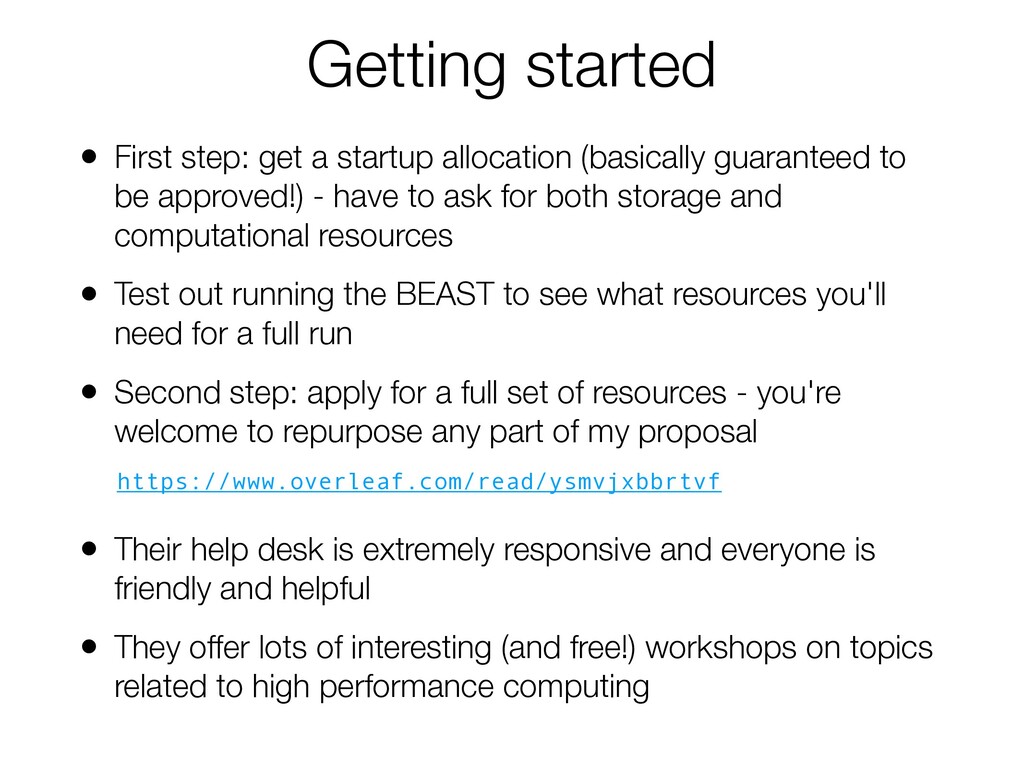
guaranteed to be approved!) - have to ask for both storage and computational resources • Test out running the BEAST to see what resources you'll need for a full run • Second step: apply for a full set of resources - you're welcome to repurpose any part of my proposal • Their help desk is extremely responsive and everyone is friendly and helpful • They offer lots of interesting (and free!) workshops on topics related to high performance computing https://www.overleaf.com/read/ysmvjxbbrtvf
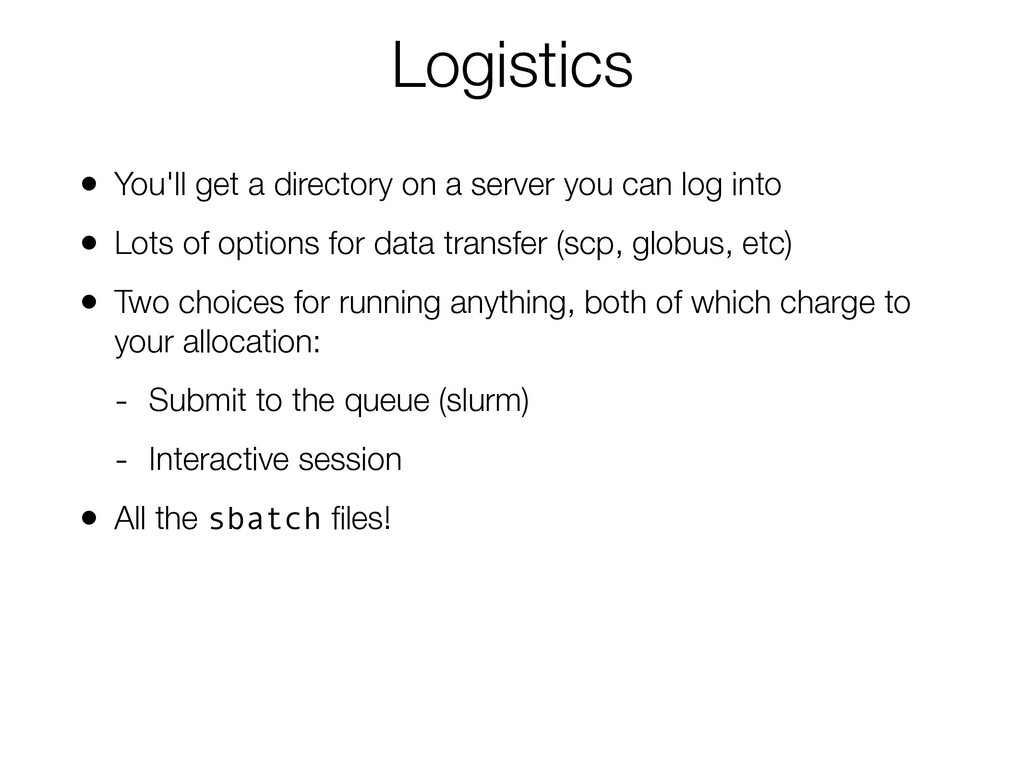
can log into • Lots of options for data transfer (scp, globus, etc) • Two choices for running anything, both of which charge to your allocation: - Submit to the queue (slurm) - Interactive session • All the sbatch files!
#SBATCH -J beast_LH # Job name #SBATCH -o /pylon5/as5pi7p/lhagen/xsede_logs/%j.out # Specify stdout output file (%j expands to jobId) #SBATCH -p RM-shared # Queue name #SBATCH -t 1:00:00 # Run time (hh:mm:ss) #SBATCH -N 1 # Number of nodes #SBATCH --ntasks-per-node 1 # Number of cores (memory = 4.5GB/core) # move to appropriate directory cd /pylon5/as5pi7p/lhagen # Load any necessary modules # Loading modules in the script ensures a consistent environment. module load anaconda3 source activate bdev # Launch a job python beast_production_wrapper.py any/all settings go to your directory set up conda env the job command Submit the script: sbatch [filename]
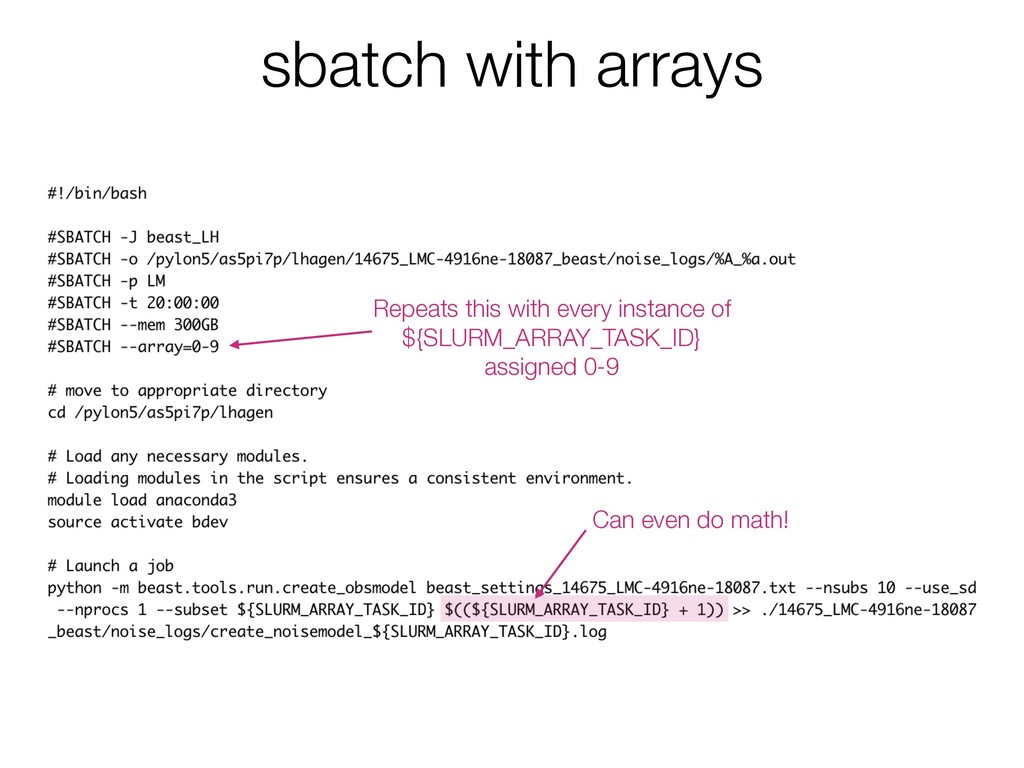
in tools/run/create_physicsmodel.py • Any function that has sequential numbers (like subgrids) can be auto-coded within an sbatch file • Other steps are so quick it (so far) hasn't been worth the time to split them into their own submissions • I'll show you my wrapper now... I'll put a more user-friendly version in beast-examples