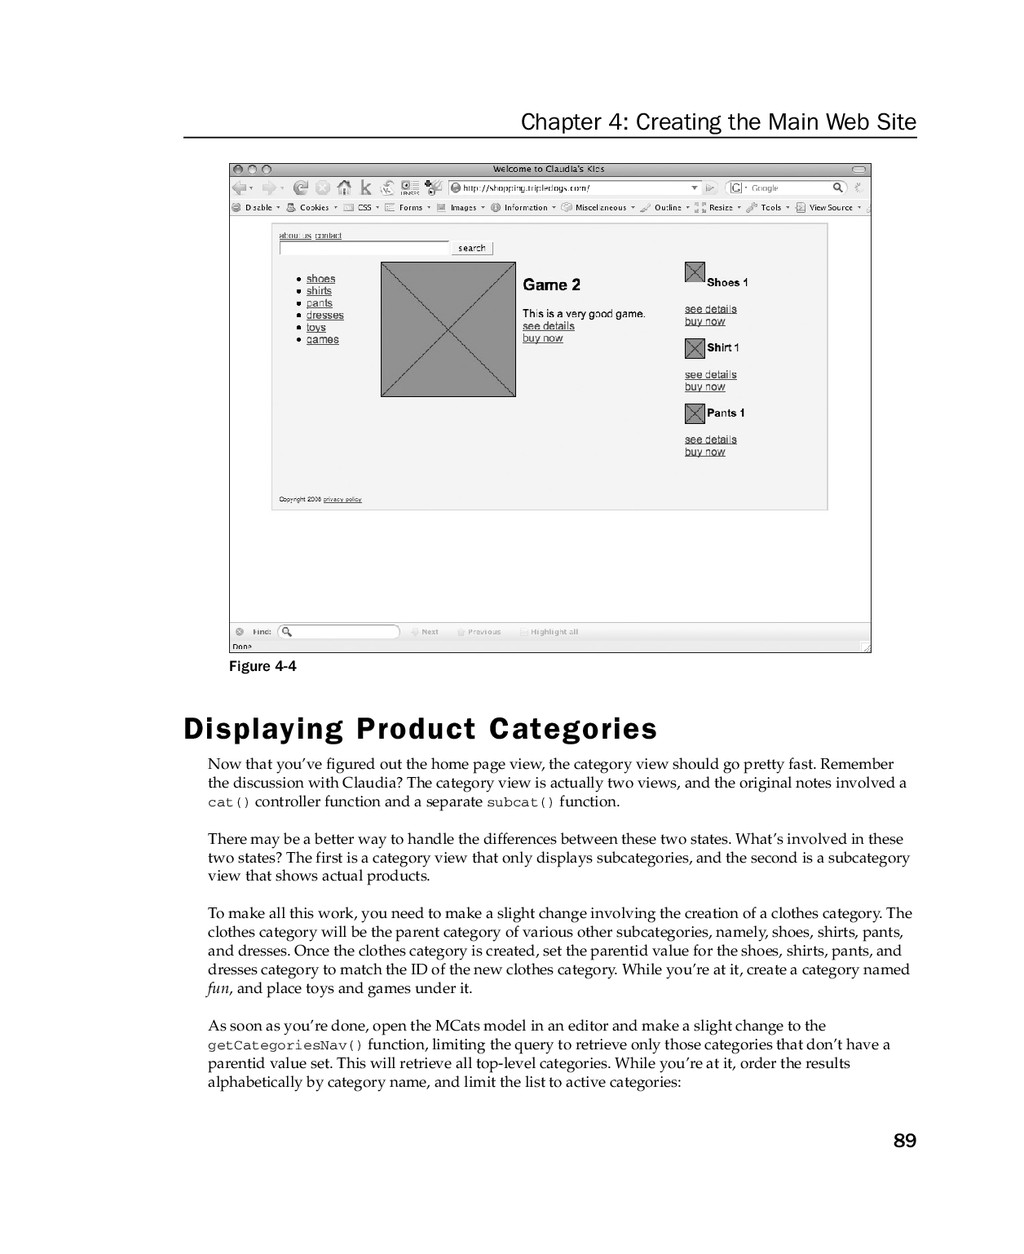
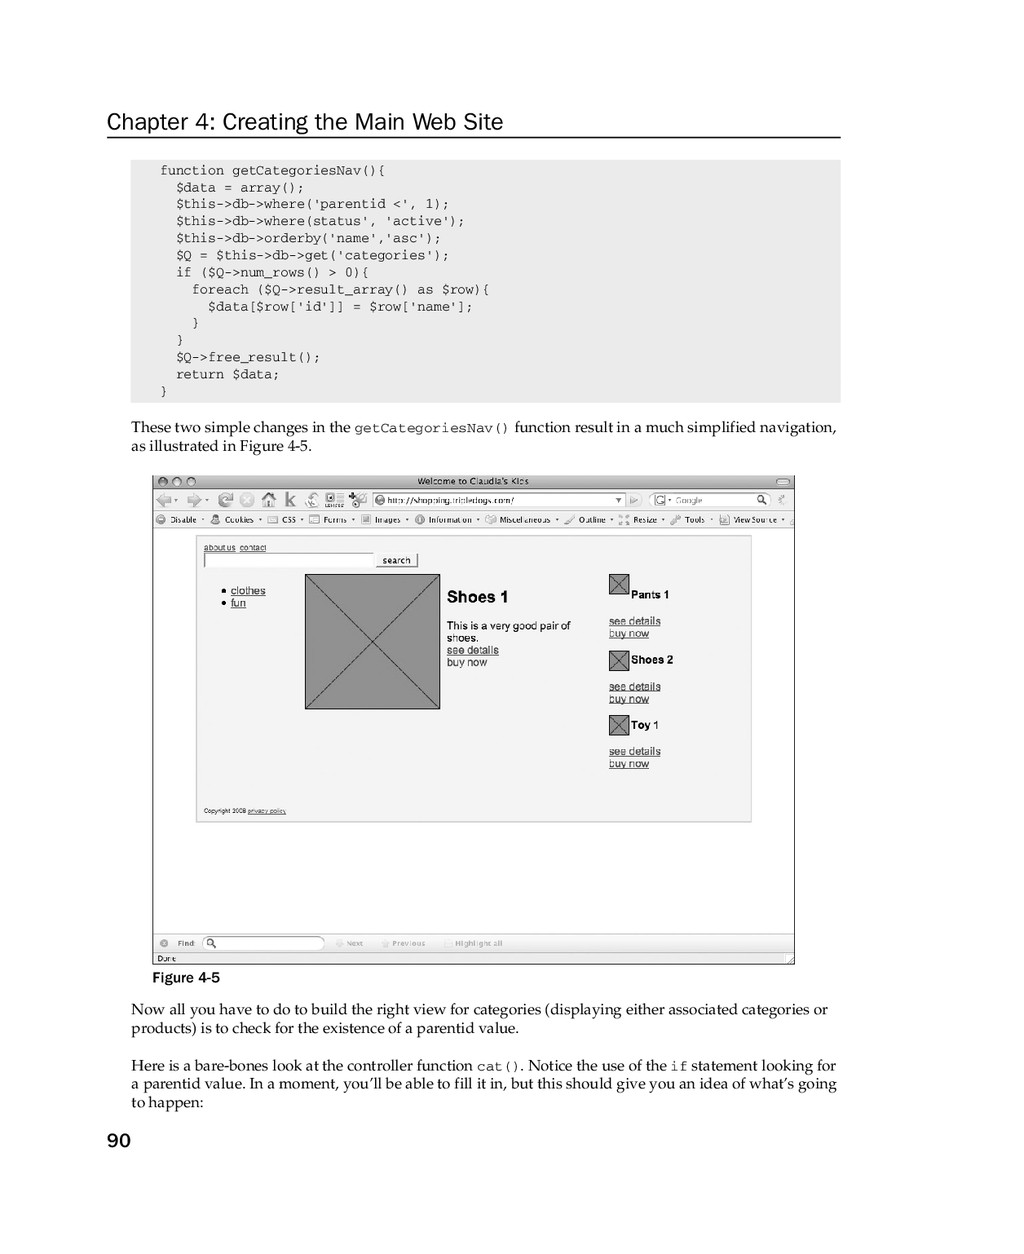
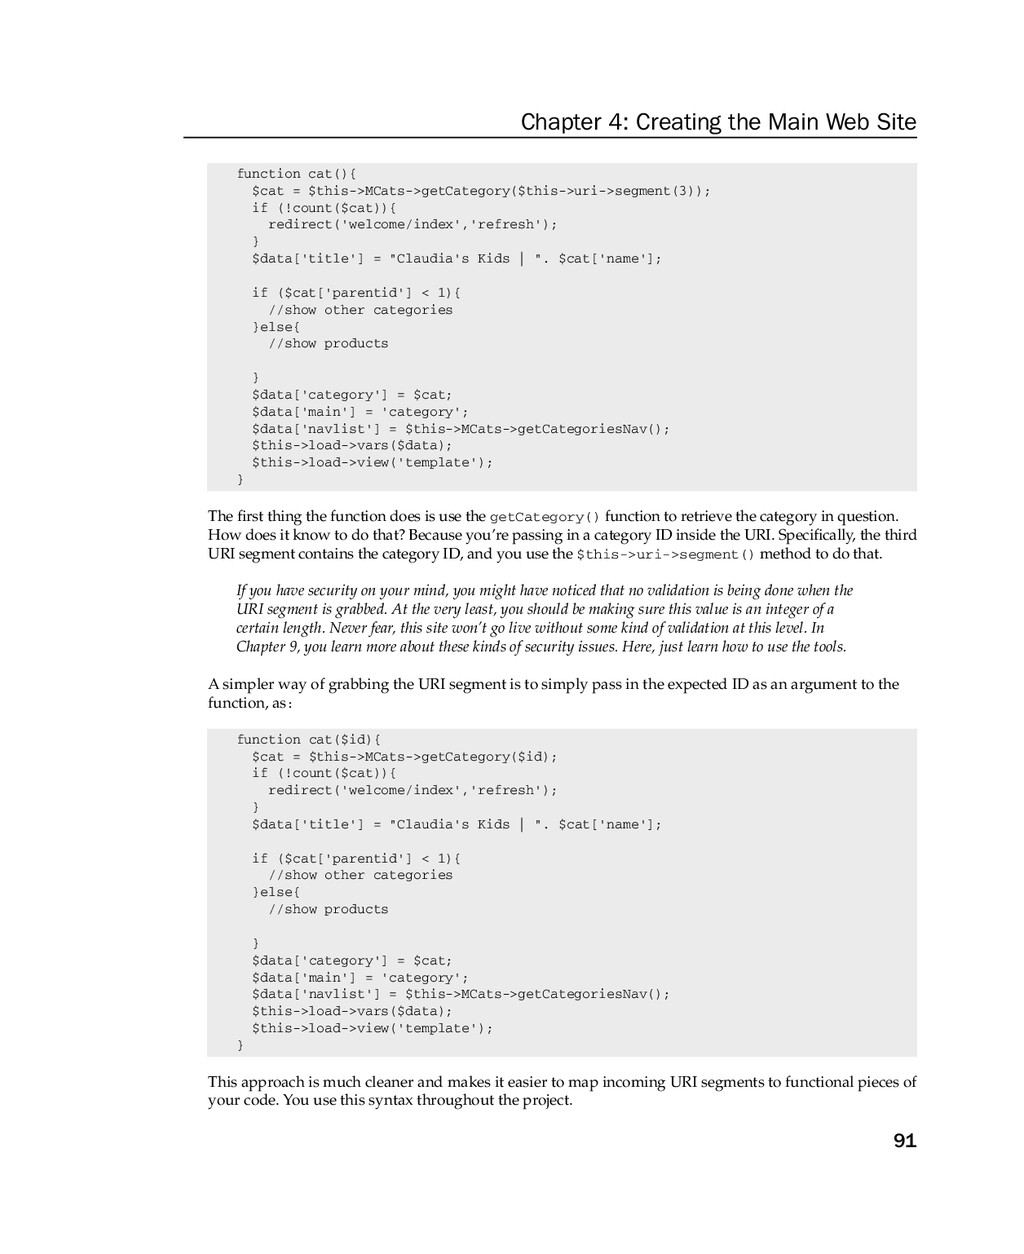
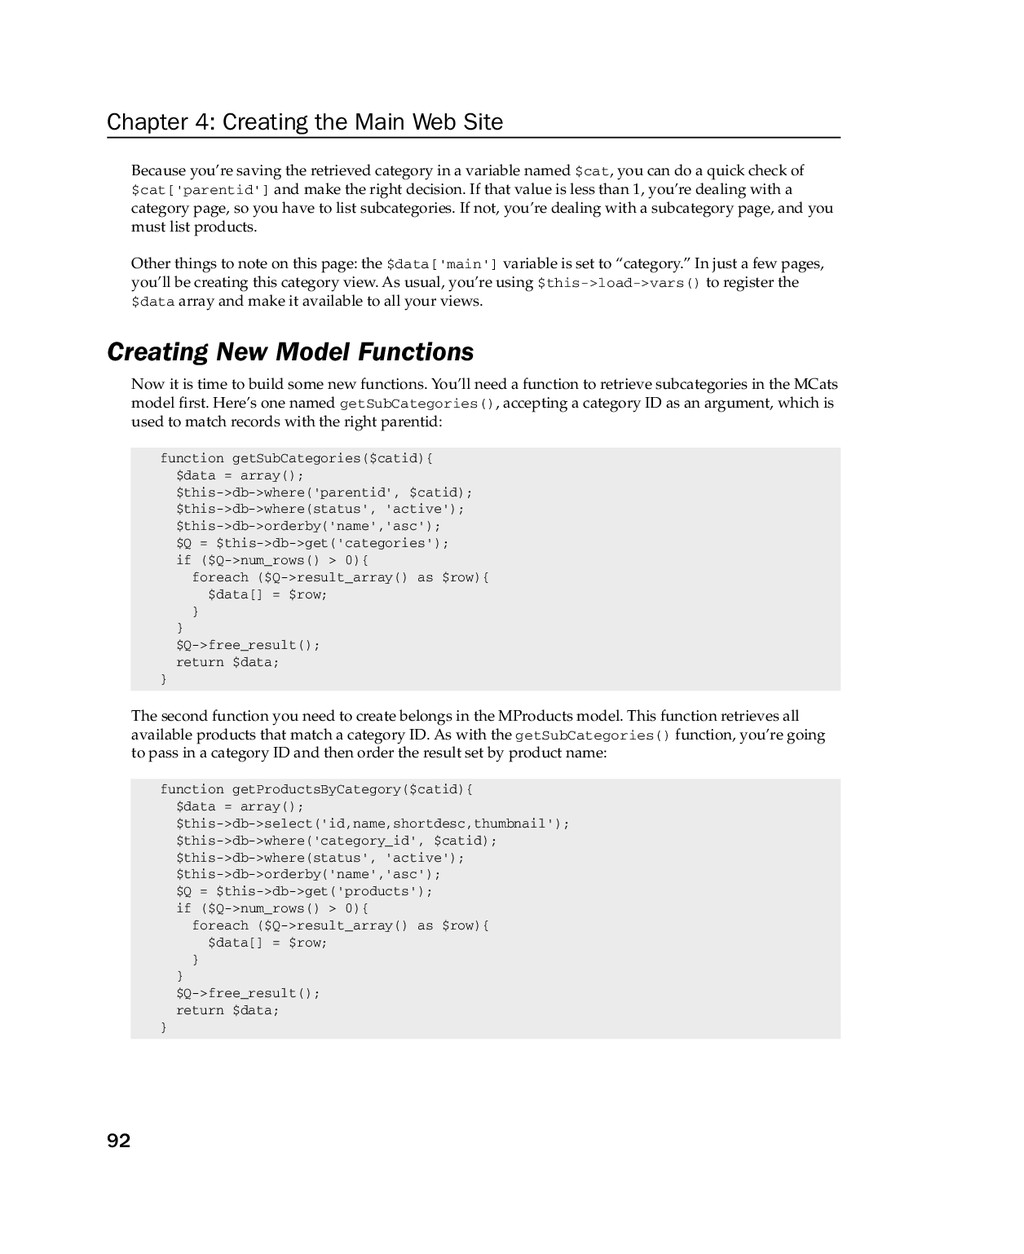
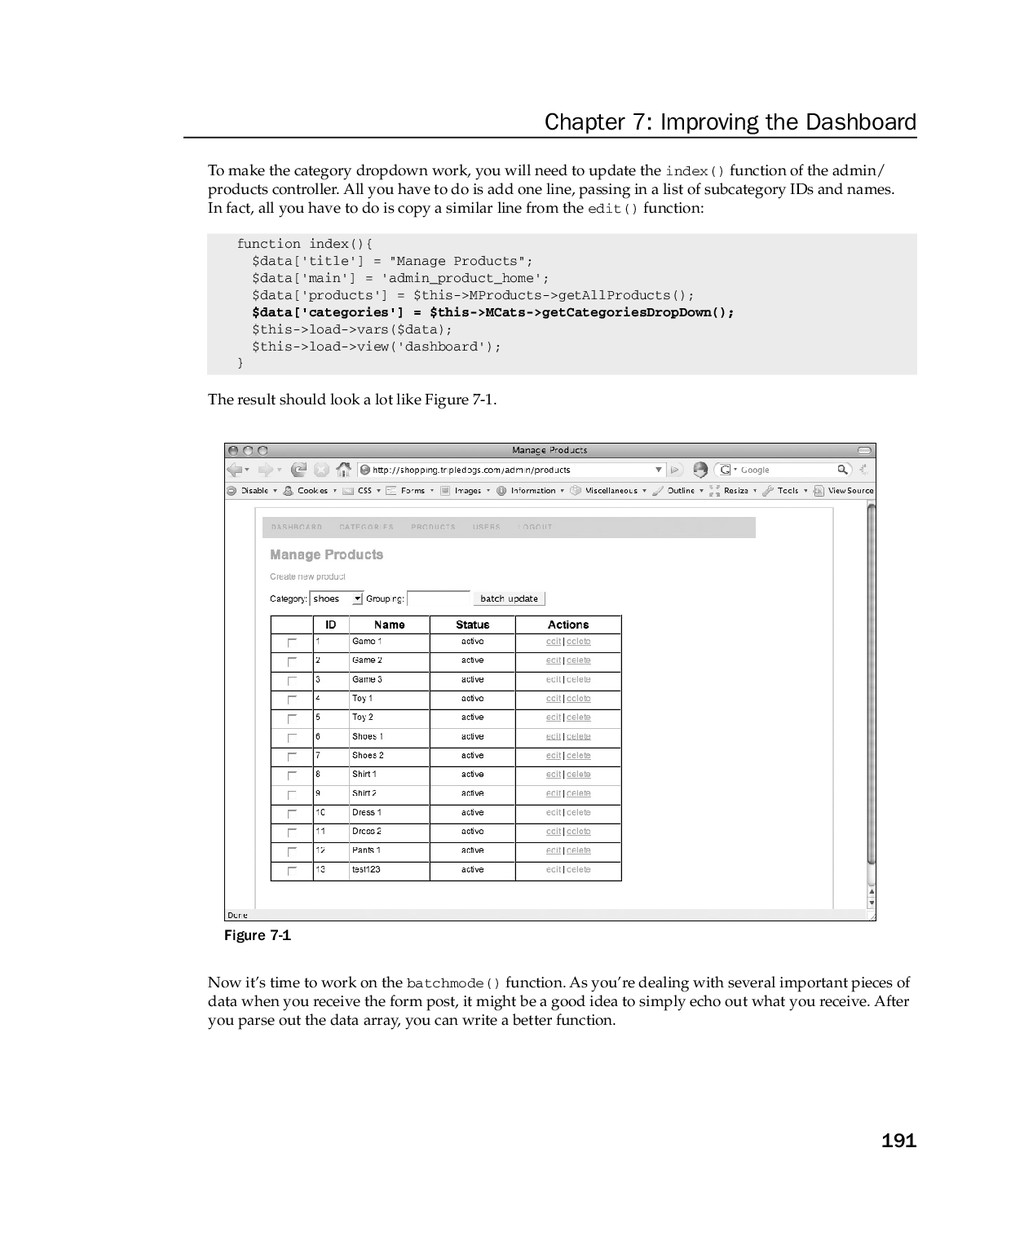
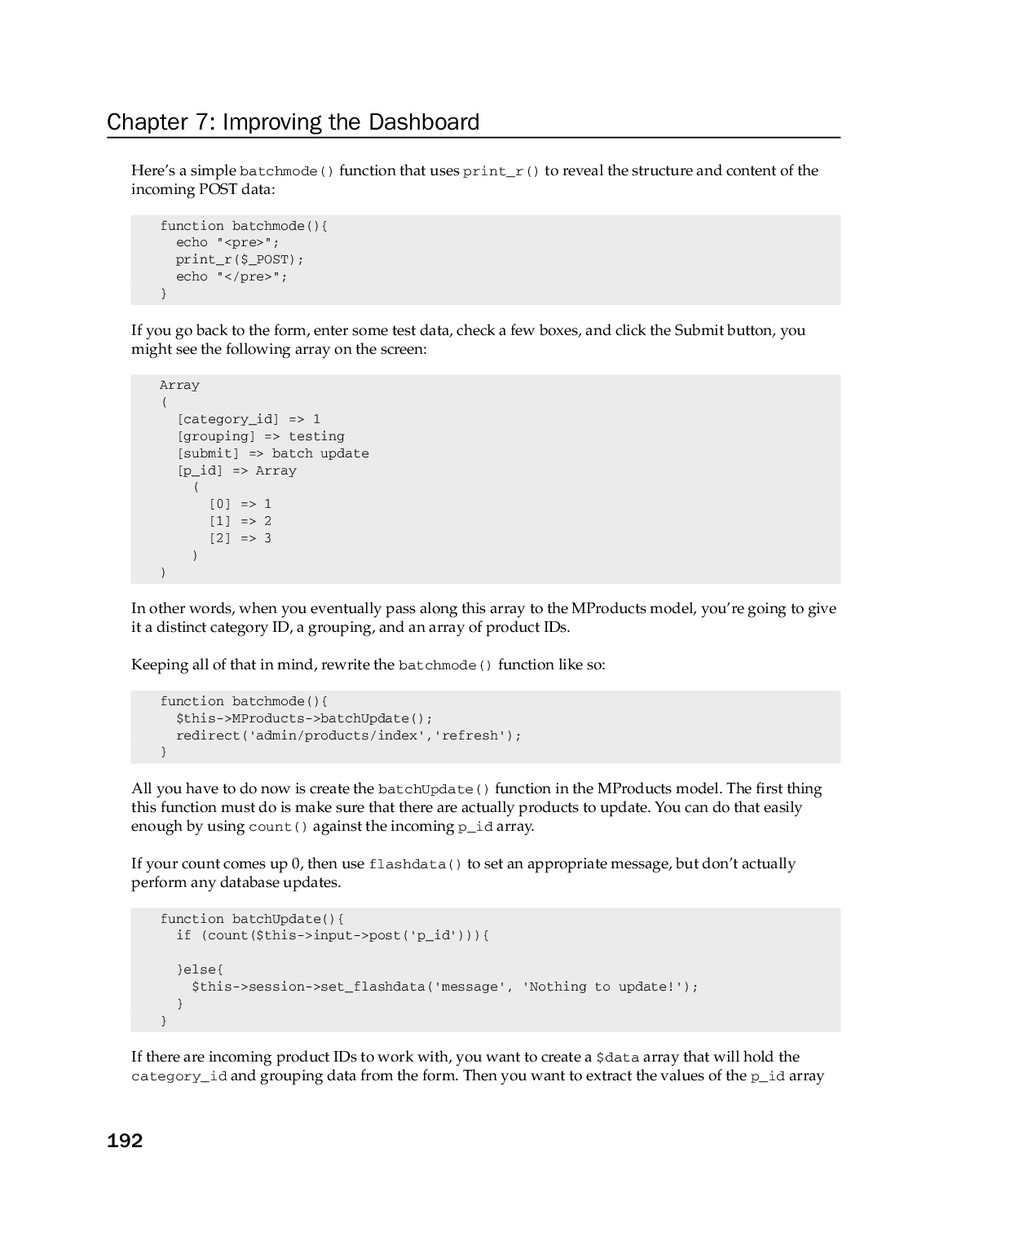
in, 74 force_download, 61, 195, 197 form(s) for batch mode process, 189–194 dropdowns, 62 email, send to all users, 257–260 fields, adding, 62 Form helper, 61–63 header files, creating, 73 newsletter tool, 253–254 opening, 62 Submit button, 63 form_checkbox, 62 form_close, 63, 73, 173 form_hidden, 62 form_input, 62, 63, 114, 164 form_open, 62, 73 form_open_multipart, 172 form_password, 62 form_radio, 62 form_submit, 63, 73, 164, 173 form_textarea, 62 form_upload, 62, 173 format_currency, 300 from, 58 FTP library, functions of, 54 G getActiveColors, 215, 225 getActiveSizes, 225 getAllCategories, 78–79, 161 getAllColors, 213–214 getAllPages, 239–240, 243 getAllProducts, 82 getAllSubscribers, 260 getAllUsers, 180 GET array, 268 getAssignedColors, 227 getAssignedSizes, 227–228 getCategorieDropDown, 171 getCategoriesNav, 79–80, 89–90, 133 getCategory, 91 getColor, 213–214, 275 getMainFeature, 82–83 getPage, 238, 277 getPagePath, 238, 277 getProduct, 82, 100, 277, 282 getProductsByGroup, 99 getRandomProduct, 82–83 getSubCategories, 92, 95 getTopCategories, 162–163, 166 getUser, 269 getwhere, 14 global navigation global navigation, updating, 130–132 rules, setting, 131–132 Google Checkout checkout integration with, 297, 301–303 security safeguards, 303 grouping, products, 98 H header files for administrative panel, 155 creating, 73 CSS, updating, 130–133 forms, 73 links in, 73 page manager, 242 for thumbnails, 138 helpers, 60–64 autoloading, 52, 60 Form helper, 62–63 functions of, 60, 61 helpers folder, contents of, 48 listing of, 60–61 compared to plugins, 49 URL helper, 63–64 home page(s), 81–92 accessing, events of, 69–70 for administrative panel, 153–160 categories home page, 160–161 components of, 69–70 detecting home page, 130 fetchHomePage, 14, 15, 17 index, 15 main feature product, 82 mockups, 31, 81 model functions, using, 84–85 new model functions, creating, 92 page manager, 243–244 product categories, displaying, 89–92 redirect back to, 93 sidebar, random products in, 83–84 thumbnails, updating, 139 user home page, 180 values, setting, 50 view, creating, 85–88 hooks folder, contents of, 49 hover state, color for, 136 .htaccess file, 47–48 HTML display table, creating, 114 HTML helper, functions of, 61 HTML library, functions of, 54 tags, line breaks converted to, 20–21 views, 16 I ID admins table, 150–152 category ID, 91–92, 192–193, 206 database tables, 251 product ID, 100, 109–111, 117–118, 122–123, 192 id_clean, 270, 276, 282, 298 Image Manipulation library, functions of, 54 implode, 193 import, 200–203, 280 importCsv, 199–200, 280 importing/exporting, 194–204 categories export function, 194–196 comma-separated values (CSV), 194–196 CSVReader import library, installing, 197–204 products export function, 196–197 in_array, 281 index for administrative panel, 153 category home page, 160–162 colors admin screen, 212 controller, creating for, 69 home page, 15 parser library, loading, 19 footer fi les
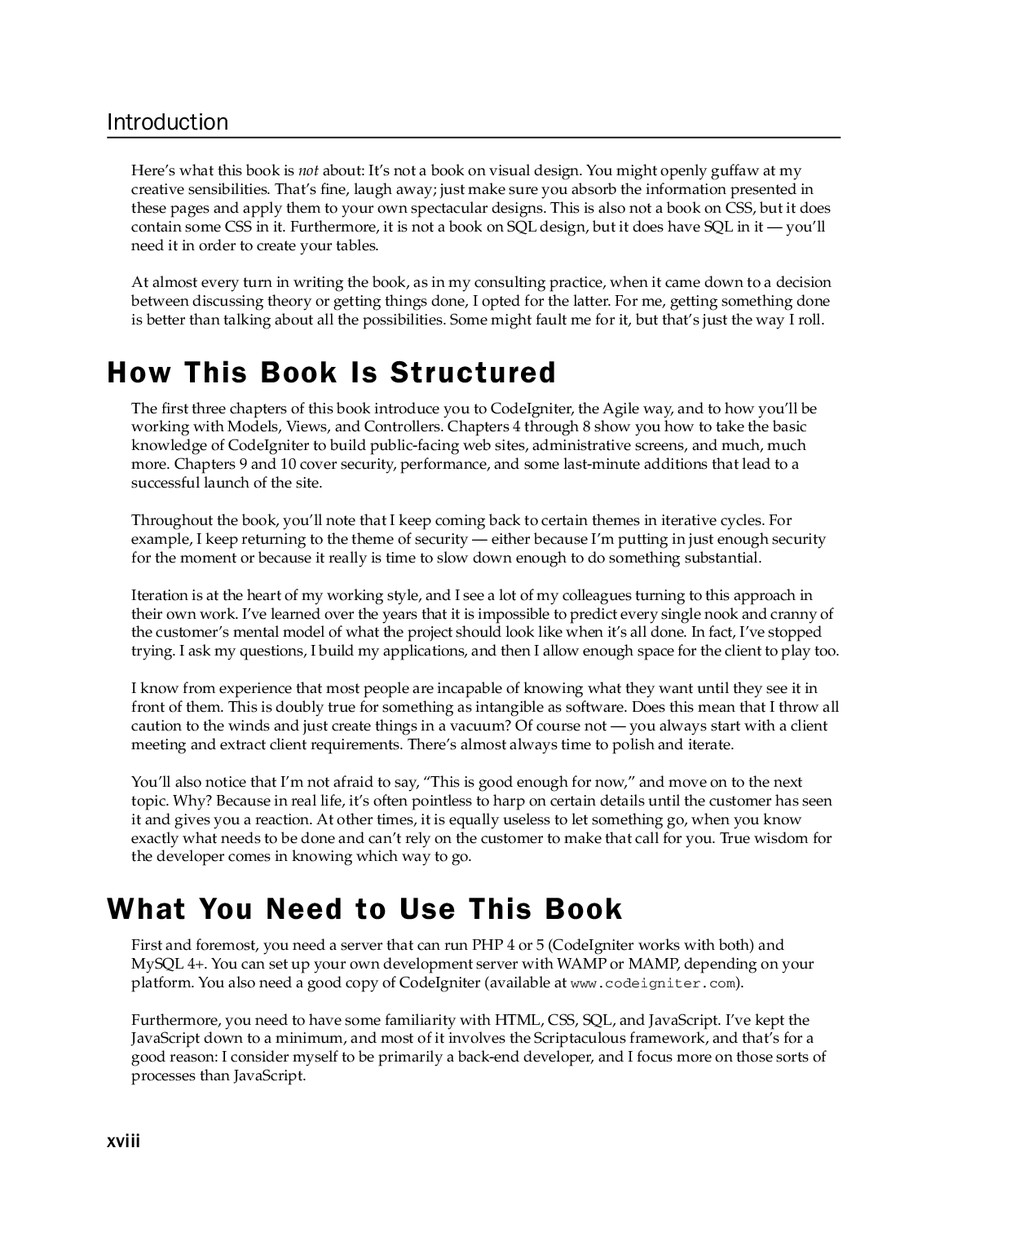
![Chapter 1: Welcome to the MVC World 4 }else{ $hp[‘title’]](https://files.speakerdeck.com/presentations/5825c0004f8501326df356002103ac67/slide_26.jpg)
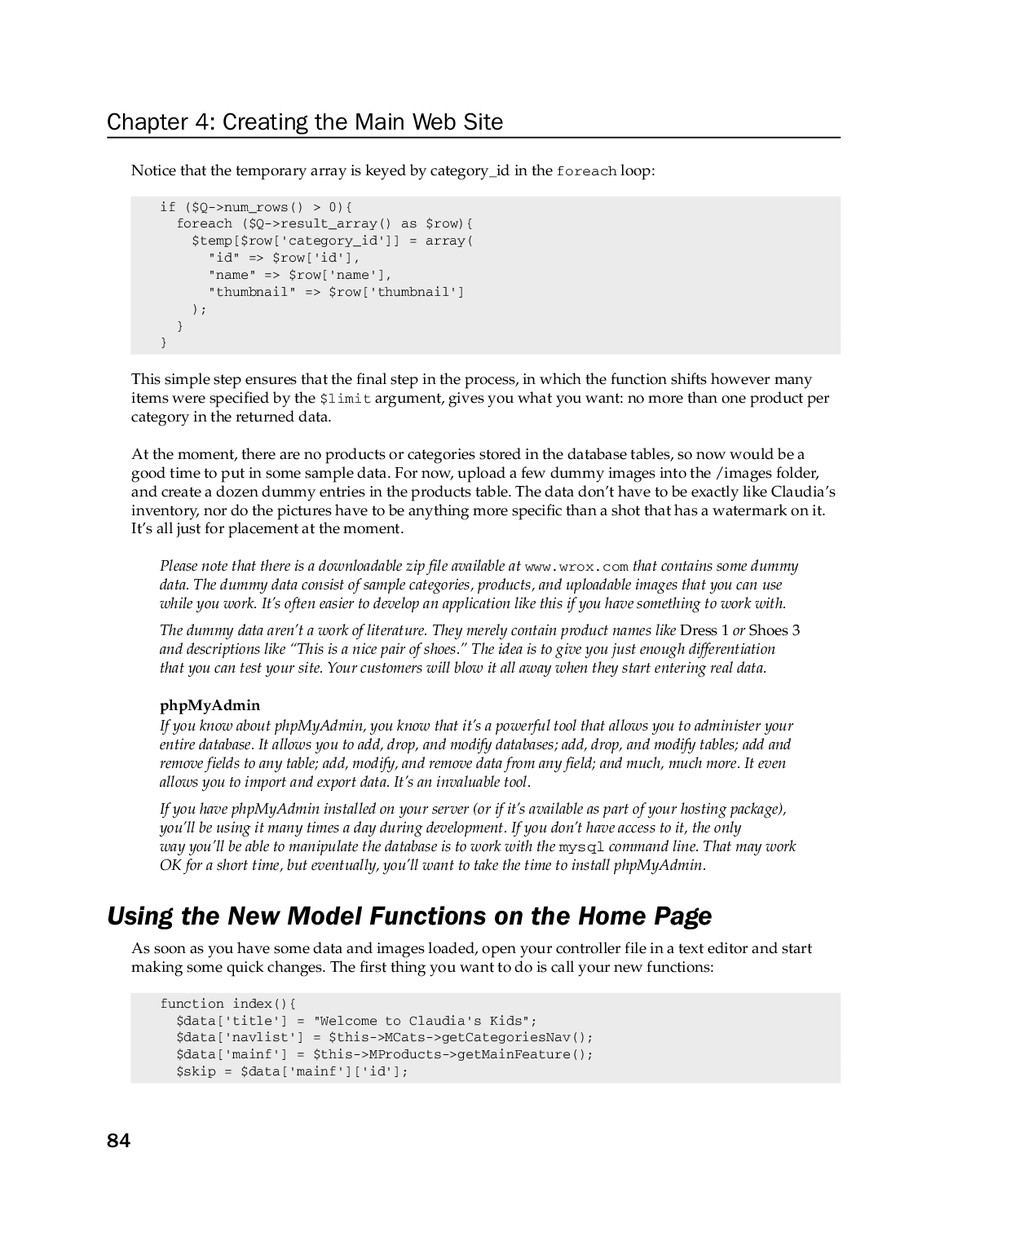
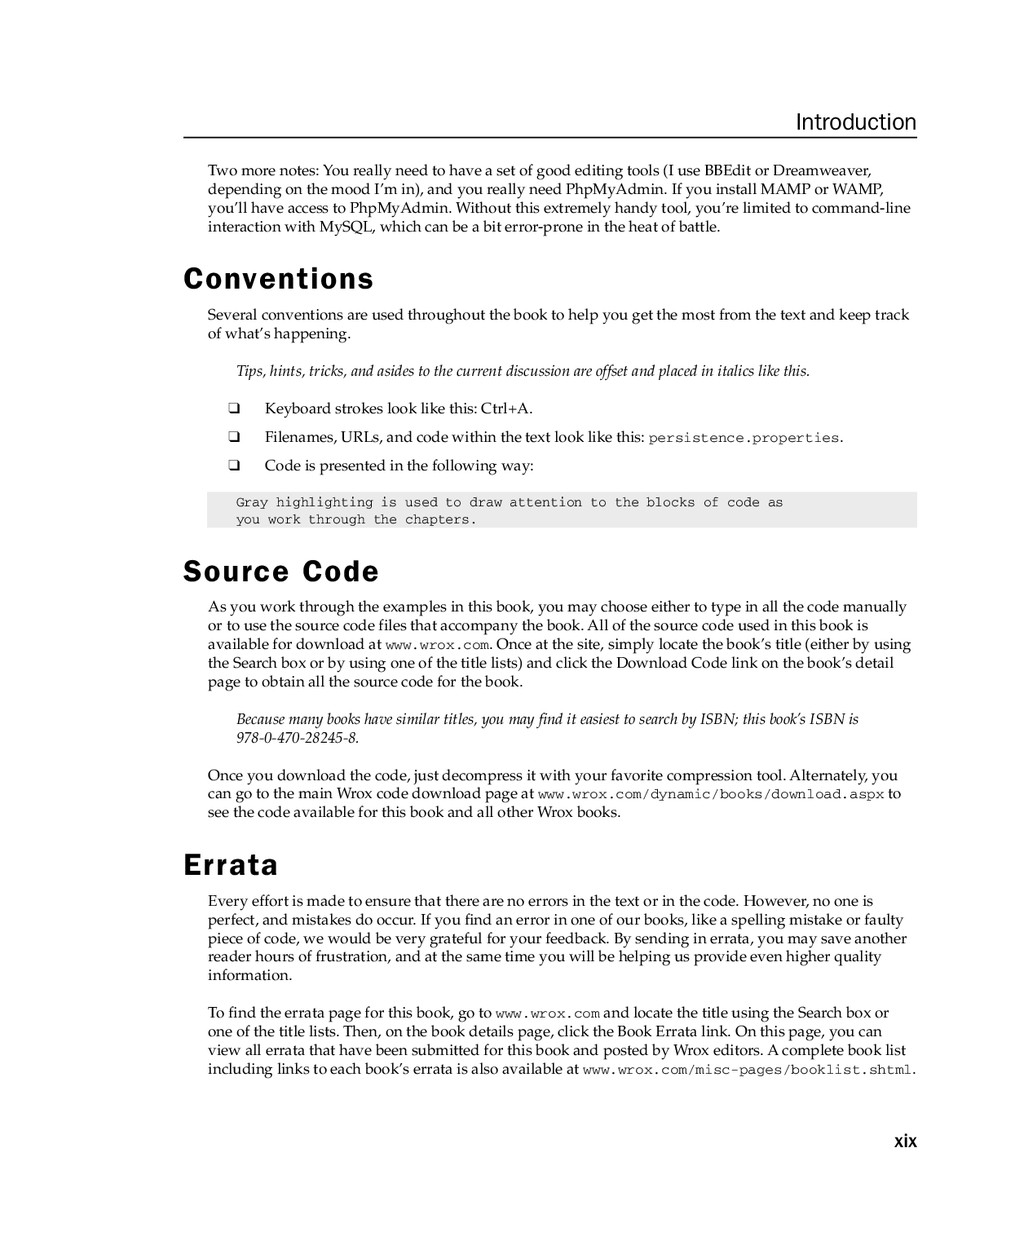
![Chapter 4: Creating the Main Web Site 85 $data[‘sidef’] =](https://files.speakerdeck.com/presentations/5825c0004f8501326df356002103ac67/slide_107.jpg)
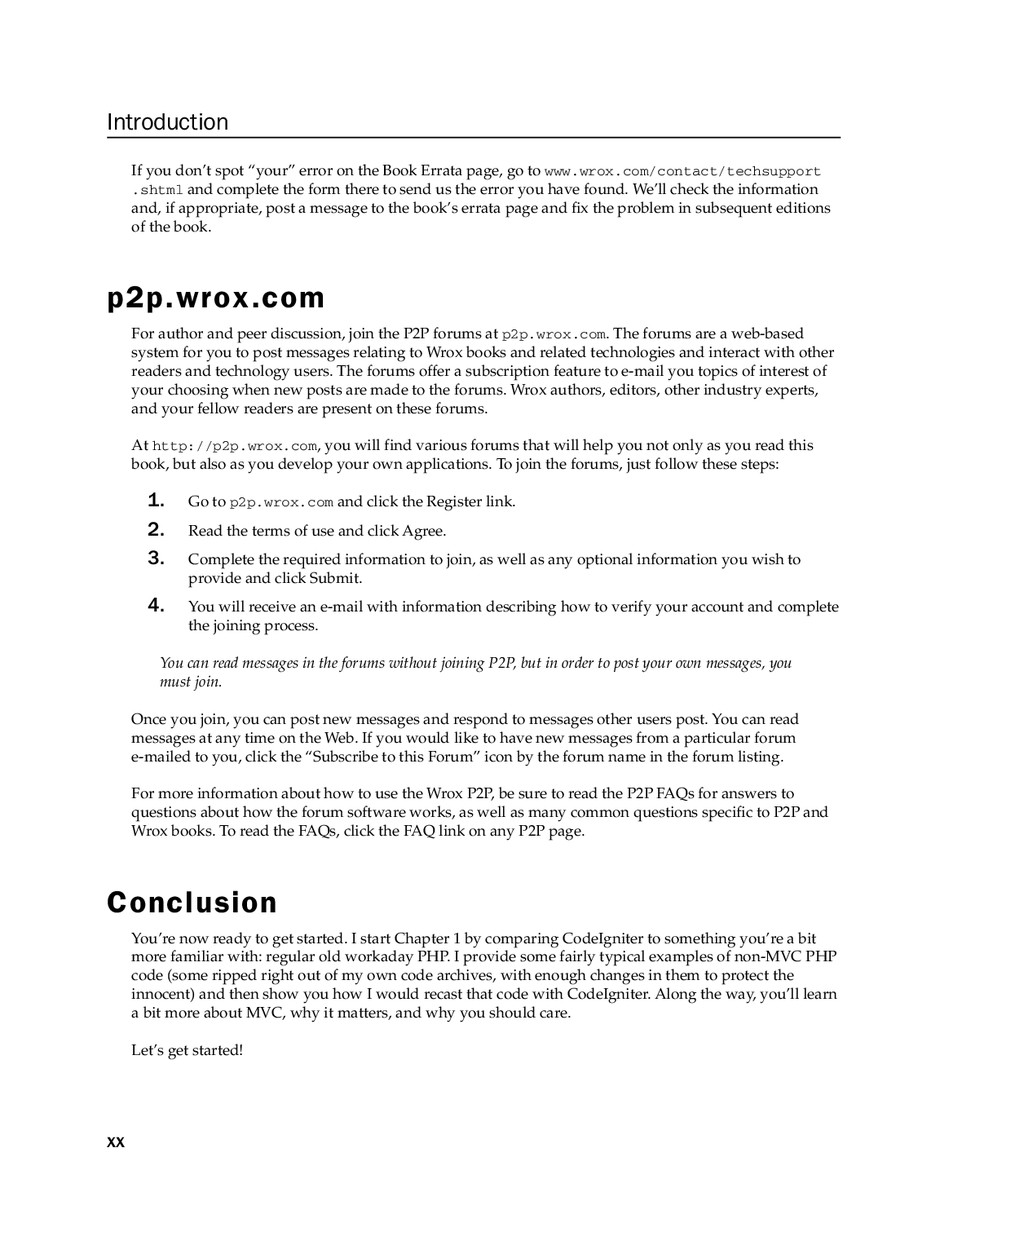
![Chapter 5: Building a Shopping Cart 111 }else{ $cart[$productid] =](https://files.speakerdeck.com/presentations/5825c0004f8501326df356002103ac67/slide_133.jpg)
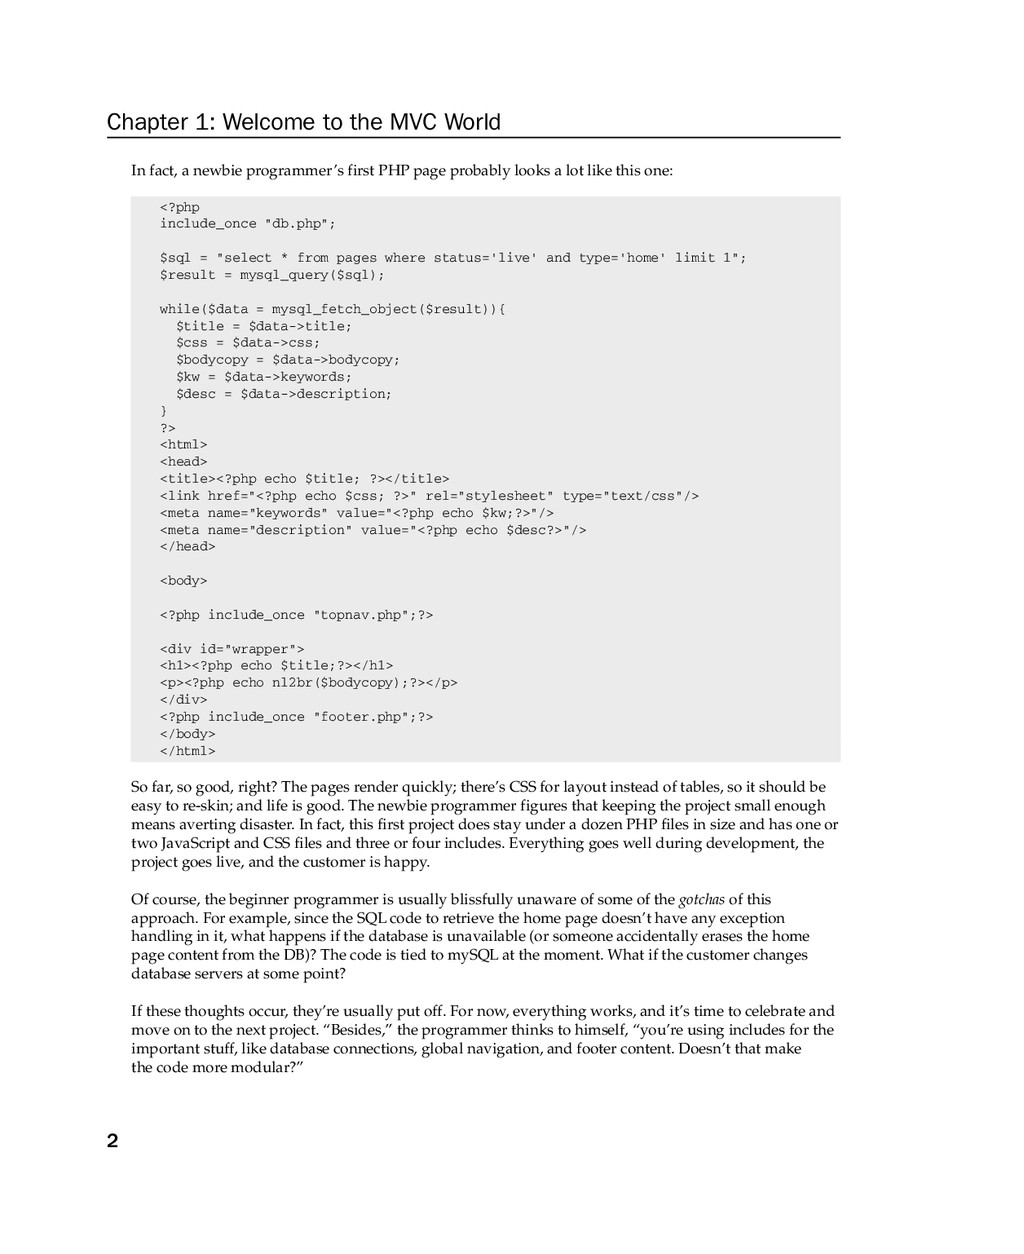
![Chapter 5: Building a Shopping Cart 138 anchor(‘welcome/cart/’.$list[‘id’],’add to cart’).](https://files.speakerdeck.com/presentations/5825c0004f8501326df356002103ac67/slide_160.jpg)
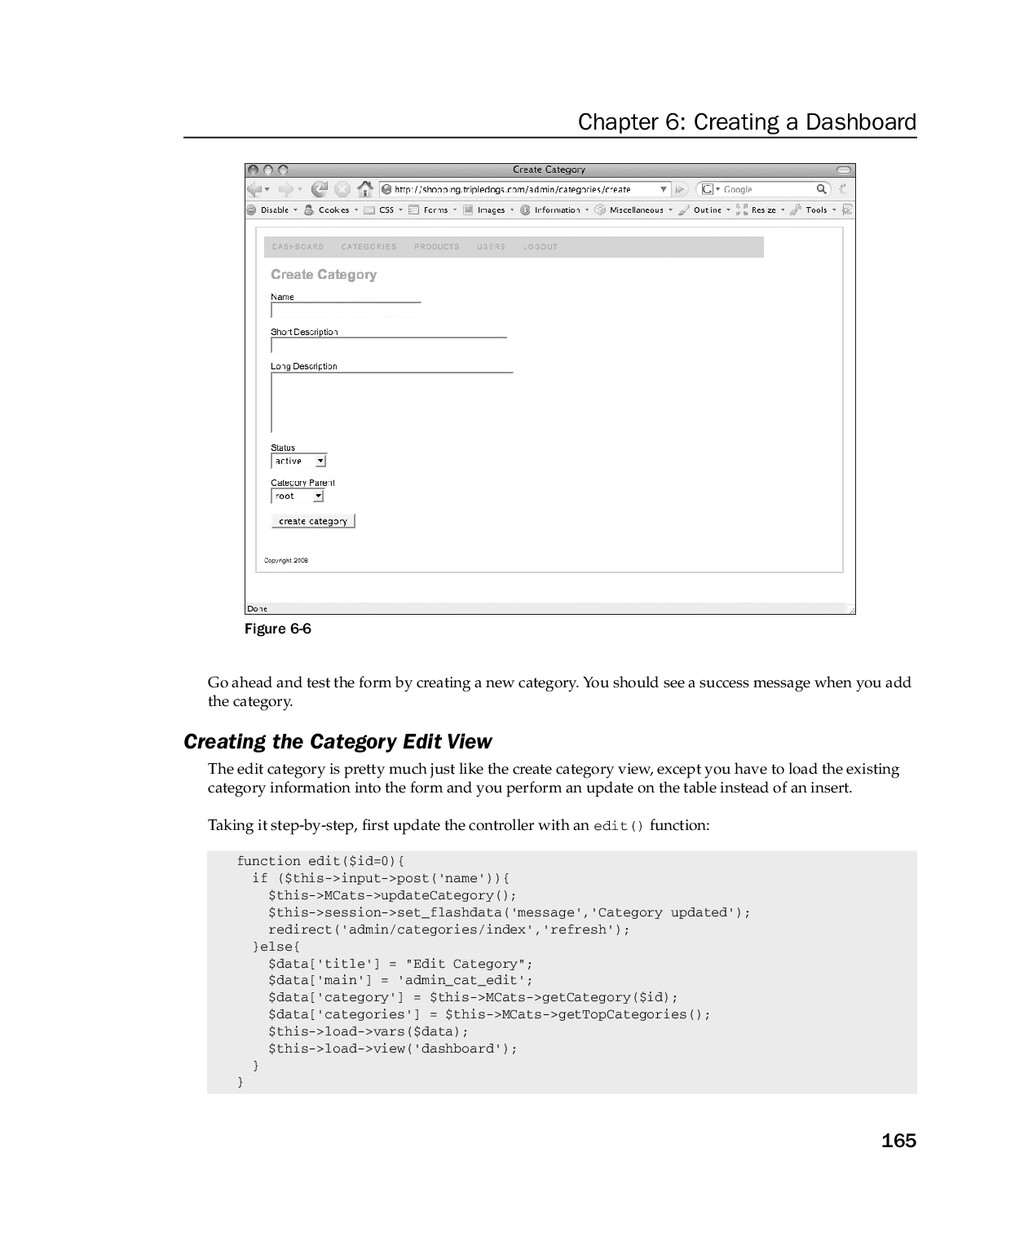
![Chapter 6: Creating a Dashboard 163 redirect(‘admin/categories/index’,’refresh’); }else{ $data[‘title’] =](https://files.speakerdeck.com/presentations/5825c0004f8501326df356002103ac67/slide_185.jpg)
![Chapter 6: Creating a Dashboard 172 $config[‘upload_path’] = ‘./images/’; $config[‘allowed_types’]](https://files.speakerdeck.com/presentations/5825c0004f8501326df356002103ac67/slide_194.jpg)
![Chapter 6: Creating a Dashboard 186 $_SESSION[‘username’] = $row[‘username’]; }else{](https://files.speakerdeck.com/presentations/5825c0004f8501326df356002103ac67/slide_208.jpg)
![Chapter 7: Improving the Dashboard 203 [line_1] = > Array](https://files.speakerdeck.com/presentations/5825c0004f8501326df356002103ac67/slide_225.jpg)
![Chapter 7: Improving the Dashboard 204 function csv2db(){ unset($_POST[‘submit’]); unset($_POST[‘csvgo’]);](https://files.speakerdeck.com/presentations/5825c0004f8501326df356002103ac67/slide_226.jpg)
![Chapter 7: Improving the Dashboard 226 $data[‘colors’] = $this- >](https://files.speakerdeck.com/presentations/5825c0004f8501326df356002103ac67/slide_248.jpg)
![Chapter 7: Improving the Dashboard 229 echo form_checkbox(‘colors[]’, $key, $checked).](https://files.speakerdeck.com/presentations/5825c0004f8501326df356002103ac67/slide_251.jpg)
![Chapter 7: Improving the Dashboard 231 $data[‘title’] = “Claudia’s Kids](https://files.speakerdeck.com/presentations/5825c0004f8501326df356002103ac67/slide_253.jpg)
![Chapter 7: Improving the Dashboard 232 Figure 7-17 echo anchor(‘welcome/product/’.$list[‘id’],’see](https://files.speakerdeck.com/presentations/5825c0004f8501326df356002103ac67/slide_254.jpg)
![Chapter 8: Last-Minute Upgrades 263 $this- > email- > from(‘[email protected]’,](https://files.speakerdeck.com/presentations/5825c0004f8501326df356002103ac67/slide_285.jpg)
![Chapter 9: Security and Performance 272 ‘status’ = > db_clean($_POST[‘status’],8)](https://files.speakerdeck.com/presentations/5825c0004f8501326df356002103ac67/slide_294.jpg)
![Chapter 9: Security and Performance 279 ‘name’ = > db_clean($_POST[‘name’],32)](https://files.speakerdeck.com/presentations/5825c0004f8501326df356002103ac67/slide_301.jpg)
![Chapter 9: Security and Performance 285 $data[‘colors’] = $this- >](https://files.speakerdeck.com/presentations/5825c0004f8501326df356002103ac67/slide_307.jpg)