Upgrade to Pro — share decks privately, control downloads, hide ads and more …

Cucumber Automation Testing

Nathan Kleyn
November 12, 2013

Cucumber Automation Testing

The basics of Cucumber Automation Testing, and some best practices when it comes to formatting and code style.

Nathan Kleyn

November 12, 2013
Tweet

More Decks by Nathan Kleyn

Other Decks in Programming

Transcript

  1. Basics Cucumber is a BDD test framework. We use it

    to test that the behaviour of things is as we expect.
  2. Basics The test outline is written in a language called

    “Gherkin”. It uses the “Given”, “When”, “Then” format.
  3. Basics Given we have a release to do And “Chris”

    is asked to deploy it When we go to deploy Then “Chris” should be sad And the release should be “on fire”
  4. Basics Given /”([^”]+)” is asked to deploy it/ do |name|

    @deployer = Person.new(name) @release.deployer = @deployer end
  5. Basics The When steps are some form of action. These

    actions should depend on the state that was setup when the Given steps were run (if any).
  6. Basics Finally, the Then steps consist of the assertions to

    make sure everything went as expected.
  7. Basics And that’s it! Cucumber catches the exceptions that expect

    (which comes from the RSpec expectations gem) throws, and turns them into pretty errors that explain where your test failed.
  8. Directory Structure The Gemfile contains a list of our dependencies,

    which are fetched from RubyGems.org. The Gemfile.lock contains rules about versions for these, and is auto-generated when a version is updated.
  9. Directory Structure The projects directory contains the sanity directory. This

    is where our tests are kept. /automation-tests/cucumber/projects/sanity
  10. Directory Structure You can run the tests from here: $

    cucumber This will run all of the tests.
  11. Directory Structure The Gherkin steps go in files called foobar.feature,

    and should be saved into the sanity/features directory.
  12. Directory Structure The step definitions go in files called foobar.rb,

    and should be saved in the sanity/features/step_definitions directory.
  13. Directory Structure For example, we have api_server.rb, a helper class

    that encapsulates the URLs we need to build when testing across all of our servers.
  14. Directory Structure There is also env.rb, a special Cucumber file

    that gets loaded first and contains the global before/after hooks for the tests. Any global setup goes in here.
  15. Directory Structure support/widgets contains files that define helpers suitable for

    encapsulating the location of certain DOM nodes and popup windows while testing.
  16. Directory Structure Methods you define in support/widgets/base_widget.rb are automatically accessible

    from your step definitions. This is thanks to the World(PageWidgets) call at the bottom of this file.
  17. The steps of a single test are referred to as

    a “Scenario”. Structure of Tests
  18. Scenario: Deploying with no internet Given we have no internet

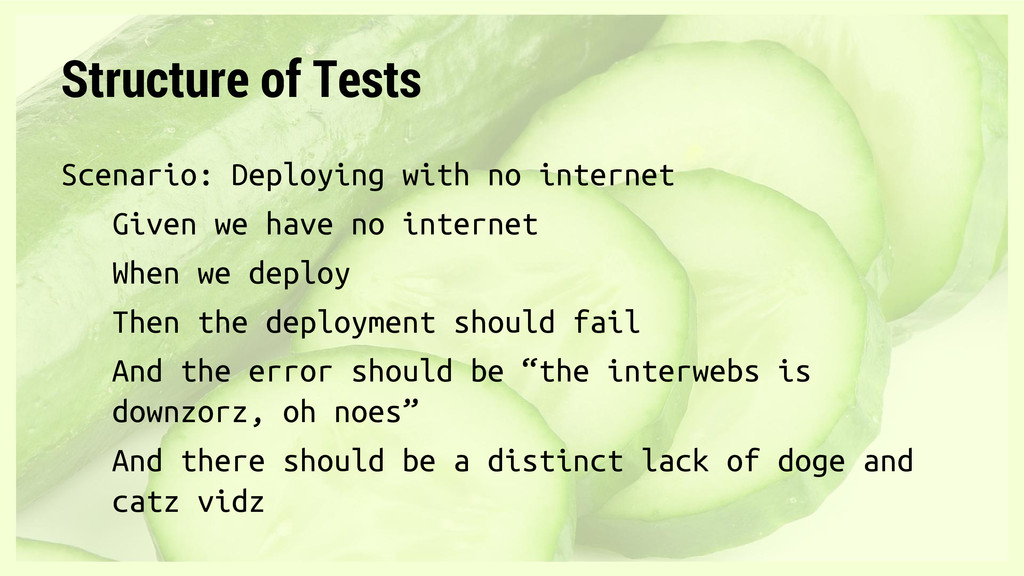
    When we deploy Then the deployment should fail And the error should be “the interwebs is downzorz, oh noes” And there should be a distinct lack of doge and catz vidz Structure of Tests
  19. You can have as many Scenarios in a feature file

    as you want. Structure of Tests
  20. However, each feature file should contain only related Scenarios. For

    example, one feature file for Social Login, and one feature file for Public Sharing. Structure of Tests
  21. Scenario: Social Login With Facebook Given I sign in with

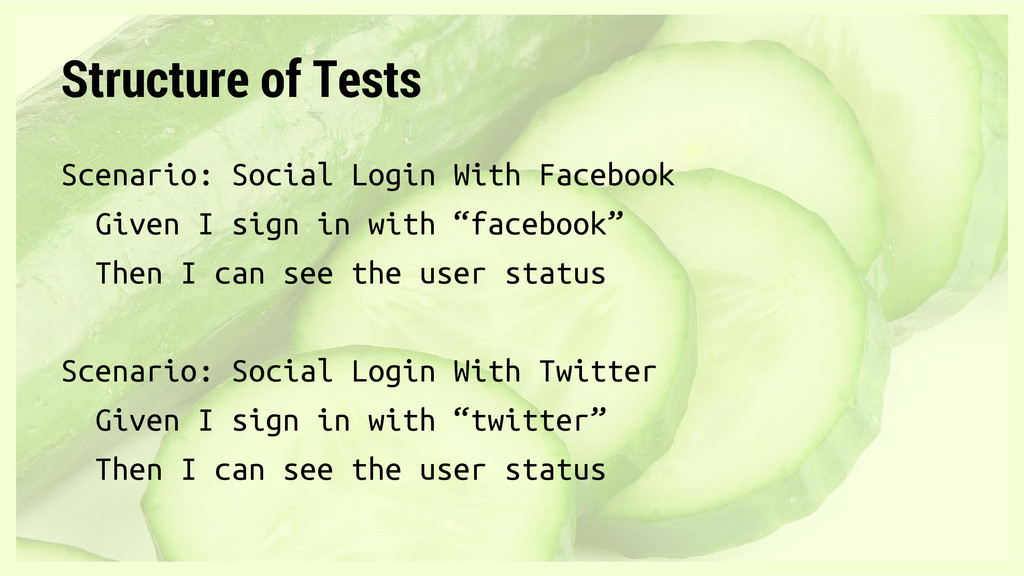
    “facebook” Then I can see the user status Scenario: Social Login With Twitter Given I sign in with “twitter” Then I can see the user status Structure of Tests
  22. Scenario Outline: Social Login When I sign in with “<social_network>”

    Then I can see the user status Examples: | social_network | | facebook | | twitter | Structure of Tests
  23. Tags can be placed above a Scenario (Outline), or above

    the Feature line to apply to all tests in the feature file. @foo @bar Feature: Something Scenario: ... Structure of Tests
  24. Directory Structure You can run just certain tags: $ cucumber

    -t @foo This will run all of the tests tagged with @foo.
  25. Watir As an example, to find an <a> with an

    ID: @browser.link(:id => “foobar”)
  26. Watir To find a <button> with a selector: @browser.element(:css =>

    “body > button:nth-child (2)”).to_subtype
  27. Watir All of these calls will return an element object.

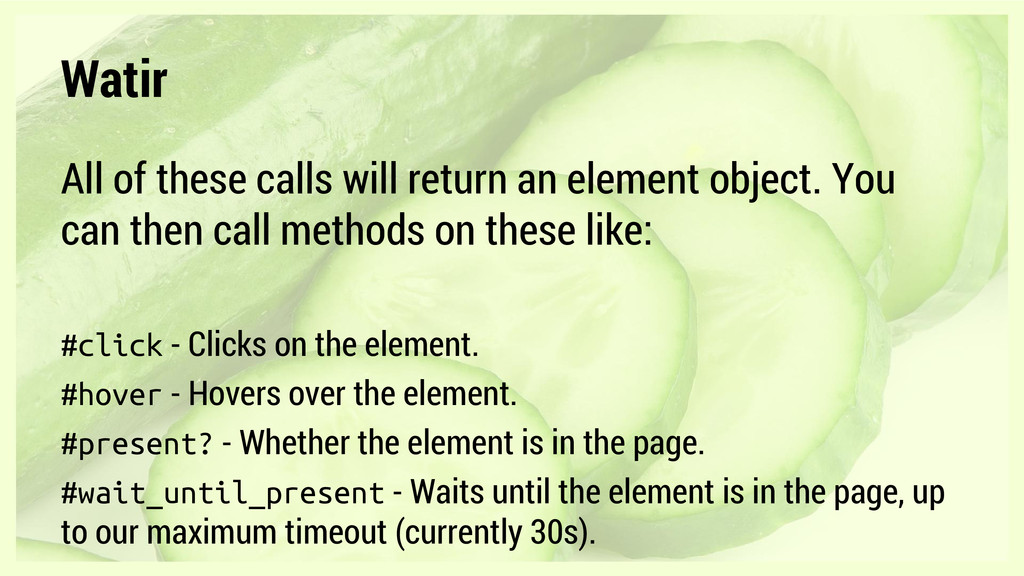
    You can then call methods on these like: #click - Clicks on the element. #hover - Hovers over the element. #present? - Whether the element is in the page. #wait_until_present - Waits until the element is in the page, up to our maximum timeout (currently 30s).
  28. Watir Watir has lots of other methods you can use,

    see the docs for it or look at our existing automation tests for more information.
  29. Manual of Style No auto-formatting. Do not use the auto-formatting

    tool in IntelliJ yet, it causes conflicts over formatting changes.
  30. Manual of Style This is bad: Scenario Outline: Foo Given

    … Examples: | foo | bar | | ... | ... |
  31. Manual of Style This is good: Scenario Outline: Foo Given

    … Examples: | foo | bar | | ... | ... |
  32. Things to Remember You must always check whether an existing

    step definition can do what you need without adding a new one.
  33. Things to Remember When I select the option "<plugin option>"

    When I select social-recommendations plugin When I select the “social-recommendations”
  34. Things to Remember These all did the same thing. They

    are being replaced with simply: When I select the "<plugin option>" plugin from the plugin list
  35. Things to Remember If people can’t find a step definition,

    they will just create a new one, so getting the wording and names of features right is very important.
  36. Things to Remember Other examples of bad names: Social Logging

    # Bad, not the right name Social Login # Good, the right name
  37. Things to Remember At least three names for the same

    thing: IntentHQ Plugin Builder tool # Bad HQ plugin builder # Bad plugin builder page # Bad The plugin builder # Good
  38. Things to Remember Make sure to pay close attention to

    keep your steps doing what their verb says they do: Givens are setup Whens are actions Thens are assertions
  39. Things to Remember If one of your steps does more

    than one of these types of things, split the step up appropriately.
  40. Things to Remember Remember, you are describing a feature, not

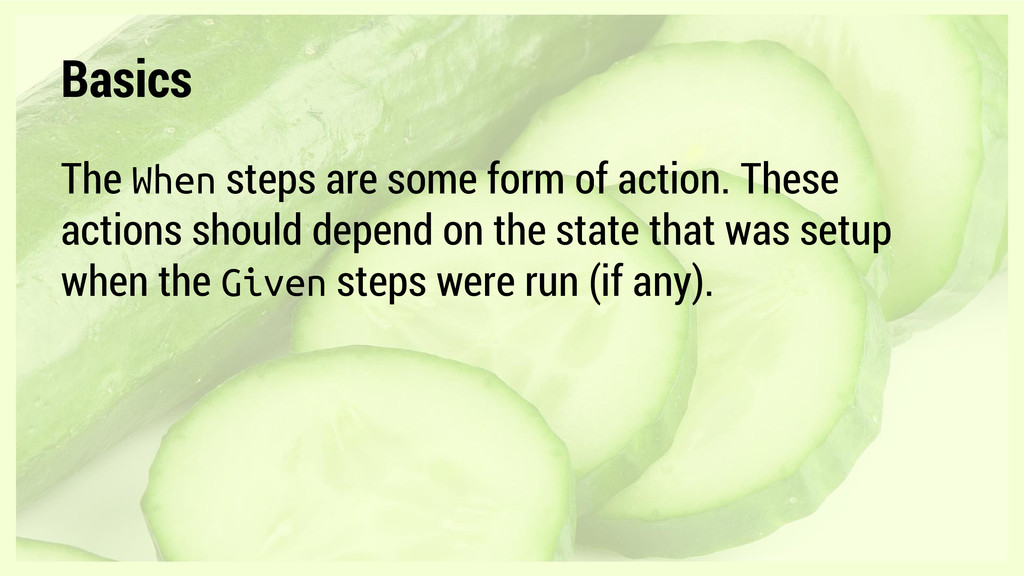
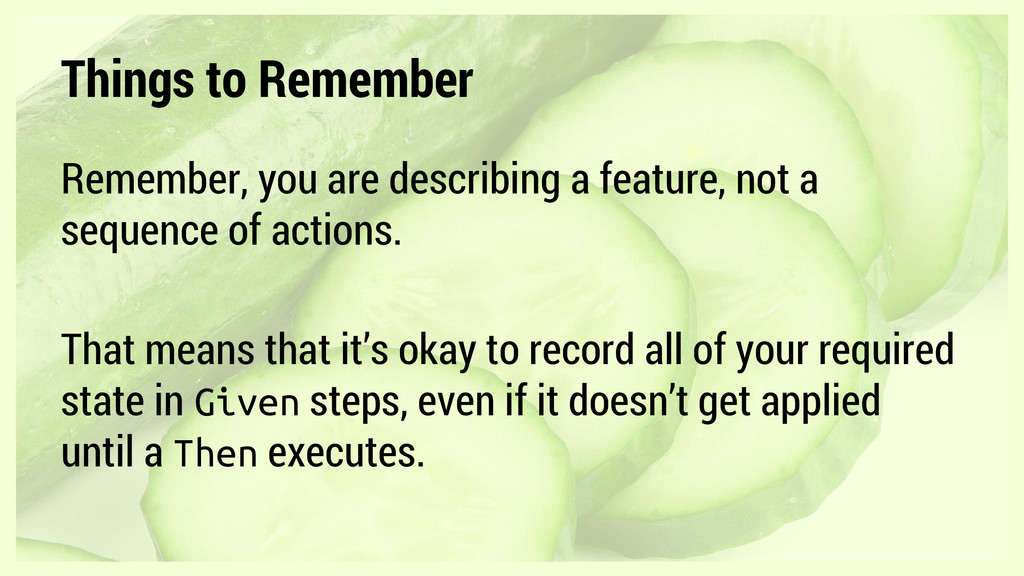
    a sequence of actions. That means that it’s okay to record all of your required state in Given steps, even if it doesn’t get applied until a Then executes.
  41. We have three environment variables we look for when we

    run the tests. TEST_BROWSER TEST_SERVER TEST_NO_HEADLESS Tricks and Tips
  42. TEST_BROWSER Sets the browser to run the tests in. Valid

    values are firefox, chrome and safari. Defaults to chrome. Tricks and Tips
  43. TEST_SERVER Sets the server to run the tests against. Valid

    values are local, devn (eg. dev1), staging and live. Defaults to local. Tricks and Tips
  44. TEST_NO_HEADLESS If set, the tests will not run in headless

    mode. This means you’ll be able to see the browser. Tricks and Tips
  45. You can either export these (perhaps in your .{ba,z} shrc:

    $ export TEST_BROWSER=firefox $ export TEST_SERVER=dev2 $ export TEST_NO_HEADLESS=true $ cucumber Tricks and Tips
  46. Or give them inline (they are, after all, just normal

    old environment variables): $ TEST_BROWSER=firefox TEST_SERVER=dev2 TEST_NO_HEADLESS=true cucumber Tricks and Tips
  47. Useful Links • Cucumber: http://cukes.info/ • Cucumber Book: Ask Vamsi!

    • RSpec Expectations: https://www.relishapp. com/rspec/rspec-expectations/docs https://github.com/rspec/rspec-expectations