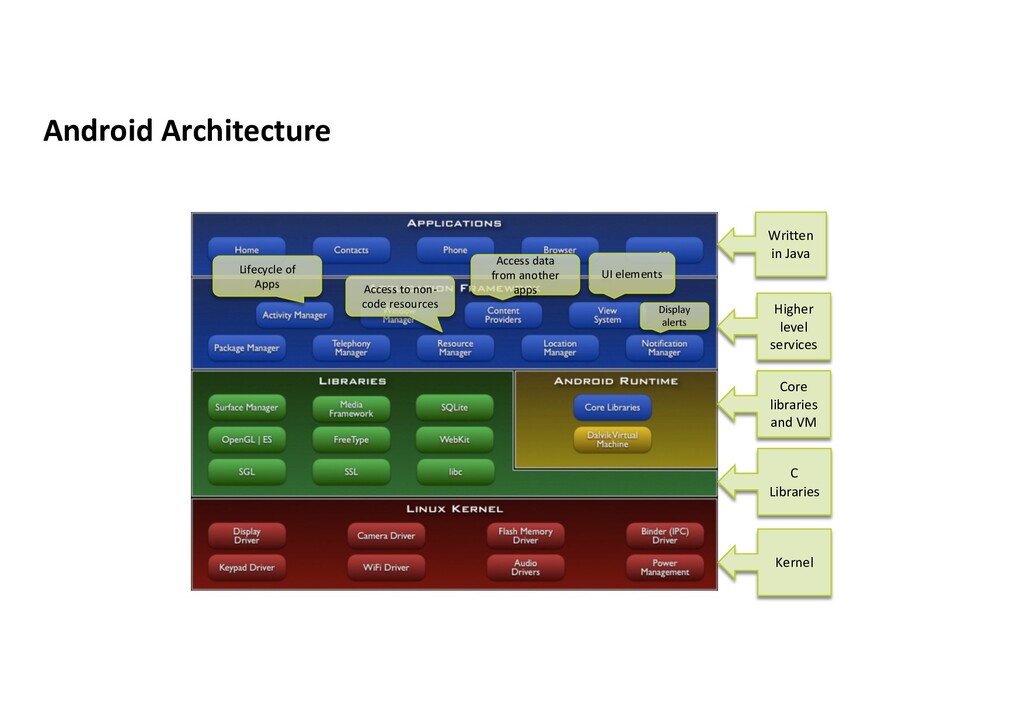
kernel enhancements to support Android • No standard GNU C (glibc) Library support • Uses custom libc (bionic libc) because of performance and licensing issues • No native windowing system • Does not include full set of standard Linux utilities • To access shell, use adb shell command
files can be installed via memory card, web sites, e-mail • App stores • Several stores available • Google Play Store • Amazon App Store • GetJar App Store • Samsung Apps • Nokia Store
software store developed by Google • Music, Books, Magazines, Movies and Apps • Preinstalled on some Android devices • To publish, developer must pay ~17€ (Visa, Visa Electron) • Developer gets 70% of the app price
Contains all necessary command line tools for building and running your apps • When SDK tools are downloaded and installed, you must • Install Android Platform • Configure emulator
Win: /Users/<user>/sdk • Features • GitHub integration • Build apps for phones, TV, Google Glass • Better virtual device manager • Layout editor • Built on top of IntelliJ IDEA
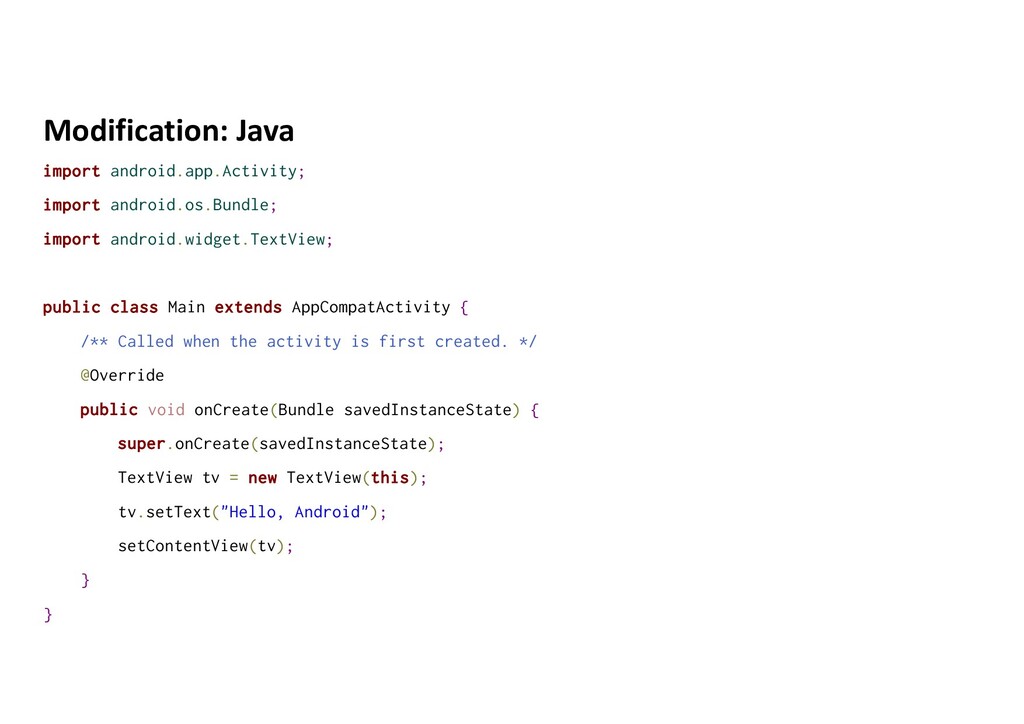
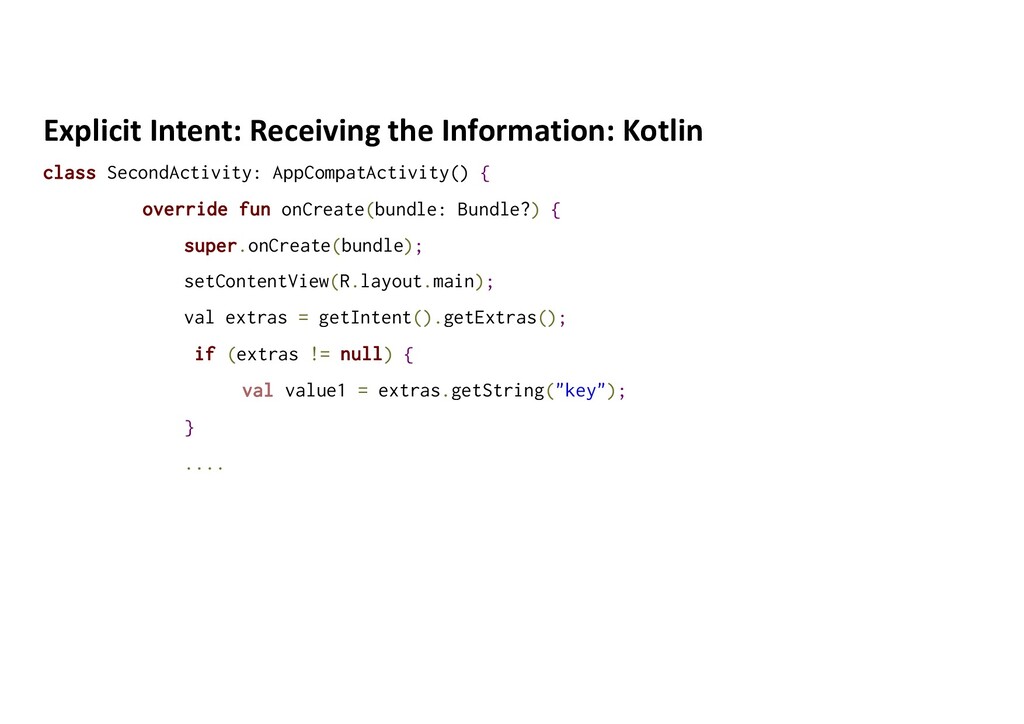
Main extends AppCompatActivity { /** Called when the activity is first created. */ @Override public void onCreate(Bundle savedInstanceState) { super.onCreate(savedInstanceState); TextView tv = new TextView(this); tv.setText("Hello, Android"); setContentView(tv); } }
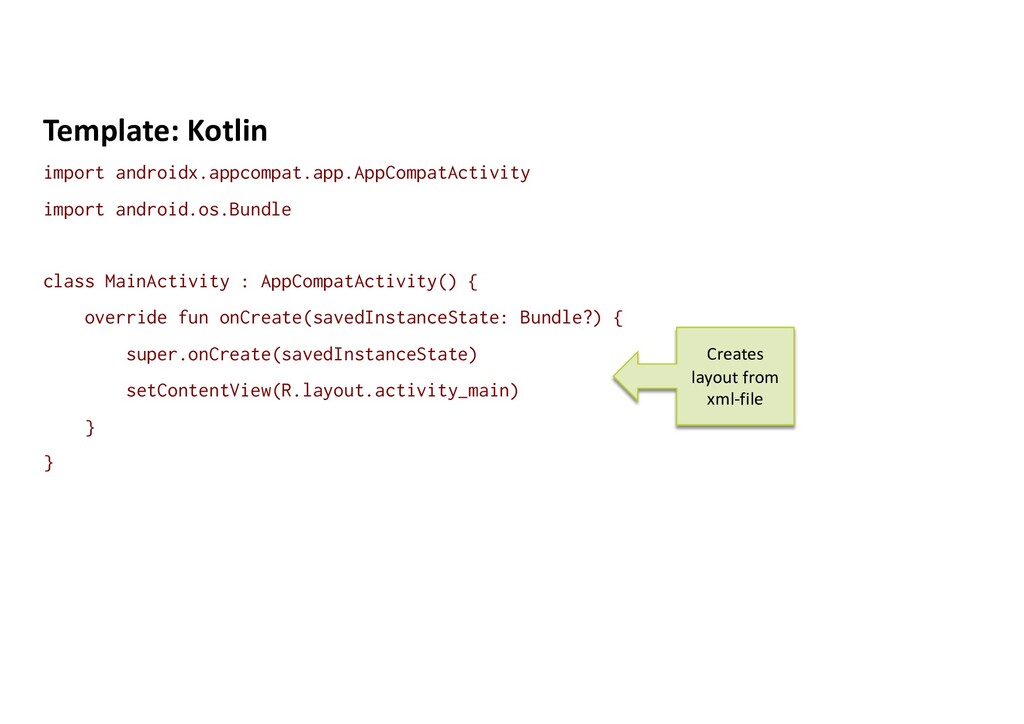
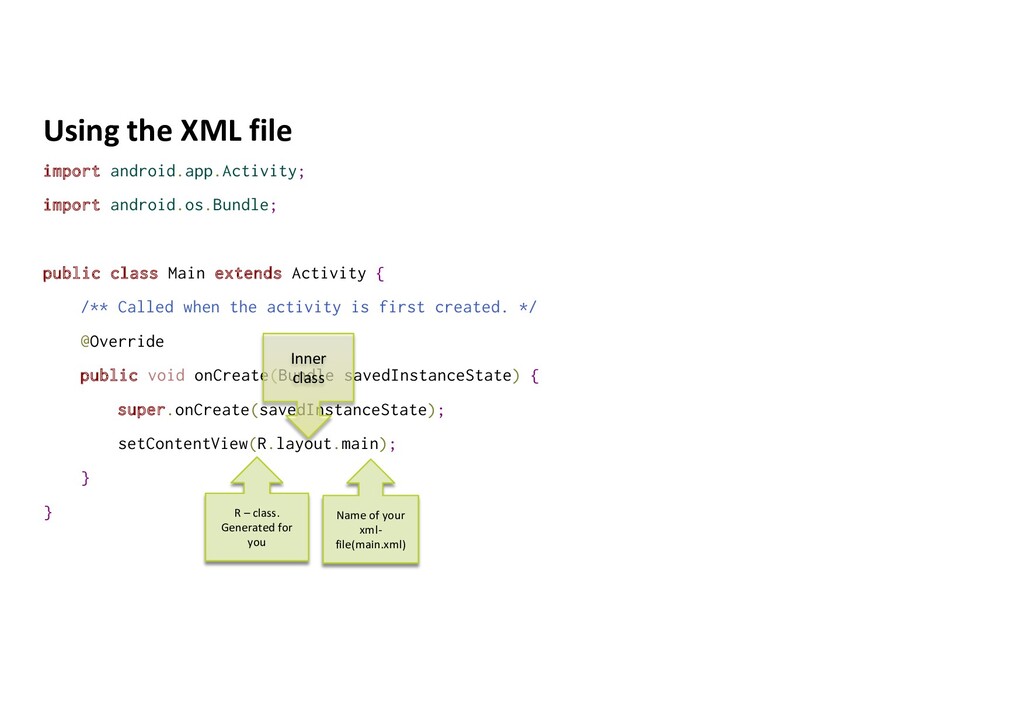
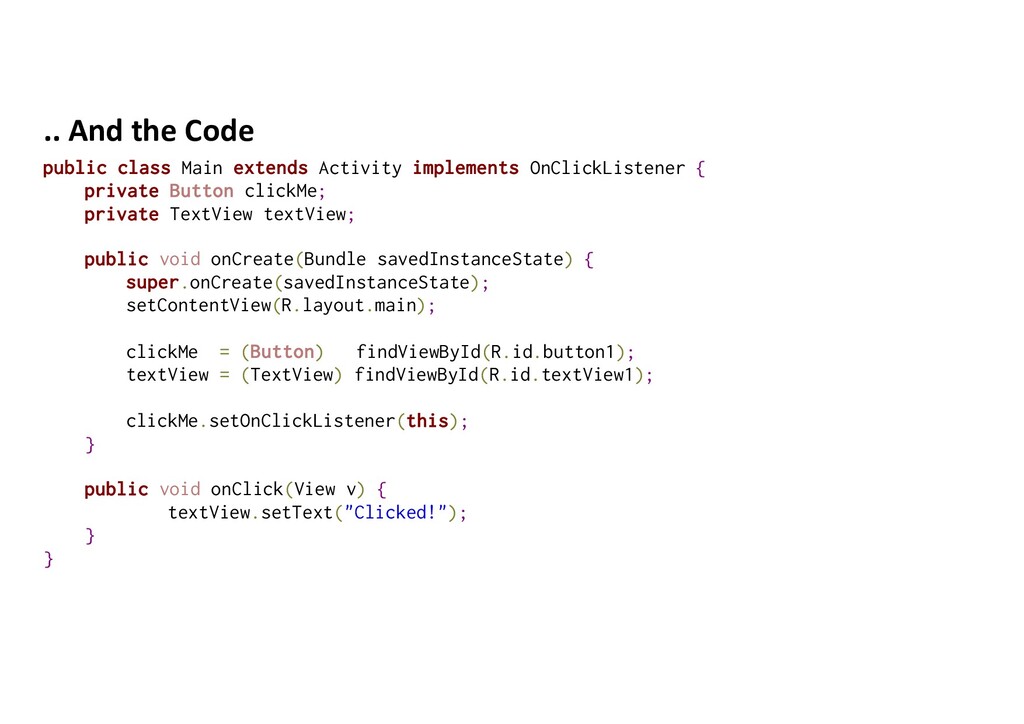
Main extends Activity { /** Called when the activity is first created. */ @Override public void onCreate(Bundle savedInstanceState) { super.onCreate(savedInstanceState); setContentView(R.layout.main); } } Name of your xml- file(main.xml) R – class. Generated for you Inner class
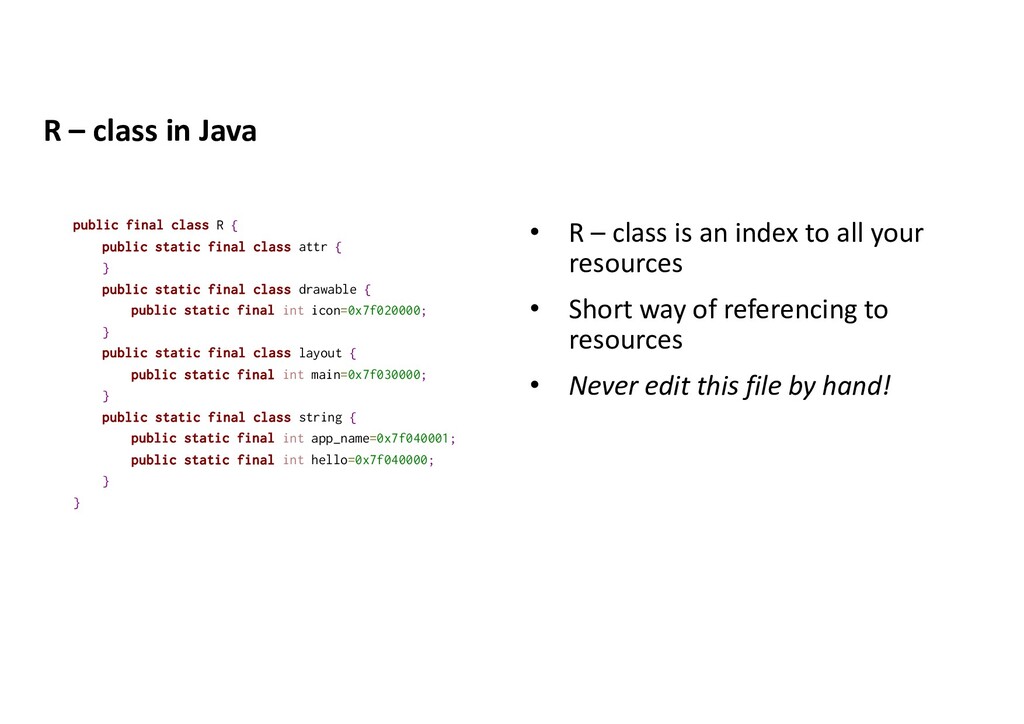
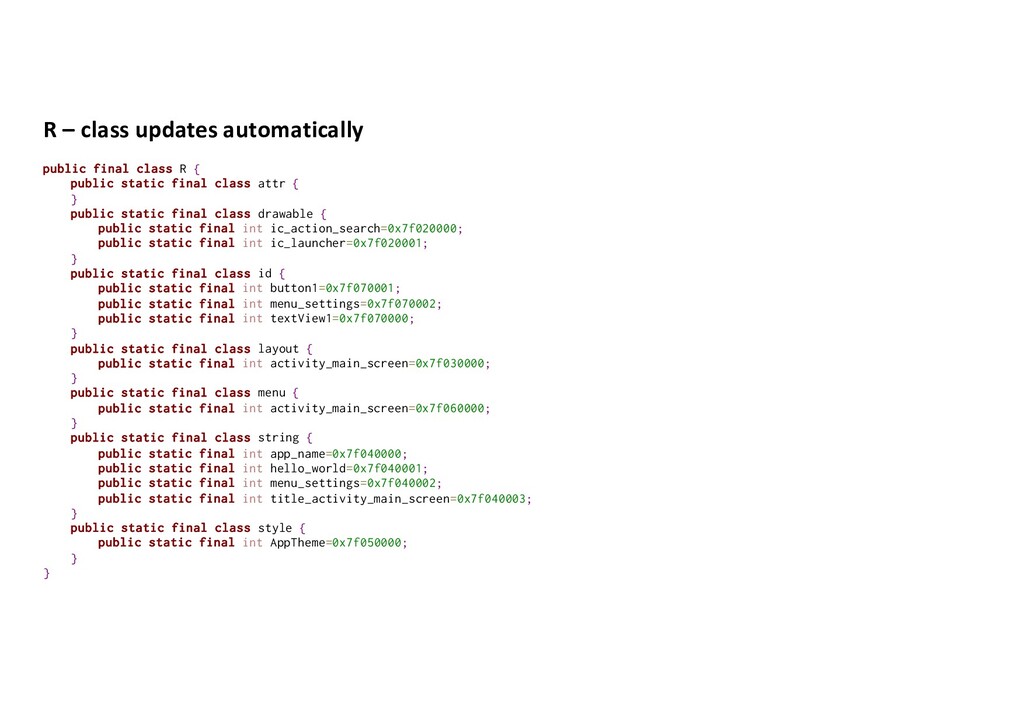
public static final class attr { } public static final class drawable { public static final int icon=0x7f020000; } public static final class layout { public static final int main=0x7f030000; } public static final class string { public static final int app_name=0x7f040001; public static final int hello=0x7f040000; } } • R – class is an index to all your resources • Short way of referencing to resources • Never edit this file by hand!
public static final class attr { } public static final class drawable { public static final int ic_action_search=0x7f020000; public static final int ic_launcher=0x7f020001; } public static final class id { public static final int button1=0x7f070001; public static final int menu_settings=0x7f070002; public static final int textView1=0x7f070000; } public static final class layout { public static final int activity_main_screen=0x7f030000; } public static final class menu { public static final int activity_main_screen=0x7f060000; } public static final class string { public static final int app_name=0x7f040000; public static final int hello_world=0x7f040001; public static final int menu_settings=0x7f040002; public static final int title_activity_main_screen=0x7f040003; } public static final class style { public static final int AppTheme=0x7f050000; } }
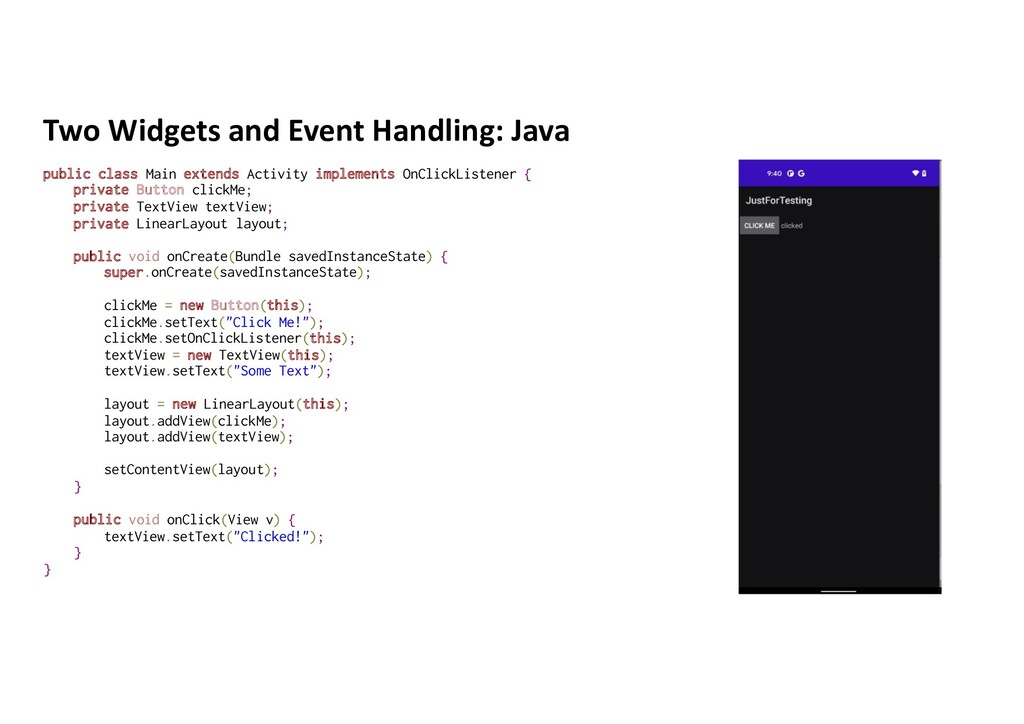
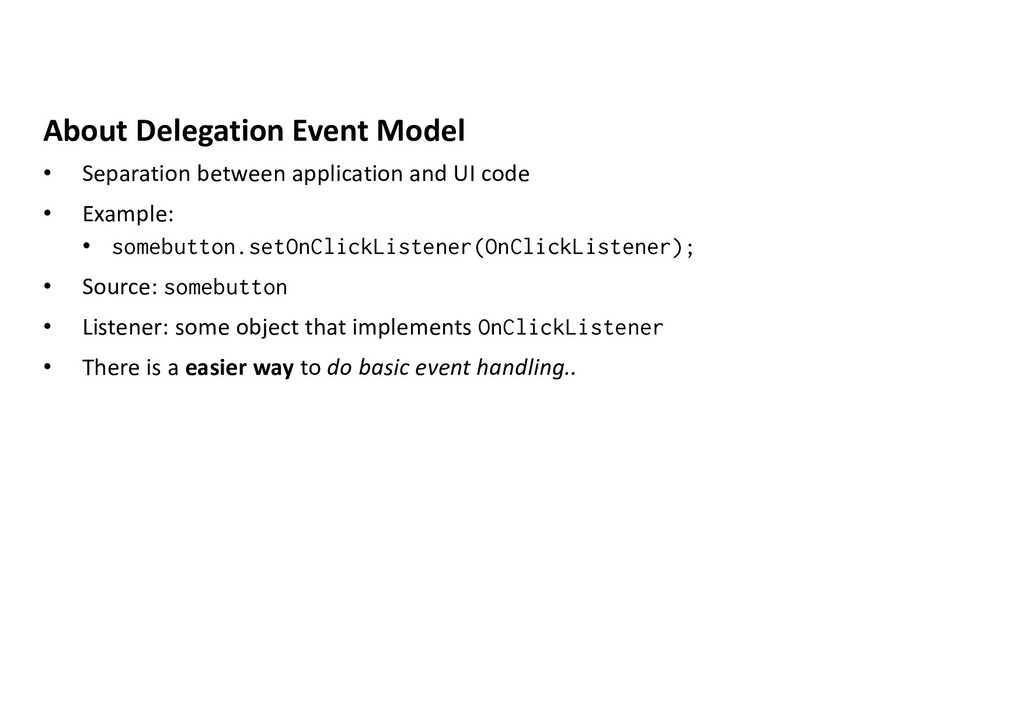
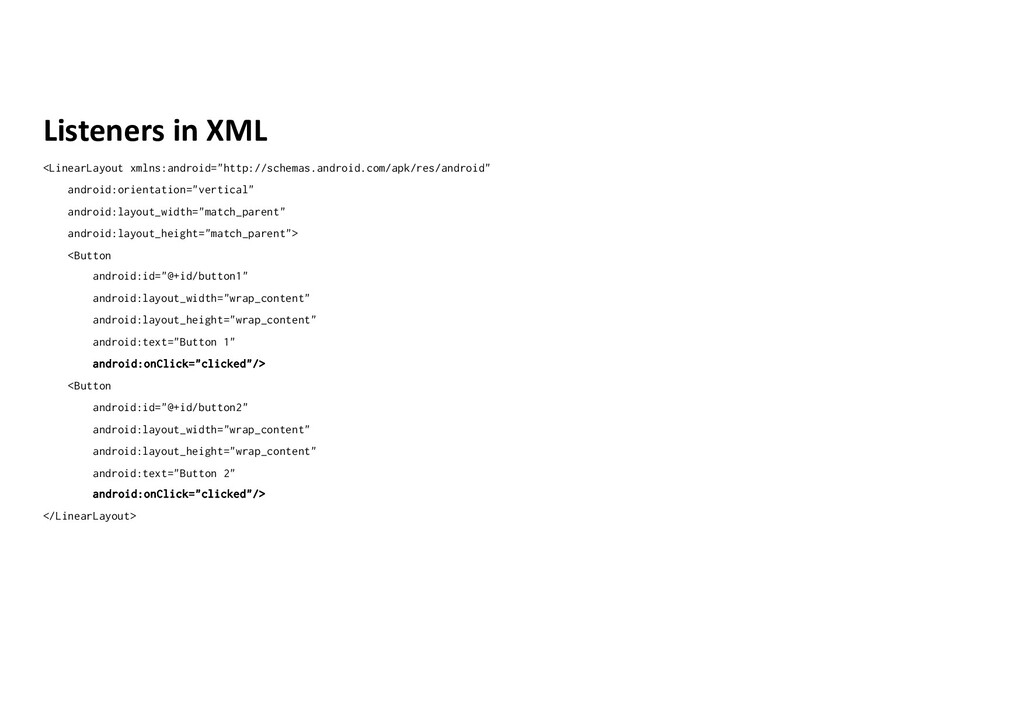
code • Example: • somebutton.setOnClickListener(OnClickListener); • Source: somebutton • Listener: some object that implements OnClickListener • There is a easier way to do basic event handling..
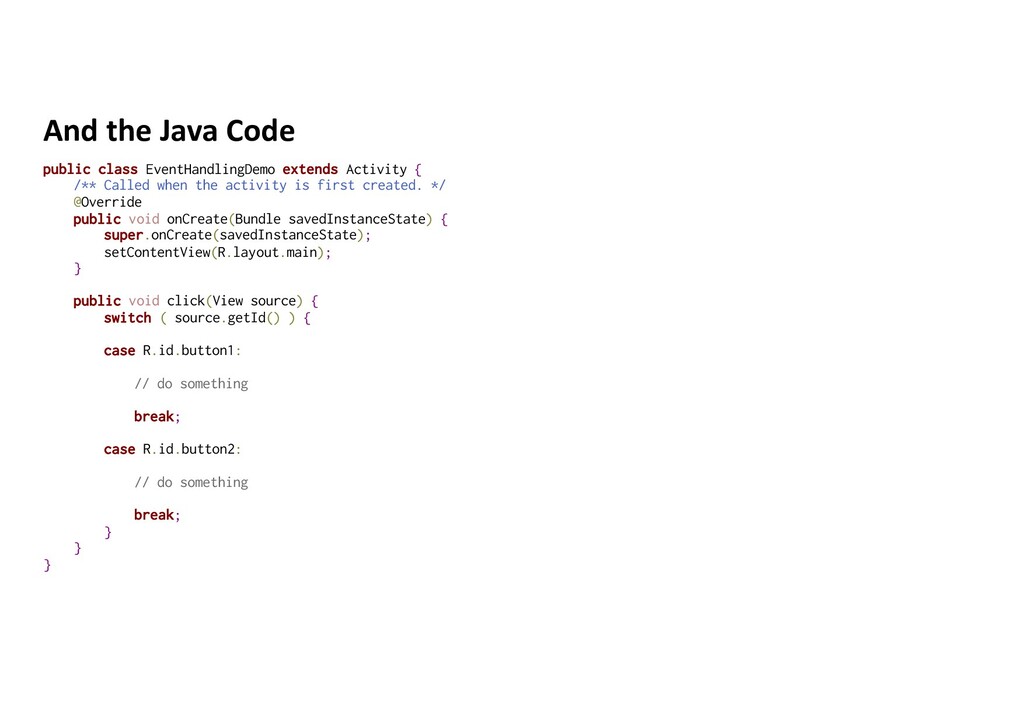
/** Called when the activity is first created. */ @Override public void onCreate(Bundle savedInstanceState) { super.onCreate(savedInstanceState); setContentView(R.layout.main); } public void click(View source) { switch ( source.getId() ) { case R.id.button1: // do something break; case R.id.button2: // do something break; } } }
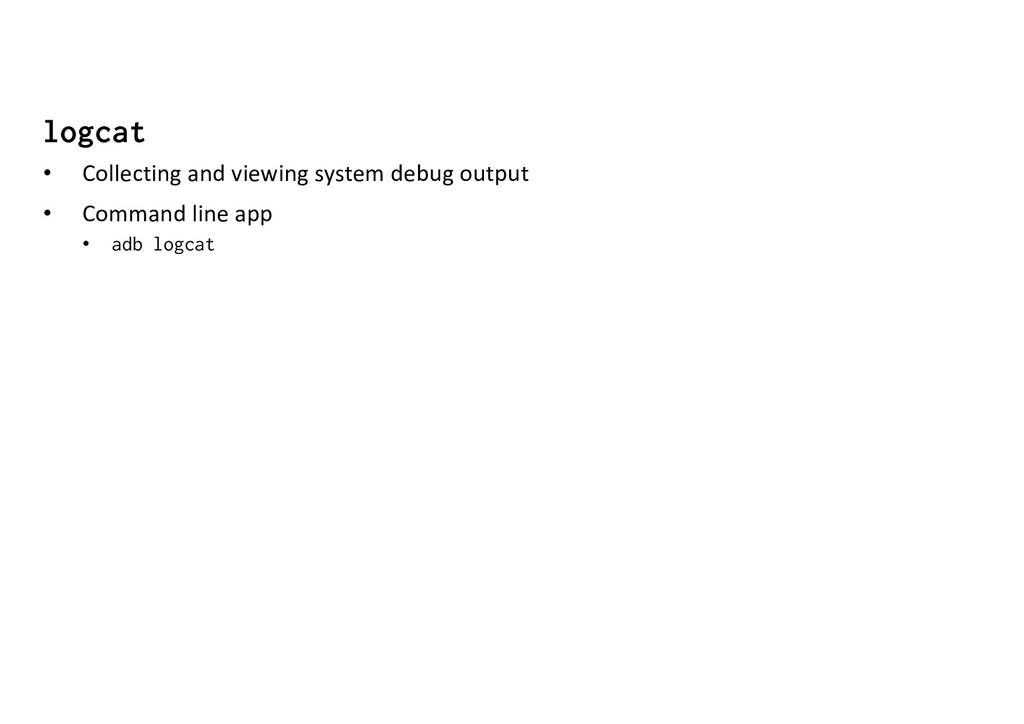
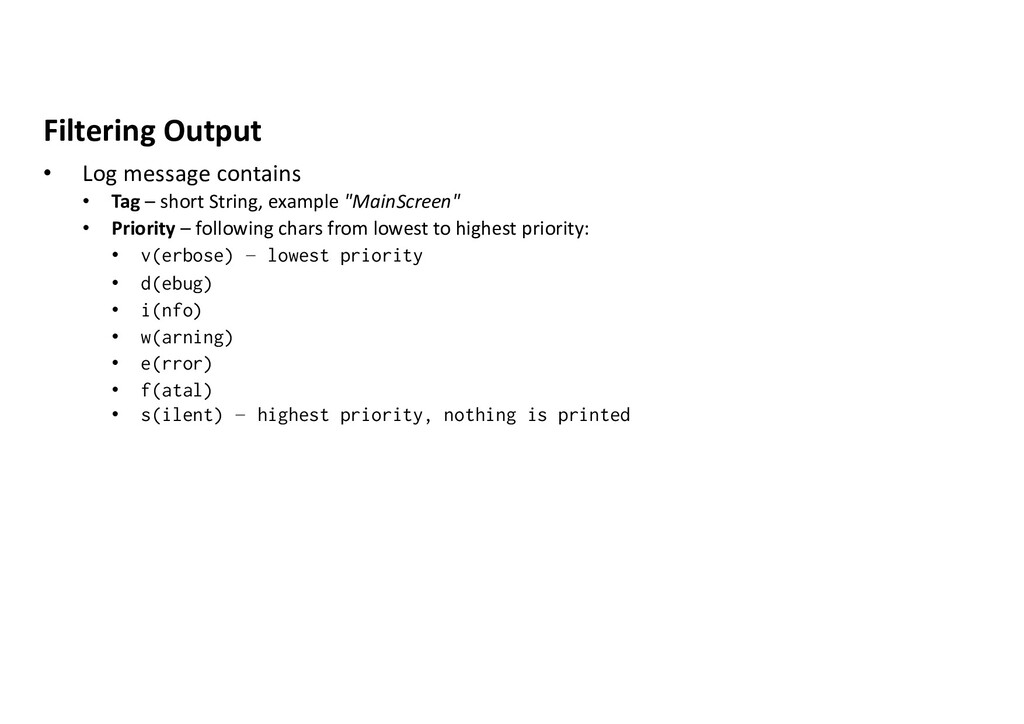
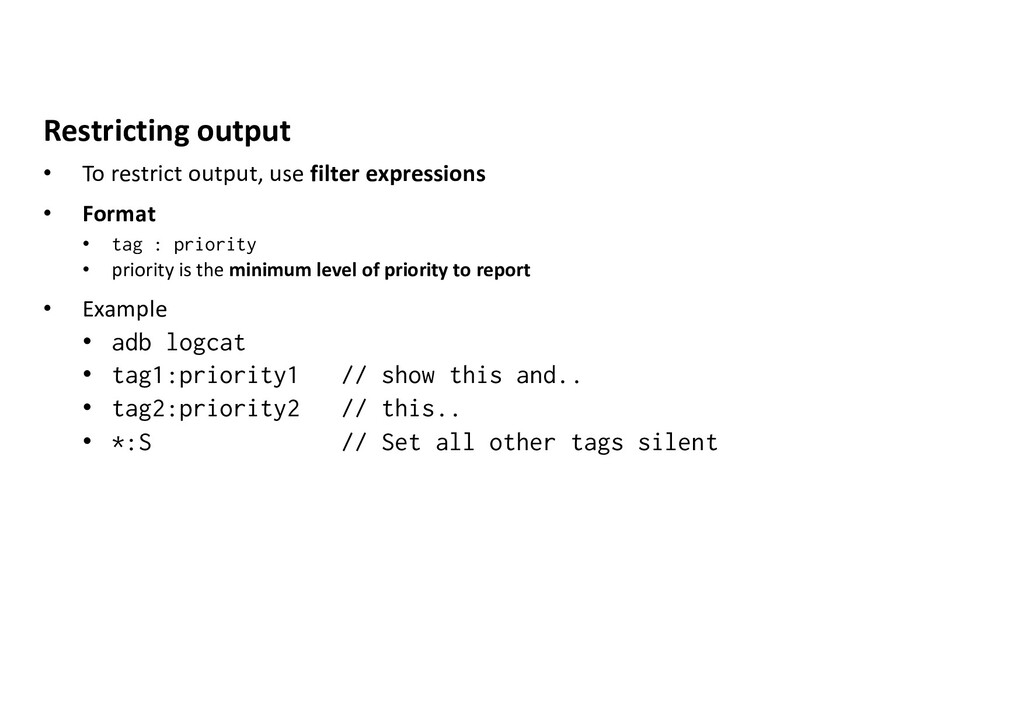
Format • tag : priority • priority is the minimum level of priority to report • Example • adb logcat • tag1:priority1 // show this and.. • tag2:priority2 // this.. • *:S // Set all other tags silent
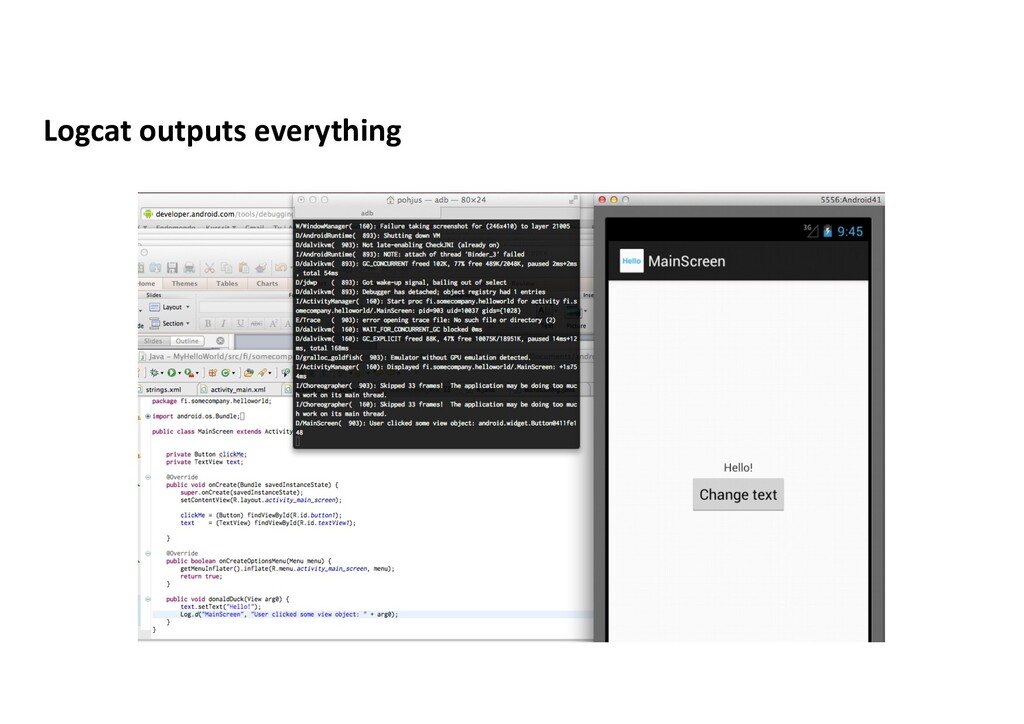
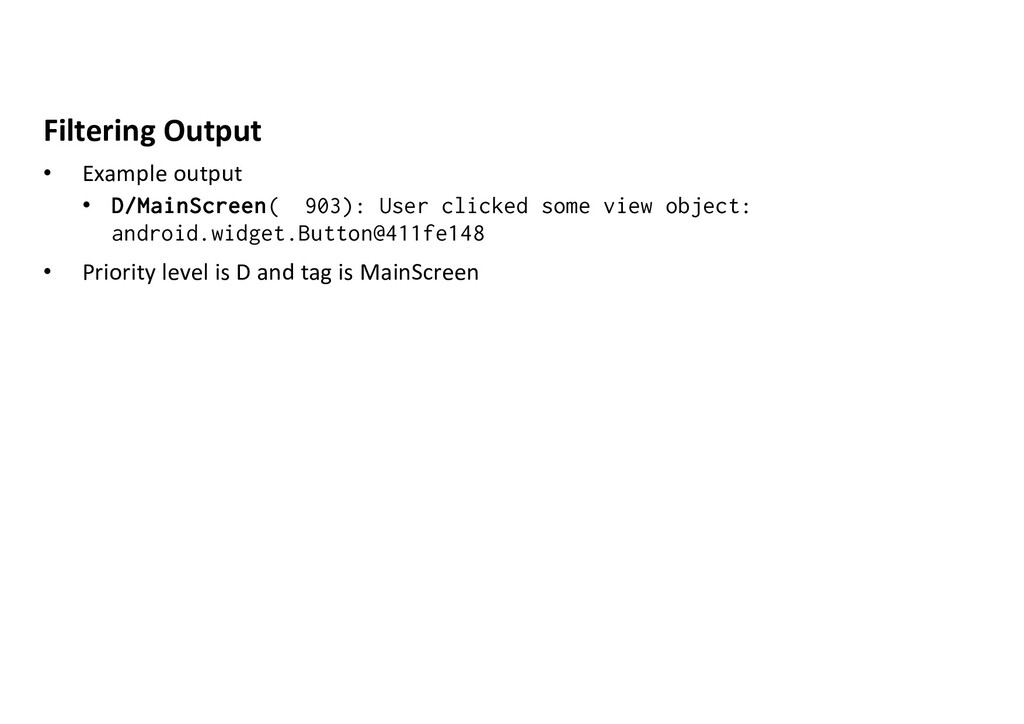
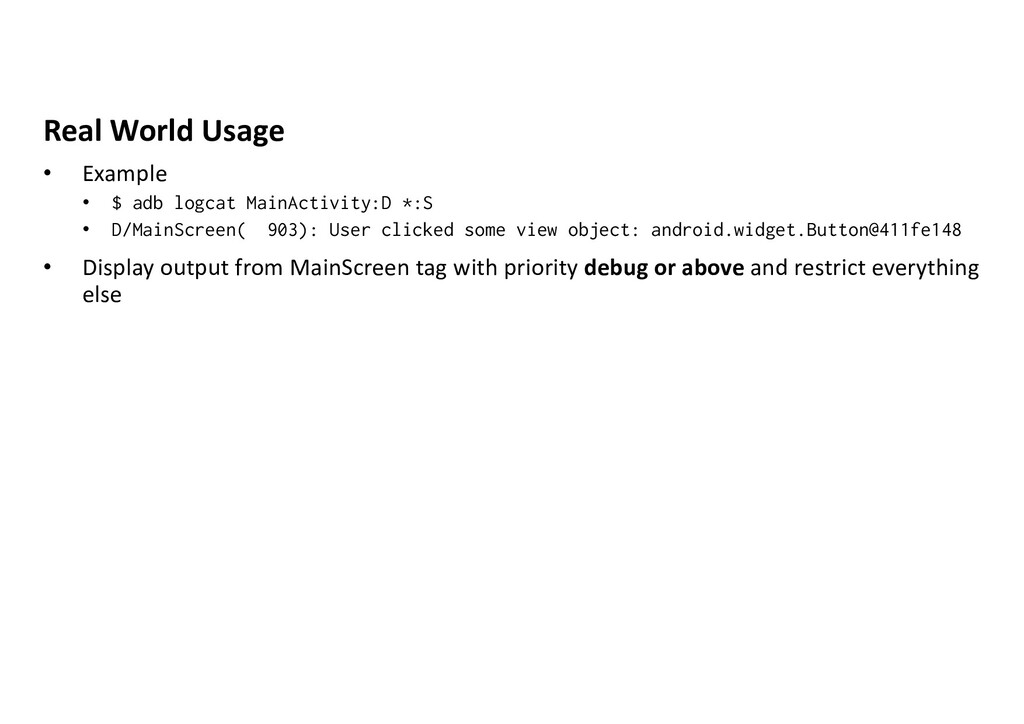
*:S • D/MainScreen( 903): User clicked some view object: android.widget.Button@411fe148 • Display output from MainScreen tag with priority debug or above and restrict everything else
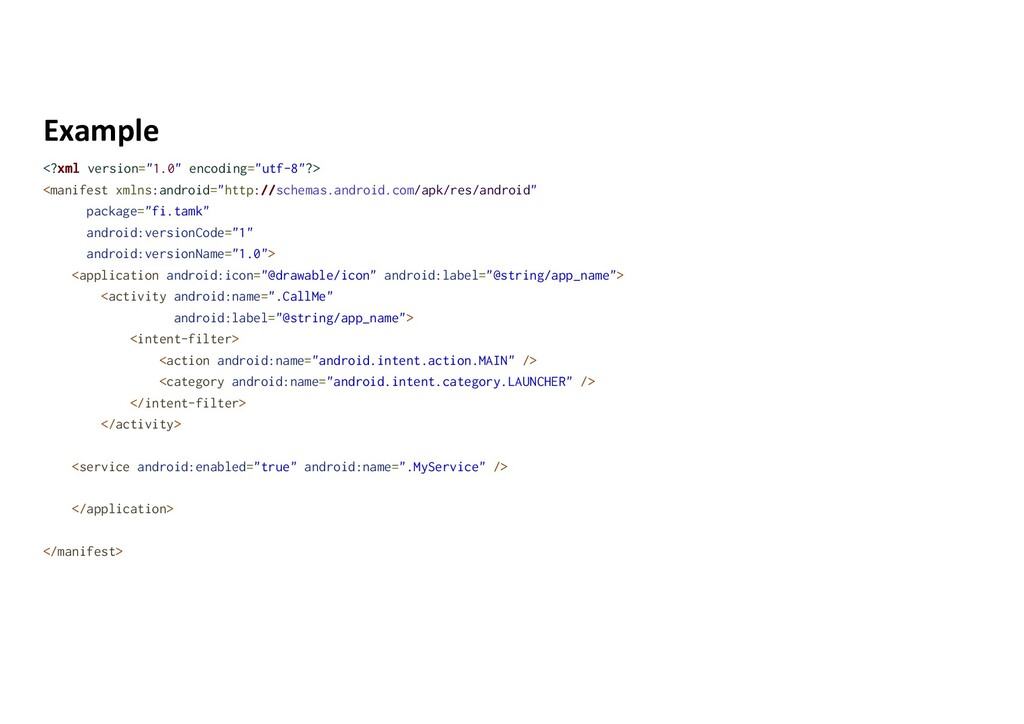
• Own process, app files only visible to the app • Apps can make use of other apps, information sharing, moving between apps • Apps are build using Android components • Every app holds a application description file (AndroidManifest.xml) • In the file you define the android components
User visible Window • Service: Background service (no UI) • Broadcast Receiver: receiving broadcasts from apps and system services • Content provider: Provides content to apps • Components are separate building blocks that can be accessed by other apps! • Components are usually declared in application manifest
the user can do • Equivalent to Frame or Window in GUI toolkits • Subclass of Activity – class • One app may have one or several activities • Each activity is given a default window to draw in • Window consists of views (widgets)
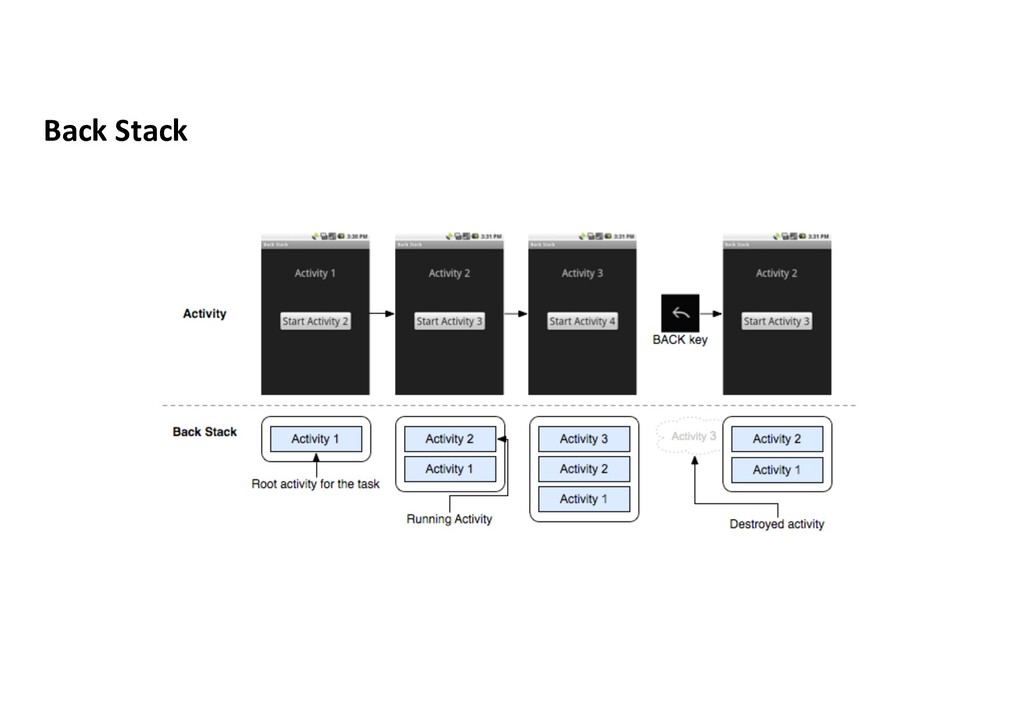
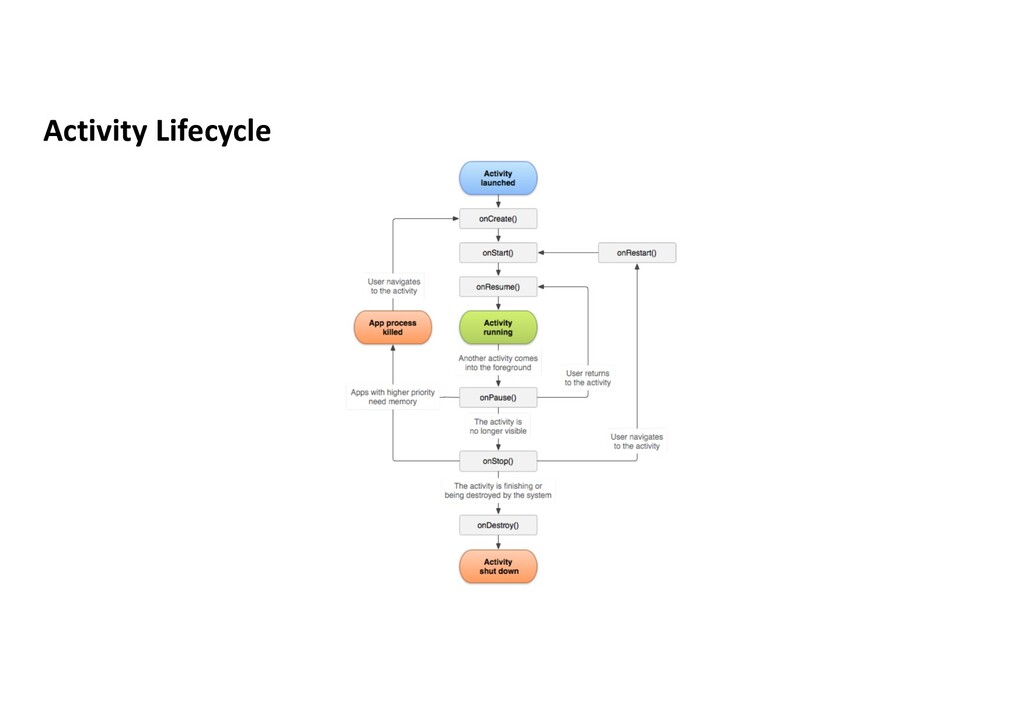
user has visited: Activity Stack or the Back Stack • Pressing Back displays the previous Activity! • User cannot go further than the last visit of home
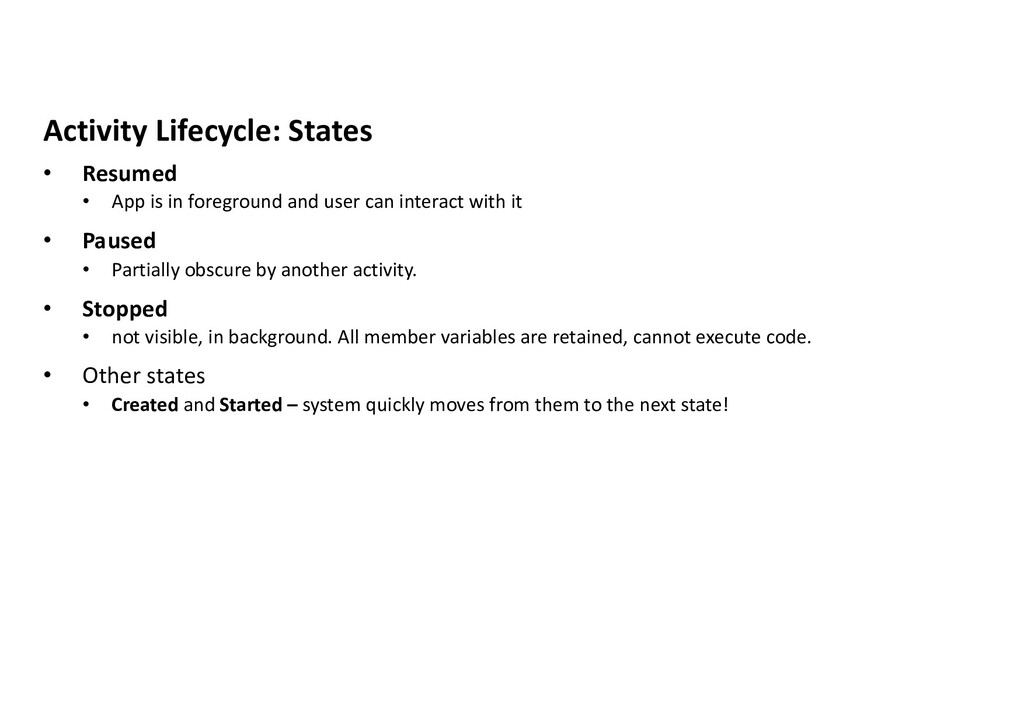
and user can interact with it • Paused • Partially obscure by another activity. • Stopped • not visible, in background. All member variables are retained, cannot execute code. • Other states • Created and Started – system quickly moves from them to the next state!
When visible to user • onResume() • Activity is visible again, initialize fields, register listeners, bind to services • onPause() • Activity still partially visible, but most often is an indication that the user is leaving the activity and it will soon enter the stopped state. Release resources, save app data, unregister listeners, unbind services • onStop() • Activity is no longer visible to user. Time or CPU intensive shut-down operations like writing information to database
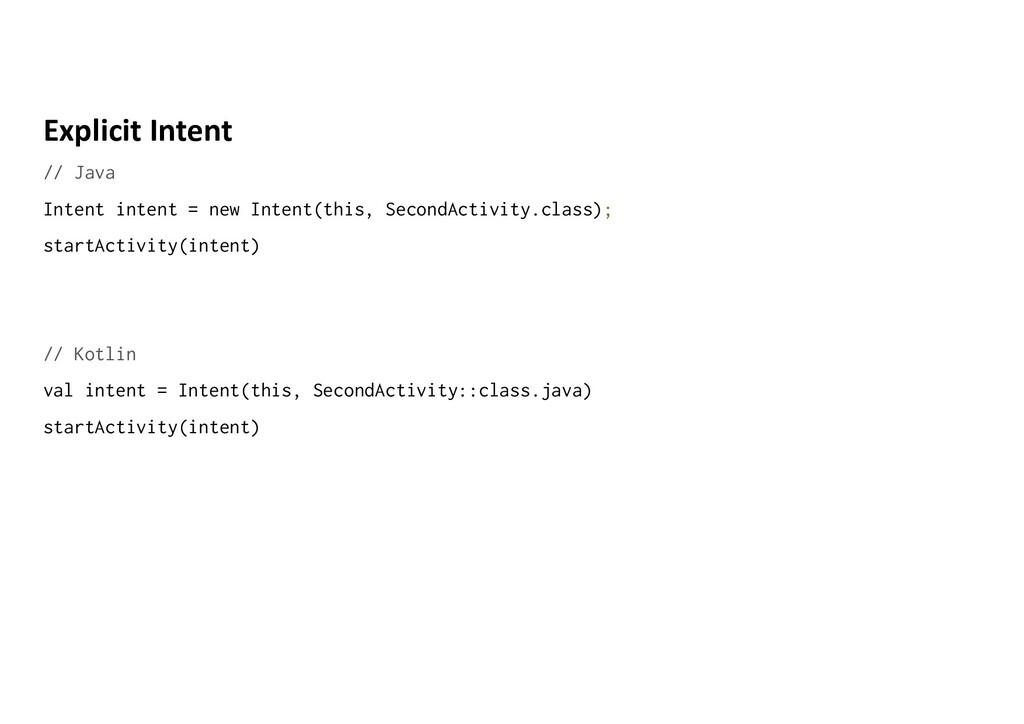
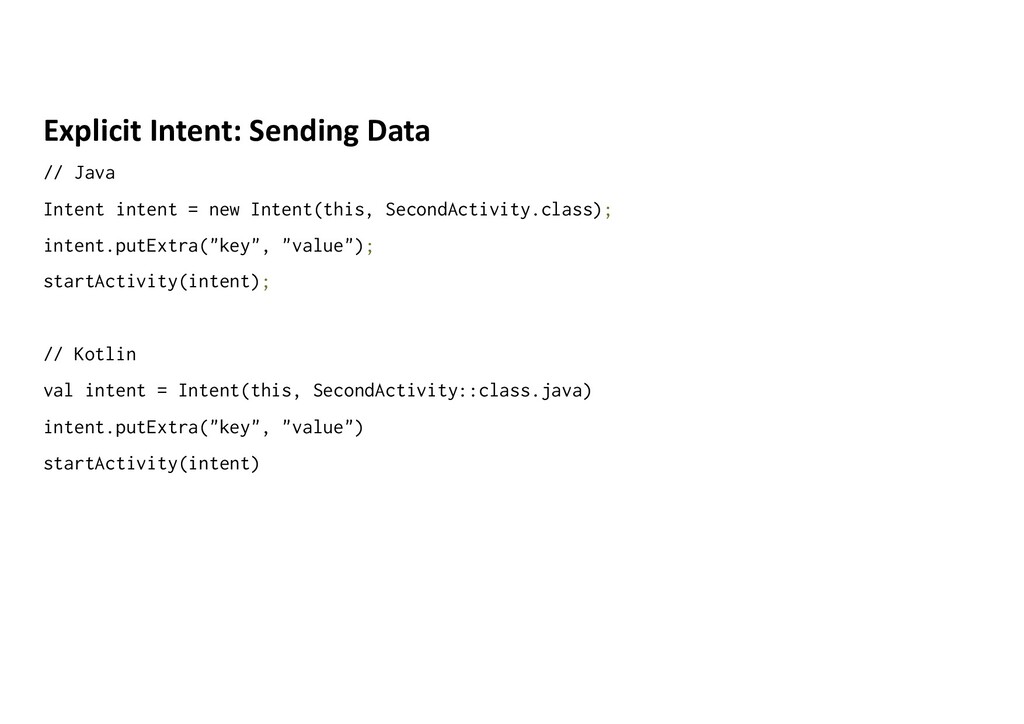
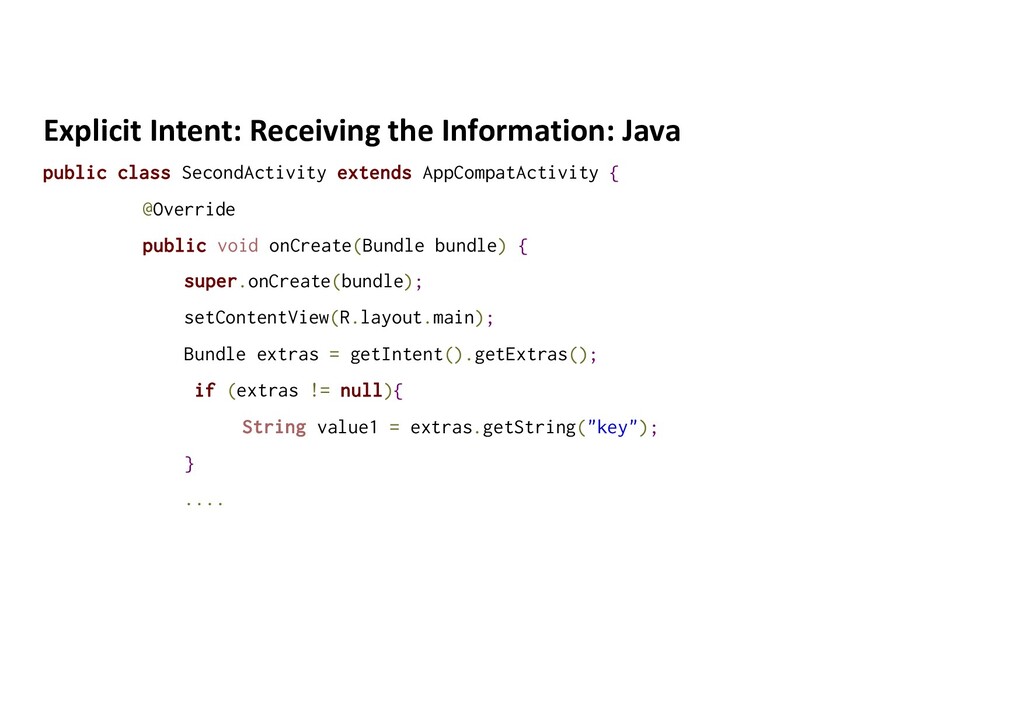
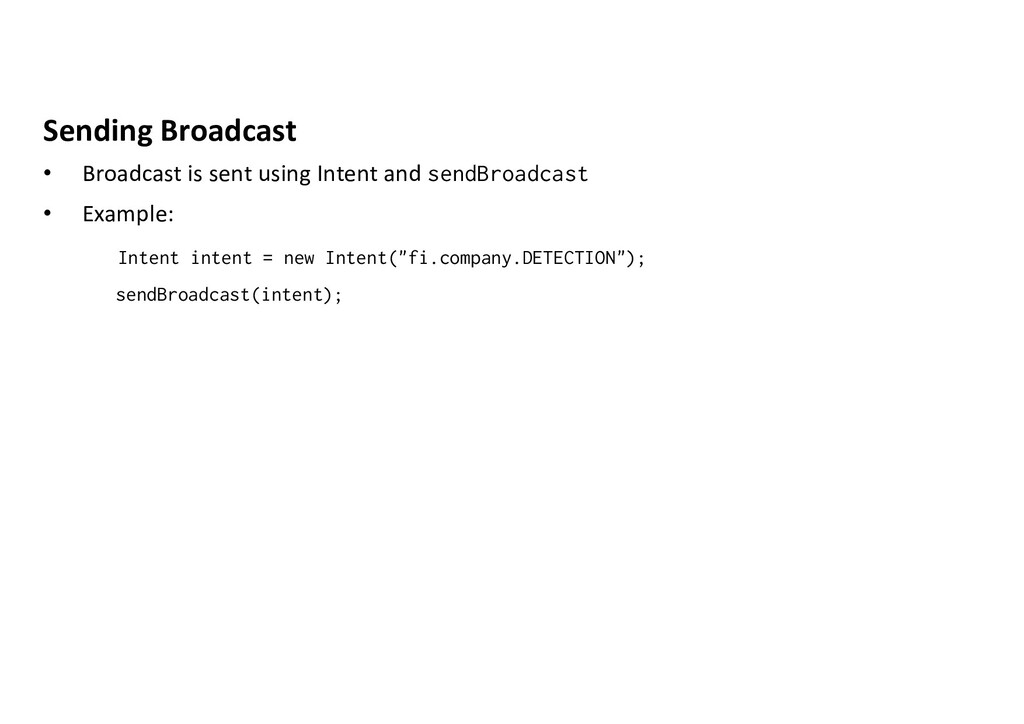
you declare your intentation than an action be performed with a particular piece of data • Interaction between any android component • Uses • Start new activities • Broadcast messages • Start new services
Activity • Internal messaging between your app • Designated target class • Implicit • External messaging between apps • Open some Activity with certain service • you don’t know which activity of which app…
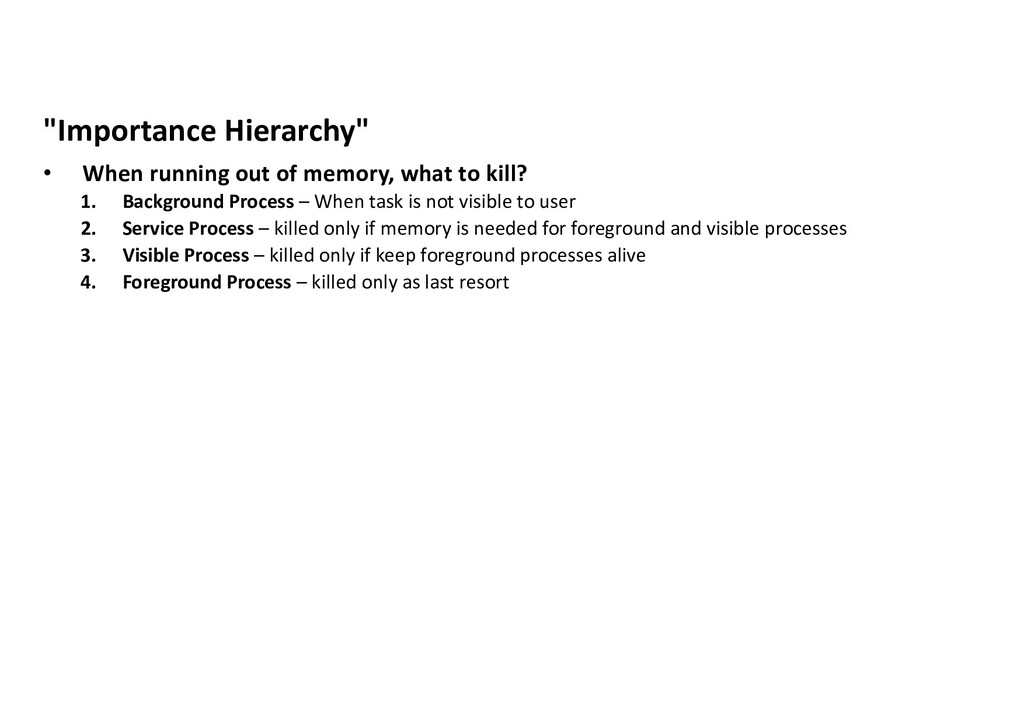
kill? 1. Background Process – When task is not visible to user 2. Service Process – killed only if memory is needed for foreground and visible processes 3. Visible Process – killed only if keep foreground processes alive 4. Foreground Process – killed only as last resort
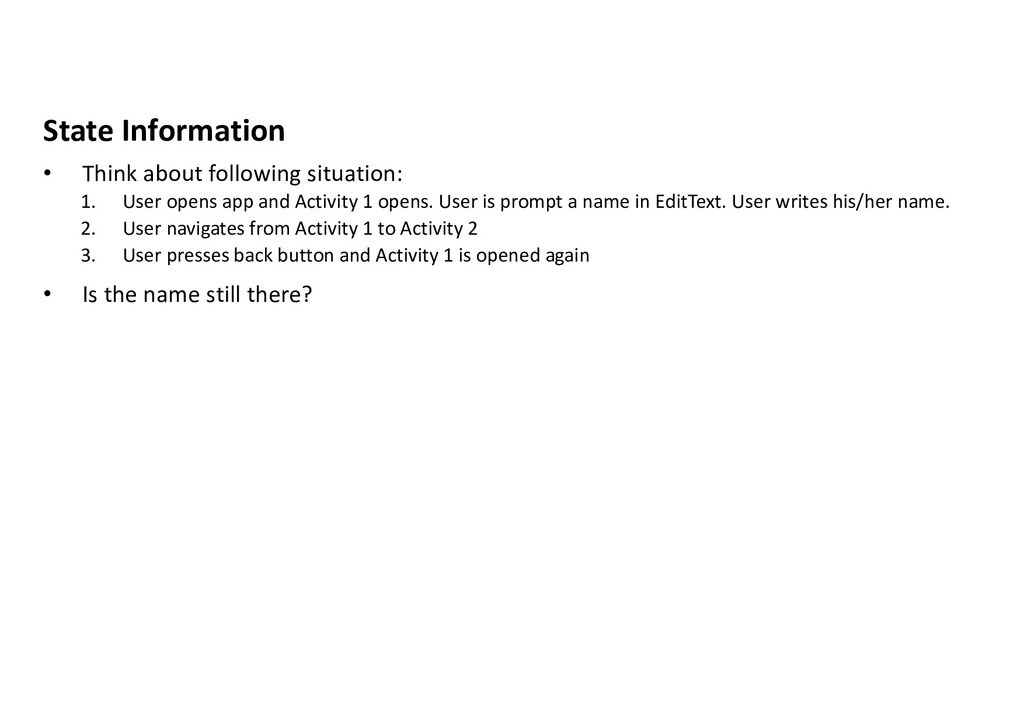
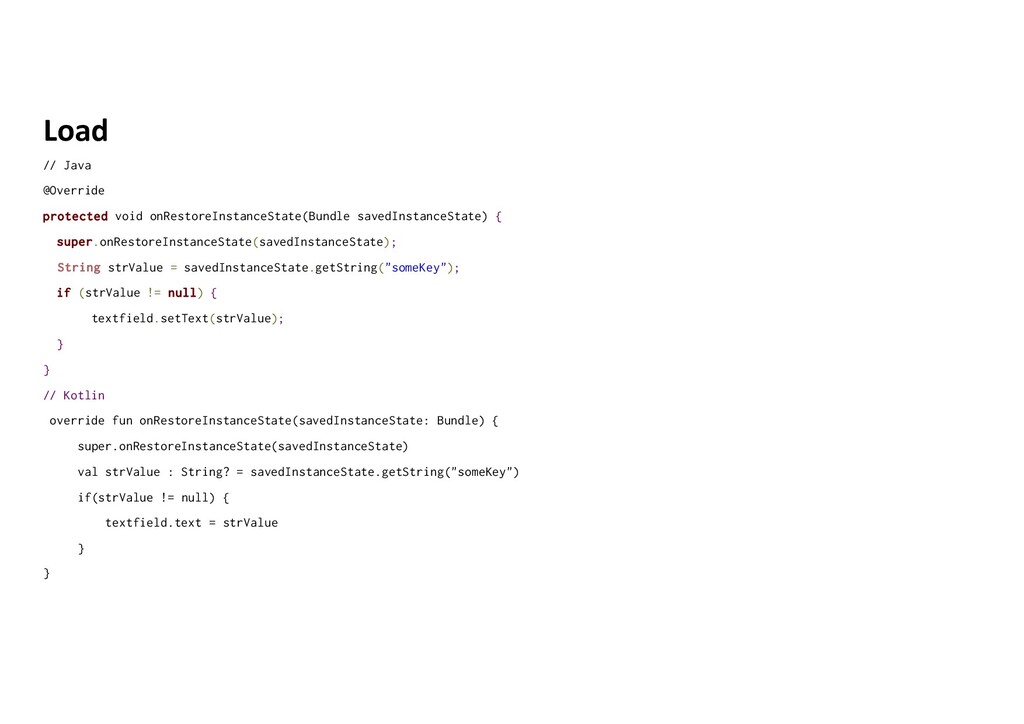
app and Activity 1 opens. User is prompt a name in EditText. User writes his/her name. 2. User navigates from Activity 1 to Activity 2 3. User presses back button and Activity 1 is opened again • Is the name still there?
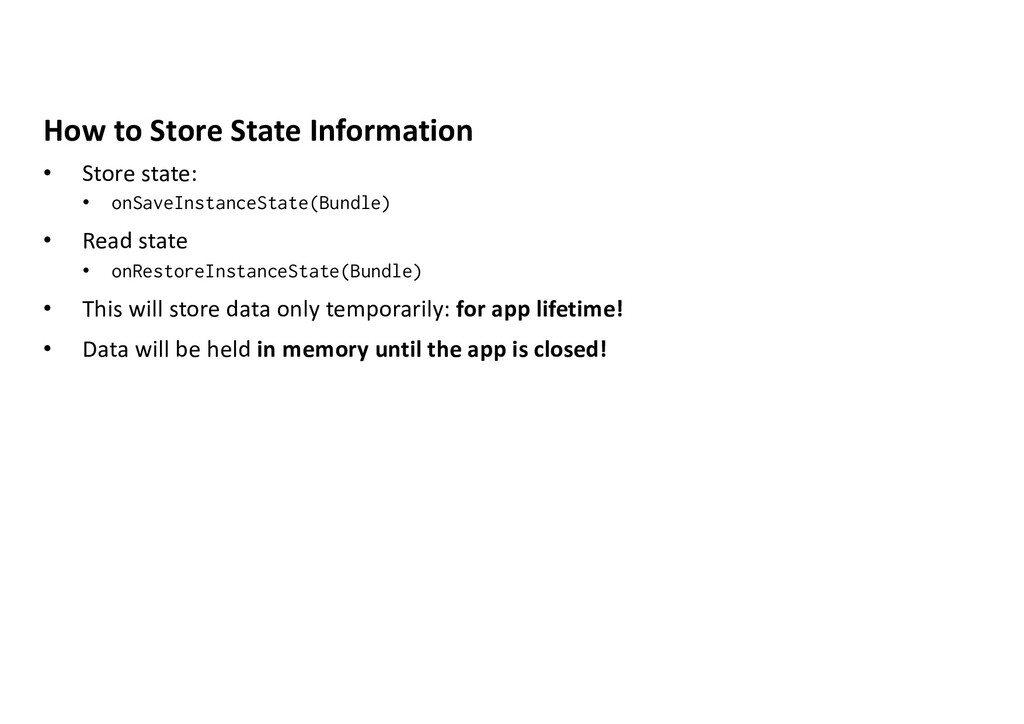
• Read state • onRestoreInstanceState(Bundle) • This will store data only temporarily: for app lifetime! • Data will be held in memory until the app is closed!
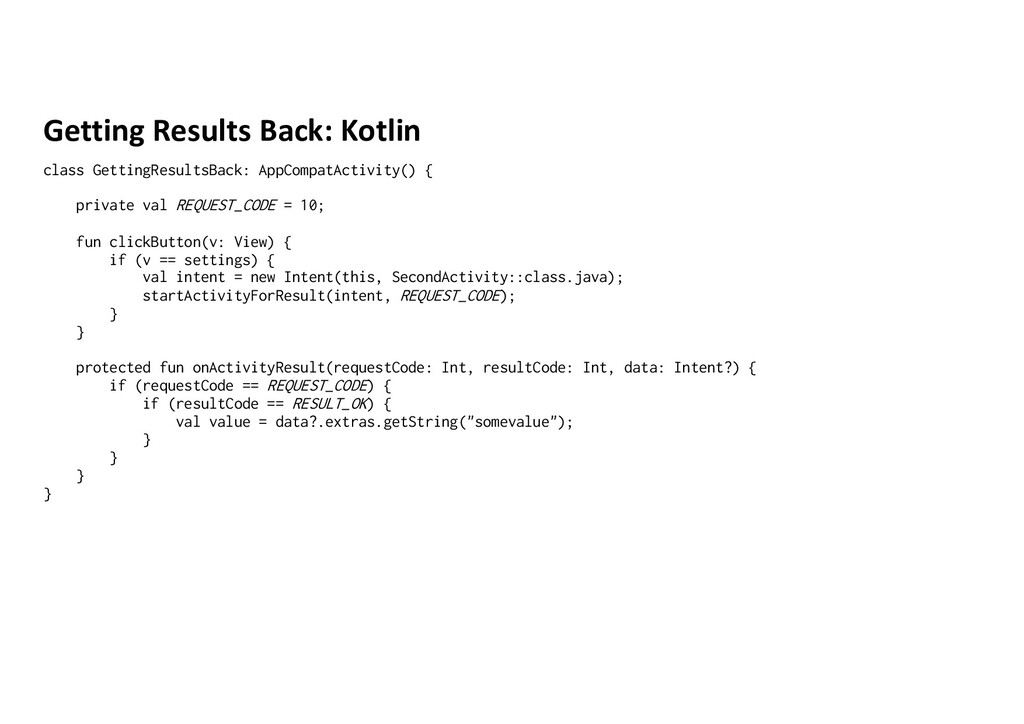
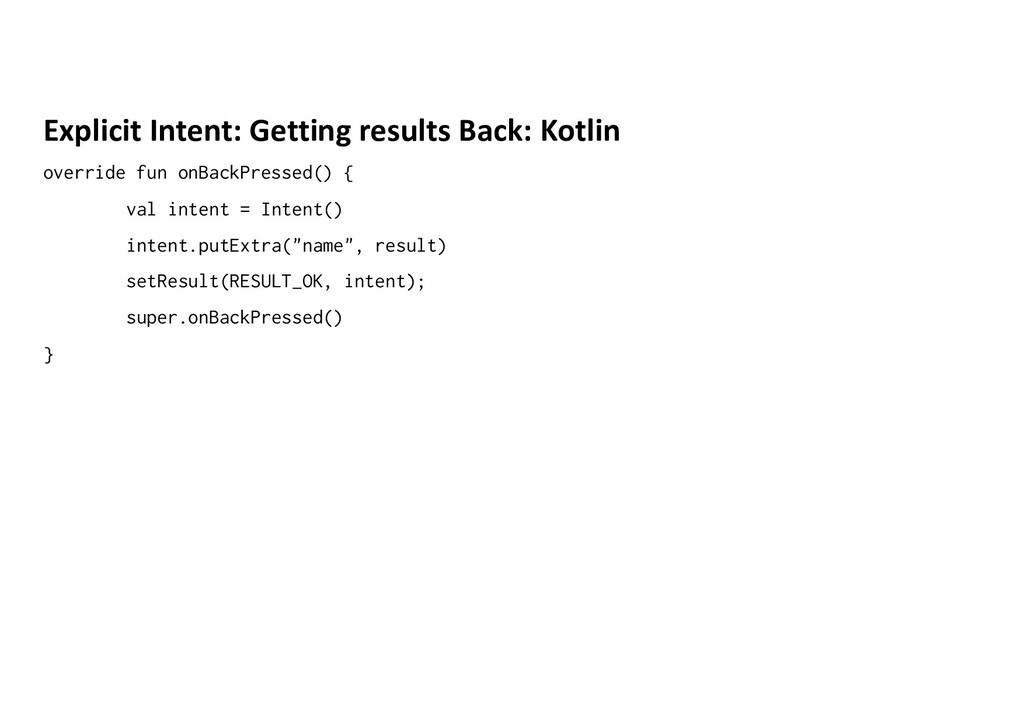
REQUEST_CODE = 10; fun clickButton(v: View) { if (v == settings) { val intent = new Intent(this, SecondActivity::class.java); startActivityForResult(intent, REQUEST_CODE); } } protected fun onActivityResult(requestCode: Int, resultCode: Int, data: Intent?) { if (requestCode == REQUEST_CODE) { if (resultCode == RESULT_OK) { val value = data?.extras.getString("somevalue"); } } } }
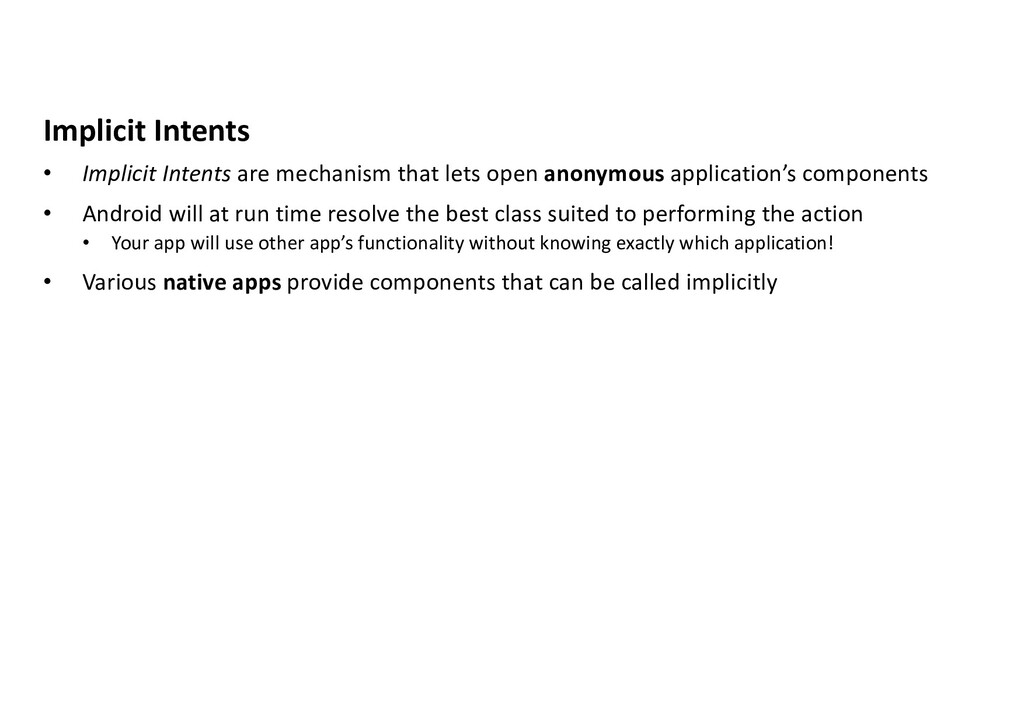
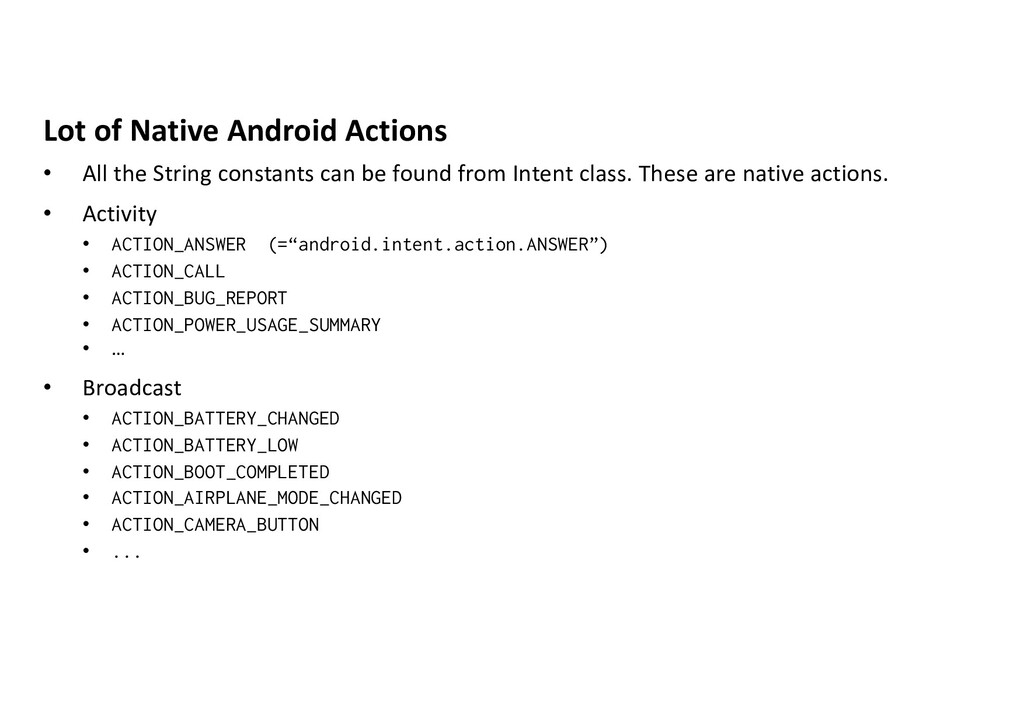
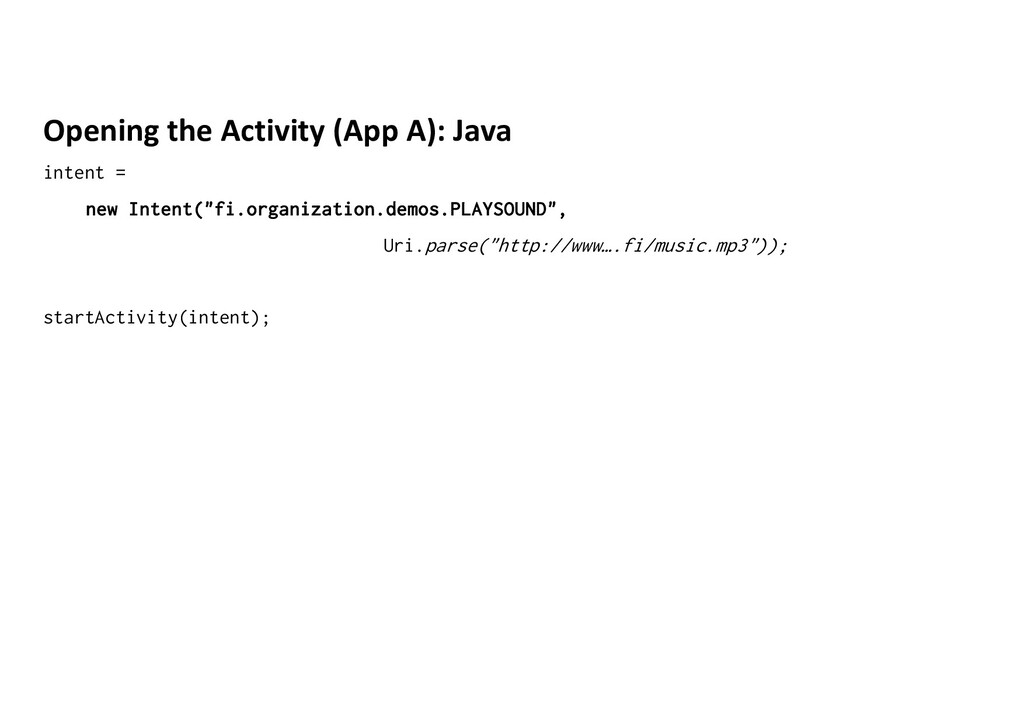
anonymous application’s components • Android will at run time resolve the best class suited to performing the action • Your app will use other app’s functionality without knowing exactly which application! • Various native apps provide components that can be called implicitly
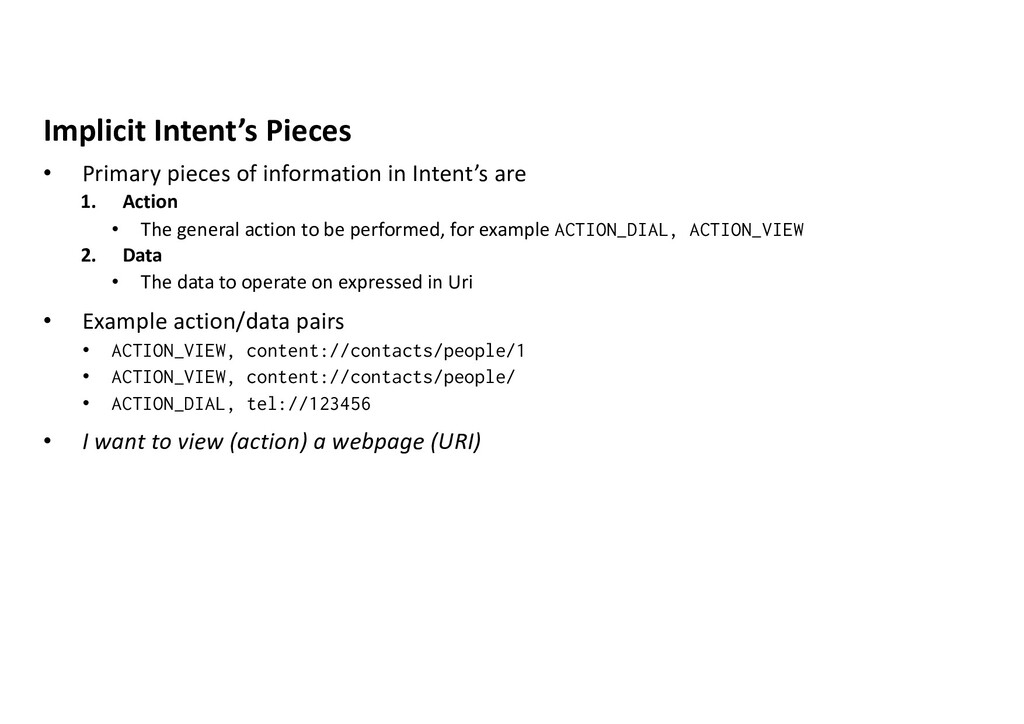
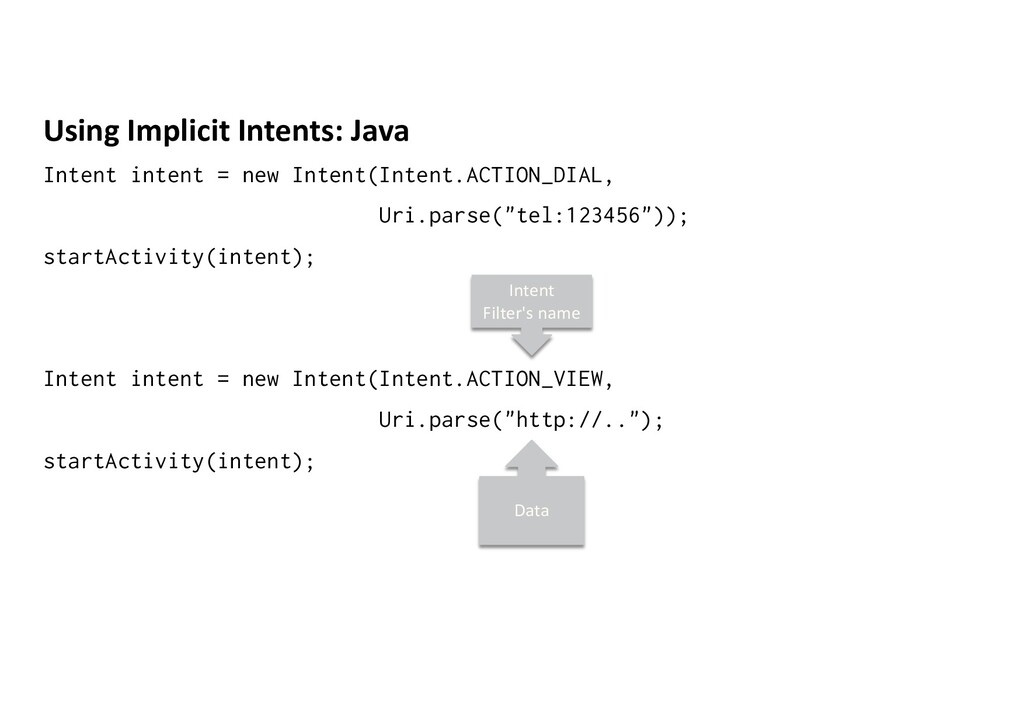
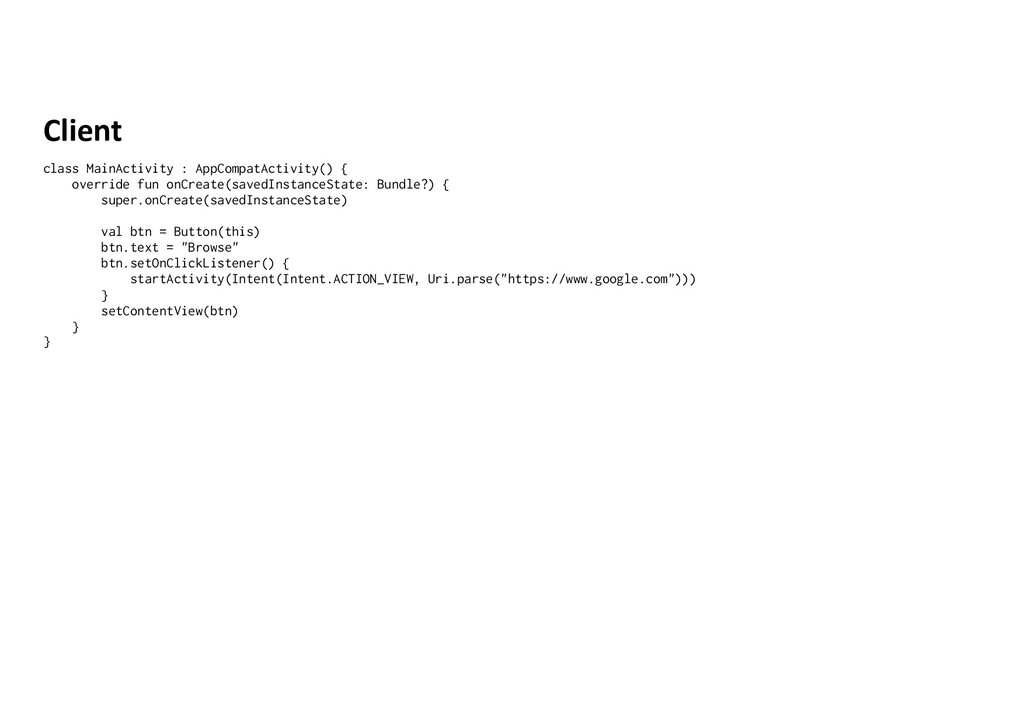
are 1. Action • The general action to be performed, for example ACTION_DIAL, ACTION_VIEW 2. Data • The data to operate on expressed in Uri • Example action/data pairs • ACTION_VIEW, content://contacts/people/1 • ACTION_VIEW, content://contacts/people/ • ACTION_DIAL, tel://123456 • I want to view (action) a webpage (URI)
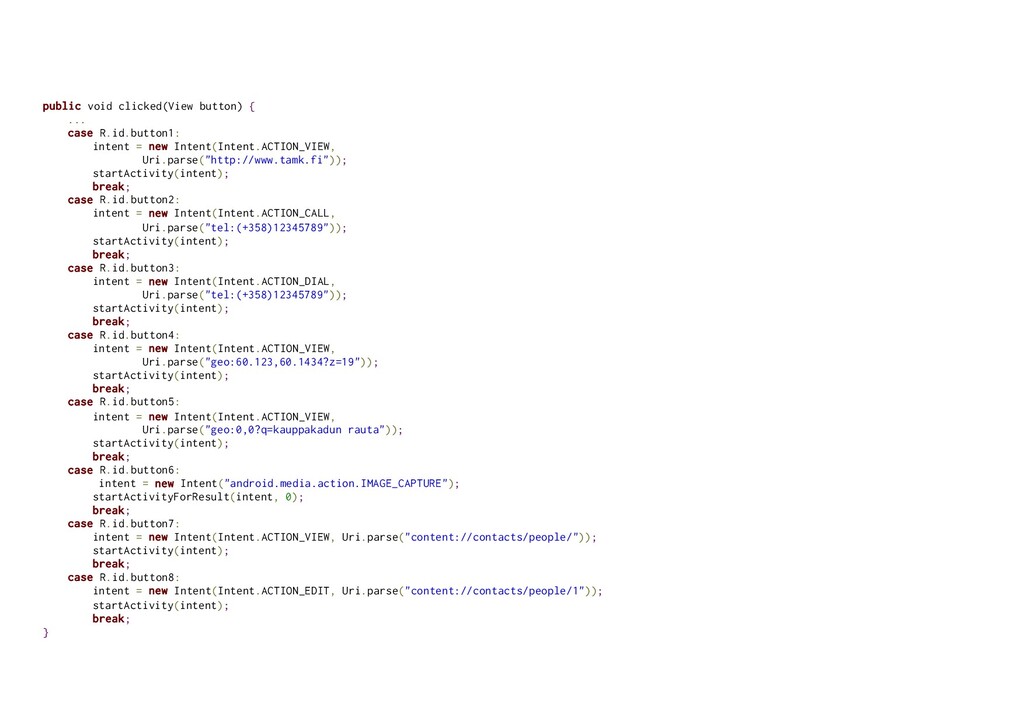
new Intent(Intent.ACTION_VIEW, Uri.parse("http://www.tamk.fi")); startActivity(intent); break; case R.id.button2: intent = new Intent(Intent.ACTION_CALL, Uri.parse("tel:(+358)12345789")); startActivity(intent); break; case R.id.button3: intent = new Intent(Intent.ACTION_DIAL, Uri.parse("tel:(+358)12345789")); startActivity(intent); break; case R.id.button4: intent = new Intent(Intent.ACTION_VIEW, Uri.parse("geo:60.123,60.1434?z=19")); startActivity(intent); break; case R.id.button5: intent = new Intent(Intent.ACTION_VIEW, Uri.parse("geo:0,0?q=kauppakadun rauta")); startActivity(intent); break; case R.id.button6: intent = new Intent("android.media.action.IMAGE_CAPTURE"); startActivityForResult(intent, 0); break; case R.id.button7: intent = new Intent(Intent.ACTION_VIEW, Uri.parse("content://contacts/people/")); startActivity(intent); break; case R.id.button8: intent = new Intent(Intent.ACTION_EDIT, Uri.parse("content://contacts/people/1")); startActivity(intent); break; }
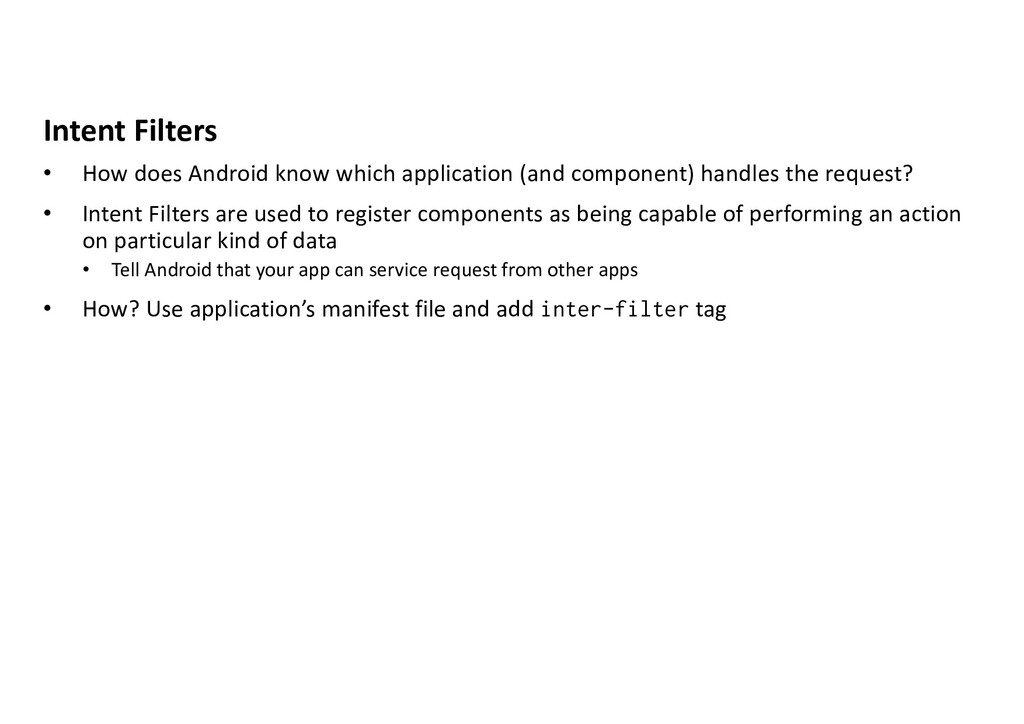
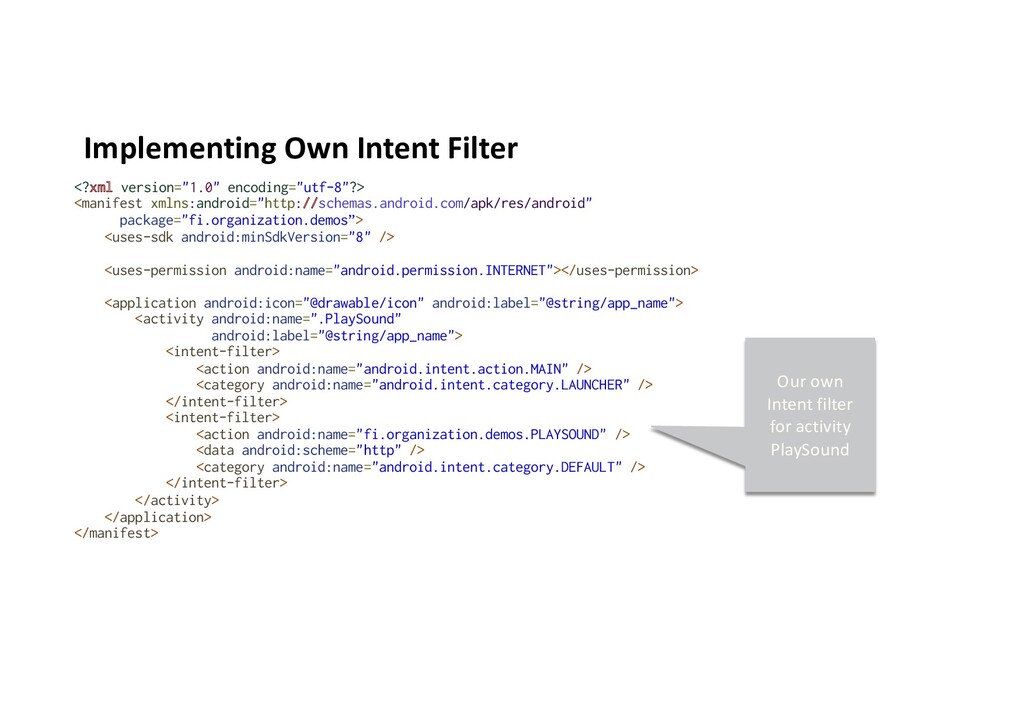
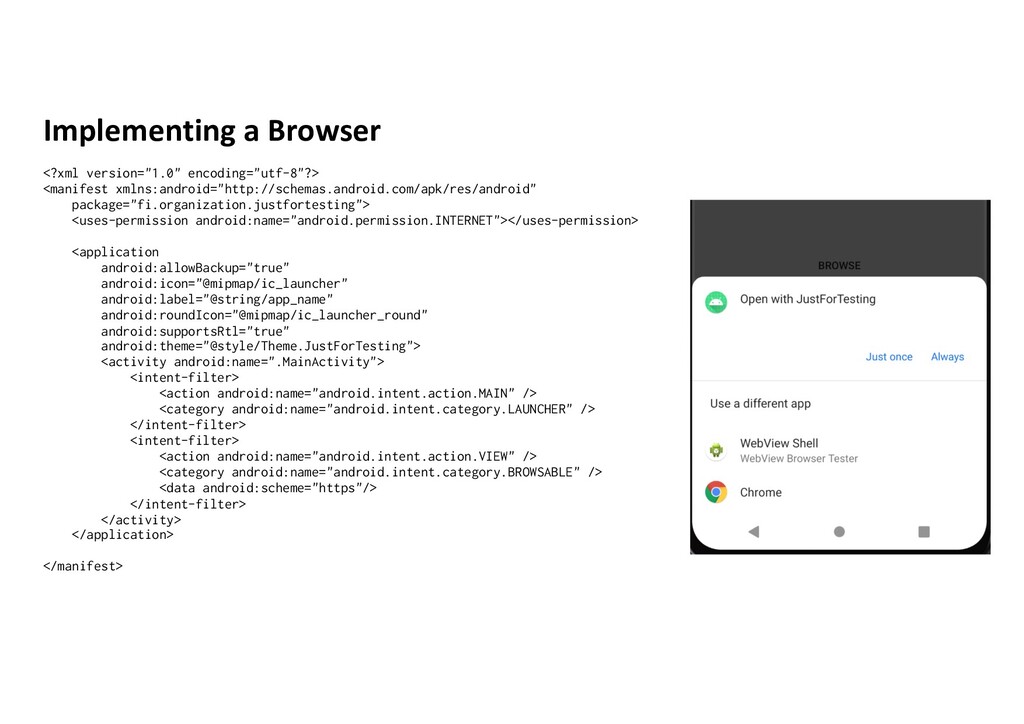
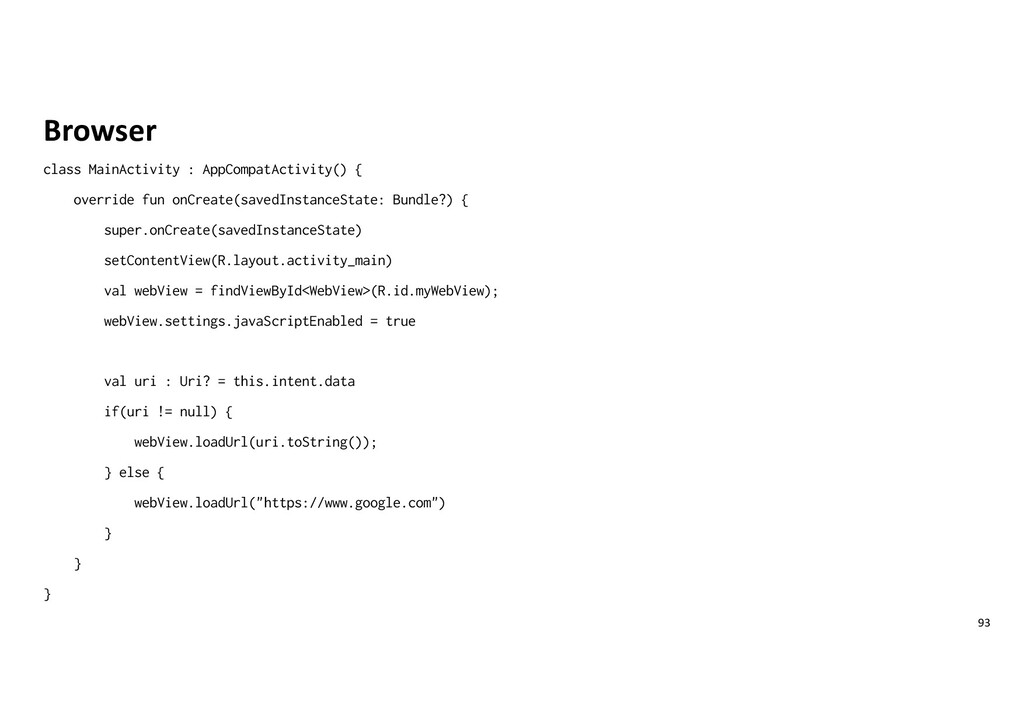
component) handles the request? • Intent Filters are used to register components as being capable of performing an action on particular kind of data • Tell Android that your app can service request from other apps • How? Use application’s manifest file and add inter-filter tag
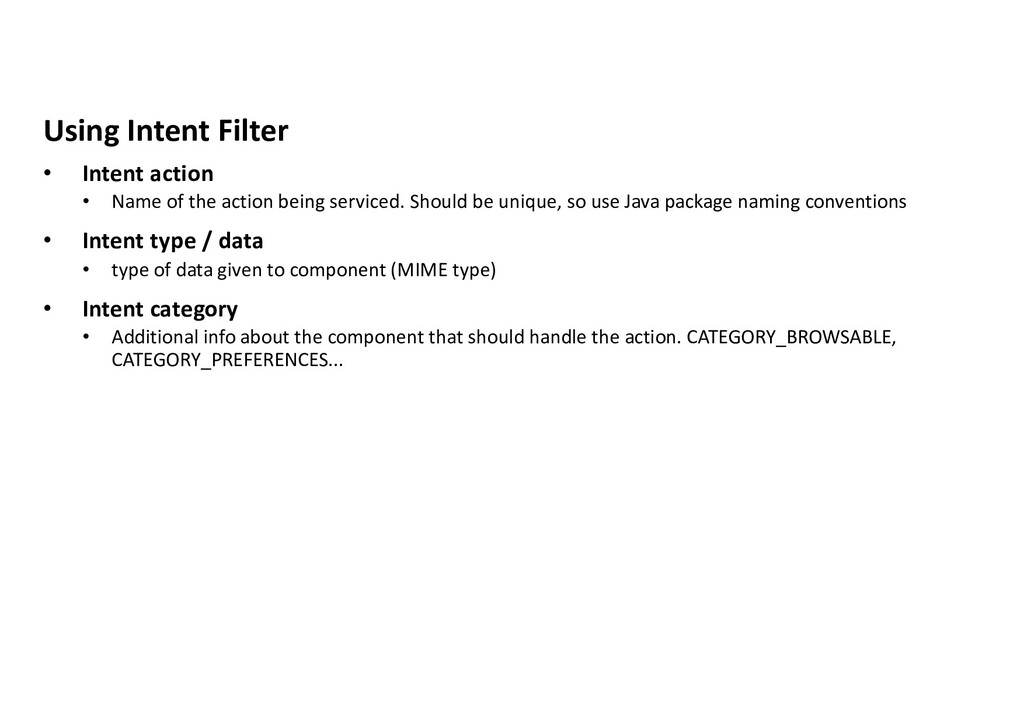
action being serviced. Should be unique, so use Java package naming conventions • Intent type / data • type of data given to component (MIME type) • Intent category • Additional info about the component that should handle the action. CATEGORY_BROWSABLE, CATEGORY_PREFERENCES...
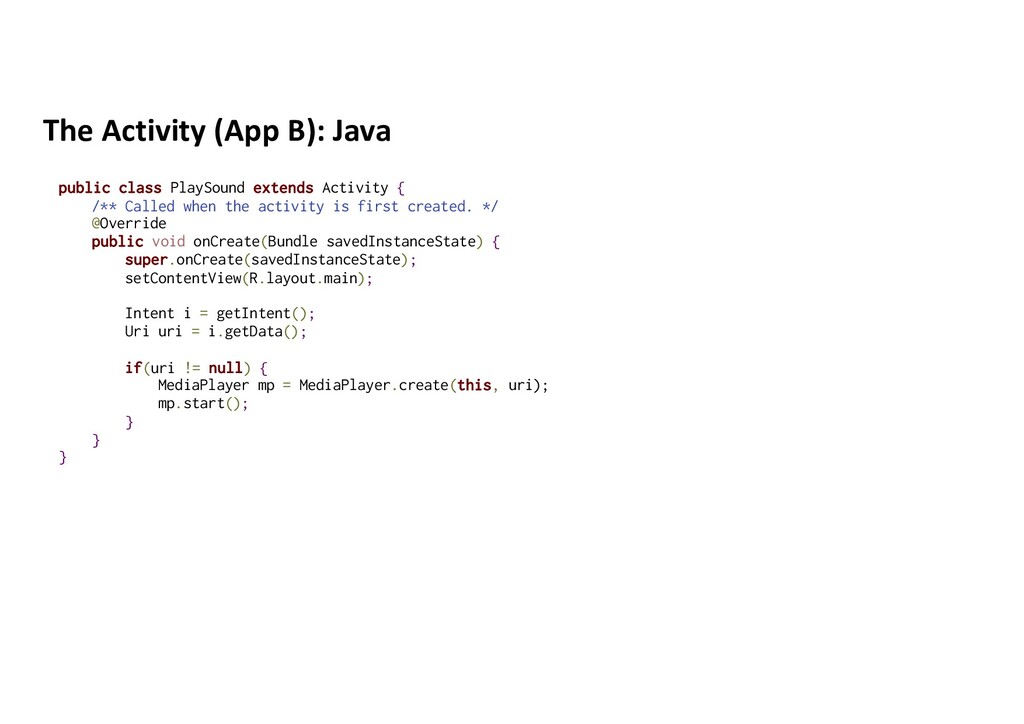
{ /** Called when the activity is first created. */ @Override public void onCreate(Bundle savedInstanceState) { super.onCreate(savedInstanceState); setContentView(R.layout.main); Intent i = getIntent(); Uri uri = i.getData(); if(uri != null) { MediaPlayer mp = MediaPlayer.create(this, uri); mp.start(); } } }
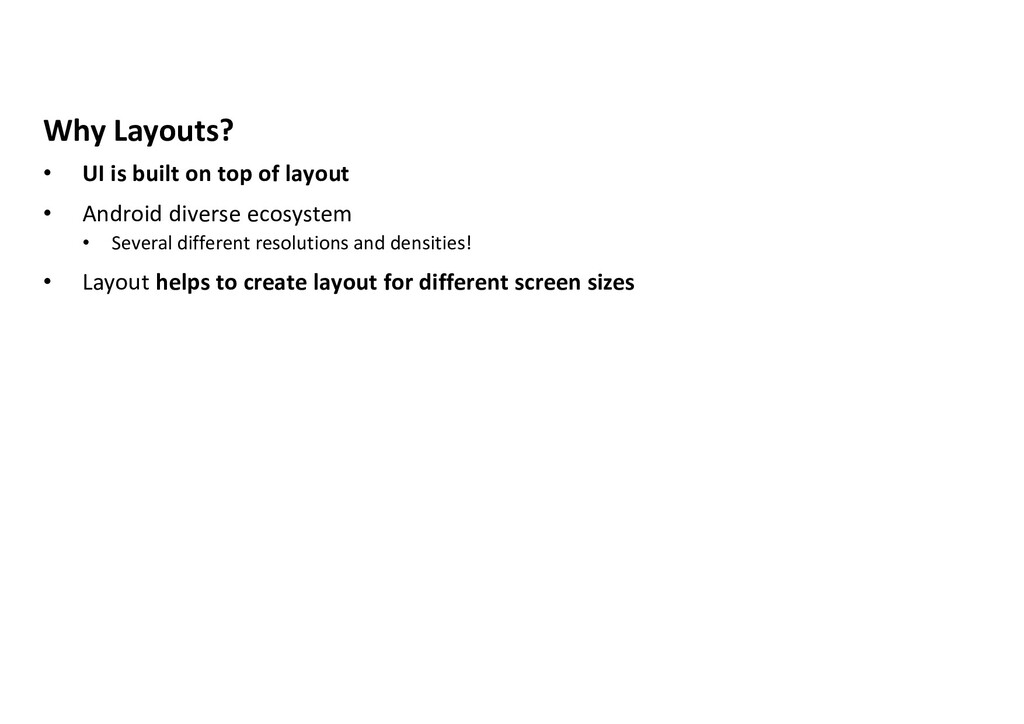
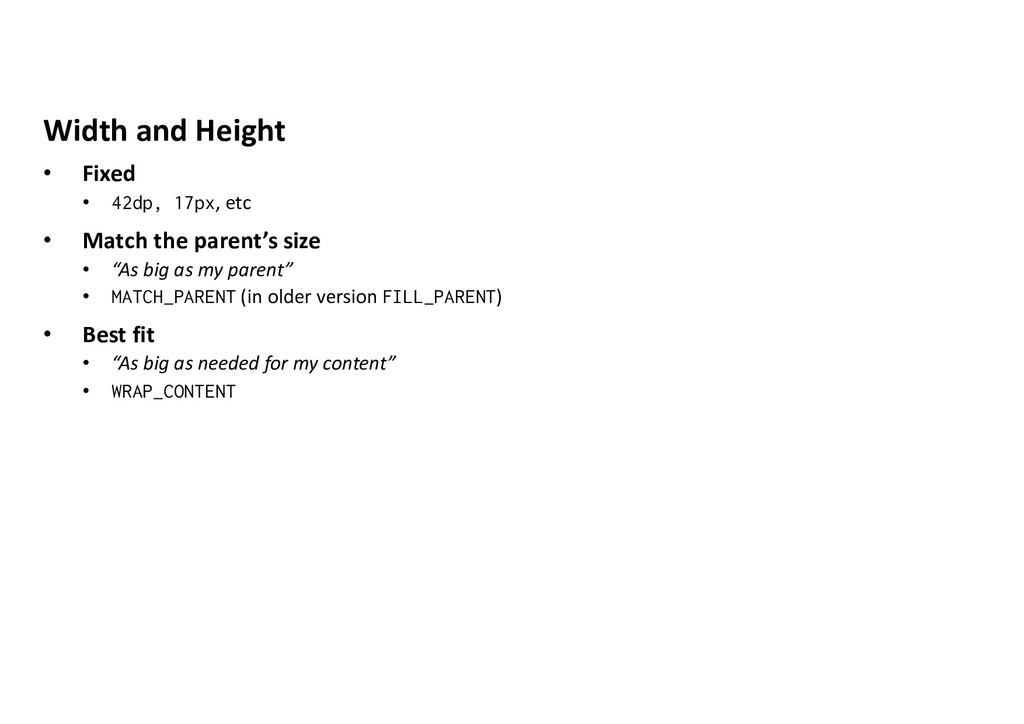
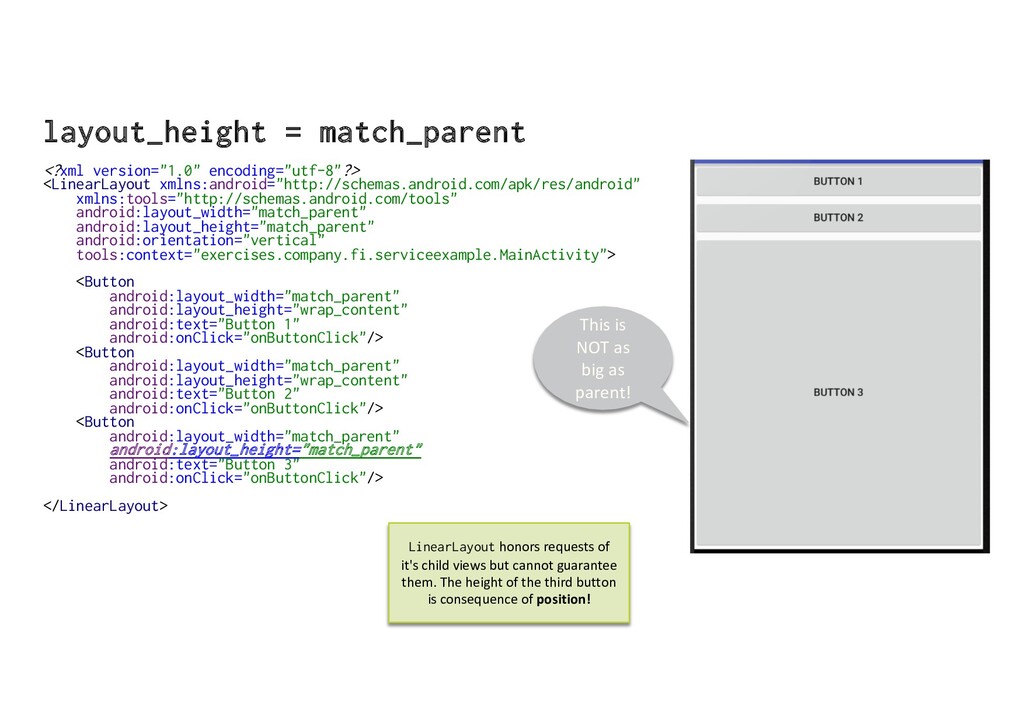
Match the parent’s size • “As big as my parent” • MATCH_PARENT (in older version FILL_PARENT) • Best fit • “As big as needed for my content” • WRAP_CONTENT
be as big as its parent! • FILL_PARENT is depricated, use MATCH_PARENT • They both have same value, they do the same • Why Change? FILL_PARENT is confusing
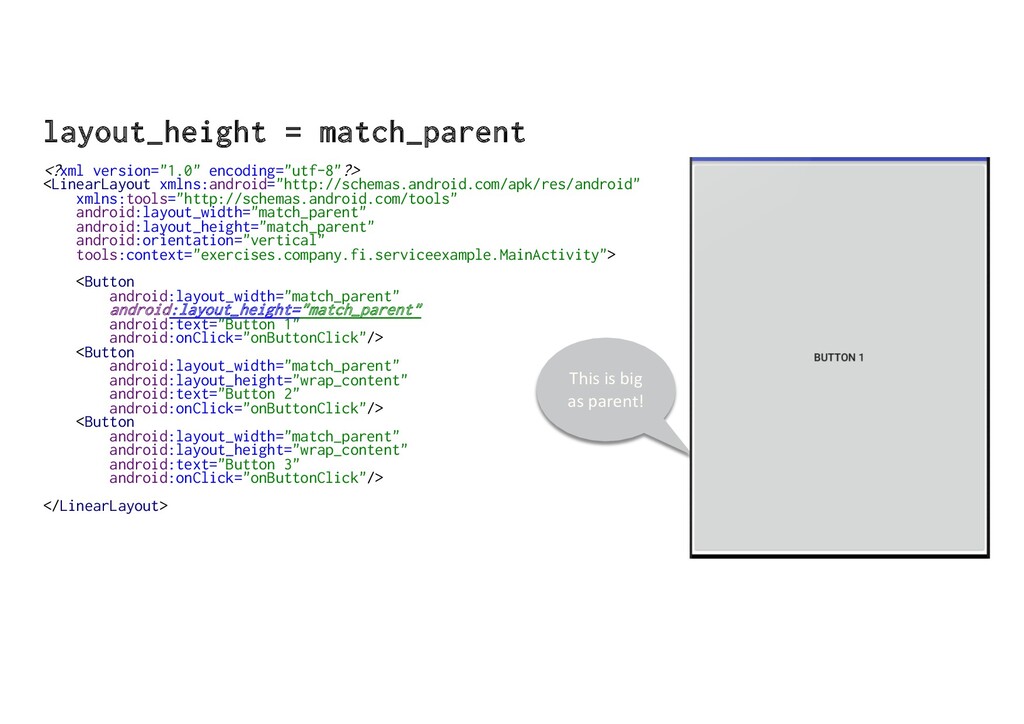
android:layout_height="match_parent" android:orientation="vertical" tools:context="exercises.company.fi.serviceexample.MainActivity"> <Button android:layout_width="match_parent" android:layout_height="wrap_content" android:text="Button 1" android:onClick="onButtonClick"/> <Button android:layout_width="match_parent" android:layout_height="wrap_content" android:text="Button 2" android:onClick="onButtonClick"/> <Button android:layout_width="match_parent" android:layout_height="match_parent" android:text="Button 3" android:onClick="onButtonClick"/> </LinearLayout> This is NOT as big as parent! LinearLayout honors requests of it's child views but cannot guarantee them. The height of the third button is consequence of position!
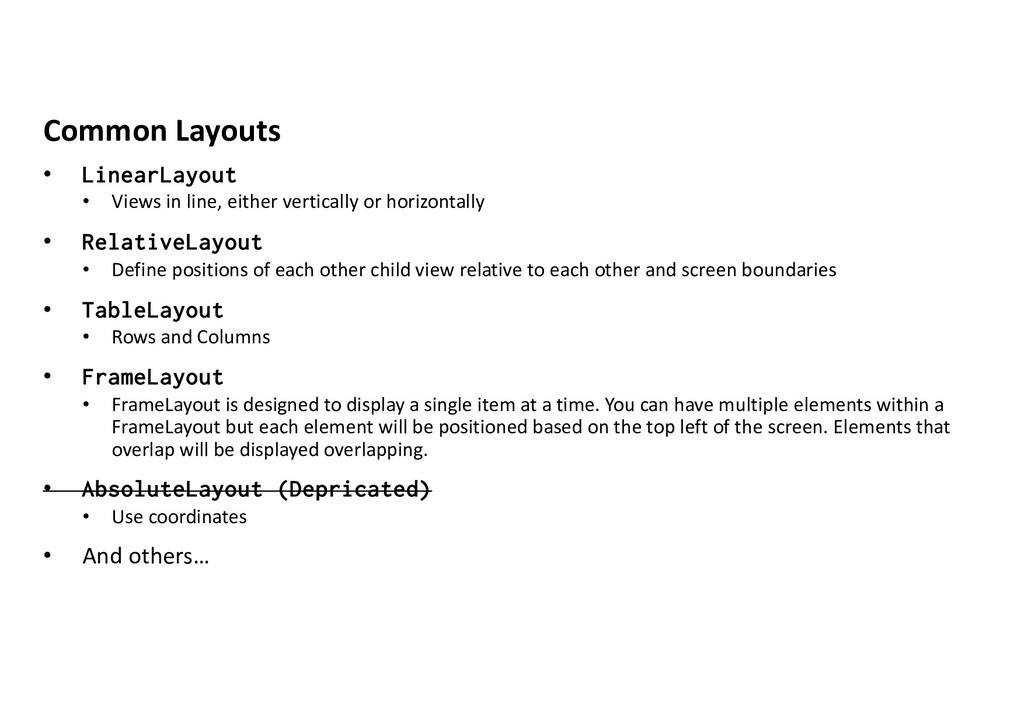
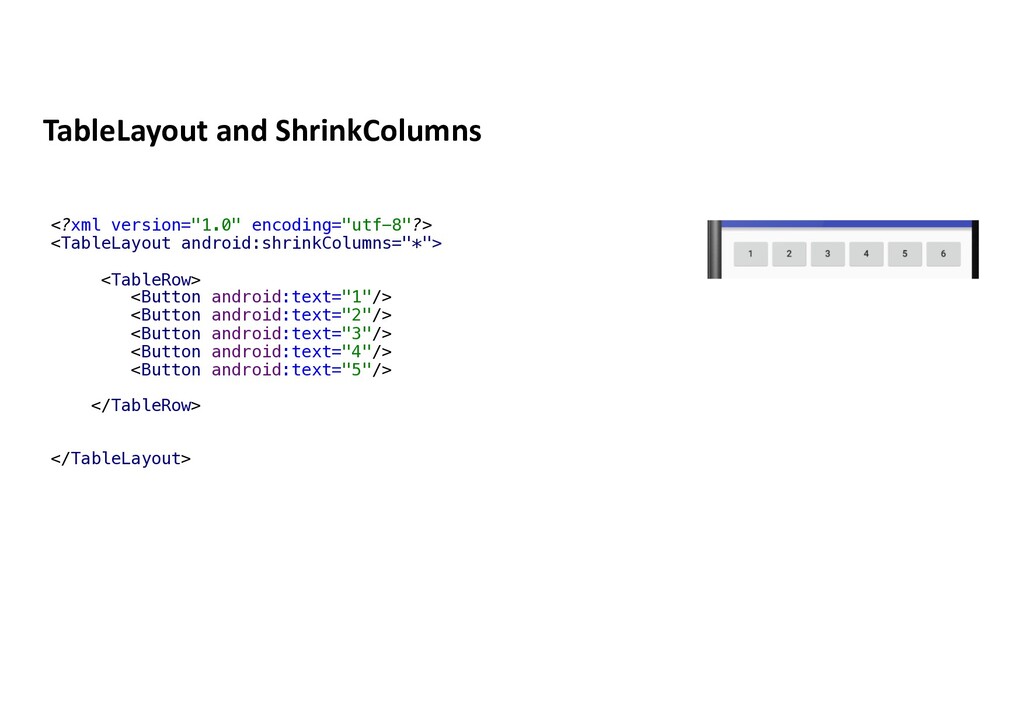
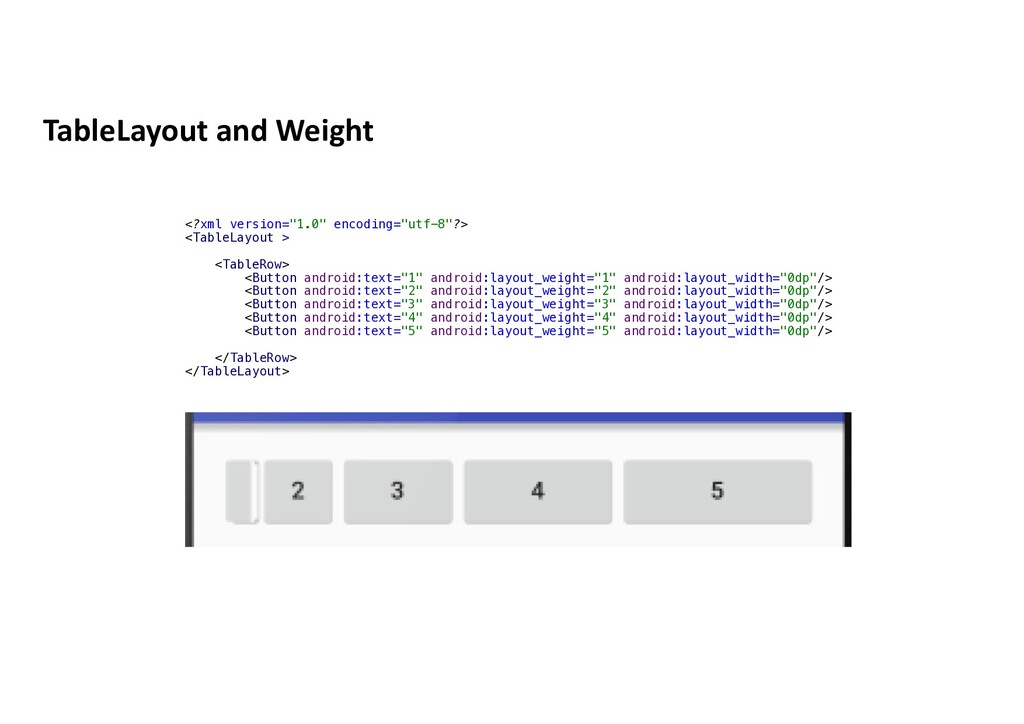
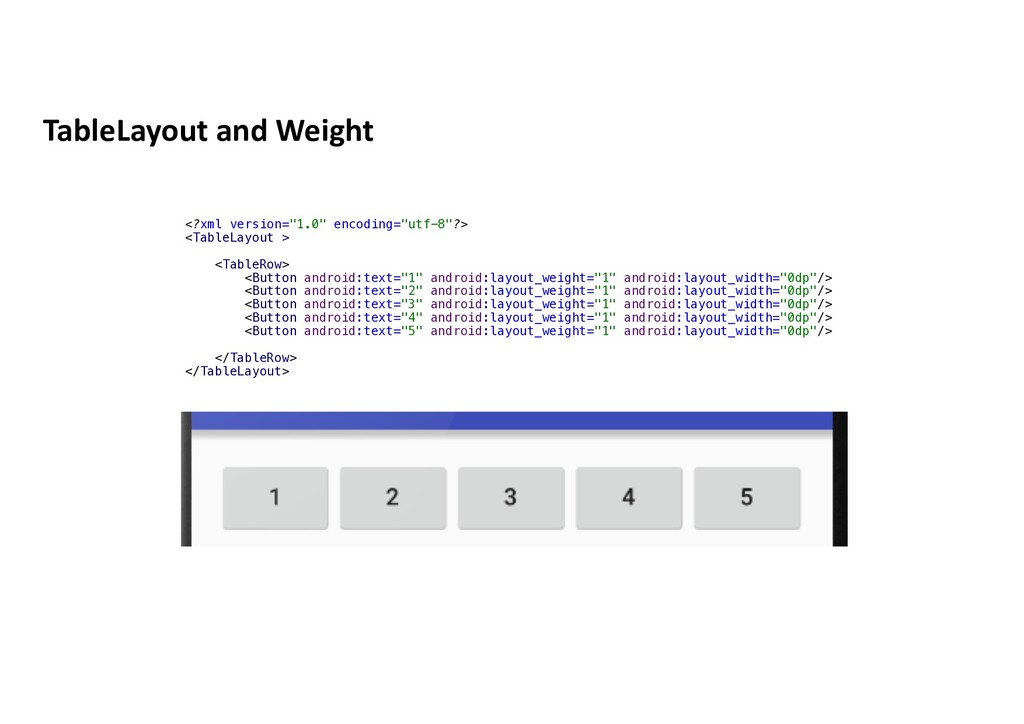
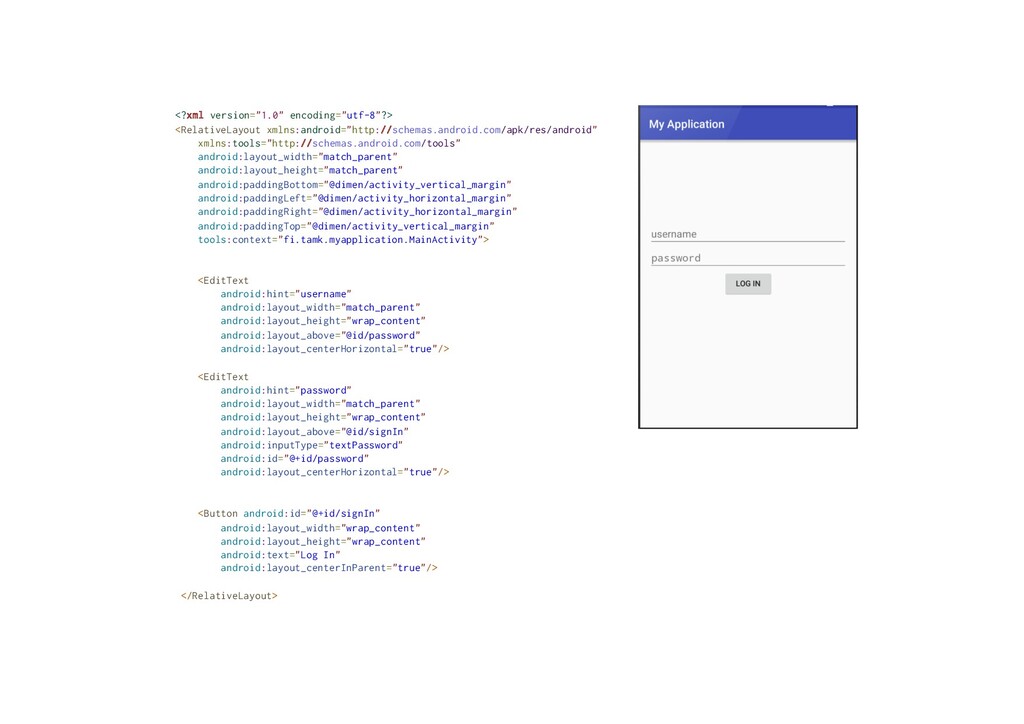
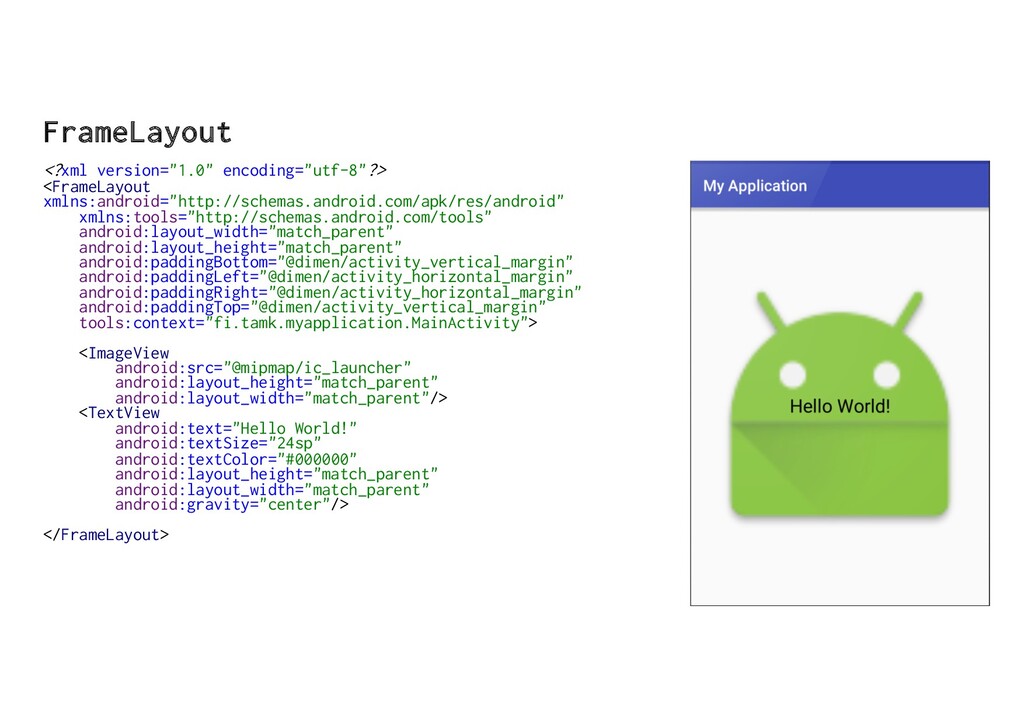
or horizontally • RelativeLayout • Define positions of each other child view relative to each other and screen boundaries • TableLayout • Rows and Columns • FrameLayout • FrameLayout is designed to display a single item at a time. You can have multiple elements within a FrameLayout but each element will be positioned based on the top left of the screen. Elements that overlap will be displayed overlapping. • AbsoluteLayout (Depricated) • Use coordinates • And others…
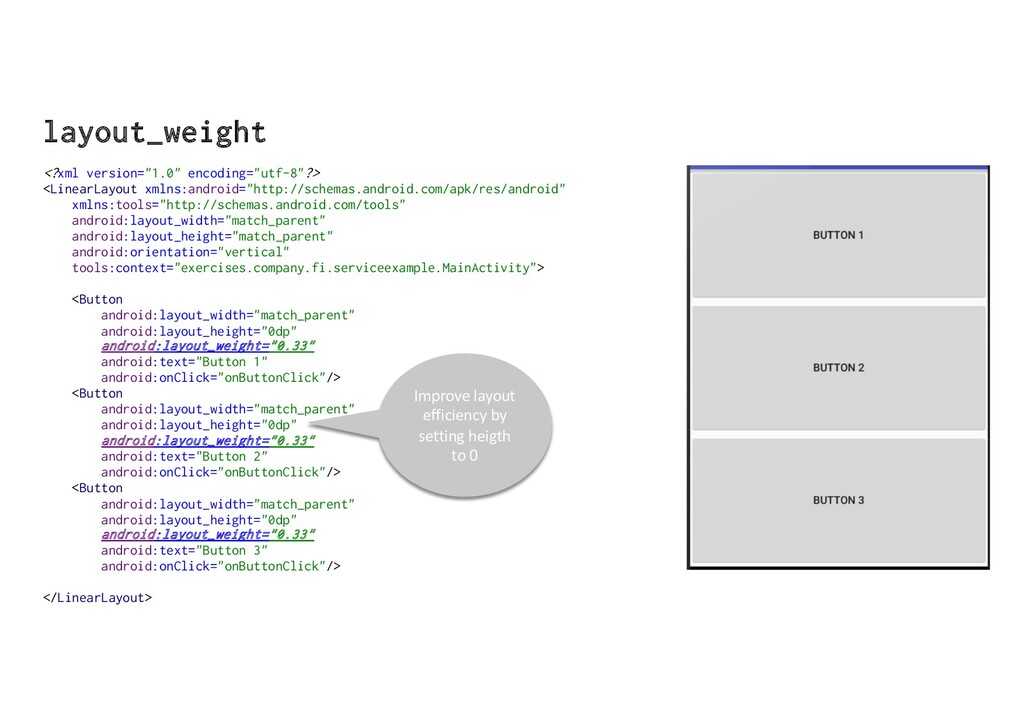
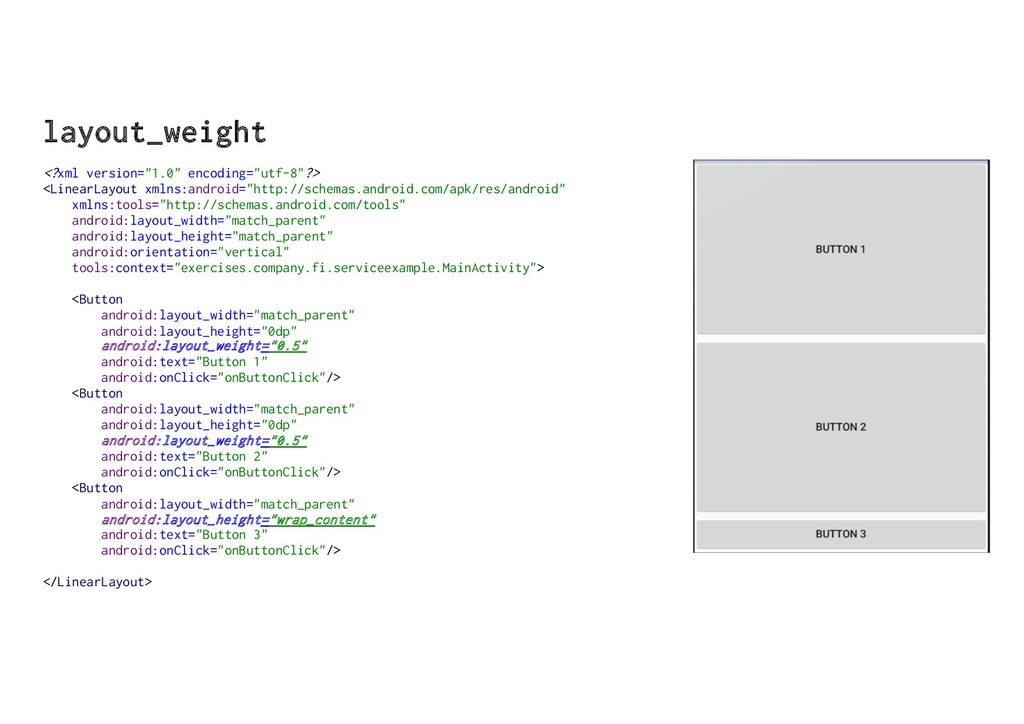
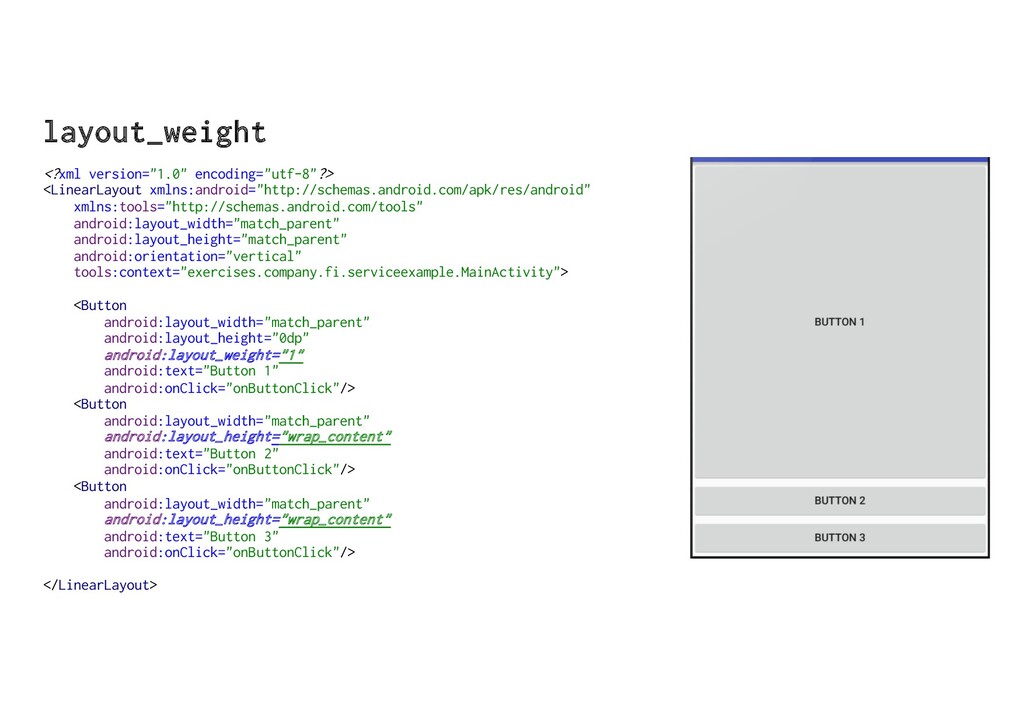
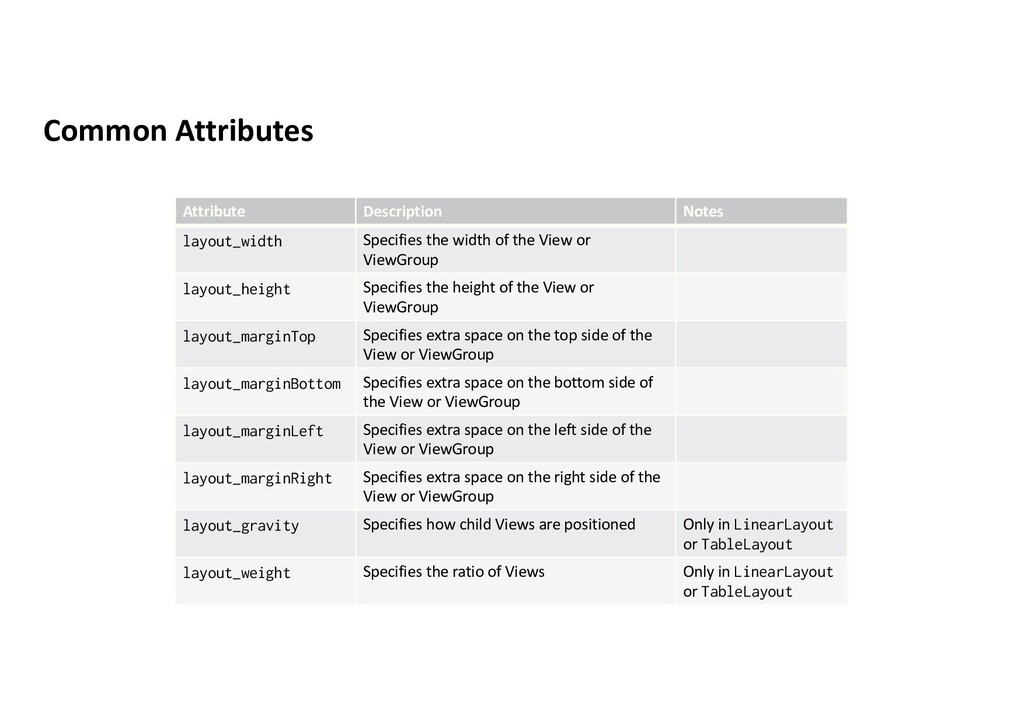
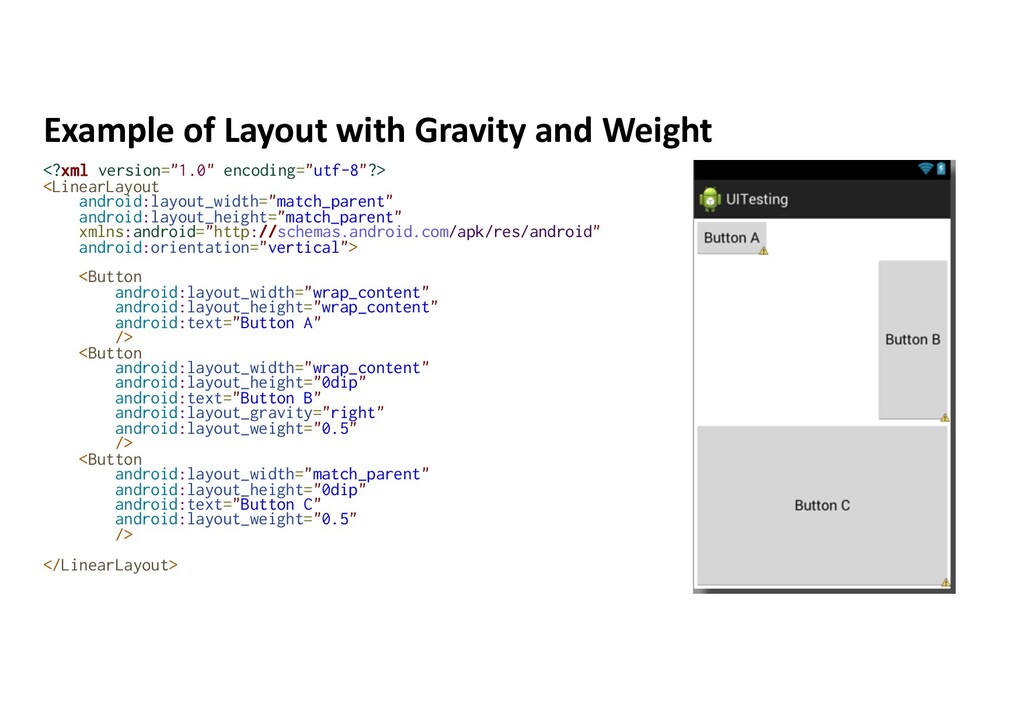
the View or ViewGroup layout_height Specifies the height of the View or ViewGroup layout_marginTop Specifies extra space on the top side of the View or ViewGroup layout_marginBottom Specifies extra space on the bottom side of the View or ViewGroup layout_marginLeft Specifies extra space on the left side of the View or ViewGroup layout_marginRight Specifies extra space on the right side of the View or ViewGroup layout_gravity Specifies how child Views are positioned Only in LinearLayout or TableLayout layout_weight Specifies the ratio of Views Only in LinearLayout or TableLayout
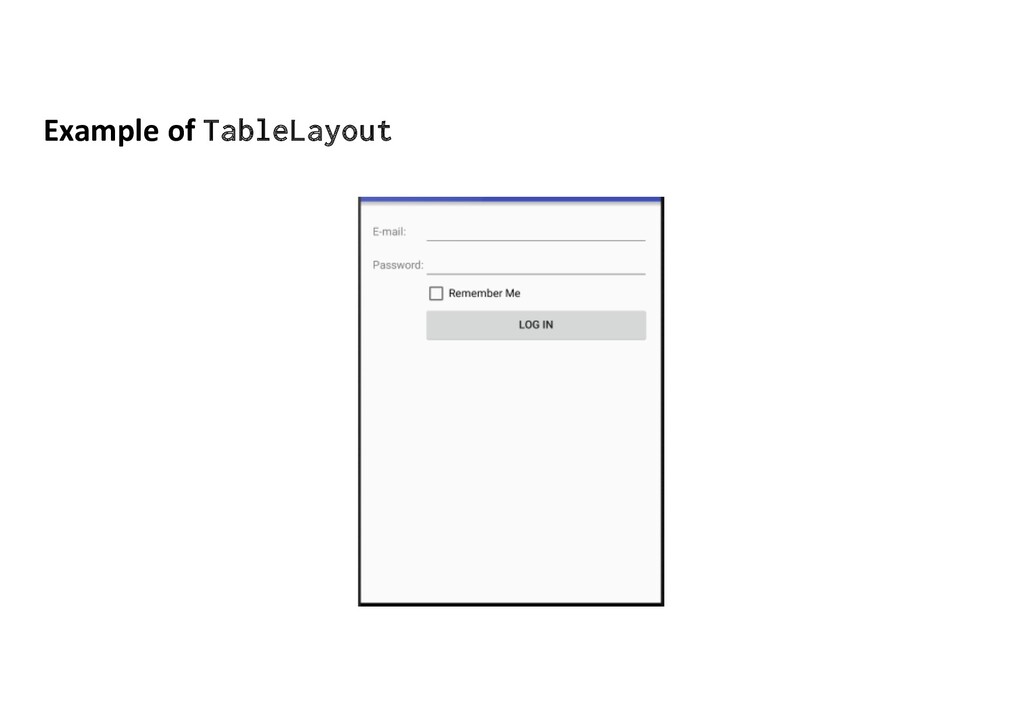
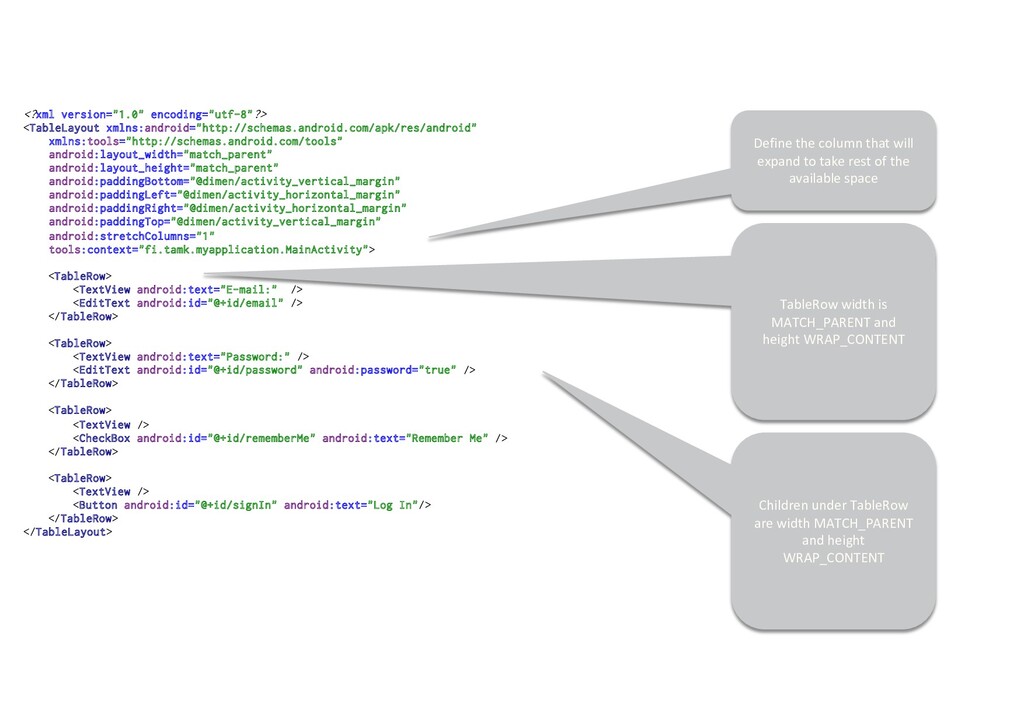
android:paddingRight="@dimen/activity_horizontal_margin" android:paddingTop="@dimen/activity_vertical_margin" android:stretchColumns="1" tools:context="fi.tamk.myapplication.MainActivity"> <TableRow> <TextView android:text="E-mail:" /> <EditText android:id="@+id/email" /> </TableRow> <TableRow> <TextView android:text="Password:" /> <EditText android:id="@+id/password" android:password="true" /> </TableRow> <TableRow> <TextView /> <CheckBox android:id="@+id/rememberMe" android:text="Remember Me" /> </TableRow> <TableRow> <TextView /> <Button android:id="@+id/signIn" android:text="Log In"/> </TableRow> </TableLayout> Children under TableRow are width MATCH_PARENT and height WRAP_CONTENT Define the column that will expand to take rest of the available space TableRow width is MATCH_PARENT and height WRAP_CONTENT
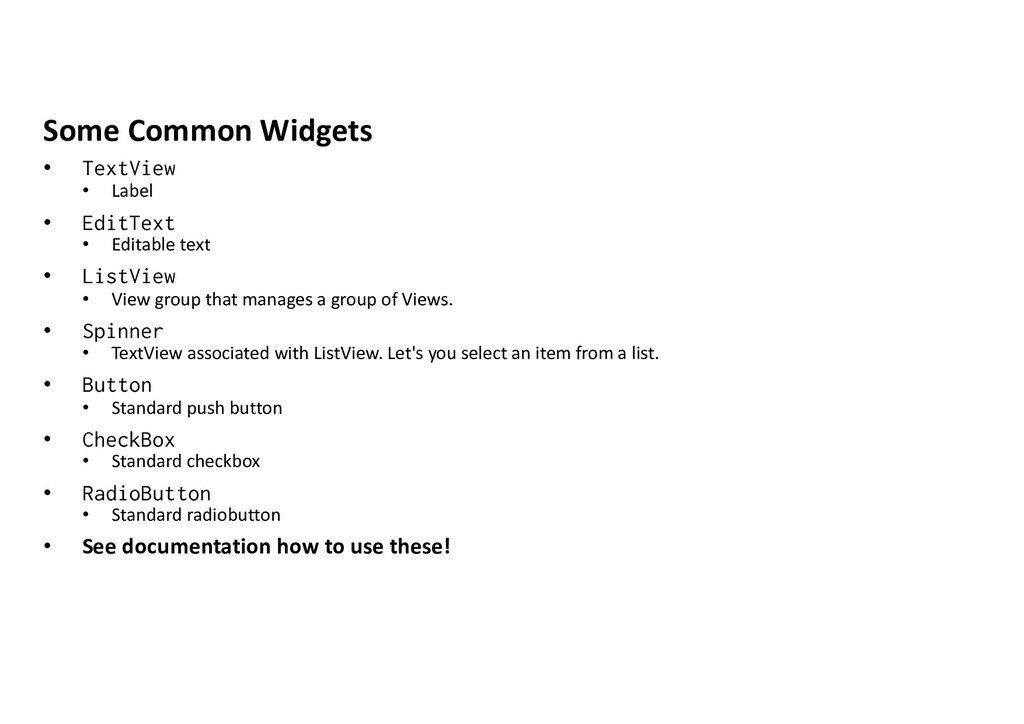
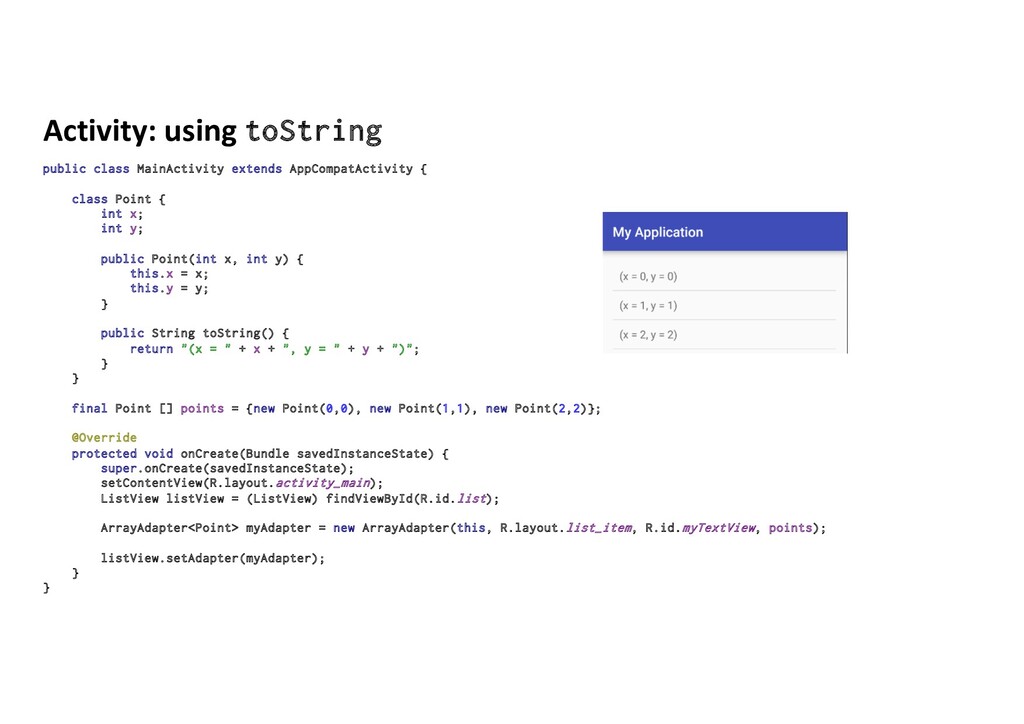
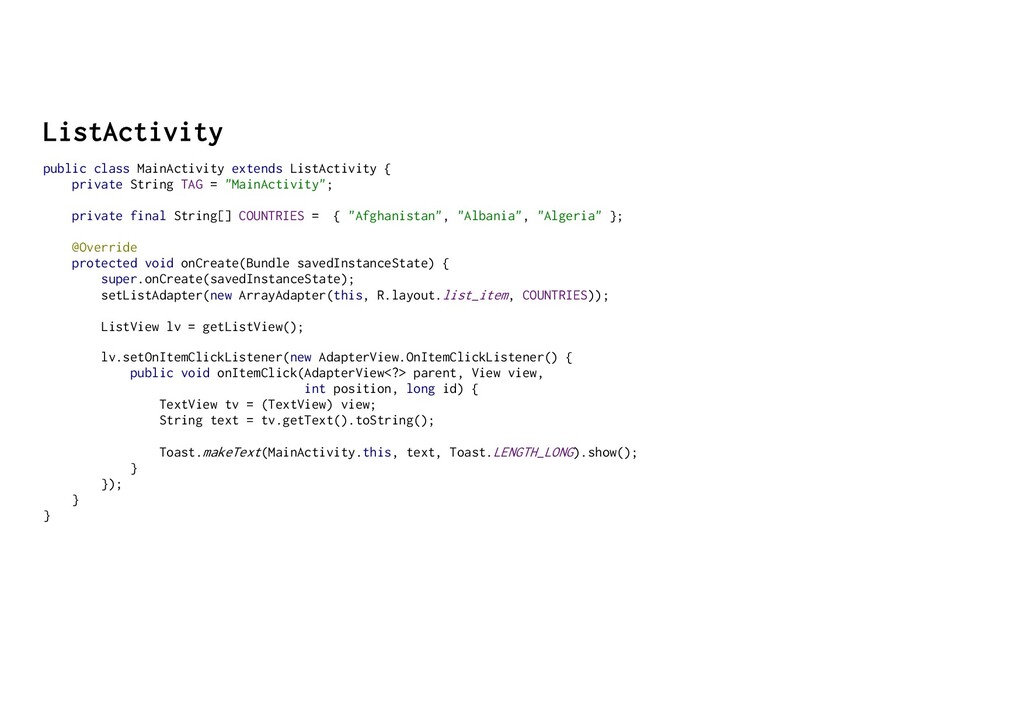
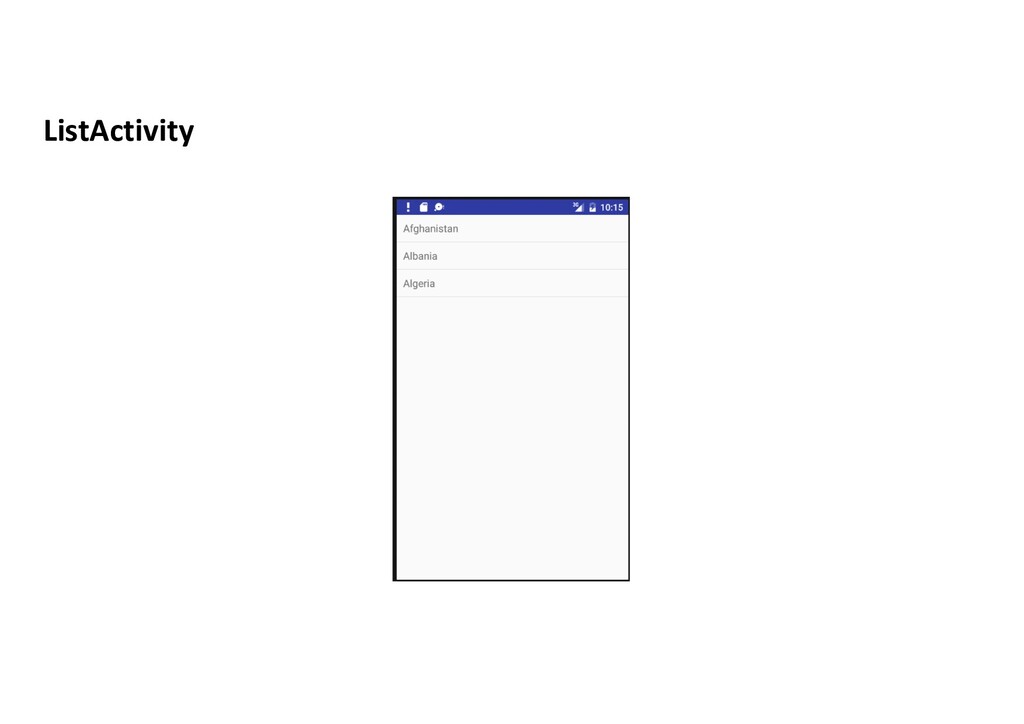
Editable text • ListView • View group that manages a group of Views. • Spinner • TextView associated with ListView. Let's you select an item from a list. • Button • Standard push button • CheckBox • Standard checkbox • RadioButton • Standard radiobutton • See documentation how to use these!
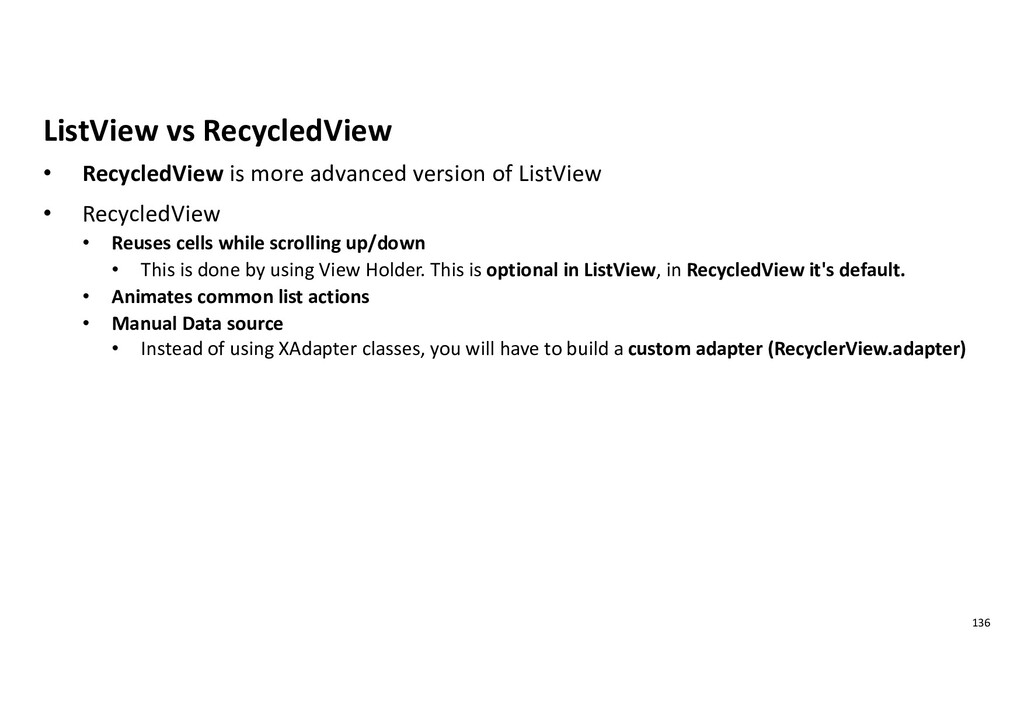
ListView • RecycledView • Reuses cells while scrolling up/down • This is done by using View Holder. This is optional in ListView, in RecycledView it's default. • Animates common list actions • Manual Data source • Instead of using XAdapter classes, you will have to build a custom adapter (RecyclerView.adapter) 136
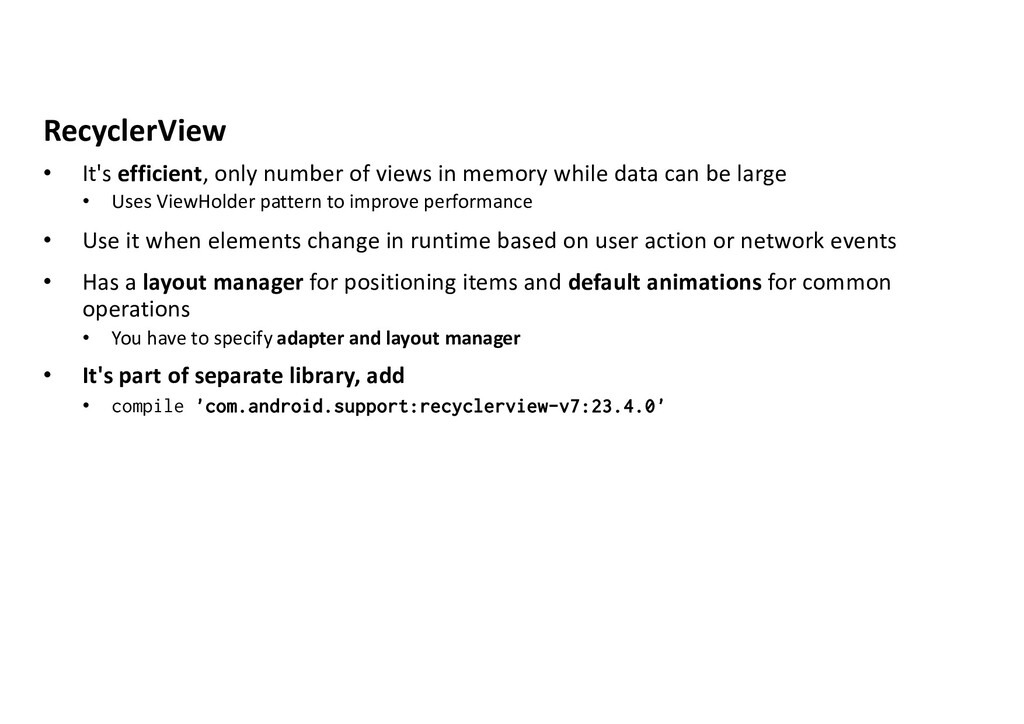
while data can be large • Uses ViewHolder pattern to improve performance • Use it when elements change in runtime based on user action or network events • Has a layout manager for positioning items and default animations for common operations • You have to specify adapter and layout manager • It's part of separate library, add • compile 'com.android.support:recyclerview-v7:23.4.0'
RecyclerView • reuse is handled also • Three built-in layout managers • LinearLayoutManager • vertical or horizontal list • GridLayoutManager • items in a grid • StaggeredGridLayoutManager • items in a staggered list 138
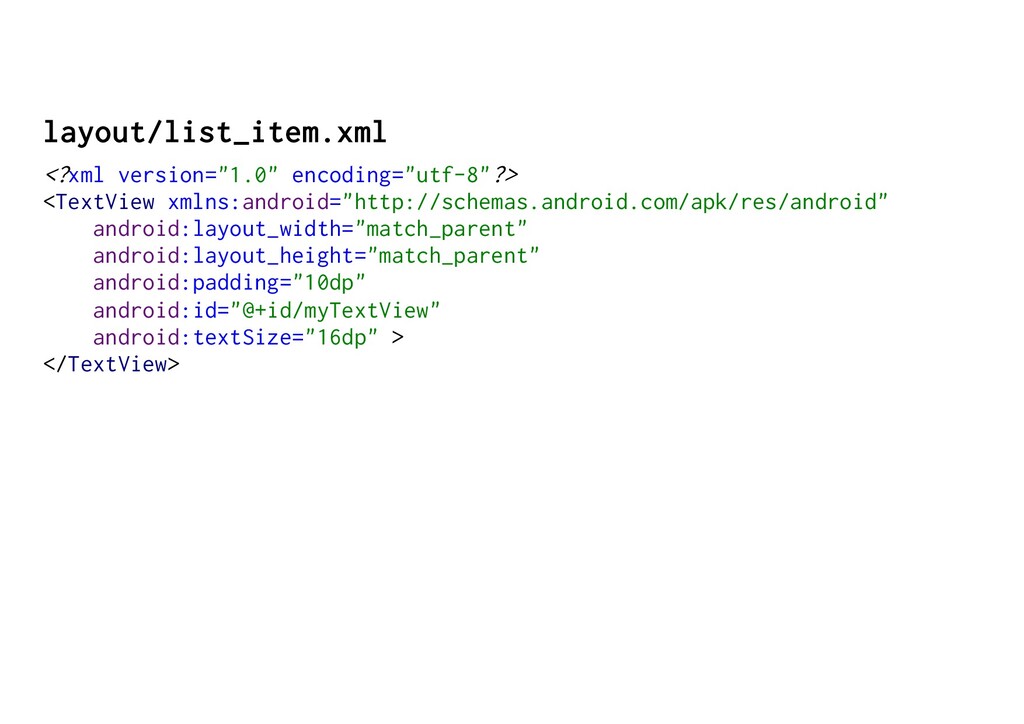
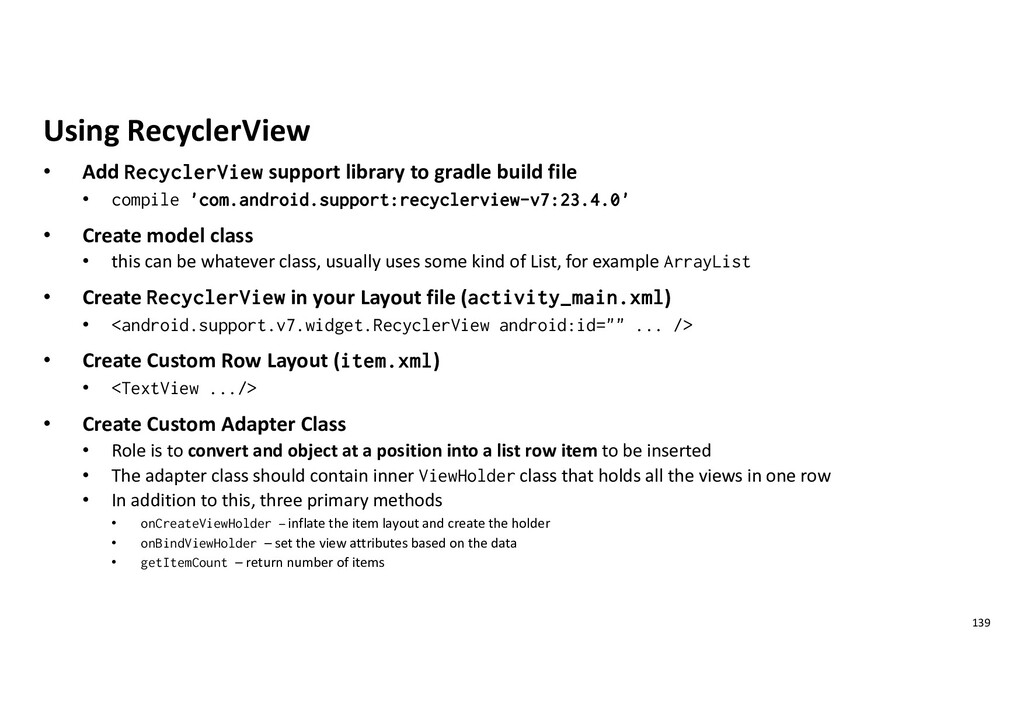
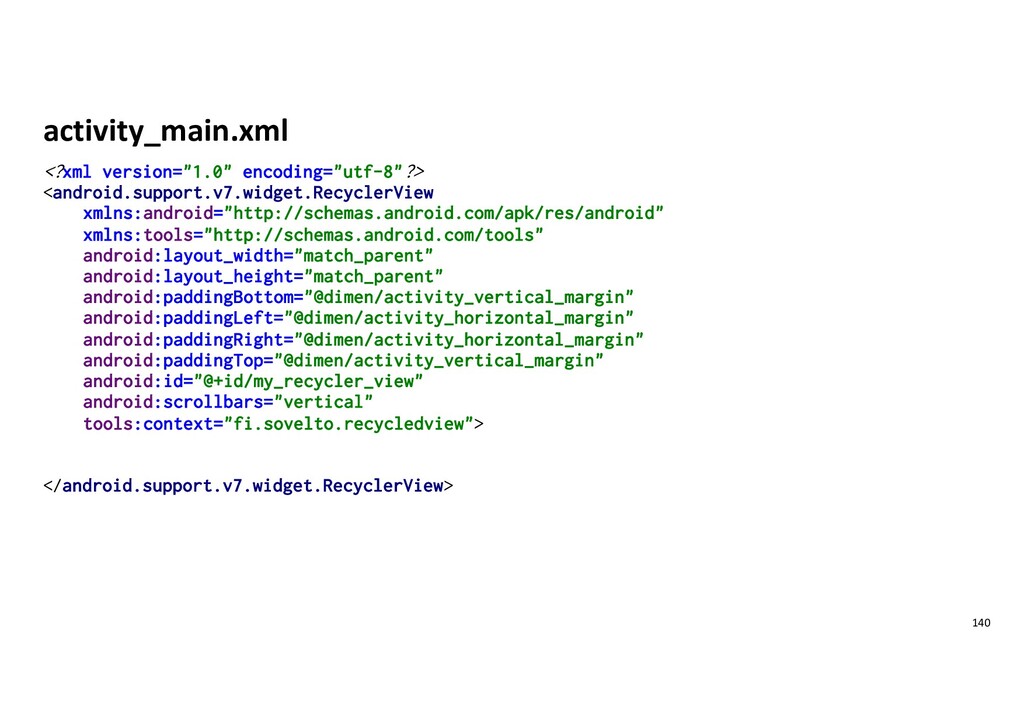
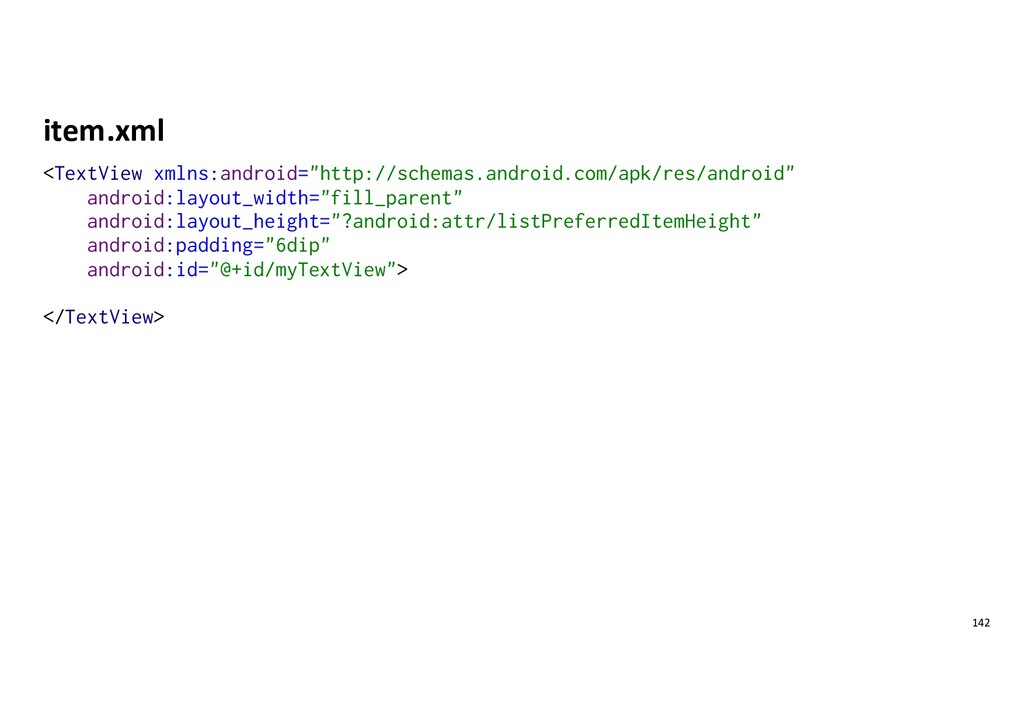
file • compile 'com.android.support:recyclerview-v7:23.4.0' • Create model class • this can be whatever class, usually uses some kind of List, for example ArrayList • Create RecyclerView in your Layout file (activity_main.xml) • <android.support.v7.widget.RecyclerView android:id="" ... /> • Create Custom Row Layout (item.xml) • <TextView .../> • Create Custom Adapter Class • Role is to convert and object at a position into a list row item to be inserted • The adapter class should contain inner ViewHolder class that holds all the views in one row • In addition to this, three primary methods • onCreateViewHolder – inflate the item layout and create the holder • onBindViewHolder – set the view attributes based on the data • getItemCount – return number of items 139
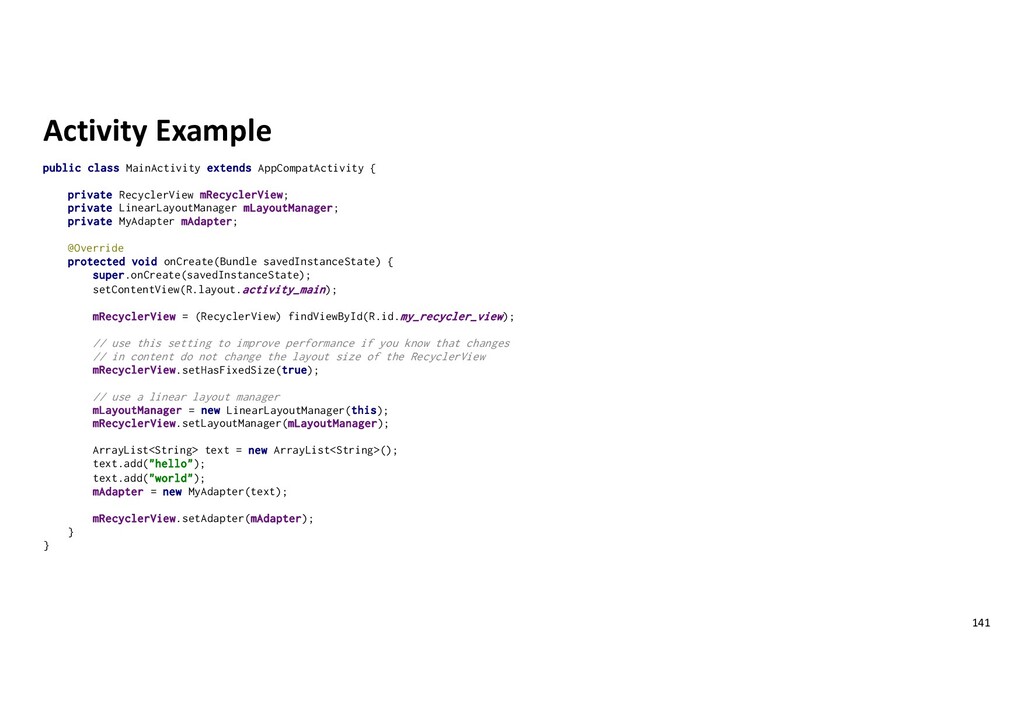
mRecyclerView; private LinearLayoutManager mLayoutManager; private MyAdapter mAdapter; @Override protected void onCreate(Bundle savedInstanceState) { super.onCreate(savedInstanceState); setContentView(R.layout.activity_main); mRecyclerView = (RecyclerView) findViewById(R.id.my_recycler_view); // use this setting to improve performance if you know that changes // in content do not change the layout size of the RecyclerView mRecyclerView.setHasFixedSize(true); // use a linear layout manager mLayoutManager = new LinearLayoutManager(this); mRecyclerView.setLayoutManager(mLayoutManager); ArrayList<String> text = new ArrayList<String>(); text.add("hello"); text.add("world"); mAdapter = new MyAdapter(text); mRecyclerView.setAdapter(mAdapter); } } 141
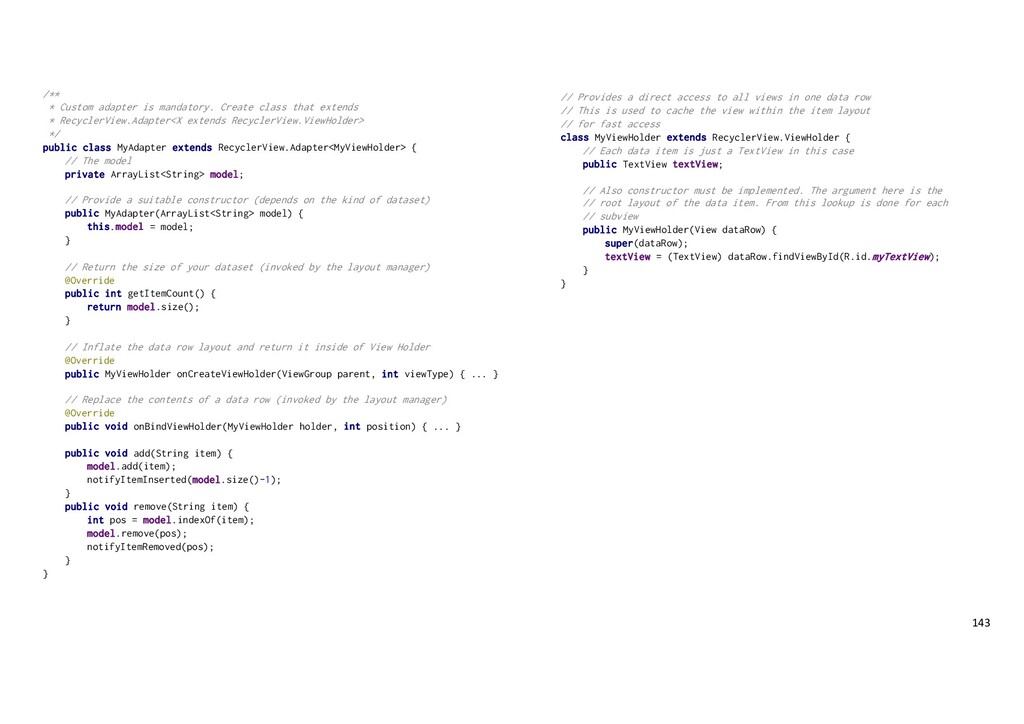
extends * RecyclerView.Adapter<X extends RecyclerView.ViewHolder> */ public class MyAdapter extends RecyclerView.Adapter<MyViewHolder> { // The model private ArrayList<String> model; // Provide a suitable constructor (depends on the kind of dataset) public MyAdapter(ArrayList<String> model) { this.model = model; } // Return the size of your dataset (invoked by the layout manager) @Override public int getItemCount() { return model.size(); } // Inflate the data row layout and return it inside of View Holder @Override public MyViewHolder onCreateViewHolder(ViewGroup parent, int viewType) { ... } // Replace the contents of a data row (invoked by the layout manager) @Override public void onBindViewHolder(MyViewHolder holder, int position) { ... } public void add(String item) { model.add(item); notifyItemInserted(model.size()-1); } public void remove(String item) { int pos = model.indexOf(item); model.remove(pos); notifyItemRemoved(pos); } } // Provides a direct access to all views in one data row // This is used to cache the view within the item layout // for fast access class MyViewHolder extends RecyclerView.ViewHolder { // Each data item is just a TextView in this case public TextView textView; // Also constructor must be implemented. The argument here is the // root layout of the data item. From this lookup is done for each // subview public MyViewHolder(View dataRow) { super(dataRow); textView = (TextView) dataRow.findViewById(R.id.myTextView); } }
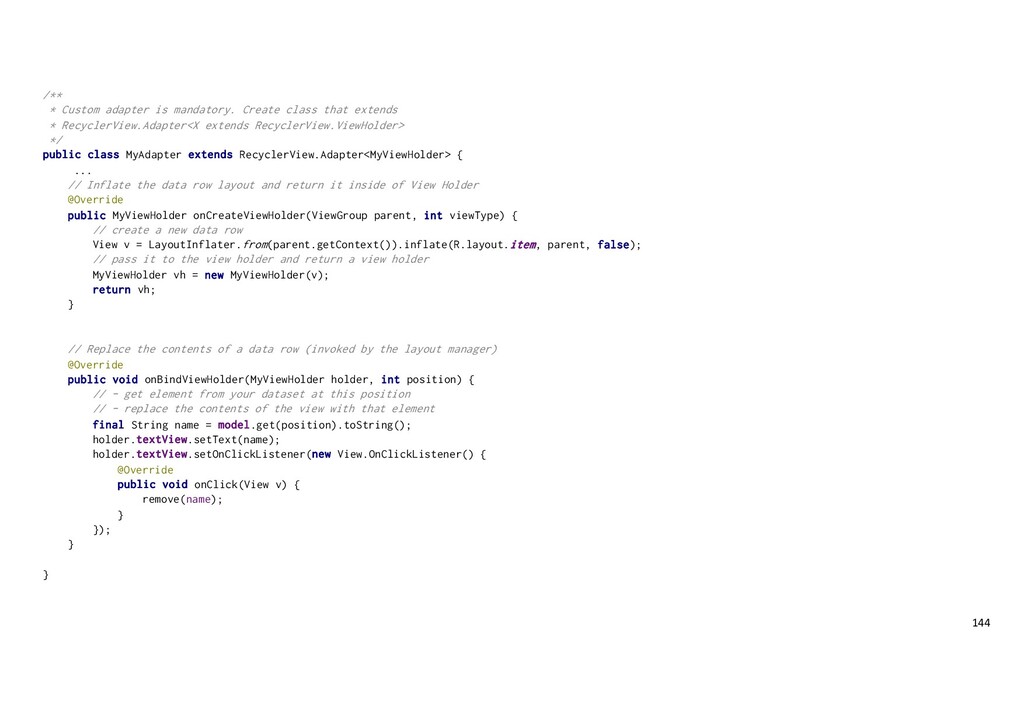
extends * RecyclerView.Adapter<X extends RecyclerView.ViewHolder> */ public class MyAdapter extends RecyclerView.Adapter<MyViewHolder> { ... // Inflate the data row layout and return it inside of View Holder @Override public MyViewHolder onCreateViewHolder(ViewGroup parent, int viewType) { // create a new data row View v = LayoutInflater.from(parent.getContext()).inflate(R.layout.item, parent, false); // pass it to the view holder and return a view holder MyViewHolder vh = new MyViewHolder(v); return vh; } // Replace the contents of a data row (invoked by the layout manager) @Override public void onBindViewHolder(MyViewHolder holder, int position) { // - get element from your dataset at this position // - replace the contents of the view with that element final String name = model.get(position).toString(); holder.textView.setText(name); holder.textView.setOnClickListener(new View.OnClickListener() { @Override public void onClick(View v) { remove(name); } }); } }
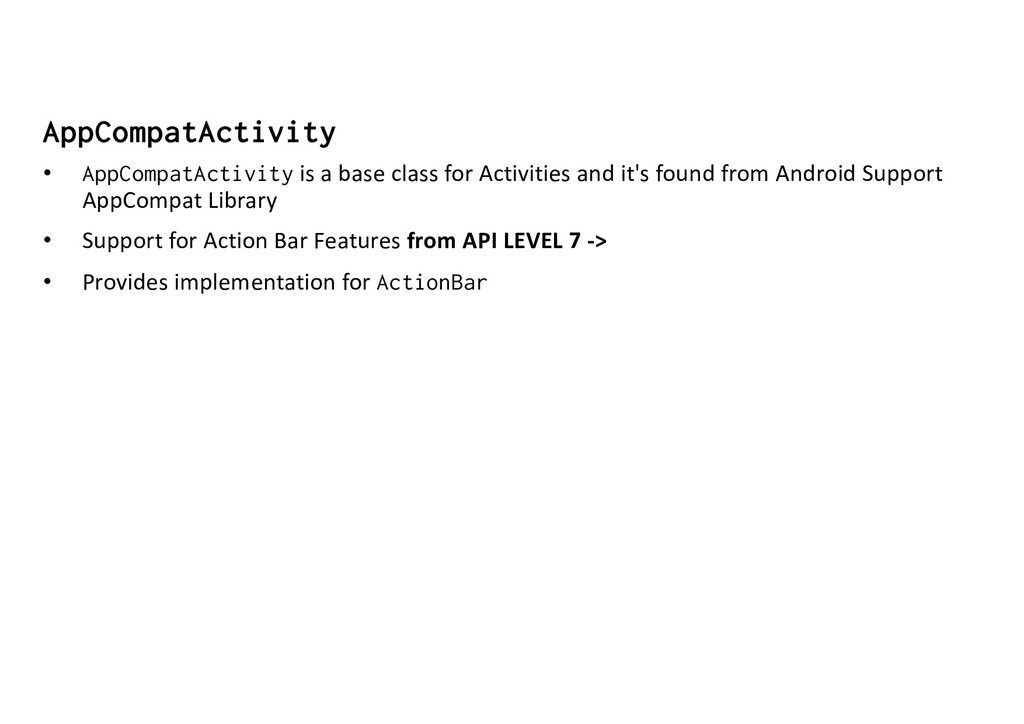
apps • Beginning from Android 3.0 (API Level 11) android devices may not hold a dedicated menu – button! • Use instead ActionBar • Hopefully implementing ActionBar is really simple and 99% same than menus
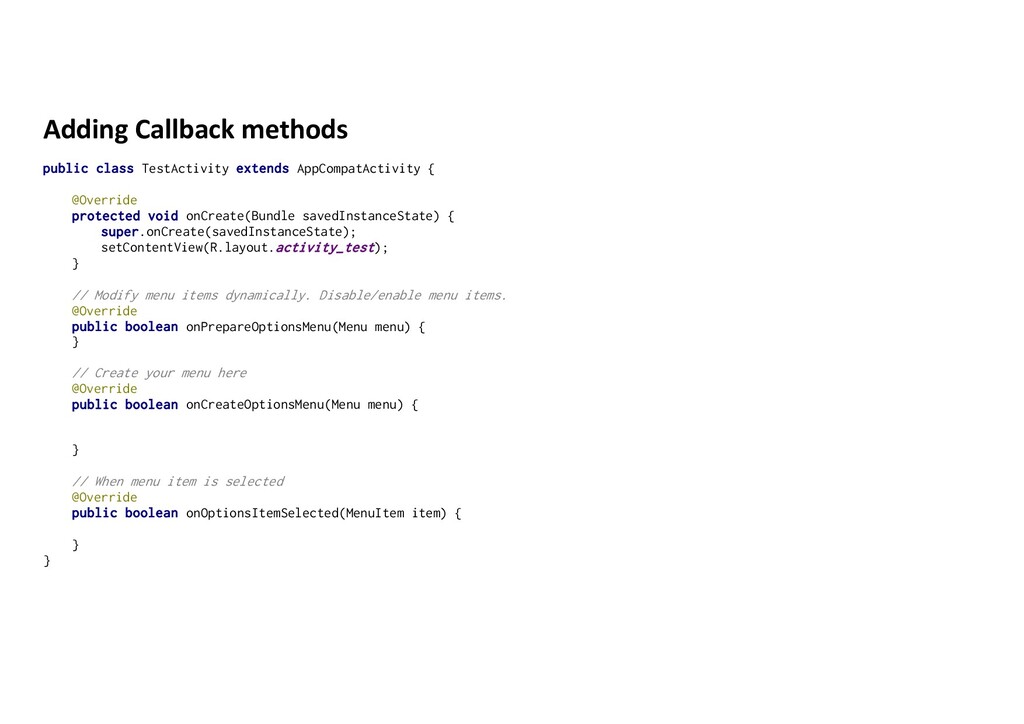
protected void onCreate(Bundle savedInstanceState) { super.onCreate(savedInstanceState); setContentView(R.layout.activity_test); } // Modify menu items dynamically. Disable/enable menu items. @Override public boolean onPrepareOptionsMenu(Menu menu) { } // Create your menu here @Override public boolean onCreateOptionsMenu(Menu menu) { } // When menu item is selected @Override public boolean onOptionsItemSelected(MenuItem item) { } }
events such as back- button pressing or rotating the screen • Also allows reusing of dialog's UI as an embeddable component in larger UI • DialogFragment is available from API Level 11 -> • Support Library also available for older devices. • Extend DialogFragment, implement newInstance, onCreate, and onCreateView for custom dialogs
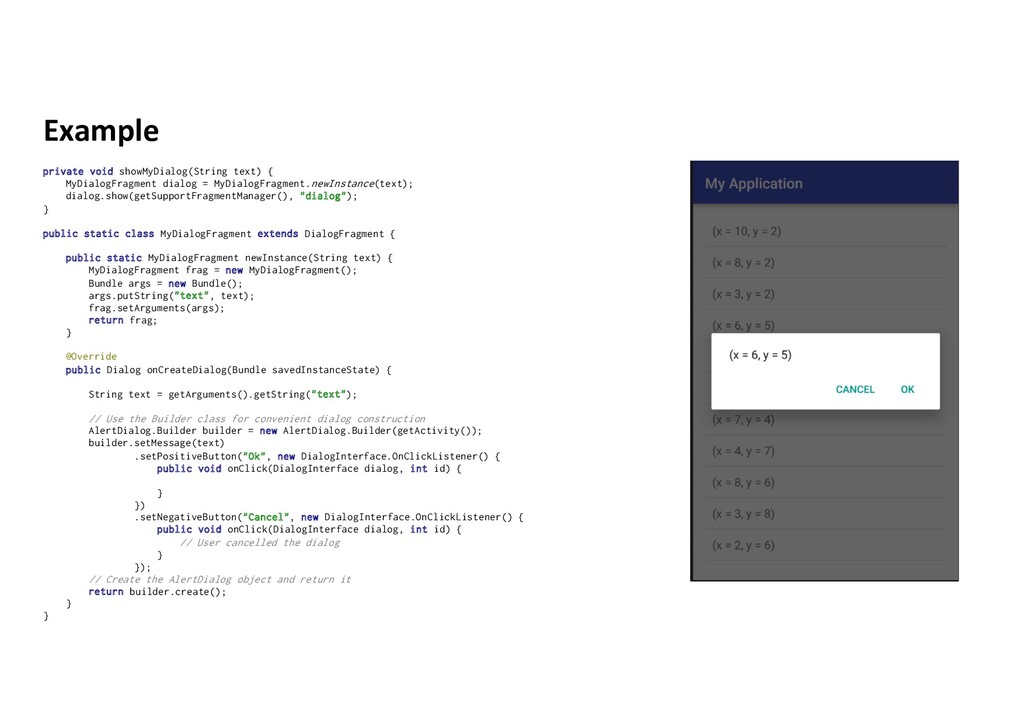
dialog.show(getSupportFragmentManager(), "dialog"); } public static class MyDialogFragment extends DialogFragment { public static MyDialogFragment newInstance(String text) { MyDialogFragment frag = new MyDialogFragment(); Bundle args = new Bundle(); args.putString("text", text); frag.setArguments(args); return frag; } @Override public Dialog onCreateDialog(Bundle savedInstanceState) { String text = getArguments().getString("text"); // Use the Builder class for convenient dialog construction AlertDialog.Builder builder = new AlertDialog.Builder(getActivity()); builder.setMessage(text) .setPositiveButton("Ok", new DialogInterface.OnClickListener() { public void onClick(DialogInterface dialog, int id) { } }) .setNegativeButton("Cancel", new DialogInterface.OnClickListener() { public void onClick(DialogInterface dialog, int id) { // User cancelled the dialog } }); // Create the AlertDialog object and return it return builder.create(); } }
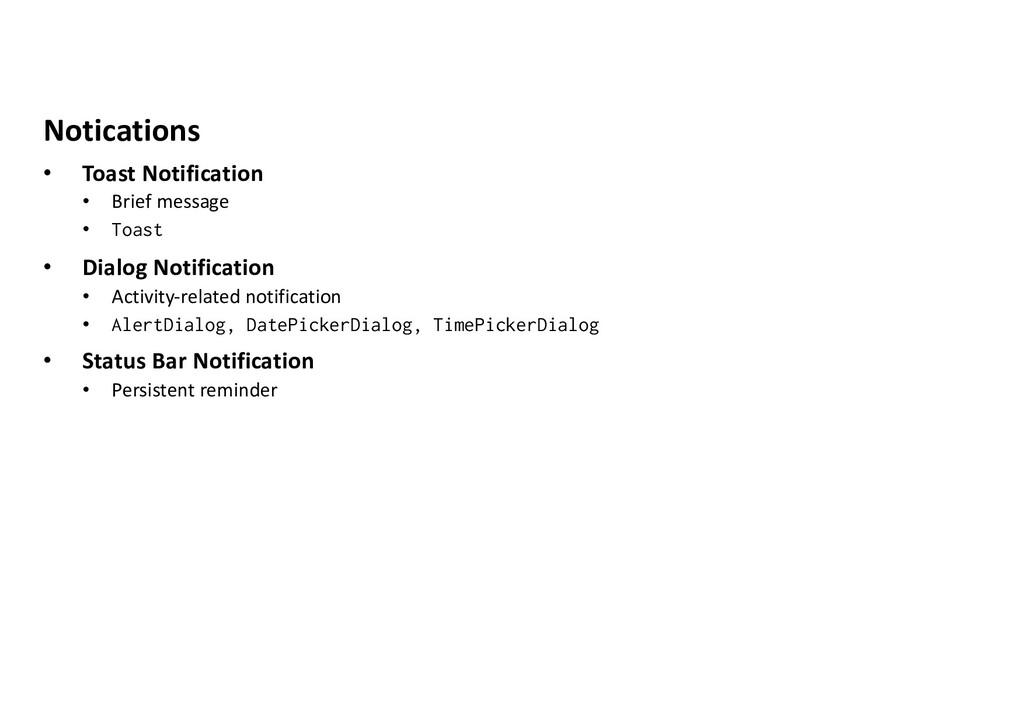
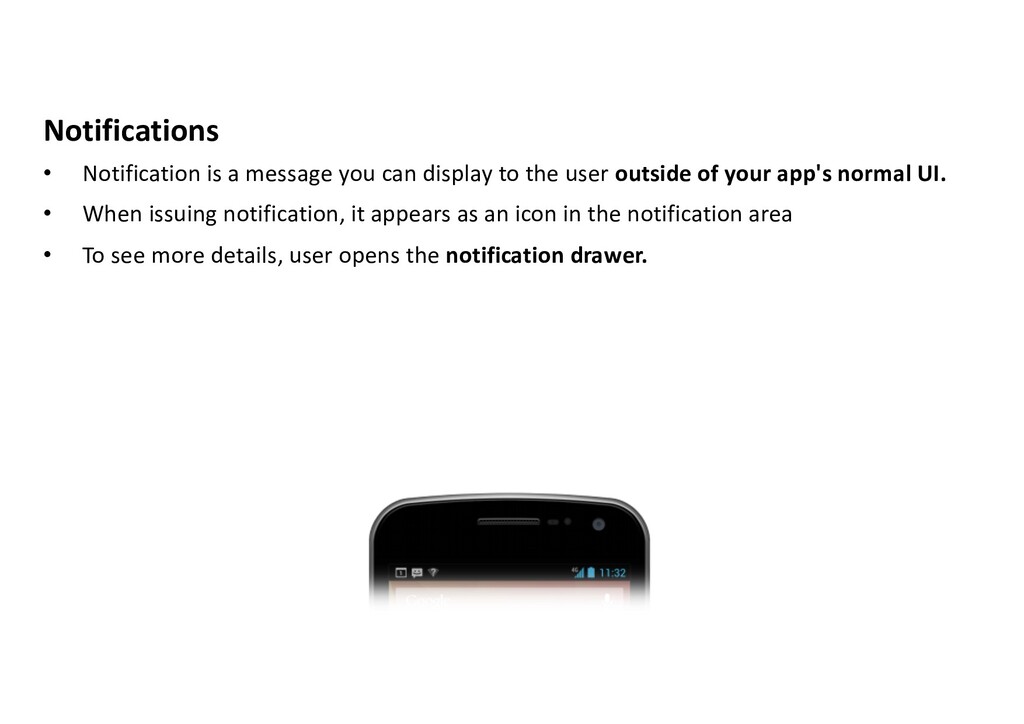
the user outside of your app's normal UI. • When issuing notification, it appears as an icon in the notification area • To see more details, user opens the notification drawer.
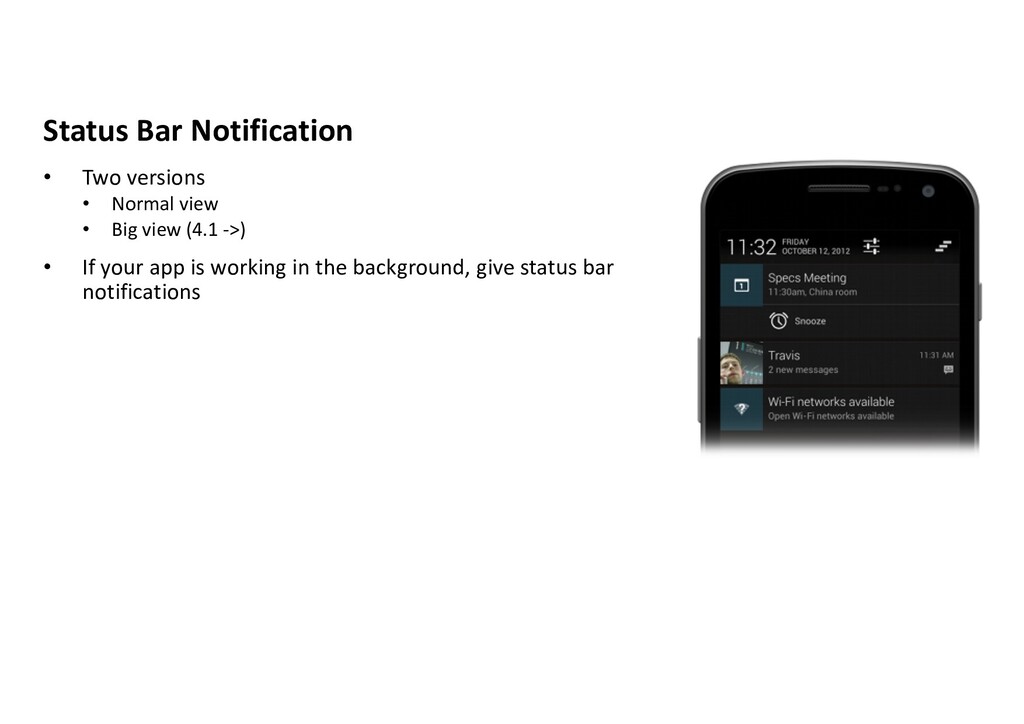
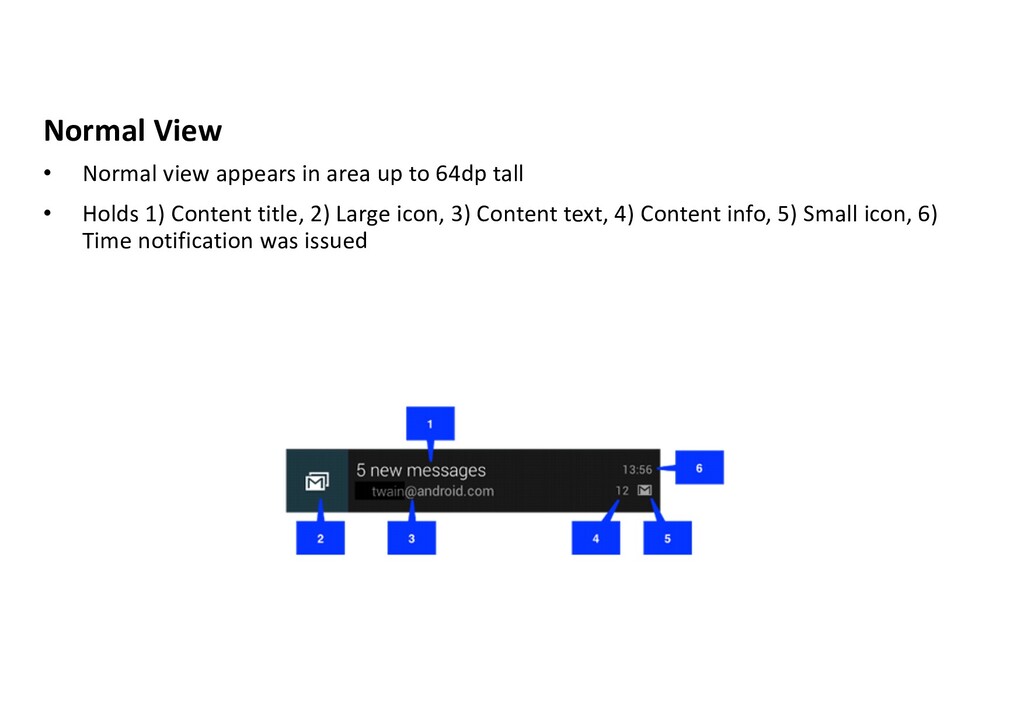
Use NotificationCompat.Builder.build() for building the notification object • call notify() when needed • Notification must contain: 1) small icon, 2) title and 3) detail text • Service can launch status bar notification!
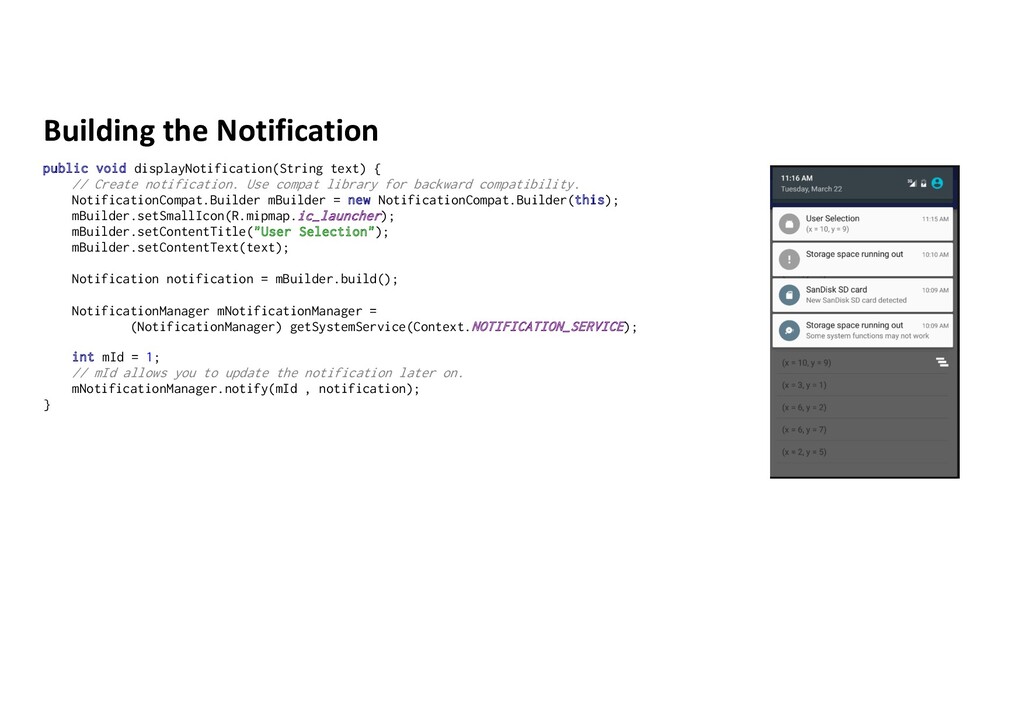
notification. Use compat library for backward compatibility. NotificationCompat.Builder mBuilder = new NotificationCompat.Builder(this); mBuilder.setSmallIcon(R.mipmap.ic_launcher); mBuilder.setContentTitle("User Selection"); mBuilder.setContentText(text); Notification notification = mBuilder.build(); NotificationManager mNotificationManager = (NotificationManager) getSystemService(Context.NOTIFICATION_SERVICE); int mId = 1; // mId allows you to update the notification later on. mNotificationManager.notify(mId , notification); }
to notification • Allows user to go to your app from the notification • Starting an activity when the user clicks the notification is the most common scenario • NotificationManager is different app from your app and it needs special permissions to open your activity. • Instead of using Intent, you use PendingIntent. • See: http://developer.android.com/guide/topics/ui/notifiers/notifications.html
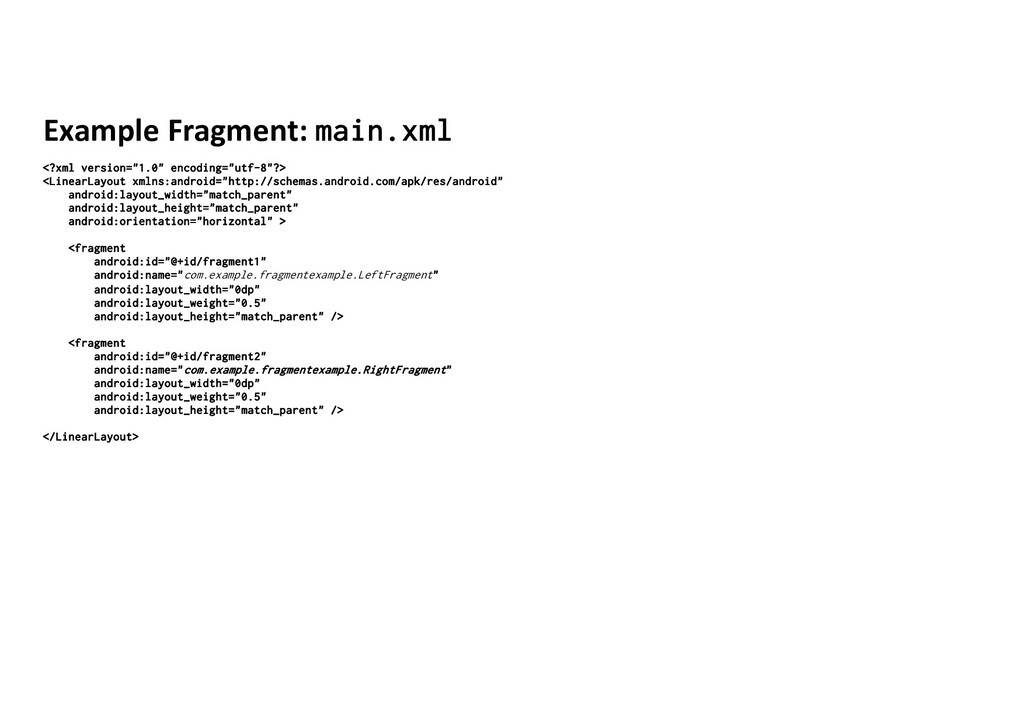
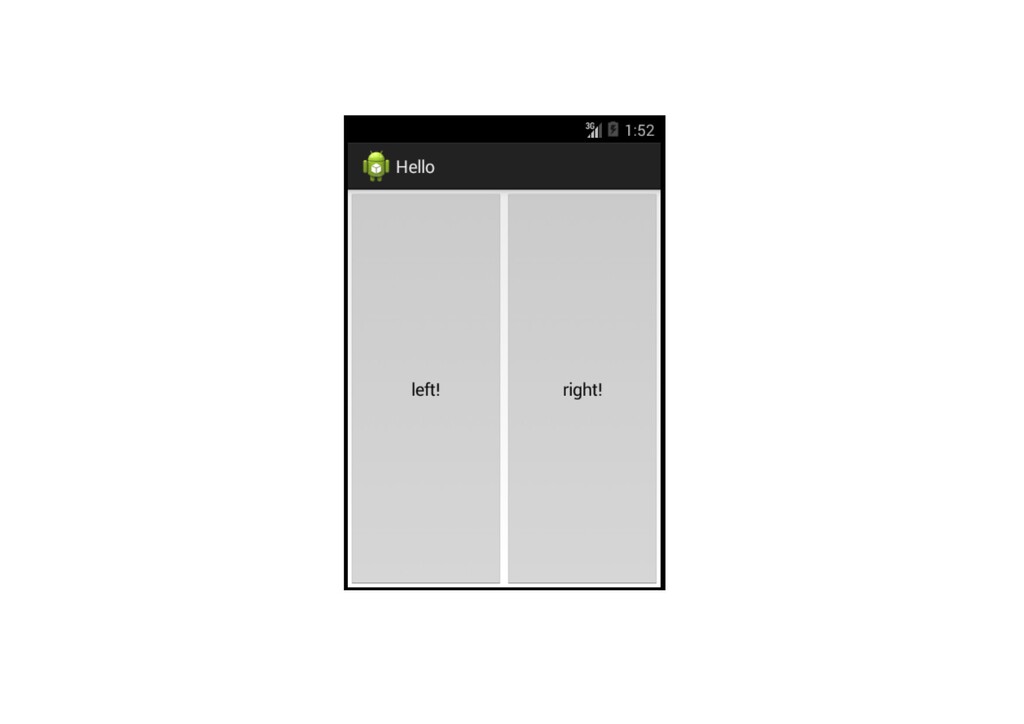
activity. • You can add and remove fragments at runtime • Fragment has it’s own UI (.xml file) • Feature that came in API Level 11 -> need to have support library if targeting older devices
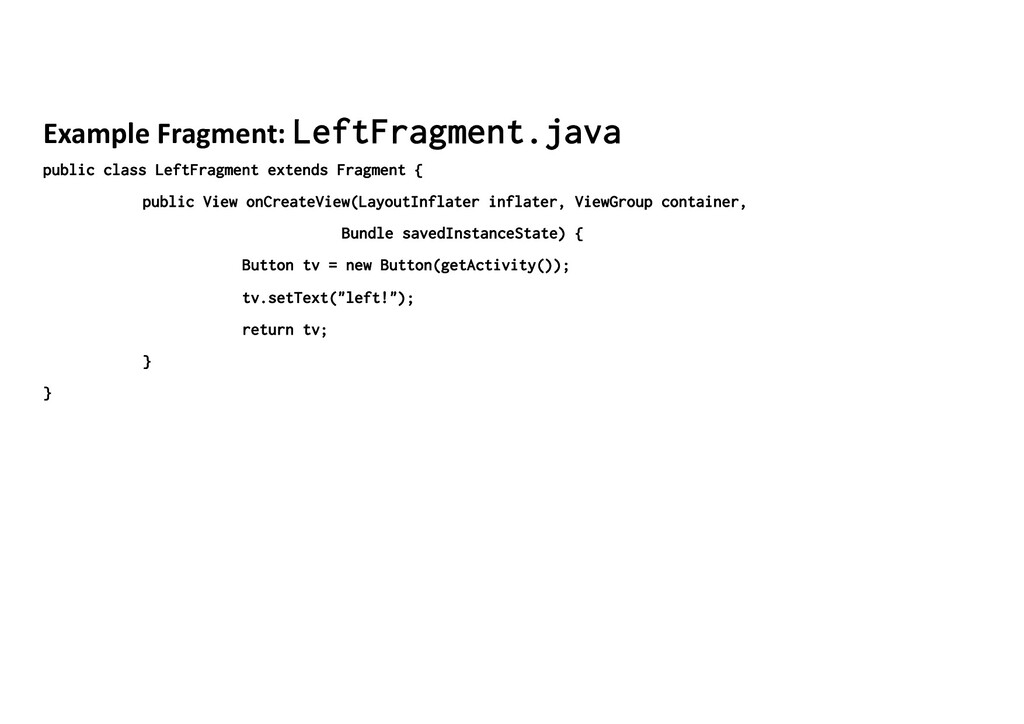
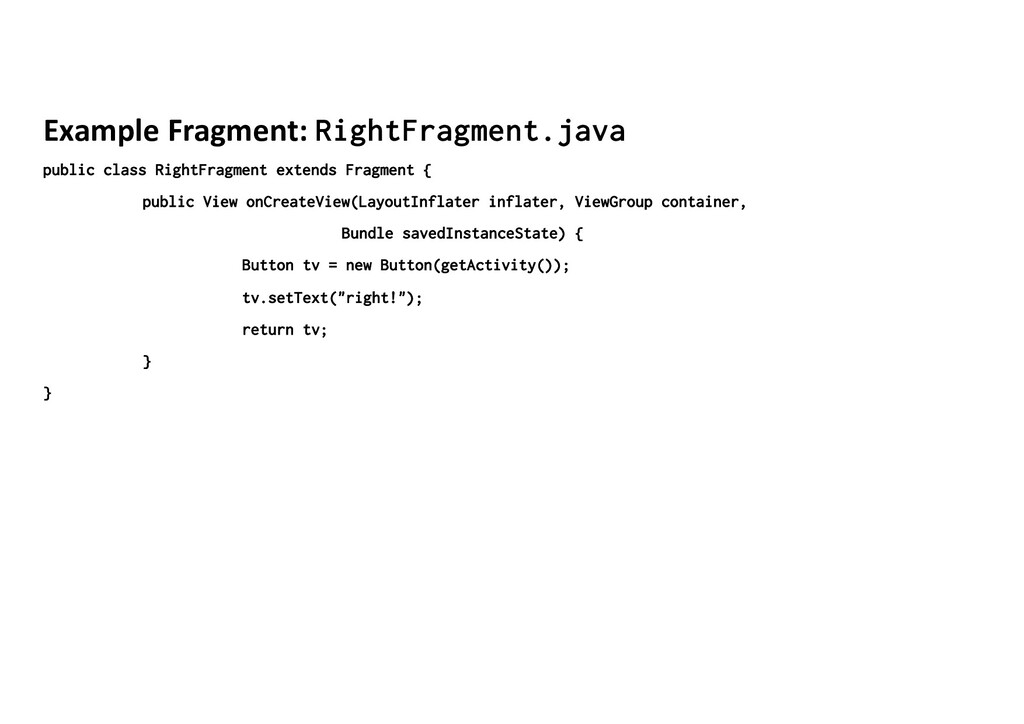
methods that are similar to Activity’s. • onCreate, onStart, onPause, onStop.. • Implement at least • onCreate • Initialize essential components • onCreateView • Return View – object that is the root of your fragment’s layout • onPause • User is leaving the fragment
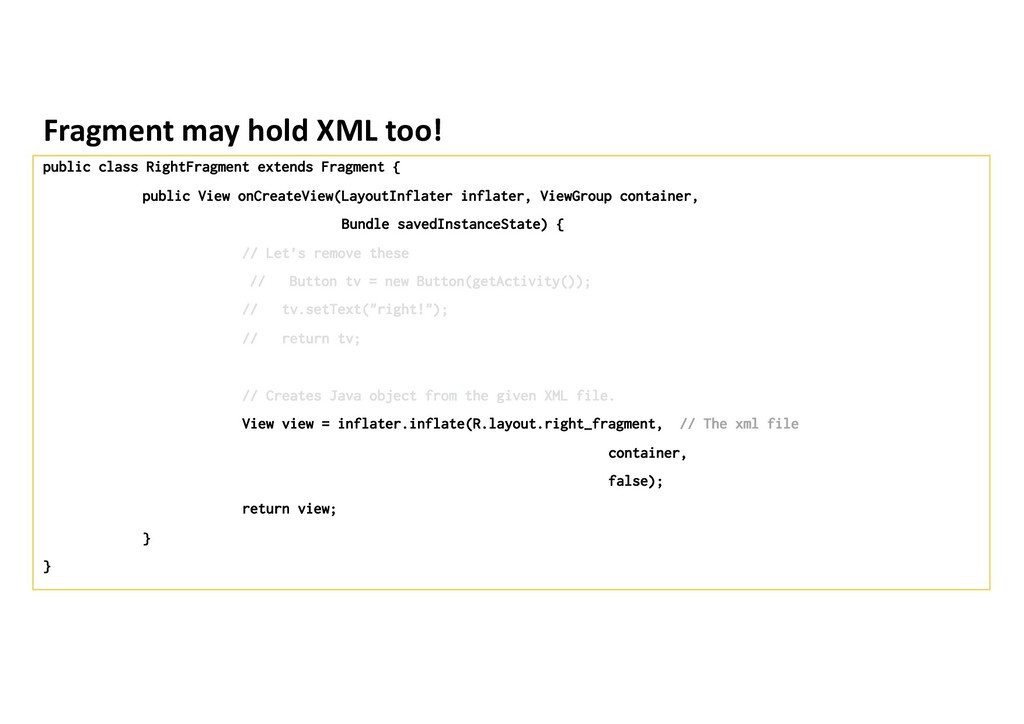
{ public View onCreateView(LayoutInflater inflater, ViewGroup container, Bundle savedInstanceState) { // Let’s remove these // Button tv = new Button(getActivity()); // tv.setText("right!"); // return tv; // Creates Java object from the given XML file. View view = inflater.inflate(R.layout.right_fragment, // The xml file container, false); return view; } }
add, remove and replace fragments to on activity at runtime. • Don’t add fragments to .xml, but perform transaction in Java • See: • https://developer.android.com/training/basics/fragments/fragment- ui.html
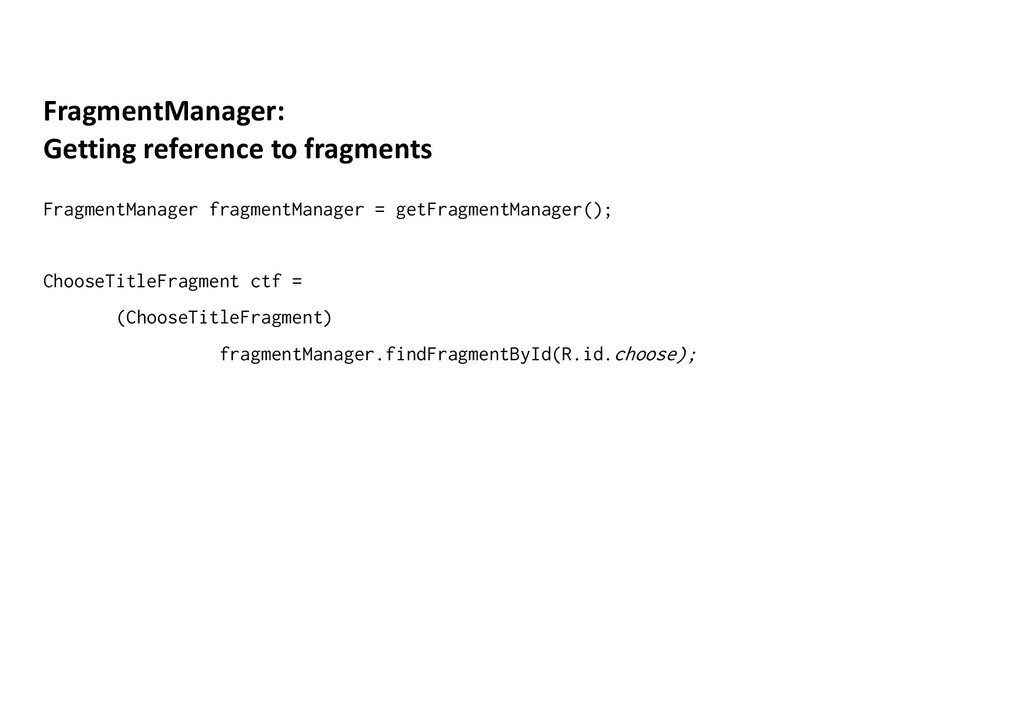
• Do Fragment -> Fragment communication through Activity • Fragment A -> Activity • Use your own interface, activity can be whatever • Activity -> Fragment B • Use FragmentManager to get a reference to Fragment B and call it’s public methods
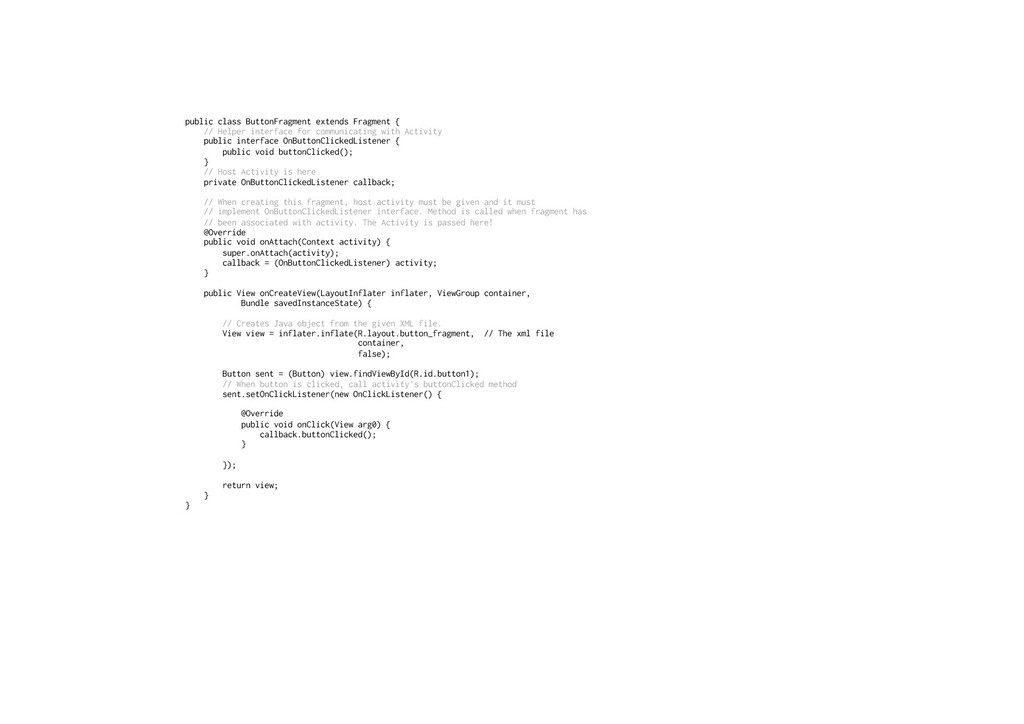
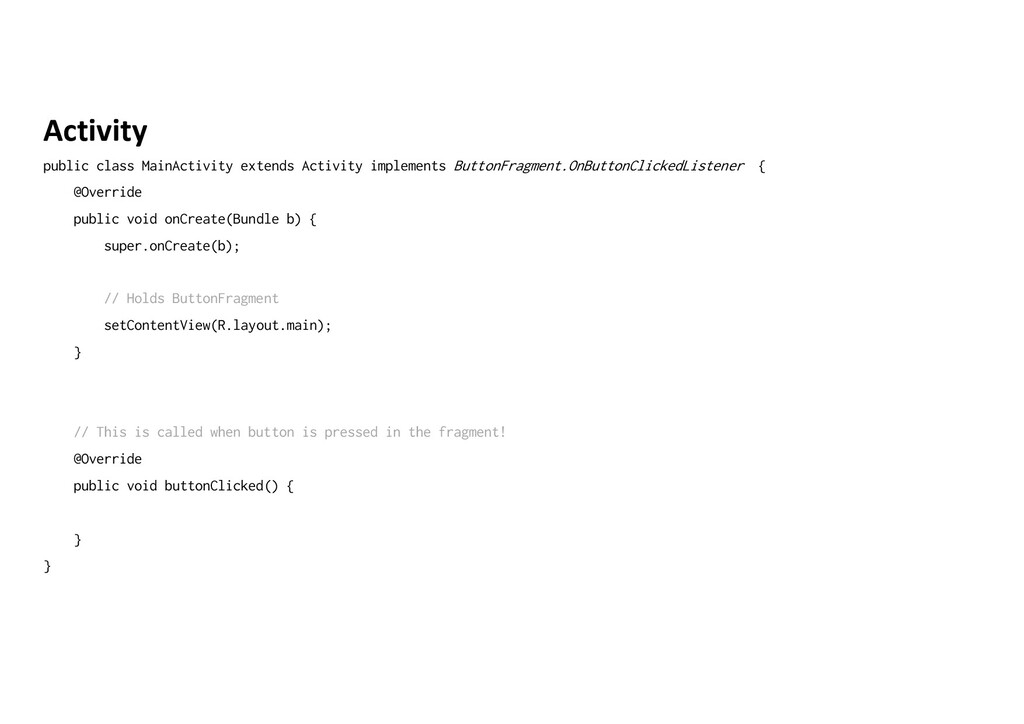
communicating with Activity public interface OnButtonClickedListener { public void buttonClicked(); } // Host Activity is here private OnButtonClickedListener callback; // When creating this fragment, host activity must be given and it must // implement OnButtonClickedListener interface. Method is called when fragment has // been associated with activity. The Activity is passed here! @Override public void onAttach(Context activity) { super.onAttach(activity); callback = (OnButtonClickedListener) activity; } public View onCreateView(LayoutInflater inflater, ViewGroup container, Bundle savedInstanceState) { // Creates Java object from the given XML file. View view = inflater.inflate(R.layout.button_fragment, // The xml file container, false); Button sent = (Button) view.findViewById(R.id.button1); // When button is clicked, call activity's buttonClicked method sent.setOnClickListener(new OnClickListener() { @Override public void onClick(View arg0) { callback.buttonClicked(); } }); return view; } }
public void onCreate(Bundle b) { super.onCreate(b); // Holds ButtonFragment setContentView(R.layout.main); } // This is called when button is pressed in the fragment! @Override public void buttonClicked() { } }
void onCreate(Bundle b) { super.onCreate(b); // Holds either two-dim or on-dim layout! hold either // 1) left-pane or // 2) left-pane and right-pane setContentView(R.layout.main); } // This is called when button is pressed in the fragment! @Override public void buttonClicked() { // Let's get a reference to the right fragment RightPaneFragment rightPaneFragment = (RightPaneFragment) getFragmentManager() .findFragmentById(R.id.right_fragment); // If it's not accessible, we are in one-dim layout if (rigthPaneFragment == null) { startNewActivity(); } else { updateRightPane(); } } private void startNewActivity() { Intent showContent = new Intent(this, RightActivityPane.class); // This activity holds RightPaneFragment startActivity(showContent); } private void updateRightPane(RightPaneFragment rightPaneFragment) { rightPaneFragment.doSomething(); } }
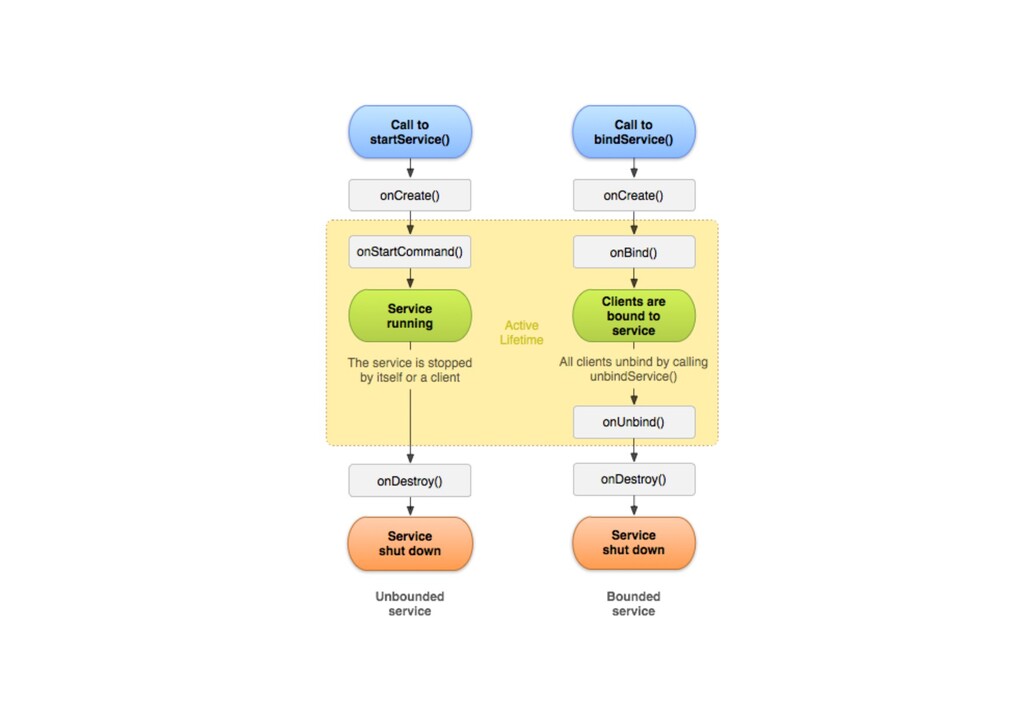
system about something it wants to be doing in the background • background music • fetching data over network. • file i/o • .. • Activity may be frozen when user moves to another Activity. Service can go on in the background.
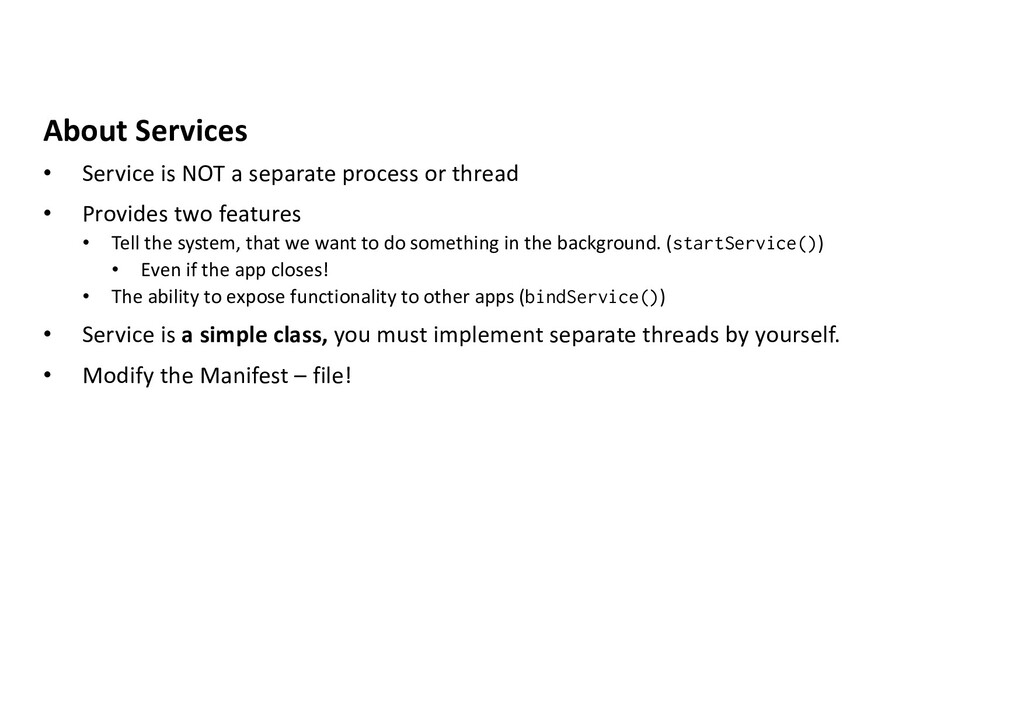
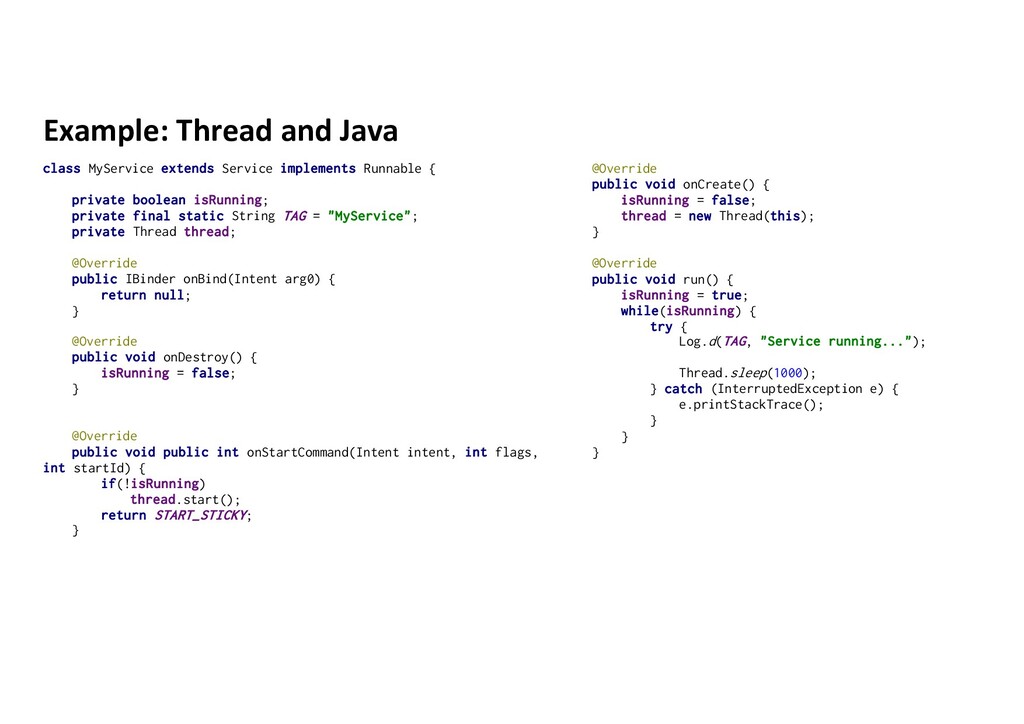
thread • Provides two features • Tell the system, that we want to do something in the background. (startService()) • Even if the app closes! • The ability to expose functionality to other apps (bindService()) • Service is a simple class, you must implement separate threads by yourself. • Modify the Manifest – file!
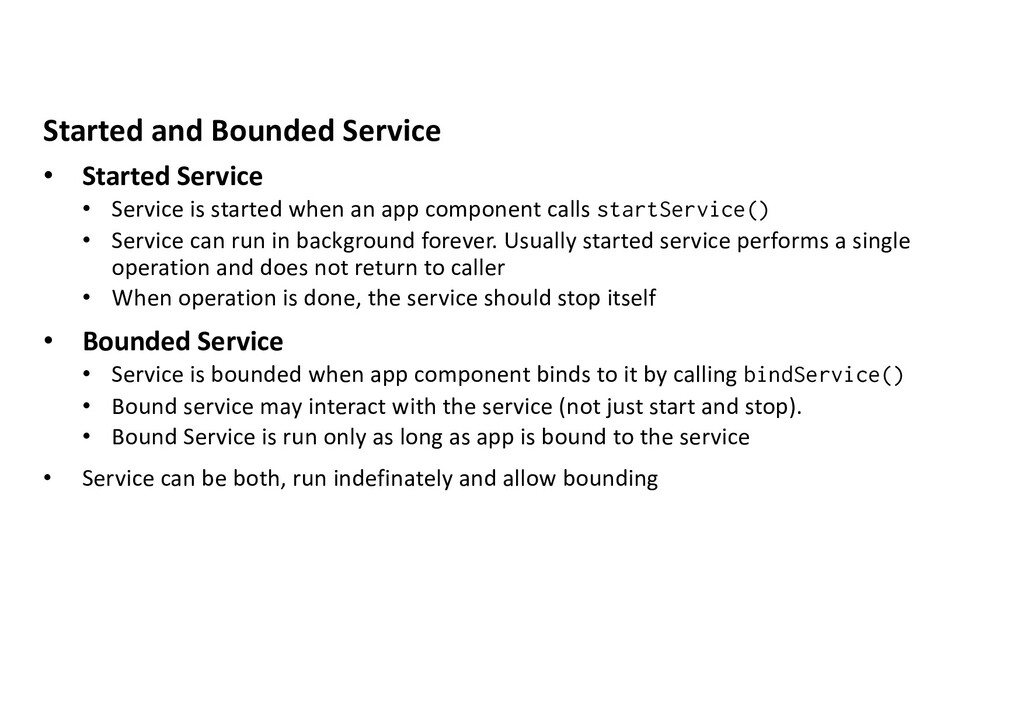
started when an app component calls startService() • Service can run in background forever. Usually started service performs a single operation and does not return to caller • When operation is done, the service should stop itself • Bounded Service • Service is bounded when app component binds to it by calling bindService() • Bound service may interact with the service (not just start and stop). • Bound Service is run only as long as app is bound to the service • Service can be both, run indefinately and allow bounding
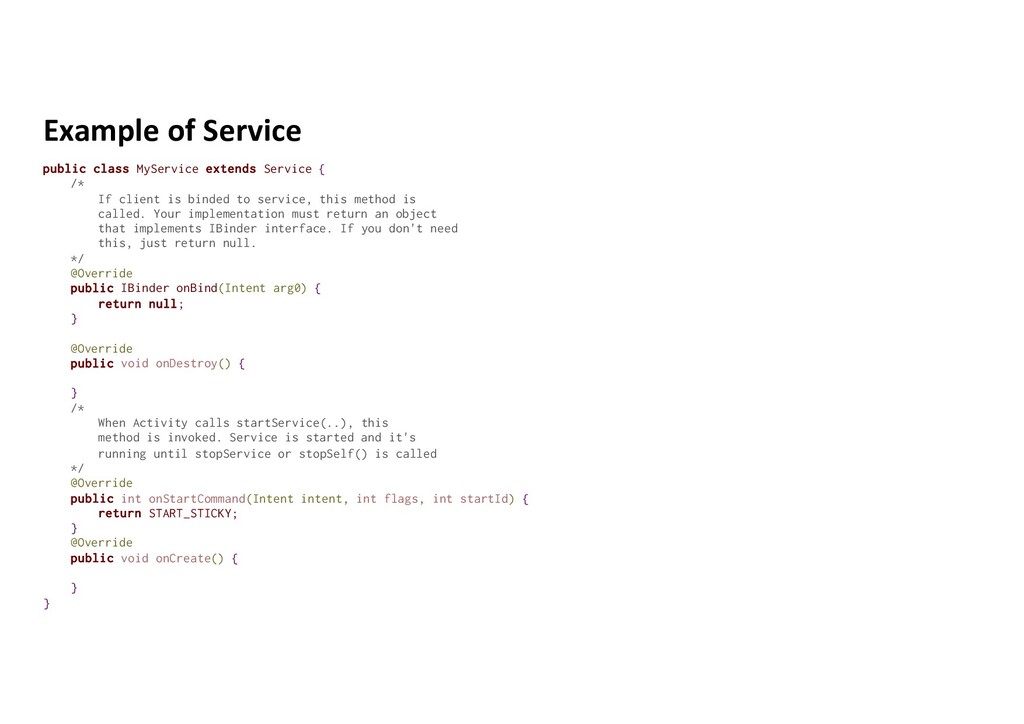
If client is binded to service, this method is called. Your implementation must return an object that implements IBinder interface. If you don't need this, just return null. */ @Override public IBinder onBind(Intent arg0) { return null; } @Override public void onDestroy() { } /* When Activity calls startService(..), this method is invoked. Service is started and it's running until stopService or stopSelf() is called */ @Override public int onStartCommand(Intent intent, int flags, int startId) { return START_STICKY; } @Override public void onCreate() { } }
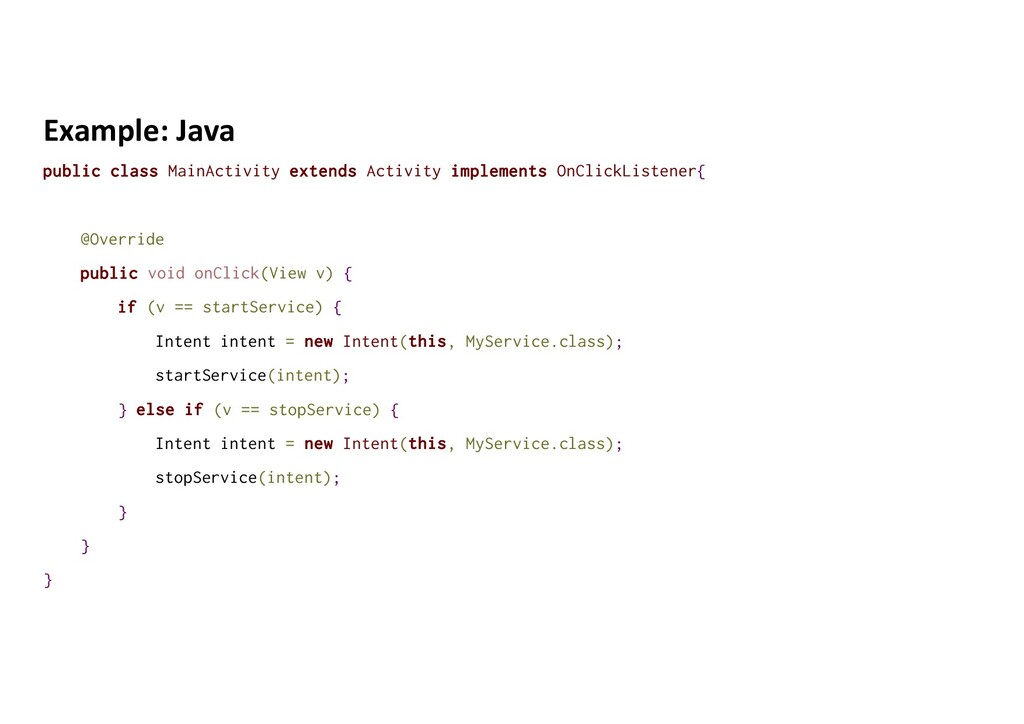
public void onClick(View v) { if (v == startService) { Intent intent = new Intent(this, MyService.class); startService(intent); } else if (v == stopService) { Intent intent = new Intent(this, MyService.class); stopService(intent); } } }
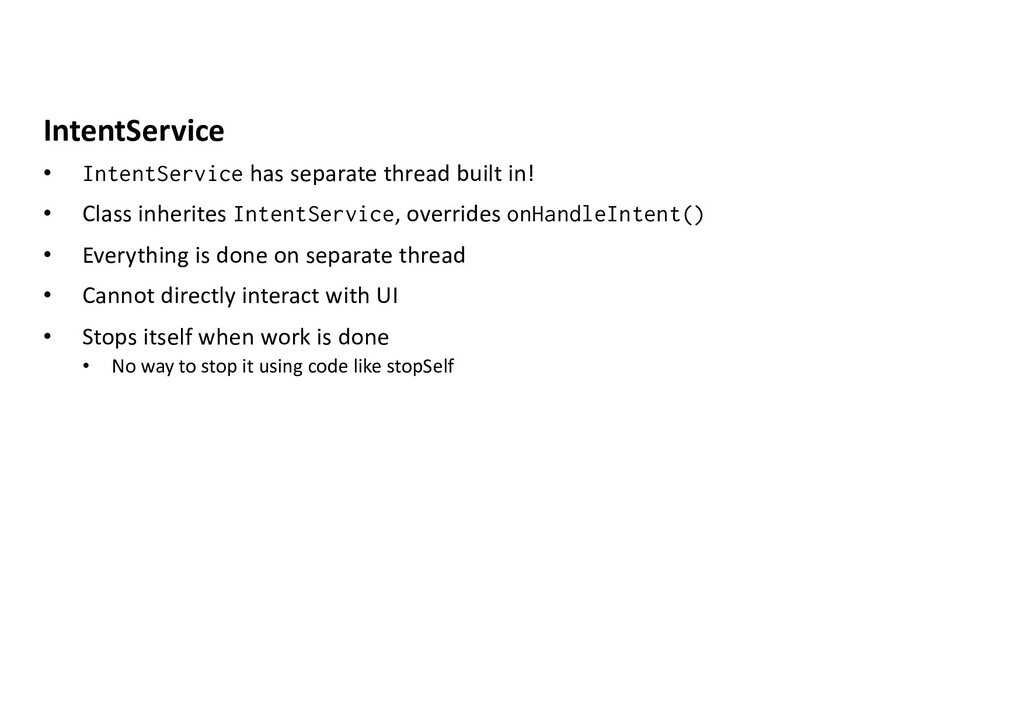
inherites IntentService, overrides onHandleIntent() • Everything is done on separate thread • Cannot directly interact with UI • Stops itself when work is done • No way to stop it using code like stopSelf
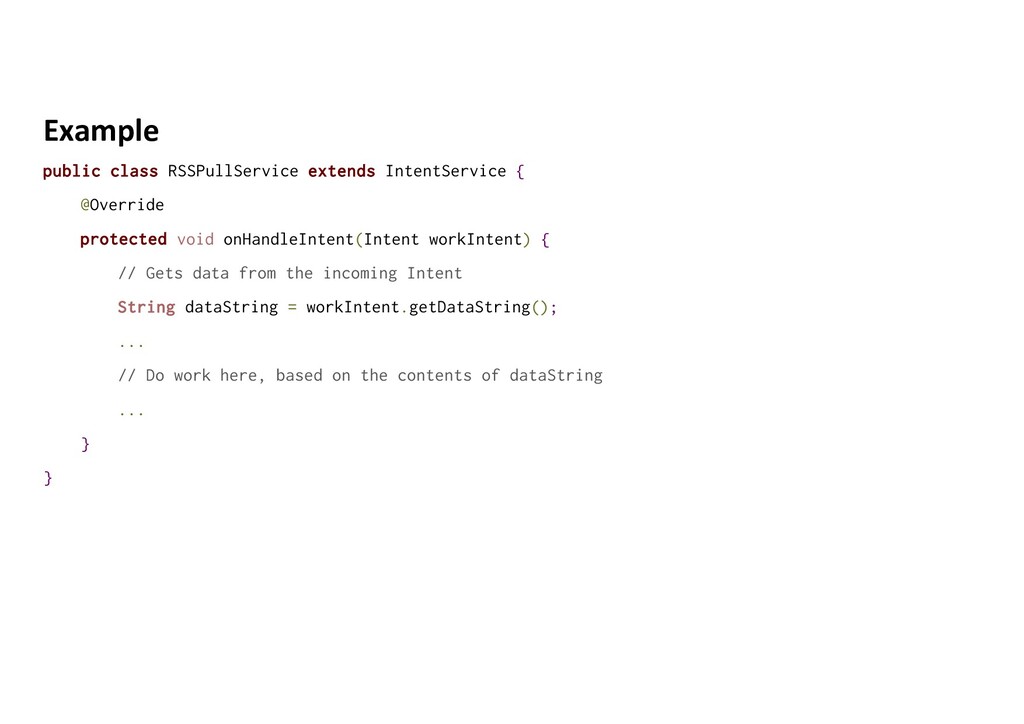
onHandleIntent(Intent workIntent) { // Gets data from the incoming Intent String dataString = workIntent.getDataString(); ... // Do work here, based on the contents of dataString ... } }
to • Interact with the service from activities or other components • Expose some of app’s functionality to other apps (IPC) • To create bound service, implement onBind() • A bound service typically lives only while it serves another application component and does not run in the background indefinitely
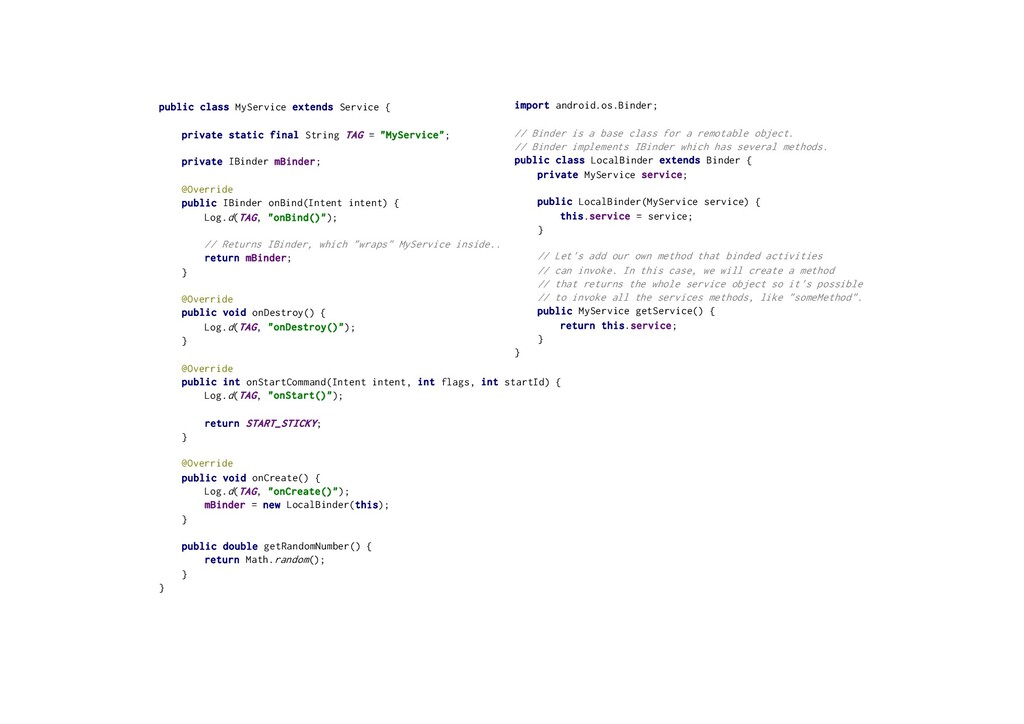
app • Extend Binder class • Example: music application that needs to bind an activity to its own service that's playing music in the background. • Service for other apps (work across processes) • Use a Messenger
app, you can use Binder • Binder? Defines programming interface that clients can use • Binder can • Contain public method that the client can call • Return the Service object itself, so all the public methods from the service is available
TAG = "MyService"; private IBinder mBinder; @Override public IBinder onBind(Intent intent) { Log.d(TAG, "onBind()"); // Returns IBinder, which "wraps" MyService inside.. return mBinder; } @Override public void onDestroy() { Log.d(TAG, "onDestroy()"); } @Override public int onStartCommand(Intent intent, int flags, int startId) { Log.d(TAG, "onStart()"); return START_STICKY; } @Override public void onCreate() { Log.d(TAG, "onCreate()"); mBinder = new LocalBinder(this); } public double getRandomNumber() { return Math.random(); } } import android.os.Binder; // Binder is a base class for a remotable object. // Binder implements IBinder which has several methods. public class LocalBinder extends Binder { private MyService service; public LocalBinder(MyService service) { this.service = service; } // Let's add our own method that binded activities // can invoke. In this case, we will create a method // that returns the whole service object so it's possible // to invoke all the services methods, like "someMethod". public MyService getService() { return this.service; } }
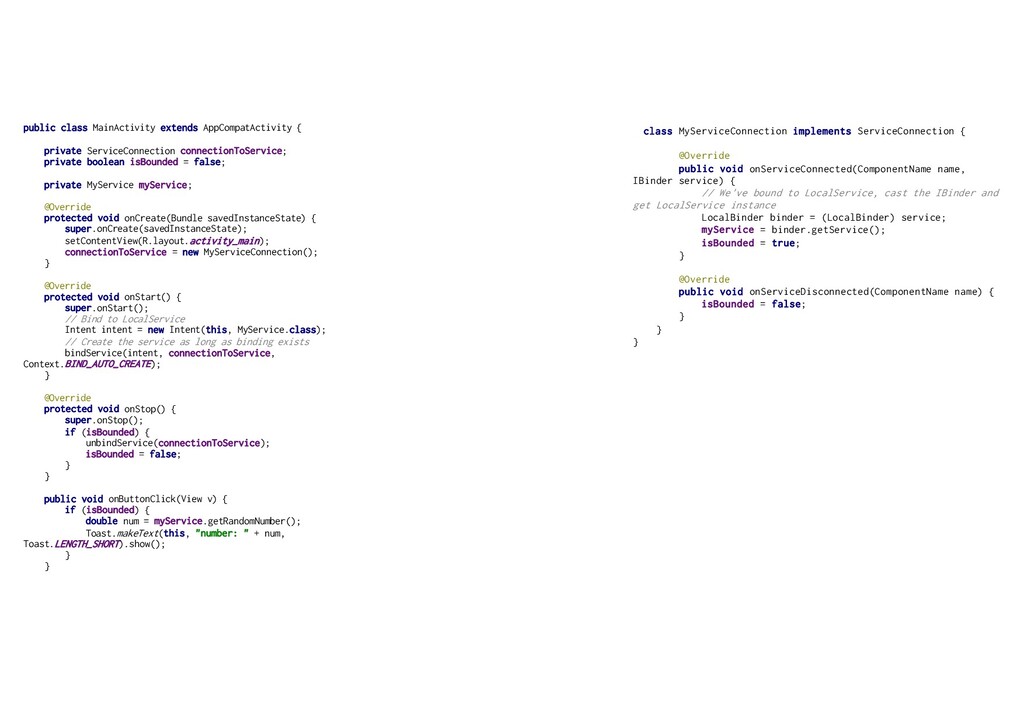
• bindService() – method needs ServiceConnection object, which monitors the connection of the service • bindService() returns immediately, but ServiceConnection’s onServiceConnected is called to deliver the Binder to the client
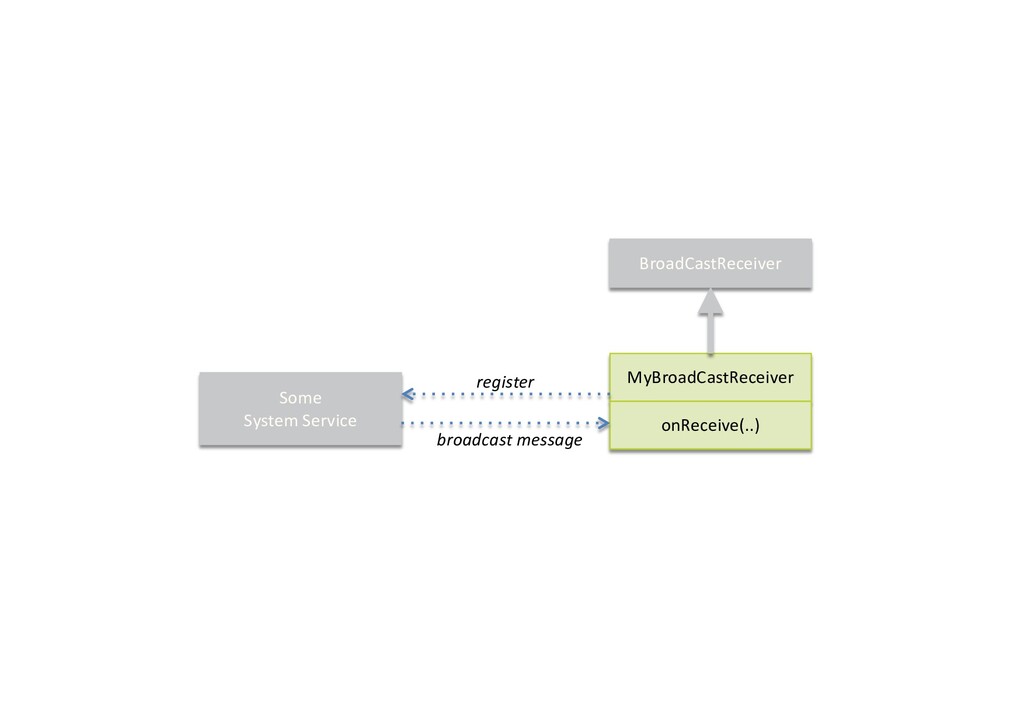
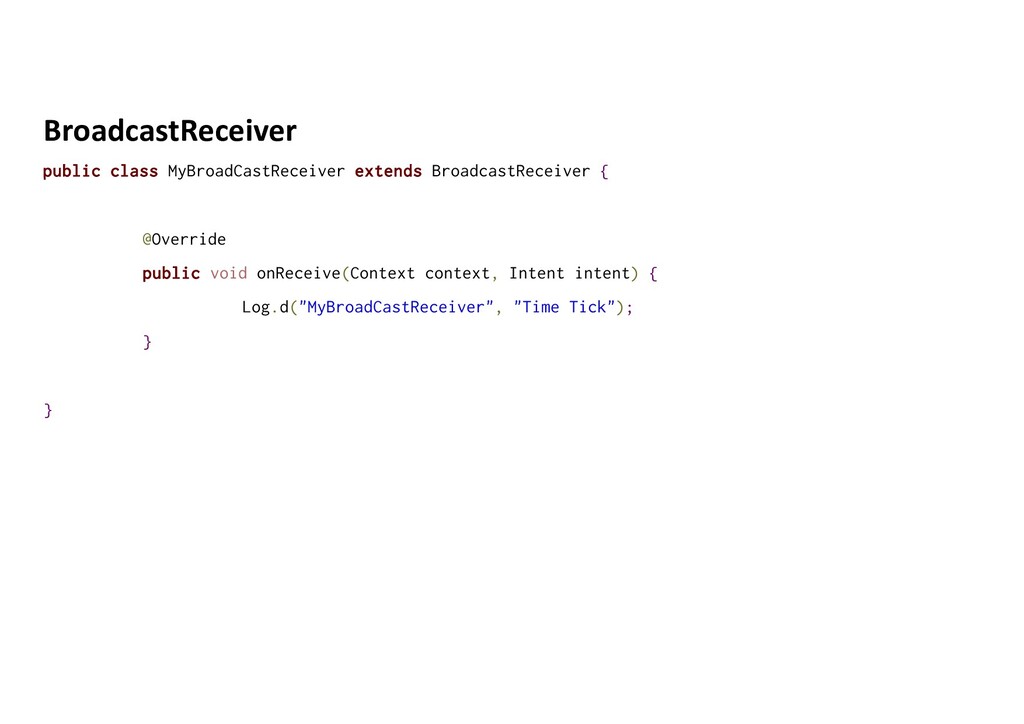
does nothing but receive and react to broadcast announcements • Your app can • 1) Receive and react to system services (example: battery low) • 2) Receive and react to other apps broadcast announcements • 3) Initiate broadcasts to other apps
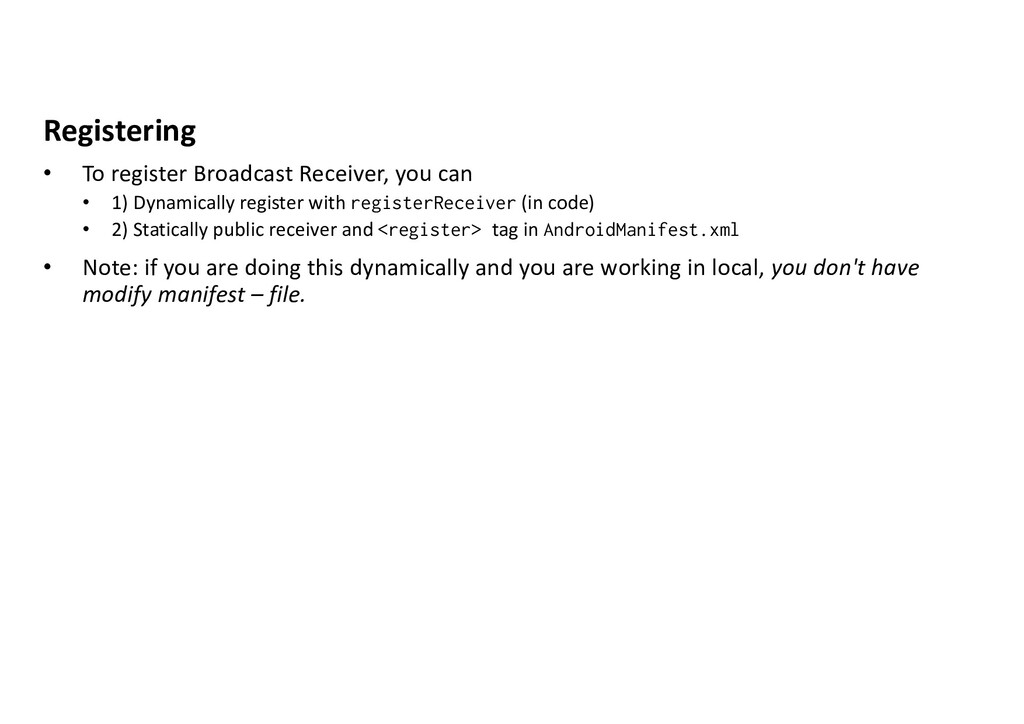
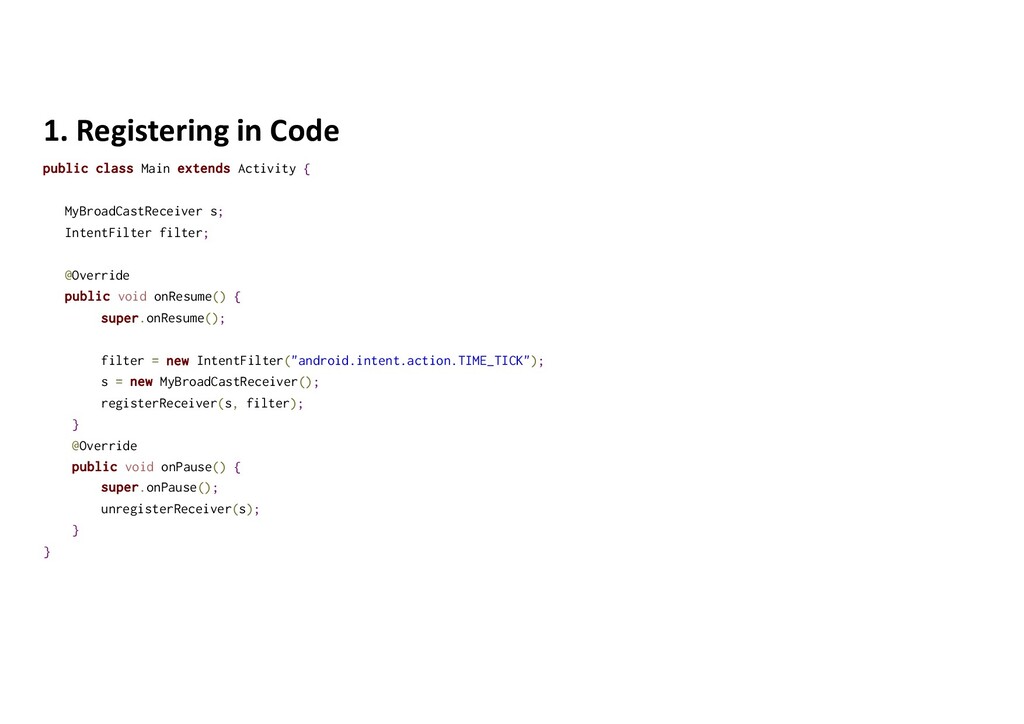
Dynamically register with registerReceiver (in code) • 2) Statically public receiver and <register> tag in AndroidManifest.xml • Note: if you are doing this dynamically and you are working in local, you don't have modify manifest – file.
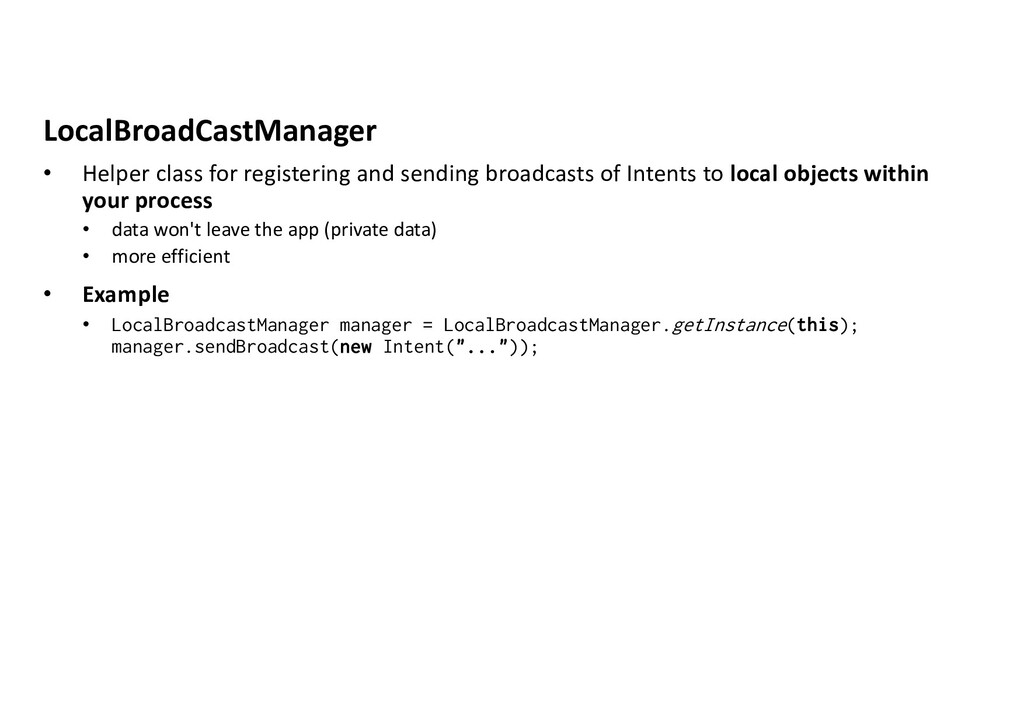
Intents to local objects within your process • data won't leave the app (private data) • more efficient • Example • LocalBroadcastManager manager = LocalBroadcastManager.getInstance(this); manager.sendBroadcast(new Intent("..."));
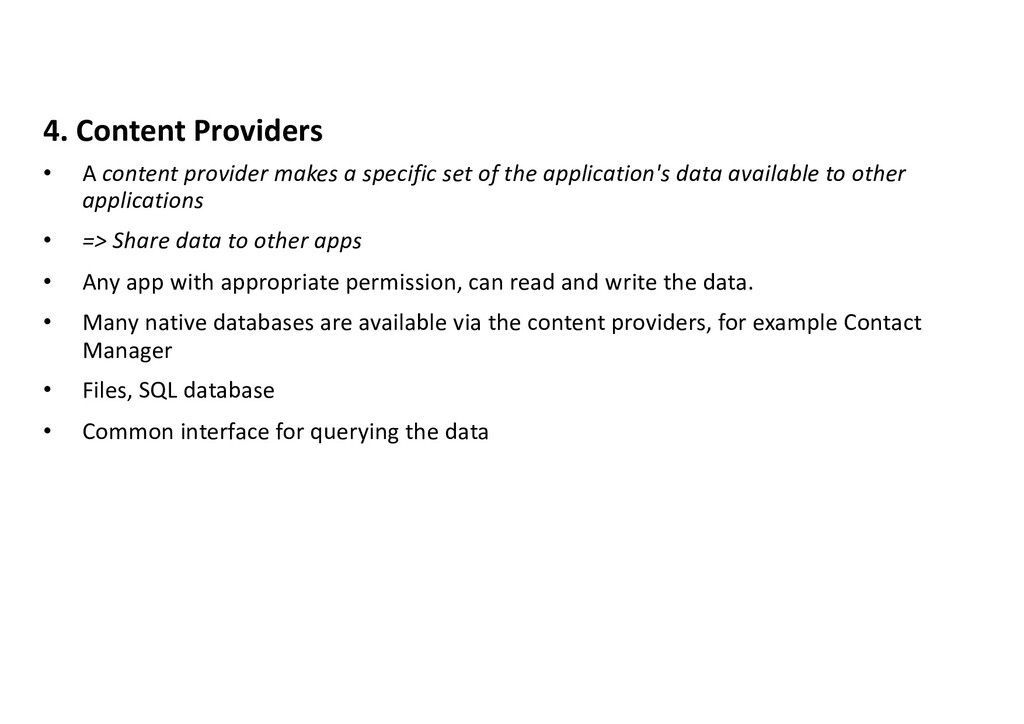
set of the application's data available to other applications • => Share data to other apps • Any app with appropriate permission, can read and write the data. • Many native databases are available via the content providers, for example Contact Manager • Files, SQL database • Common interface for querying the data
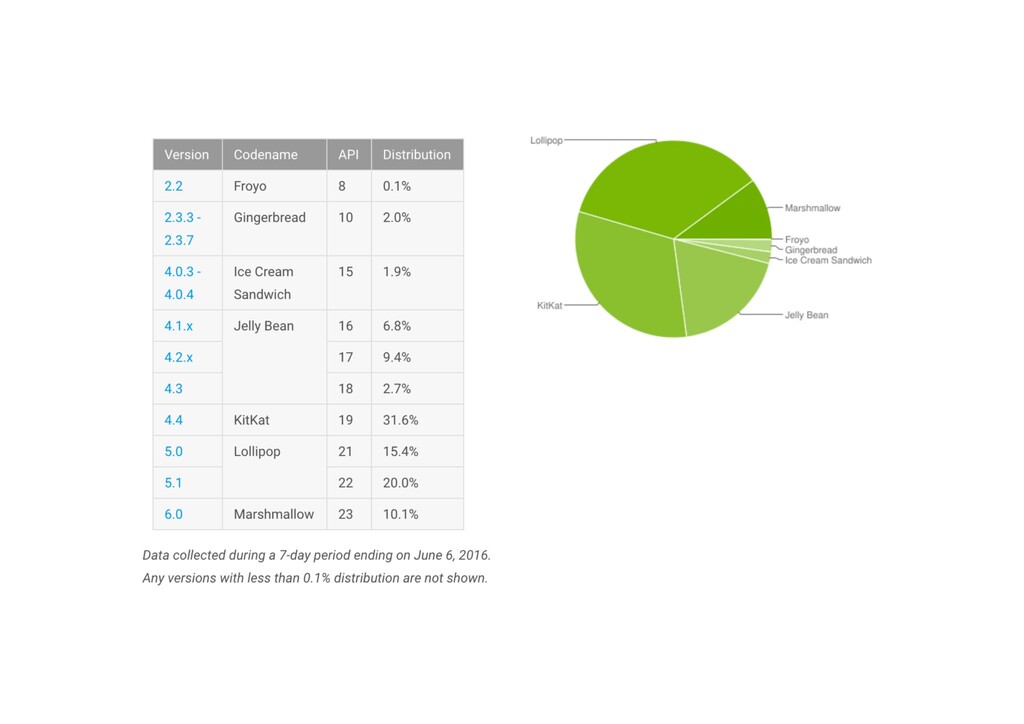
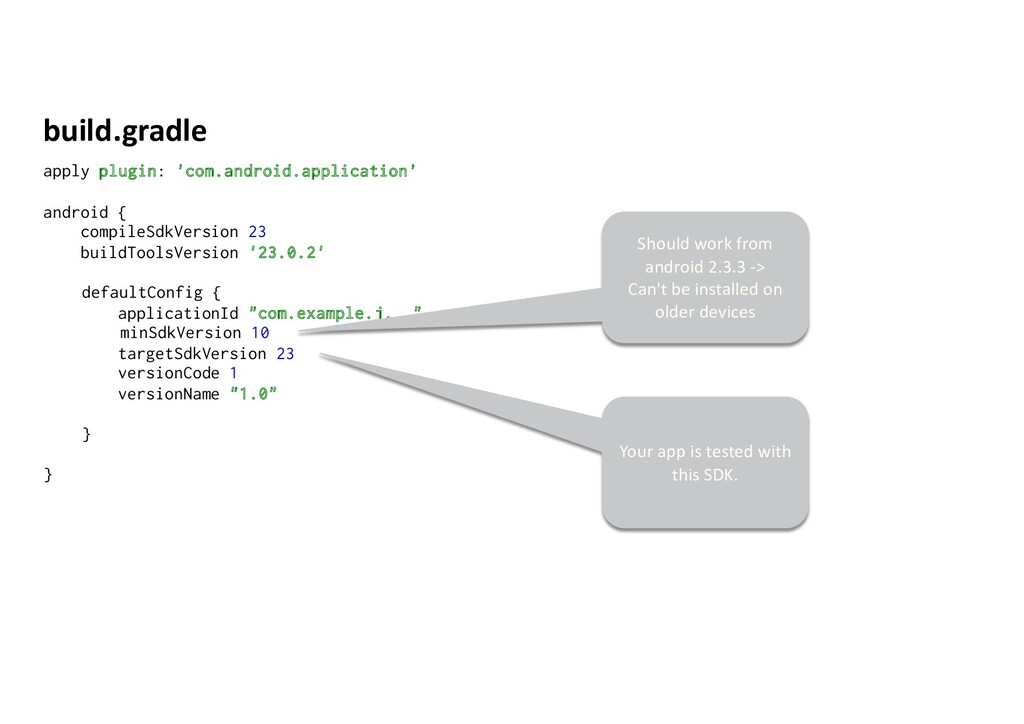
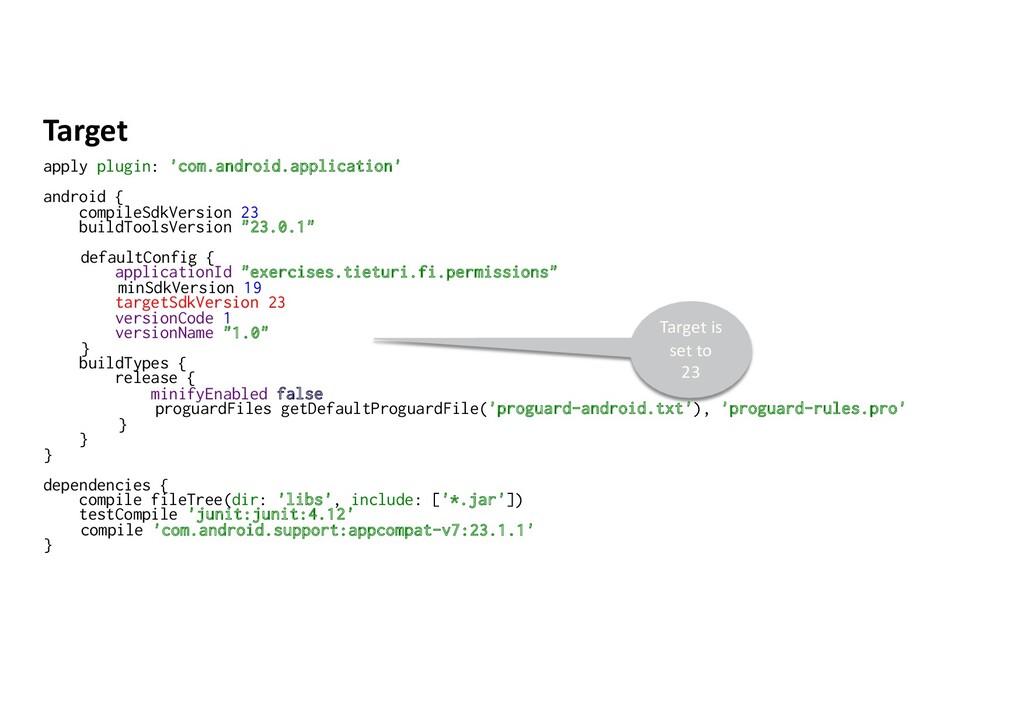
defaultConfig { applicationId "com.example.j..." minSdkVersion 10 targetSdkVersion 23 versionCode 1 versionName "1.0" } } Should work from android 2.3.3 -> Can't be installed on older devices Your app is tested with this SDK.
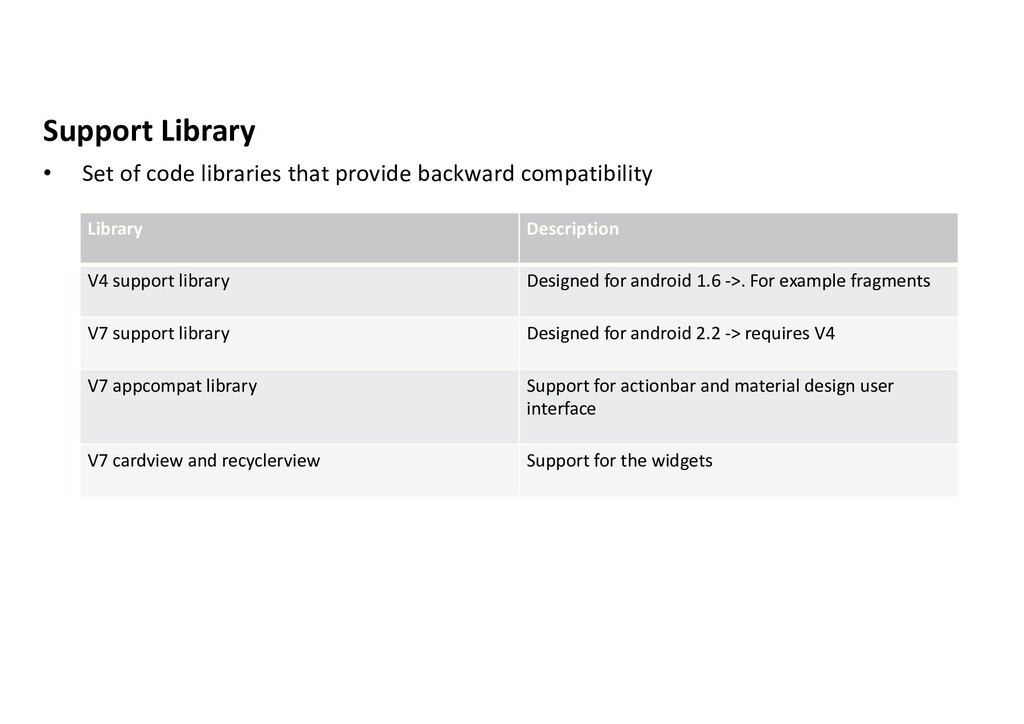
compatibility Library Description V4 support library Designed for android 1.6 ->. For example fragments V7 support library Designed for android 2.2 -> requires V4 V7 appcompat library Support for actionbar and material design user interface V7 cardview and recyclerview Support for the widgets
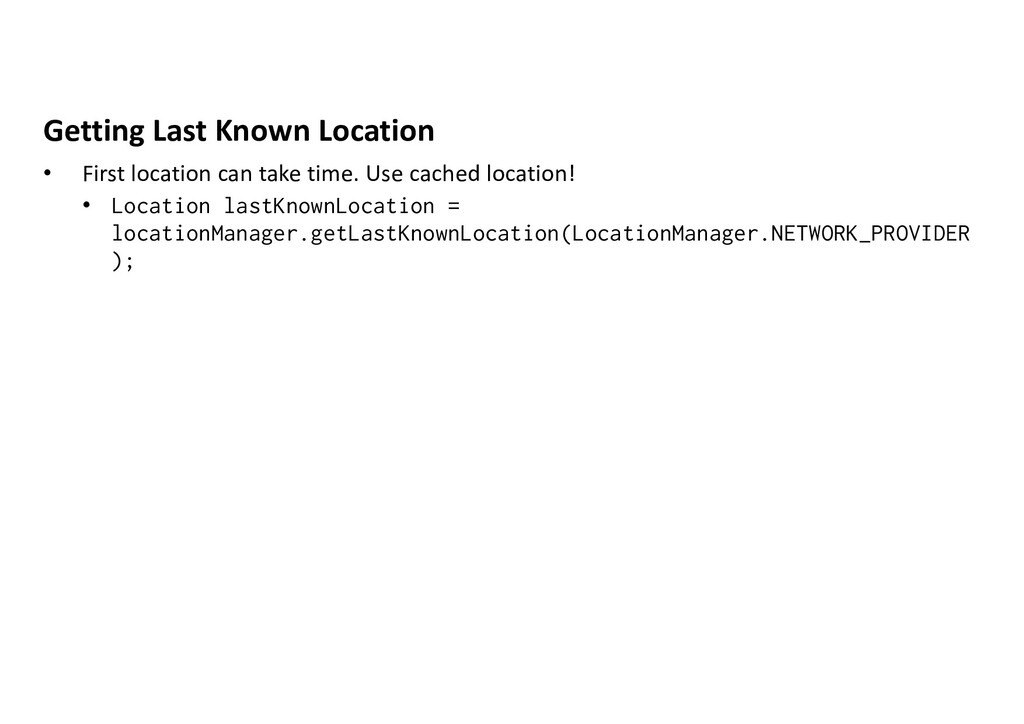
• Query for the list of LocationProviders for the last known location • Register for updates of the user’s current location • Register for given Intent to be fired if the device comes within given proximity of given lat/long
and/or cell tower + Wi-Fi signals • GPS is accurate, but needs outdoors, fix is slower and it uses more battery. • To request location, you use LocationManager - class
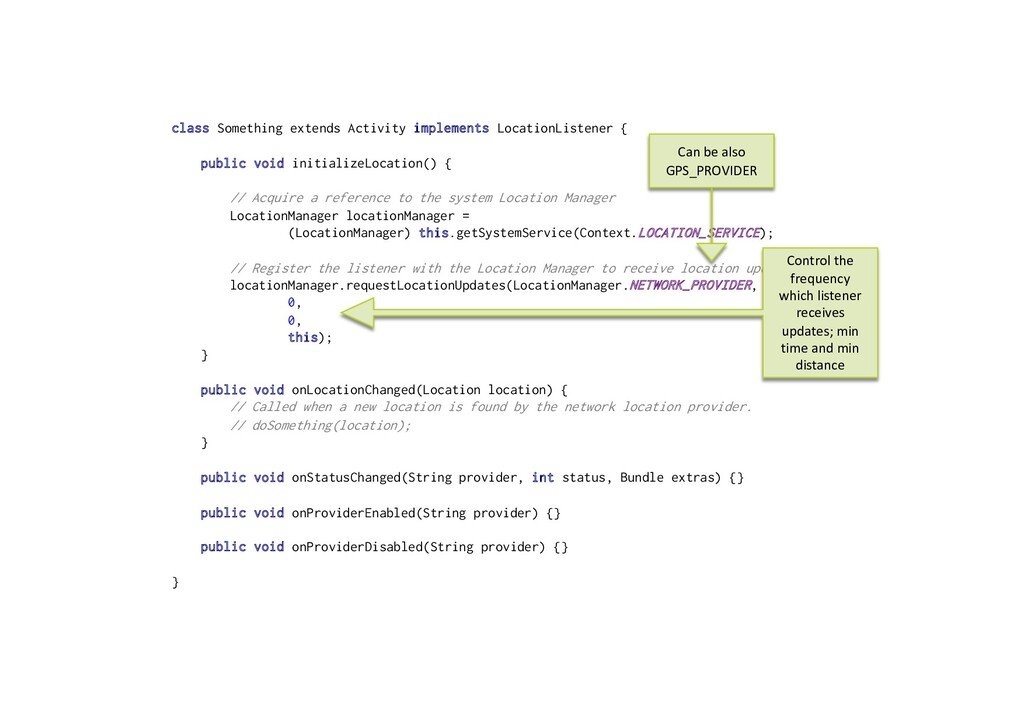
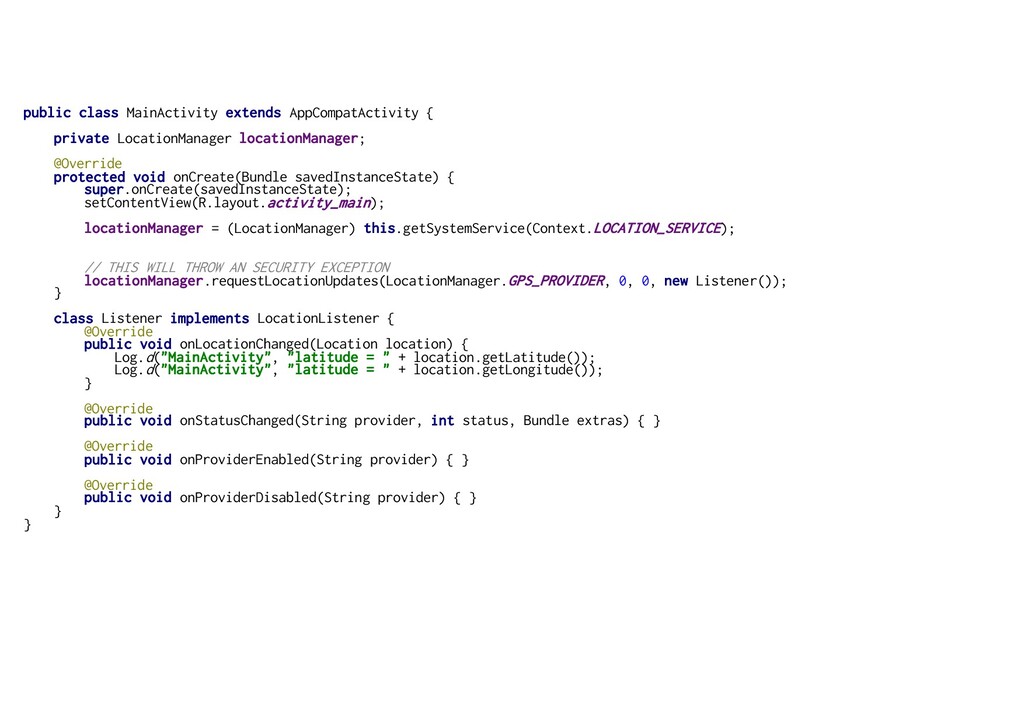
{ // Acquire a reference to the system Location Manager LocationManager locationManager = (LocationManager) this.getSystemService(Context.LOCATION_SERVICE); // Register the listener with the Location Manager to receive location updates locationManager.requestLocationUpdates(LocationManager.NETWORK_PROVIDER, 0, 0, this); } public void onLocationChanged(Location location) { // Called when a new location is found by the network location provider. // doSomething(location); } public void onStatusChanged(String provider, int status, Bundle extras) {} public void onProviderEnabled(String provider) {} public void onProviderDisabled(String provider) {} } Can be also GPS_PROVIDER Control the frequency which listener receives updates; min time and min distance
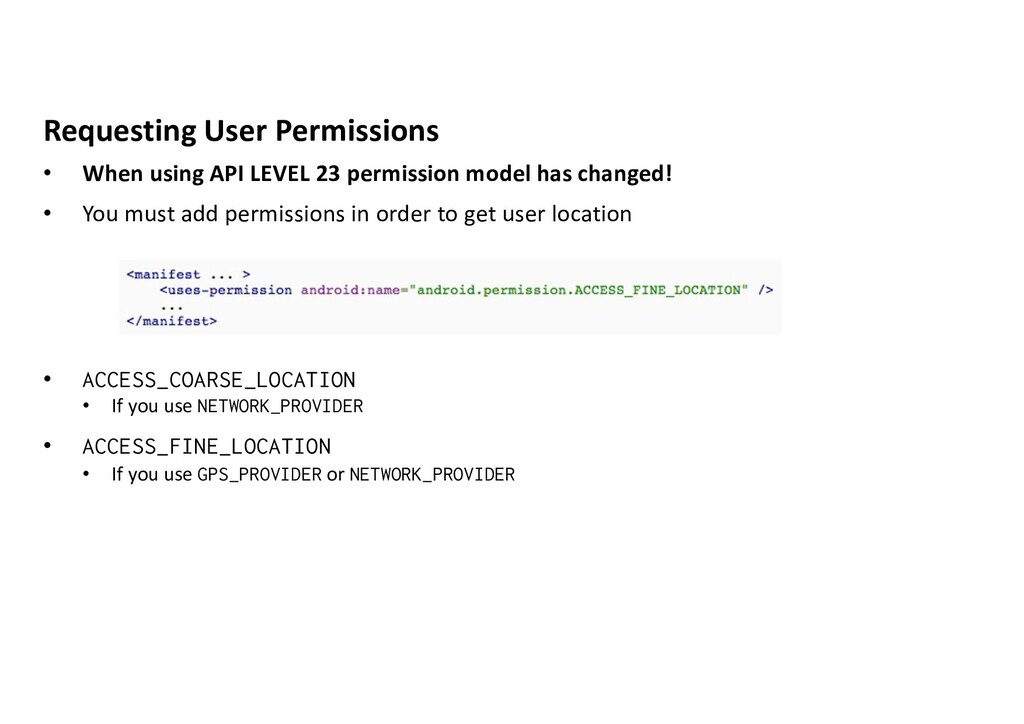
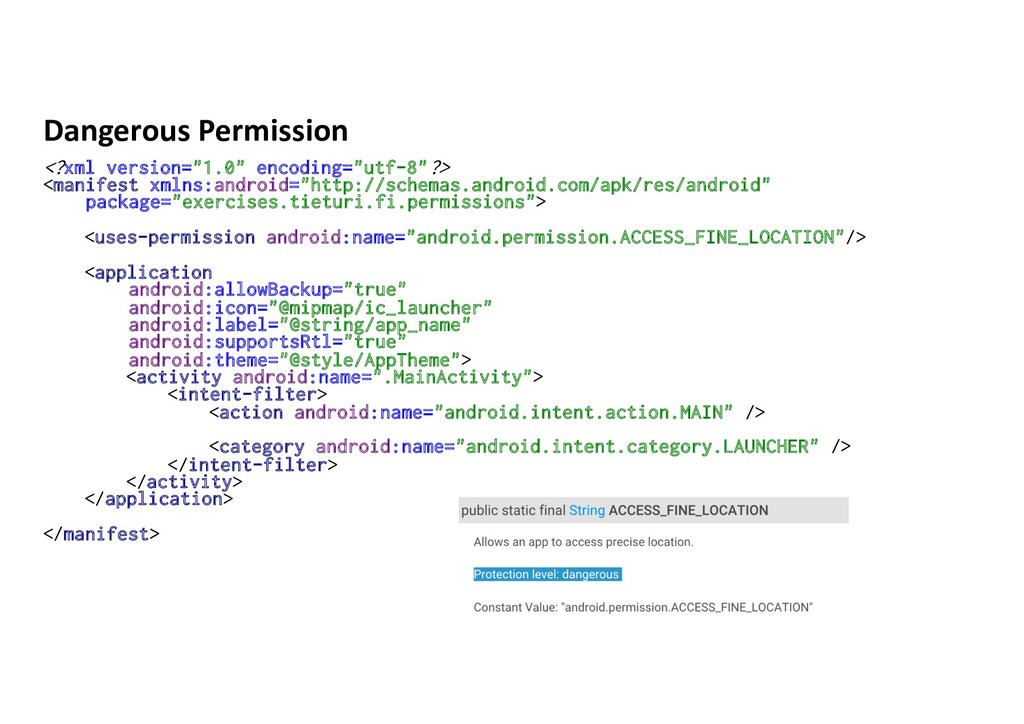
model has changed! • You must add permissions in order to get user location • ACCESS_COARSE_LOCATION • If you use NETWORK_PROVIDER • ACCESS_FINE_LOCATION • If you use GPS_PROVIDER or NETWORK_PROVIDER
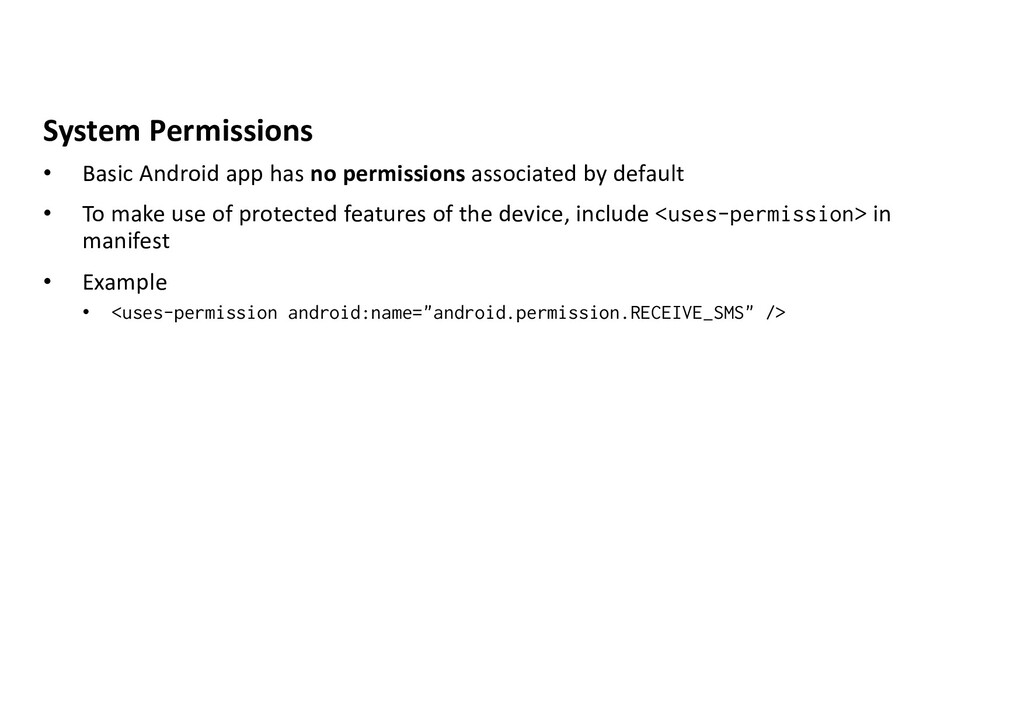
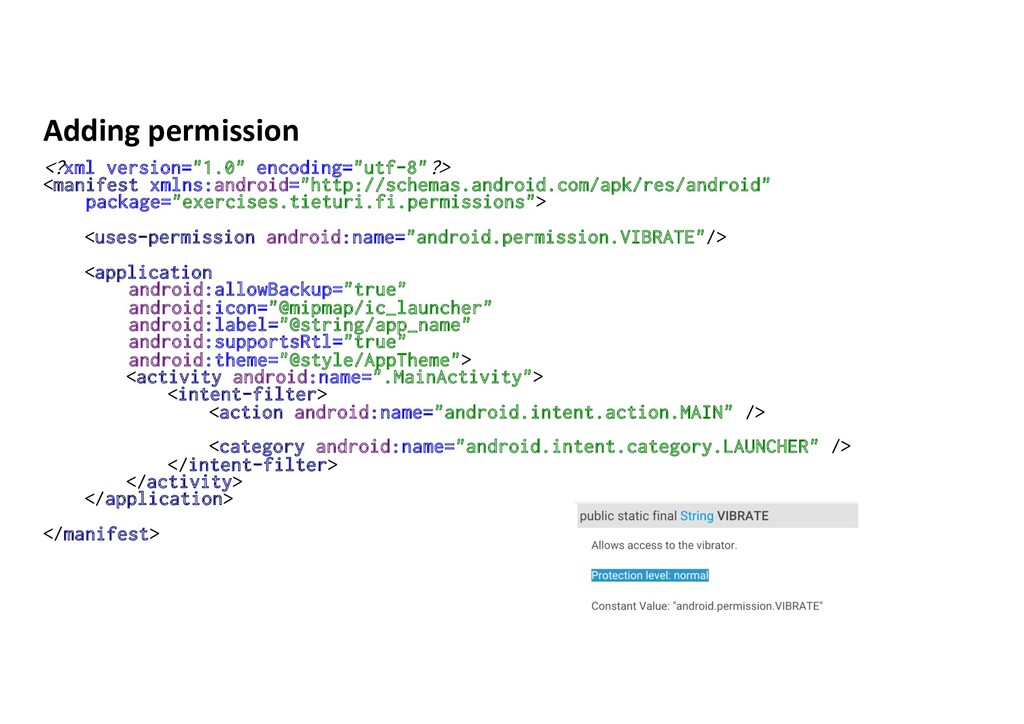
by default • To make use of protected features of the device, include <uses-permission> in manifest • Example • <uses-permission android:name="android.permission.RECEIVE_SMS" />
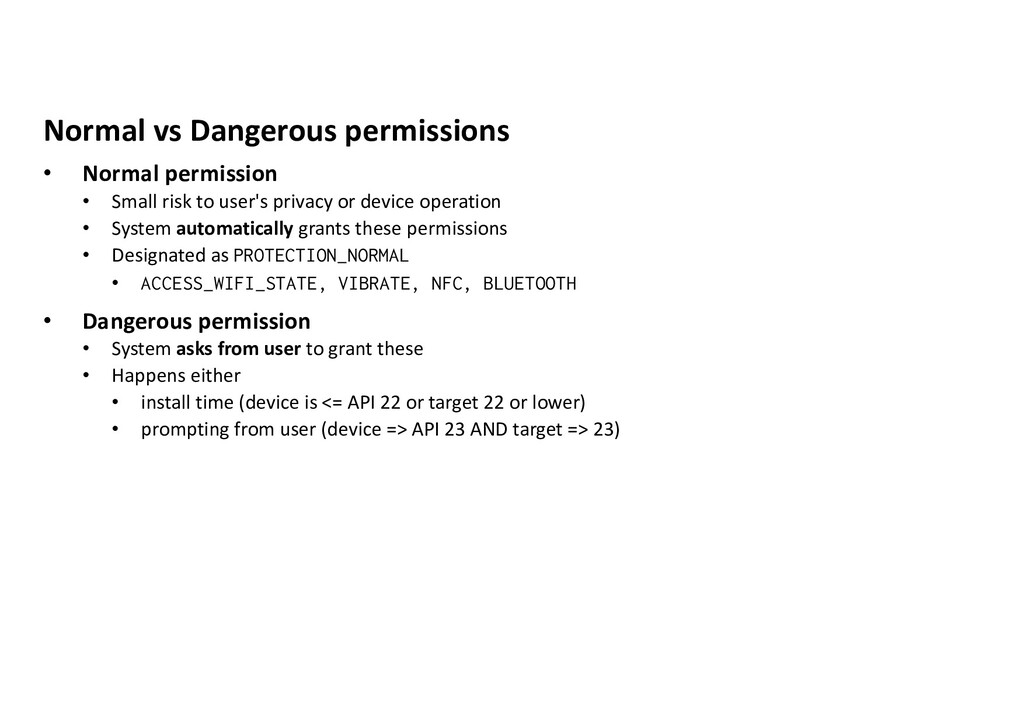
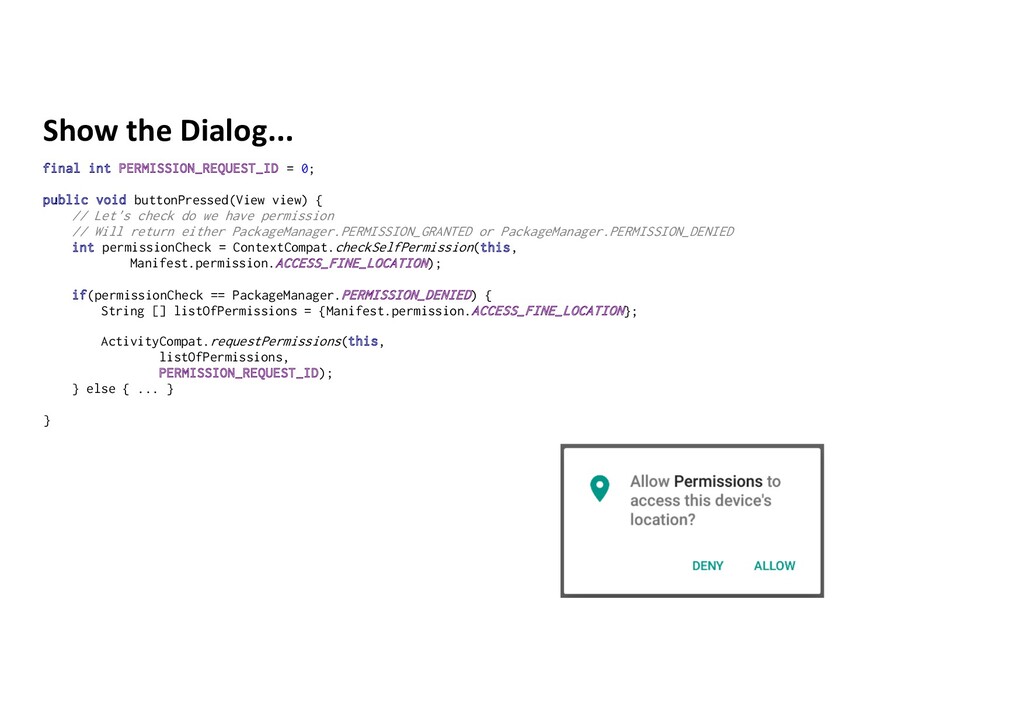
to user's privacy or device operation • System automatically grants these permissions • Designated as PROTECTION_NORMAL • ACCESS_WIFI_STATE, VIBRATE, NFC, BLUETOOTH • Dangerous permission • System asks from user to grant these • Happens either • install time (device is <= API 22 or target 22 or lower) • prompting from user (device => API 23 AND target => 23)
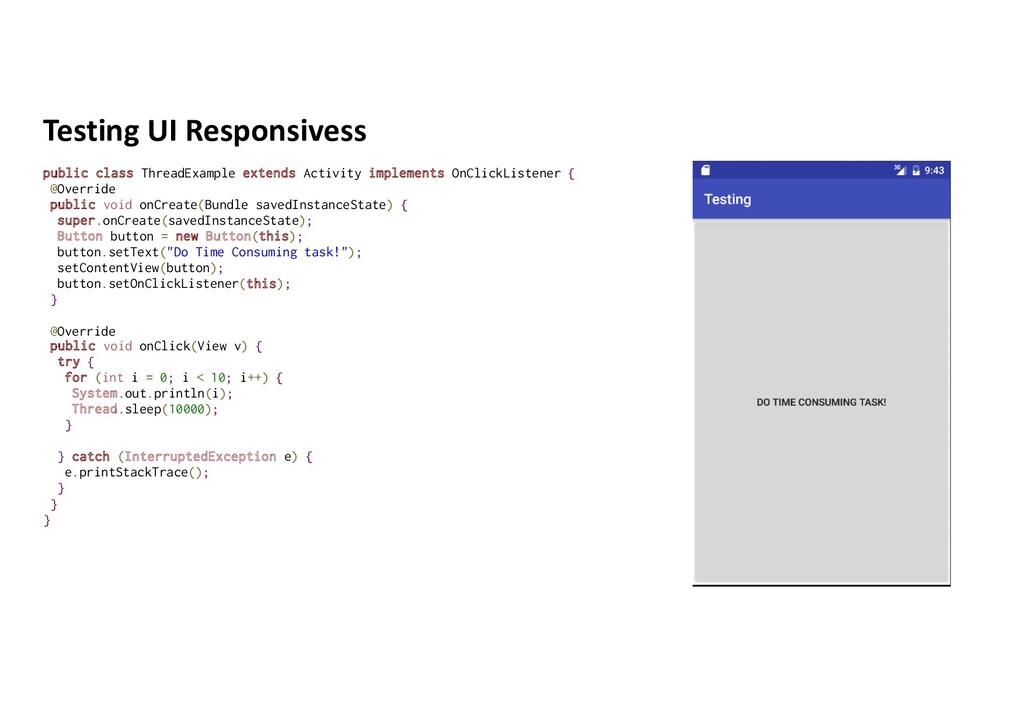
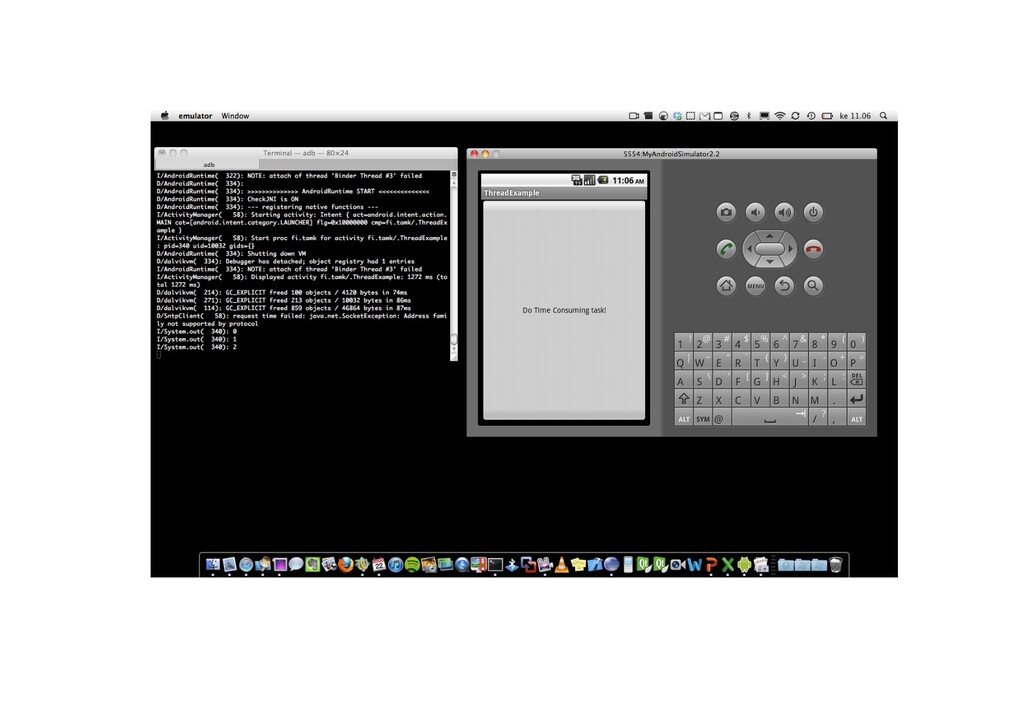
is created. This thread is called Main Thread or UI Thread • UI Thread is responsible for dispatching events to widgets • Avoid doing time consuming tasks in UI Thread since it leads to app that does not respond quickly
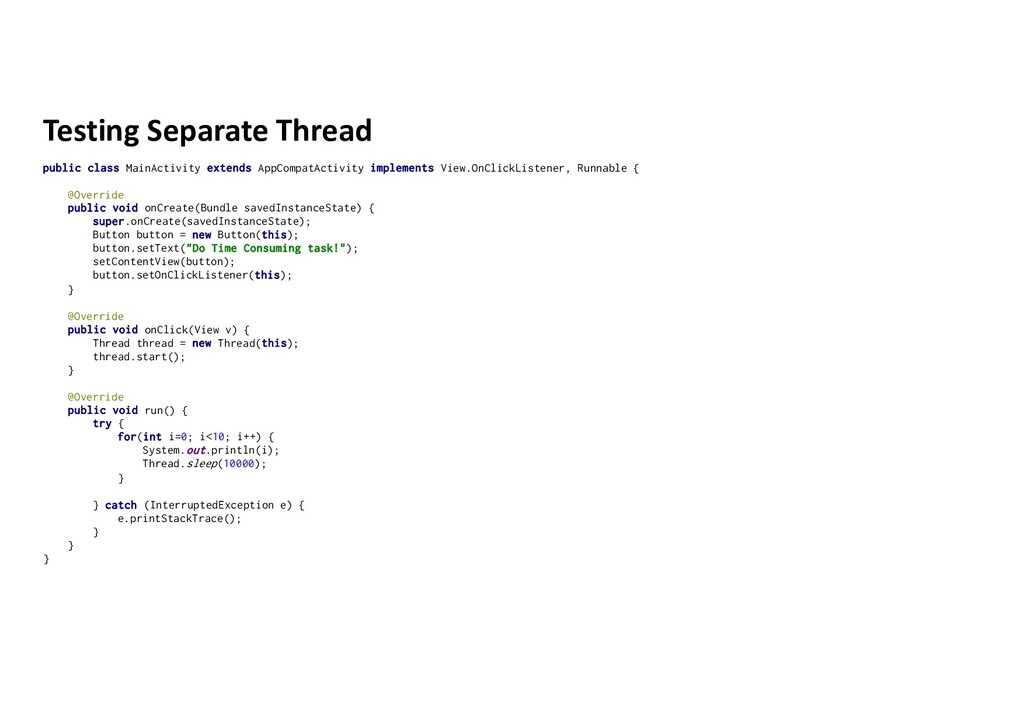
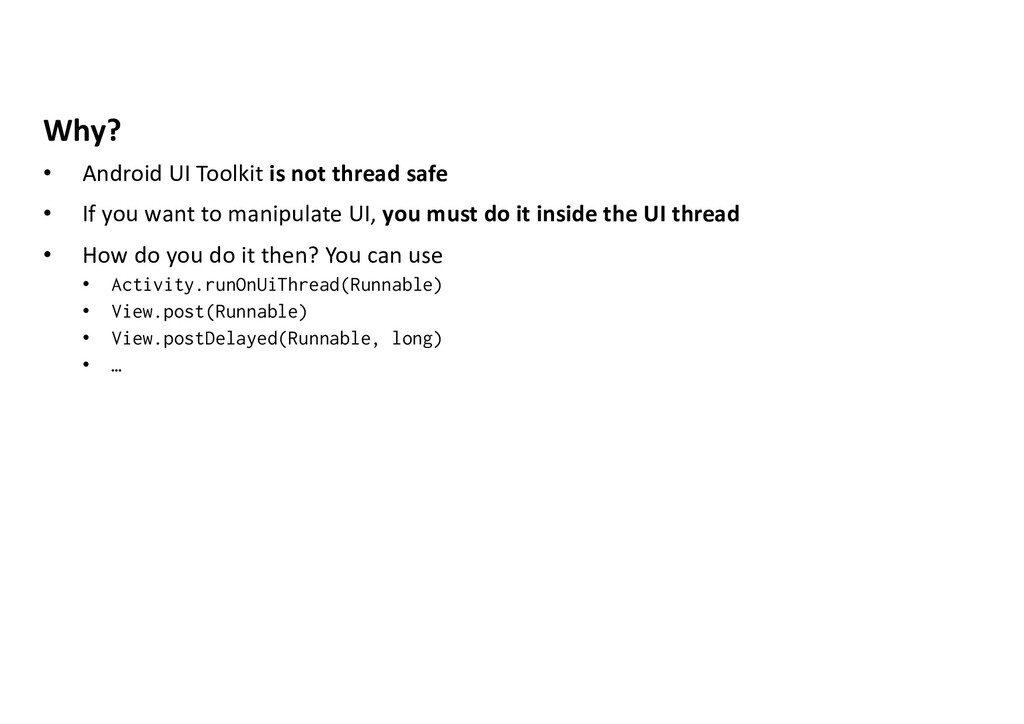
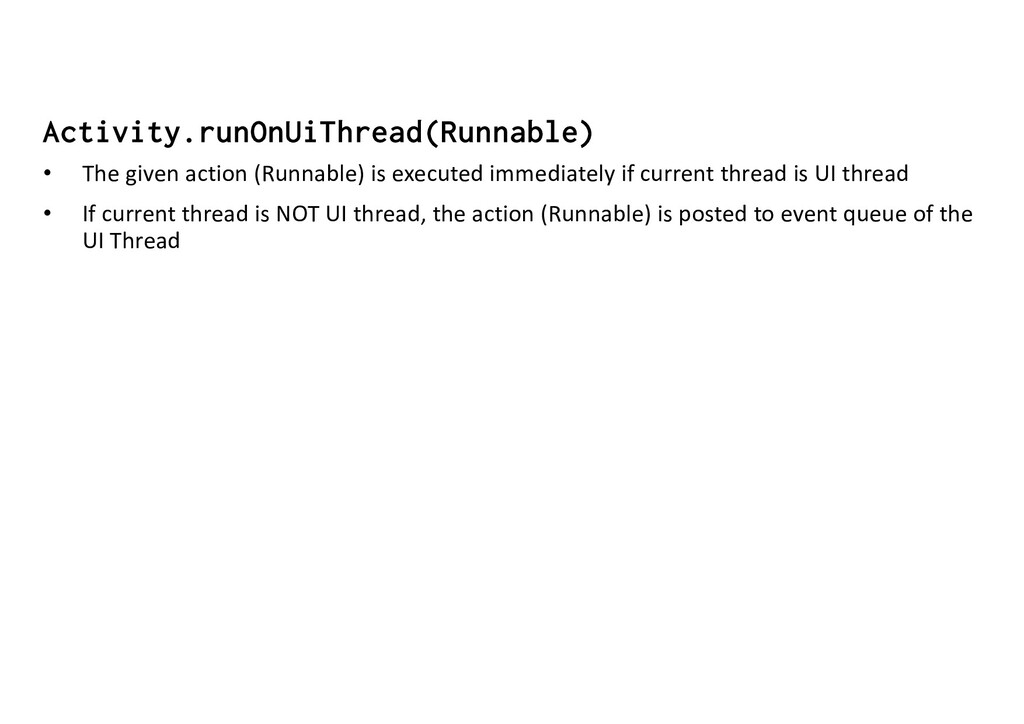
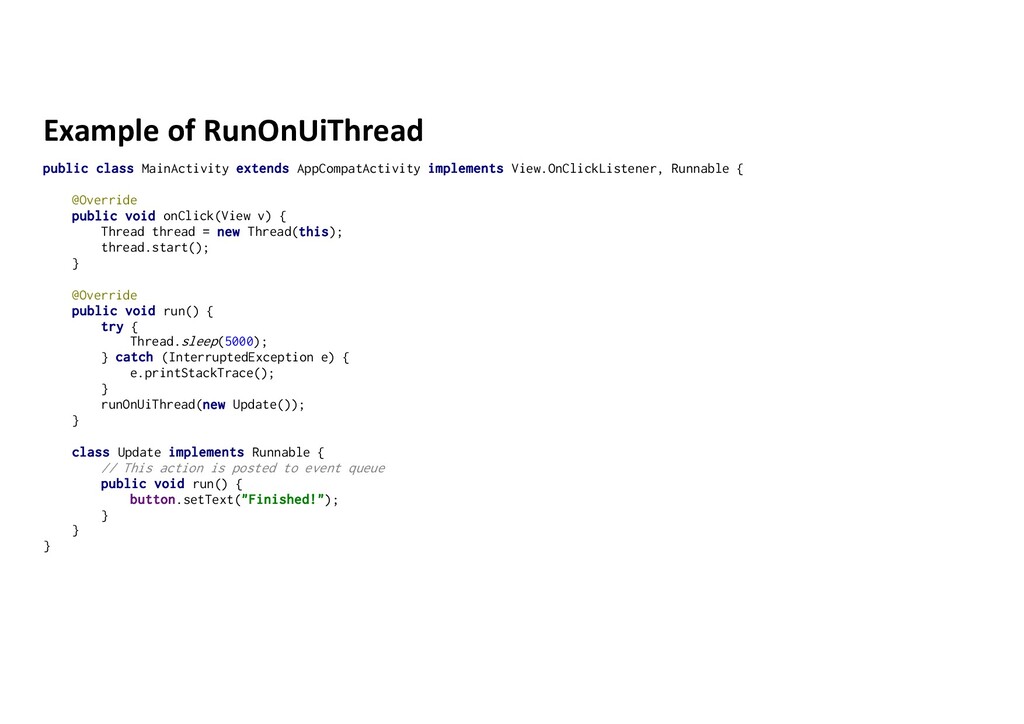
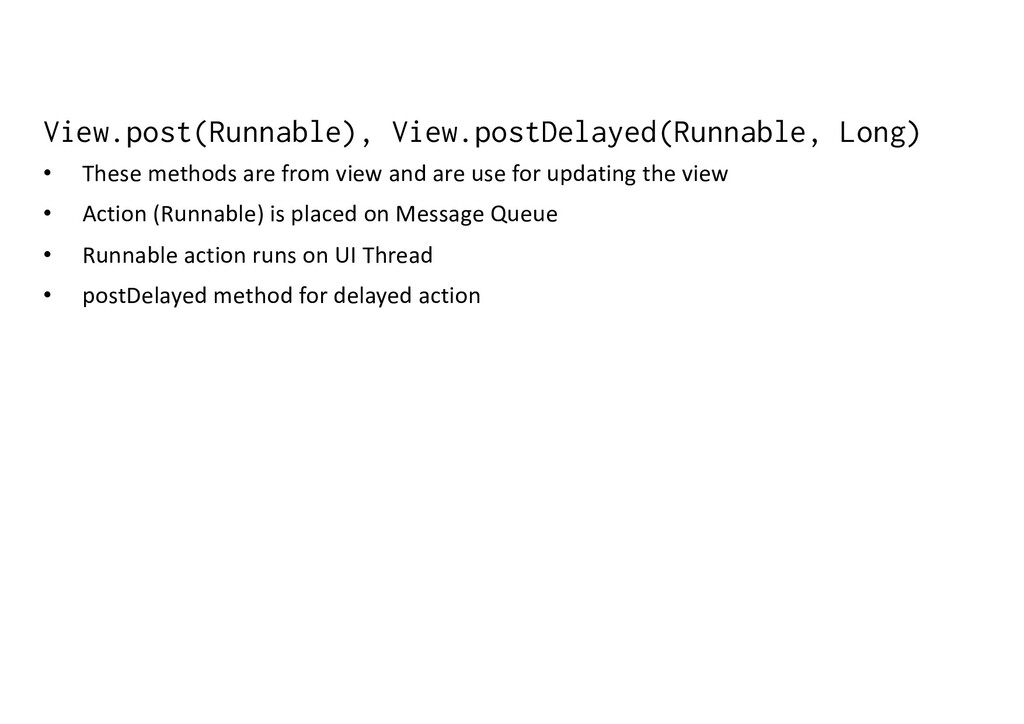
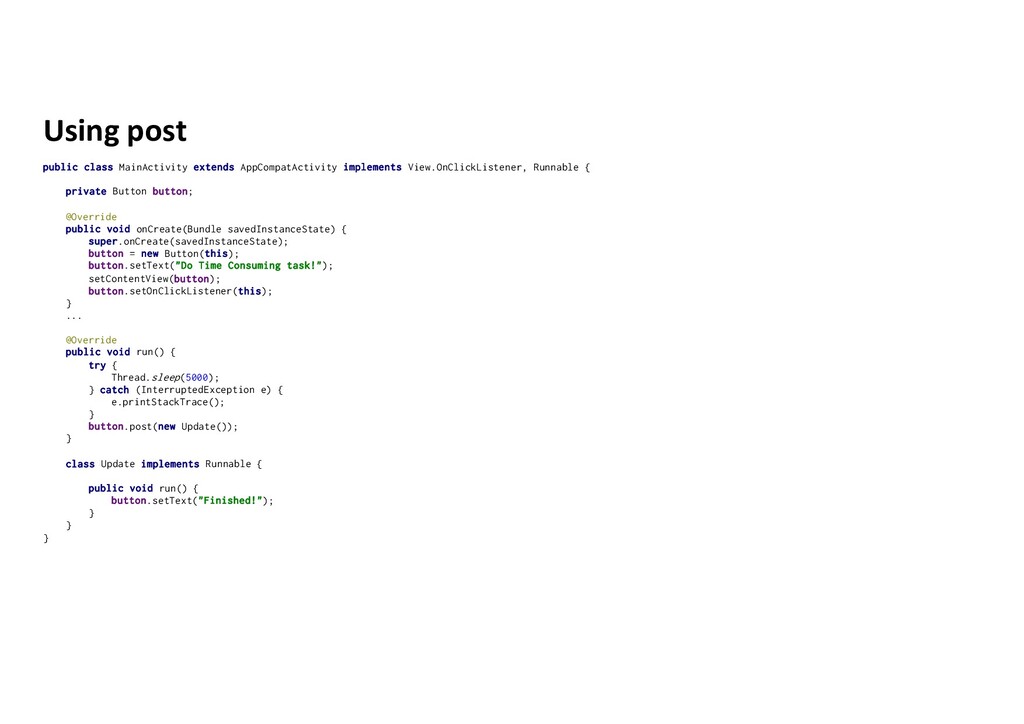
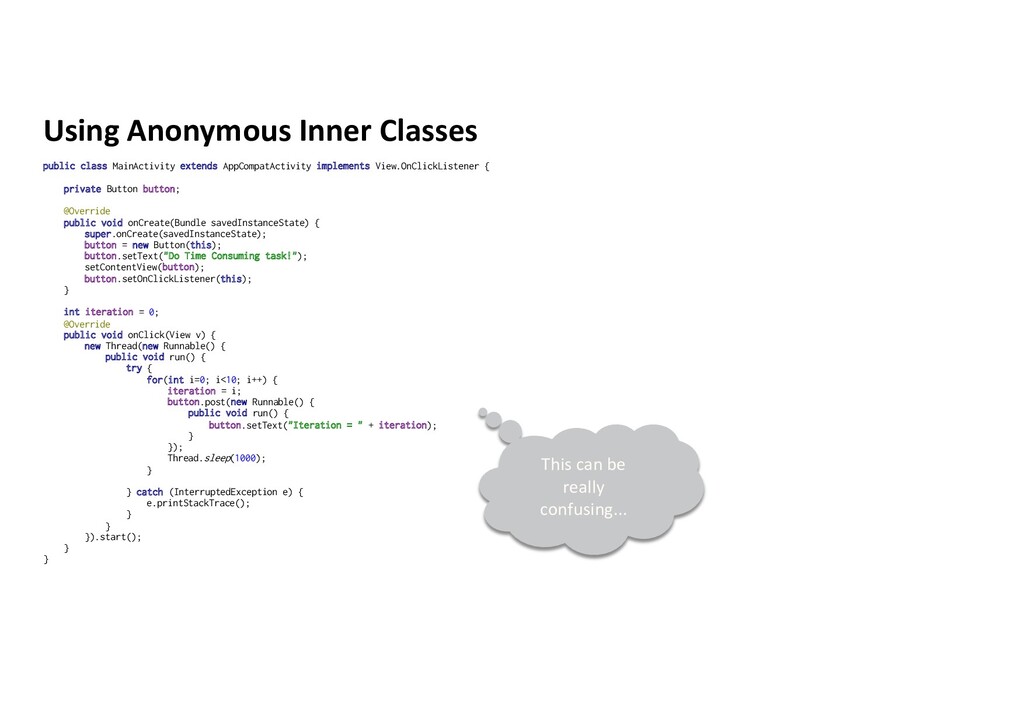
If you want to manipulate UI, you must do it inside the UI thread • How do you do it then? You can use • Activity.runOnUiThread(Runnable) • View.post(Runnable) • View.postDelayed(Runnable, long) • …
are use for updating the view • Action (Runnable) is placed on Message Queue • Runnable action runs on UI Thread • postDelayed method for delayed action
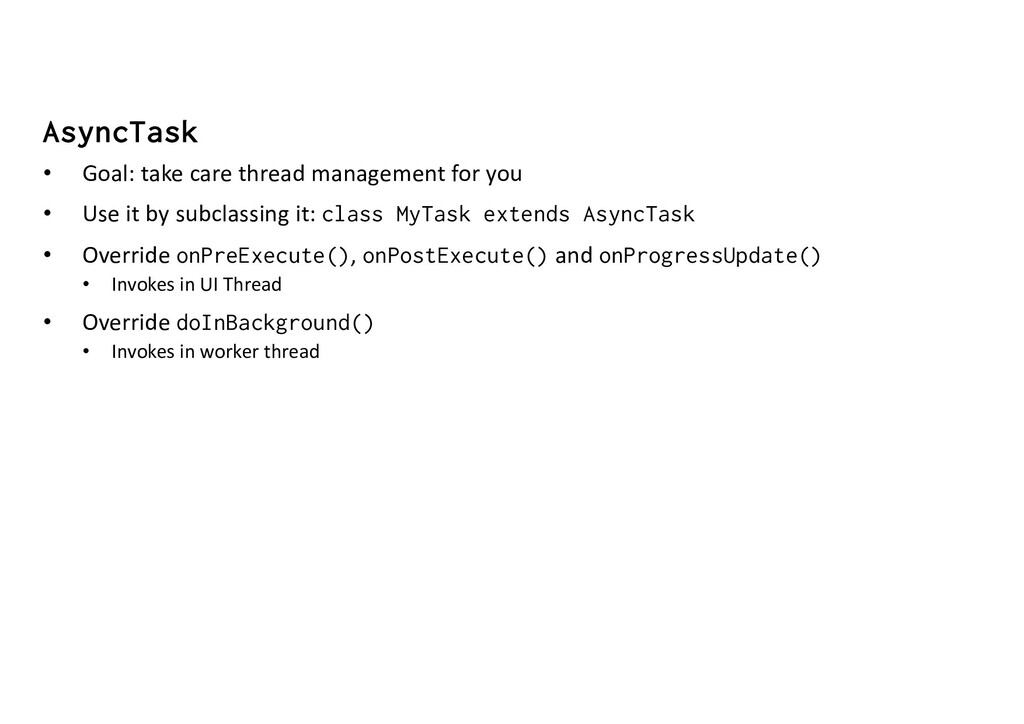
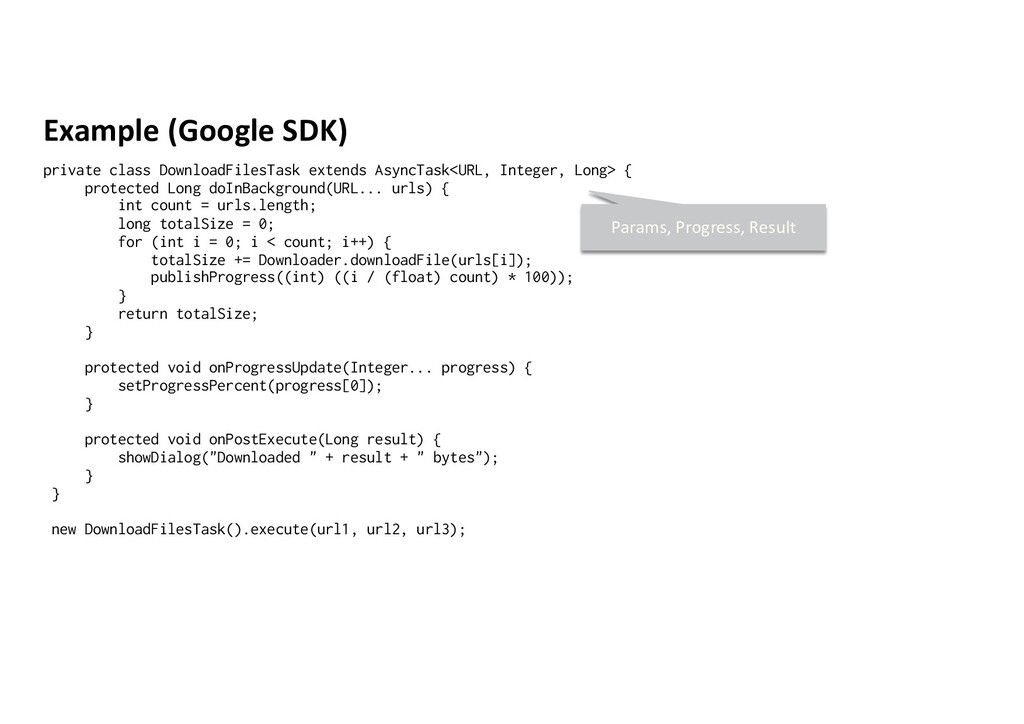
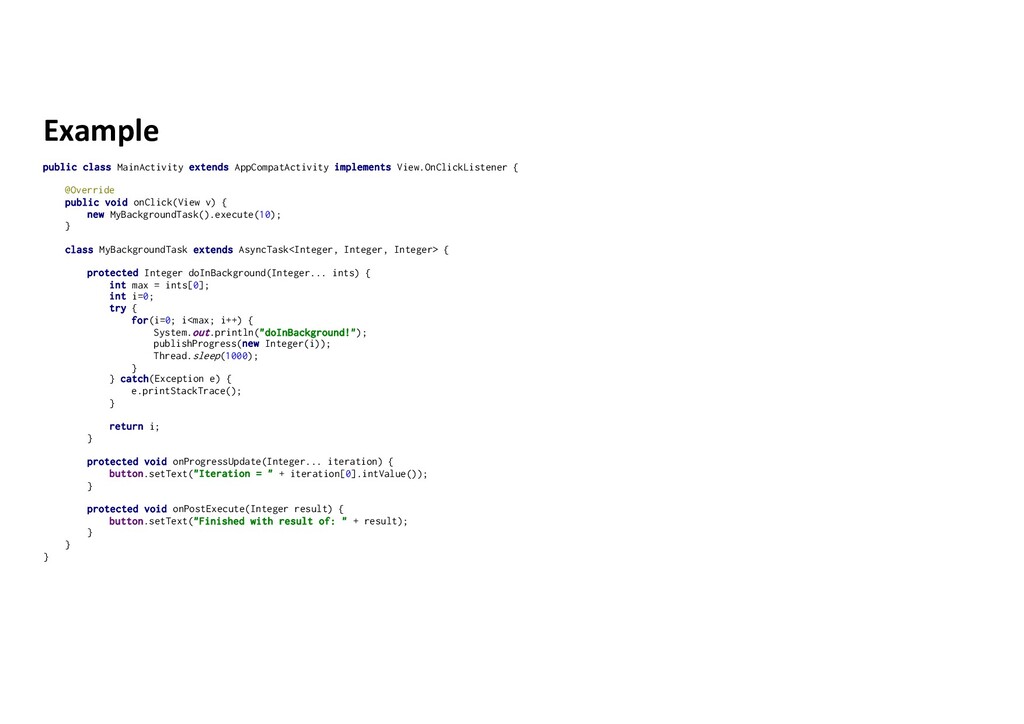
Use it by subclassing it: class MyTask extends AsyncTask • Override onPreExecute(), onPostExecute() and onProgressUpdate() • Invokes in UI Thread • Override doInBackground() • Invokes in worker thread
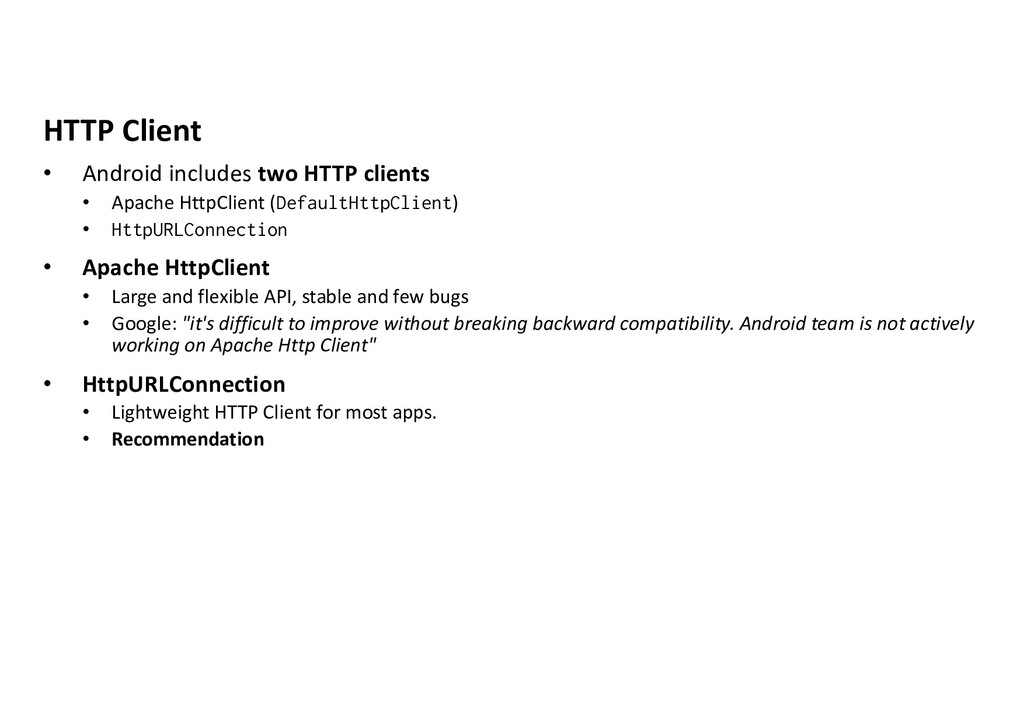
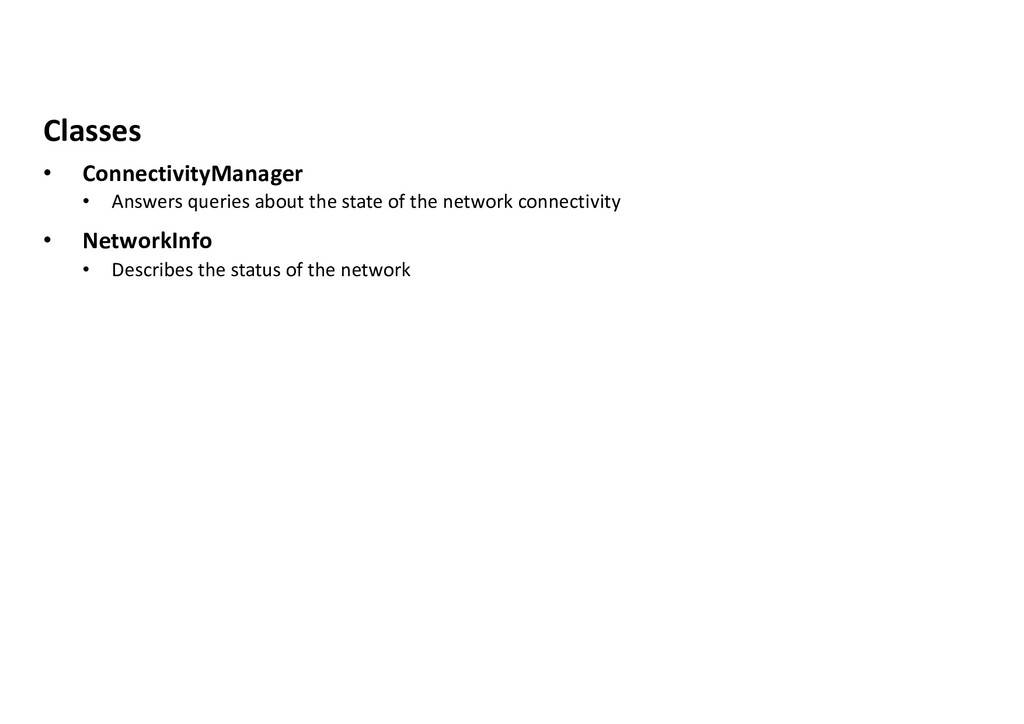
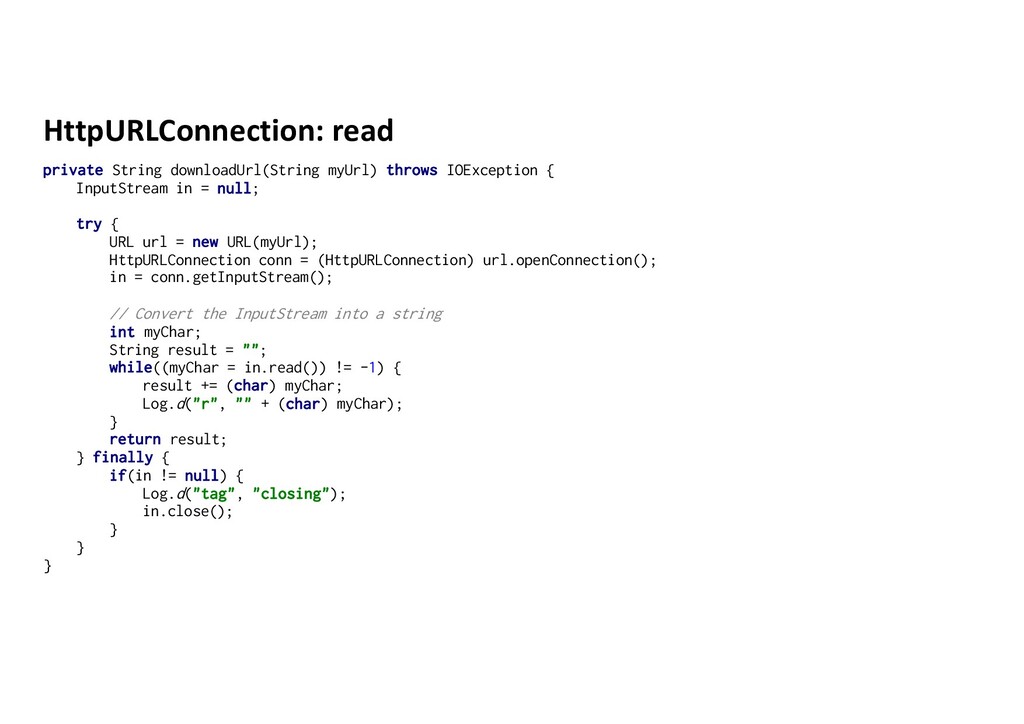
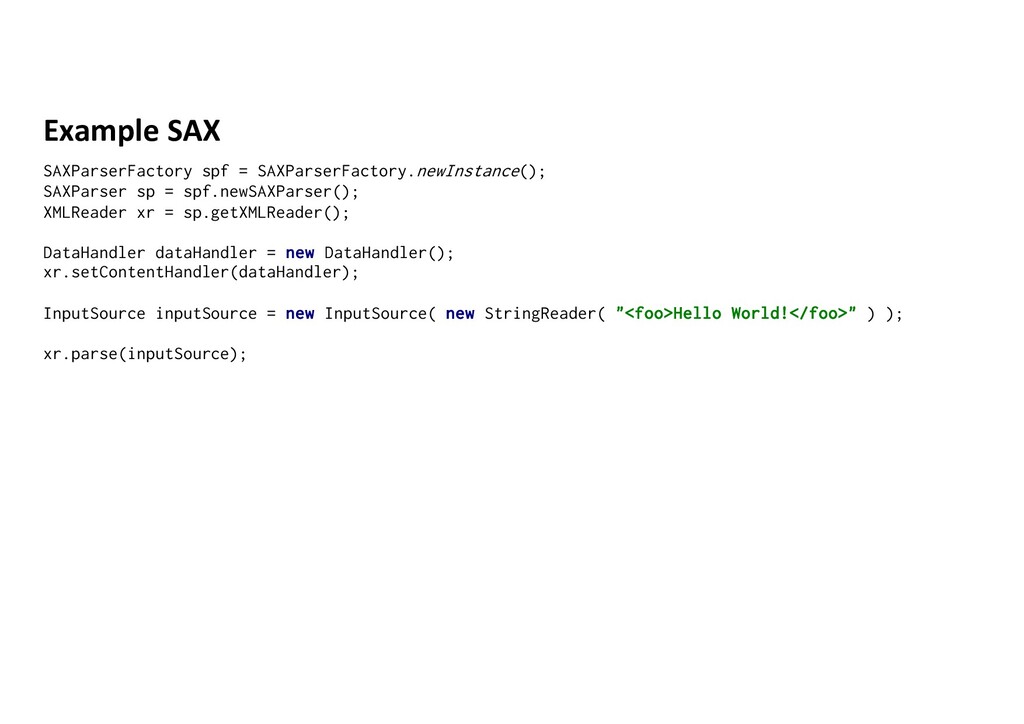
HttpClient (DefaultHttpClient) • HttpURLConnection • Apache HttpClient • Large and flexible API, stable and few bugs • Google: "it's difficult to improve without breaking backward compatibility. Android team is not actively working on Apache Http Client" • HttpURLConnection • Lightweight HTTP Client for most apps. • Recommendation
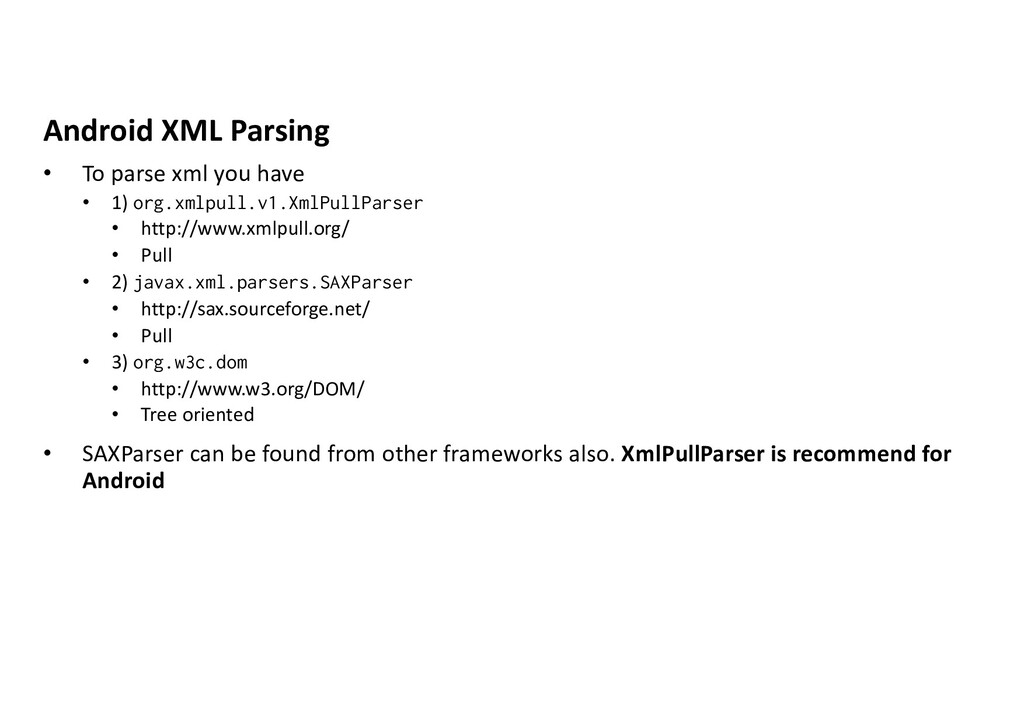
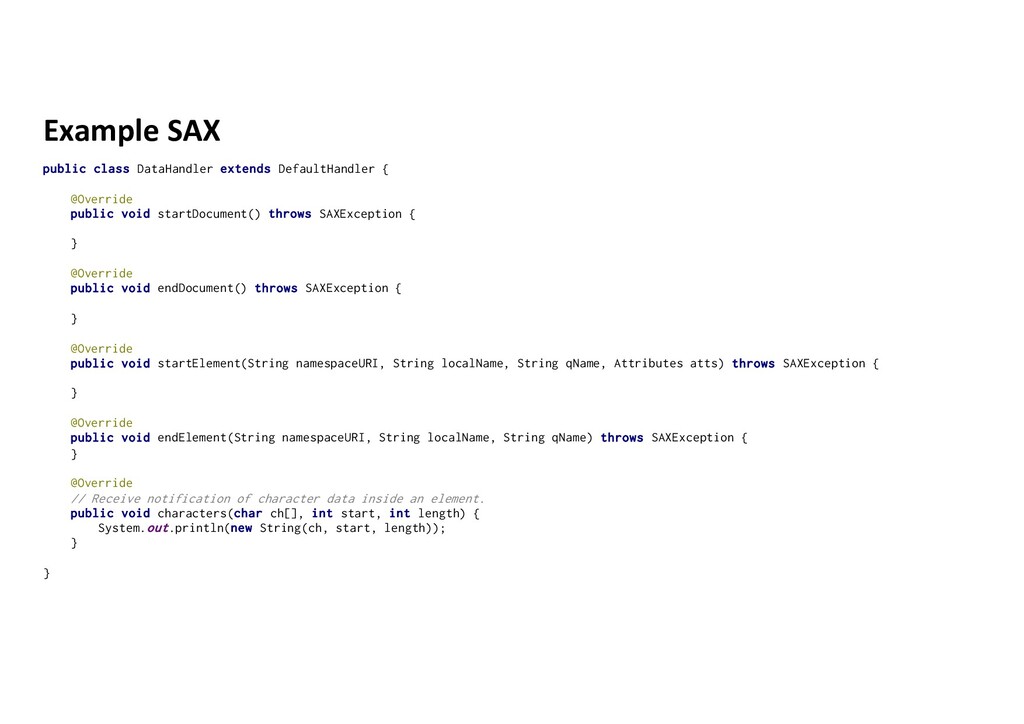
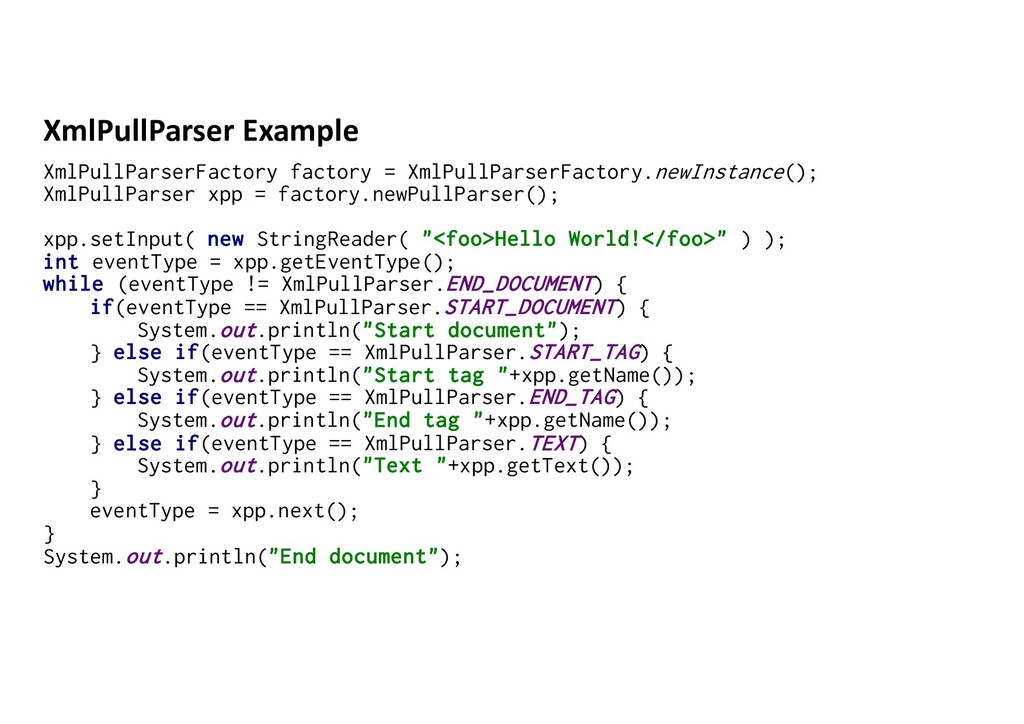
1) org.xmlpull.v1.XmlPullParser • http://www.xmlpull.org/ • Pull • 2) javax.xml.parsers.SAXParser • http://sax.sourceforge.net/ • Pull • 3) org.w3c.dom • http://www.w3.org/DOM/ • Tree oriented • SAXParser can be found from other frameworks also. XmlPullParser is recommend for Android
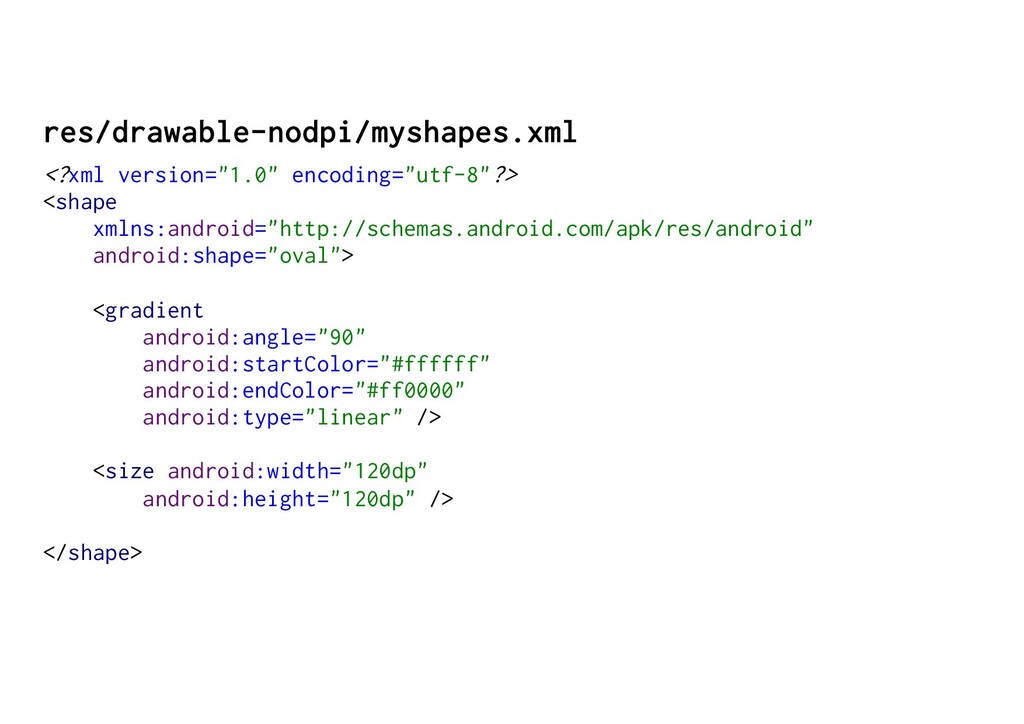
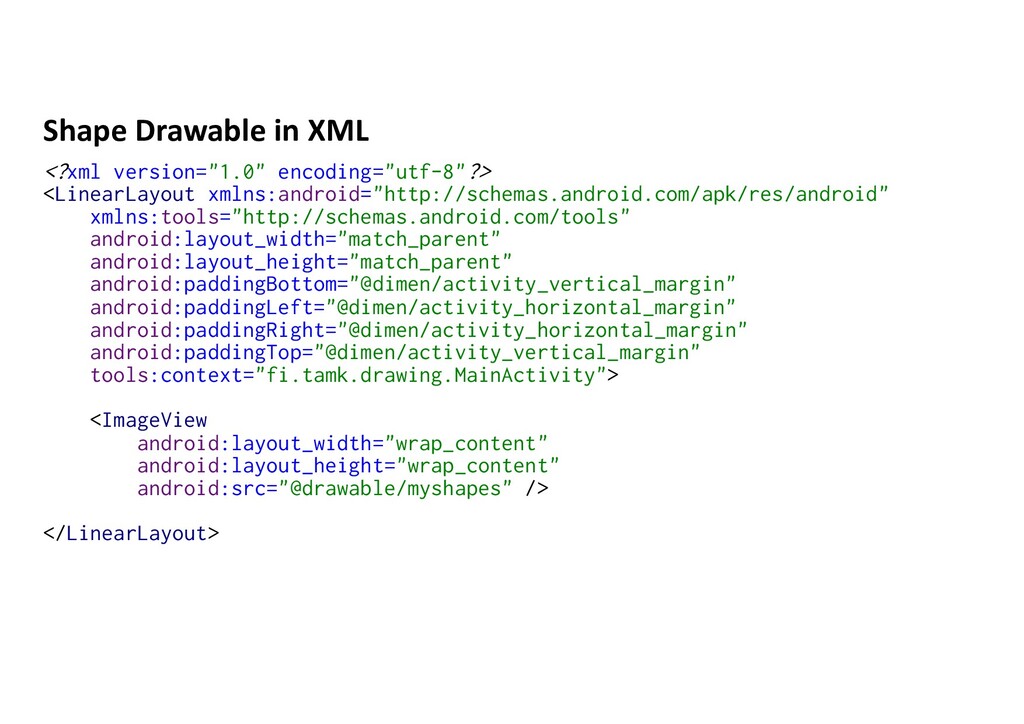
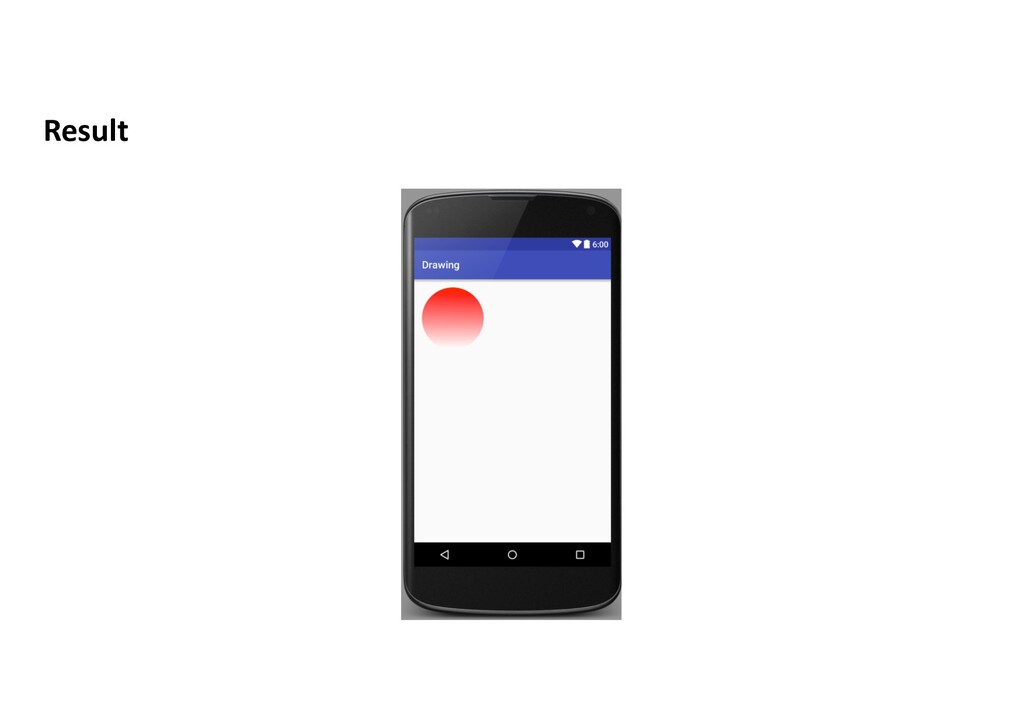
that can be drawn” • BitmapDrawable, ShapeDrawable, LayerDrawable … • How to define and instantiate Drawable? 1. Use image saved to project resources OR 2. XML file that defines drawable properties OR 3. In Java
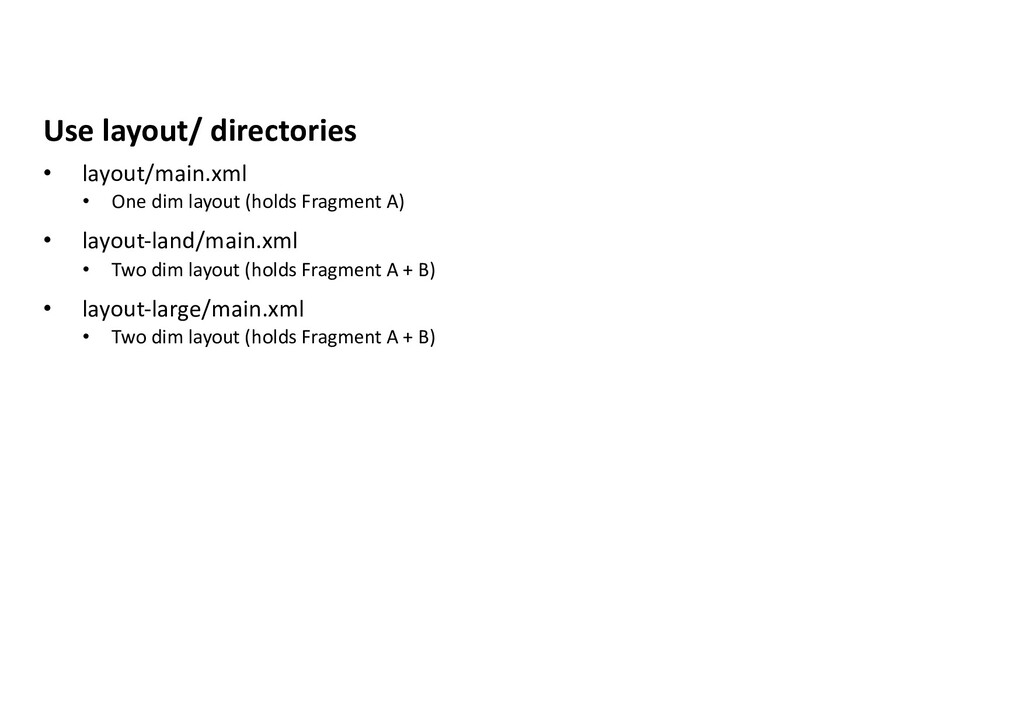
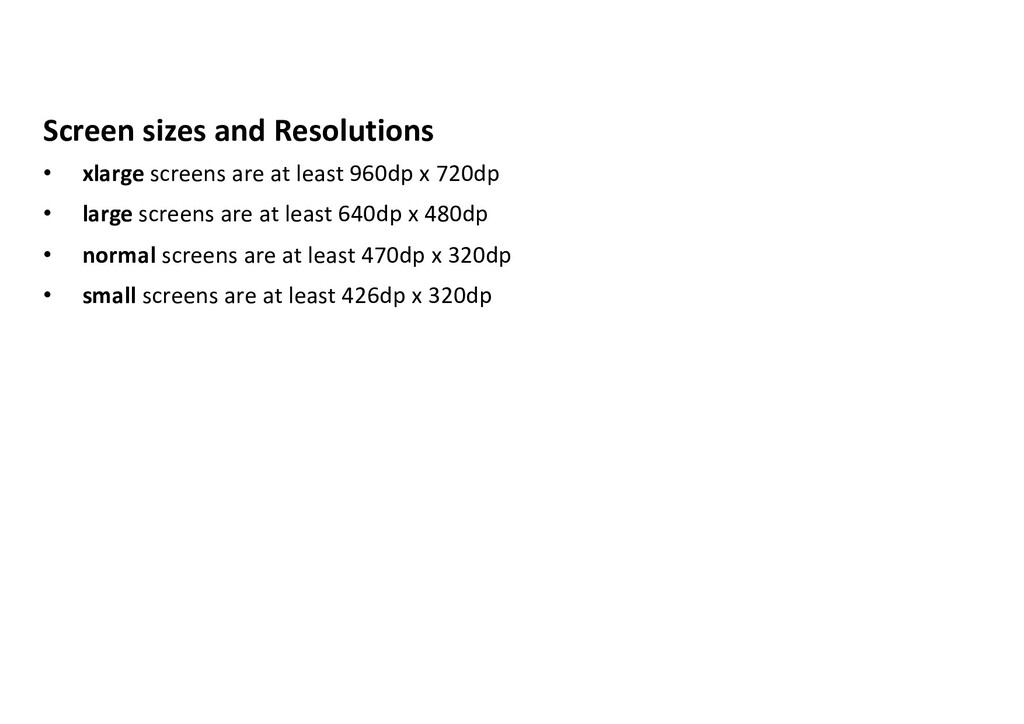
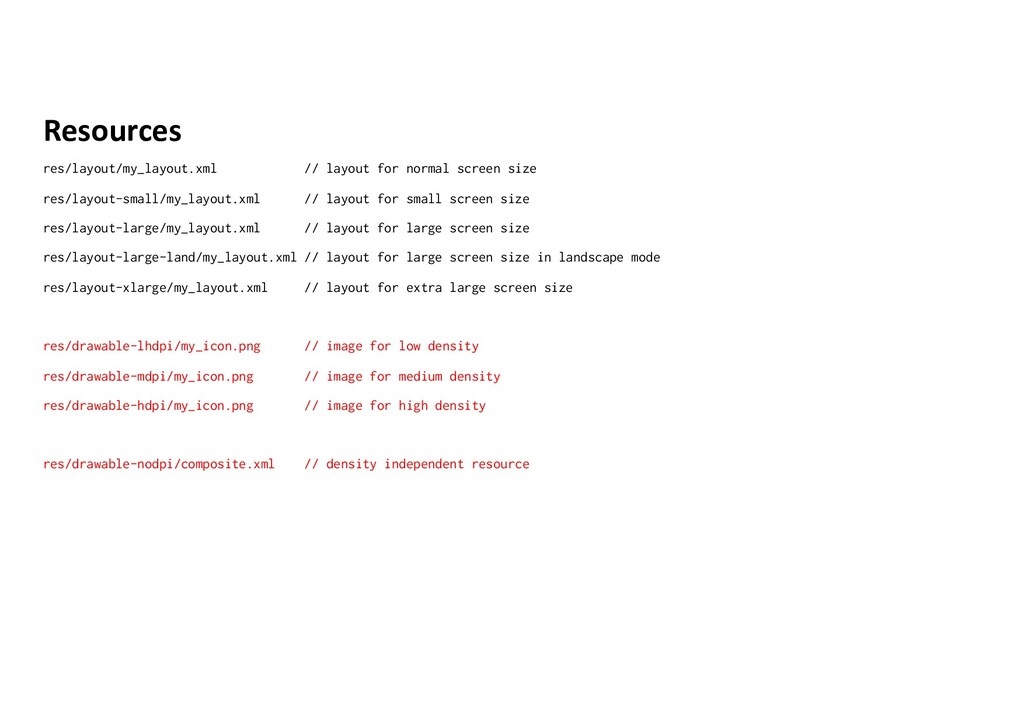
layout for small screen size res/layout-large/my_layout.xml // layout for large screen size res/layout-large-land/my_layout.xml // layout for large screen size in landscape mode res/layout-xlarge/my_layout.xml // layout for extra large screen size res/drawable-lhdpi/my_icon.png // image for low density res/drawable-mdpi/my_icon.png // image for medium density res/drawable-hdpi/my_icon.png // image for high density res/drawable-nodpi/composite.xml // density independent resource
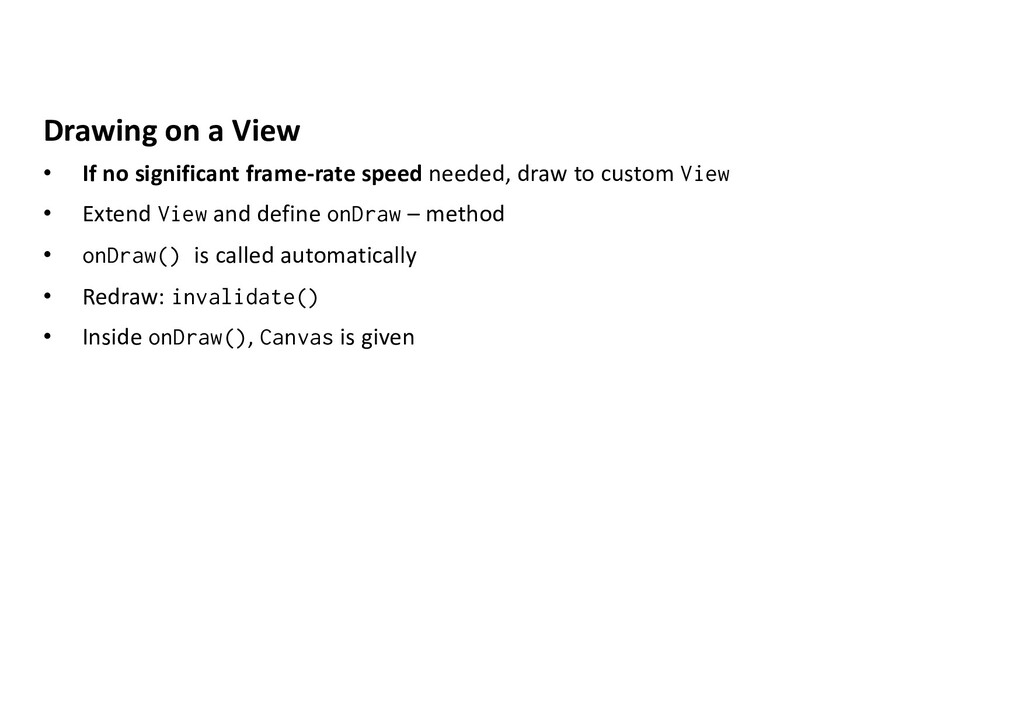
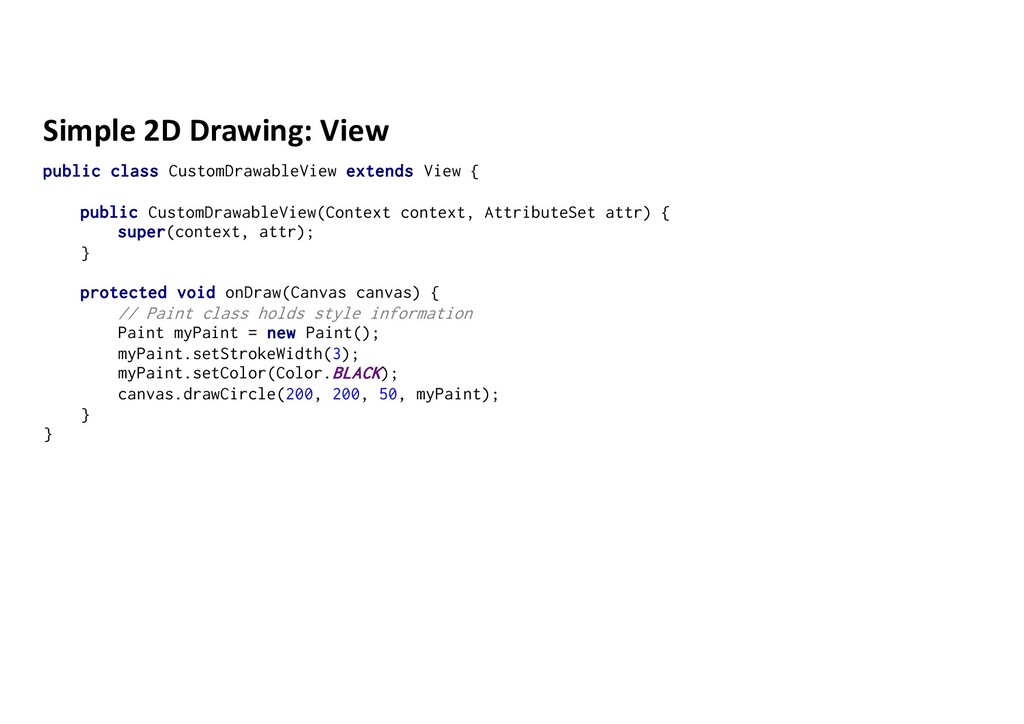
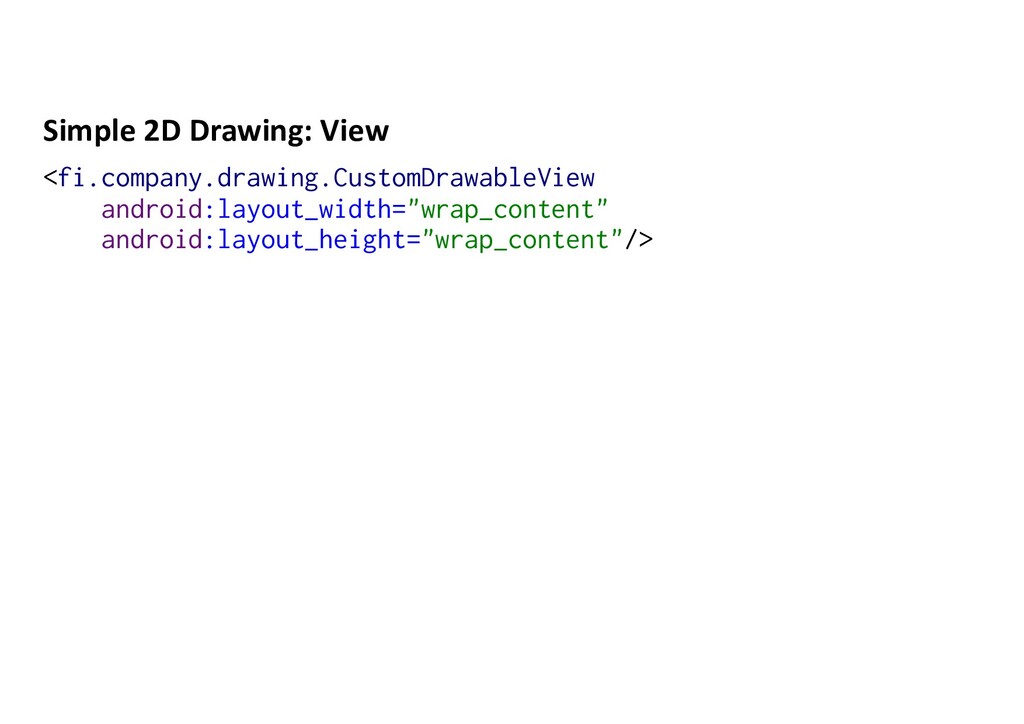
needed, draw to custom View • Extend View and define onDraw – method • onDraw() is called automatically • Redraw: invalidate() • Inside onDraw(), Canvas is given
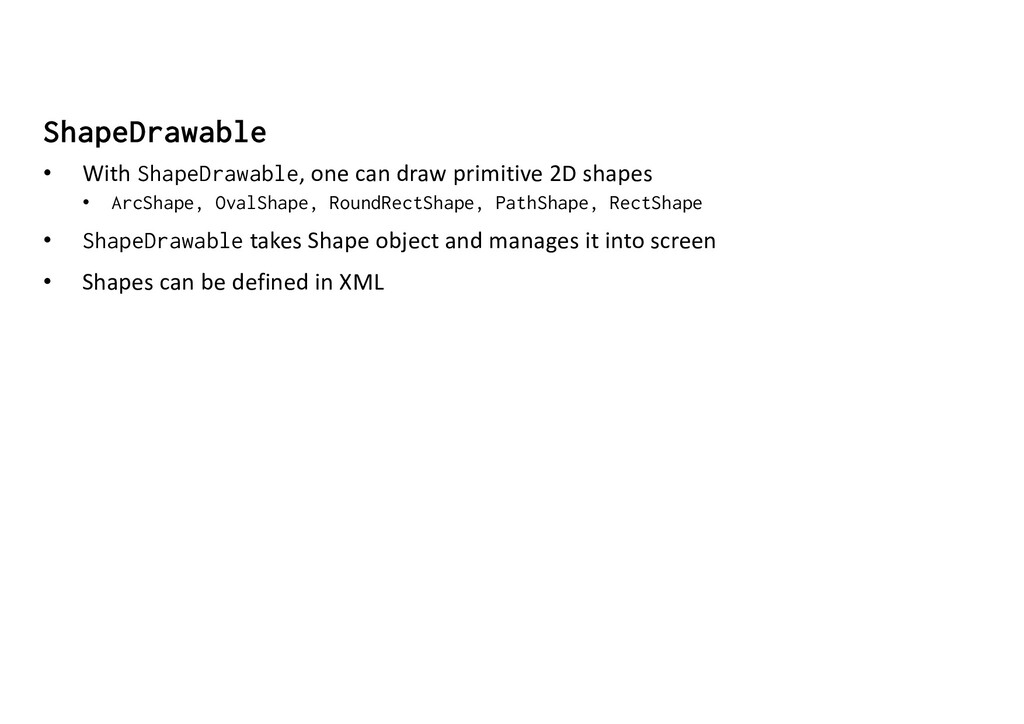
• ArcShape, OvalShape, RoundRectShape, PathShape, RectShape • ShapeDrawable takes Shape object and manages it into screen • Shapes can be defined in XML
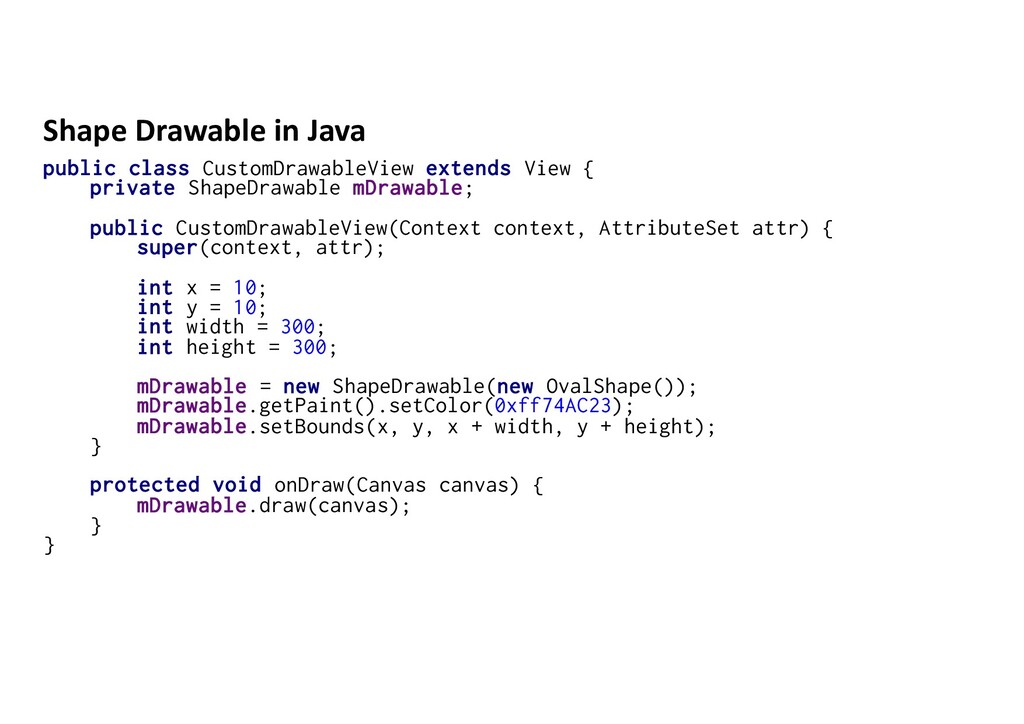
private ShapeDrawable mDrawable; public CustomDrawableView(Context context, AttributeSet attr) { super(context, attr); int x = 10; int y = 10; int width = 300; int height = 300; mDrawable = new ShapeDrawable(new OvalShape()); mDrawable.getPaint().setColor(0xff74AC23); mDrawable.setBounds(x, y, x + width, y + height); } protected void onDraw(Canvas canvas) { mDrawable.draw(canvas); } }
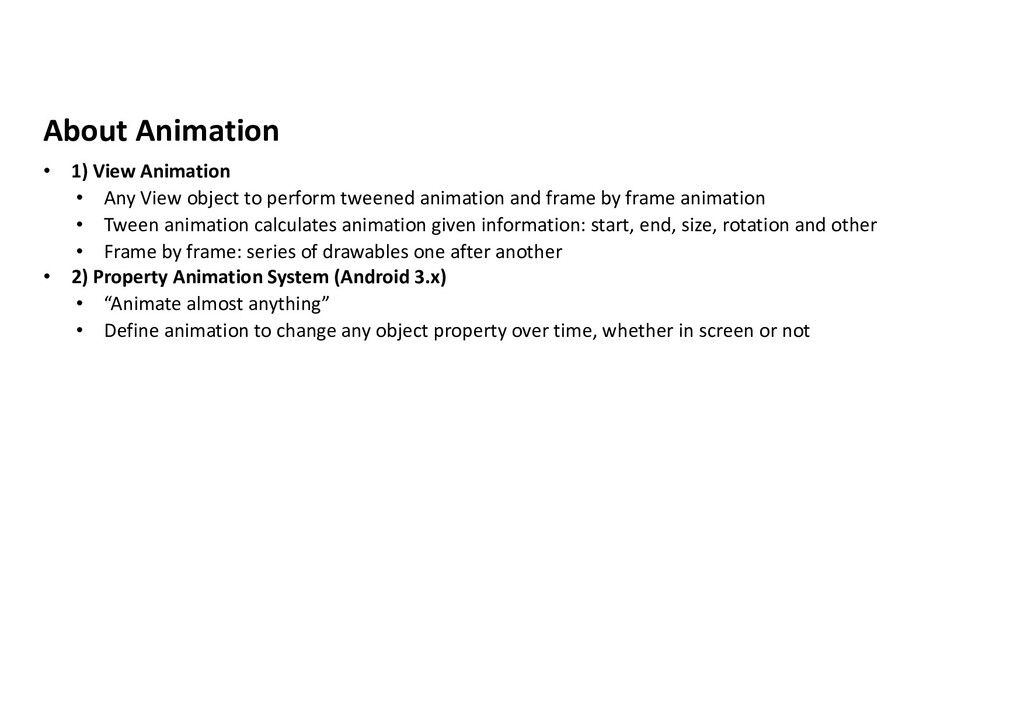
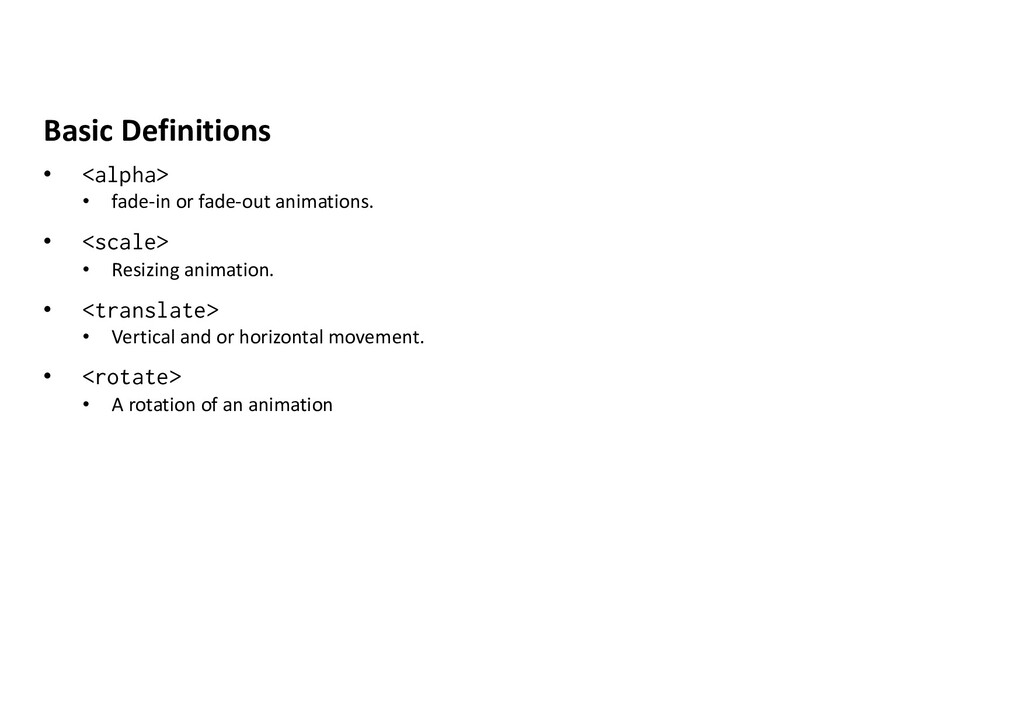
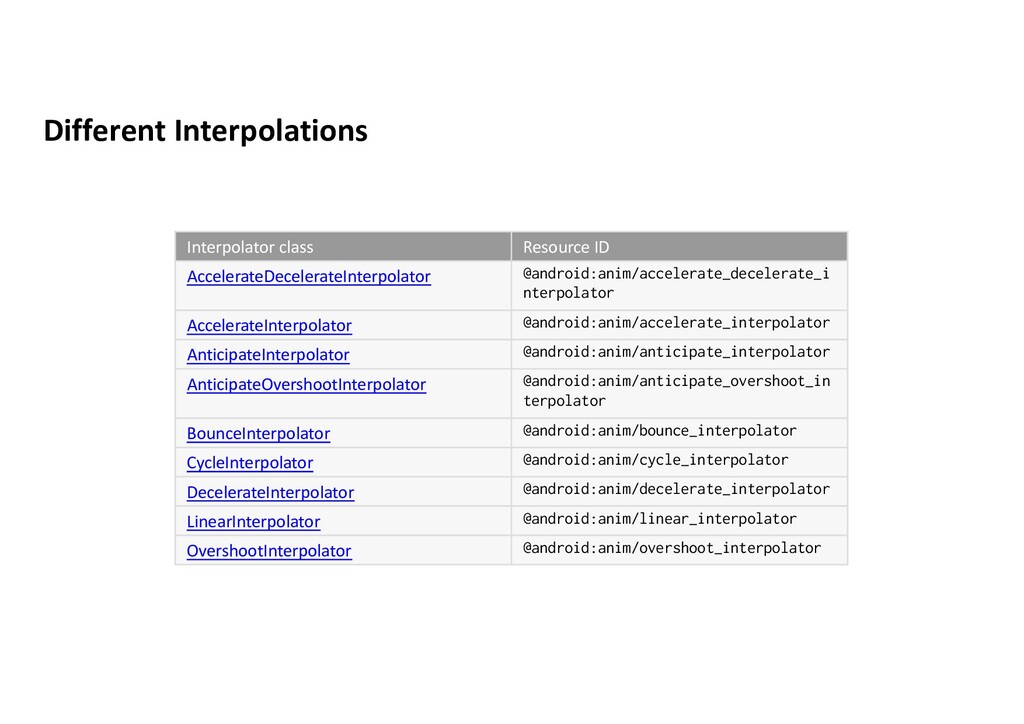
to perform tweened animation and frame by frame animation • Tween animation calculates animation given information: start, end, size, rotation and other • Frame by frame: series of drawables one after another • 2) Property Animation System (Android 3.x) • “Animate almost anything” • Define animation to change any object property over time, whether in screen or not
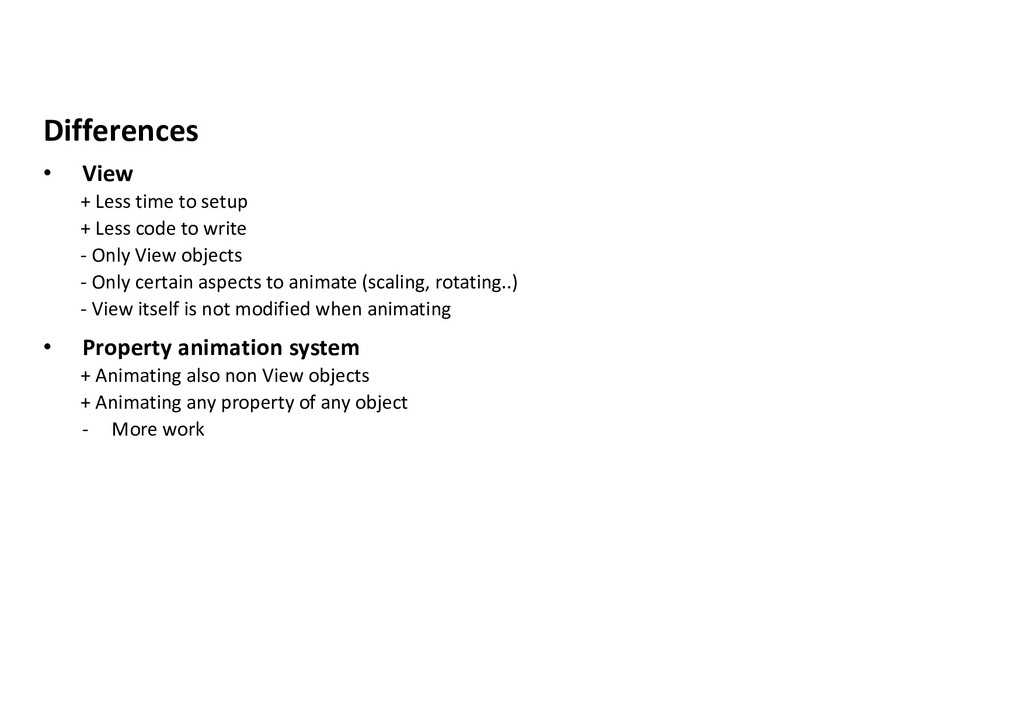
code to write - Only View objects - Only certain aspects to animate (scaling, rotating..) - View itself is not modified when animating • Property animation system + Animating also non View objects + Animating any property of any object - More work
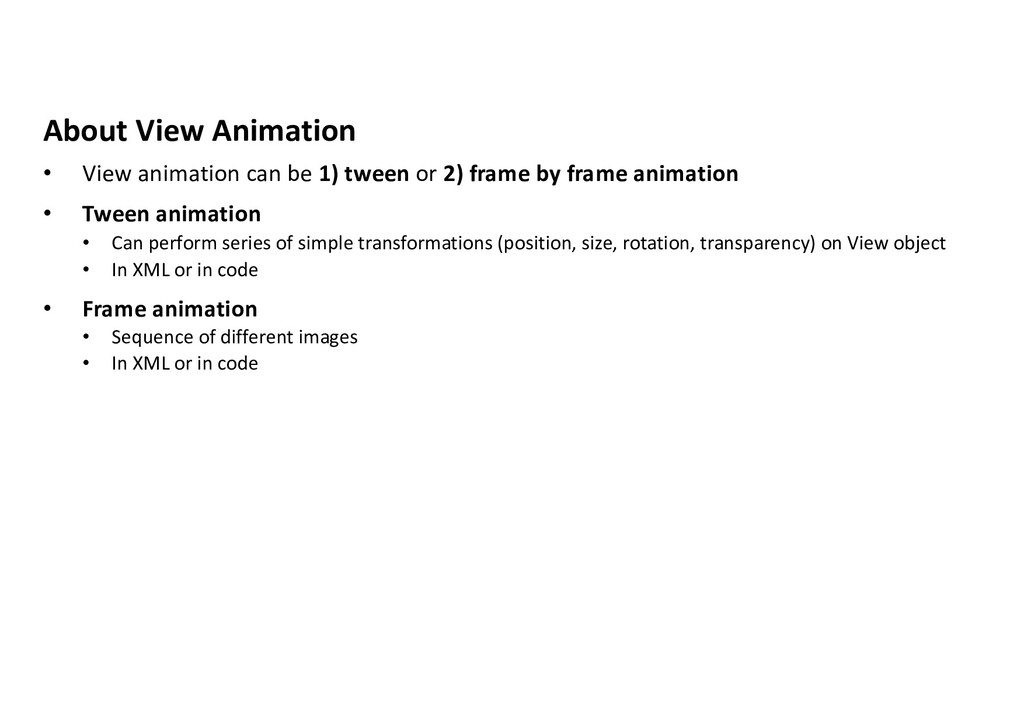
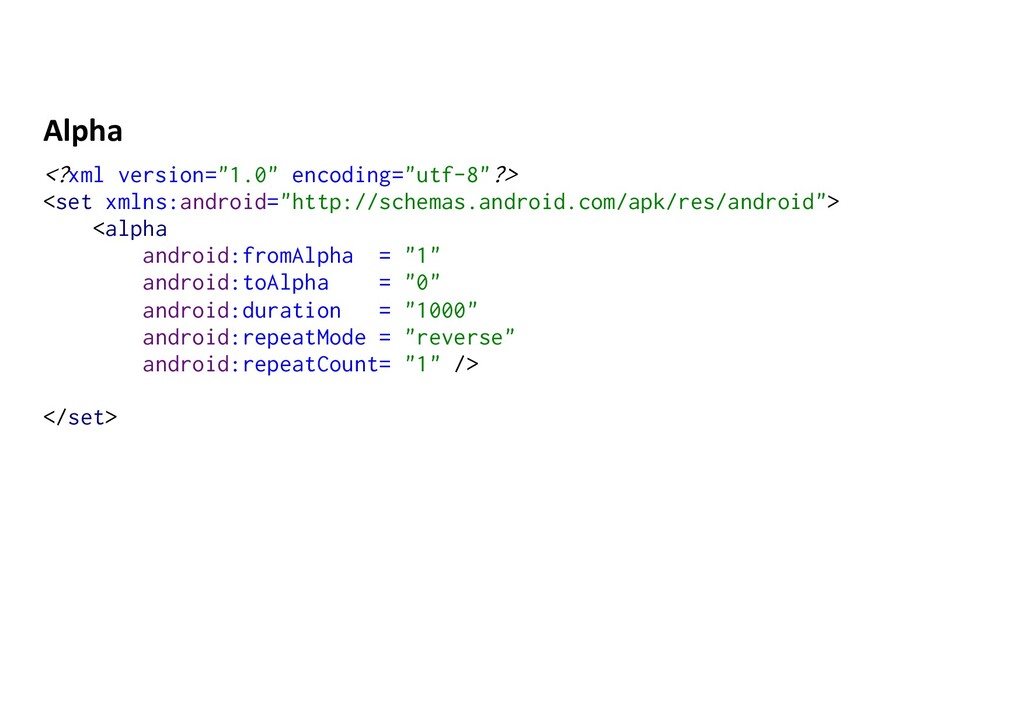
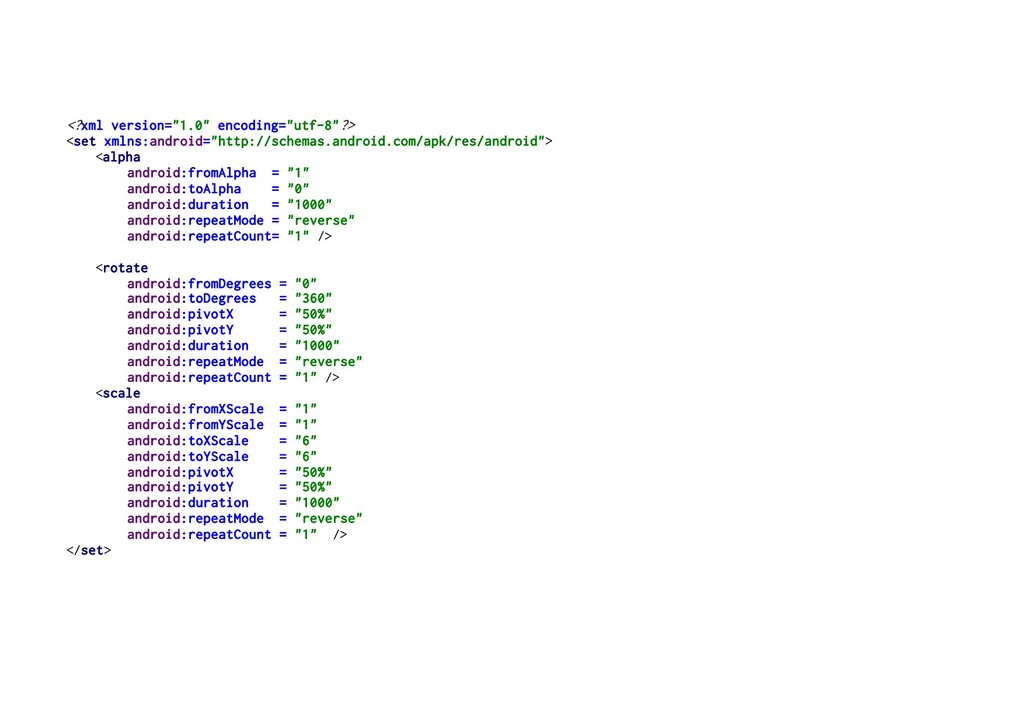
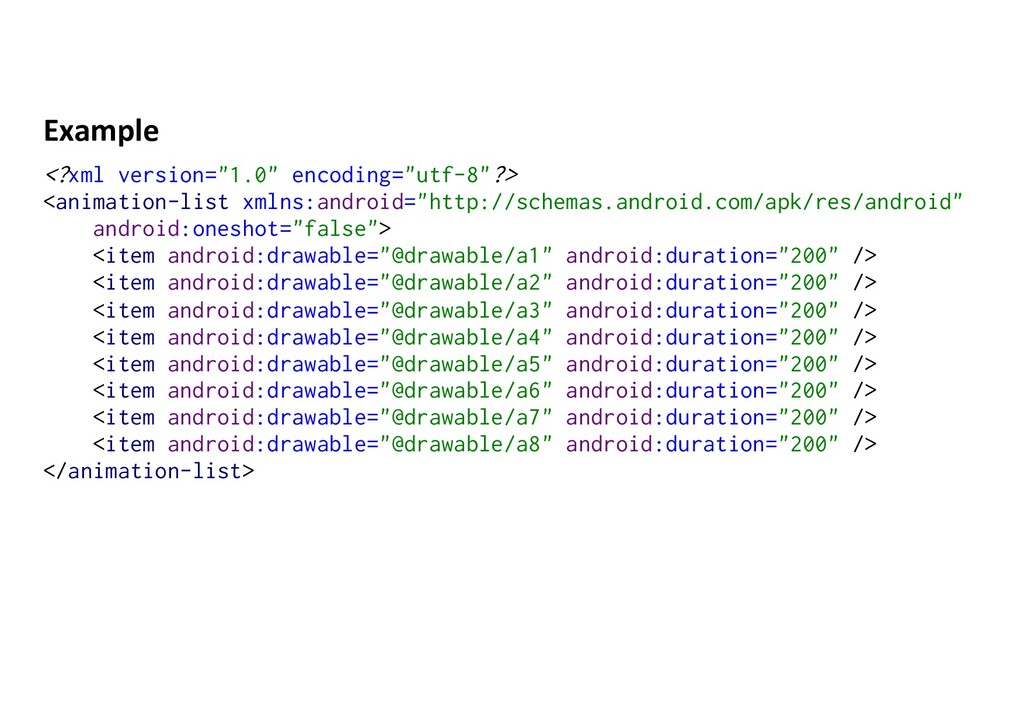
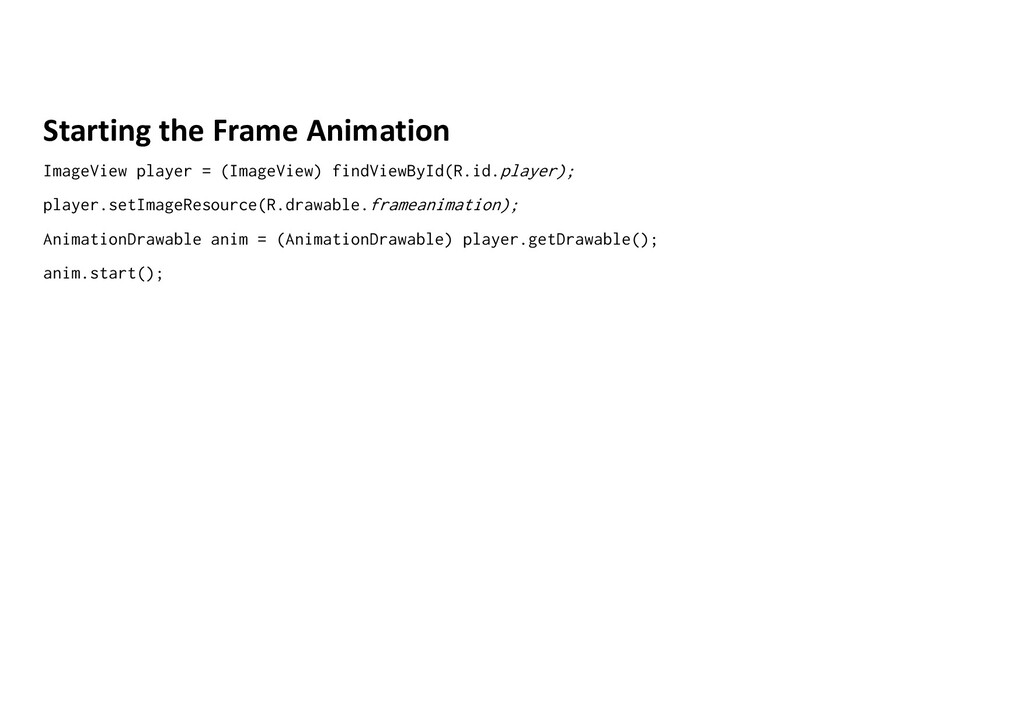
or 2) frame by frame animation • Tween animation • Can perform series of simple transformations (position, size, rotation, transparency) on View object • In XML or in code • Frame animation • Sequence of different images • In XML or in code
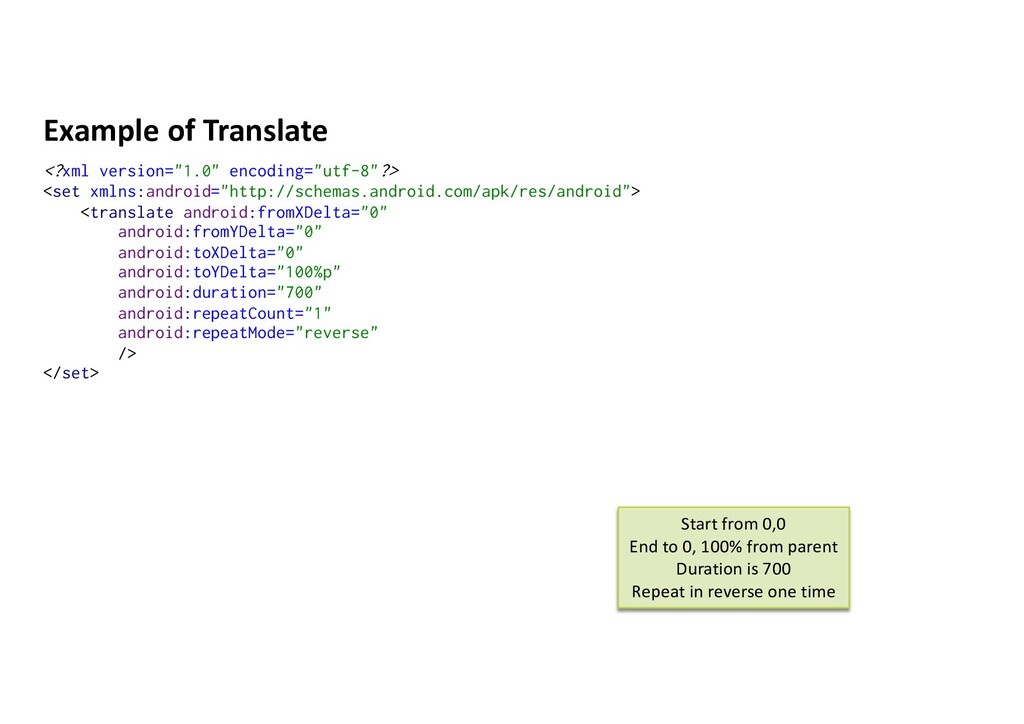
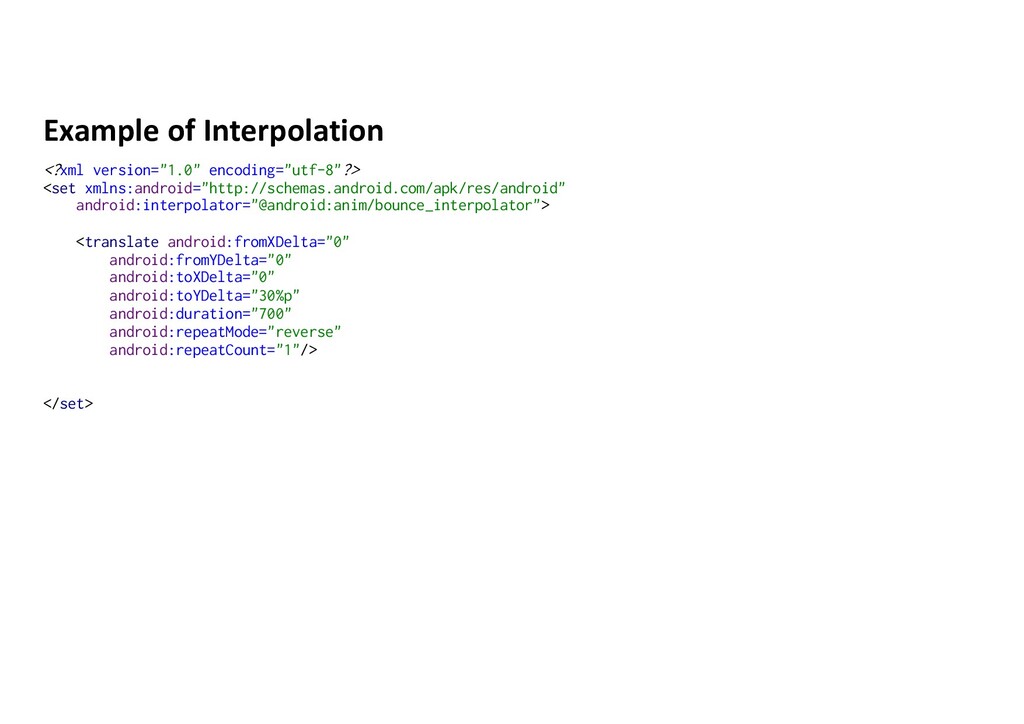
android:fromYDelta="0" android:toXDelta="0" android:toYDelta="100%p" android:duration="700" android:repeatCount="1" android:repeatMode="reverse" /> </set> Start from 0,0 End to 0, 100% from parent Duration is 700 Repeat in reverse one time
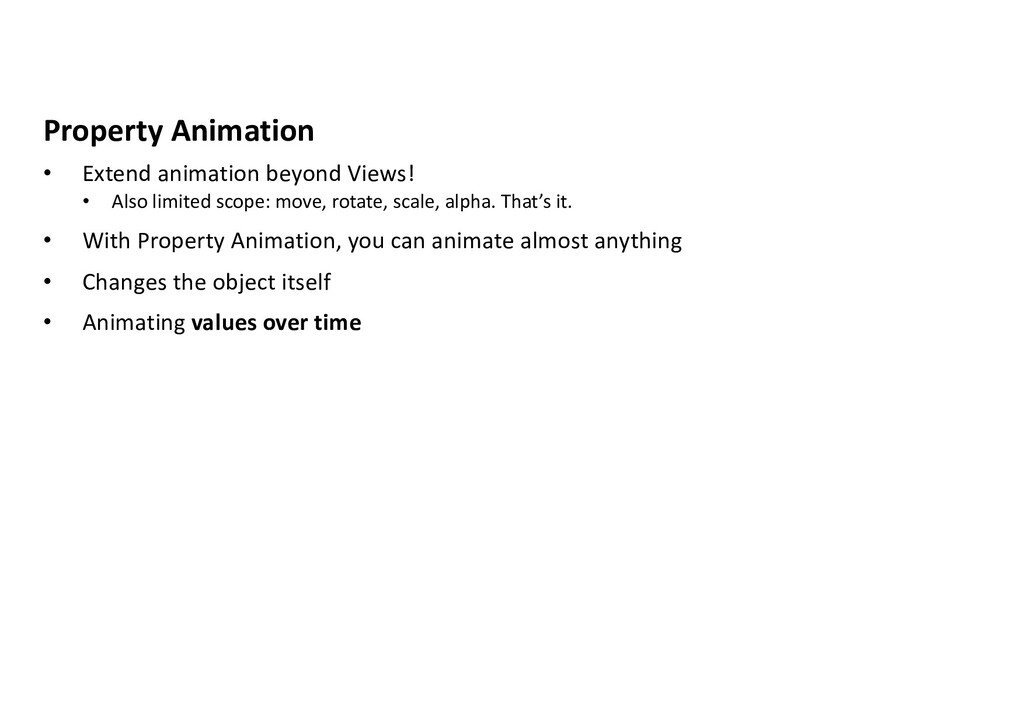
scope: move, rotate, scale, alpha. That’s it. • With Property Animation, you can animate almost anything • Changes the object itself • Animating values over time
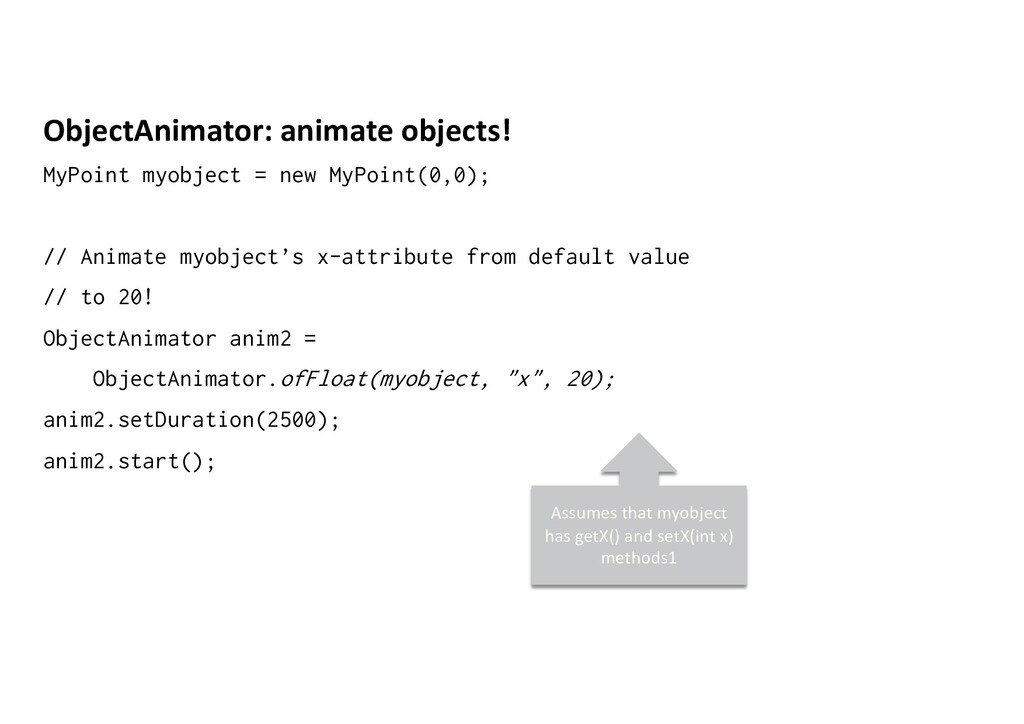
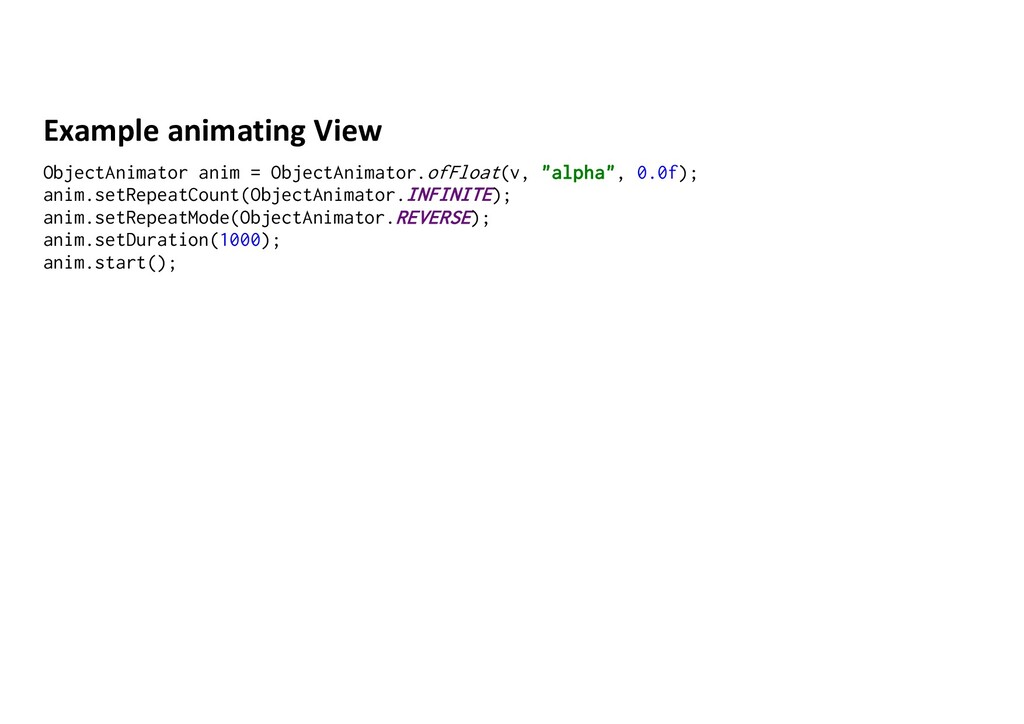
myobject’s x-attribute from default value // to 20! ObjectAnimator anim2 = ObjectAnimator.ofFloat(myobject, "x", 20); anim2.setDuration(2500); anim2.start(); Assumes that myobject has getX() and setX(int x) methods1
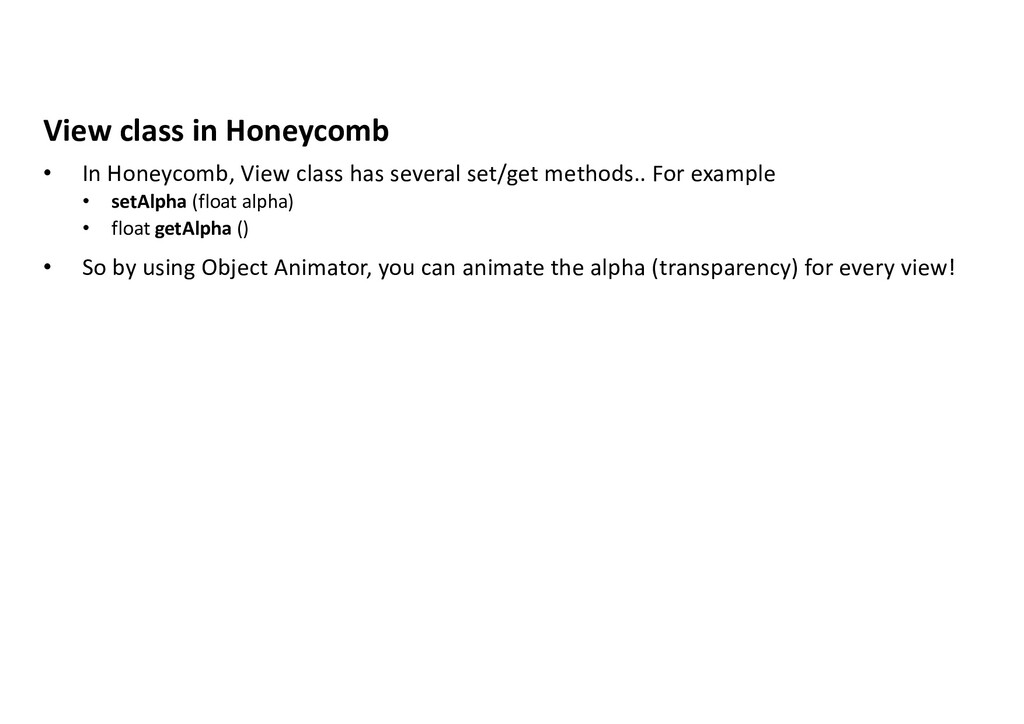
several set/get methods.. For example • setAlpha (float alpha) • float getAlpha () • So by using Object Animator, you can animate the alpha (transparency) for every view!
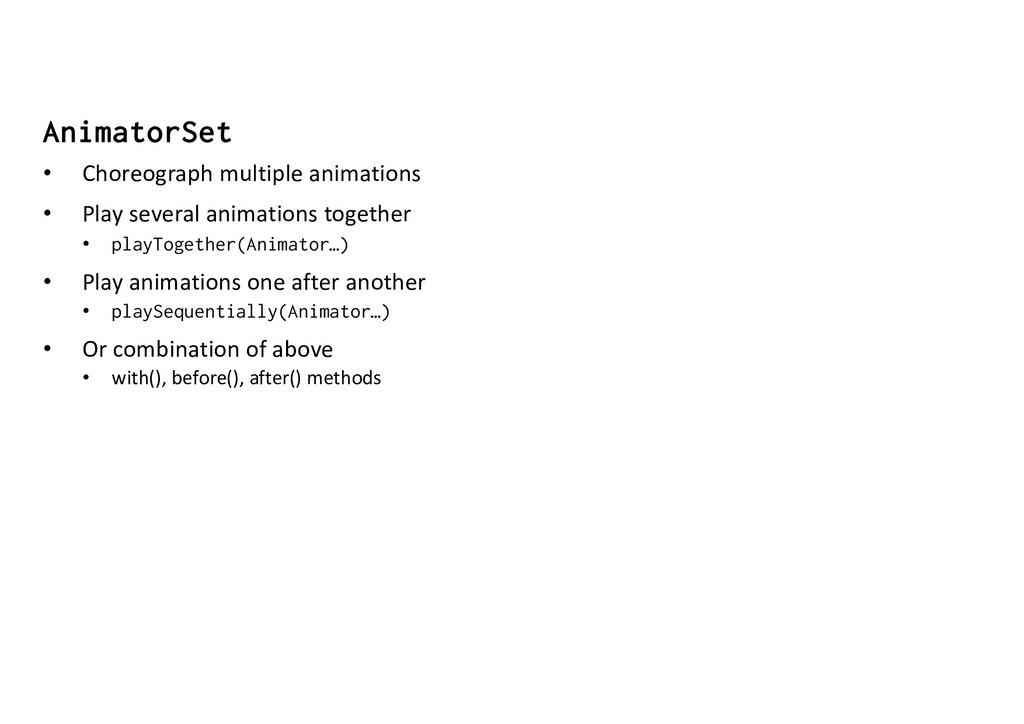
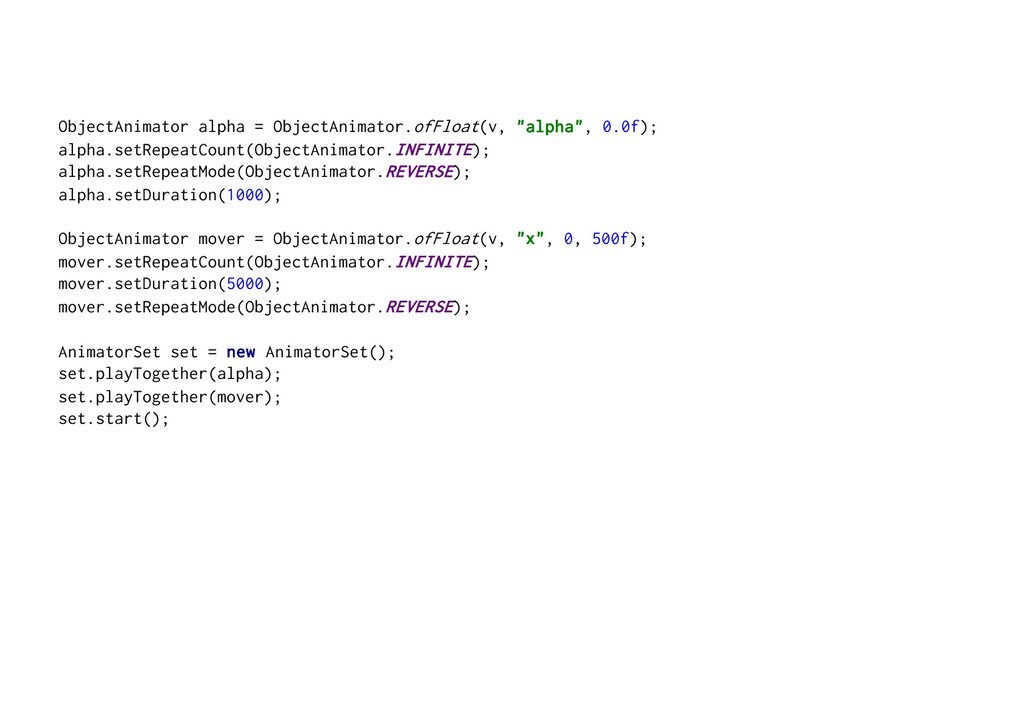
• playTogether(Animator…) • Play animations one after another • playSequentially(Animator…) • Or combination of above • with(), before(), after() methods
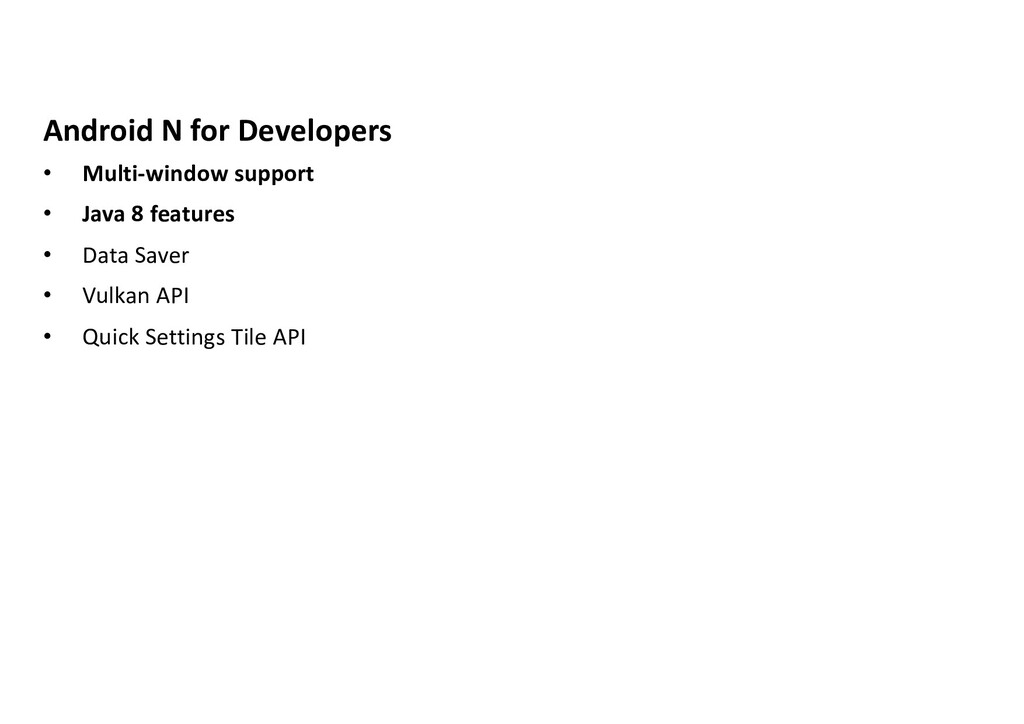
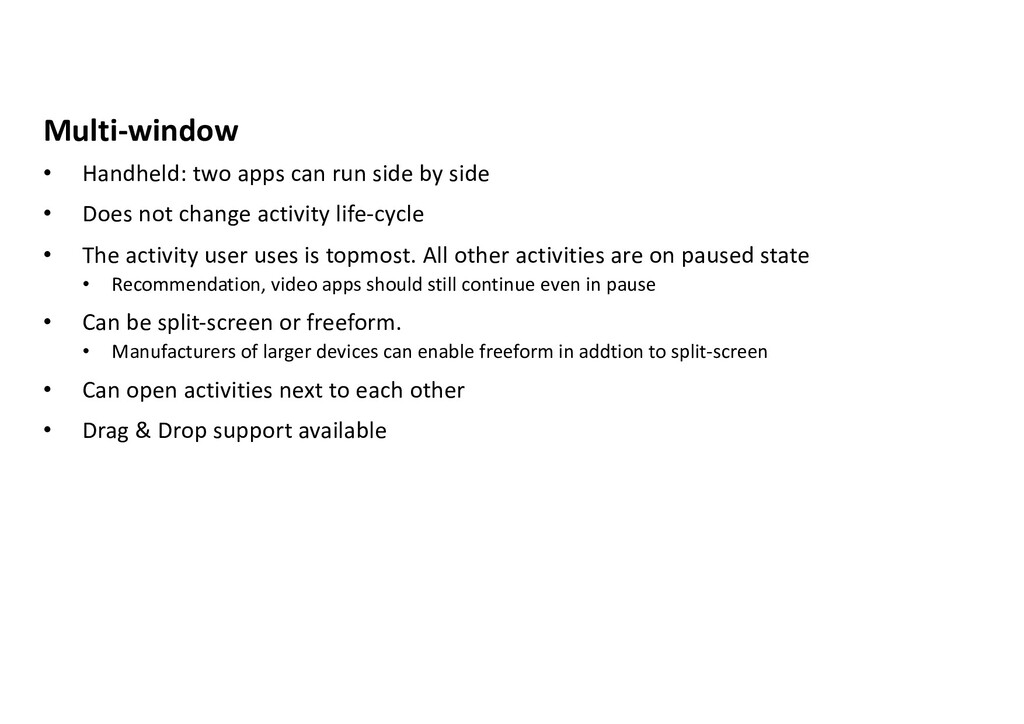
• Does not change activity life-cycle • The activity user uses is topmost. All other activities are on paused state • Recommendation, video apps should still continue even in pause • Can be split-screen or freeform. • Manufacturers of larger devices can enable freeform in addtion to split-screen • Can open activities next to each other • Drag & Drop support available
![Handle Result @Override public void onRequestPermissionsResult(int requestCode, String permissions[], int[]](https://files.speakerdeck.com/presentations/33399f338a6947d79aabea1ee74a1fcf/slide_242.jpg)
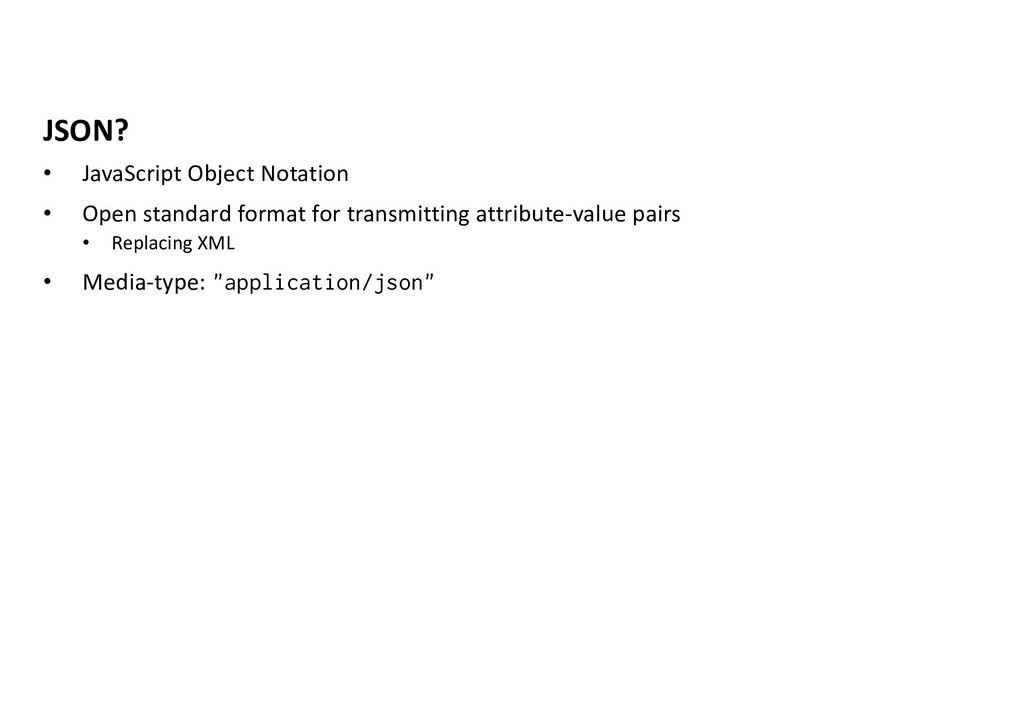
![JSON Elements • [a,b,c] • JSONArray • {key: value} •](https://files.speakerdeck.com/presentations/33399f338a6947d79aabea1ee74a1fcf/slide_268.jpg)
![Tween Animation: XML <?xml version="1.0" encoding="utf-8"?> <set xmlns:android="http://schemas.android.com/apk/res/android" android:interpolator="@[package:]anim/interpolator_resource" android:shareInterpolator=["true"](https://files.speakerdeck.com/presentations/33399f338a6947d79aabea1ee74a1fcf/slide_302.jpg)