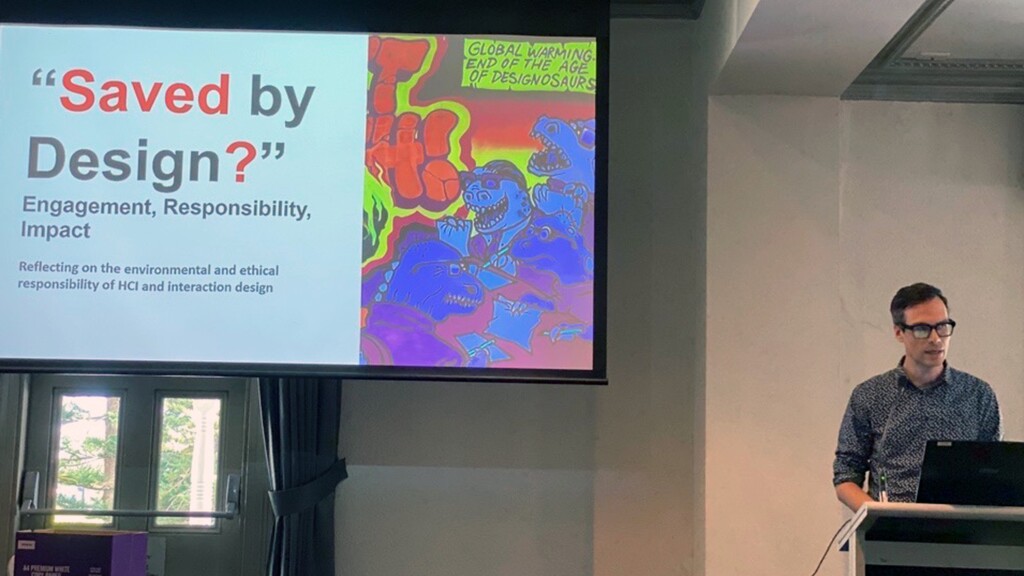
UX Australia 2021 DAY 1
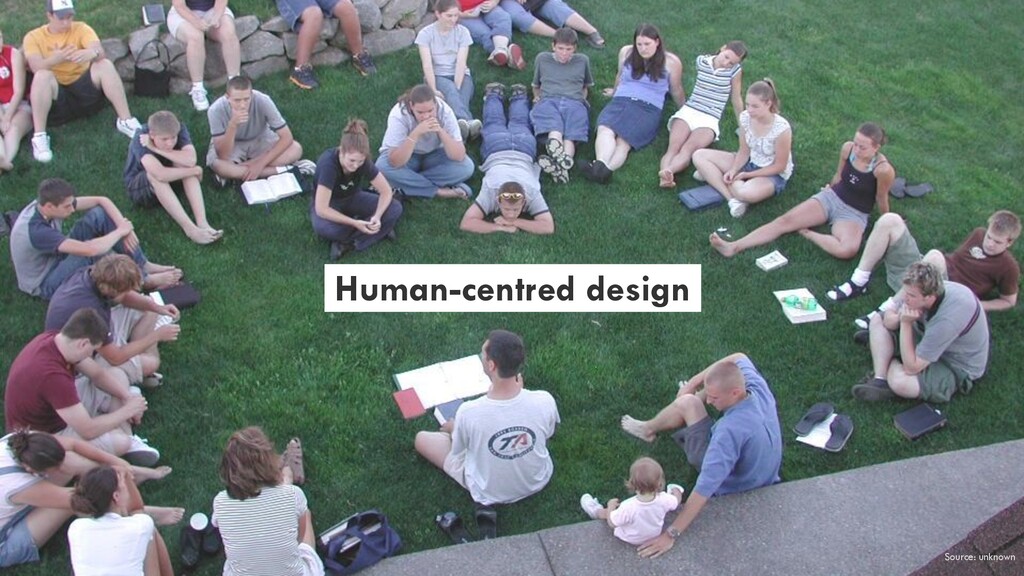
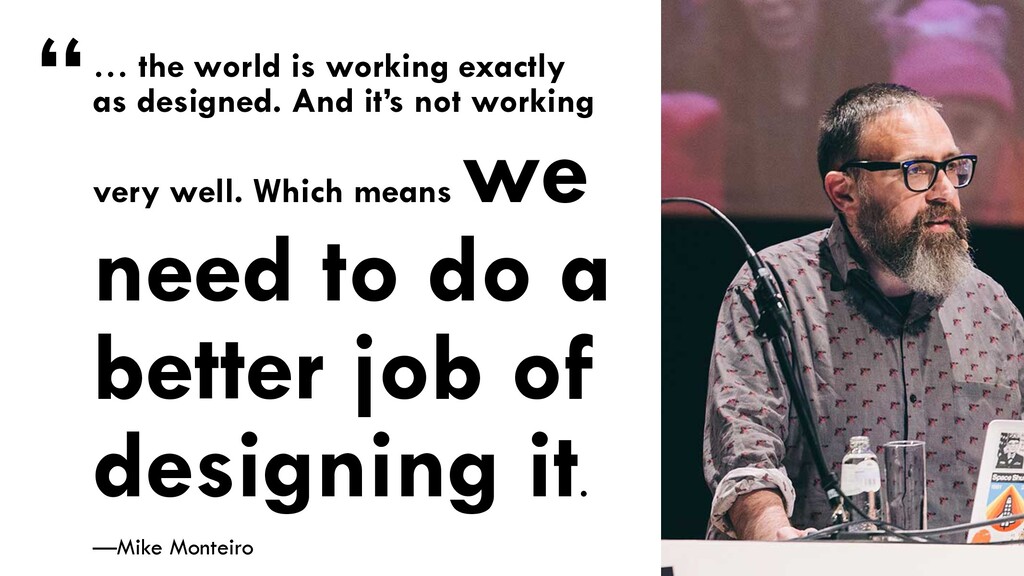
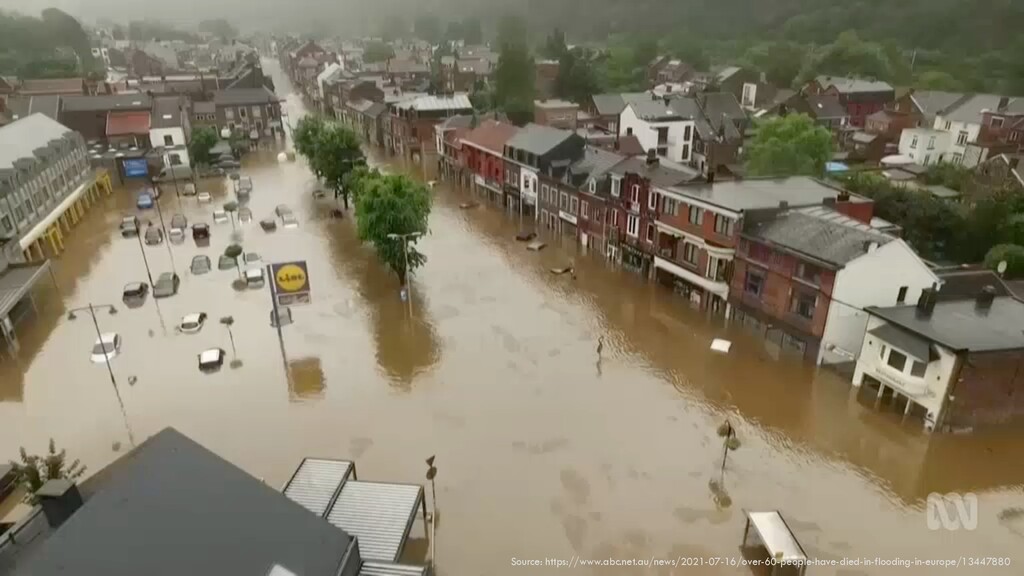
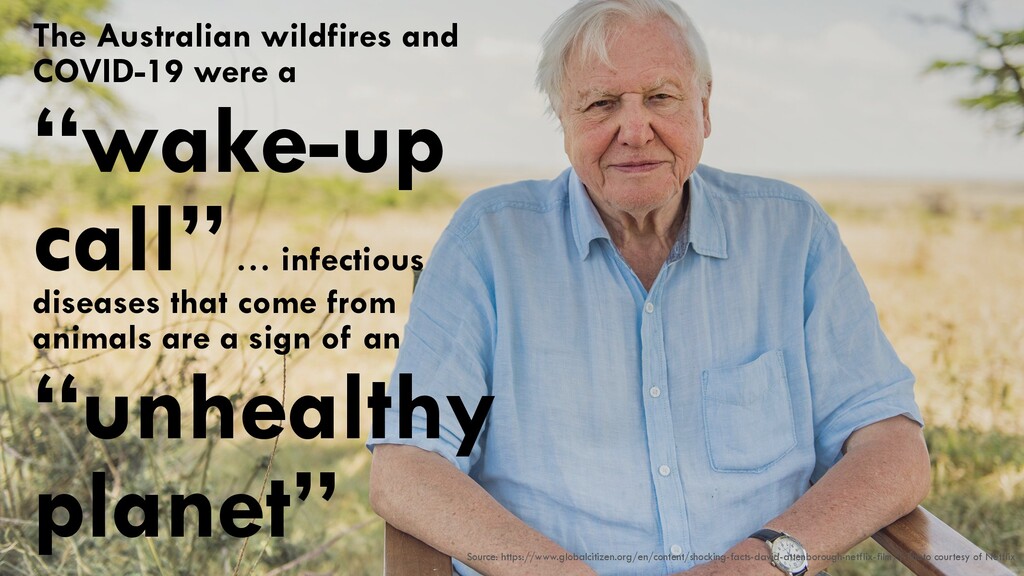
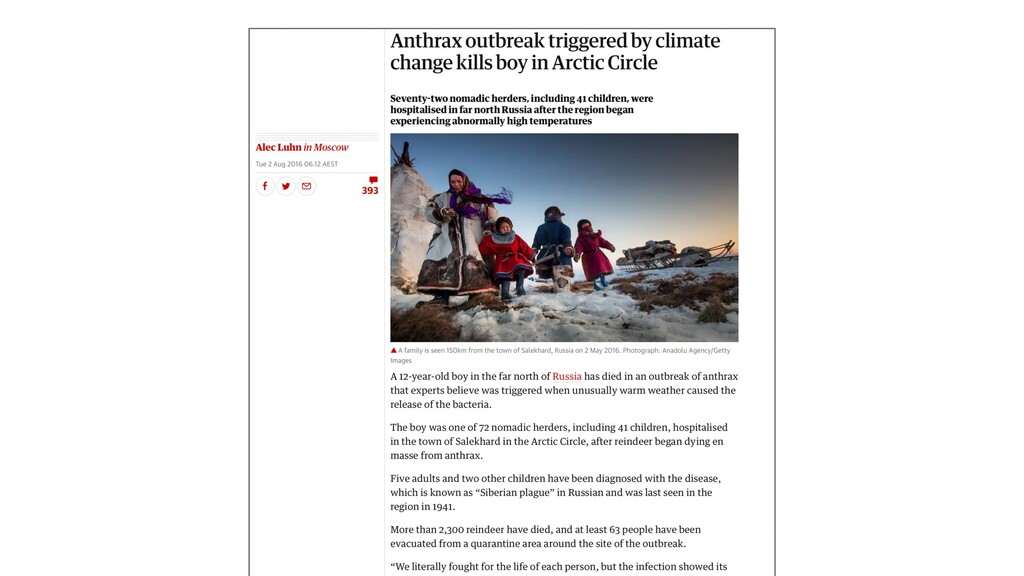
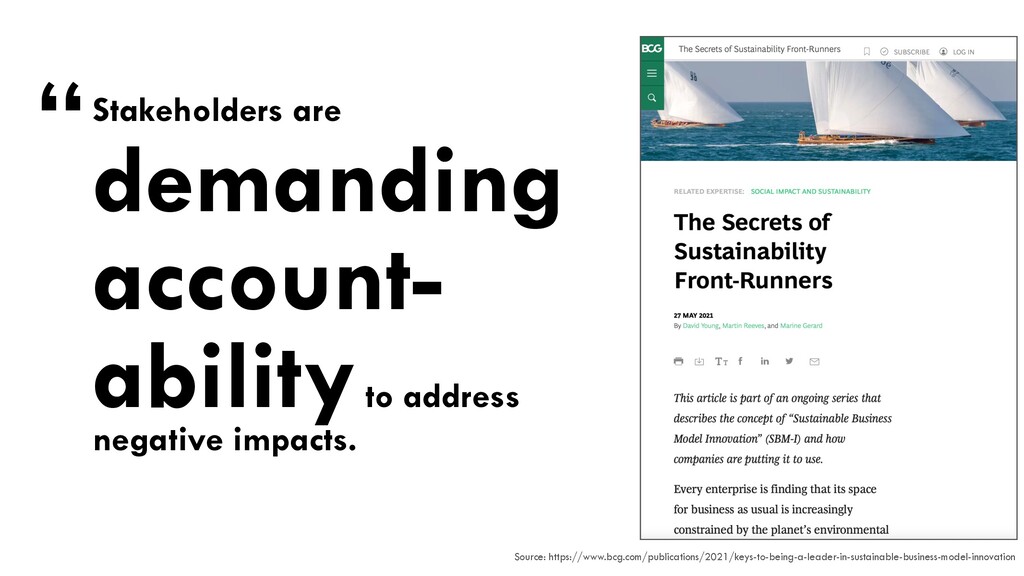
We urgently need to rethink the role of human-centred design in light of global events that are linked to the Anthropocene, such as extreme weather and the Covid-19 pandemic.
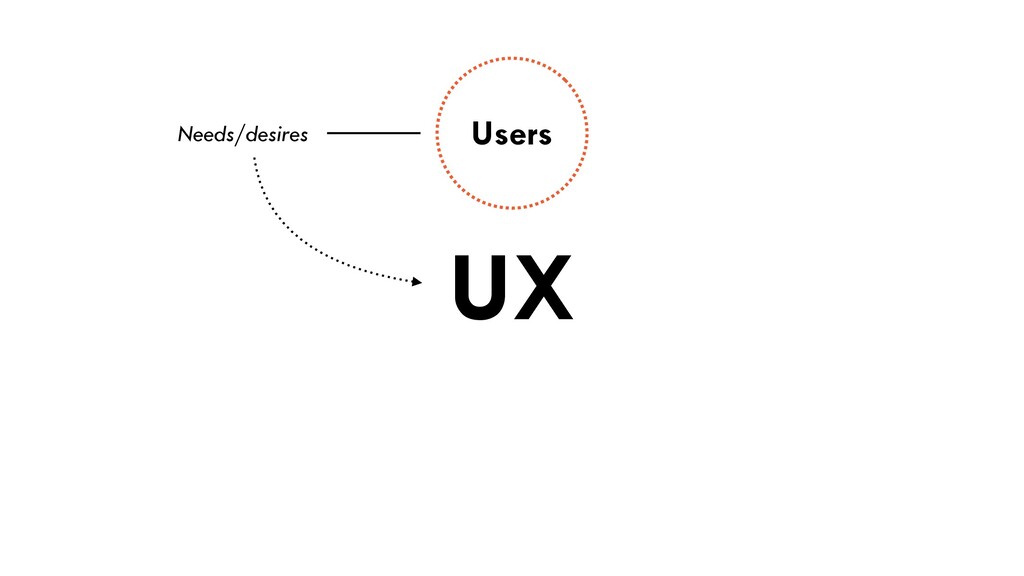
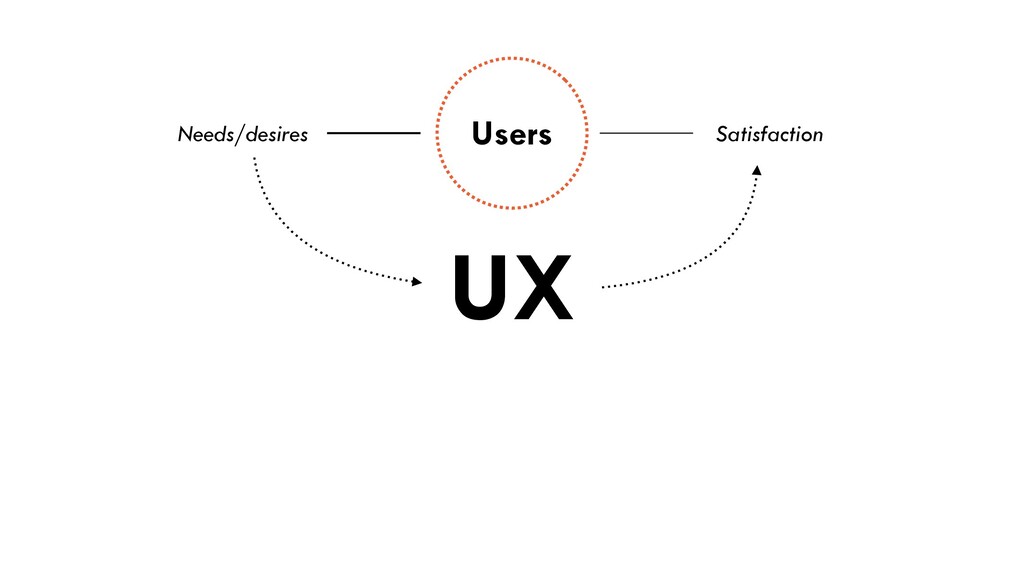
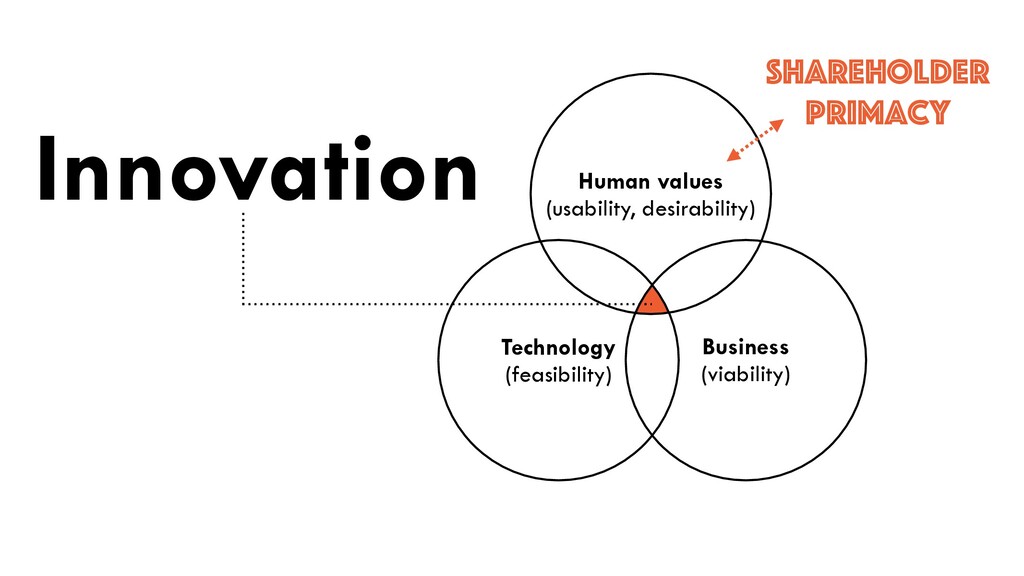
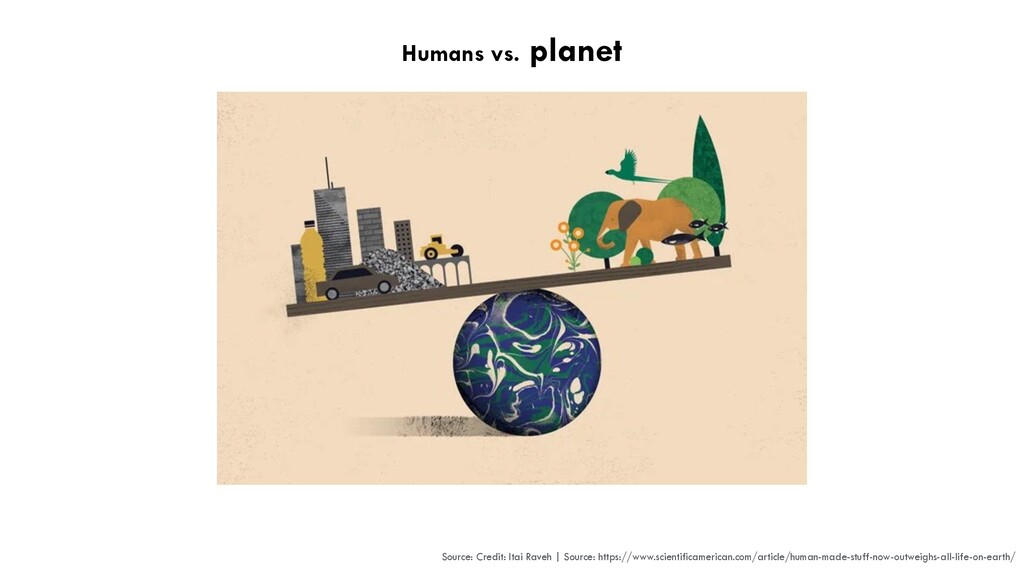
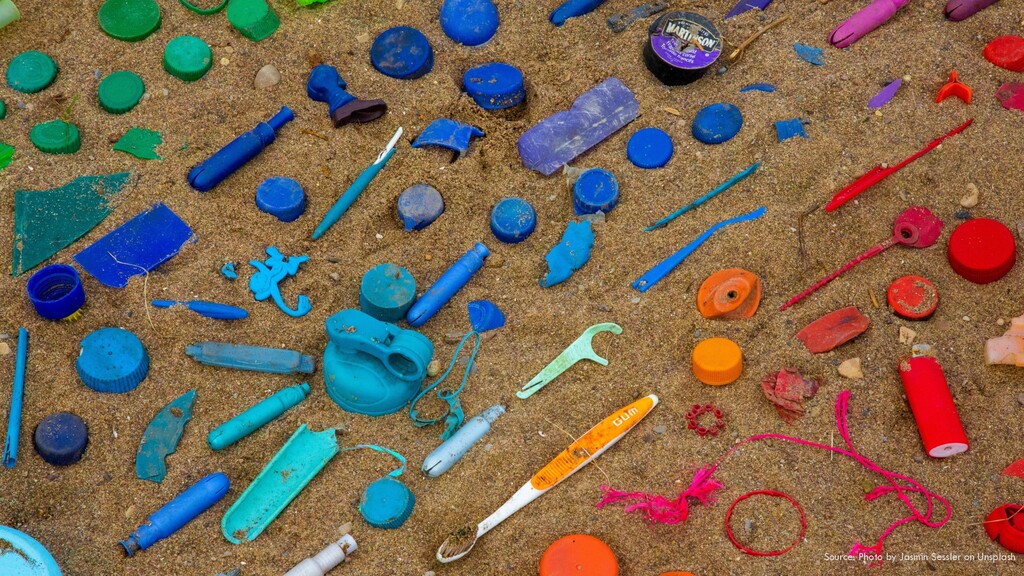
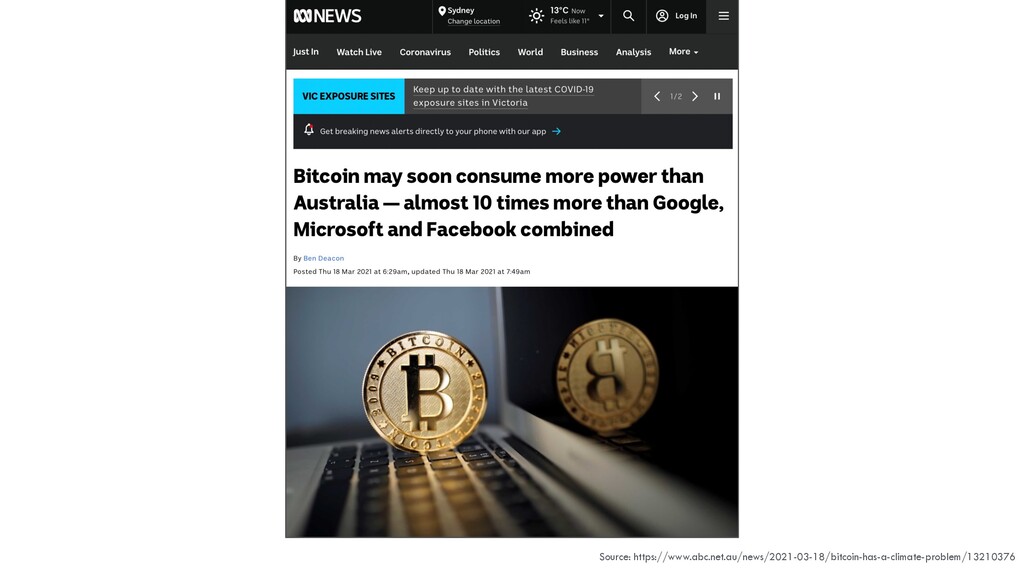
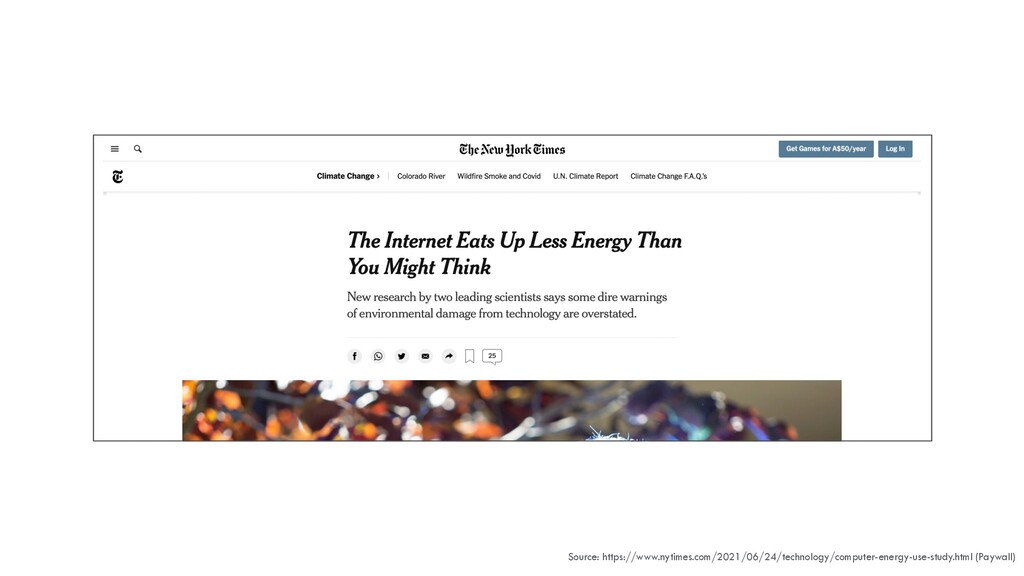
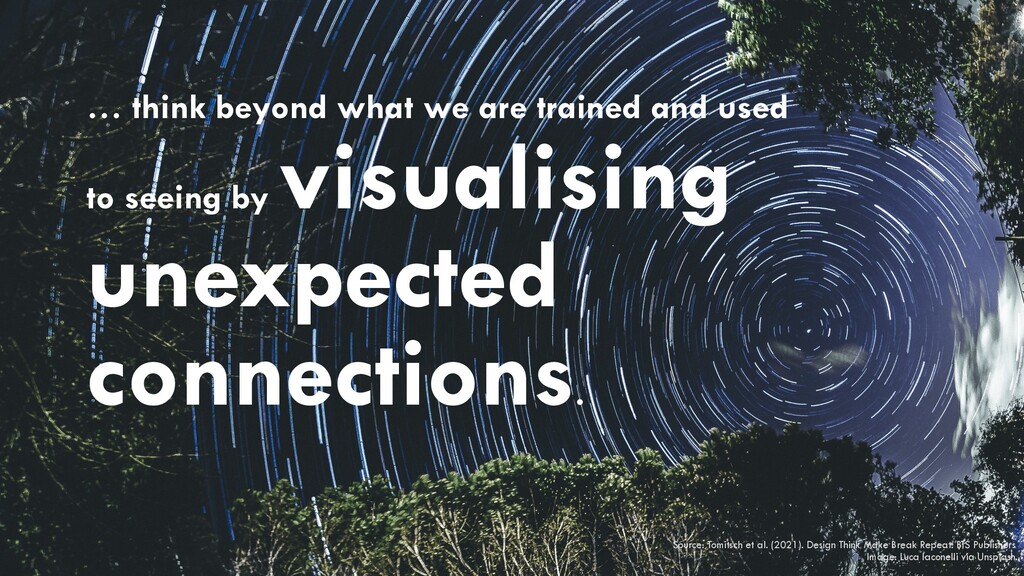
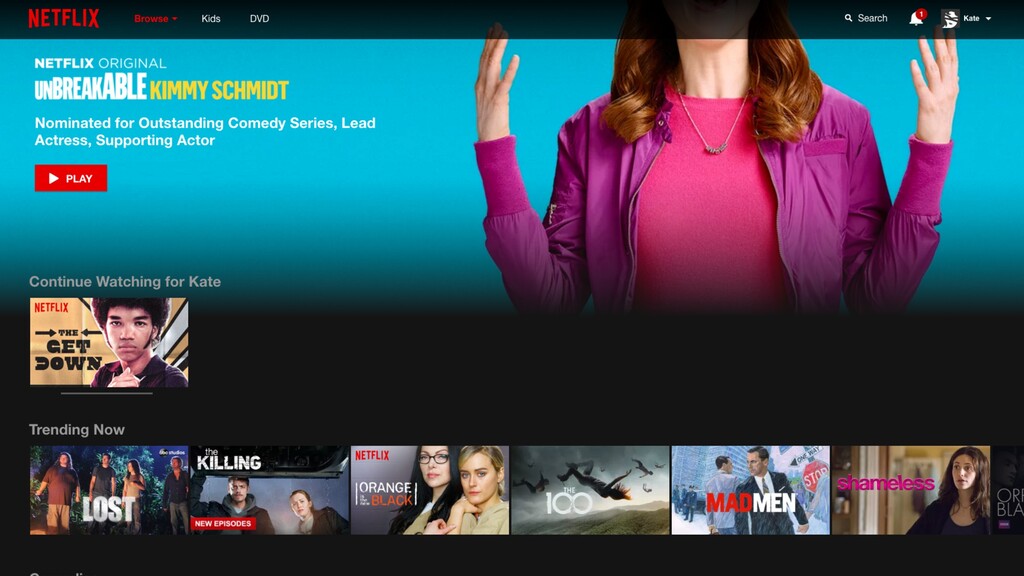
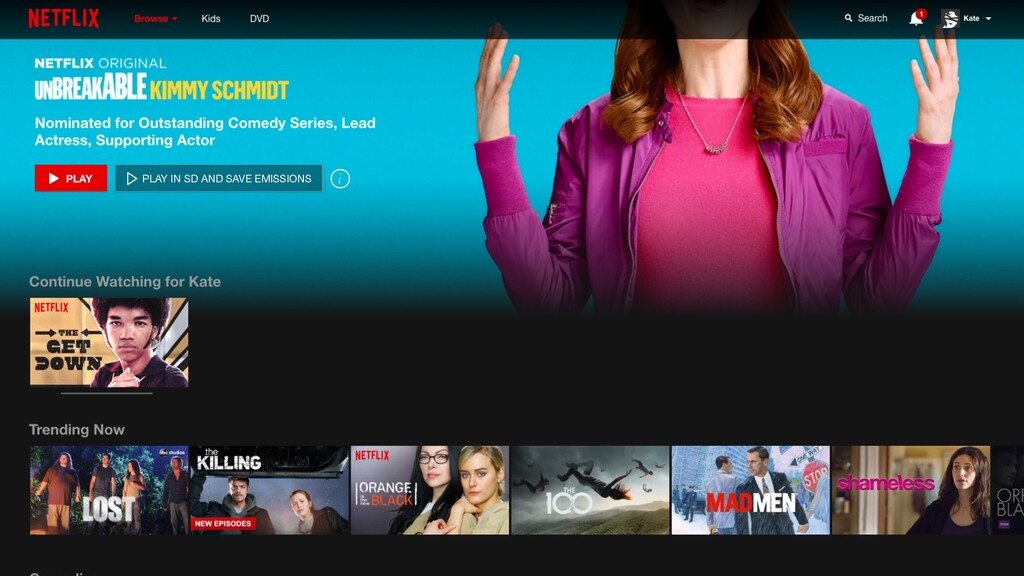
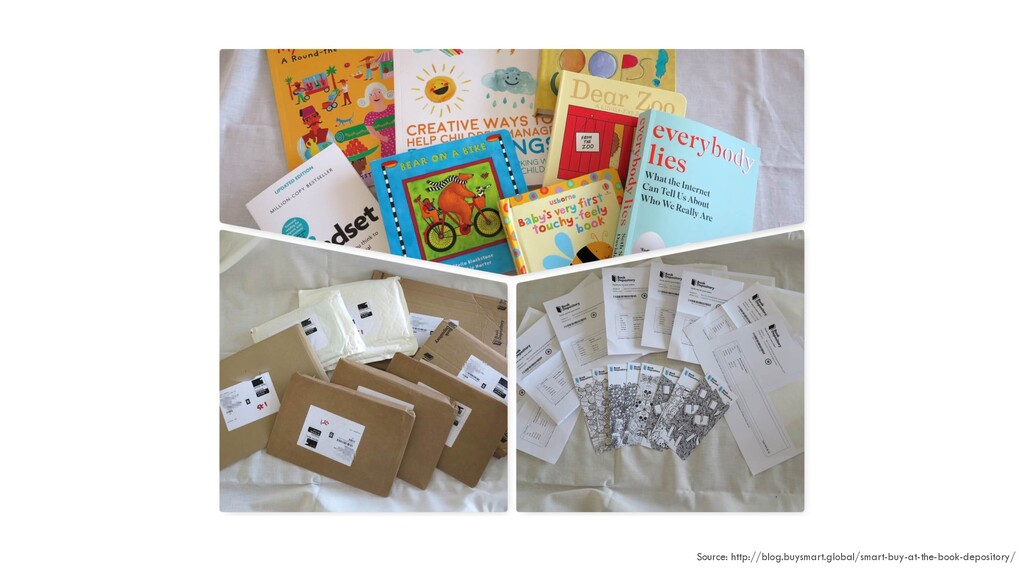
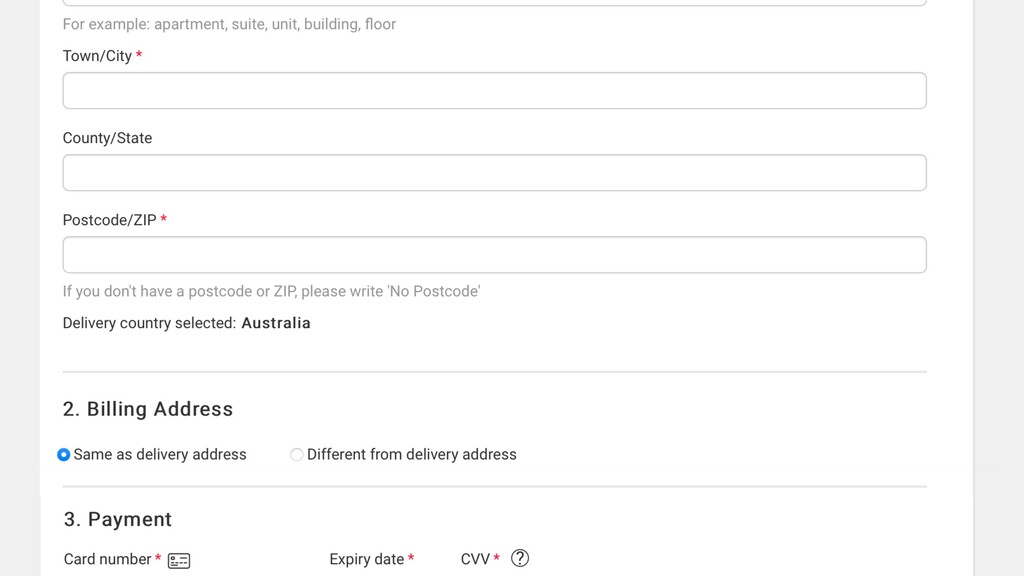
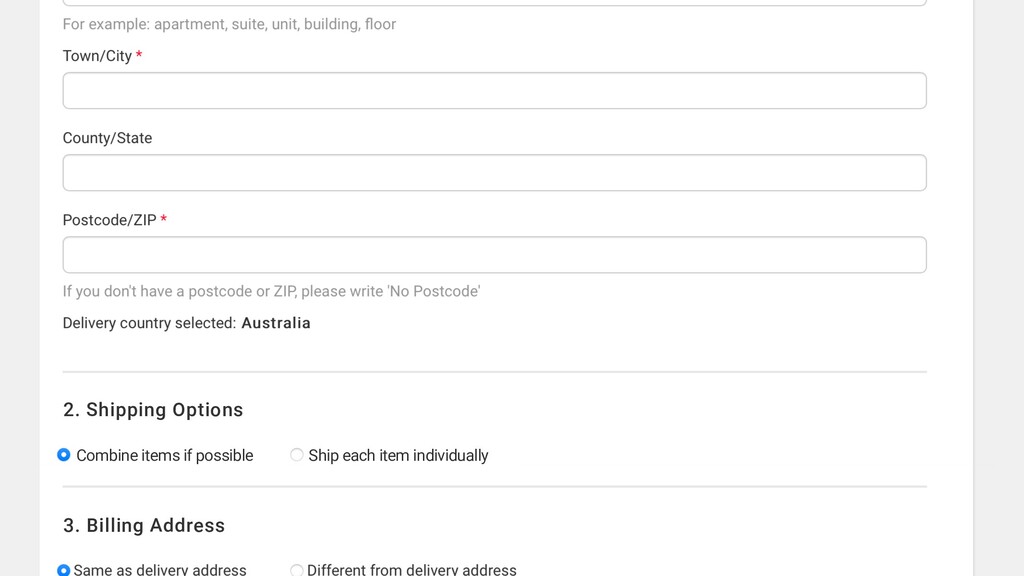
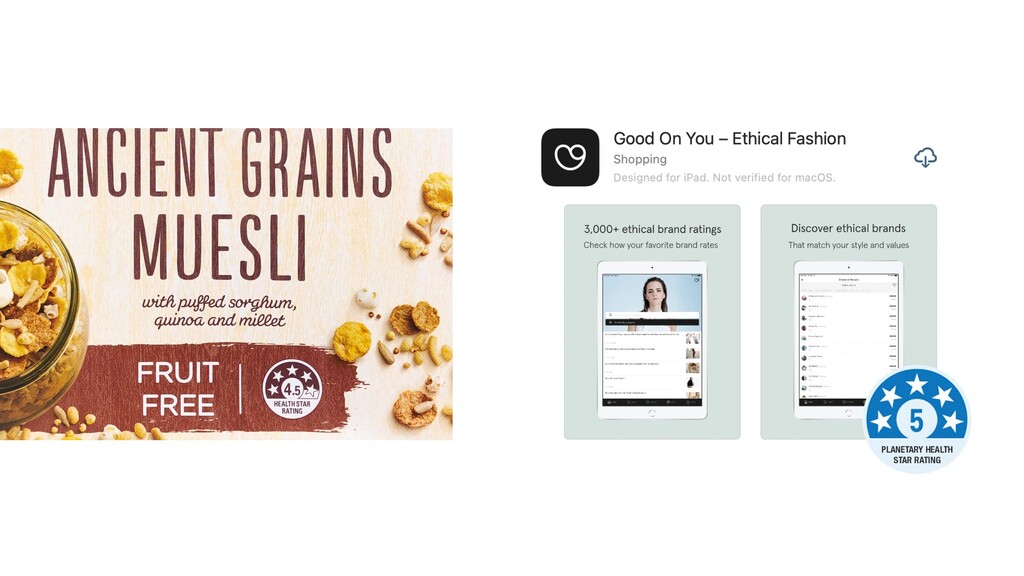
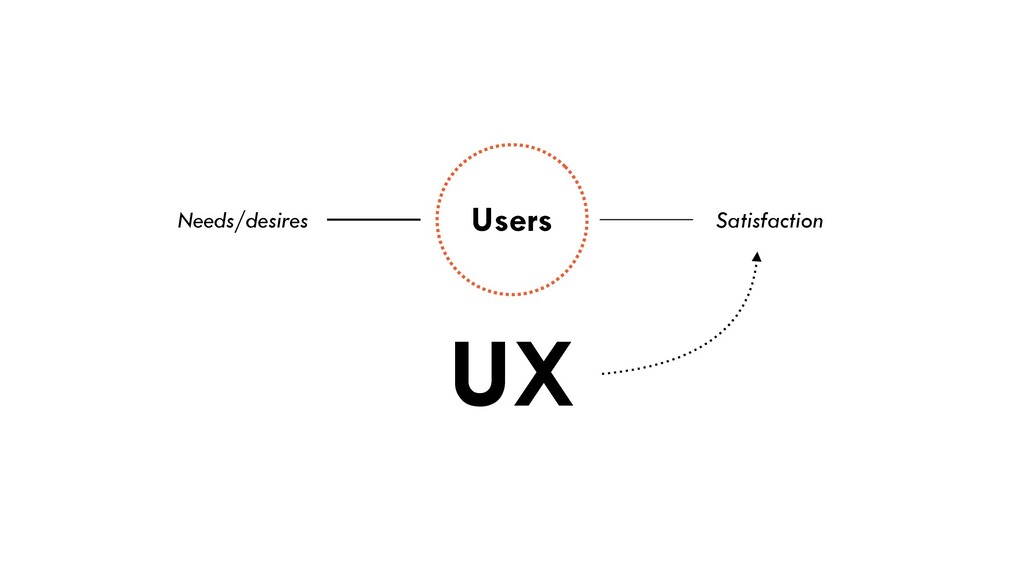
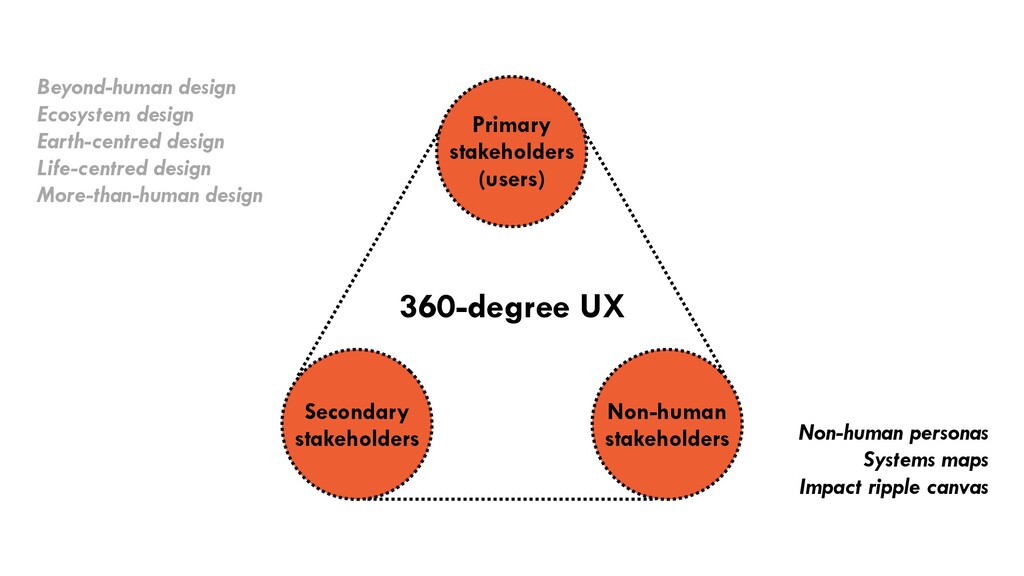
When designing physical products, there is a very tangible impact on the environment. But how are digital platforms affecting our ecosystems? And what can we as UX designers do to do our share in ensuring we sustain the health of our planet when designing digital products?
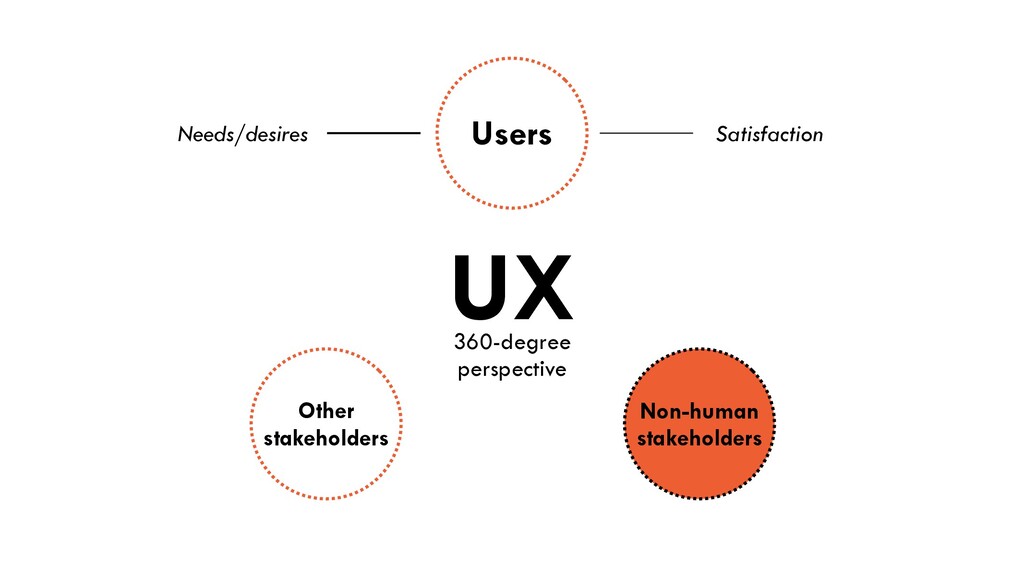
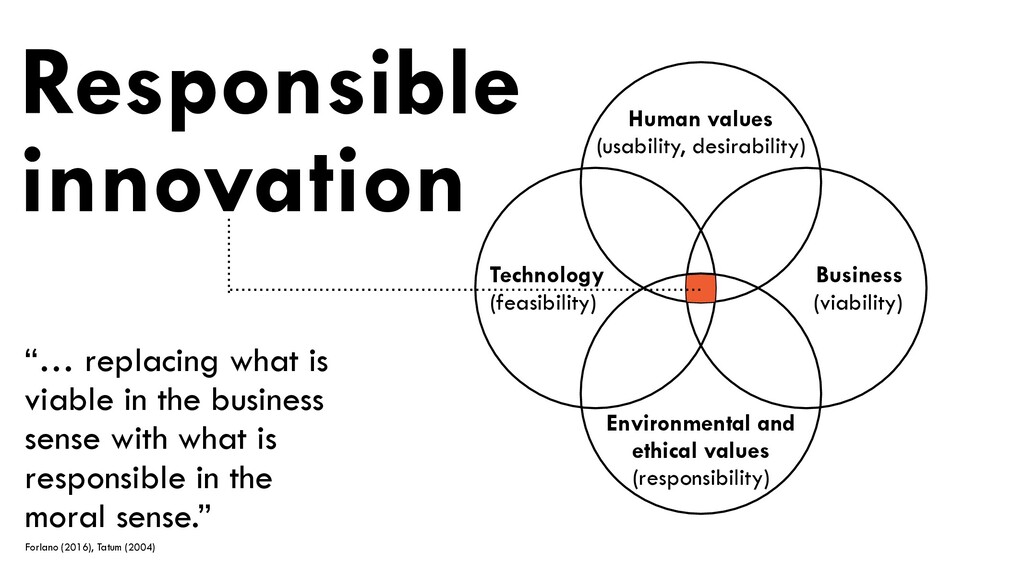
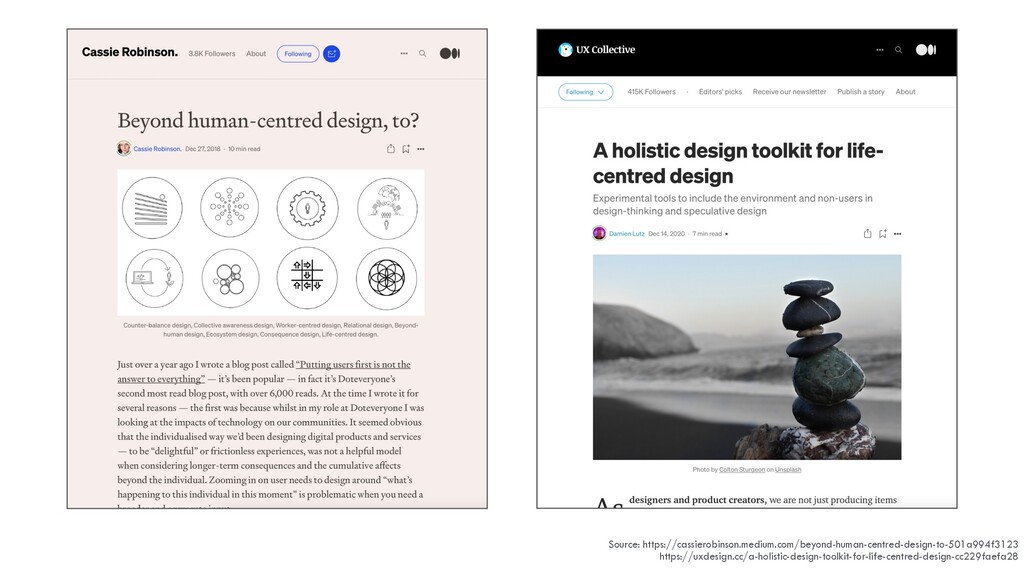
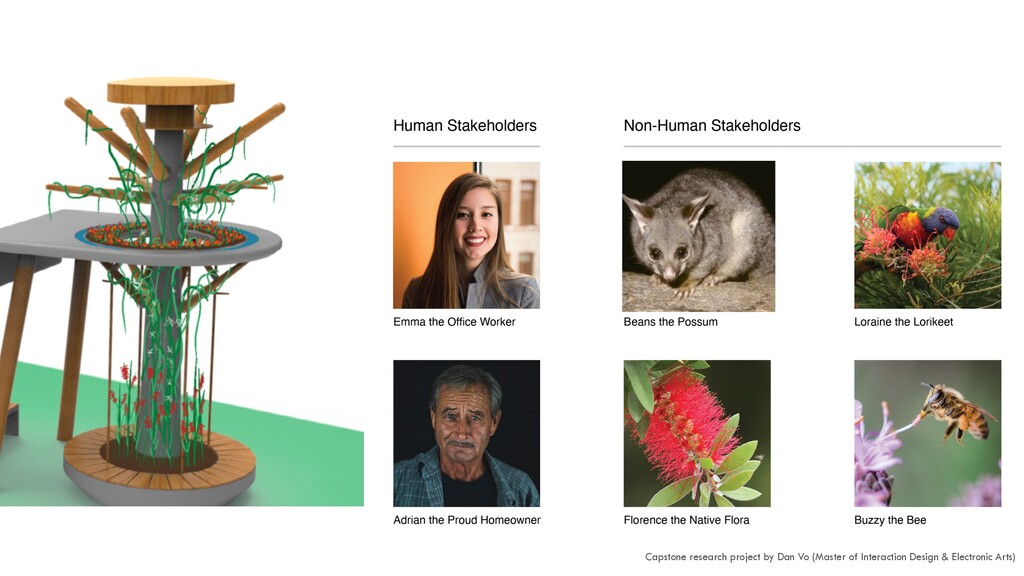
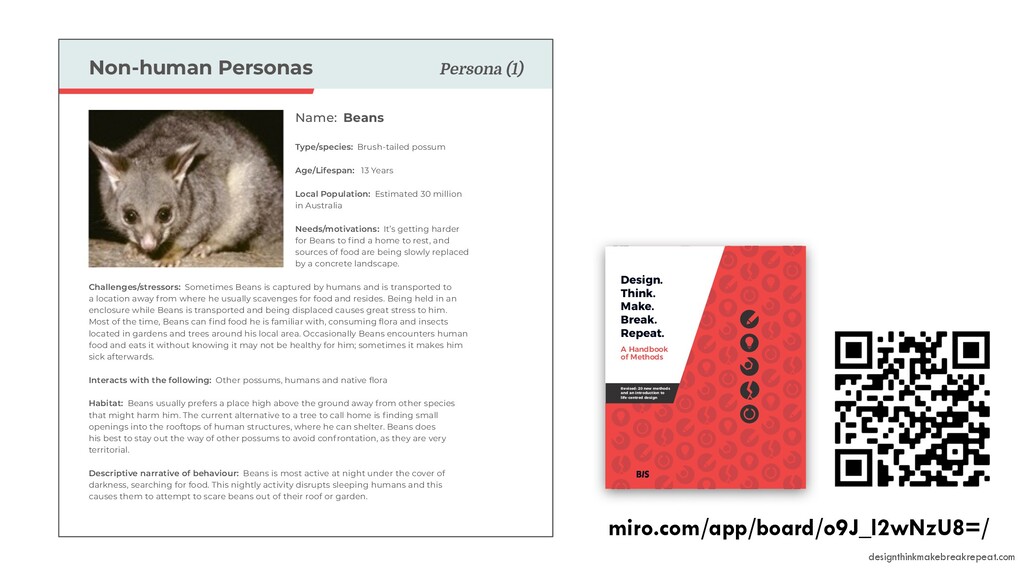
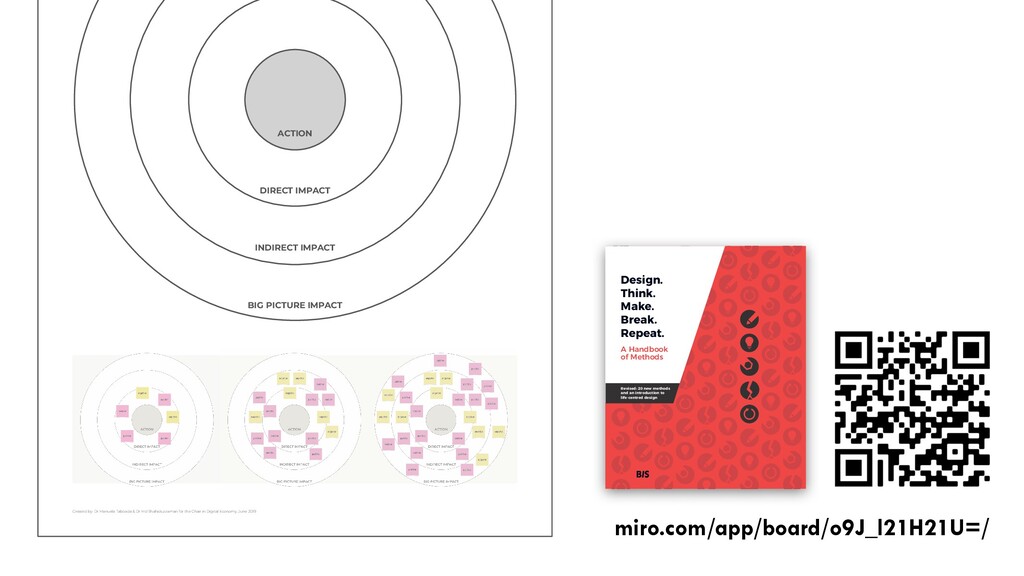
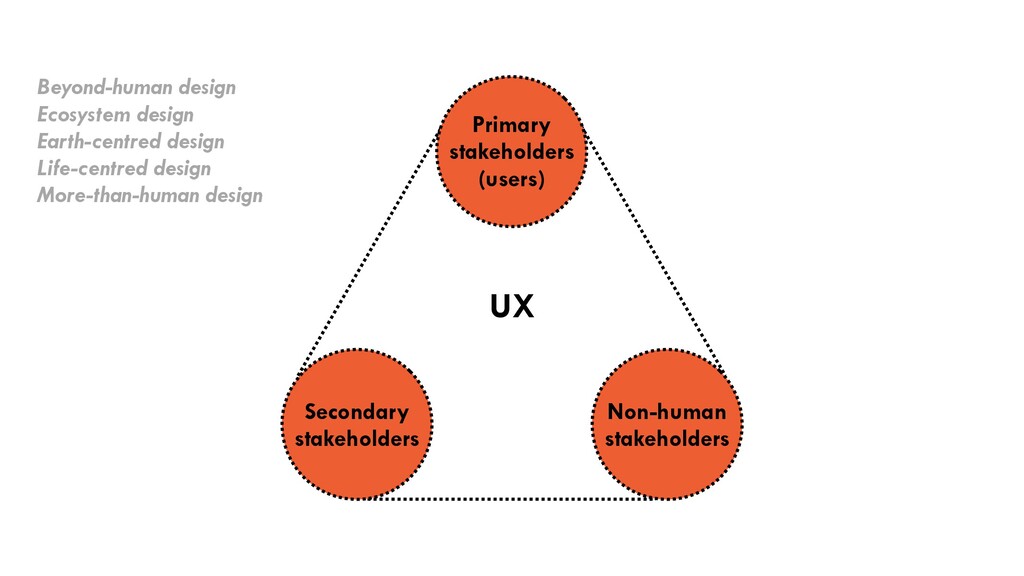
The talk provides answers to these questions and a call to action, equipping UX designers with the tools to include more-than-human perspectives and to think about the far-reaching impact of our design decisions. Who has created a persona for the coronavirus, which many of us would have had to consider as a stakeholder in the past year? There’s your first non-human persona!
Join this talk to learn how to use more-than-human design thinking in your next project.
![Covid-19 [Your company’s product] 🦠 Covid-19 🧑💻🧑🏫 Home- schooling parent](https://files.speakerdeck.com/presentations/04ed112281f048d587134bef5edd62d5/slide_54.jpg)
![[1] Frawley, J. K., & Dyson, L. E. (2014, December).](https://files.speakerdeck.com/presentations/04ed112281f048d587134bef5edd62d5/slide_55.jpg)
![Martin Tomitsch [email protected] www.linkedin.com/in/martintomitsch/ Instagram @martintomitsch Twitter @martintom Thanks/ inspiration](https://files.speakerdeck.com/presentations/04ed112281f048d587134bef5edd62d5/slide_84.jpg)