Upgrade to Pro — share decks privately, control downloads, hide ads and more …

An 8 Minute API using Symfony

An 8 Minute API using Symfony

The building blocks of creating a simple POST/GET REST API using Symfony 3. Though not production ready, this is a beginners guide to routes, controllers, and the request response ideology.

Andrew Adcock

April 19, 2017
Tweet

Transcript

  1. Your MC for the Evening I’m Andrew Adcock. I’m a

    senior web developer at http://andrewadcock.com @theandrewadcock
  2. What Are We Doing? We are going to build a

    very simple RESTful Web API during this talk. Follow along and/or checkout https://andrewadcock.com/a-simple-restful-api-tutori al-with-symfony-3/ for more information. Our API will allow for adding (POST) and retrieving (GET) content from a database.
  3. Barf Me Out - 8 minutes? Can you really create

    a web ready REST API in 8 minutes? Yes! But don’t. That’s not the point of this presentation. We are going to create a very simple (and insecure) API, and focus on the core principles of creating an API with Symfony 3.
  4. This is going to be clutch What do we need?

    • PHP (installed locally) • MySQL (installed locally) • Postman (https://www.getpostman.com/) • Symfony 3.2 (http://symfony.com/doc/current/setup.html) That’s it?!? ...Yes.
  5. What Is Symfony Symfony is a set of PHP Components,

    a Web Application framework, a Philosophy, and a Community — all working together in harmony. – http://symfony.com/what-is-symfony
  6. API? What’s That? API’s (Application Programming Interface) is a set

    of rules, functions and tools used by developers to interact with, or create, software. The API describes what functionality is available and in what way you can utilize that functionality.
  7. Let’s Go Navigate to your directory of choice and create

    a new Symfony project symfony new basicrestapi
  8. Fire It Up Let’s Start a Local Server php bin/console

    server:start Open a browser and go to 127.0.0.1:8000
  9. Configure Your API Create a new route in /app/config/routing.yml. This

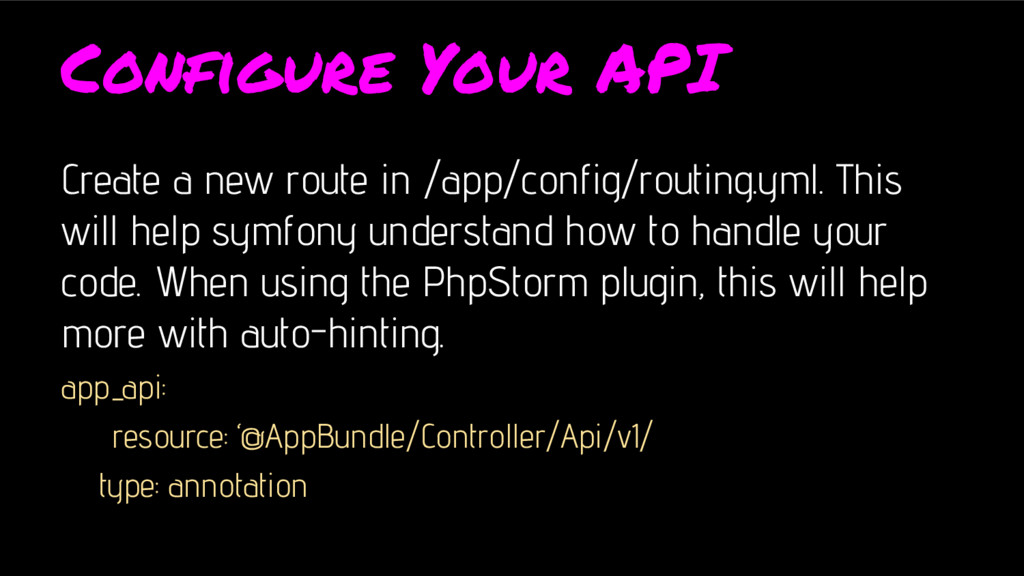
    will help symfony understand how to handle your code. When using the PhpStorm plugin, this will help more with auto-hinting. app_api: resource: ‘@AppBundle/Controller/Api/v1/ type: annotation
  10. Creating the Quote Class Let’s get our class started! Add

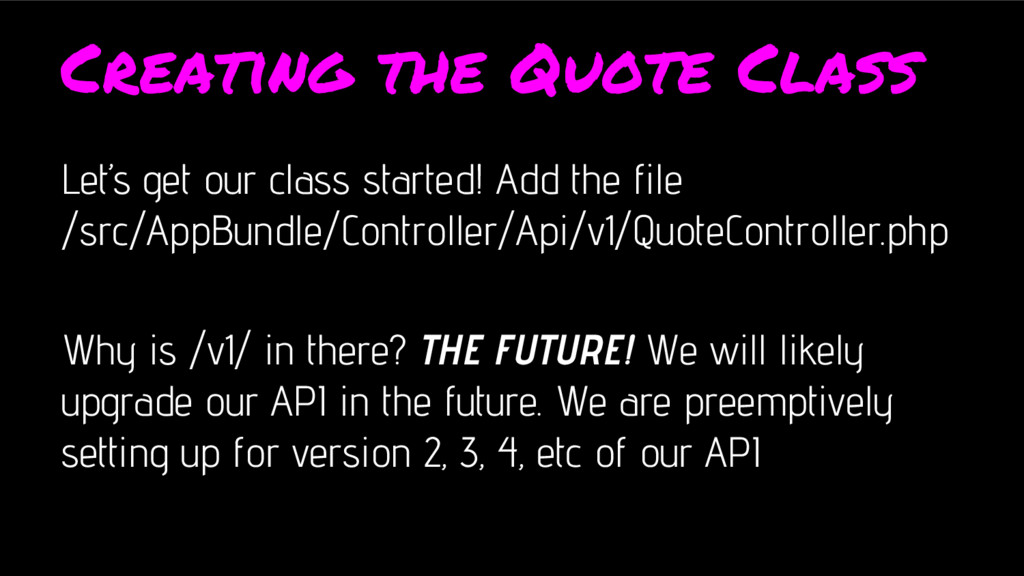
    the file /src/AppBundle/Controller/Api/v1/QuoteController.php Why is /v1/ in there? THE FUTURE! We will likely upgrade our API in the future. We are preemptively setting up for version 2, 3, 4, etc of our API
  11. Extend The Controller To get the most out of Symfony,

    our controller will extend the Symfony FrameworkBundle Controller. This will give our QuoteController access helper functions and the service container. Learn More: http://symfony.com/doc/current/controller.html
  12. Bonus Content IDE’s, like PhpStorm, have totally rad tools to

    help you with your code. Xdebug, PSR support, and lot’s of plugins. The Symfony plugin, by Daniel Espendiller, offers lot’s of code hints for all aspects of Symfony development! Learn more: https://plugins.jetbrains.com/plugin/7219-symfony-plugin
  13. Post some content Many API’s allow for creation of content

    via the POST method. In our API we will create a method named newAction() that will extract data from the url’s query string. Example: http://127.0.0.1/api/v1/quote?actor=Farnsworth&quote=Yes%20if%20b y%20allow%20you%mean%20force
  14. Use Annotation Previously, we instructed Symfony to use Annotation to

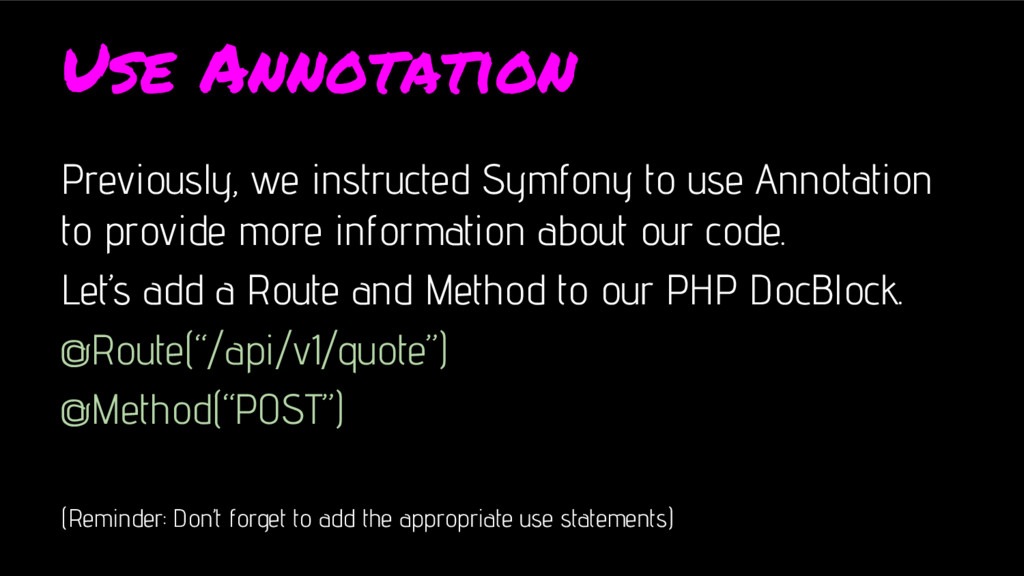
    provide more information about our code. Let’s add a Route and Method to our PHP DocBlock. @Route(“/api/v1/quote”) @Method(“POST”) (Reminder: Don’t forget to add the appropriate use statements)
  15. Interpreting the Request First we must accept the request as

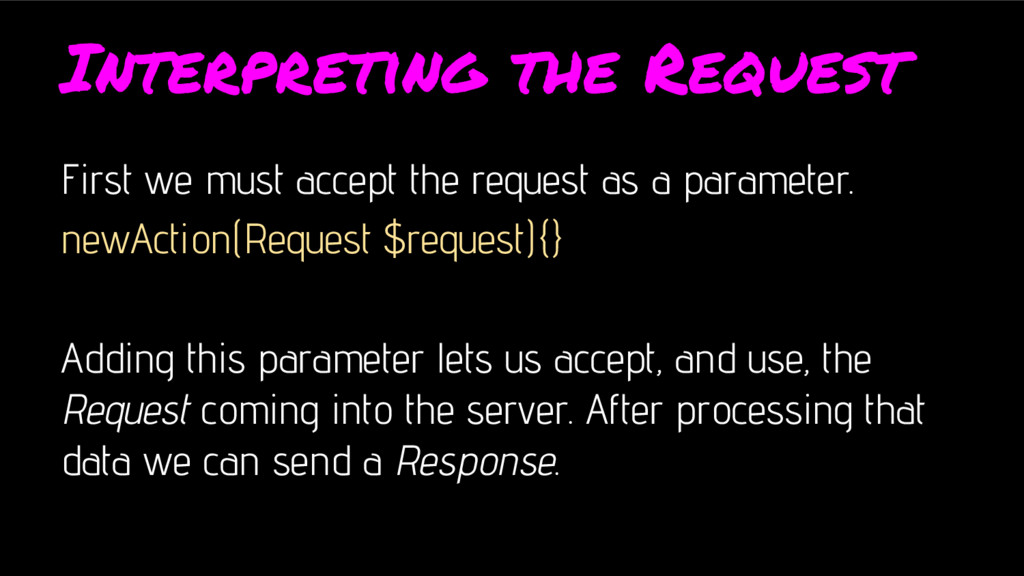
    a parameter. newAction(Request $request){} Adding this parameter lets us accept, and use, the Request coming into the server. After processing that data we can send a Response.
  16. Getting Query Parameters Now we can parse the string to

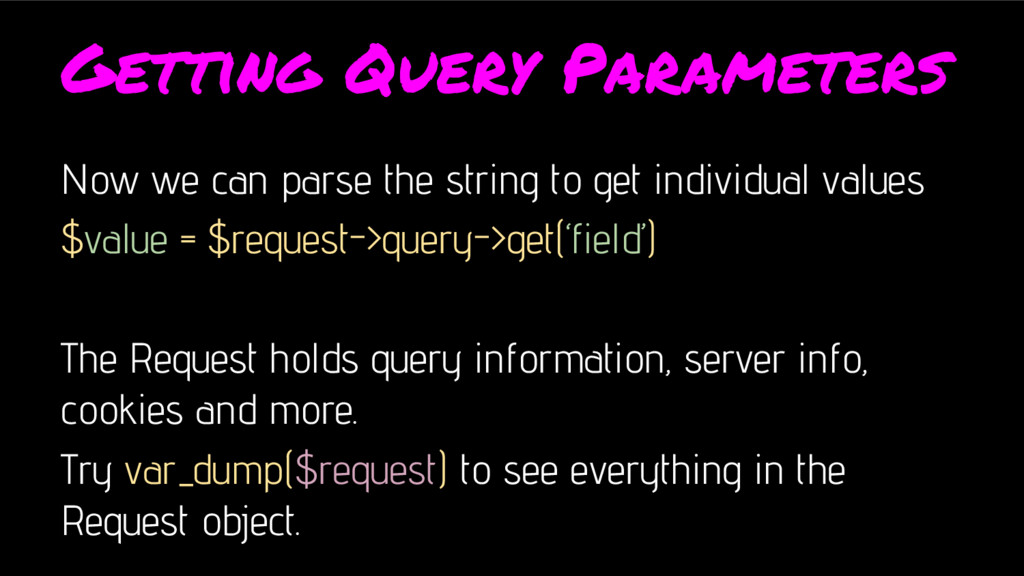
    get individual values $value = $request->query->get(‘field’) The Request holds query information, server info, cookies and more. Try var_dump($request) to see everything in the Request object.
  17. Setup The Database Open app/config/parameters.yml and adjust the database settings

    database_name: baserestapi database_user: root database_password: root (or null)
  18. Create the Database We certainly could log into mysql and

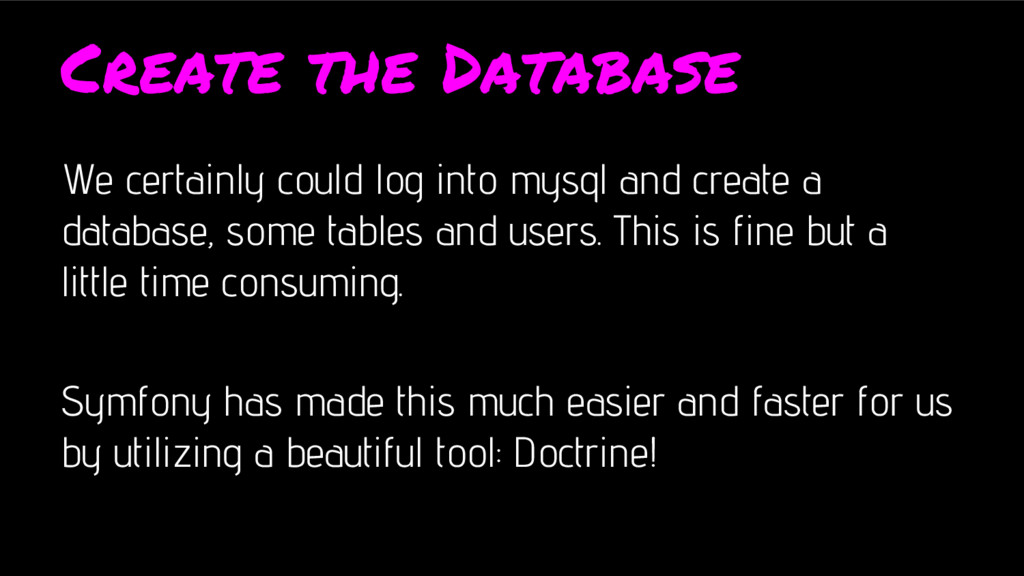
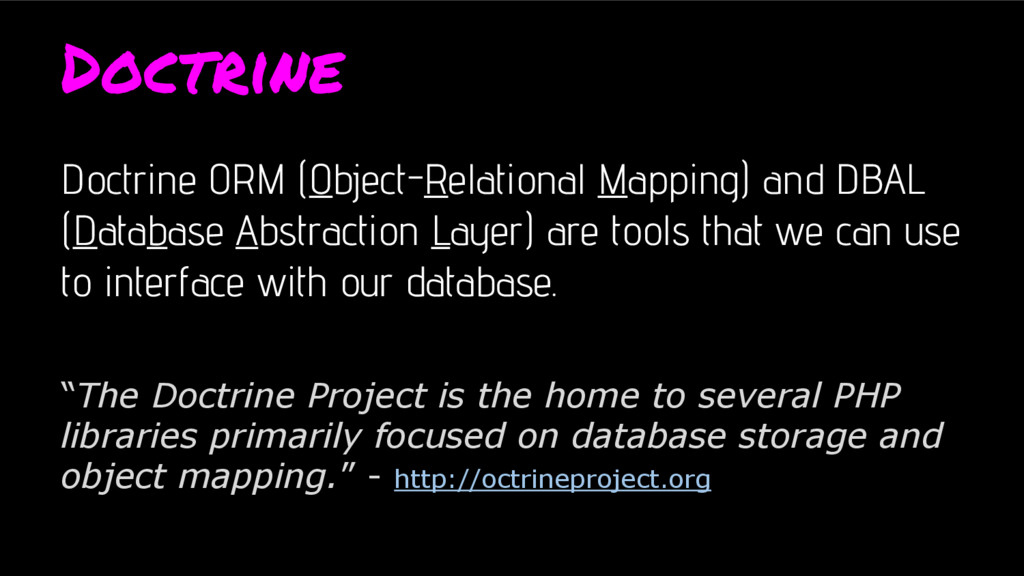
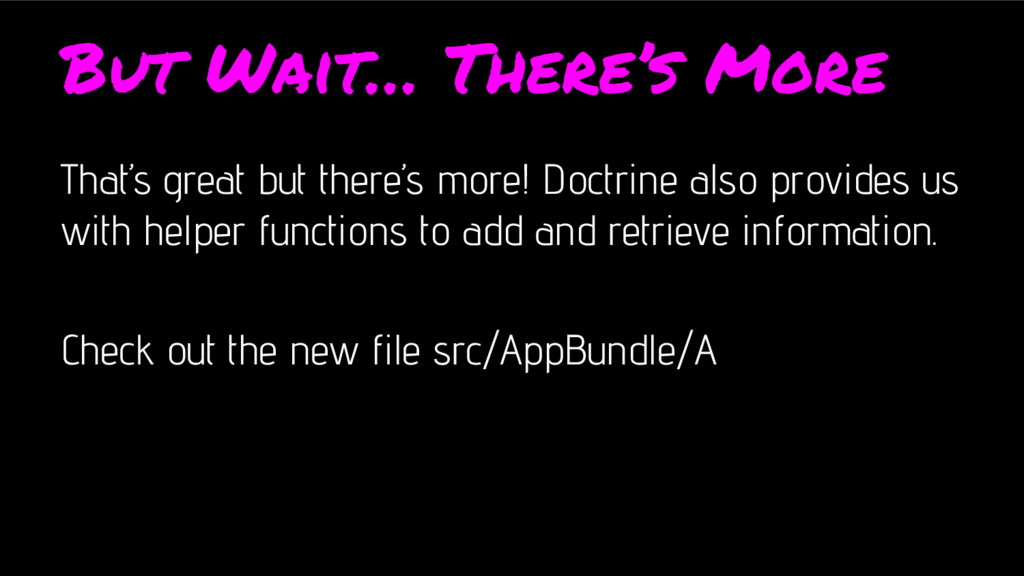
    create a database, some tables and users. This is fine but a little time consuming. Symfony has made this much easier and faster for us by utilizing a beautiful tool: Doctrine!
  19. Doctrine Doctrine ORM (Object-Relational Mapping) and DBAL (Database Abstraction Layer)

    are tools that we can use to interface with our database. “The Doctrine Project is the home to several PHP libraries primarily focused on database storage and object mapping.” - http://octrineproject.org
  20. Create the Database We have provided the Database credentials to

    Symfony, now we can simply instruct Doctrine to create it. php bin/console doctrine:database:create More on Databases and Doctrine soon
  21. Create a Table Doctrine also has a really useful tool

    for creating Database tables and useful helper functions.. php bin/console doctrine:generate:entity
  22. Where is my Table? The previous command didn’t actually create

    the table. Instead an Entity class was created. Now we can use Doctrine to create the table php bin/console doctrine:schema:update --force
  23. But Wait… There’s More That’s great but there’s more! Doctrine

    also provides us with helper functions to add and retrieve information. Check out the new file src/AppBundle/A
  24. Turn This Into A Quote! Create a new Quote object

    and use the set methods to set the values we just extracted. $quote->setActor($actorQuery) $quote->setQuote($quoteQuery)
  25. In Action // Get Doctrine Ready $em = $this->getDoctrine()->getManager(); //

    Save the quote to memory $em->persist($quote) // Save it to the database $em->flush()
  26. Send Some Info Back Even though we are creating a

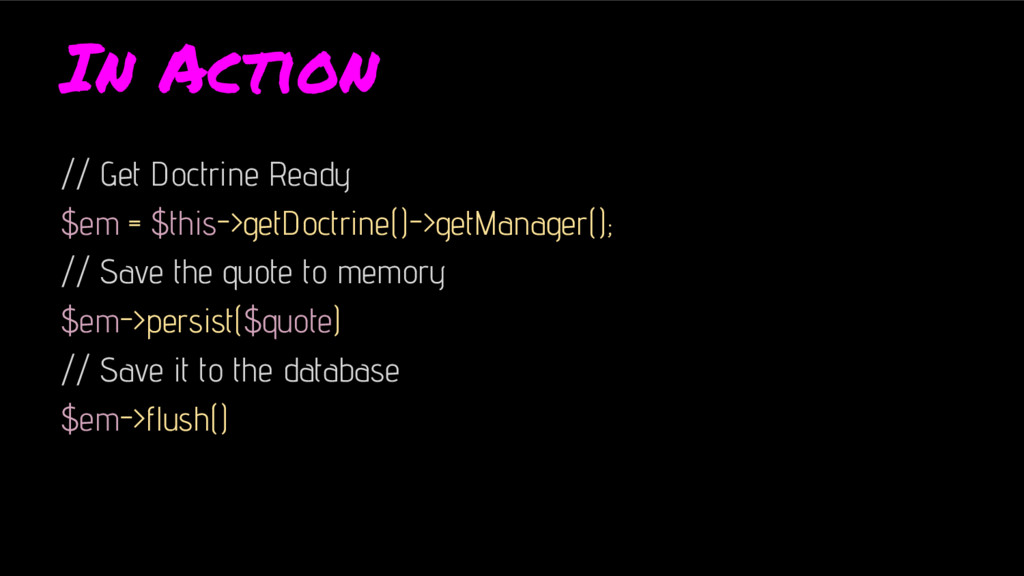
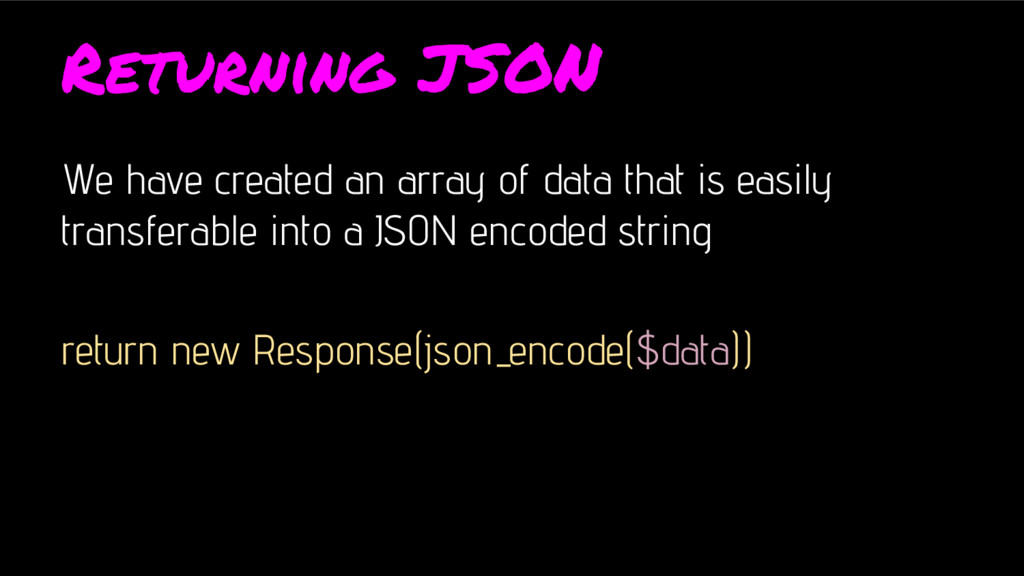
    row in the database, we need to send a response. For the simplicity of this talk, we will just return a string and an HTTP response code. We will respond with 201 created: The request has been fulfilled, resulting in the creation of a new resource.
  27. POSTMAN! There are several ways to test that our POST

    functionality is working. Postman is my preferred choice. Lot’s of options and settings that help you delve deep into your API.
  28. Get That Content We’ve created a route, used the POST

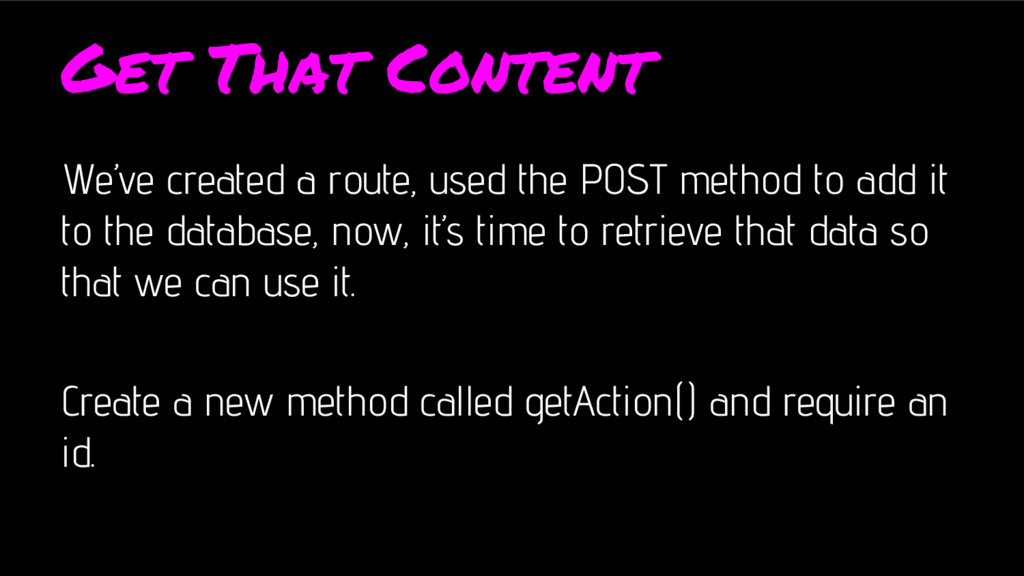
    method to add it to the database, now, it’s time to retrieve that data so that we can use it. Create a new method called getAction() and require an id.
  29. Use Doctrine To Get Info Get the repository that we

    created earlier and “find” the data using the id. $quote = $this->getDoctrine()->getRepository(‘Quote’)->findByOne([‘id’ => $id]);
  30. What Data Though? We’ve received some information but we need

    to split it out into “readable” information. $data = [ ‘quote’ => $quote->getQuote(), ‘actor’ => $quote->getActor(), ]
  31. Returning JSON We have created an array of data that

    is easily transferable into a JSON encoded string return new Response(json_encode($data))
  32. Check In Postman Again Let’s check in Postman to make

    sure our response is coming back as expected.
  33. Finale We just created a very simple Restful Web API.

    We can add and retrieve information to a database. Each API is different but these are the building blocks.
  34. What’s Next The example we just created proves basic principles

    and works in a closed environment. Next we need to authenticate users, verify data sources, and tighten up security. Review these slides and you’ll see that a basic Symfony RESTful API can be created in 8 minutes.
  35. Thank You! Thank you all for being part of my

    first talk! Except you Drew. .