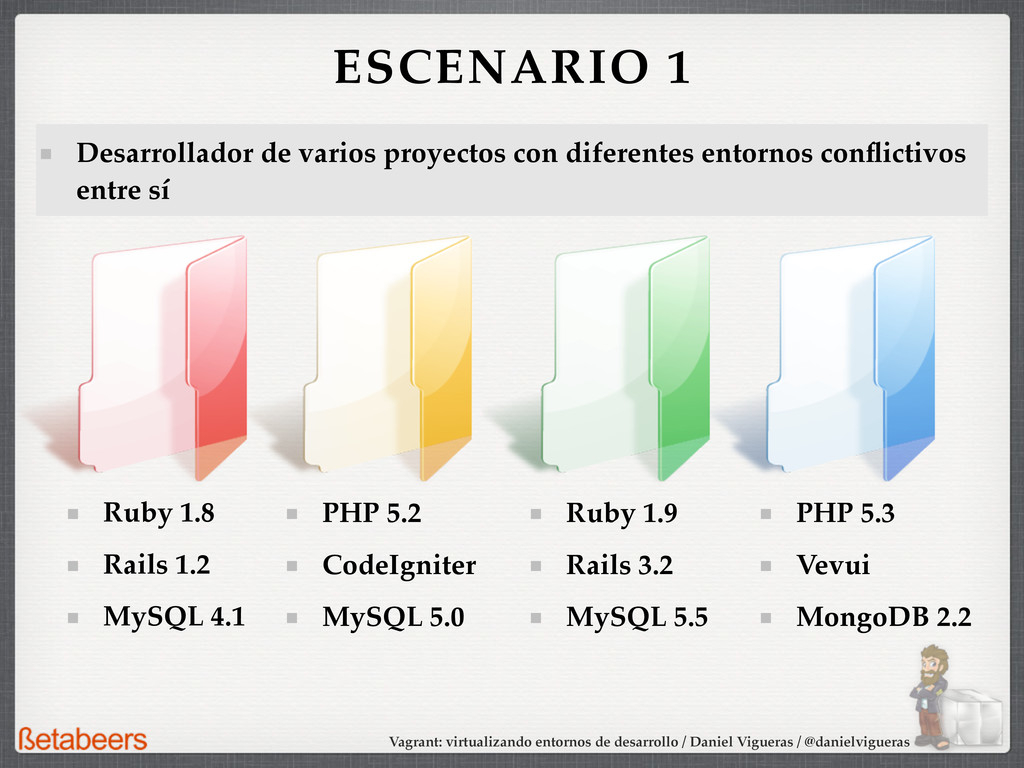
ESCENARIO 1 Desarrollador de varios proyectos con diferentes entornos conflictivos entre sí Ruby 1.8 Rails 1.2 MySQL 4.1 PHP 5.3 Vevui MongoDB 2.2 PHP 5.2 CodeIgniter MySQL 5.0 Ruby 1.9 Rails 3.2 MySQL 5.5
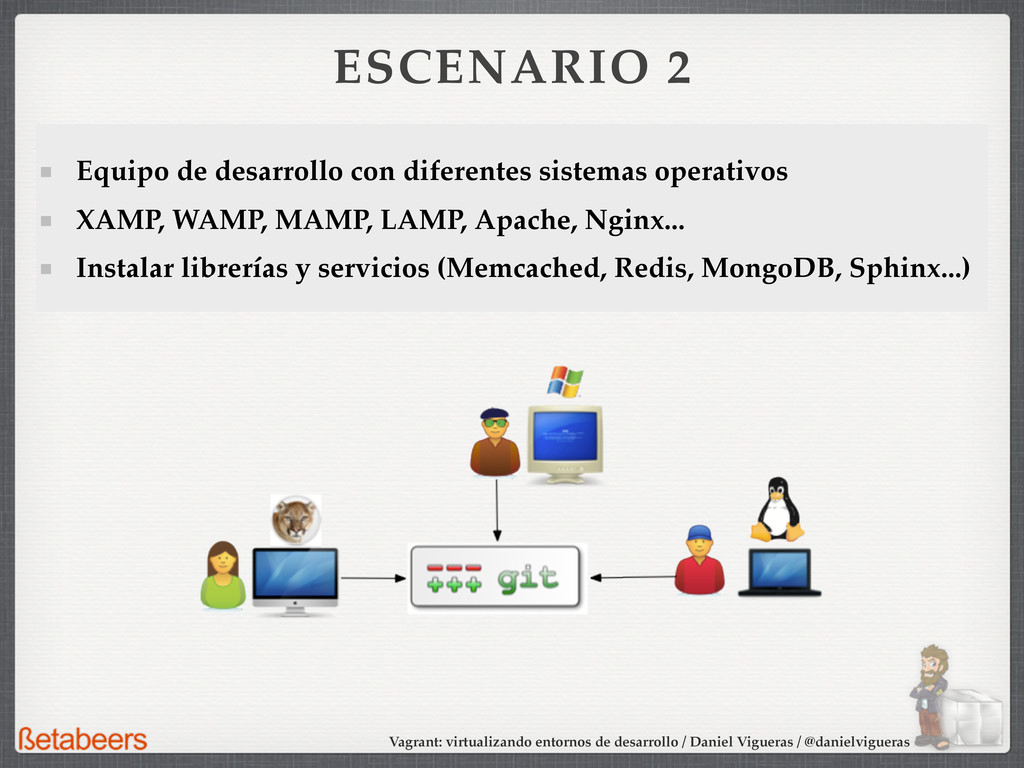
Equipo de desarrollo con diferentes sistemas operativos XAMP, WAMP, MAMP, LAMP, Apache, Nginx... Instalar librerías y servicios (Memcached, Redis, MongoDB, Sphinx...) ESCENARIO 2
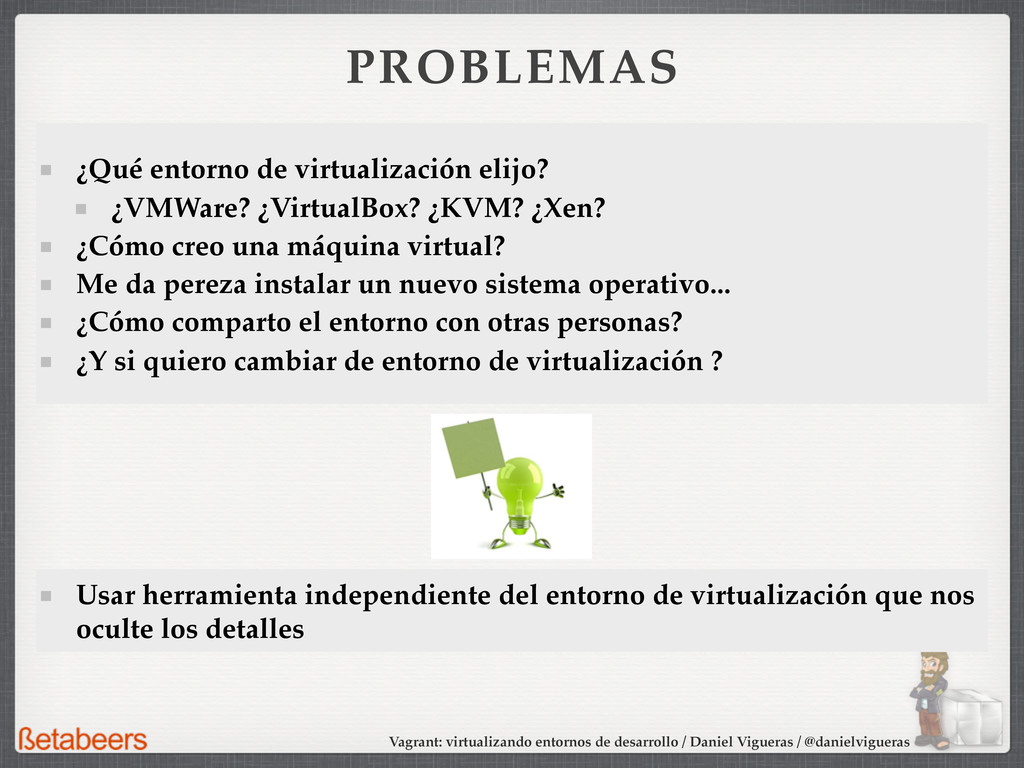
PROBLEMAS ¿Qué entorno de virtualización elijo? ¿VMWare? ¿VirtualBox? ¿KVM? ¿Xen? ¿Cómo creo una máquina virtual? Me da pereza instalar un nuevo sistema operativo... ¿Cómo comparto el entorno con otras personas? ¿Y si quiero cambiar de entorno de virtualización ?
PROBLEMAS ¿Qué entorno de virtualización elijo? ¿VMWare? ¿VirtualBox? ¿KVM? ¿Xen? ¿Cómo creo una máquina virtual? Me da pereza instalar un nuevo sistema operativo... ¿Cómo comparto el entorno con otras personas? ¿Y si quiero cambiar de entorno de virtualización ?
PROBLEMAS ¿Qué entorno de virtualización elijo? ¿VMWare? ¿VirtualBox? ¿KVM? ¿Xen? ¿Cómo creo una máquina virtual? Me da pereza instalar un nuevo sistema operativo... ¿Cómo comparto el entorno con otras personas? ¿Y si quiero cambiar de entorno de virtualización ? Usar herramienta independiente del entorno de virtualización que nos oculte los detalles
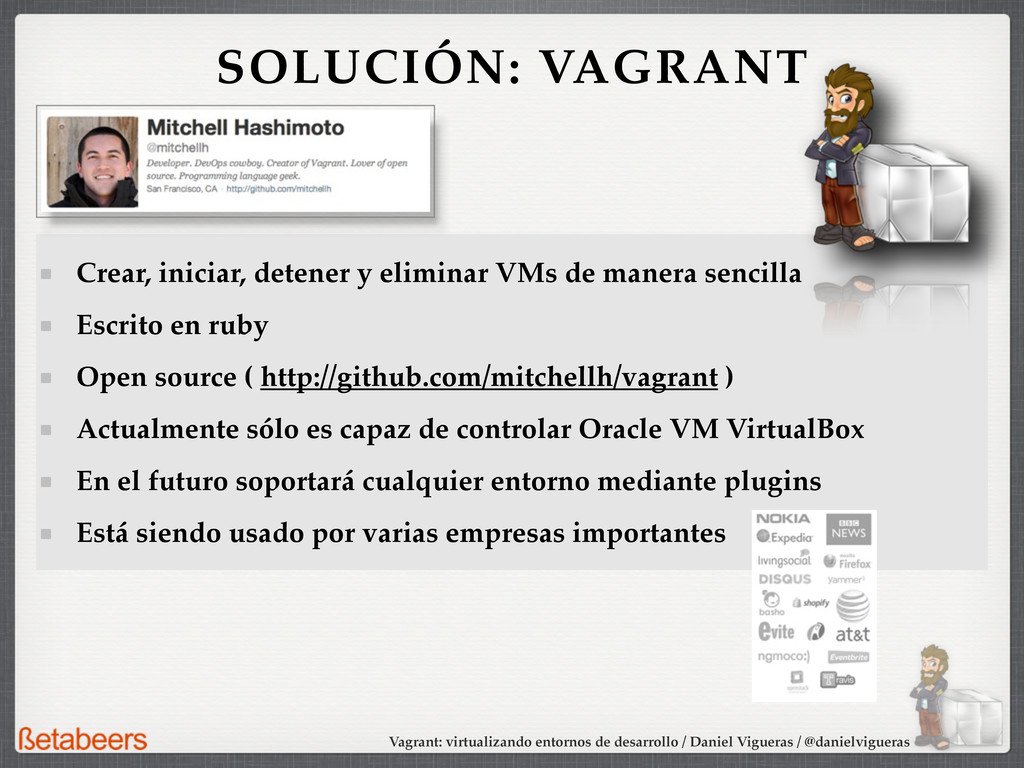
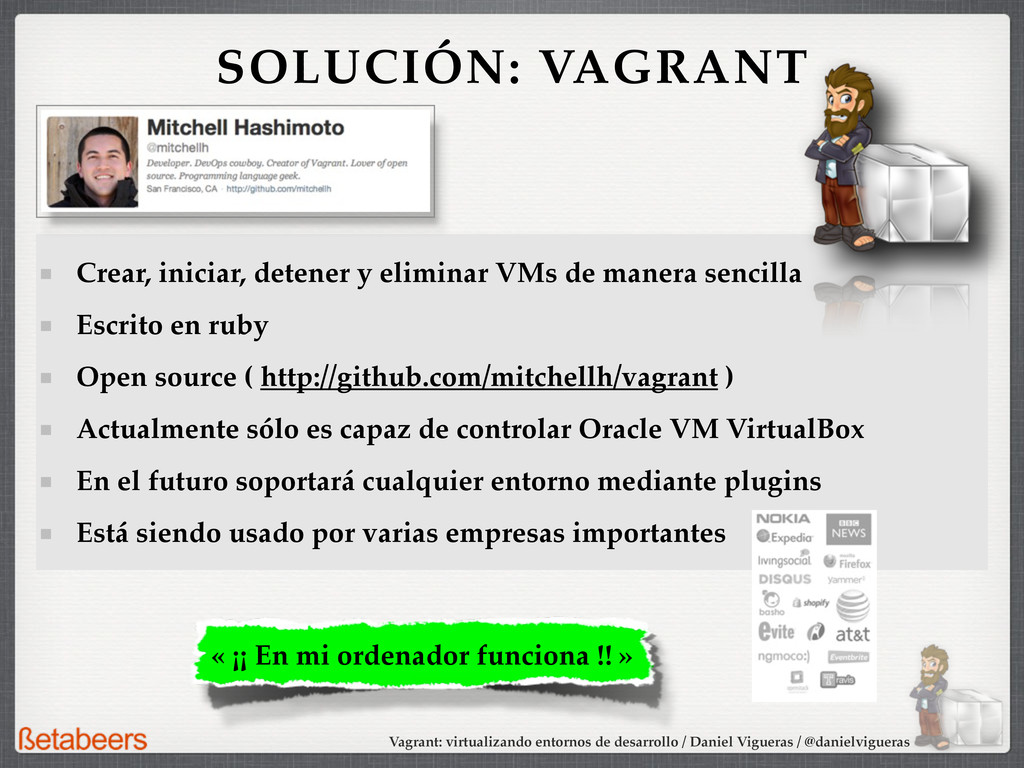
Crear, iniciar, detener y eliminar VMs de manera sencilla Escrito en ruby Open source ( http://github.com/mitchellh/vagrant ) Actualmente sólo es capaz de controlar Oracle VM VirtualBox En el futuro soportará cualquier entorno mediante plugins Está siendo usado por varias empresas importantes SOLUCIÓN: VAGRANT
Crear, iniciar, detener y eliminar VMs de manera sencilla Escrito en ruby Open source ( http://github.com/mitchellh/vagrant ) Actualmente sólo es capaz de controlar Oracle VM VirtualBox En el futuro soportará cualquier entorno mediante plugins Está siendo usado por varias empresas importantes SOLUCIÓN: VAGRANT « ¡¡ En mi ordenador funciona !! »
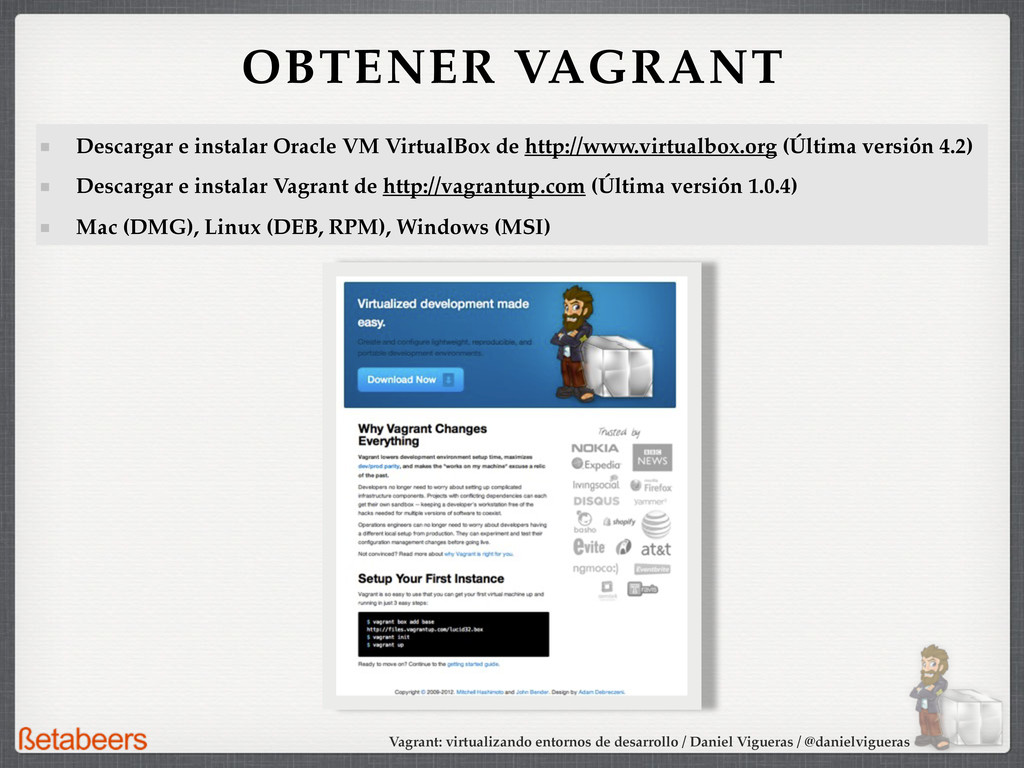
OBTENER VAGRANT Descargar e instalar Oracle VM VirtualBox de http://www.virtualbox.org (Última versión 4.2) Descargar e instalar Vagrant de http://vagrantup.com (Última versión 1.0.4) Mac (DMG), Linux (DEB, RPM), Windows (MSI)
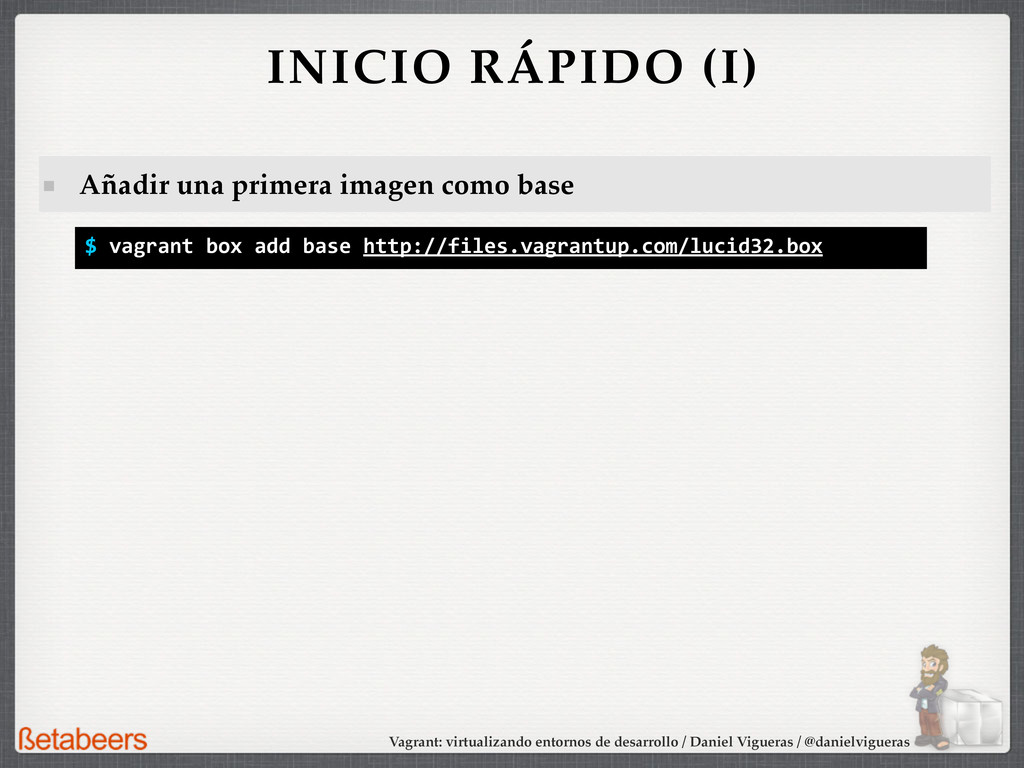
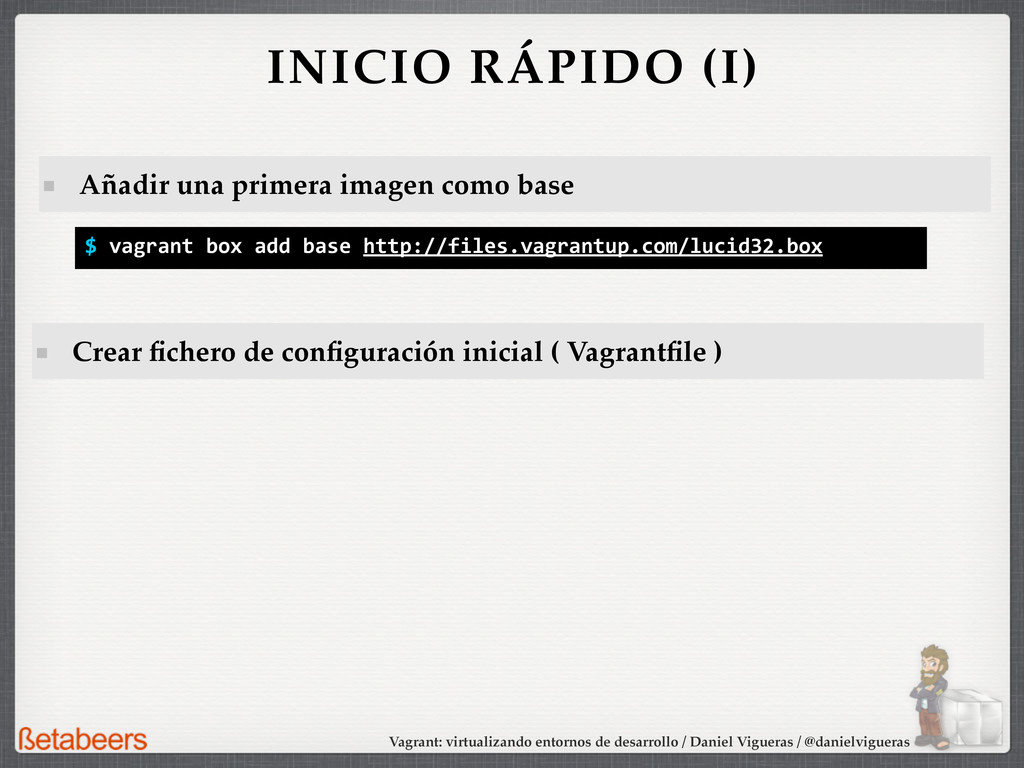
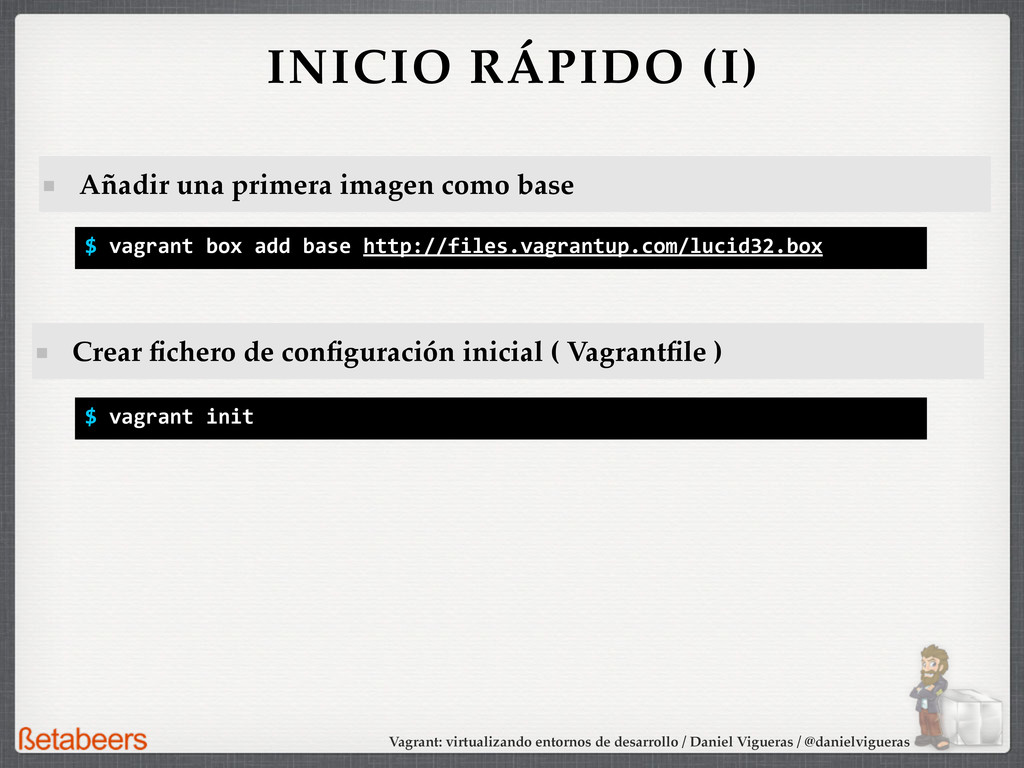
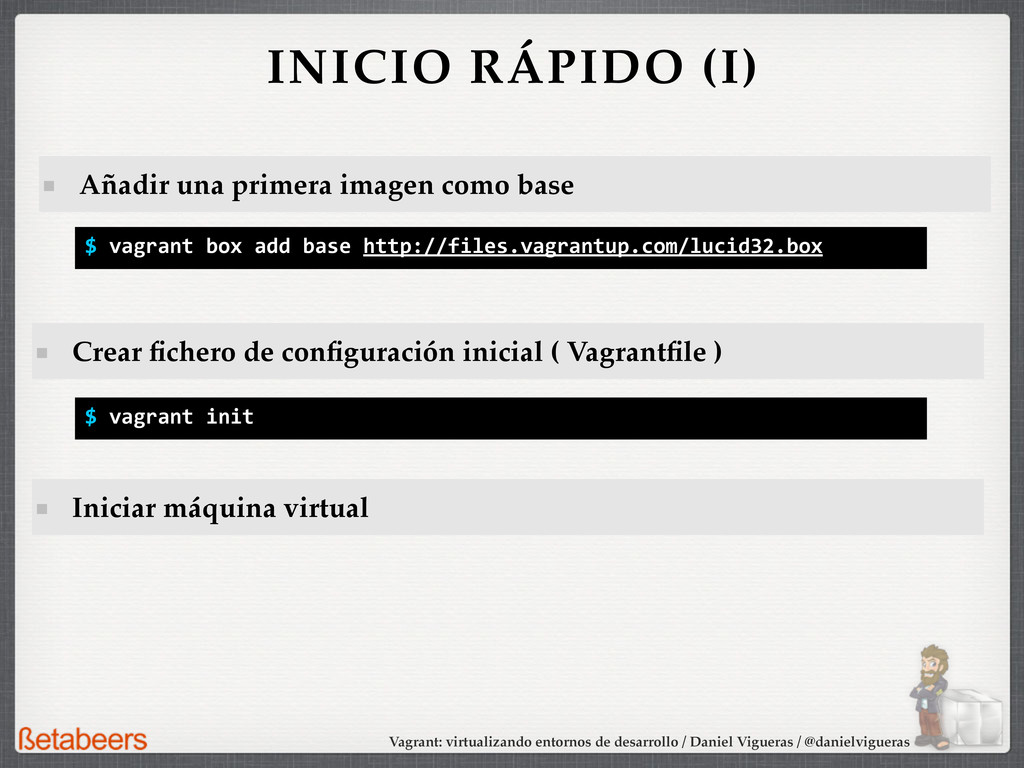
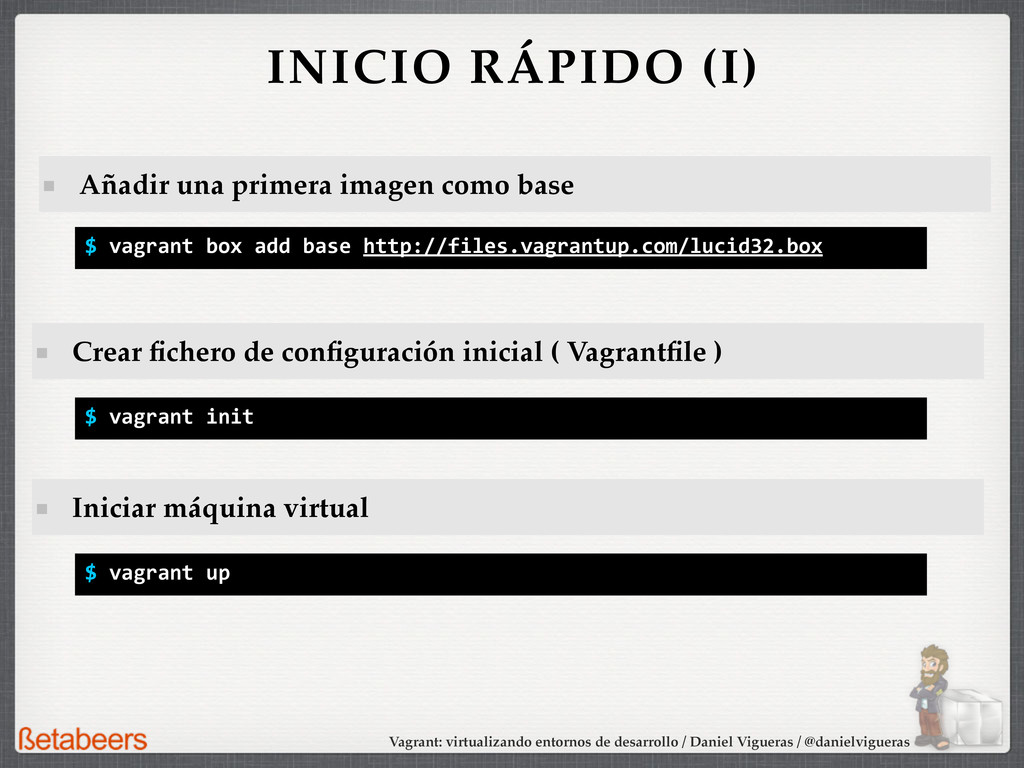
INICIO RÁPIDO (I) Añadir una primera imagen como base $ vagrant box add base http://files.vagrantup.com/lucid32.box Crear fichero de configuración inicial ( Vagrantfile )
INICIO RÁPIDO (I) Añadir una primera imagen como base $ vagrant box add base http://files.vagrantup.com/lucid32.box Crear fichero de configuración inicial ( Vagrantfile ) $ vagrant init
INICIO RÁPIDO (I) Añadir una primera imagen como base Iniciar máquina virtual $ vagrant box add base http://files.vagrantup.com/lucid32.box Crear fichero de configuración inicial ( Vagrantfile ) $ vagrant init
INICIO RÁPIDO (I) Añadir una primera imagen como base Iniciar máquina virtual $ vagrant box add base http://files.vagrantup.com/lucid32.box Crear fichero de configuración inicial ( Vagrantfile ) $ vagrant init $ vagrant up
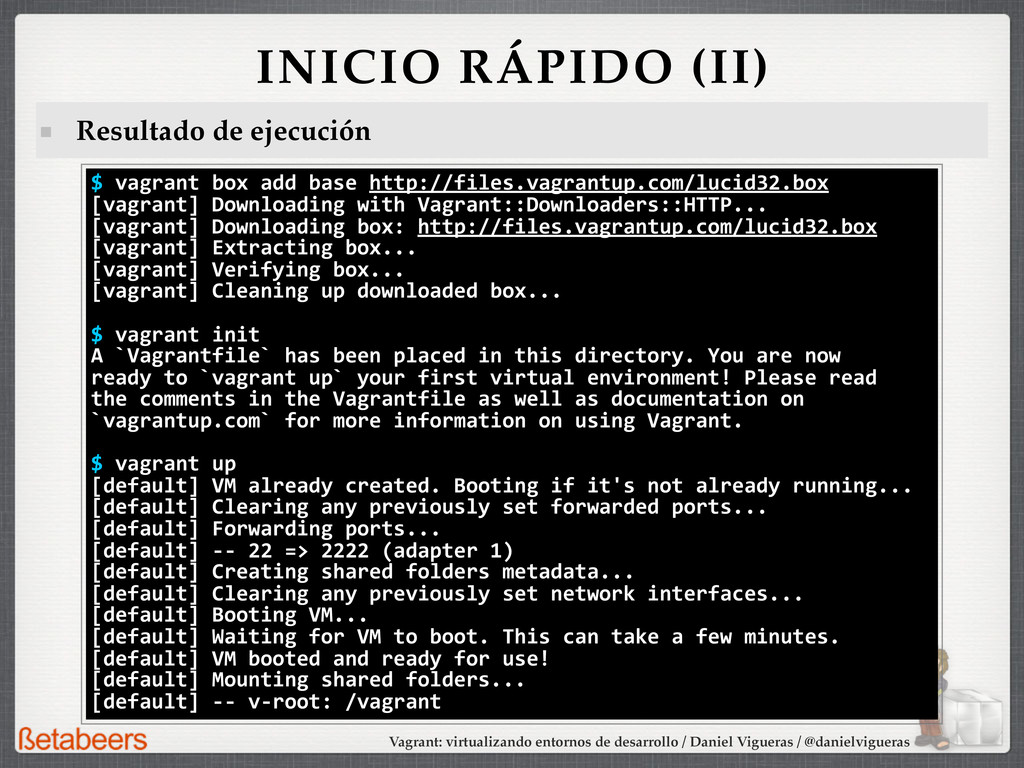
INICIO RÁPIDO (II) Resultado de ejecución $ vagrant box add base http://files.vagrantup.com/lucid32.box [vagrant] Downloading with Vagrant::Downloaders::HTTP... [vagrant] Downloading box: http://files.vagrantup.com/lucid32.box [vagrant] Extracting box... [vagrant] Verifying box... [vagrant] Cleaning up downloaded box... $ vagrant init A `Vagrantfile` has been placed in this directory. You are now ready to `vagrant up` your first virtual environment! Please read the comments in the Vagrantfile as well as documentation on `vagrantup.com` for more information on using Vagrant. $ vagrant up [default] VM already created. Booting if it's not already running... [default] Clearing any previously set forwarded ports... [default] Forwarding ports... [default] -‐-‐ 22 => 2222 (adapter 1) [default] Creating shared folders metadata... [default] Clearing any previously set network interfaces... [default] Booting VM... [default] Waiting for VM to boot. This can take a few minutes. [default] VM booted and ready for use! [default] Mounting shared folders... [default] -‐-‐ v-‐root: /vagrant
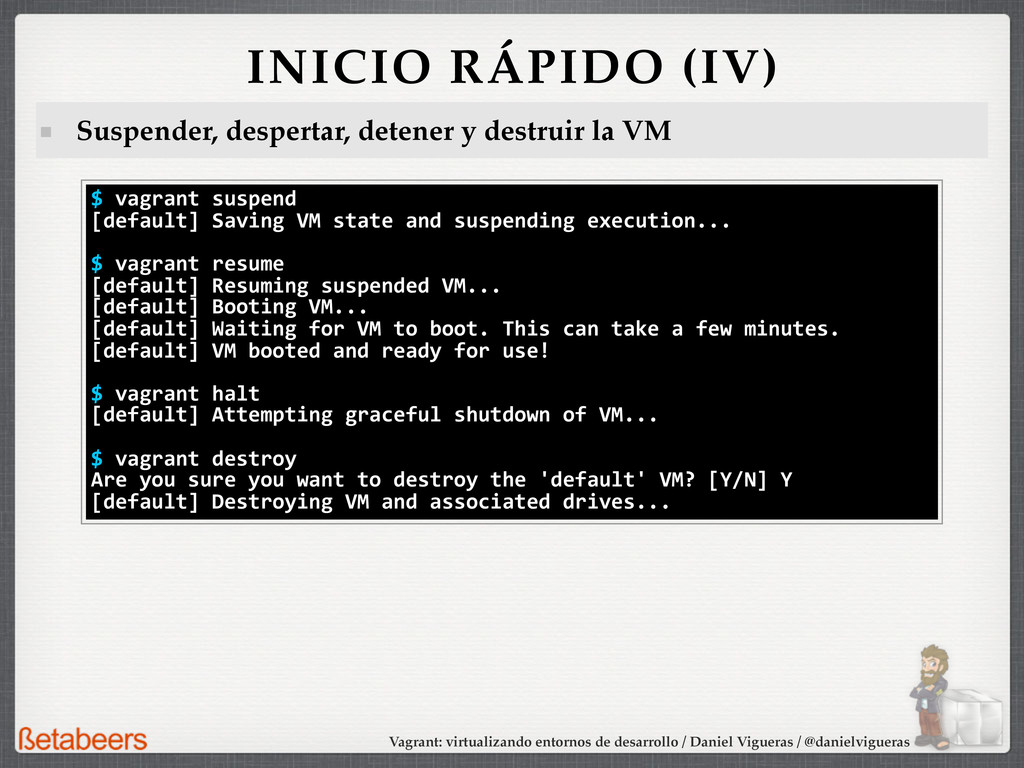
INICIO RÁPIDO (IV) Suspender, despertar, detener y destruir la VM $ vagrant suspend [default] Saving VM state and suspending execution... $ vagrant resume [default] Resuming suspended VM... [default] Booting VM... [default] Waiting for VM to boot. This can take a few minutes. [default] VM booted and ready for use! $ vagrant halt [default] Attempting graceful shutdown of VM... $ vagrant destroy Are you sure you want to destroy the 'default' VM? [Y/N] Y [default] Destroying VM and associated drives...
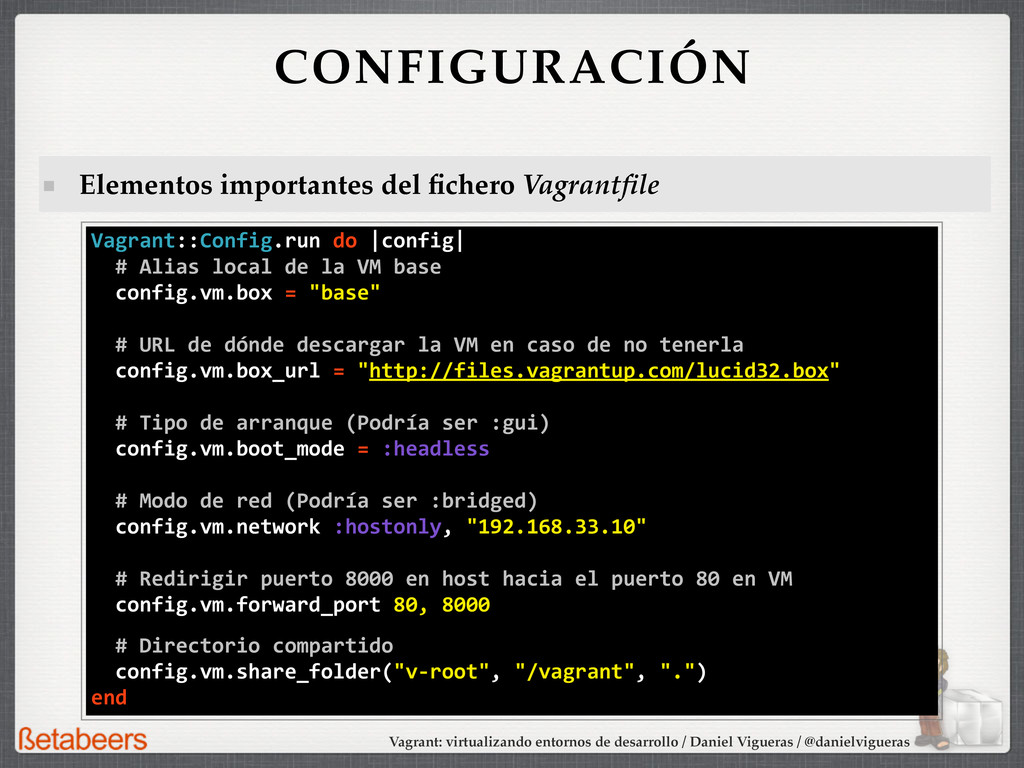
CONFIGURACIÓN Elementos importantes del fichero Vagrantfile Vagrant::Config.run do |config| # Alias local de la VM base config.vm.box = "base" # URL de dónde descargar la VM en caso de no tenerla config.vm.box_url = "http://files.vagrantup.com/lucid32.box" # Tipo de arranque (Podría ser :gui) config.vm.boot_mode = :headless # Modo de red (Podría ser :bridged) config.vm.network :hostonly, "192.168.33.10" # Redirigir puerto 8000 en host hacia el puerto 80 en VM config.vm.forward_port 80, 8000 # Directorio compartido config.vm.share_folder("v-‐root", "/vagrant", ".") end
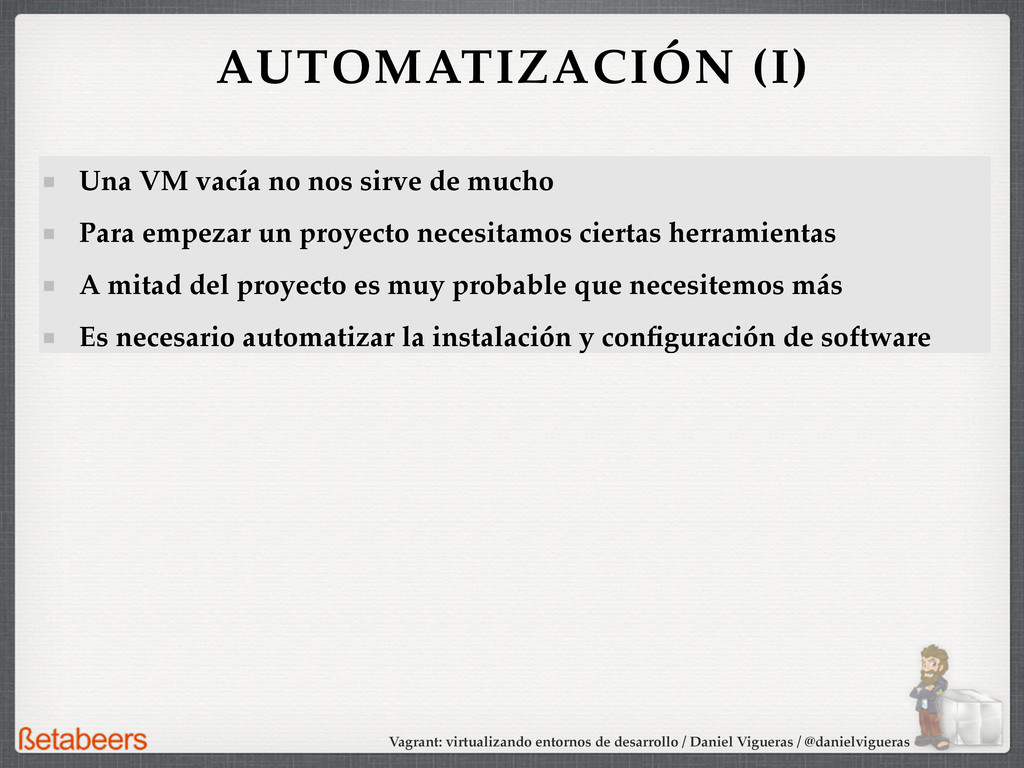
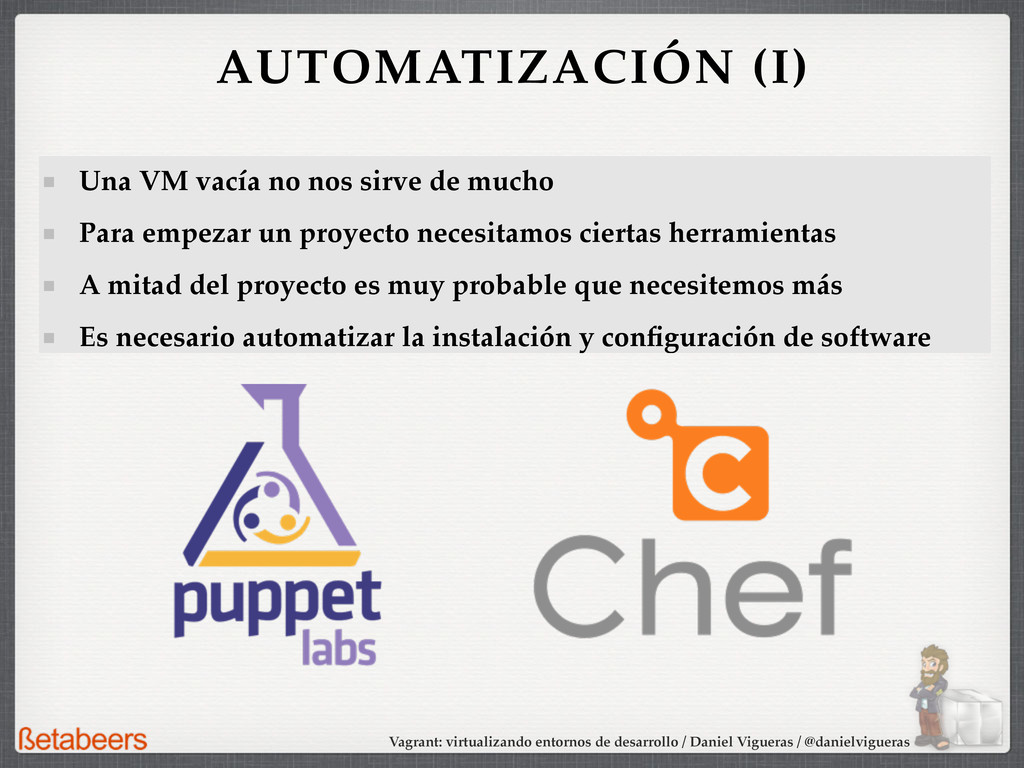
AUTOMATIZACIÓN (I) Una VM vacía no nos sirve de mucho Para empezar un proyecto necesitamos ciertas herramientas A mitad del proyecto es muy probable que necesitemos más Es necesario automatizar la instalación y configuración de software
AUTOMATIZACIÓN (I) Una VM vacía no nos sirve de mucho Para empezar un proyecto necesitamos ciertas herramientas A mitad del proyecto es muy probable que necesitemos más Es necesario automatizar la instalación y configuración de software
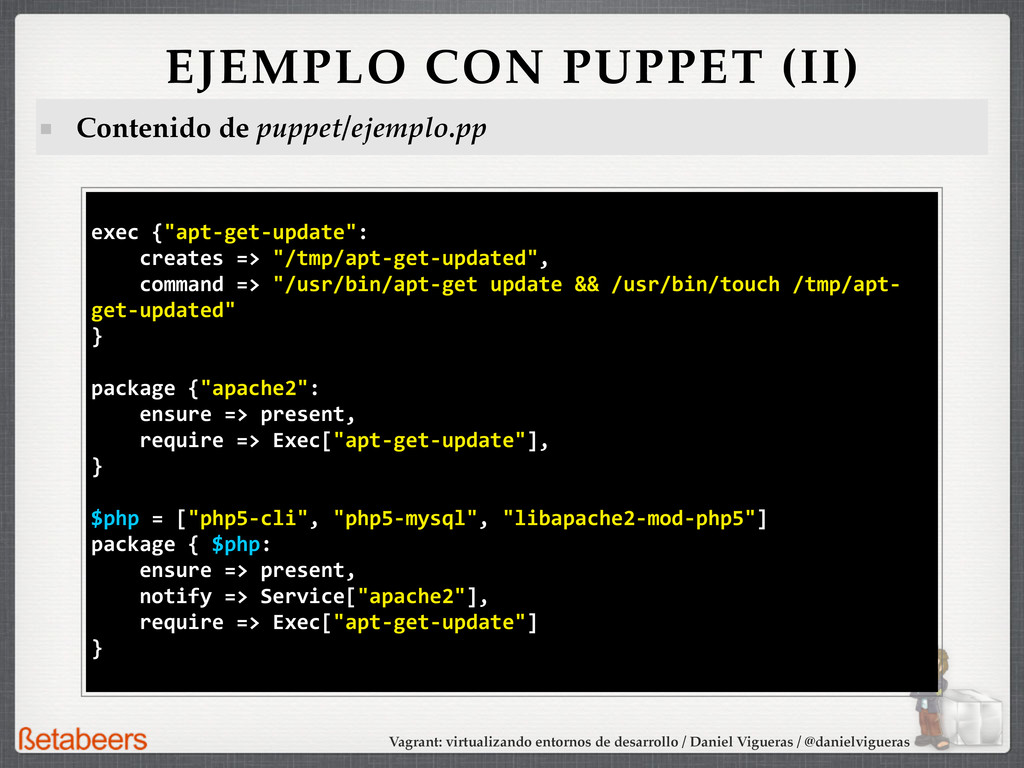
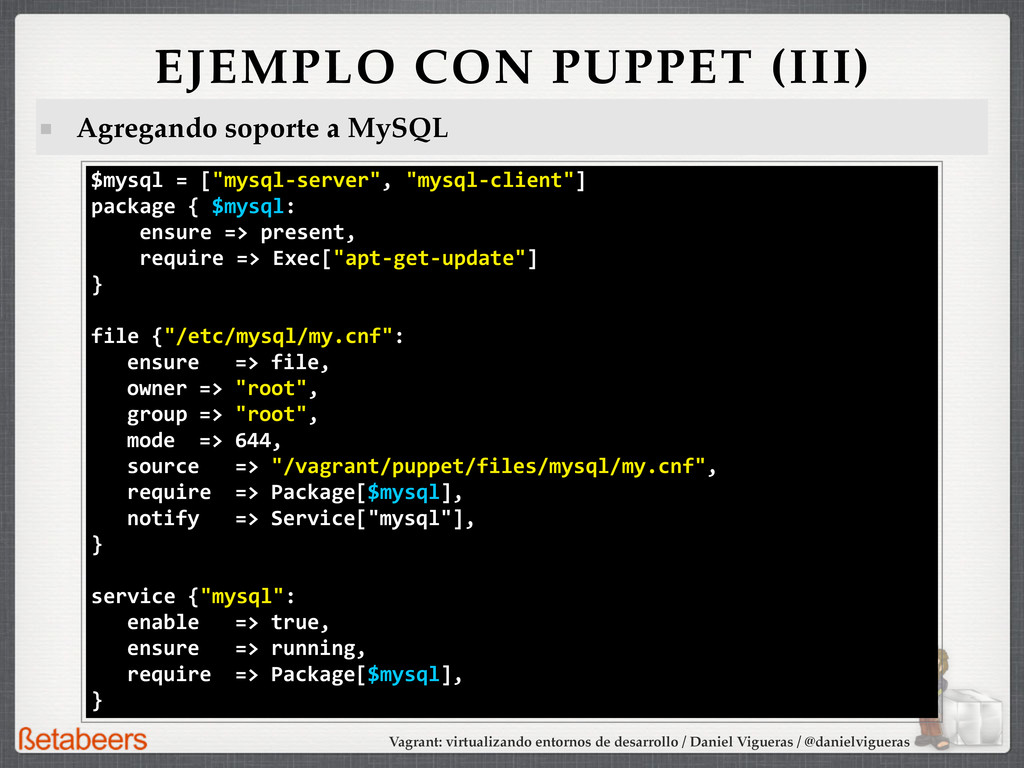
EJEMPLO CON PUPPET (I) Vagrant::Config.run do |config| # Alias local de la VM base config.vm.box = "base" # URL de dónde descargar la VM en caso de no tenerla config.vm.box_url = "http://files.vagrantup.com/lucid32.box" # Modo de red (Podría ser :bridged) config.vm.network :hostonly, "192.168.33.10" # Directorio compartido config.vm.share_folder("v-‐root", "/vagrant", ".") # Usar puppet/ejemplo.pp como fichero de manifiesto puppet config.vm.provision :puppet do |puppet| puppet.manifests_path = "puppet" puppet.manifest_file = "ejemplo.pp" end end
![VAGRANT VIRTUALIZANDO ENTORNOS DE DESARROLLO Daniel Vigueras [email protected] @danielvigueras](https://files.speakerdeck.com/presentations/505ae1f7f4e6ad00020398cd/slide_0.jpg)