Upgrade to Pro — share decks privately, control downloads, hide ads and more …

Creating Your Online Store

Creating Your Online Store

Create your online store up and running with WooCommerce.

Patrick Rauland

August 15, 2014
Tweet

More Decks by Patrick Rauland

Other Decks in Technology

Transcript

  1. Roadmap 4 Installing WooCommerce 4 Configuring WooCommerce 4 Adding Products

    4 Configuring Payment 4 Configuring Shipping 4 Order Management 4 Taxes
  2. Installing WooCommerce - Hosting 4 I'll be demoing on my

    local machine using MAMP 4 MAMP (for macs) 4 XAMP (macs & windows) 4 Desktop Server (macs & windows) 4 You can do this locally or on a webserver
  3. Installing WooCommerce - Other Plugins You May Want 4 WooCommerce

    Google Analytics Integration 4 WooCommerce Pushover
  4. Configuring WooCommerce 2) - Click "Create Pages" Creating the pages

    will automatically create the Shop, Cart, & Checkout page so you don't have to.
  5. Configuring WooCommerce 2) - Click "Create Pages" If you ever

    need to recreate the pages you can do so under WooCommerce -> System Status -> Tools -> Install WooCommerce Pages.
  6. Configuring WooCommerce 3) Set your Store Location Your store location

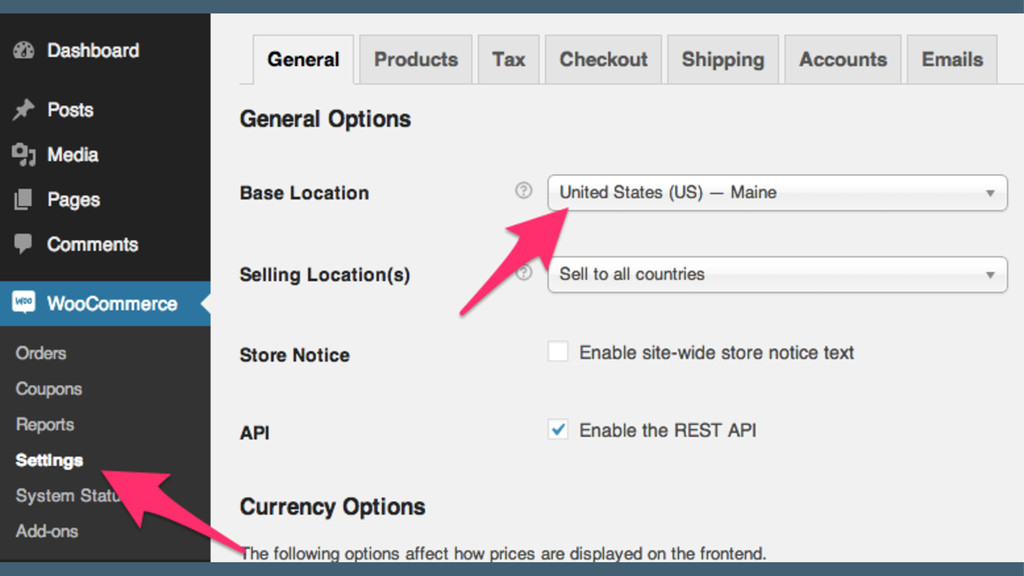
    is used for shipping calculations, taxes, and optionally restricting your store to certain countries You can do this under WooCommerce -> Settings -> Base Location.
  7. Configuring WooCommerce 4) Set Available Countries If this is your

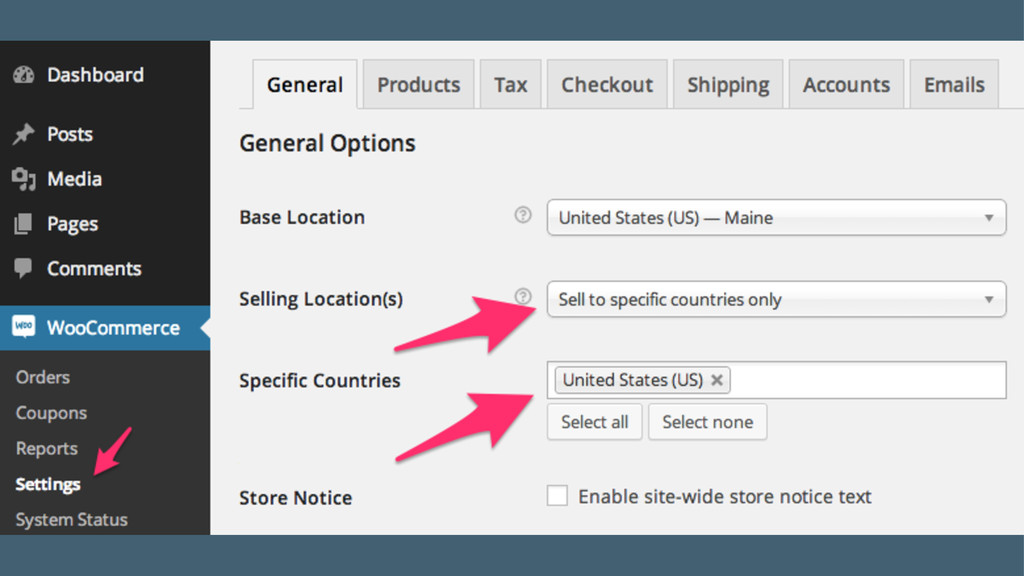
    first store I highly suggest you start by only shipping to the US. Don't worry about international shipping until you get a request. Remember: it's much easier to build something simple today and update it tomorrow than to plan the perfect e-commerce site.
  8. Configuring WooCommerce 5) Set Currency You can do this under

    WooCommerce -> Settings -> Currency. Since you're in the US you don't need to worry about the other currency settings.
  9. Configuring WooCommerce 7) Tip: Always use a basic theme like

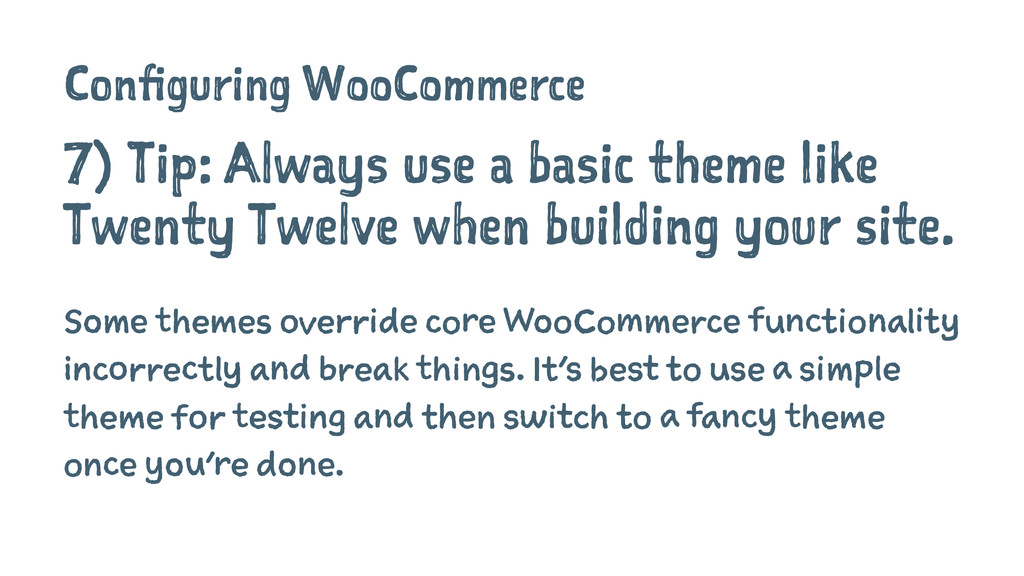
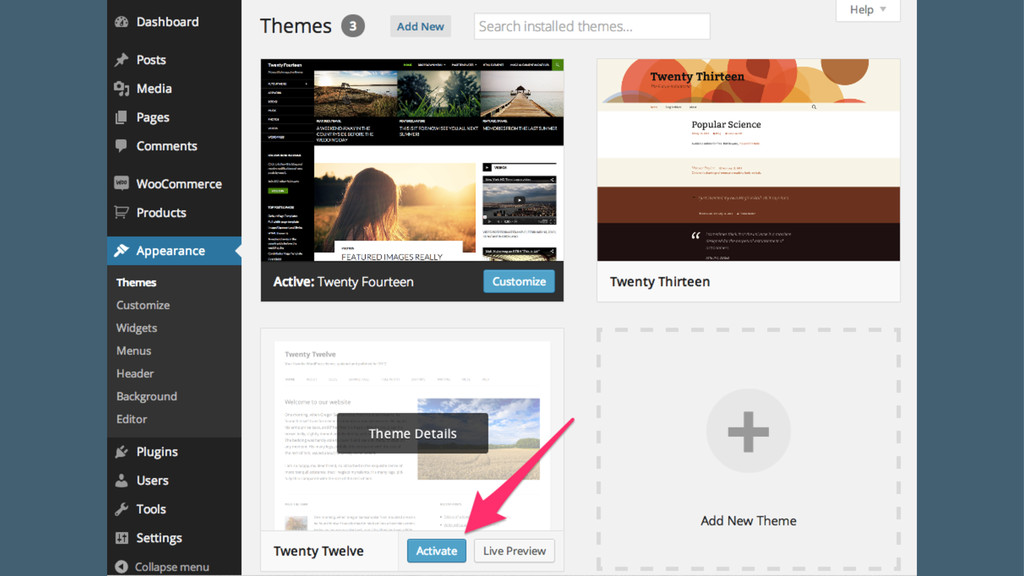
    Twenty Twelve when building your site. Some themes override core WooCommerce functionality incorrectly and break things. It's best to use a simple theme for testing and then switch to a fancy theme once you're done.
  10. Adding Products View All Products You can view all products

    by clicking on Products in the WordPress menu.
  11. Adding Products Add a Product You can view all products

    by clicking on Products in the WordPress menu.
  12. Adding Products Add a Title The only required field is

    the title field. Go ahead and enter Hello World! into the title field and press Publish.
  13. Adding Products Add a Basic Product Fields 4 Price 4

    Image 4 Description 4 Short Description 4 Product Categories / Tags
  14. Adding Products Virtual / Downloadable Products Some products may be

    virtual (meaning nothing is shipped) or downloadable (meaning a file or multiple files will be downloaded after payment).
  15. Adding Products Virtual / Downloadable Product Fields The Sold Individually

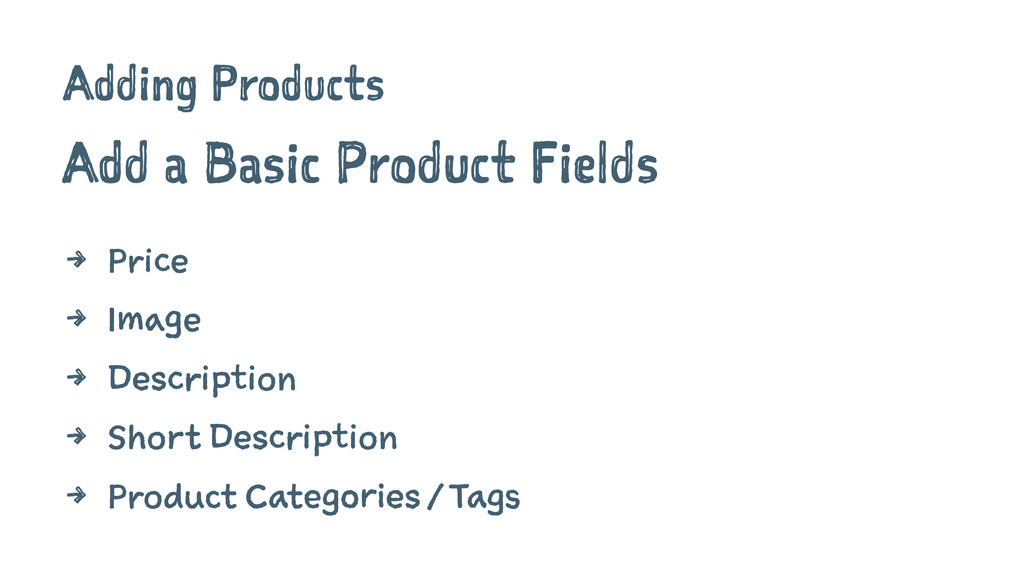
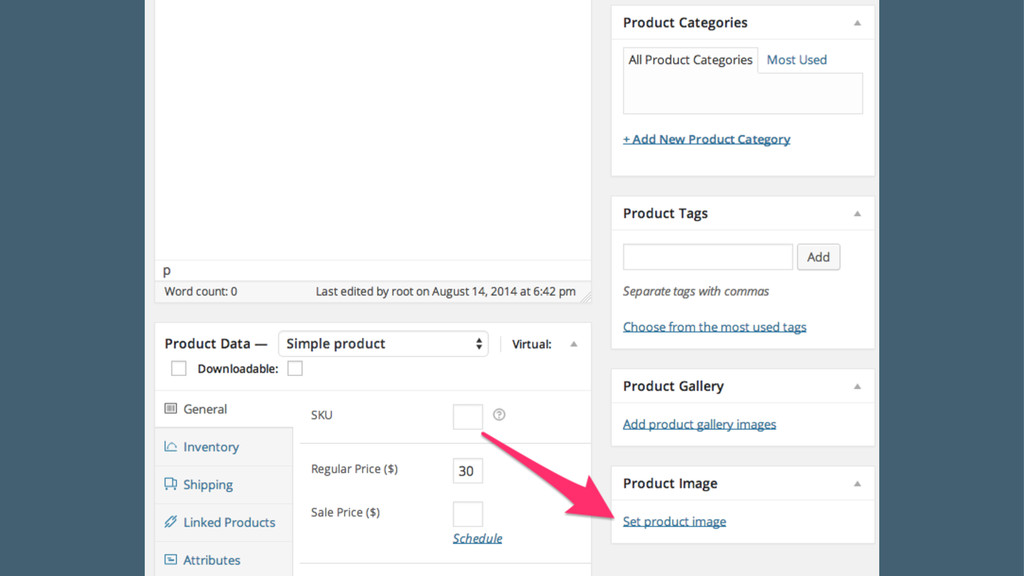
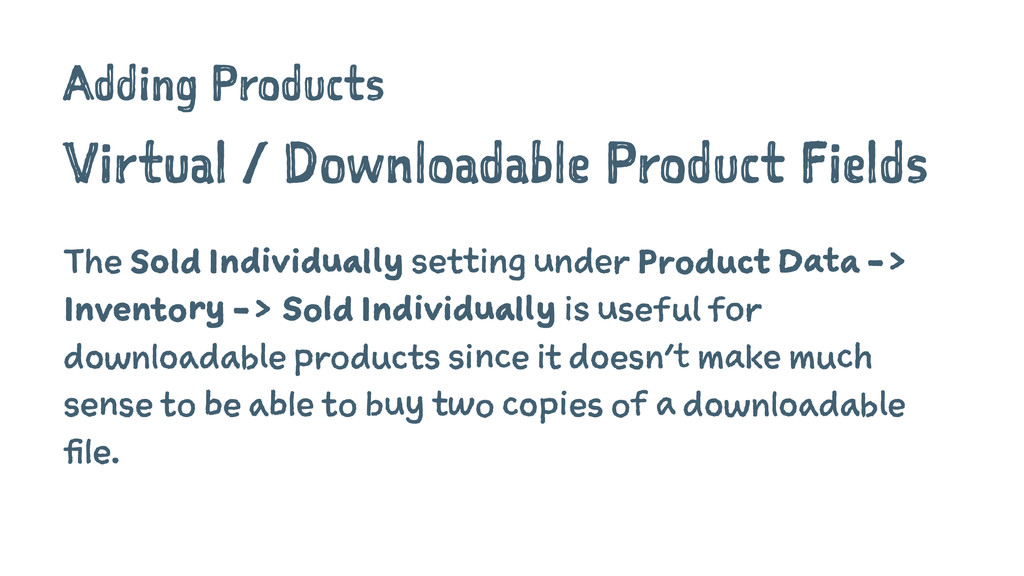
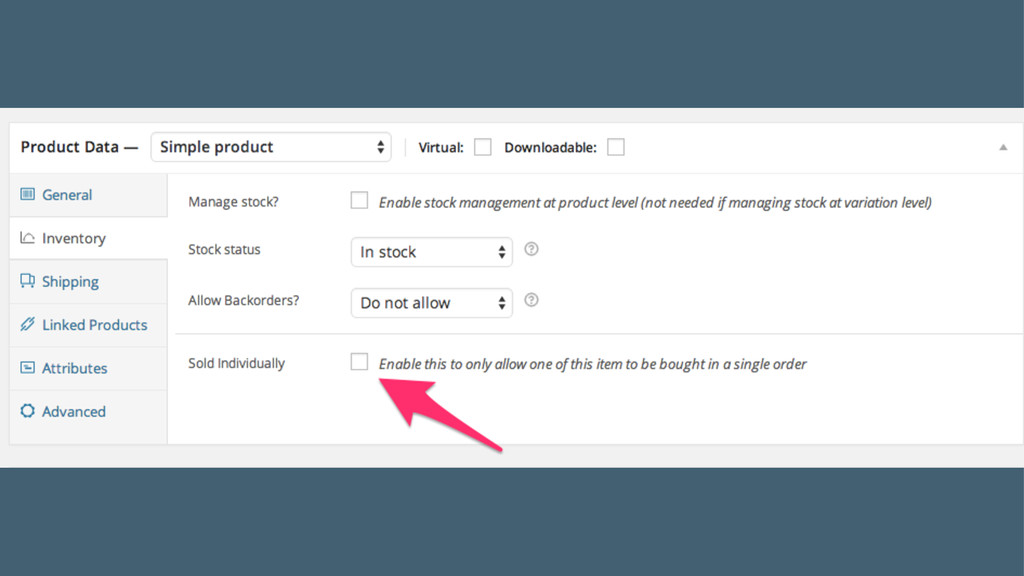
    setting under Product Data -> Inventory -> Sold Individually is useful for downloadable products since it doesn't make much sense to be able to buy two copies of a downloadable file.
  16. Adding Products Variable Products The next big topic is variable

    products (think of a t- shirt with multiple sizes). Since there are so many options I'm going to cover it at the end. In case we don't get to it here's an excellent video tutorial: http://docs.woothemes.com/document/ product-variations/
  17. Payment Included Payment Methods The included payment methods can be

    found under WooCommerce -> Settings -> Checkout.
  18. Payment Included Payment Methods 4 BACS (Bank Transfer) 4 Cheque

    (Don't blame me for the silly British spelling) 4 Cash on Delivery 4 Mijireh 4 PayPal
  19. Payment Included Payment Methods - PayPal PayPal allows users to

    pay via PayPal which goes into your PayPal balance.
  20. Payment Credit Cards So this is the part that everyone's

    excited about right? We're going to jump into which gateways are best but before we get there we need to talk about Merchant accounts.
  21. Payment Credit Cards - Merchant Accounts Merchant accounts are what

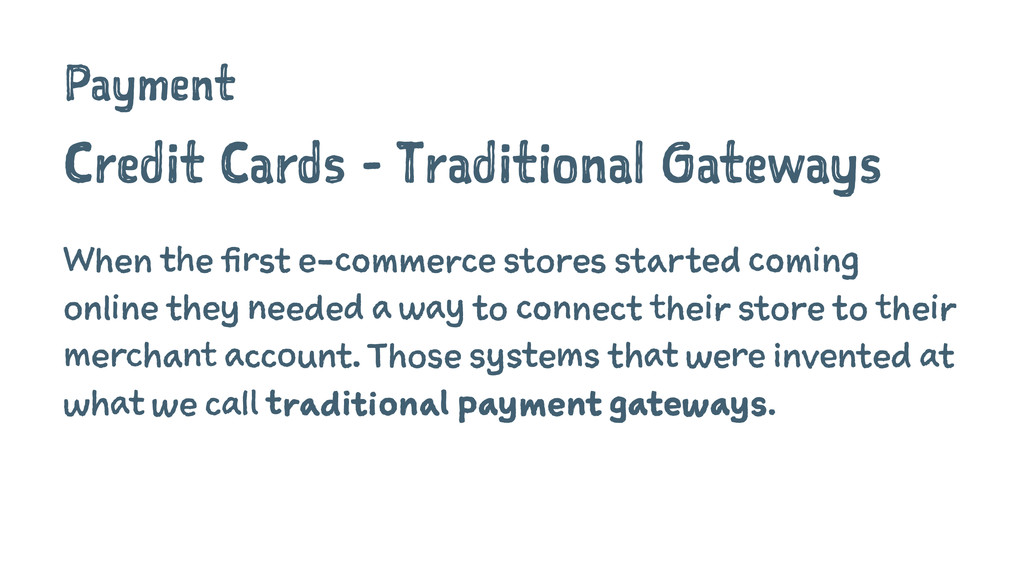
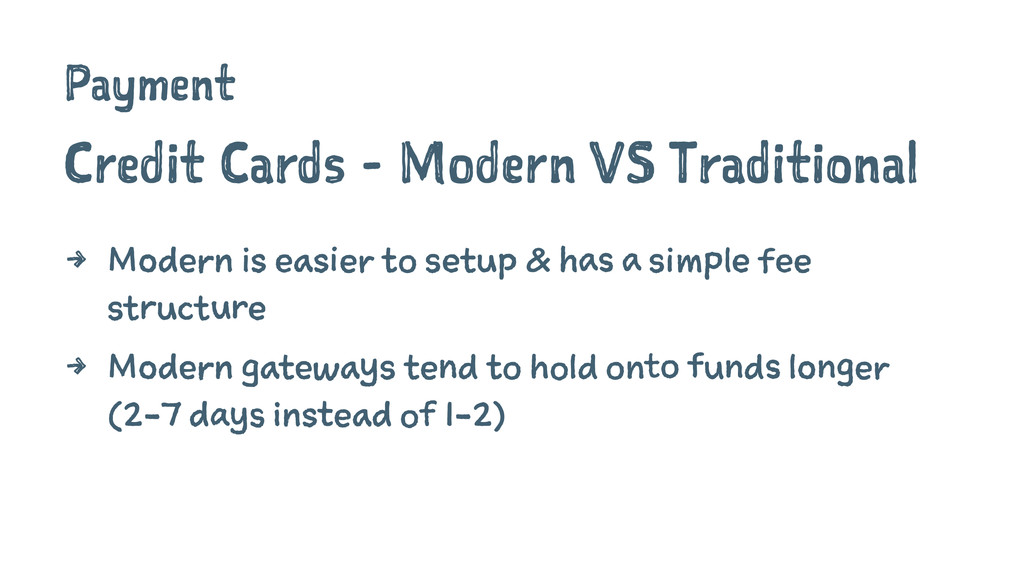
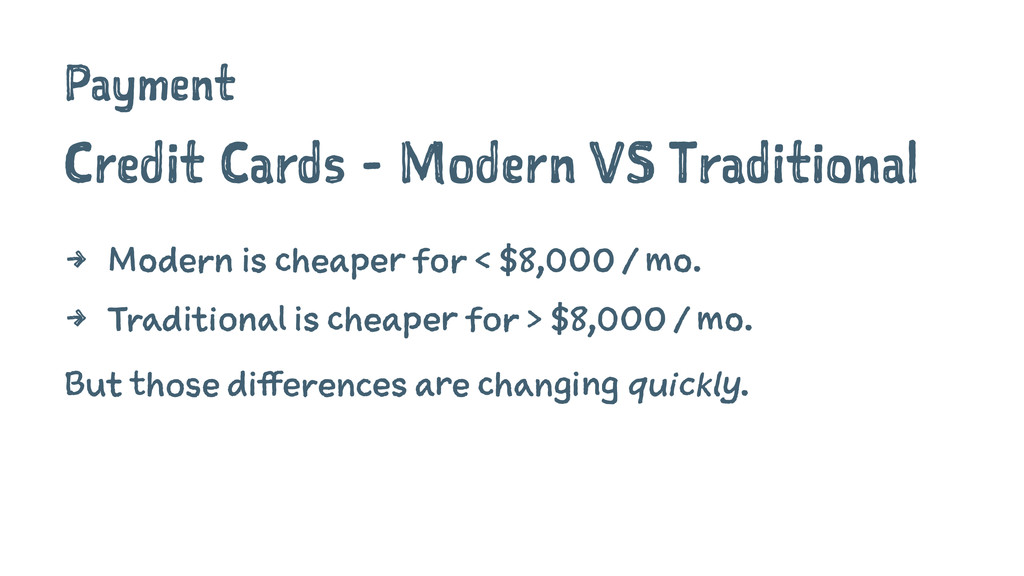
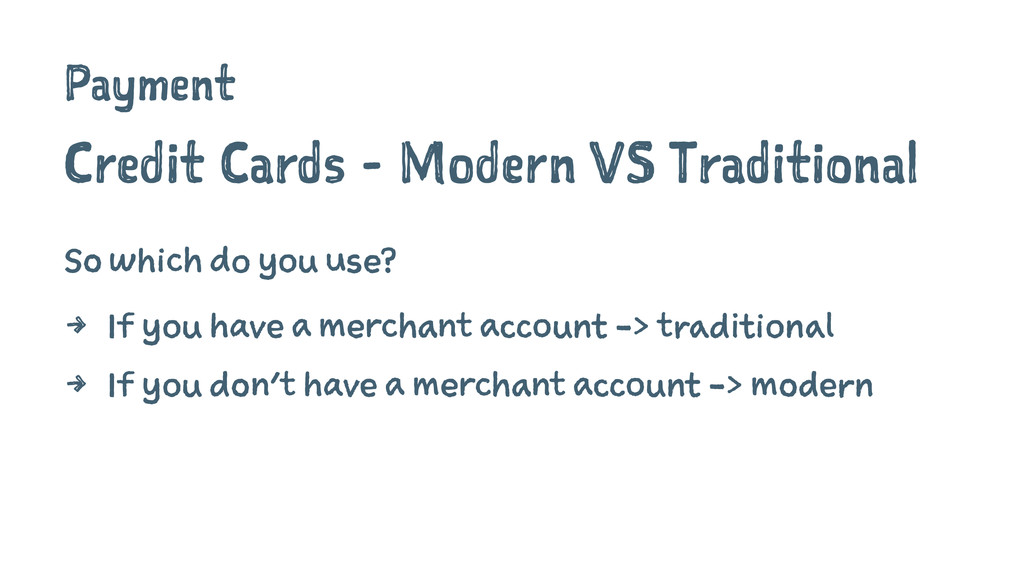
    traditional brick and mortar stores use to handle credit card transactions. Their POS systems validate the buyers card and the merchant account draws the funds. The funds sit there for a day or two and then they're deposited in to the bank account.
  22. Payment Credit Cards - Traditional Gateways When the first e-commerce

    stores started coming online they needed a way to connect their store to their merchant account. Those systems that were invented at what we call traditional payment gateways.
  23. Payment Credit Cards - Modern Gateways Now that there are

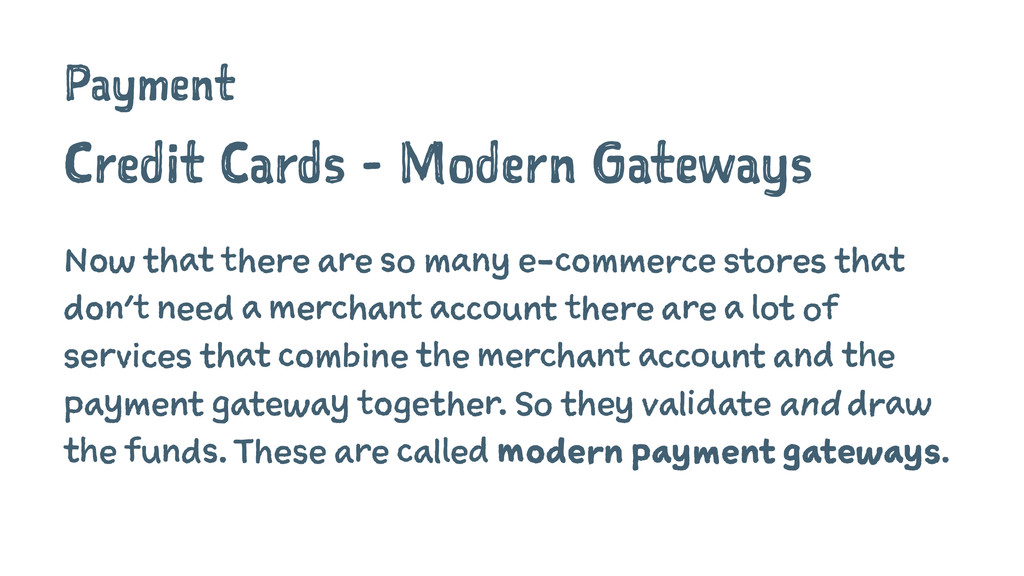
    so many e-commerce stores that don't need a merchant account there are a lot of services that combine the merchant account and the payment gateway together. So they validate and draw the funds. These are called modern payment gateways.
  24. Payment Credit Cards - Modern Gateways Examples of Modern Gateways

    are: 4 Stripe 4 Braintree 4 Amazon Simple Pay
  25. Payment Credit Cards - Modern VS Traditional Get a ton

    more information here: http://speakinginbytes.com/2014/08/merchant- account/
  26. Payment Credit Cards - Modern VS Traditional 4 Modern is

    easier to setup & has a simple fee structure 4 Modern gateways tend to hold onto funds longer (2-7 days instead of 1-2)
  27. Payment Credit Cards - Modern VS Traditional 4 Modern is

    cheaper for < $8,000 / mo. 4 Traditional is cheaper for > $8,000 / mo. But those differences are changing quickly.
  28. Payment Credit Cards - Modern VS Traditional So which do

    you use? 4 If you have a merchant account -> traditional 4 If you don't have a merchant account -> modern
  29. Payment Security Basics If you use a payment gateway that

    takes the user offsite you don't need a SSL certificate.
  30. Payment Security Basics - Offsite Gateways I love offsite gateways.

    That way if you site gets hacked at least you aren't responsible for stolen credit card numbers.
  31. Payment Credit Cards - My Favs 4 Traditional 4 Authorize.net

    (AIM) 4 Modern 4 Amazon Simple Pay 4 Stripe
  32. Payment Credit Cards Setting up a gateway can take a

    while so we're just going to use the offline gateways (Bank Transfer, Cheque, and Cash on Delivery).
  33. Shipping Included Shipping Methods 4 Flat Rate 4 Free 4

    International 4 Local Delivery 4 Local Pickup
  34. Shipping Flat Rate The best place to start is Flat

    Rate because it's simple and configurable. You can find this under WooCommerce -> Shipping -> Flat Rate.
  35. Shipping Flat Rate The most basic configuration is to set

    a cost per order. That's basically the base cost per order. You can add extra fees on top of it if you like.
  36. Shipping Flat Rate Now if people buy 20 items you

    want to charge more for shipping right? That's when you want to add a per item charge in.
  37. Shipping Free Shipping People love free shipping. I suggest that

    you have a minimum order amount to unlock free shipping becomes. You can find this under WooCommerce -> Shipping -> Free Shipping
  38. Shipping Free Shipping People love free shipping. You should definitely

    think about offering it as an incentive. I like to suggest that you have a minimum order amount and then free shipping becomes active.
  39. Order Management You can find all of your orders under

    WooCommerce -> Orders. You'll mostly want to look at processing orders, ship them, and mark them as complete.
  40. Taxes Configuring Taxes Taxes can be configured in a ton

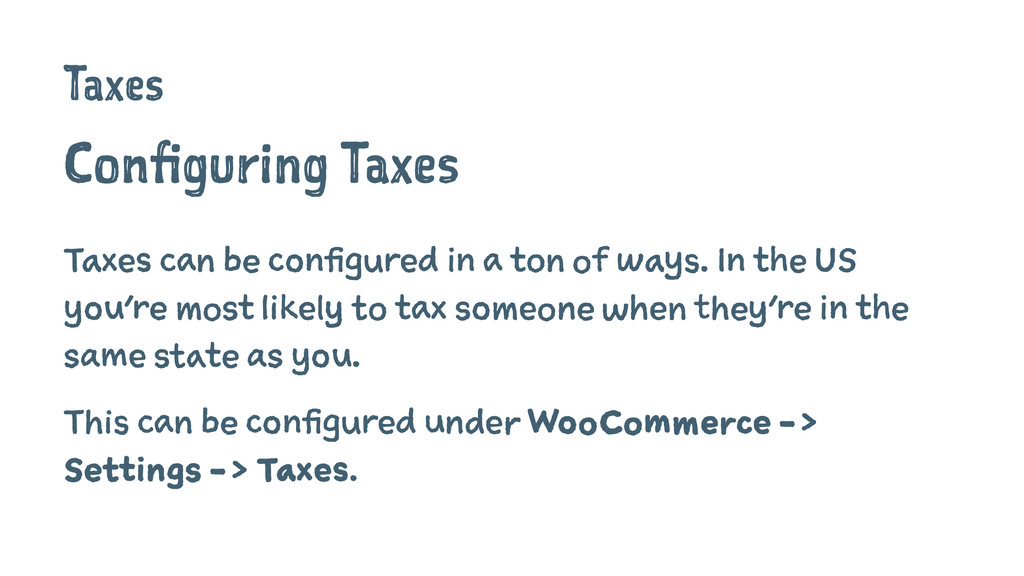
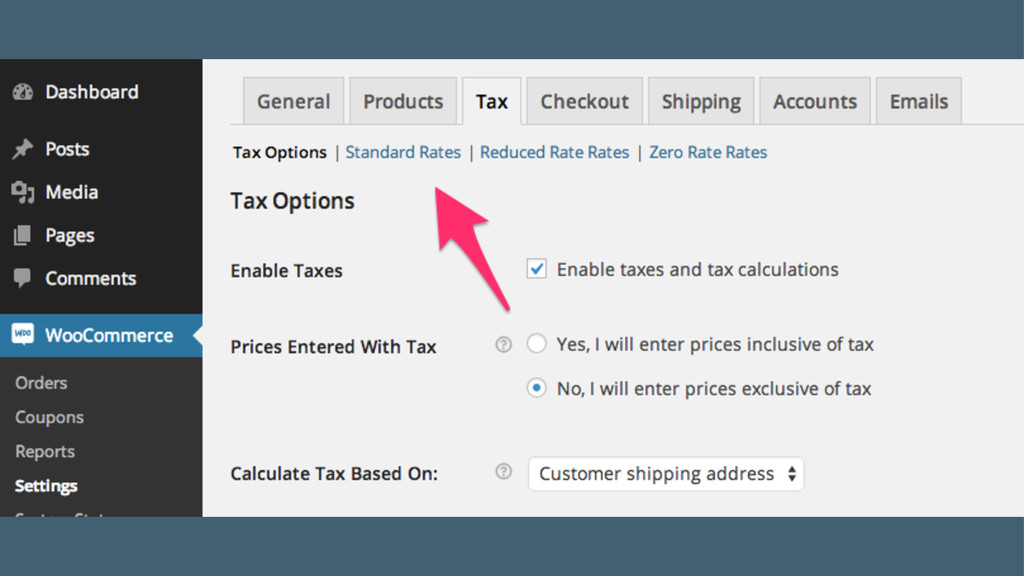
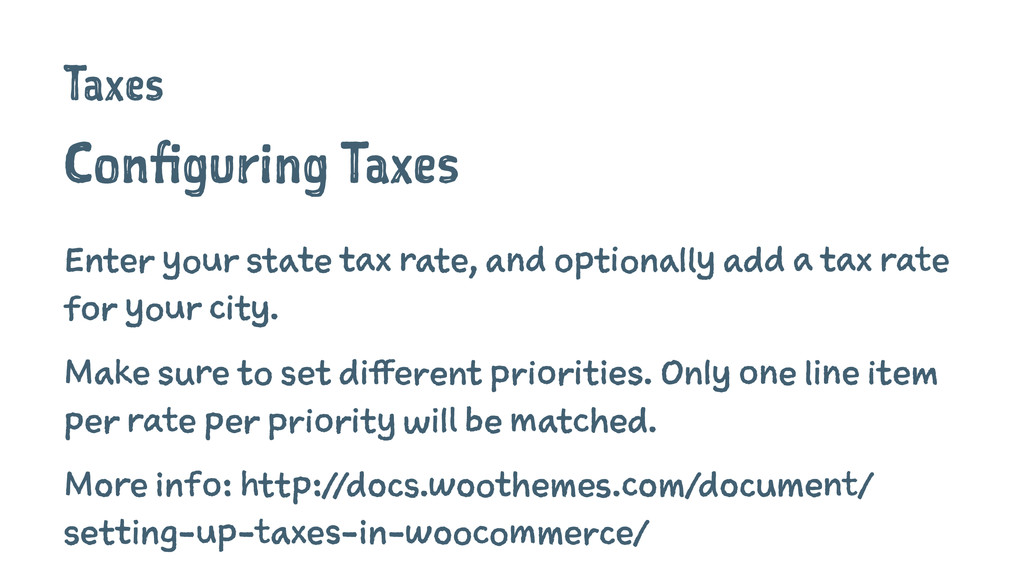
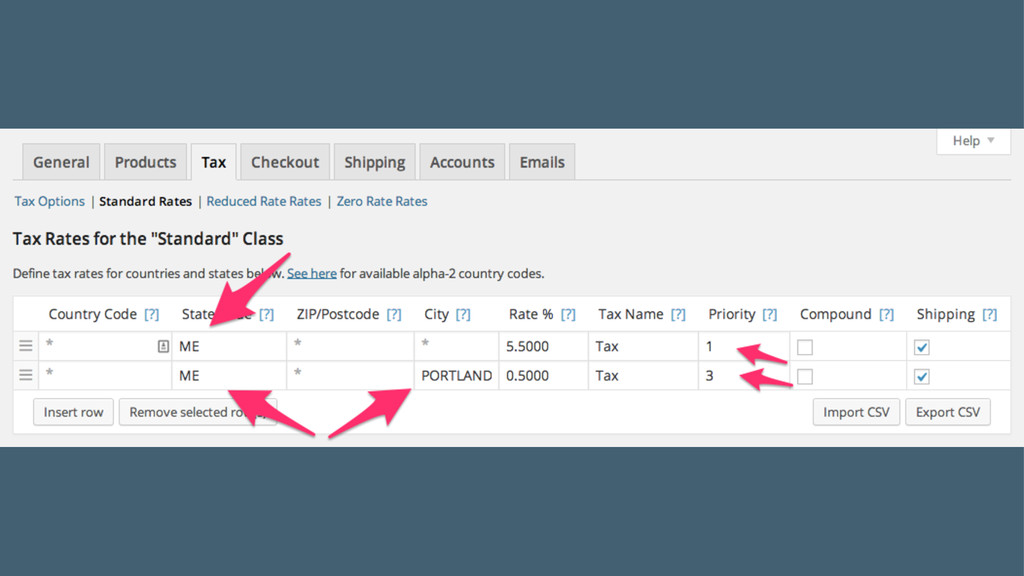
    of ways. In the US you're most likely to tax someone when they're in the same state as you. This can be configured under WooCommerce -> Settings -> Taxes.
  41. Taxes Configuring Taxes Enter your state tax rate, and optionally

    add a tax rate for your city. Make sure to set different priorities. Only one line item per rate per priority will be matched. More info: http://docs.woothemes.com/document/ setting-up-taxes-in-woocommerce/