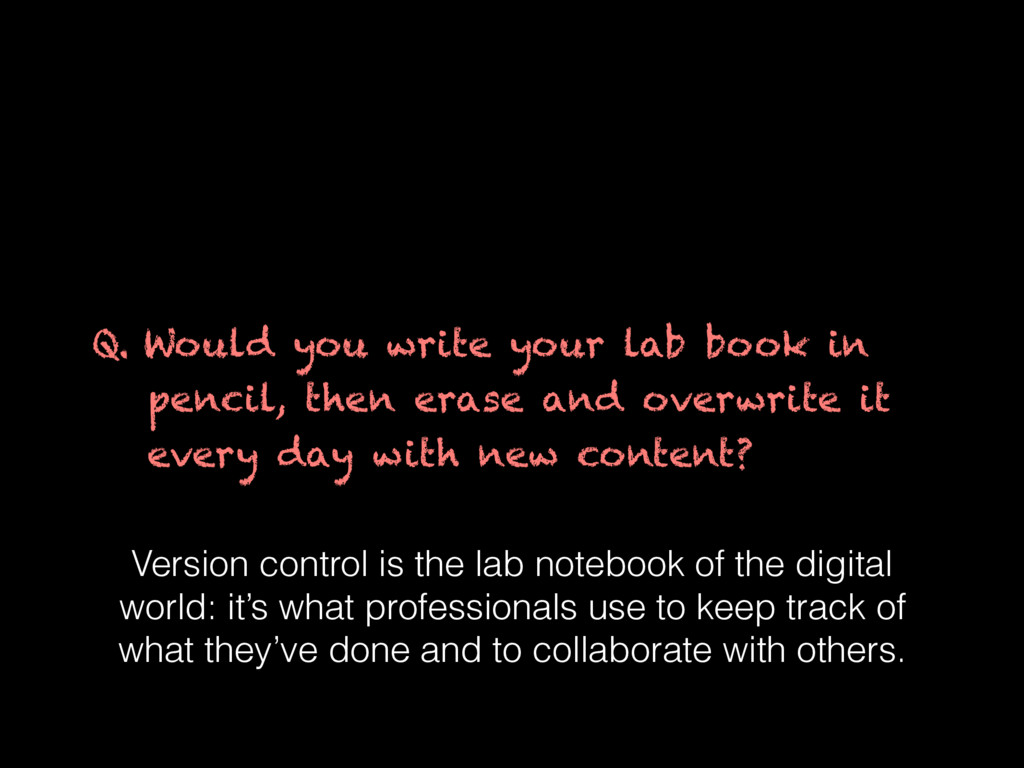
Version control is the lab notebook of the digital world: it’s what professionals use to keep track of what they’ve done and to collaborate with other people. Every large software development project relies on it, and most programmers, data scientists and bioinformaticians use it for their everyday work. It is important to note that version control is not just for software: research projects, books, courses, papers, small data sets, and anything that changes over time or needs to be shared can and should be stored in a version control system. Here we cover:
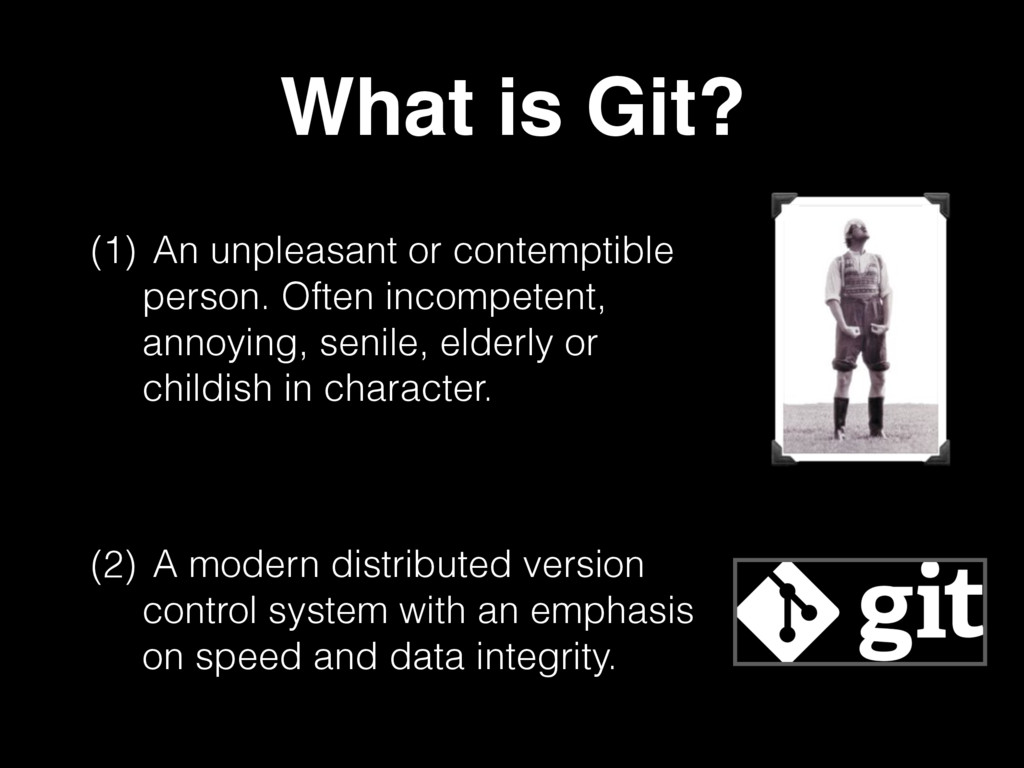
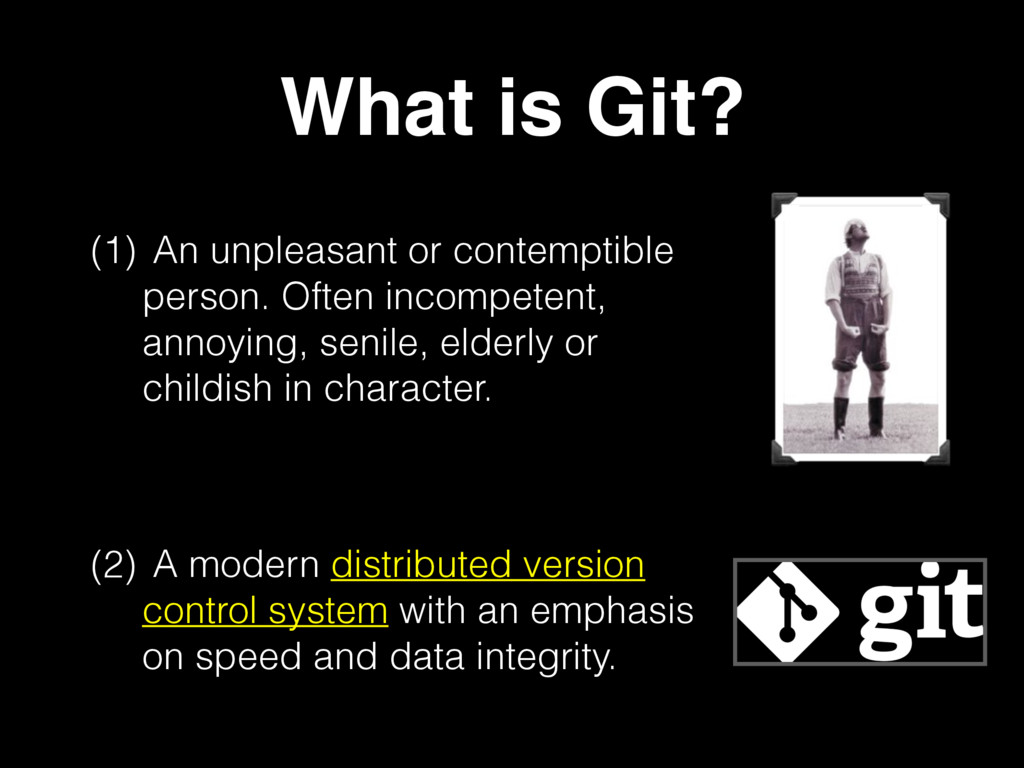
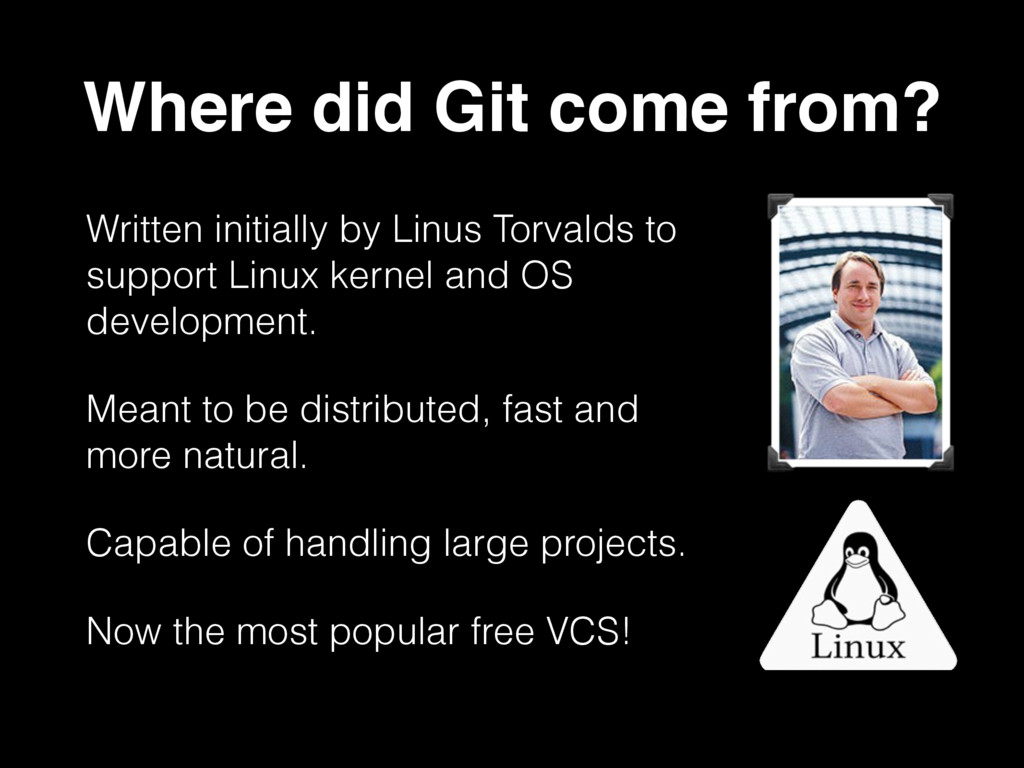
- What is VCS and Git?,
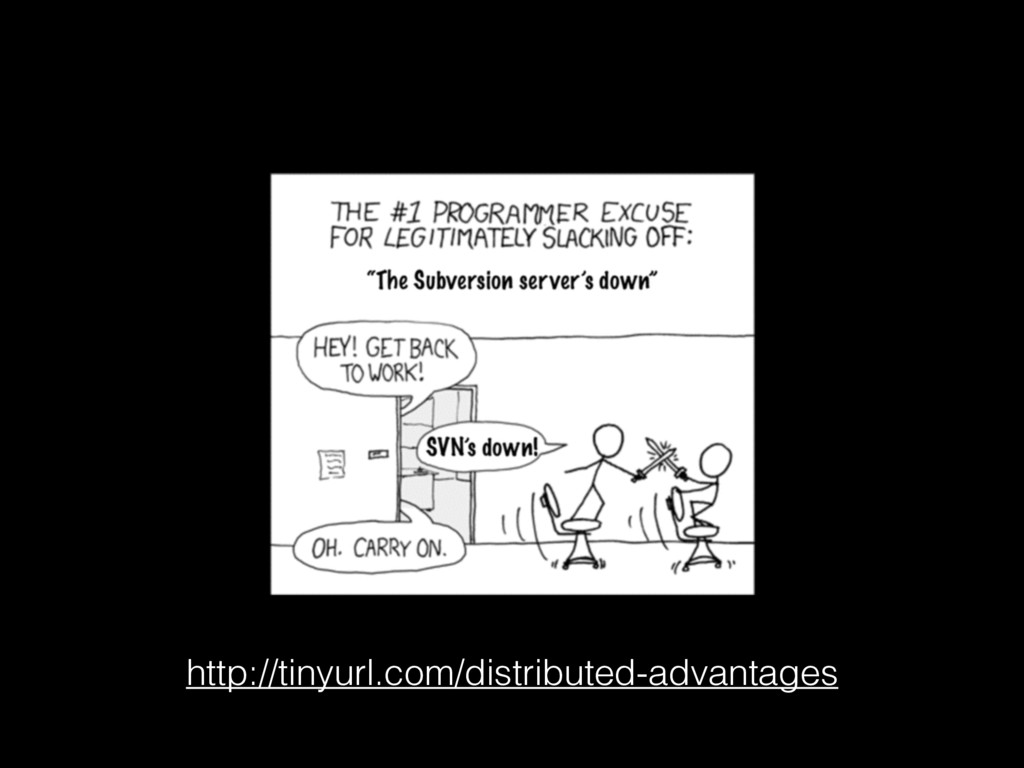
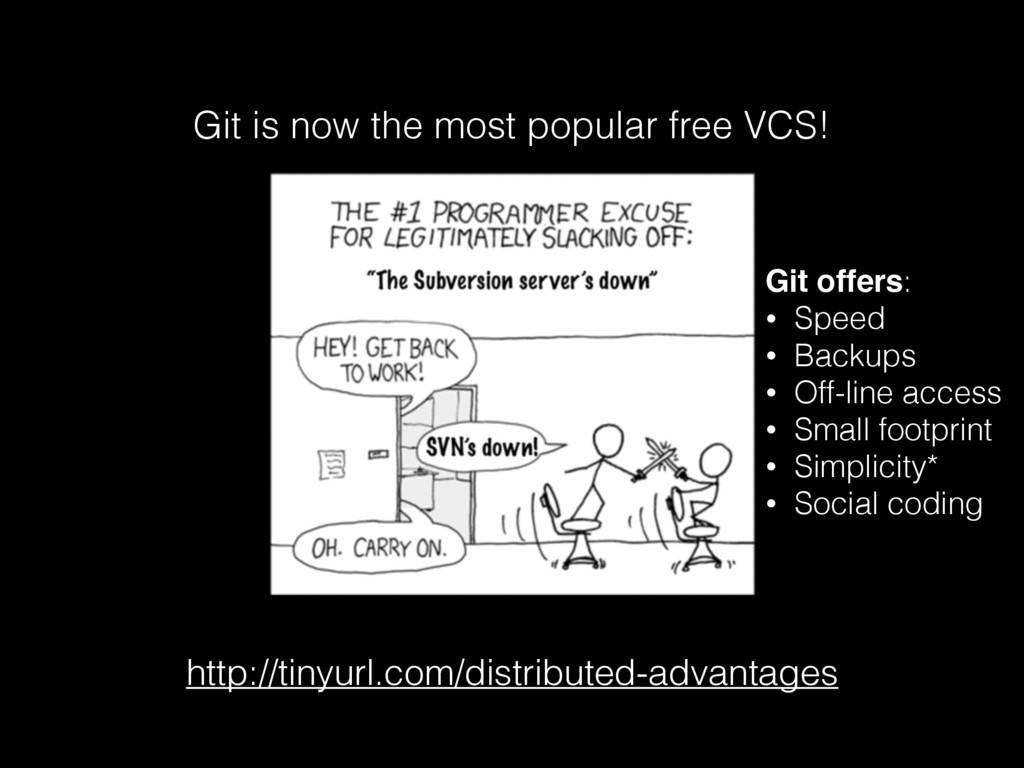
- Motivation: Why use Git?
- Project snapshot history with rollbacks, Track changes from others, Sharing and updating mechanism, Keeping work organized and available.
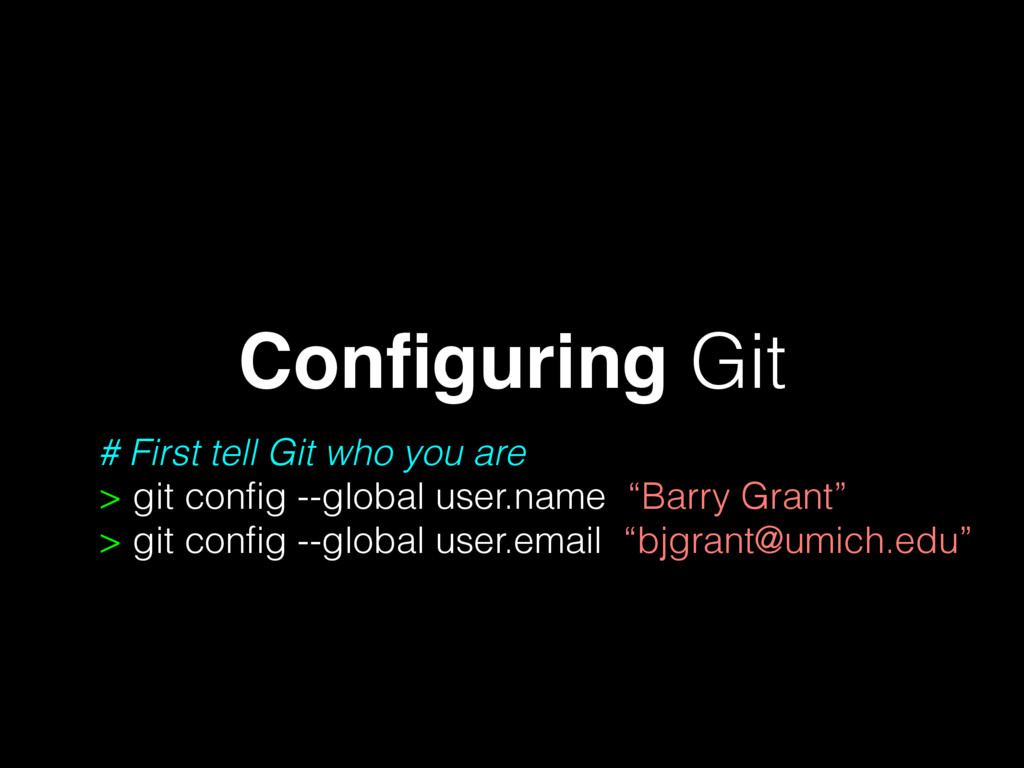
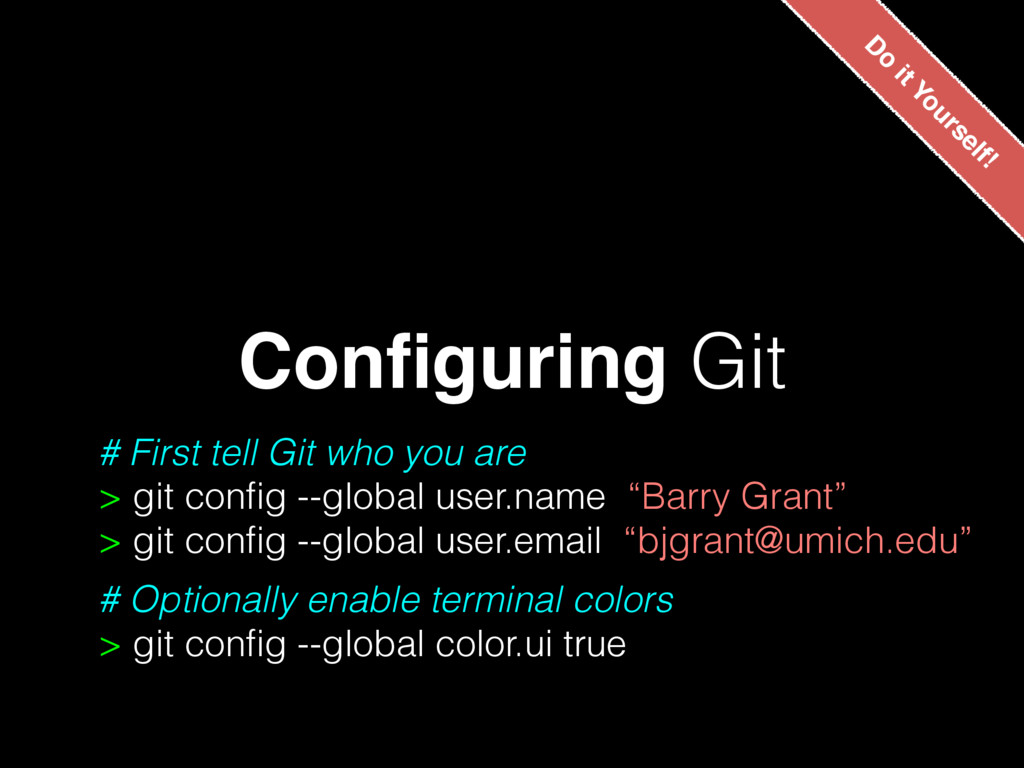
- Obtaining and configuring Git
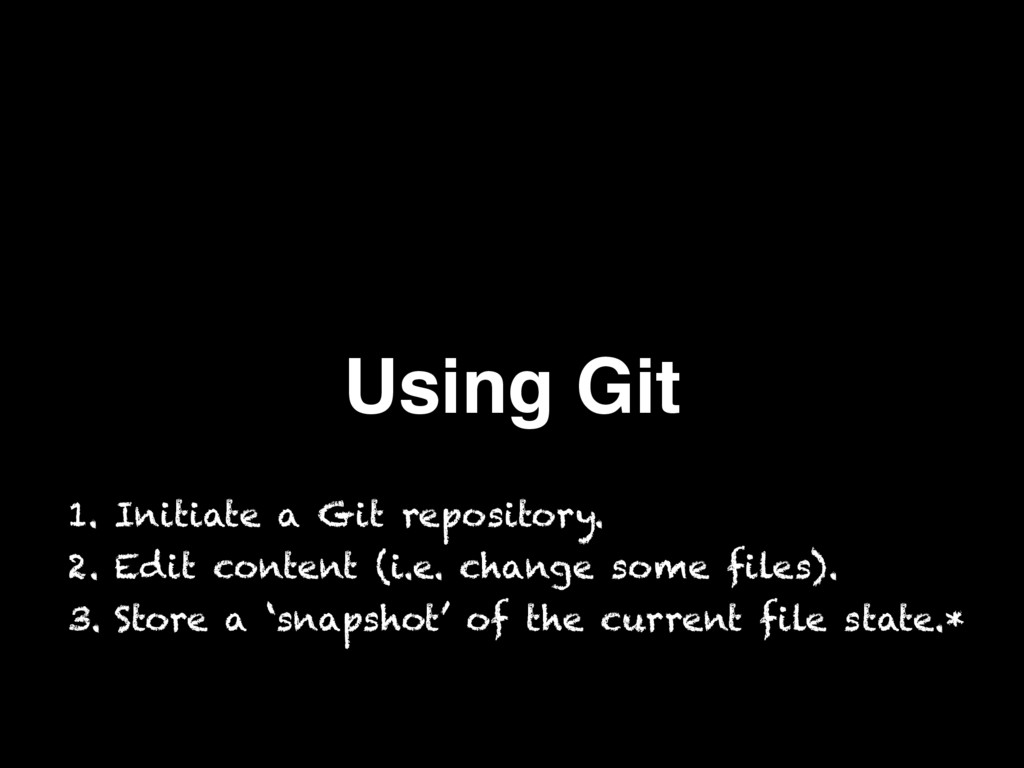
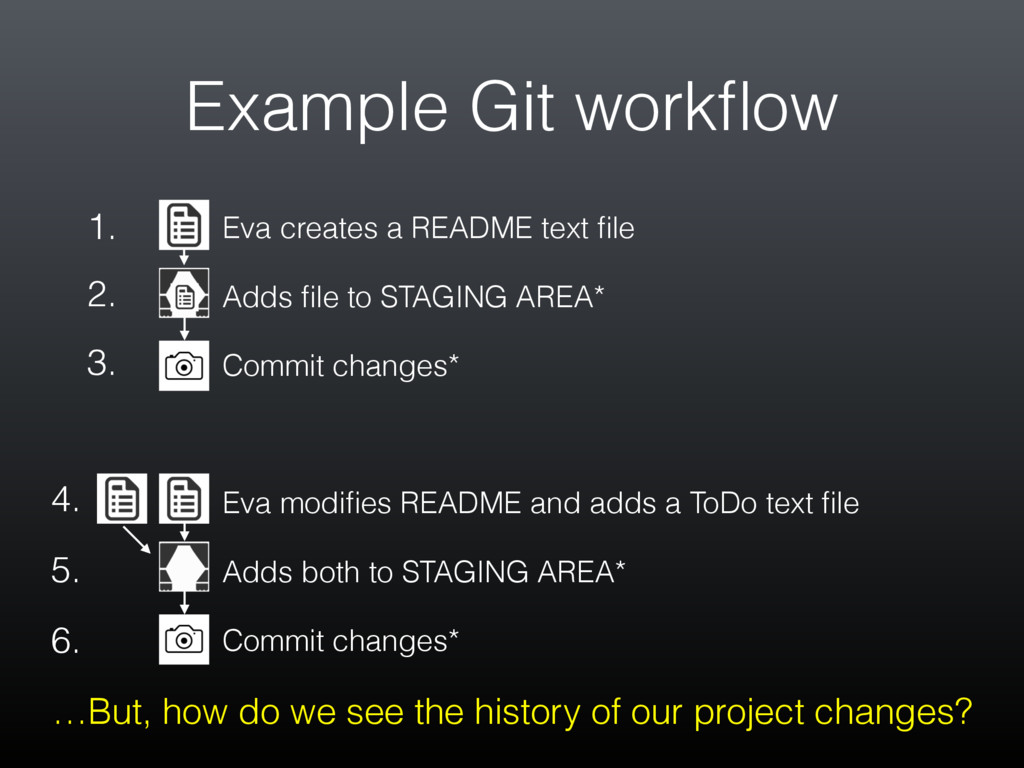
- Using Git
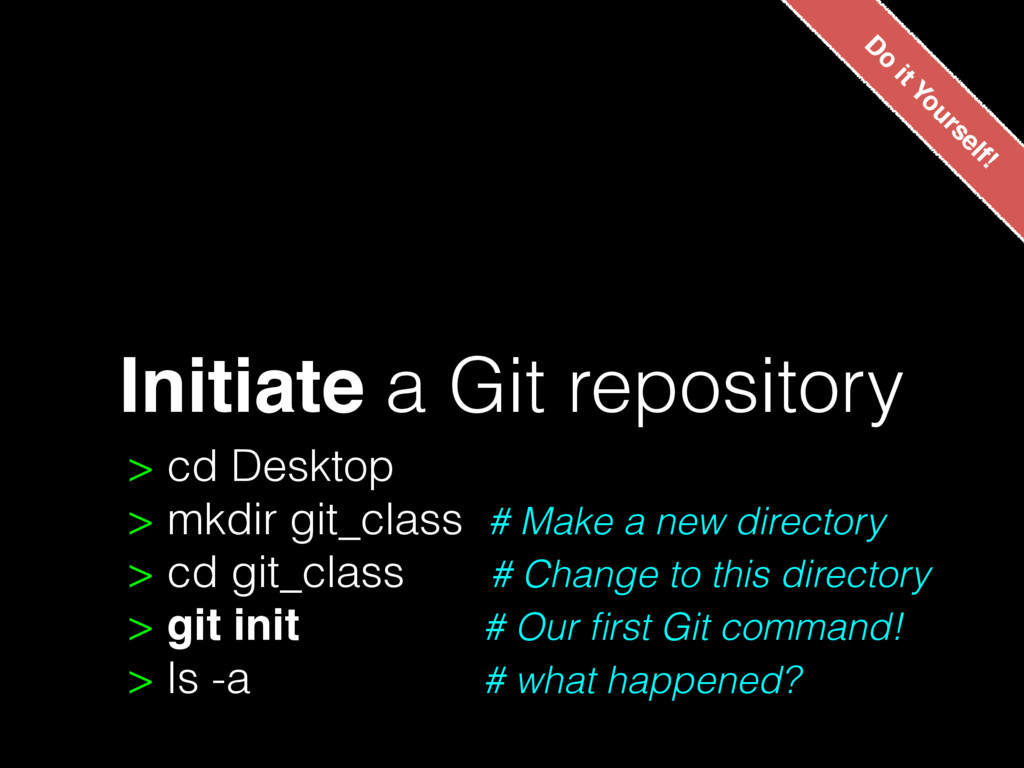
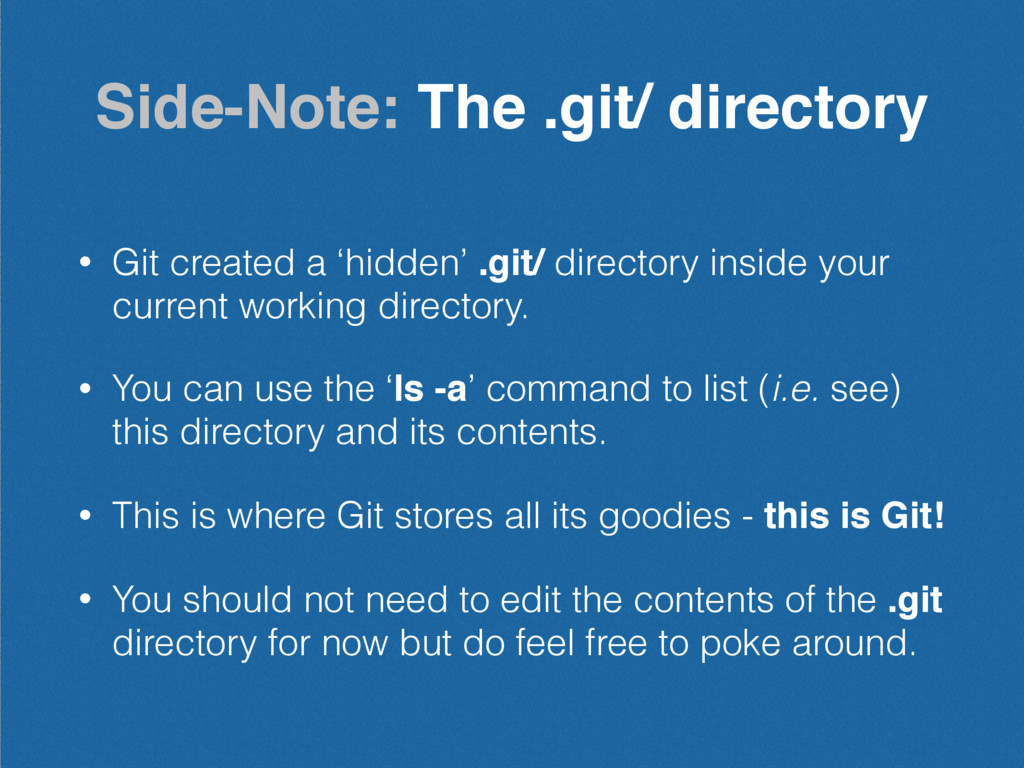
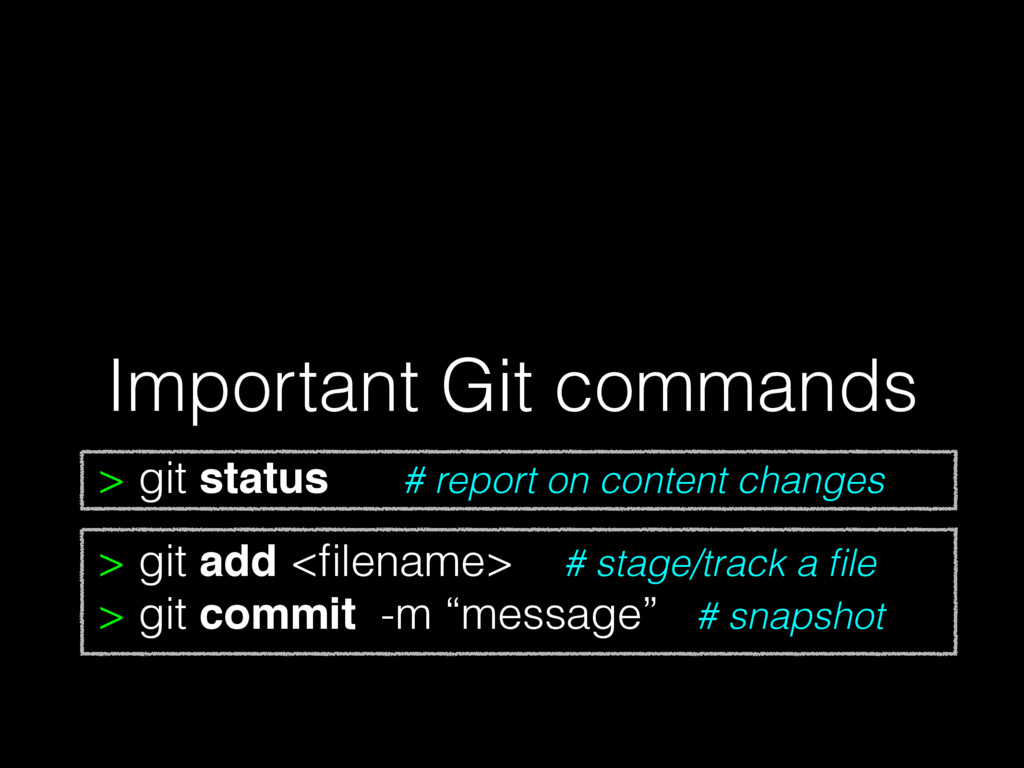
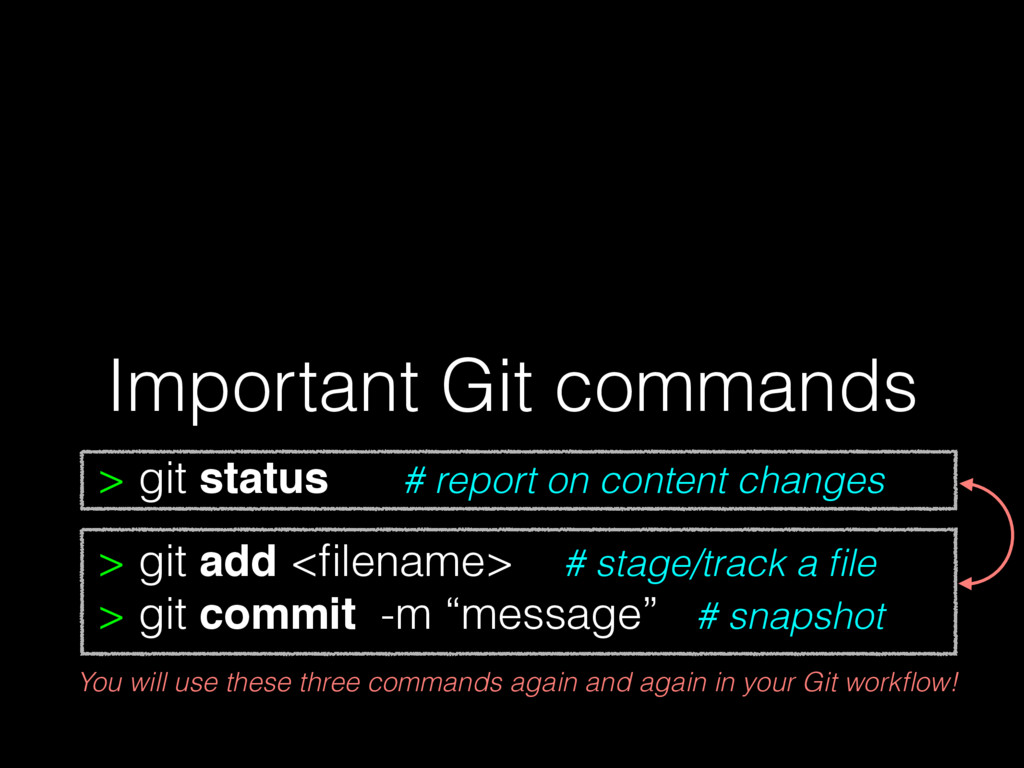
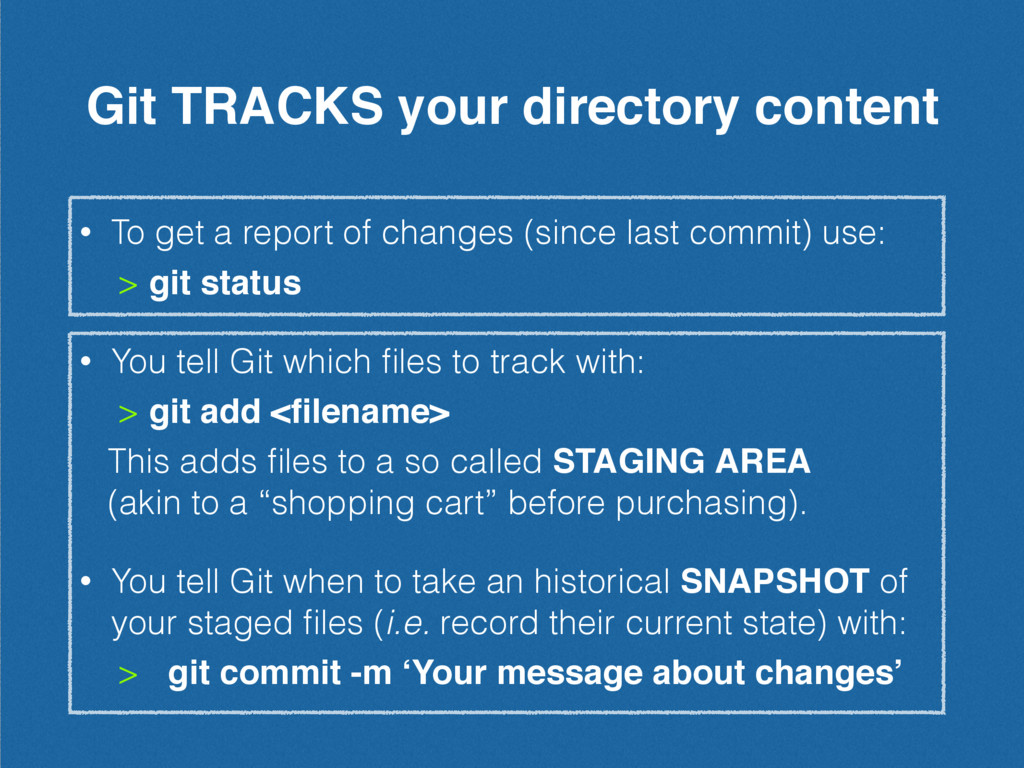
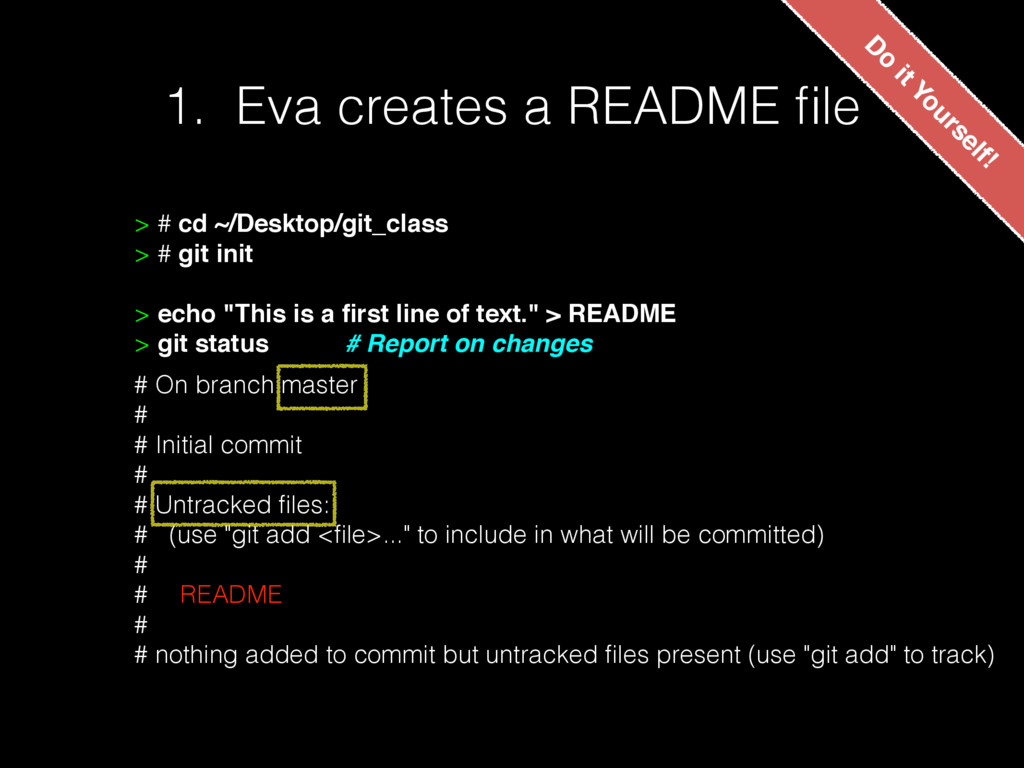
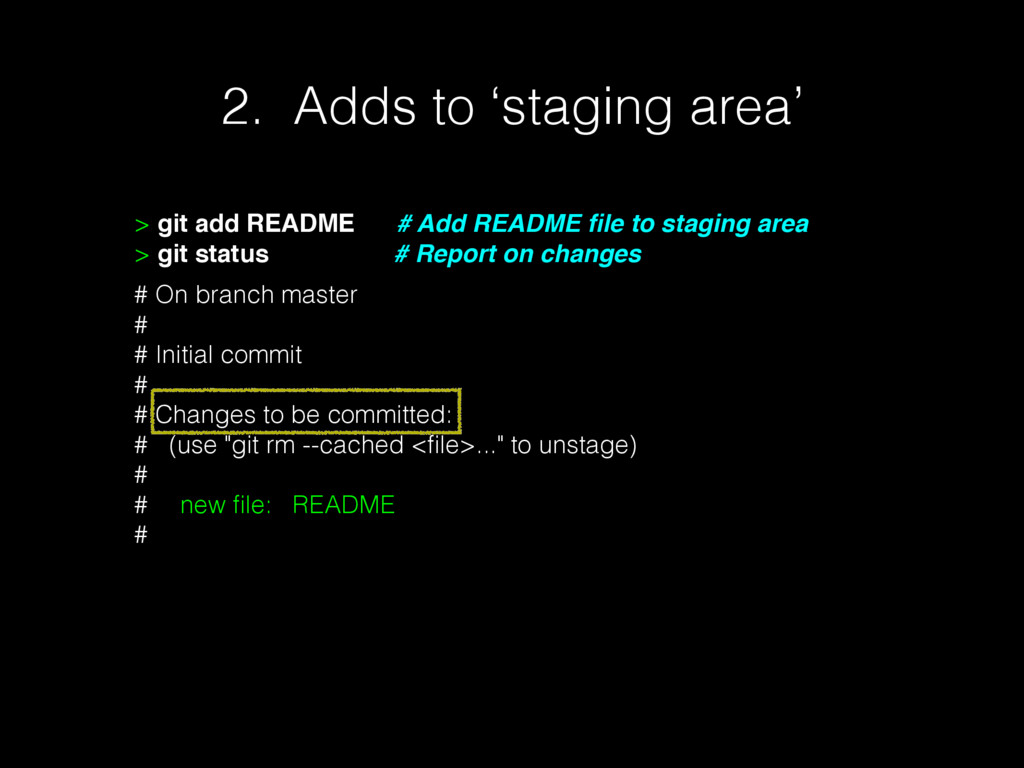
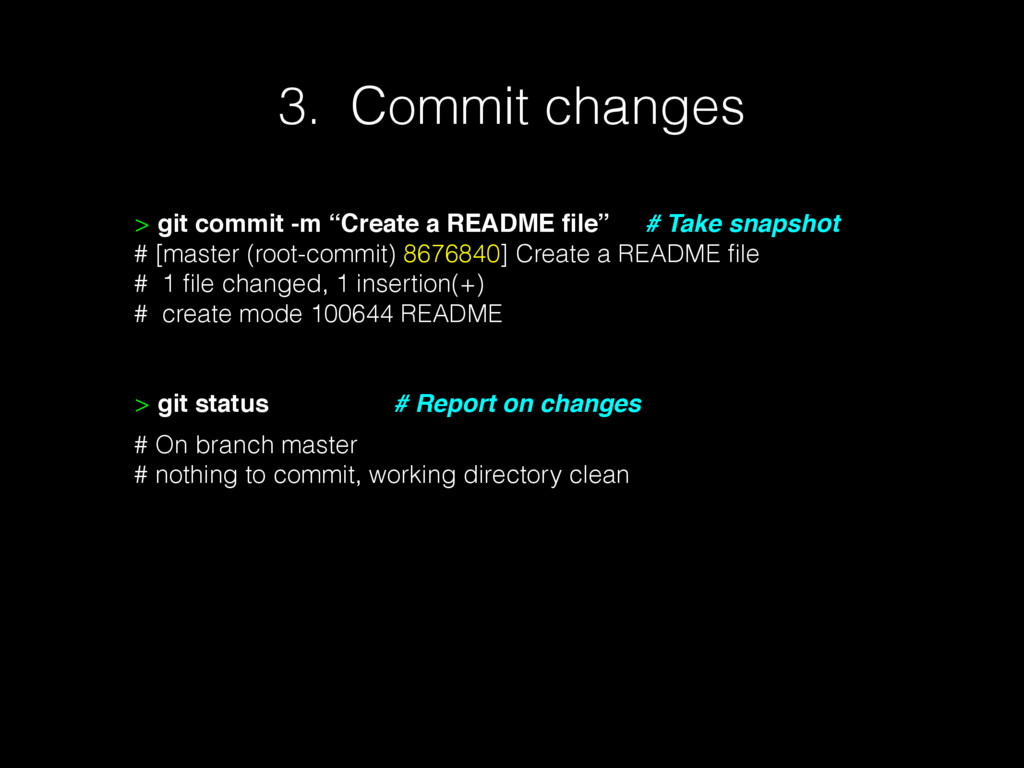
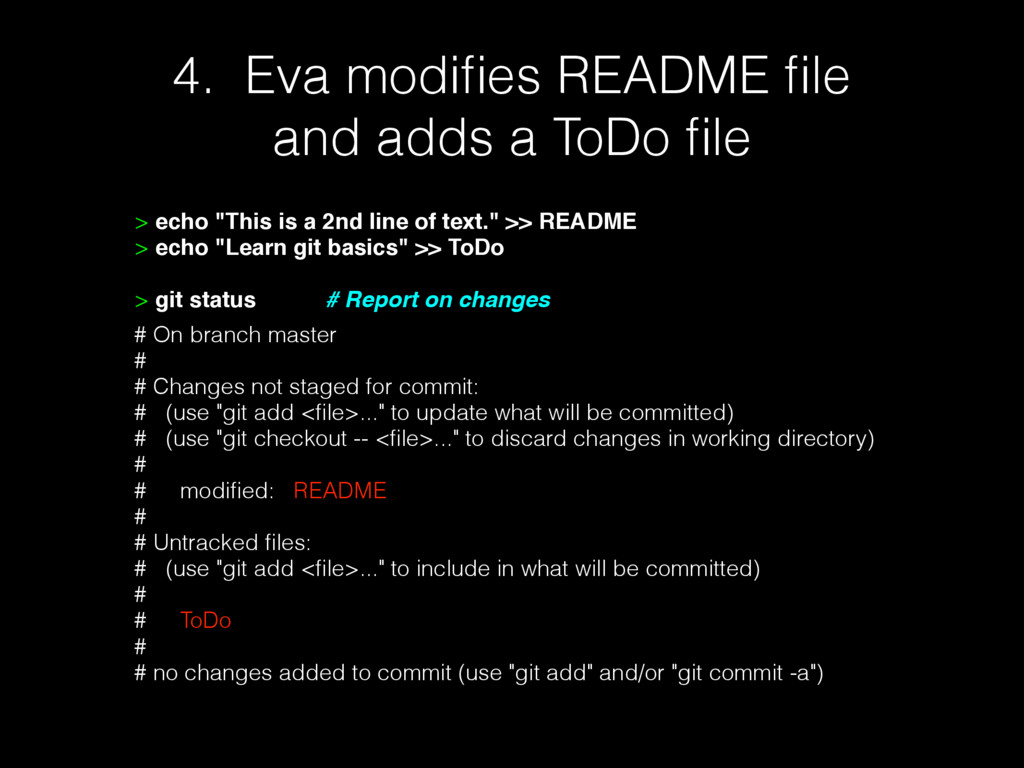
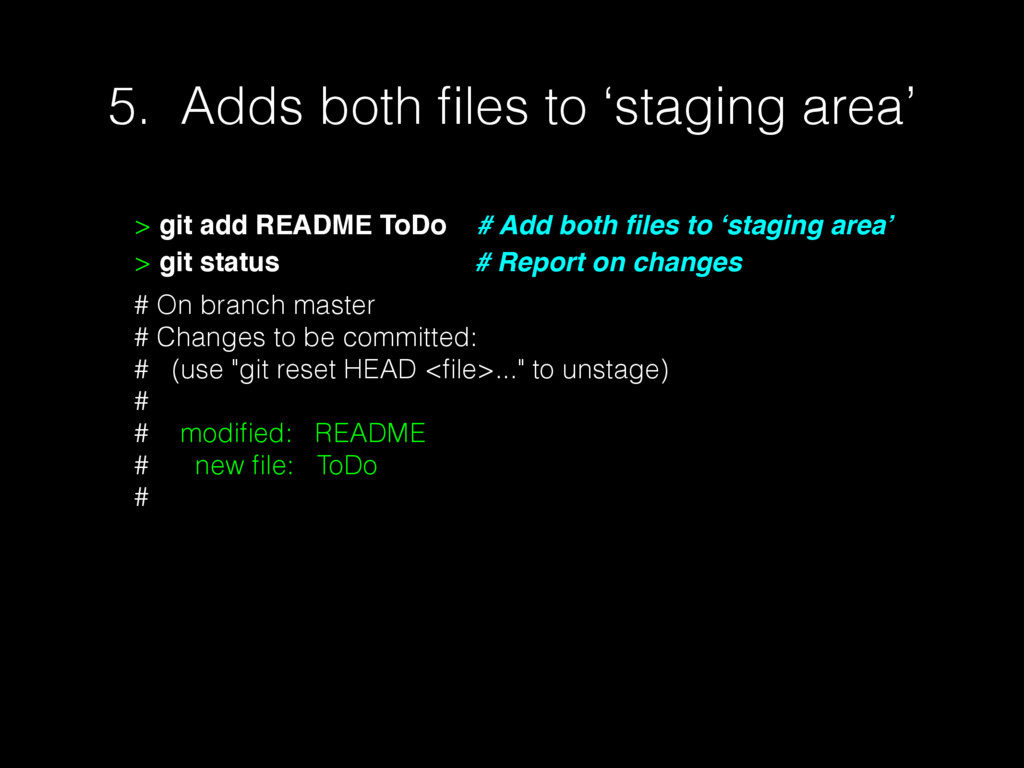
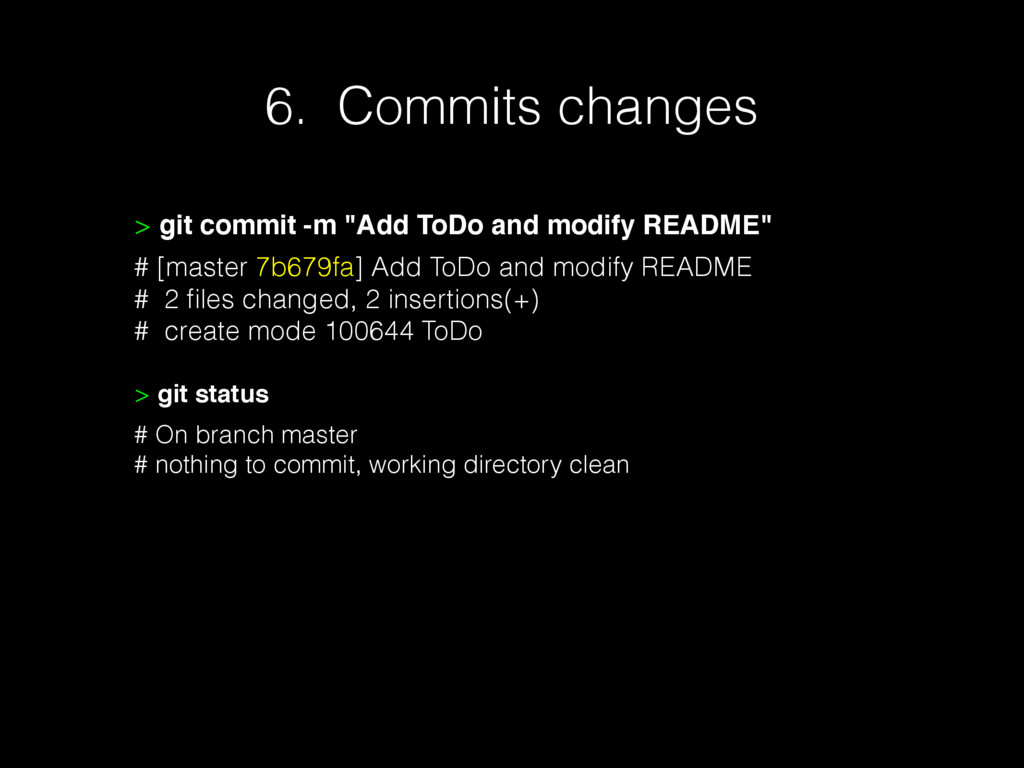
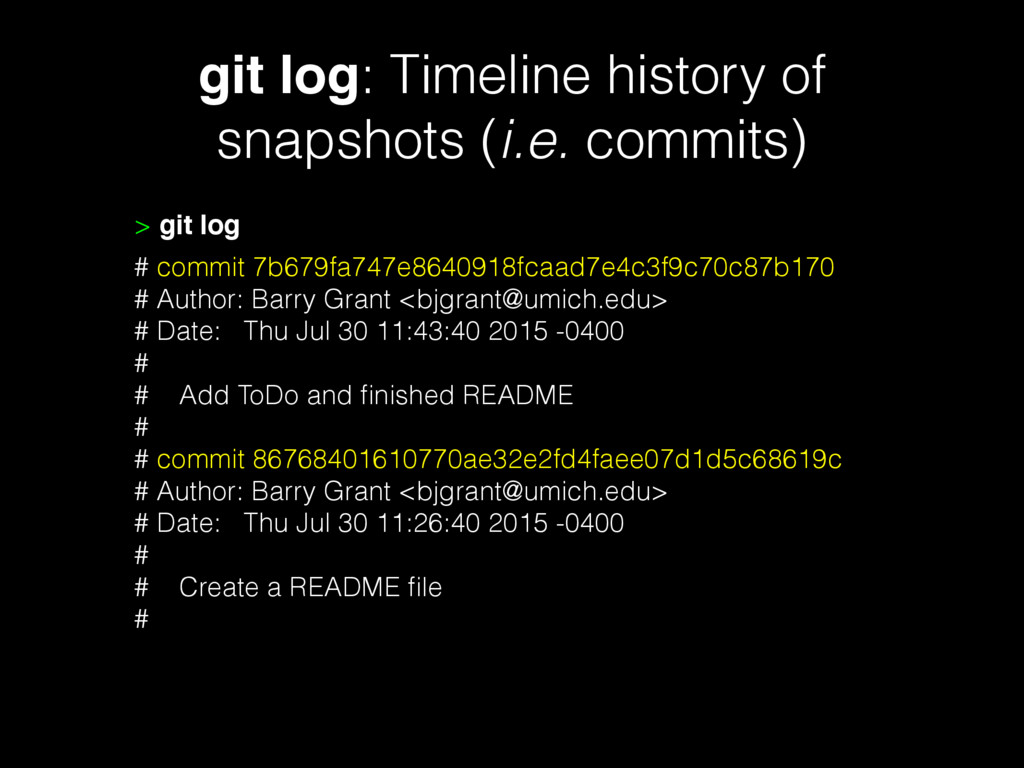
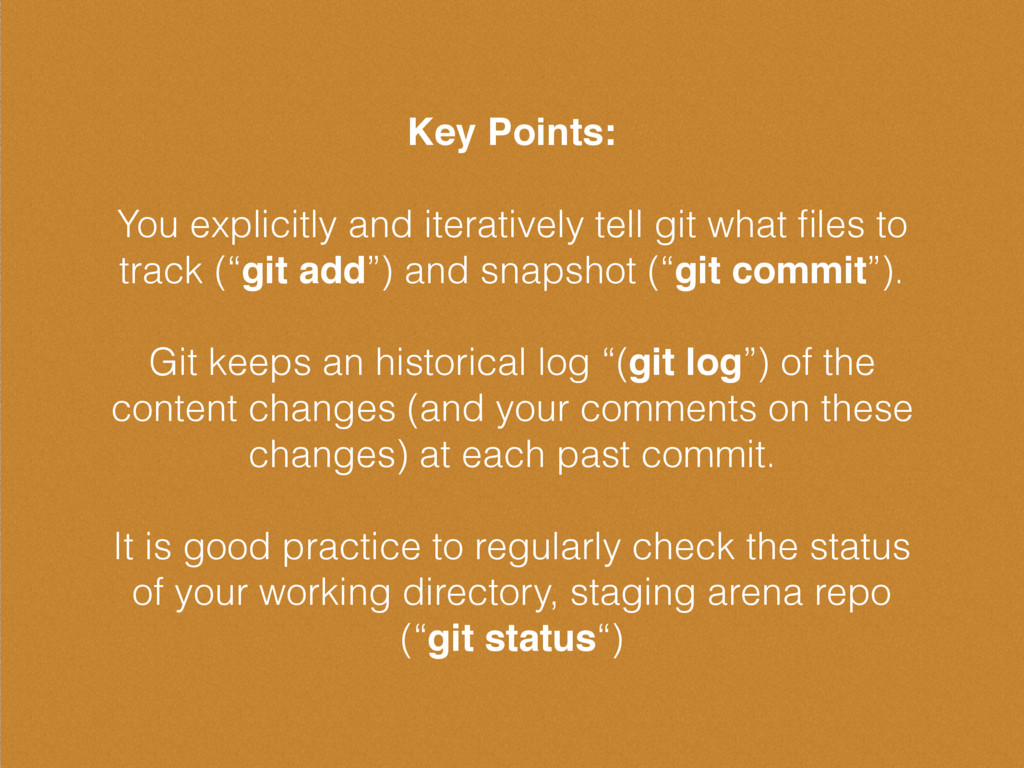
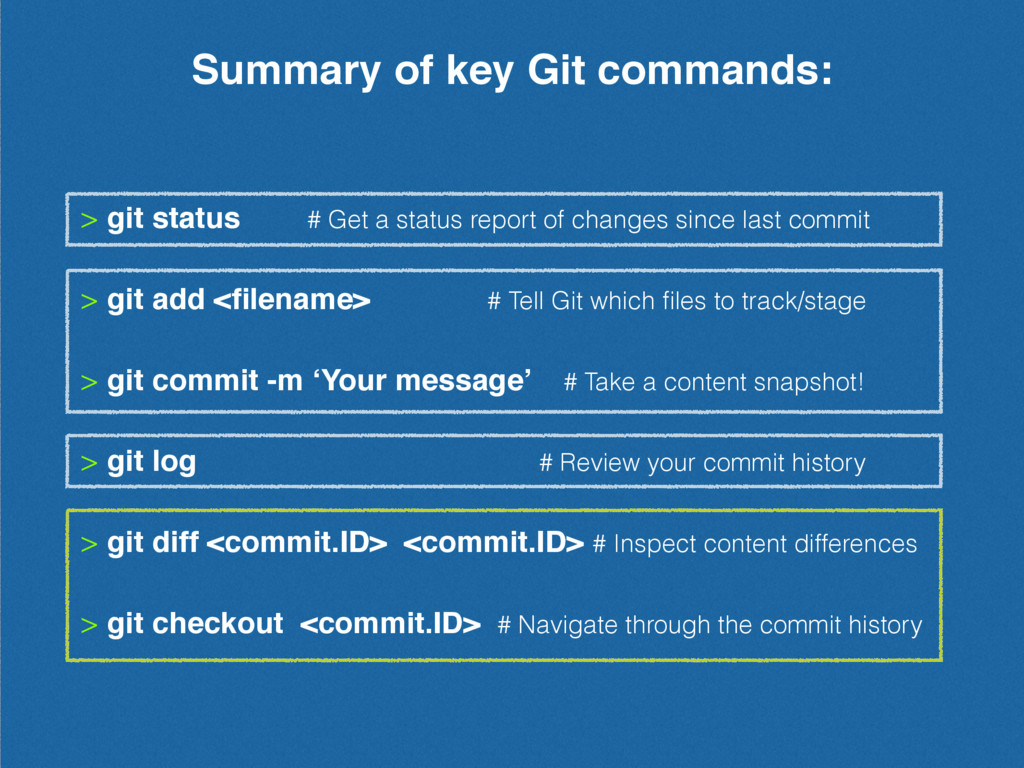
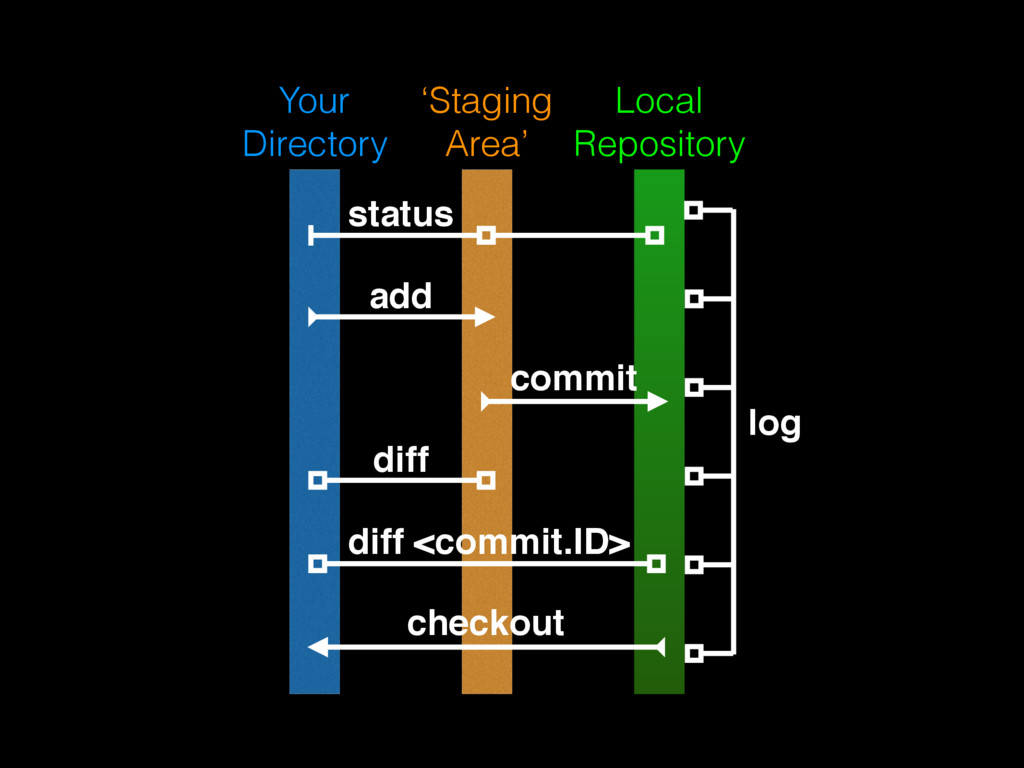
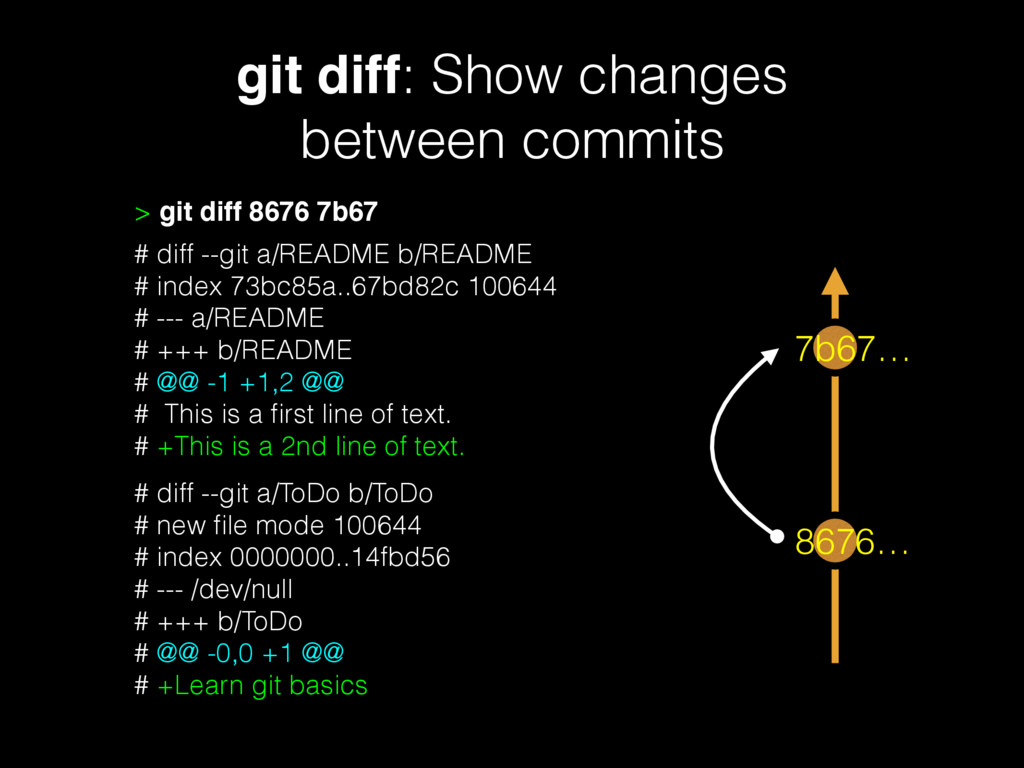
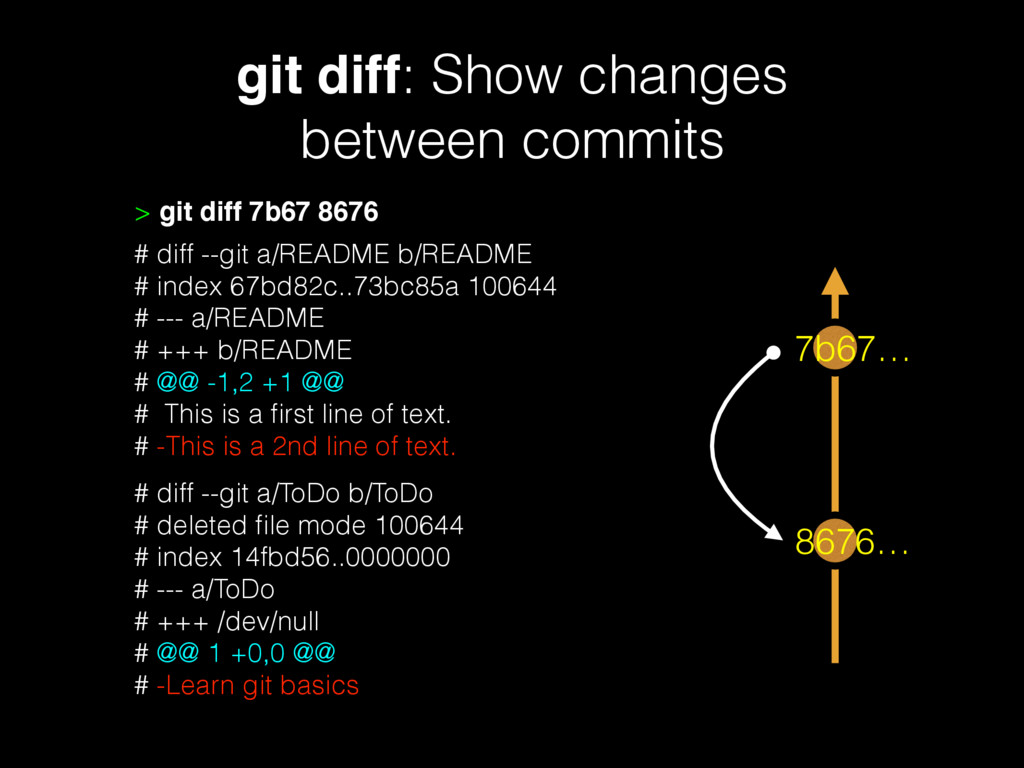
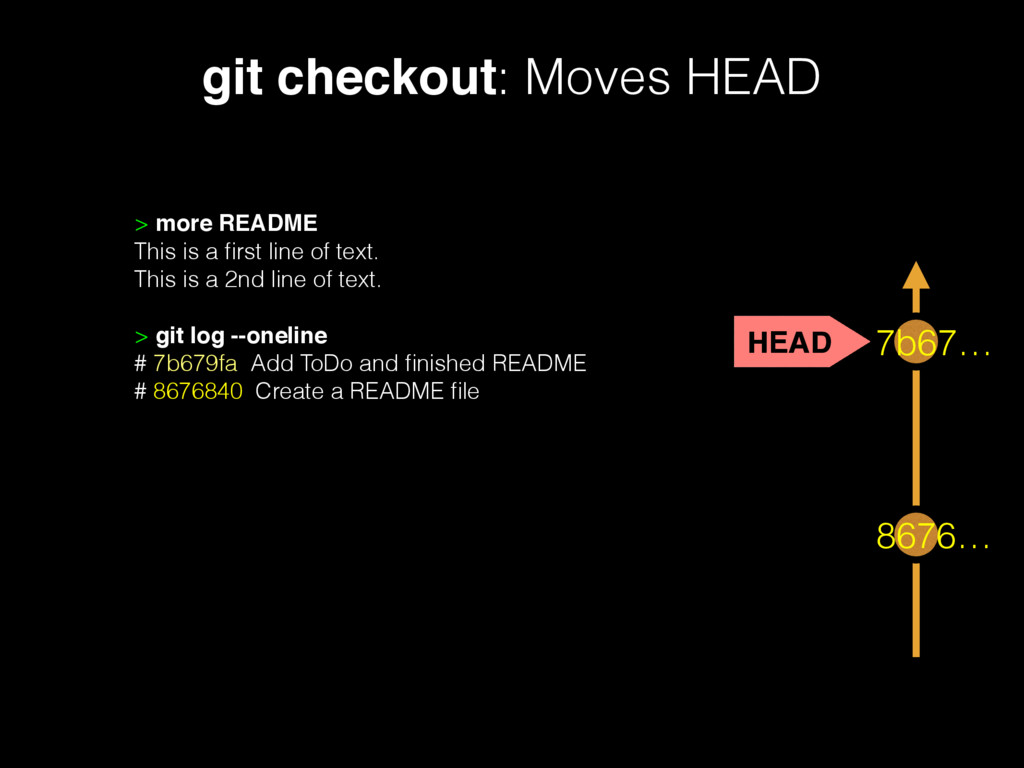
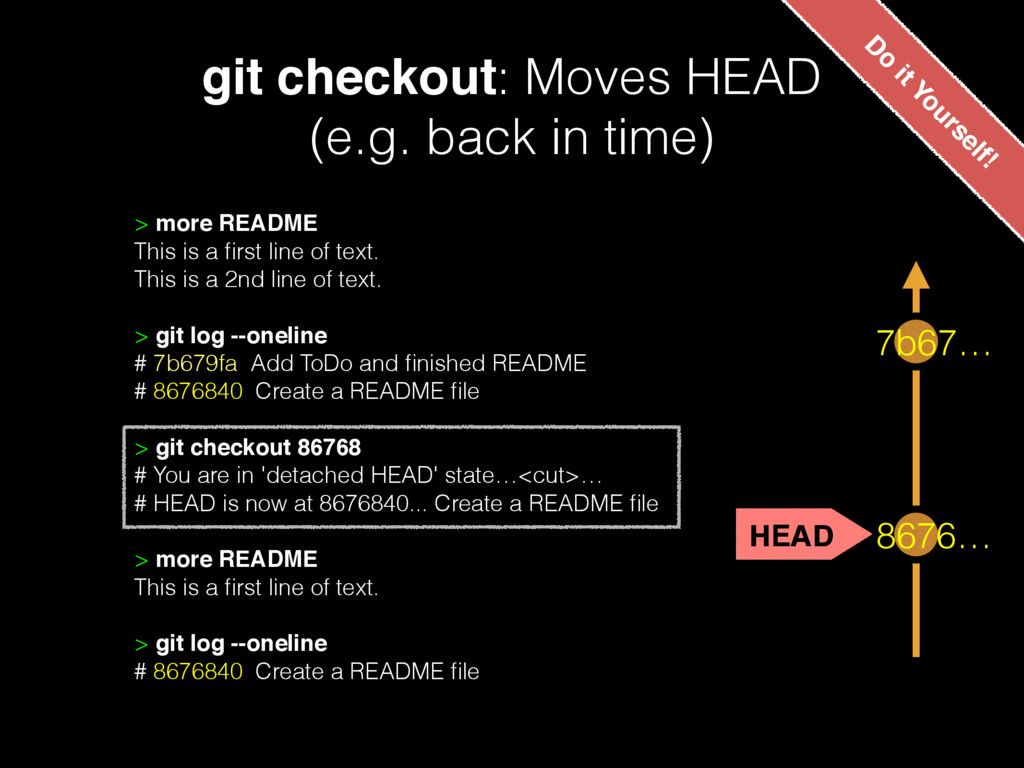
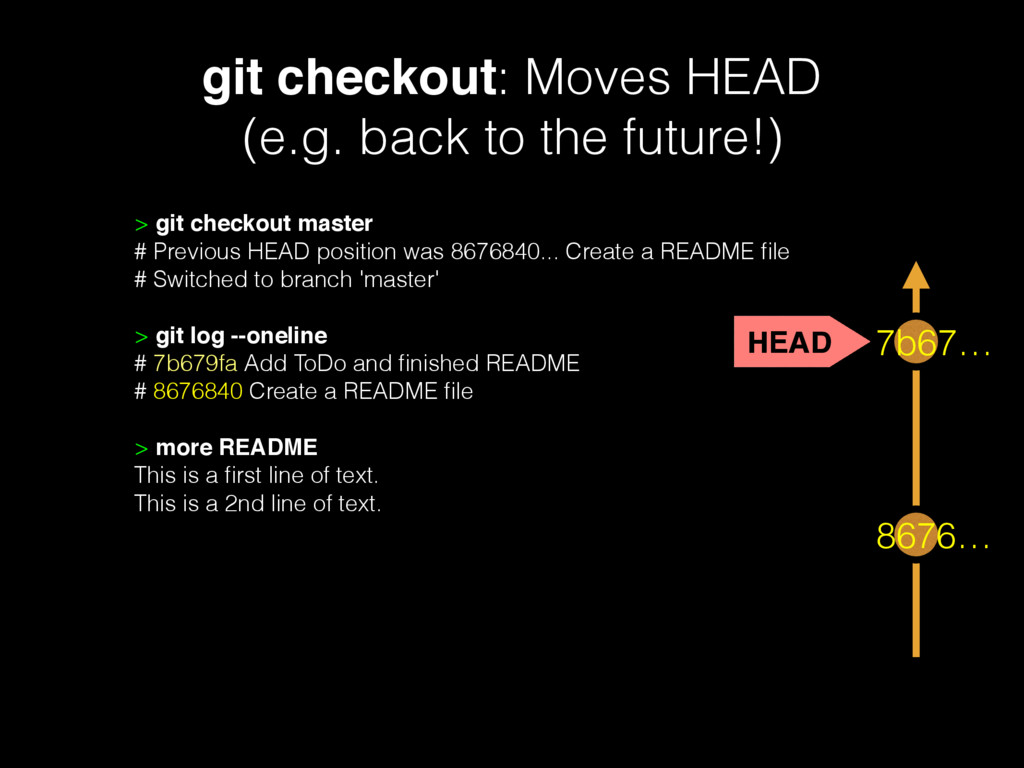
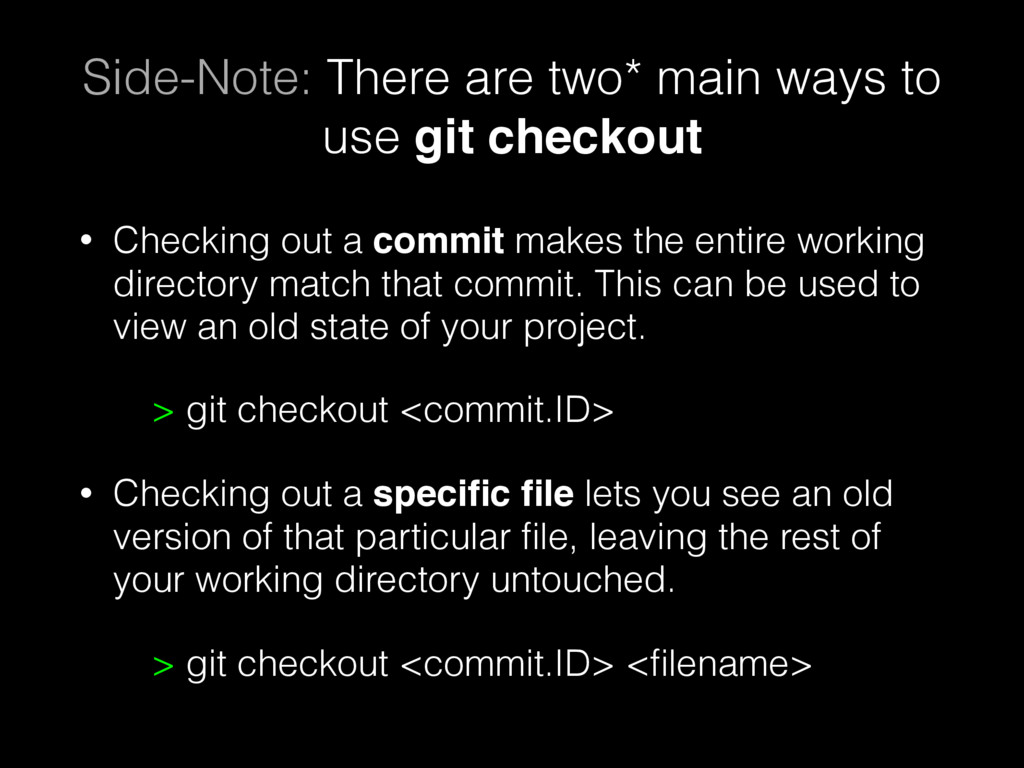
- Important Git commands (init, add, commit, status, log, diff, blame, checkout)
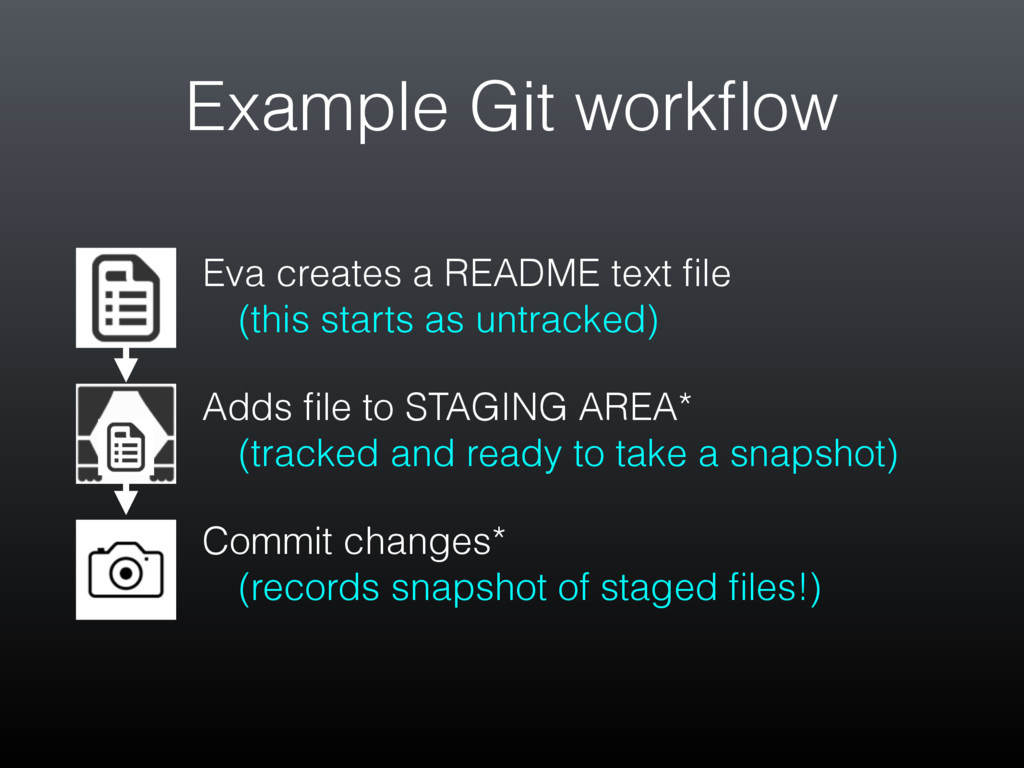
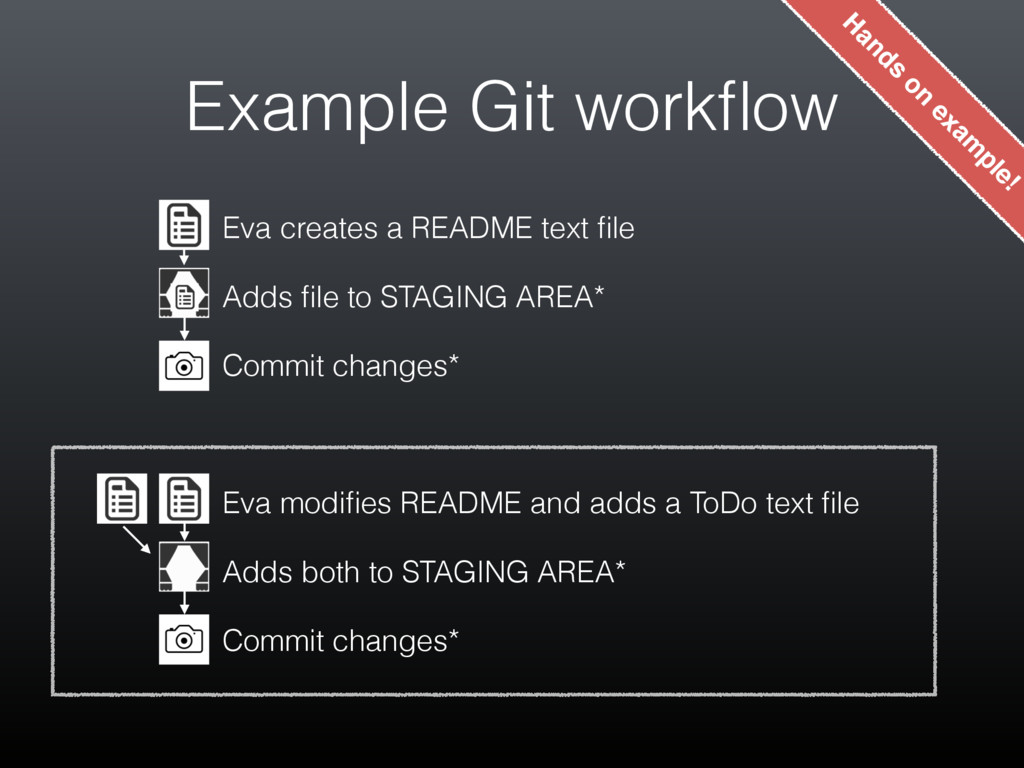
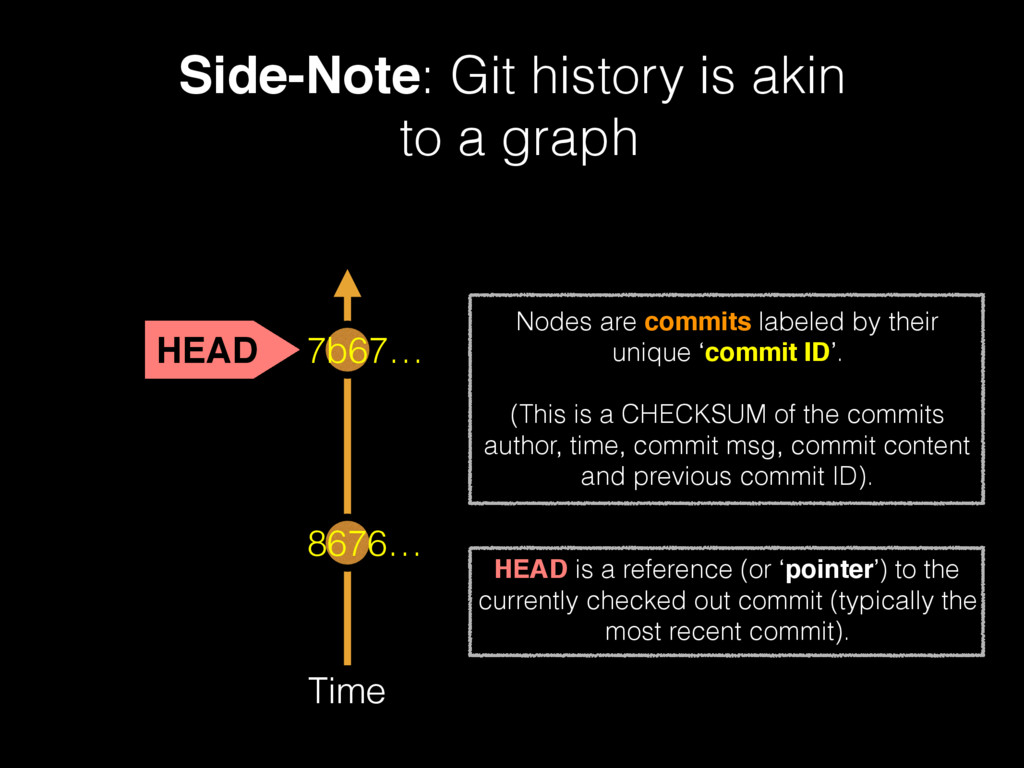
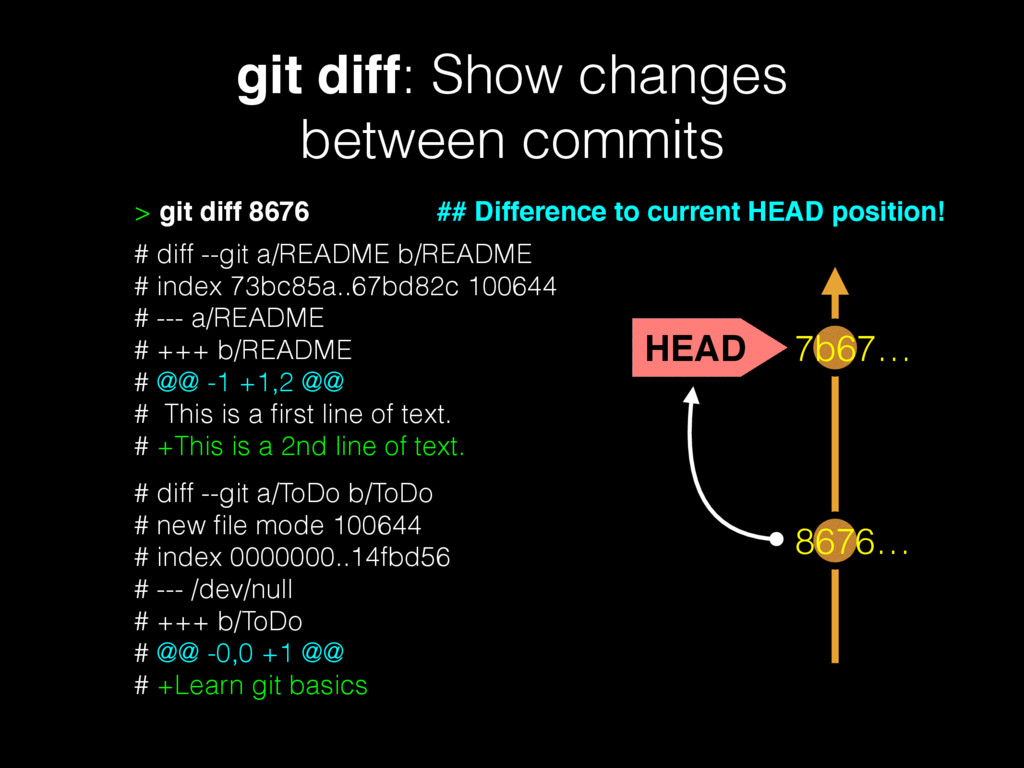
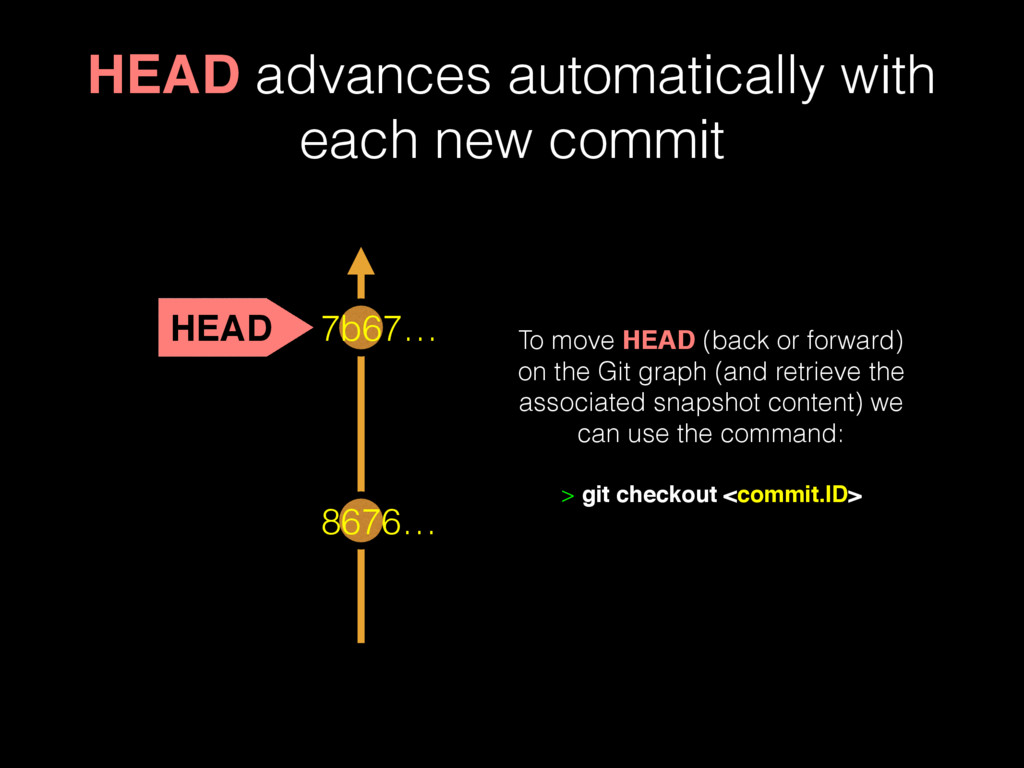
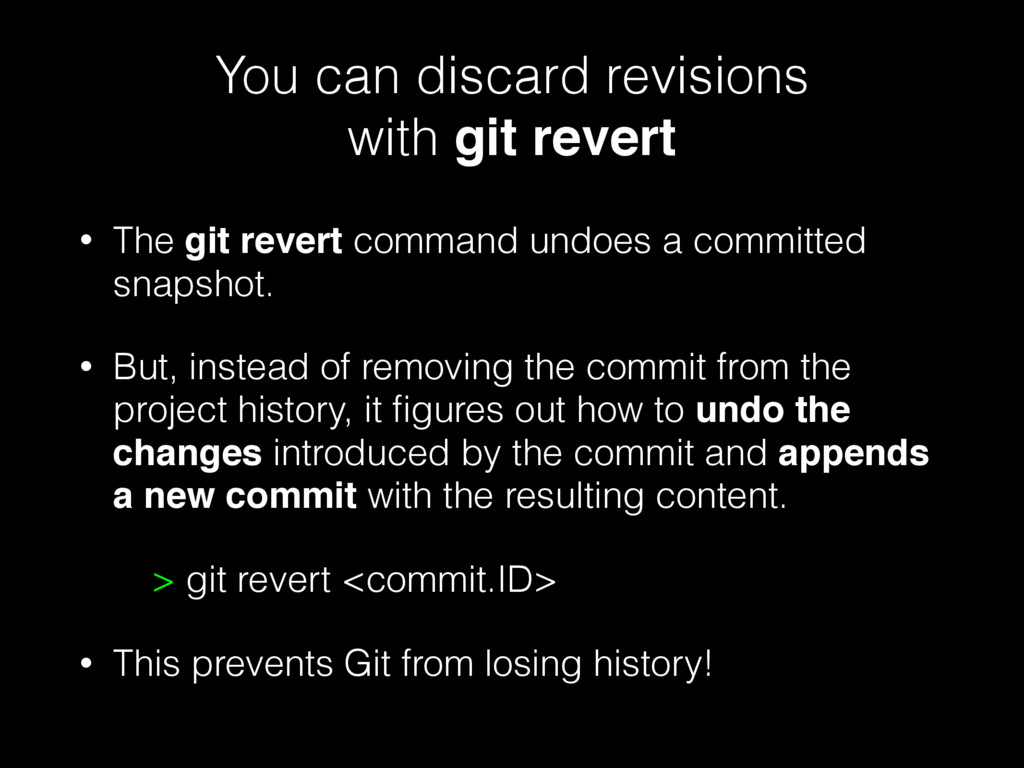
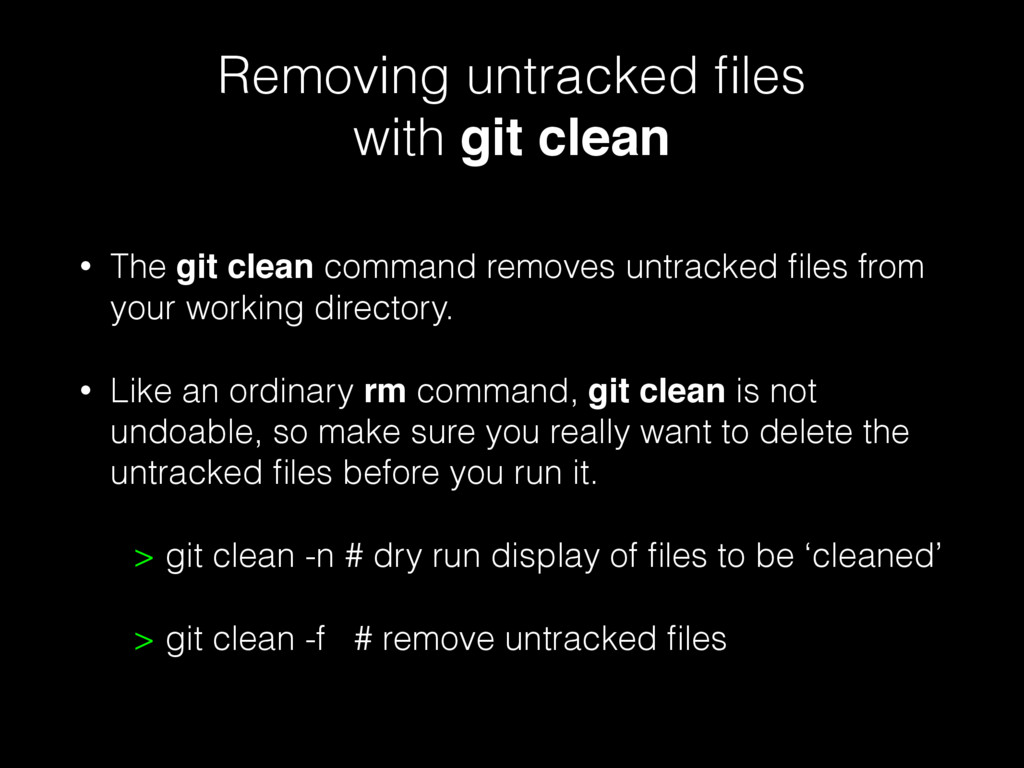
- Git workflows (the HEAD pointer, undo, stash, clean)
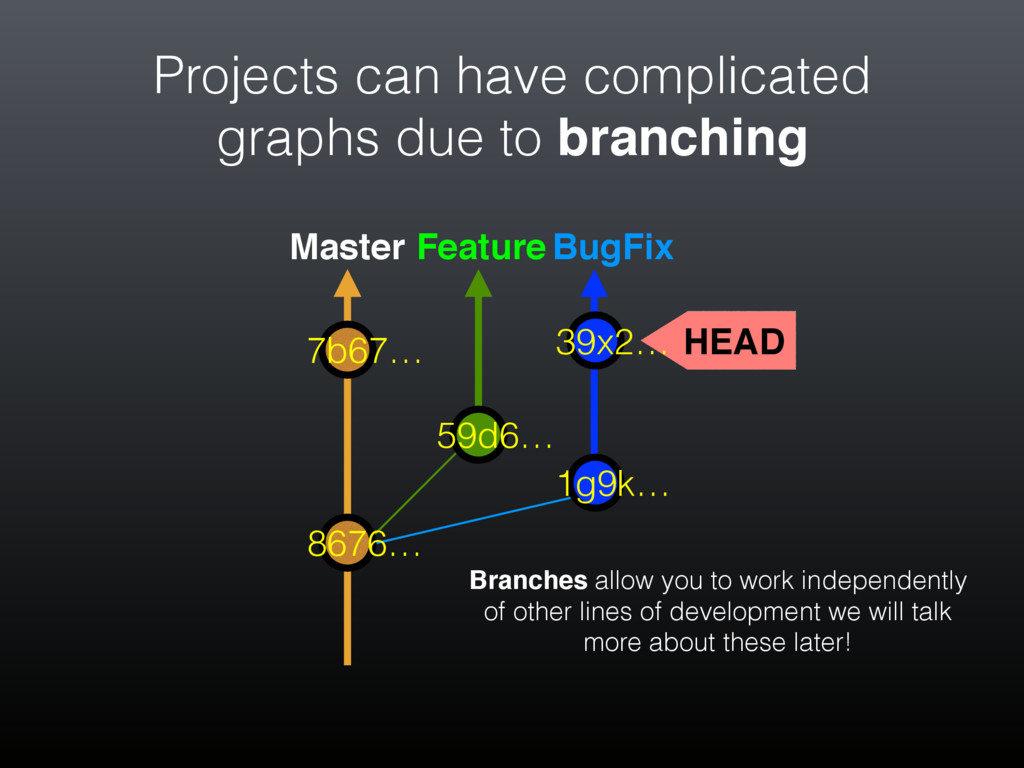
- Git branches
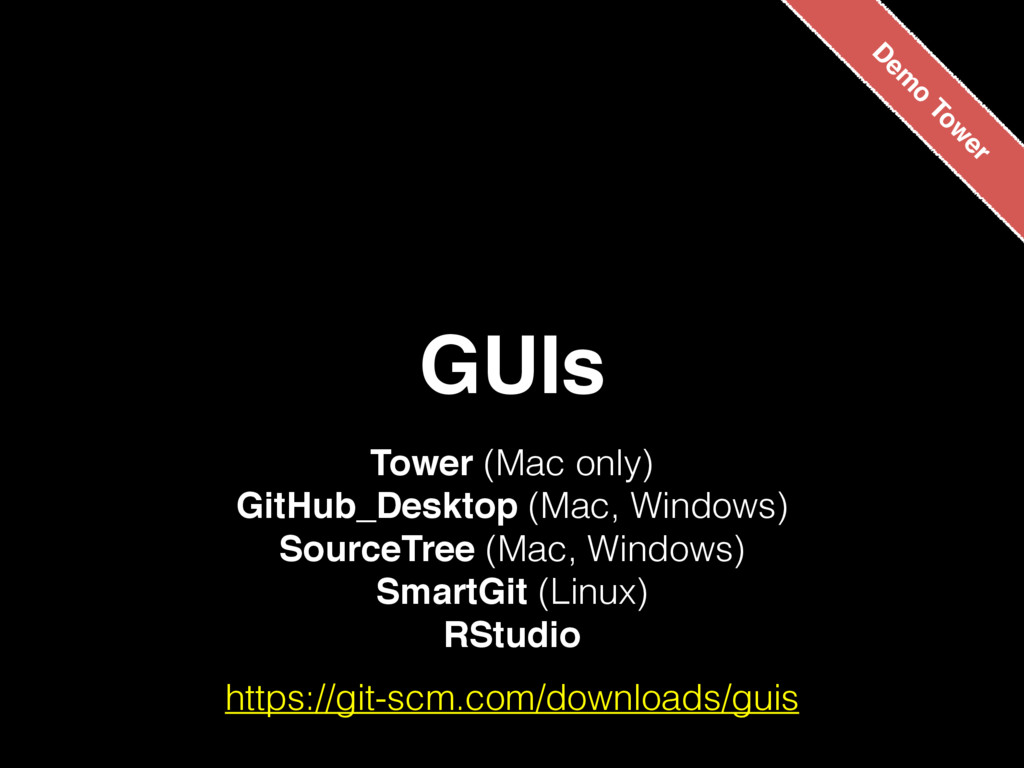
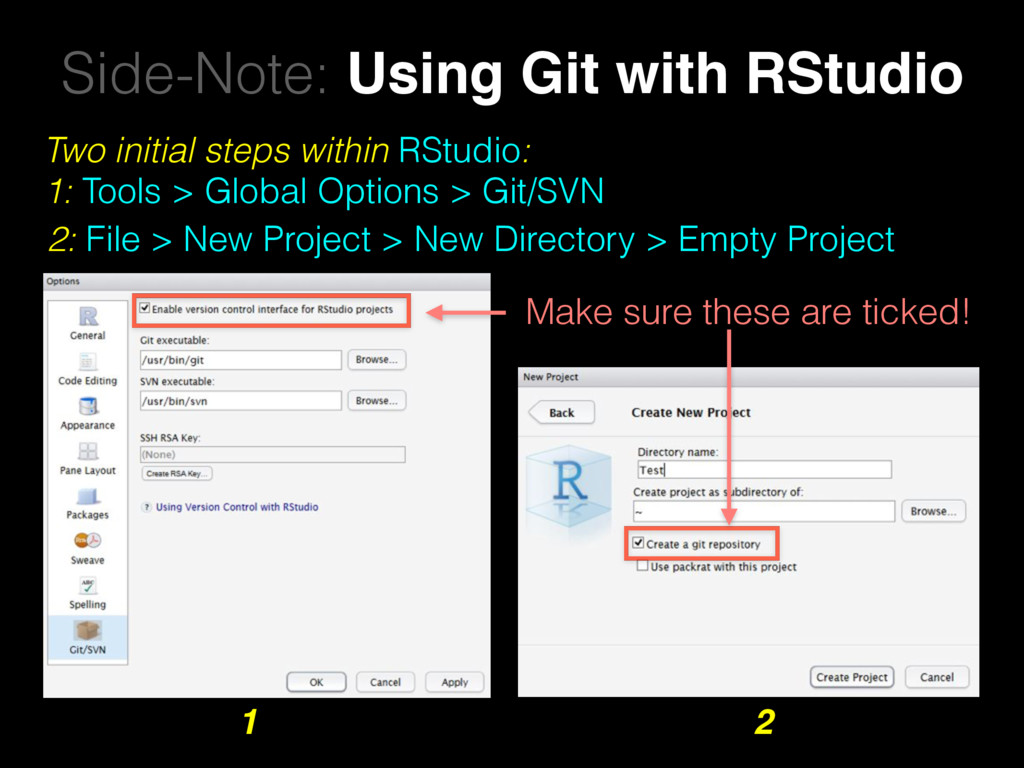
- GUIs
![Barry Grant [email protected] http://thegrantlab.org](https://files.speakerdeck.com/presentations/a425896cbc574c06882a05a27a23a690/slide_0.jpg)