Learn Xamarin Absolute Beginners - Permissions, Building the App GUI & Menus
Introduces you to Xamarin.Android development. In this class we will examine the tools you will use, Xamarin.Android projects, and Android fundamentals that every developer needs to know to be successful in building Android apps!
perform any operations that would have an effect on the user or the operating system. In order for an App to perform a task, it must declare the permissions. The App cannot perform the task until the permission are granted by the Android system. This mechanism of permissions stops applications from doing as they wish without the user’s constent.
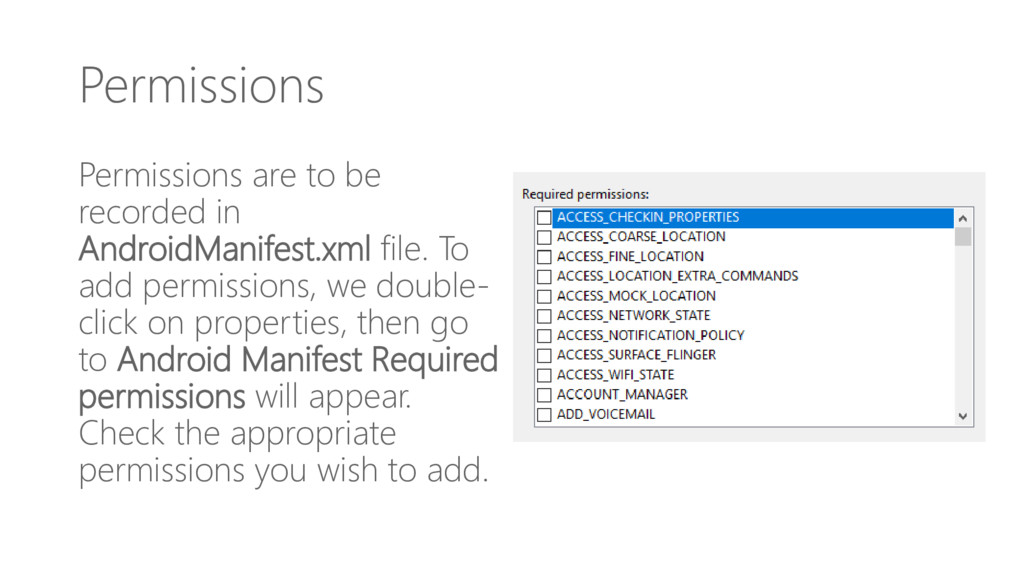
add permissions, we double- click on properties, then go to Android Manifest Required permissions will appear. Check the appropriate permissions you wish to add.
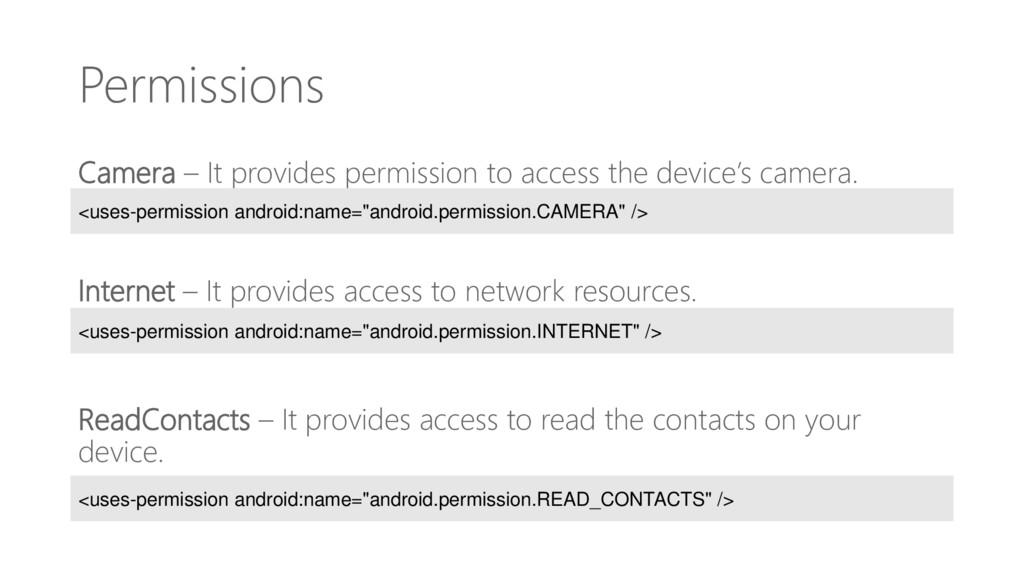
camera. Internet – It provides access to network resources. ReadContacts – It provides access to read the contacts on your device. <uses-permission android:name="android.permission.CAMERA" /> <uses-permission android:name="android.permission.INTERNET" /> <uses-permission android:name="android.permission.READ_CONTACTS" />
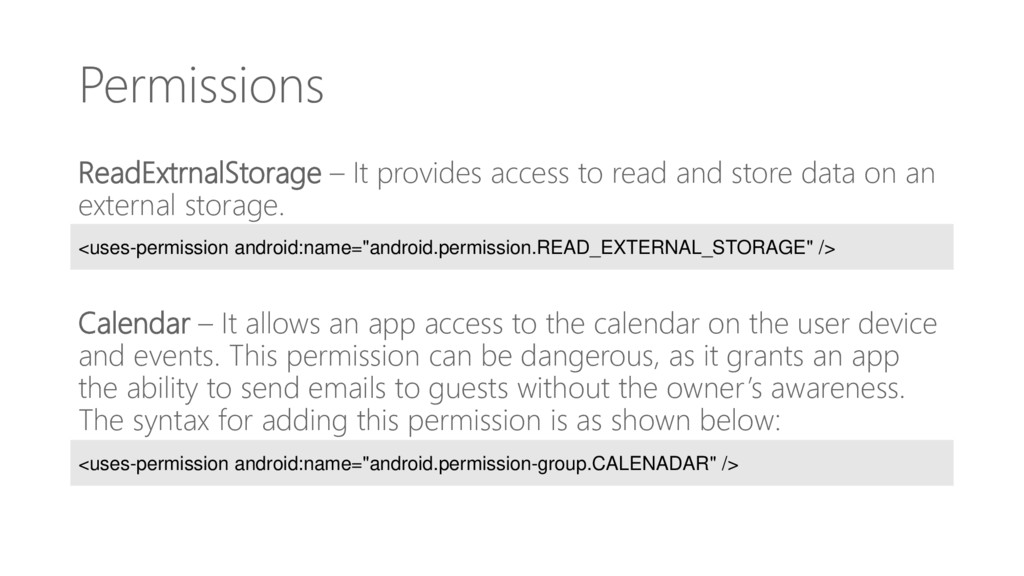
data on an external storage. Calendar – It allows an app access to the calendar on the user device and events. This permission can be dangerous, as it grants an app the ability to send emails to guests without the owner’s awareness. The syntax for adding this permission is as shown below: <uses-permission android:name="android.permission.READ_EXTERNAL_STORAGE" /> <uses-permission android:name="android.permission-group.CALENADAR" />
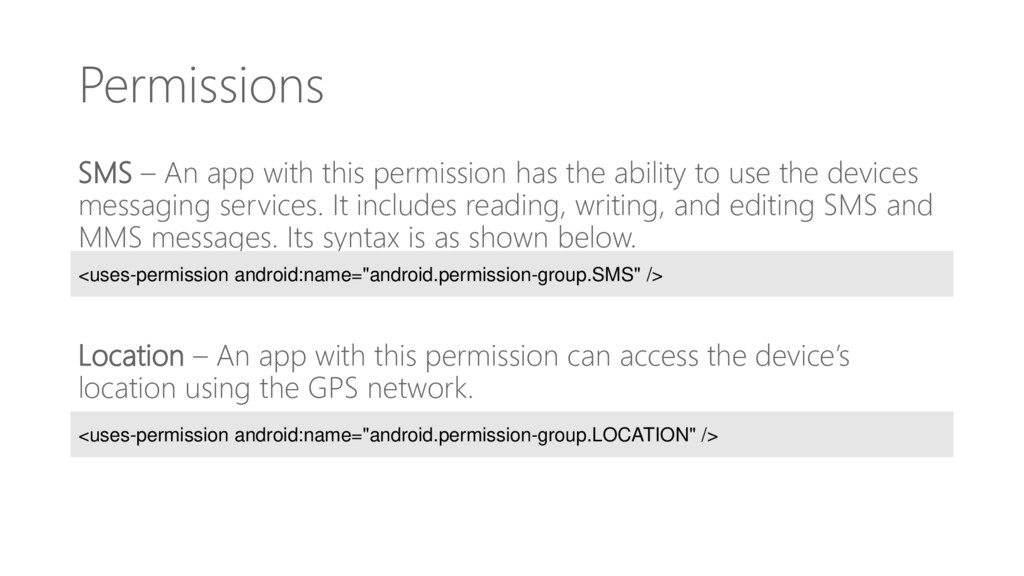
ability to use the devices messaging services. It includes reading, writing, and editing SMS and MMS messages. Its syntax is as shown below. Location – An app with this permission can access the device’s location using the GPS network. <uses-permission android:name="android.permission-group.SMS" /> <uses-permission android:name="android.permission-group.LOCATION" />
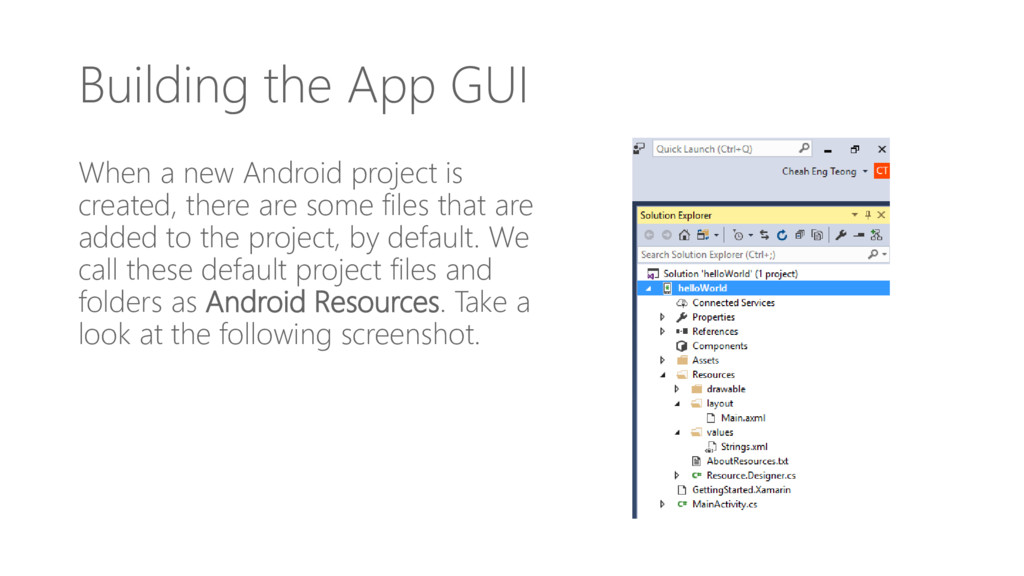
created, there are some files that are added to the project, by default. We call these default project files and folders as Android Resources. Take a look at the following screenshot.
AndroidManifest.xml file – It contains information about your Android applications, e.g. the application name, permissions, etc. Resources folder - Resources can be images, layouts, strings, etc. that can be loaded via Android’s resource system.
the images that you are going to use in your application. Resources / layout folder -It contains all the Android XML file (.axml) that Android uses to build user interfaces. The Resources / value folder - It contains XML files to declare key- value pairs for strings (and other types) throughout an application. This is how localization for multiple languages is normally set up on Android.
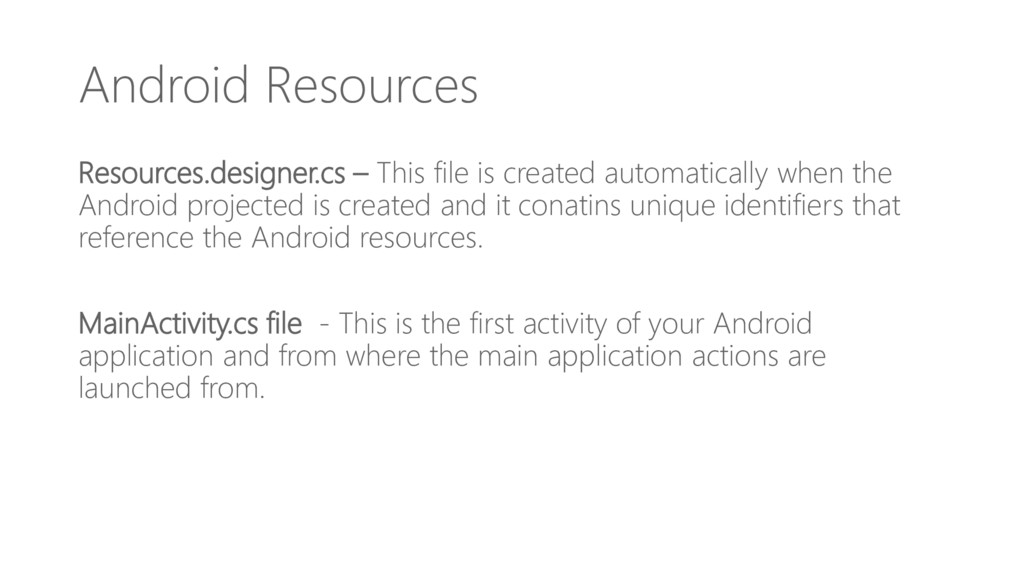
the Android projected is created and it conatins unique identifiers that reference the Android resources. MainActivity.cs file - This is the first activity of your Android application and from where the main application actions are launched from.
unique ID which is stored in the resources.designer.cs file. The ID is contained user a class call Resource. Any resource added to the project is automatically generated inside the resource class.
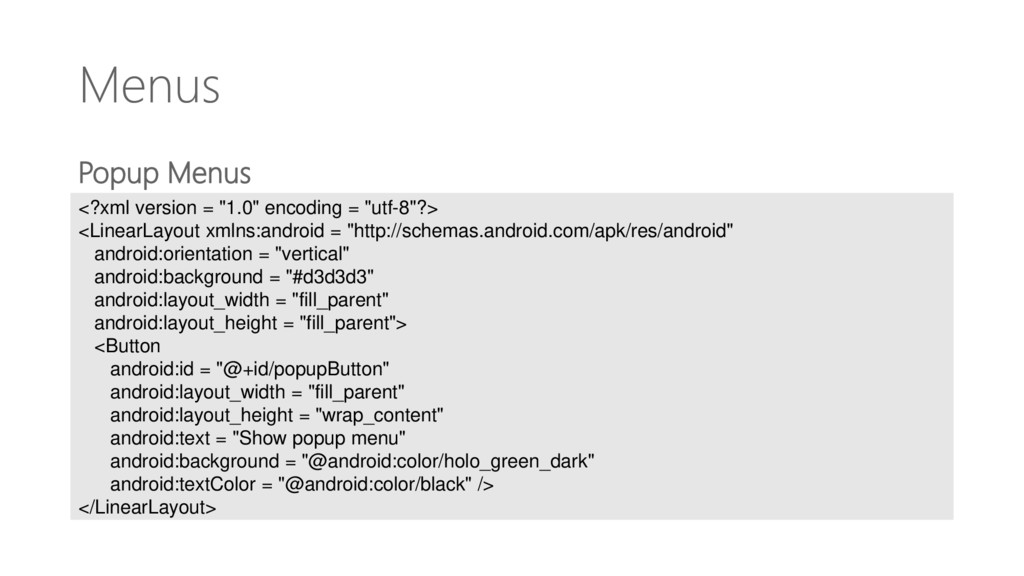
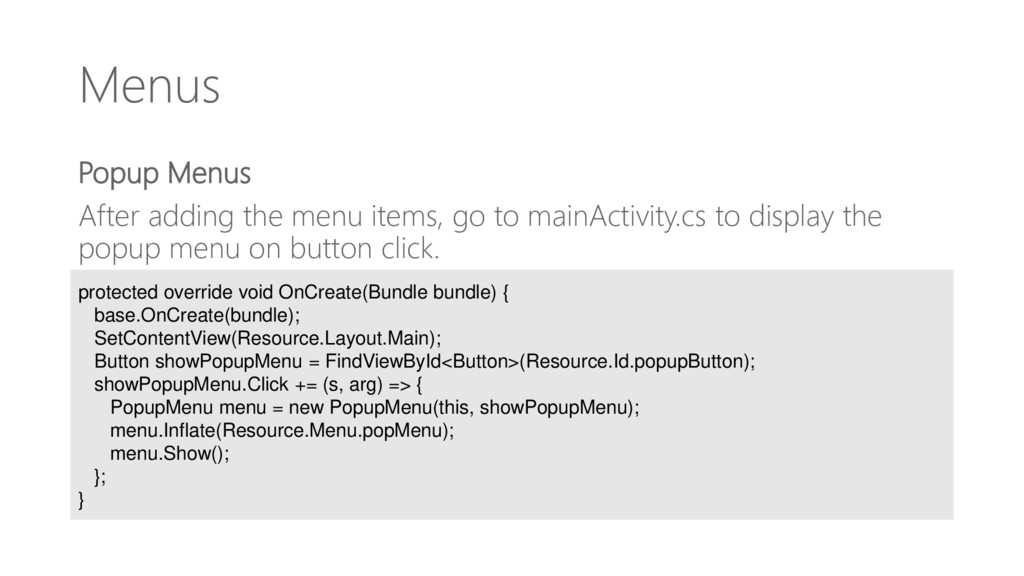
that is attached to a view; it is also referred to as a shortcut menu. Let’s see how to add a popup menu to an Android App. Create a new project and call popUpMenu App. Open Main.axml and create a button which will be used to display the popup menu.
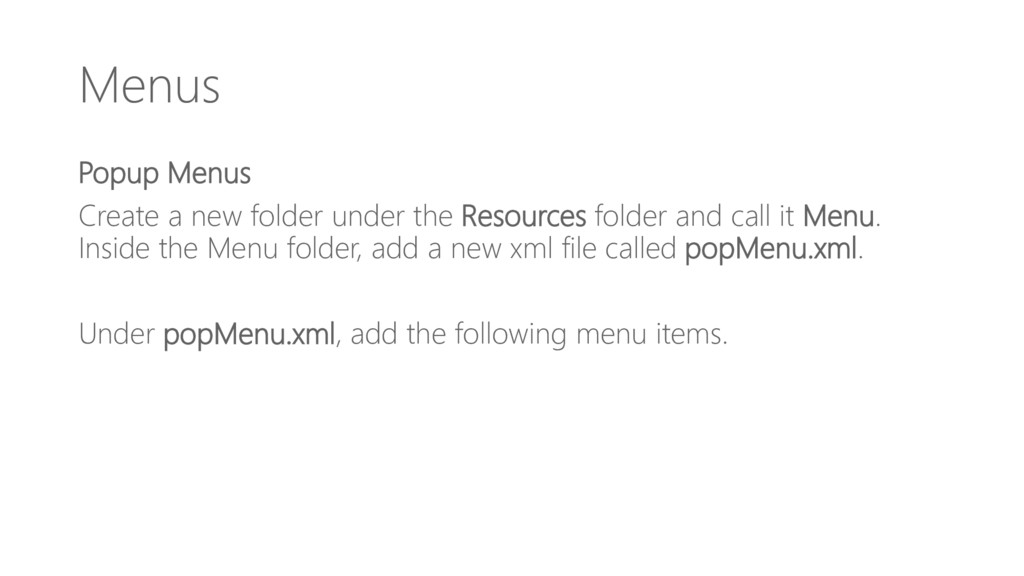
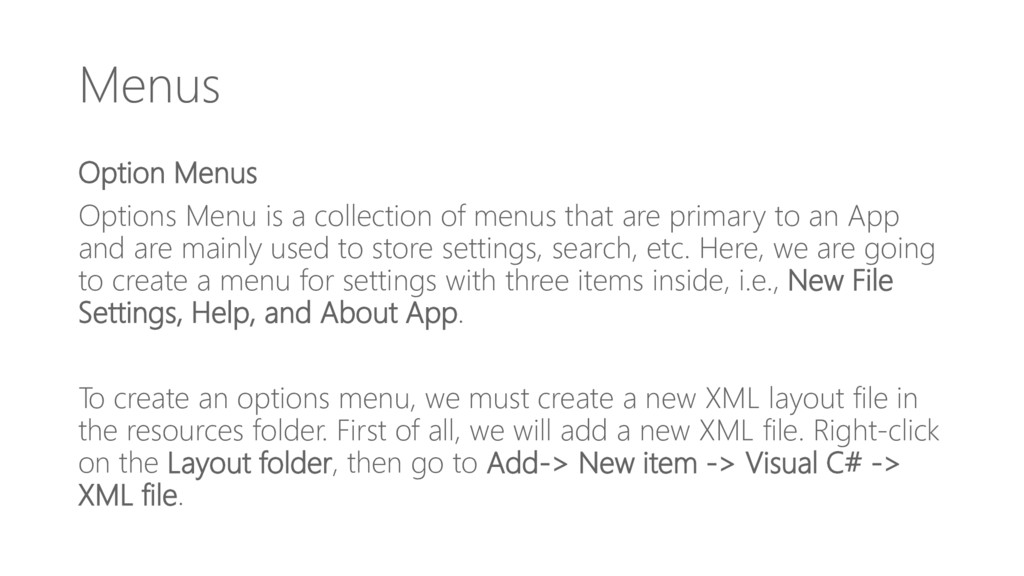
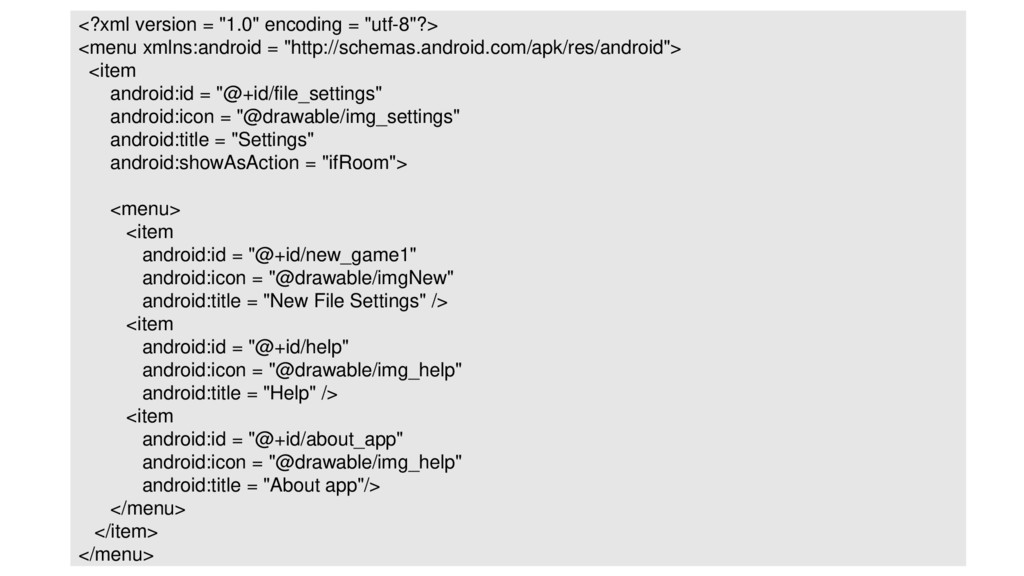
that are primary to an App and are mainly used to store settings, search, etc. Here, we are going to create a menu for settings with three items inside, i.e., New File Settings, Help, and About App. To create an options menu, we must create a new XML layout file in the resources folder. First of all, we will add a new XML file. Right-click on the Layout folder, then go to Add-> New item -> Visual C# -> XML file.
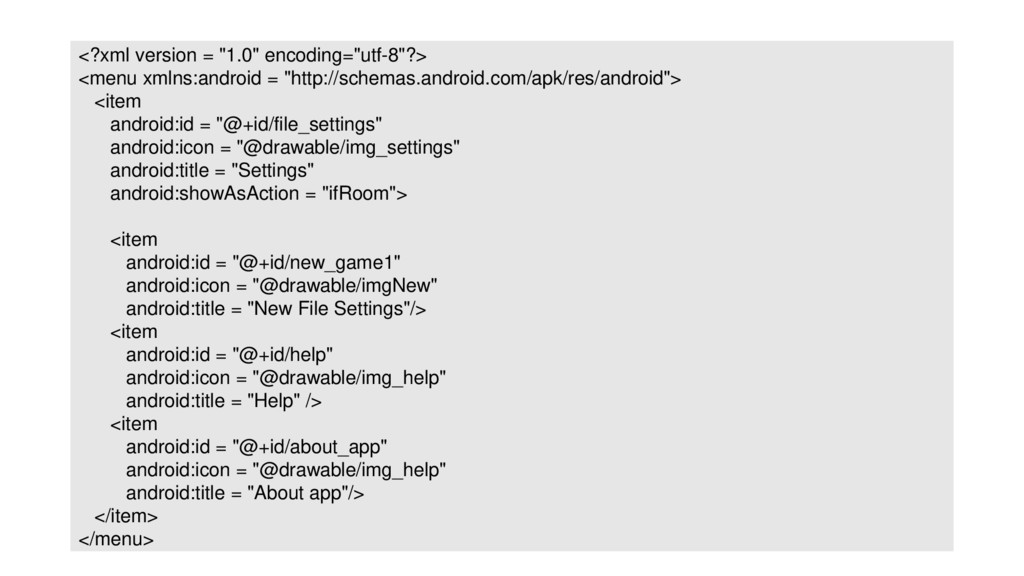
file. In our example, we will call our file myMenu.xml. Inside myMenu.xml, we are going to create a new menu and add items inside. The following code shows how to do it.
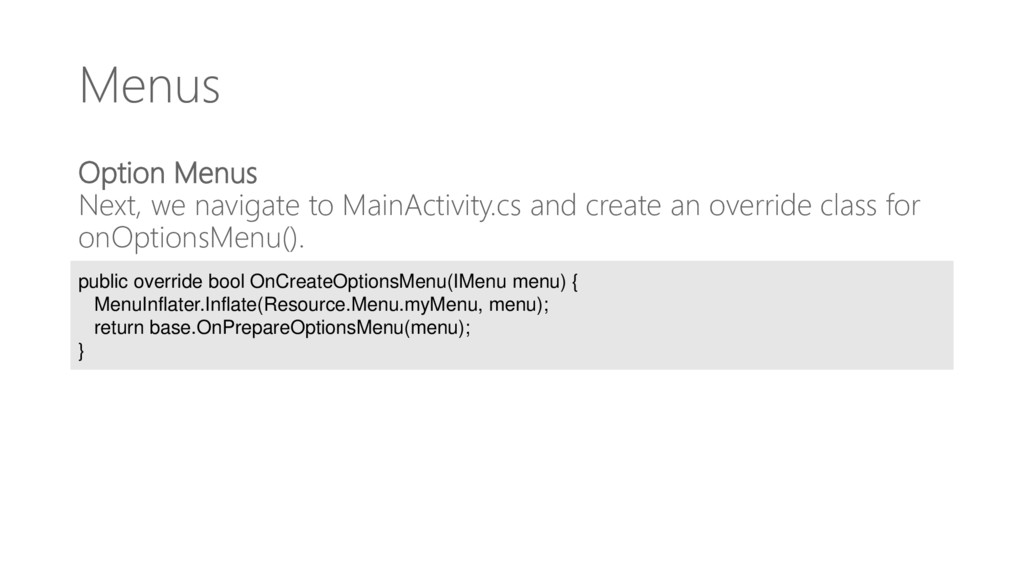
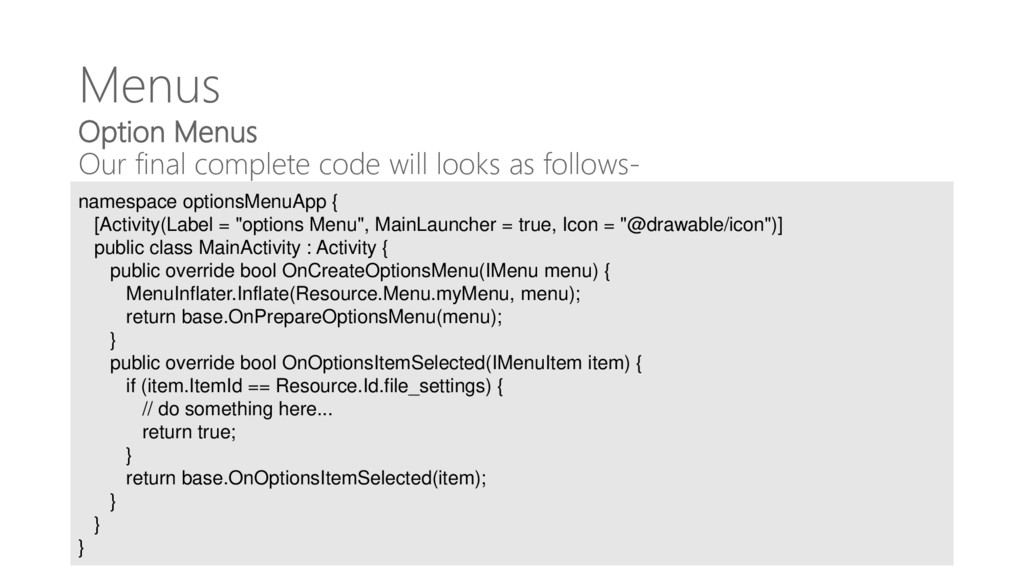
an override class for onOptionsMenu(). public override bool OnCreateOptionsMenu(IMenu menu) { MenuInflater.Inflate(Resource.Menu.myMenu, menu); return base.OnPrepareOptionsMenu(menu); }
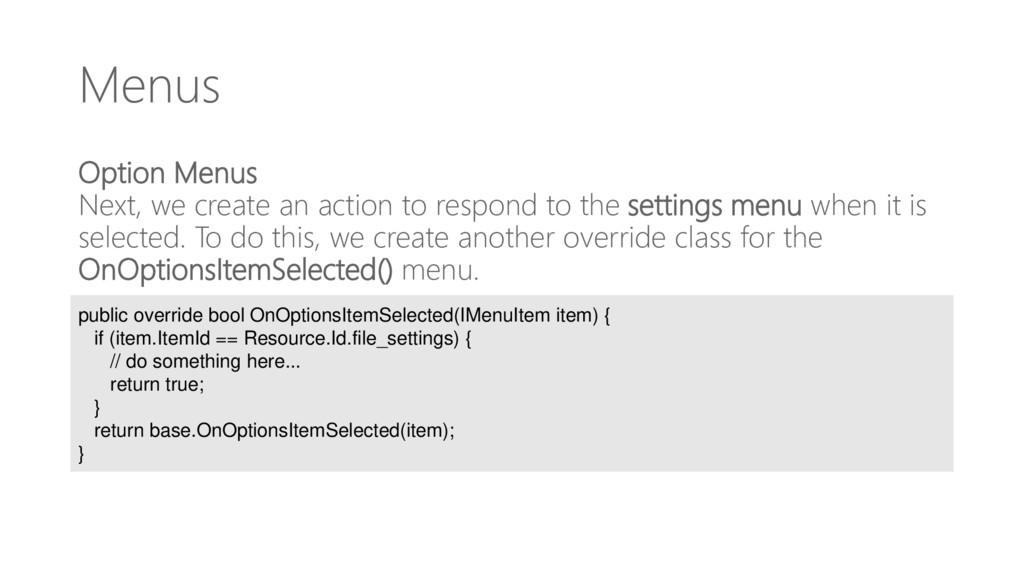
to the settings menu when it is selected. To do this, we create another override class for the OnOptionsItemSelected() menu. public override bool OnOptionsItemSelected(IMenuItem item) { if (item.ItemId == Resource.Id.file_settings) { // do something here... return true; } return base.OnOptionsItemSelected(item); }