Share
Embed
Android 101 - Hackatron.org
Let's start with the basics of Android development.
Alessandro Calzavara
November 11, 2014
Transcript
28 slides
-
What’s inside an Android app The project will have •
Java files • C files (optional, NDK required) • XML files (a lot of them) • images and other resource files And, at the end, finally • apk file -
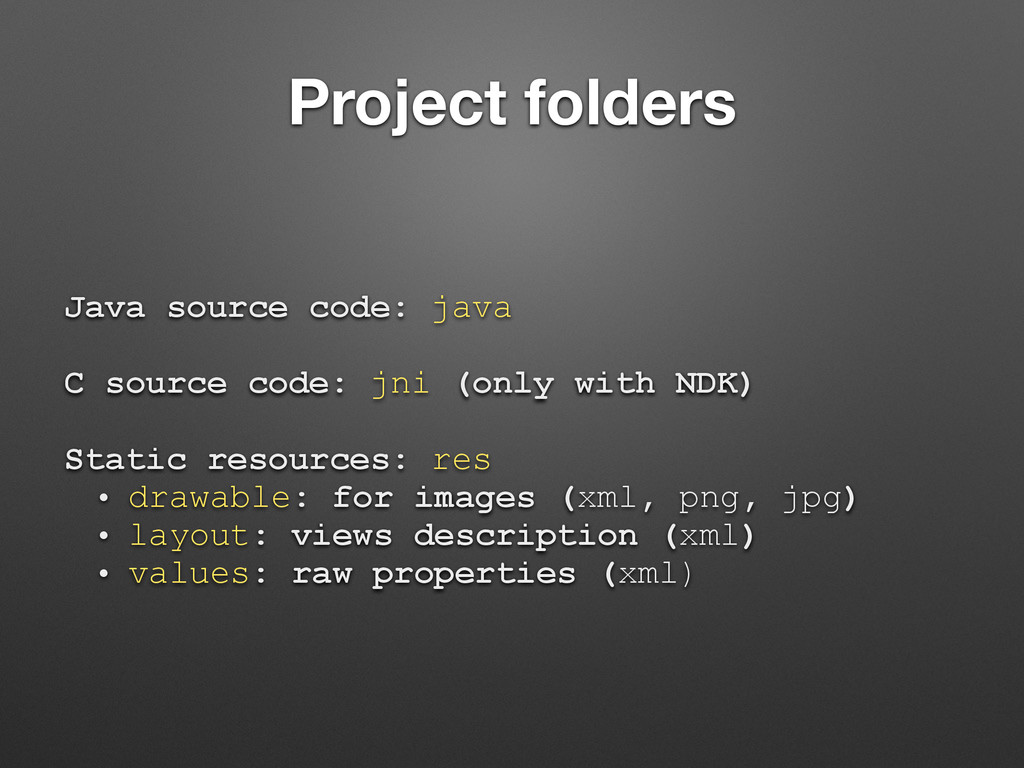
Project folders Java source code: java C source code: jni
(only with NDK) Static resources: res • drawable: for images (xml, png, jpg) • layout: views description (xml) • values: raw properties (xml) -
Alternative resources • Using a suffix on a folder, its
content will override the “default” one • No need to override everything • Per screen density (drawable-mdpi, drawable-hdpi, etc) • Per device sizes (layout-sw600dp, layout- h560dp, etc) • Per language (values-it, values-es, etc) • Mixed (drawable-sw600dp-xxhpi) -
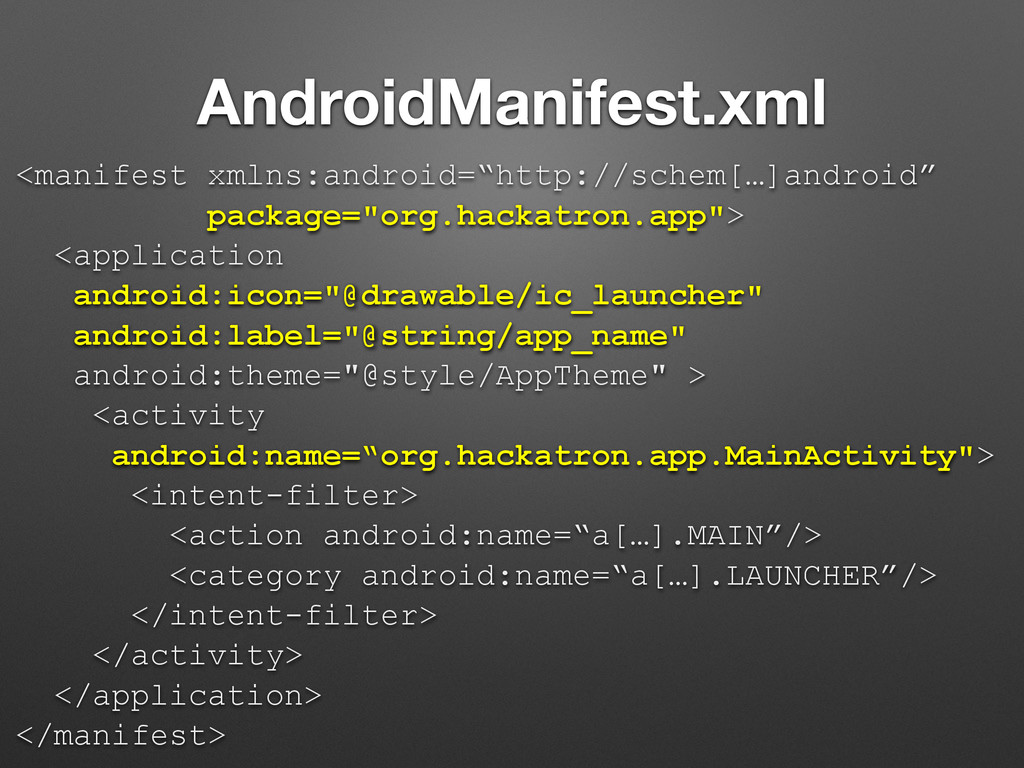
On the root folder AndroidManifest.xml • Unique ID of the
app (package) • Name and icon • Main (launching) activity • Required permissions -
AndroidManifest.xml <manifest xmlns:android=“http://schem[…]android” package="org.hackatron.app"> <application android:icon="@drawable/ic_launcher" android:label="@string/app_name" android:theme="@style/AppTheme" > <activity
android:name=“org.hackatron.app.MainActivity"> <intent-filter> <action android:name=“a[…].MAIN”/> <category android:name=“a[…].LAUNCHER”/> </intent-filter> </activity> </application> </manifest> -
On the root folder Gradle files (if you use Android
Studio IDE) • build.gradle • gradle/ • gradle.properties • gradlew • gradle.bat • settings.gradle -
Gradle: the building system Combines Ant and Maven with a
declarative language (Groovy based) You can define tasks (with dependencies) and execute them ./gradlew assembleRelease -
Gradle: what it’s look like apply plugin: 'com.android.application' android {
compileSdkVersion 21 buildToolsVersion "21.1.0" defaultConfig { applicationId "org.hackatron.cfpapp" minSdkVersion 15 targetSdkVersion 21 […] } […] } […] -
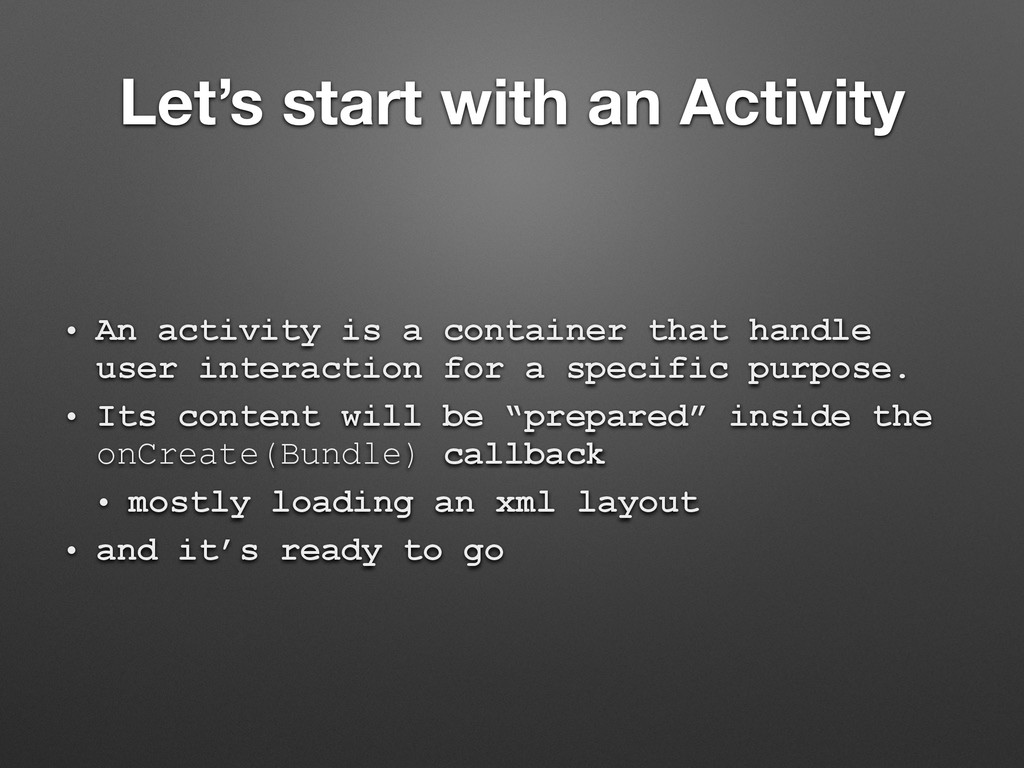
Let’s start with an Activity • An activity is a
container that handle user interaction for a specific purpose. • Its content will be “prepared” inside the onCreate(Bundle) callback • mostly loading an xml layout • and it’s ready to go -
View in xml, logic in java • View components (and
their relationships) are described inside a layout (.xml) file • use attributes, strings and styles • View with ID can be fetch by the activity findViewById(R.id.main_list); • Reusable UI (also across other layouts) -
A layout file <RelativeLayout xmlns:android="http:// schemas.android.com/apk/res/android" android:layout_width=“match_parent" android:layout_height="match_parent"> <ListView android:id="@+id/main_list"
android:layout_width="match_parent" android:layout_height="match_parent" /> </RelativeLayout> -
Styles • Skin UI • Split UI style from UI
elements • Share common values across styles • style property <Button android:layout_width="wrap_content" android:layout_height="wrap_content" android:text="OK" style=“@style/MyButton" /> -
Inside a values/*.xml file <style name=“EditingButton.Ok" parent=“Button.Yellow"> <item name=“android:drawableLeft"> @drawable/icon_editing_confirm</item>
<item name=“android:gravity"> center</item> <item name=“android:text"> @android:string/ok</item> </style> -
Fragments: lighter Activity • A Fragment is a piece of
UI that can be placed in an Activity (through FragmentManager). • Fragment is closely tied to the Activity it is in (lifecycle dependency) • and can not be used apart from one. • Specialized piece of a larger Activity • Reusable logic. -
Activity lifecycle Activity launched onCreate() onResume() Activity running Activity shut
down onStop() onPause() onStart() onDestroy() -
Fragment lifecycle Fragment is added onAttach() Fragment is active Fragment
is destroyed onCreate() onCreateView() onActivityCreated() onStart() onResume() onDetach() onDestroy() onDestroyView() onStop() onPause() -
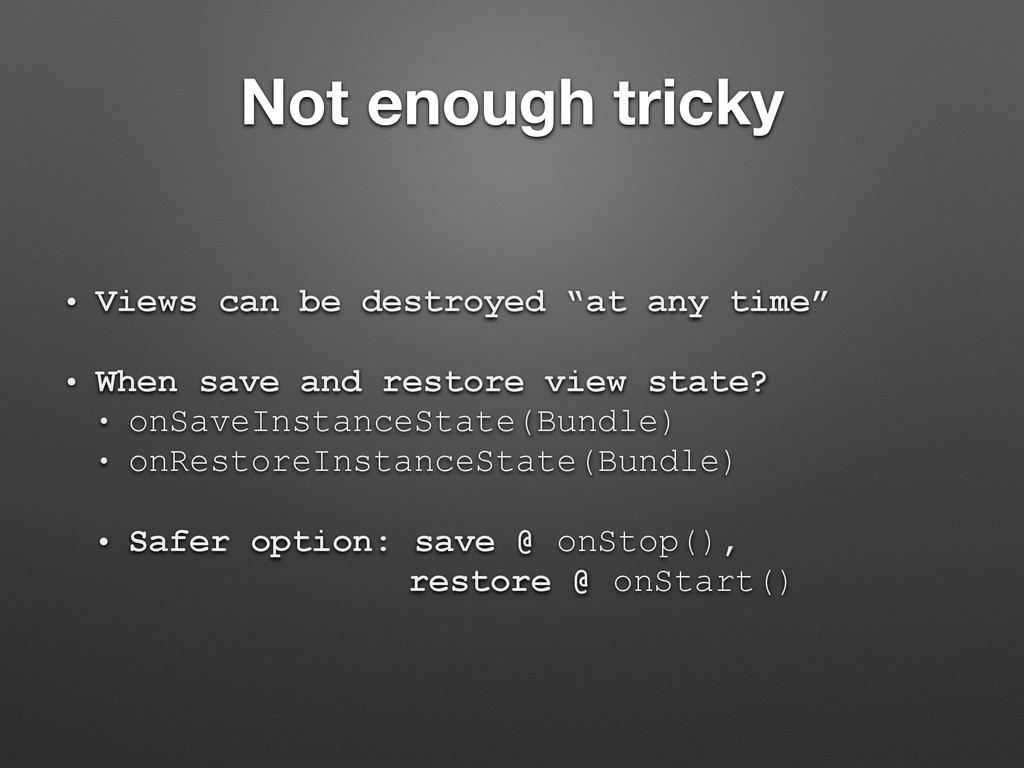
Not enough tricky • Views can be destroyed “at any
time” • When save and restore view state? • onSaveInstanceState(Bundle) • onRestoreInstanceState(Bundle) • Safer option: save @ onStop(), restore @ onStart() -
Start another activity • Activity must be declared in the
AndroidManifest.xml to be launched (!) • Create an intent, with the activity class, then start it Intent create = new Intent(this, HelloActivity.class); startActivity(create); • if the activity returns something startActivityForResult(Intent, int) -
Return the result • Create (or reuse) an Intent to
store the result Intent data = new Intent(); data.putExtra(“res", field.getText()); • Set the result of the activity setResult(RESULT_OK, data); Terminate the activity finish(); -
Catch it @Override protected void onActivityResult(int requestCode, int resultCode, Intent
data) { if (requestCode == REQUEST_CREATE && resultCode == RESULT_OK) { // Do something with data extras Log.i(TAG, data.getStringExtra(“res”)); return; } super.onActivityResult(requestCode, resultCode, data); } -
Populate a ListView • An Adapter is responsible for storing
and display the content of a “list of things”. • Reflect data changes to the view TodoAdapter adapter = new TodoAdapter(); ListView listView = (ListView) findViewById(R.id.main_list); listView.setAdapter(adapter); -
Adapters • ArrayAdapter (static content only), CursorAdapter, SimpleAdapter, etc •
Extends your own from BaseAdapter (easy) • For each content item, choose the proper layout and “hydrate it” • If data changes, notifyDataSetChanged()