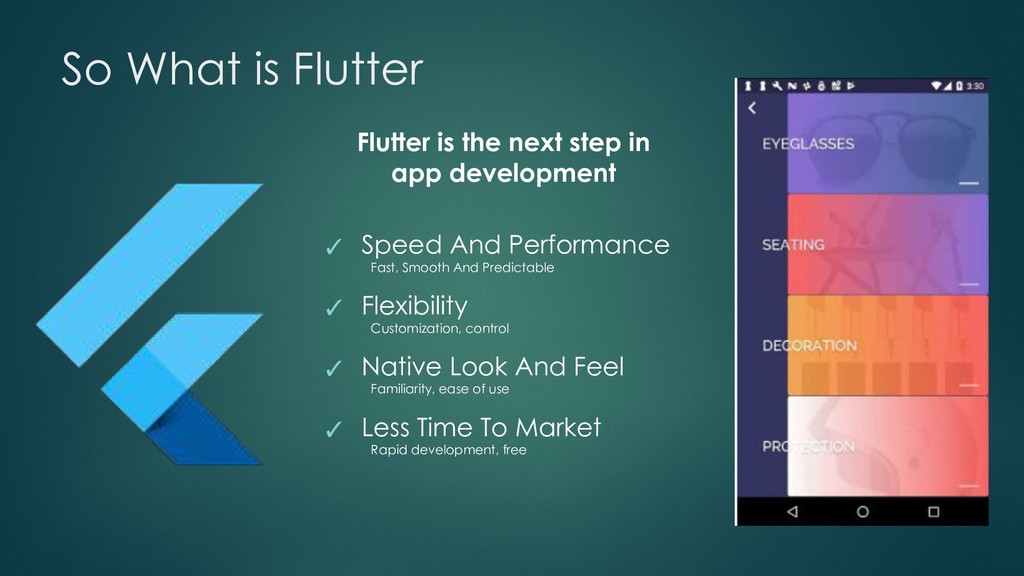
app development ✓ Speed And Performance Fast, Smooth And Predictable ✓ Flexibility Customization, control ✓ Native Look And Feel Familiarity, ease of use ✓ Less Time To Market Rapid development, free
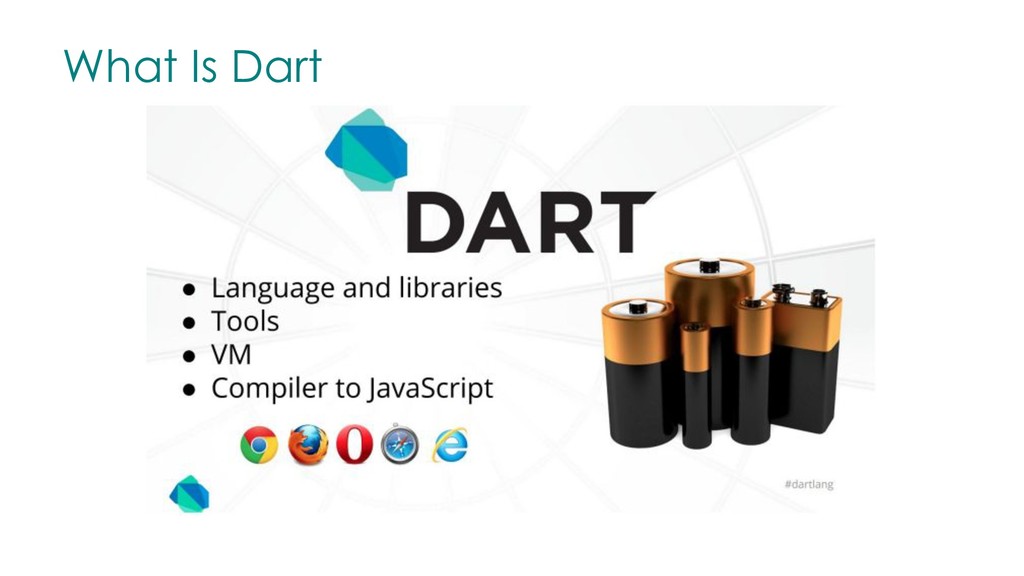
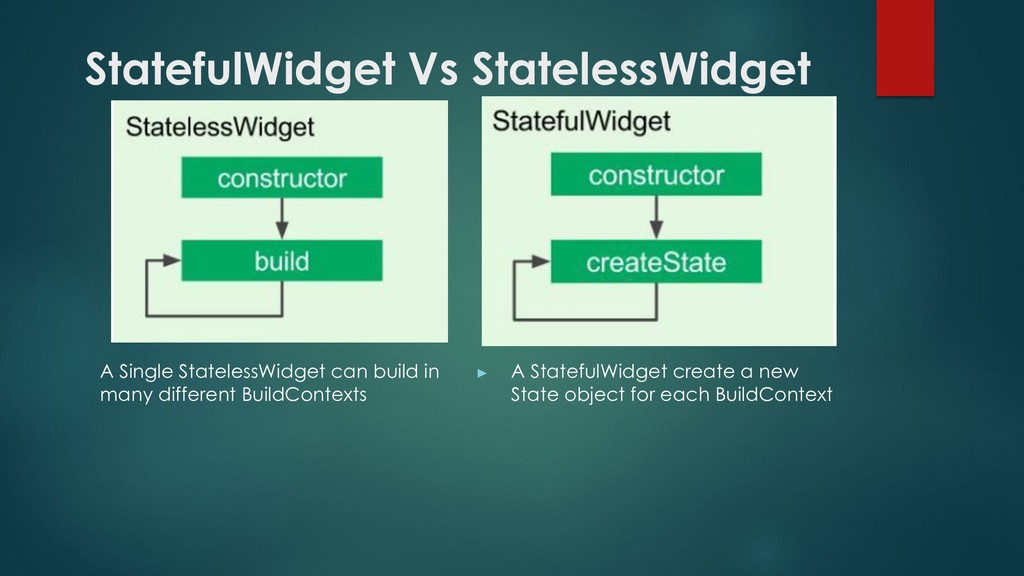
Google. ▶ Class-based, single-inheritance, object oriented language with C-style syntax. ▶ Supports interfaces, abstract classes, and optional typing(Dart 1) and strong typing (Dart 2).. One Language to rule them
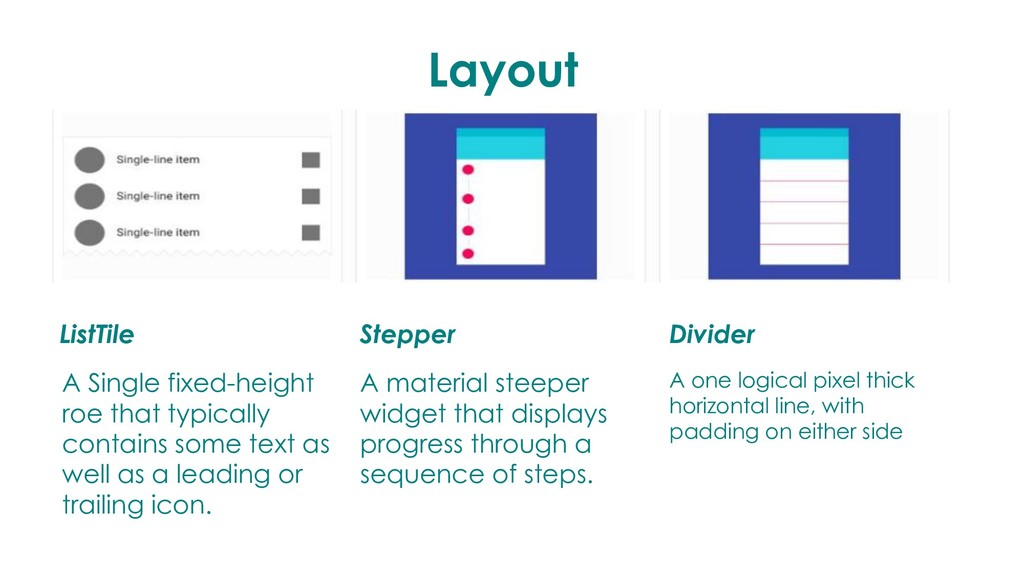
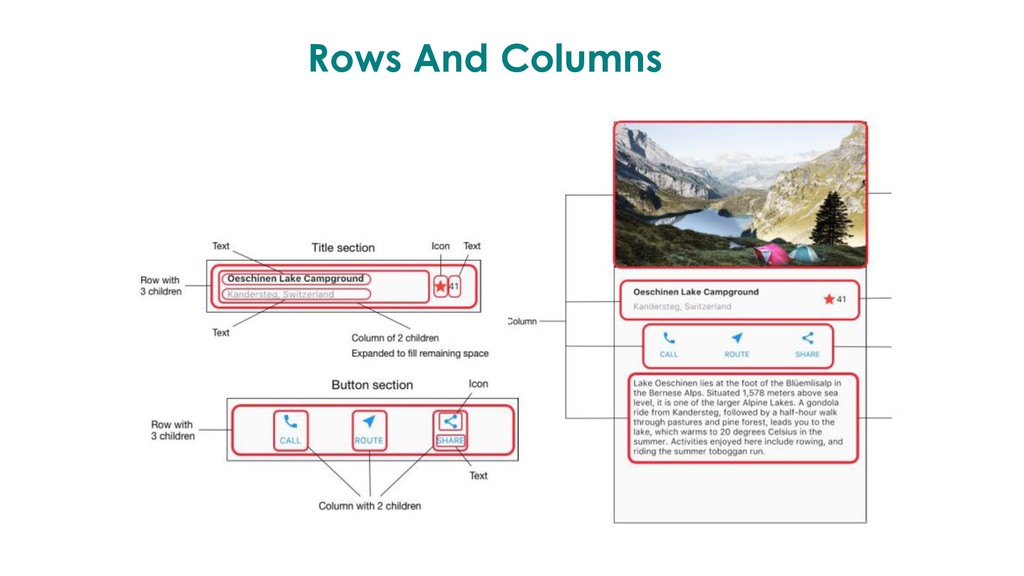
text as well as a leading or trailing icon. Stepper A material steeper widget that displays progress through a sequence of steps. Divider A one logical pixel thick horizontal line, with padding on either side
additional details or actions about a list item. For example they can display avatars icons clarifying subtext or orthogonal actions Alert Dialog Alerts are urgent interruptions requiring acknowledgement that inform the user about a situation. The Alert Dialog widget implement this component Bottom Sheet This slide up from the bottom of the screen to reveal more content. You can call showBottomSheet() to implement a persistent bottom sheet
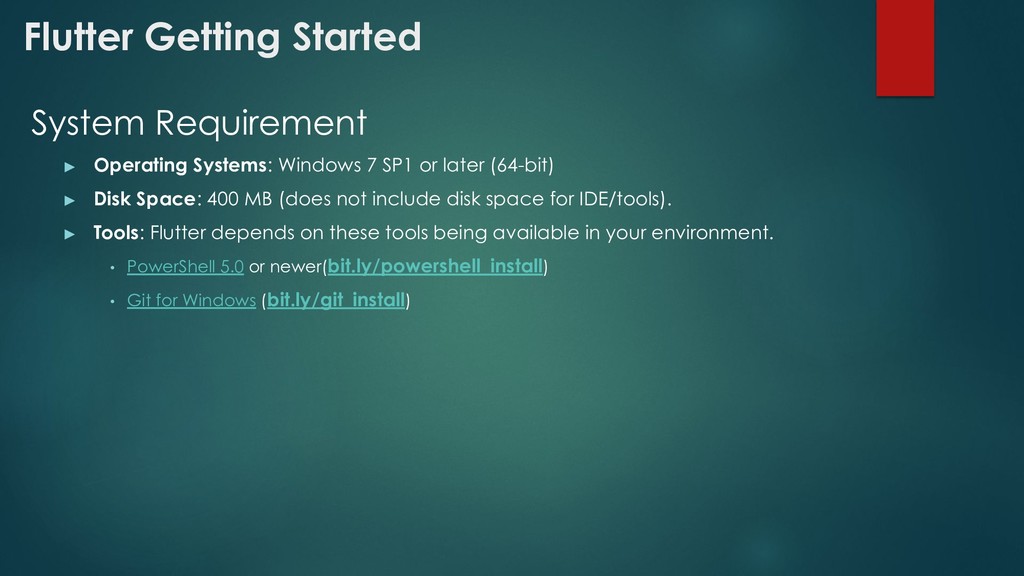
SP1 or later (64-bit) ▶ Disk Space: 400 MB (does not include disk space for IDE/tools). ▶ Tools: Flutter depends on these tools being available in your environment. • PowerShell 5.0 or newer(bit.ly/powershell_install) • Git for Windows (bit.ly/git_install)
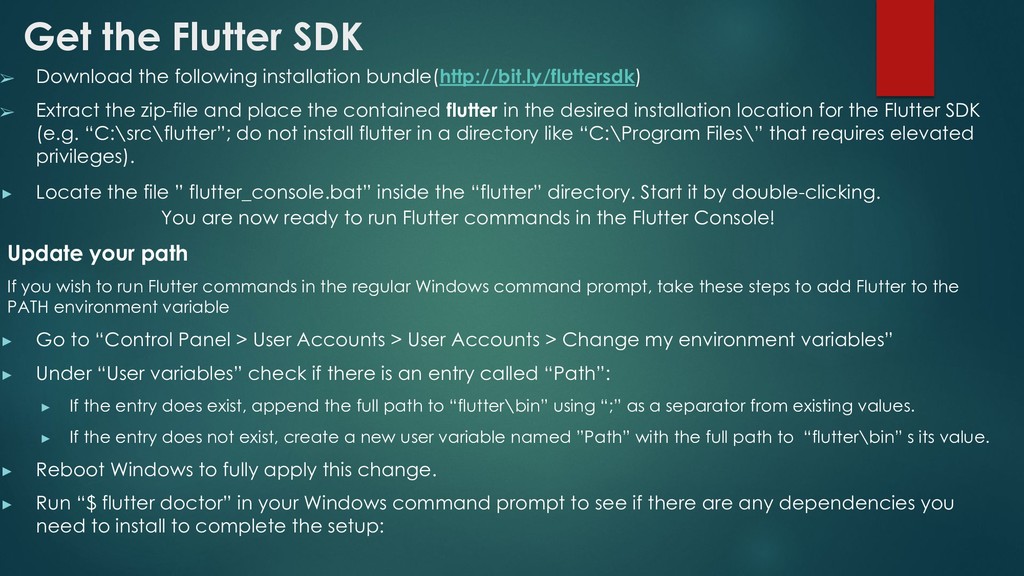
➢ Extract the zip-file and place the contained flutter in the desired installation location for the Flutter SDK (e.g. “C:\src\flutter”; do not install flutter in a directory like “C:\Program Files\” that requires elevated privileges). ▶ Locate the file ” flutter_console.bat” inside the “flutter” directory. Start it by double-clicking. You are now ready to run Flutter commands in the Flutter Console! Update your path If you wish to run Flutter commands in the regular Windows command prompt, take these steps to add Flutter to the PATH environment variable ▶ Go to “Control Panel > User Accounts > User Accounts > Change my environment variables” ▶ Under “User variables” check if there is an entry called “Path”: ▶ If the entry does exist, append the full path to “flutter\bin” using “;” as a separator from existing values. ▶ If the entry does not exist, create a new user variable named ”Path” with the full path to “flutter\bin” s its value. ▶ Reboot Windows to fully apply this change. ▶ Run “$ flutter doctor” in your Windows command prompt to see if there are any dependencies you need to install to complete the setup:
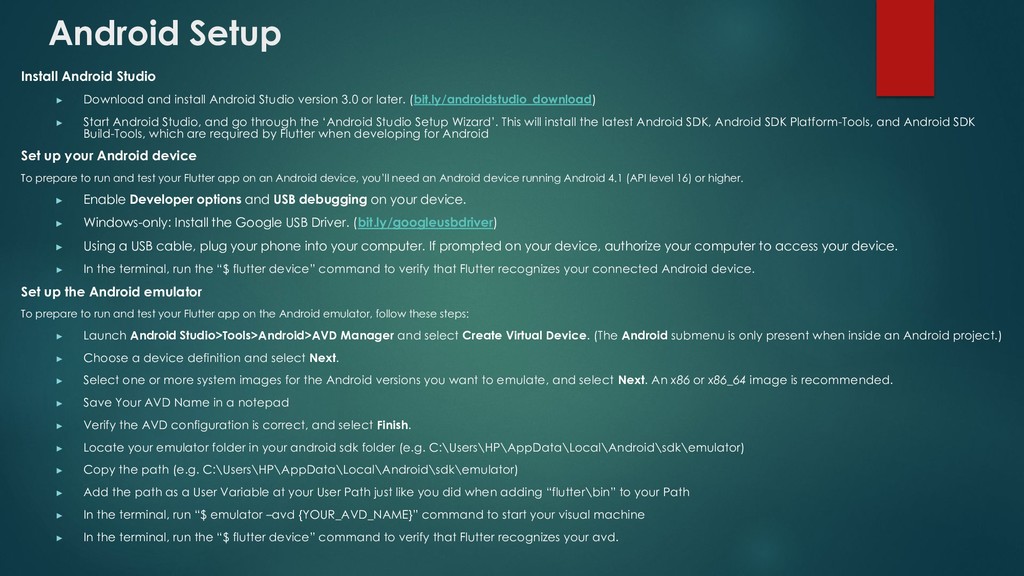
Studio version 3.0 or later. (bit.ly/androidstudio_download) ▶ Start Android Studio, and go through the ‘Android Studio Setup Wizard’. This will install the latest Android SDK, Android SDK Platform-Tools, and Android SDK Build-Tools, which are required by Flutter when developing for Android Set up your Android device To prepare to run and test your Flutter app on an Android device, you’ll need an Android device running Android 4.1 (API level 16) or higher. ▶ Enable Developer options and USB debugging on your device. ▶ Windows-only: Install the Google USB Driver. (bit.ly/googleusbdriver) ▶ Using a USB cable, plug your phone into your computer. If prompted on your device, authorize your computer to access your device. ▶ In the terminal, run the “$ flutter device” command to verify that Flutter recognizes your connected Android device. Set up the Android emulator To prepare to run and test your Flutter app on the Android emulator, follow these steps: ▶ Launch Android Studio>Tools>Android>AVD Manager and select Create Virtual Device. (The Android submenu is only present when inside an Android project.) ▶ Choose a device definition and select Next. ▶ Select one or more system images for the Android versions you want to emulate, and select Next. An x86 or x86_64 image is recommended. ▶ Save Your AVD Name in a notepad ▶ Verify the AVD configuration is correct, and select Finish. ▶ Locate your emulator folder in your android sdk folder (e.g. C:\Users\HP\AppData\Local\Android\sdk\emulator) ▶ Copy the path (e.g. C:\Users\HP\AppData\Local\Android\sdk\emulator) ▶ Add the path as a User Variable at your User Path just like you did when adding “flutter\bin” to your Path ▶ In the terminal, run “$ emulator –avd {YOUR_AVD_NAME}” command to start your visual machine ▶ In the terminal, run the “$ flutter device” command to verify that Flutter recognizes your avd.
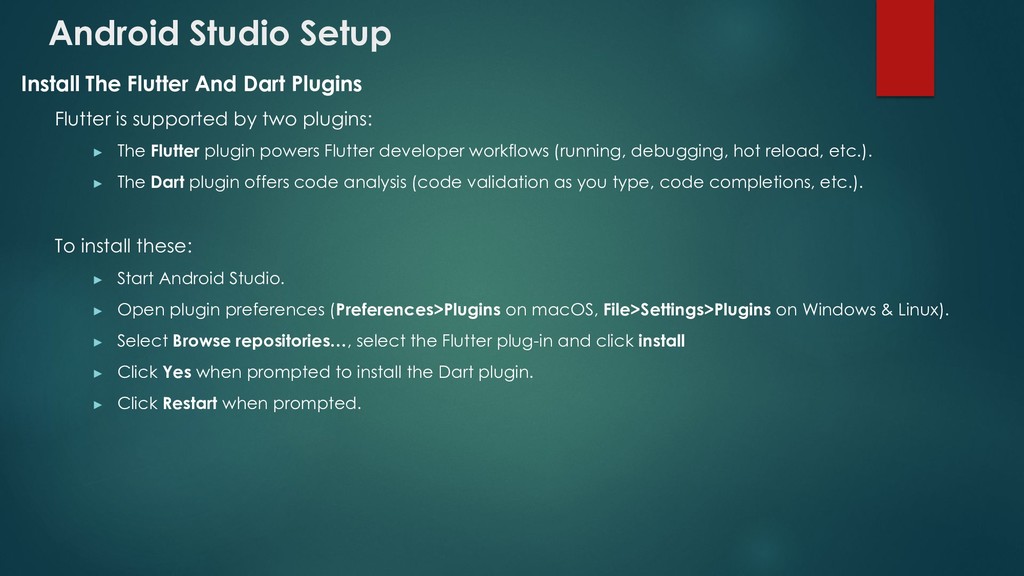
is supported by two plugins: ▶ The Flutter plugin powers Flutter developer workflows (running, debugging, hot reload, etc.). ▶ The Dart plugin offers code analysis (code validation as you type, code completions, etc.). To install these: ▶ Start Android Studio. ▶ Open plugin preferences (Preferences>Plugins on macOS, File>Settings>Plugins on Windows & Linux). ▶ Select Browse repositories…, select the Flutter plug-in and click install ▶ Click Yes when prompted to install the Dart plugin. ▶ Click Restart when prompted.
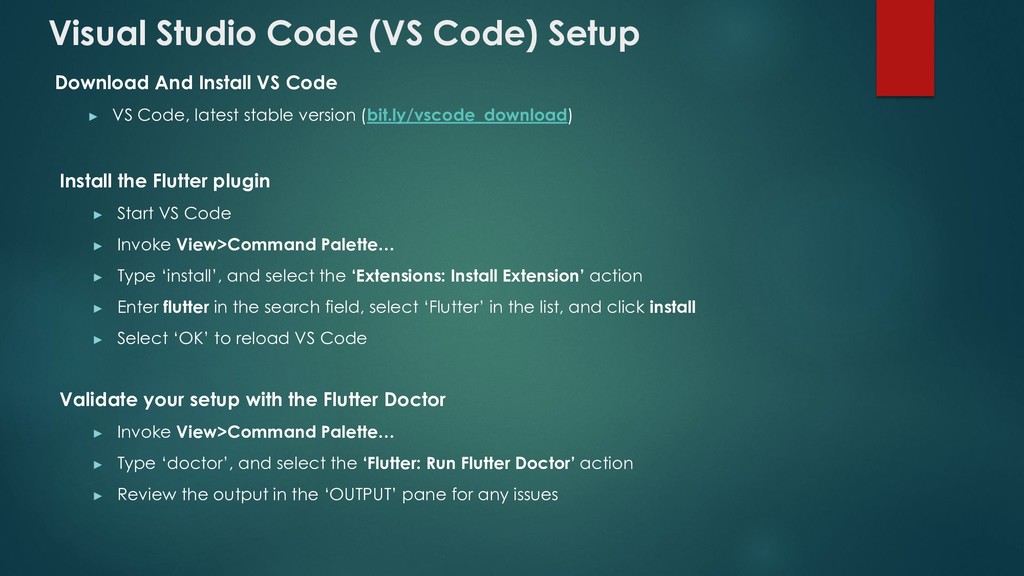
Code ▶ VS Code, latest stable version (bit.ly/vscode_download) Install the Flutter plugin ▶ Start VS Code ▶ Invoke View>Command Palette… ▶ Type ‘install’, and select the ‘Extensions: Install Extension’ action ▶ Enter flutter in the search field, select ‘Flutter’ in the list, and click install ▶ Select ‘OK’ to reload VS Code Validate your setup with the Flutter Doctor ▶ Invoke View>Command Palette… ▶ Type ‘doctor’, and select the ‘Flutter: Run Flutter Doctor’ action ▶ Review the output in the ‘OUTPUT’ pane for any issues
> New Flutter Project ▶ Select Flutter application as the project type, and press Next ▶ Enter a project name (e.g. myapp) and press Next ▶ Click Finish ▶ Wait for Android Studio to install the SDK, and create the project. Run The App ▶ Locate the main Android Studio toolbar. ▶ In the target selector, select an Android device for running the app. If none are listed as available, select Tools> Android > AVD Manager and create one or start one there. ▶ Click the Run icon in the toolbar, or invoke the menu item Run > Run. ▶ If everything works, you should see your starter app on your device or simulator
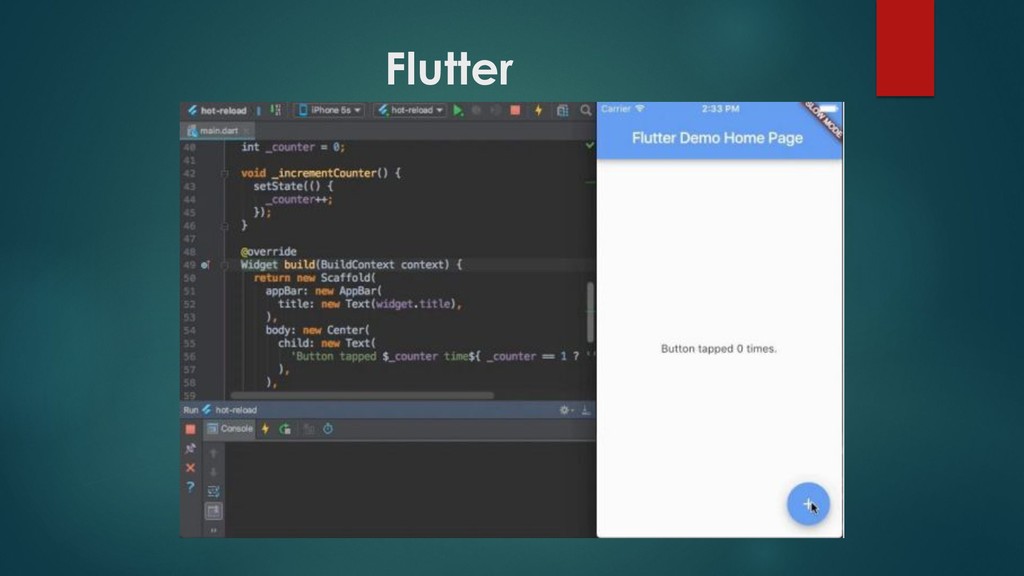
Code ▶ Invoke View > Command Palette ▶ Type “flutter”, and select the Flutter: New Project action ▶ Enter a project name (such as myapp) and press Enter ▶ Create or select the parent directory for the new project folder ▶ Wait for project creation to complete and the main.dart file to appear Run The App ▶ Locate the VS Code status bar (the blue bar at the bottom of the window) ▶ In the terminal, run “$ emulator –avd {YOUR_AVD_NAME}” command to start emulator or plug in your physical device after enabling Developer options and USB debugging on your device ▶ Invoke Debug > Start Debugging or press F5 ▶ Wait for the app to launch — progress is printed in the Debug Console view ▶ If everything works, after the app has been built, you’ll see the starter app on your device or emulator