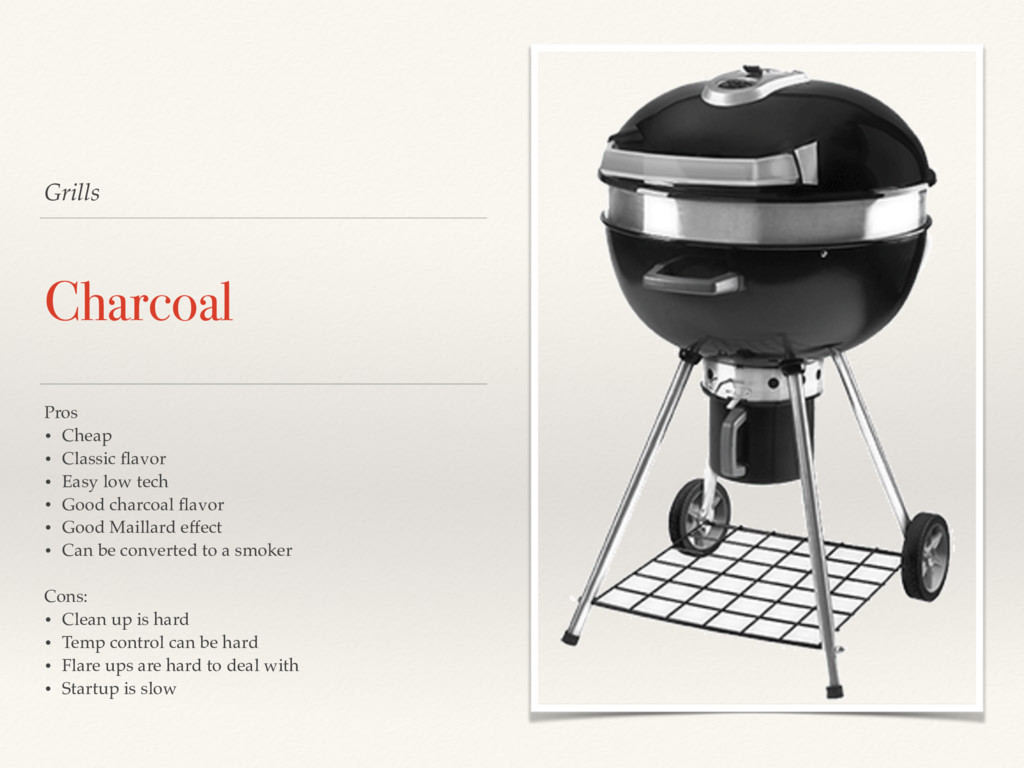
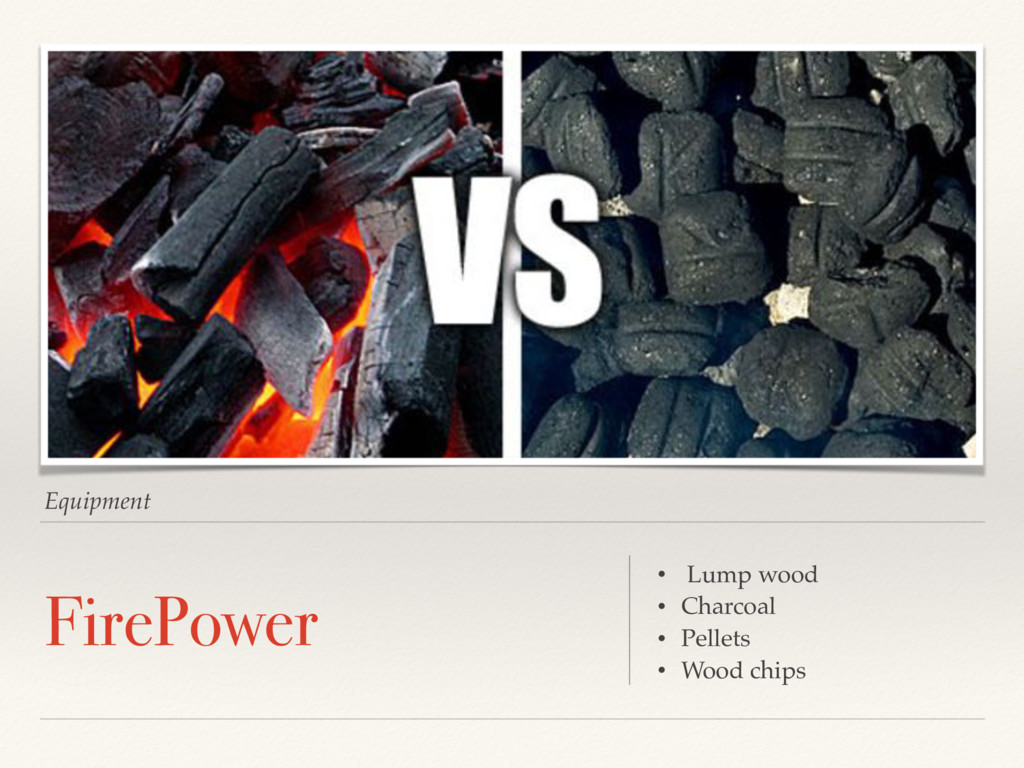
low tech • Good charcoal flavor • Good Maillard effect • Can be converted to a smoker Cons: • Clean up is hard • Temp control can be hard • Flare ups are hard to deal with • Startup is slow
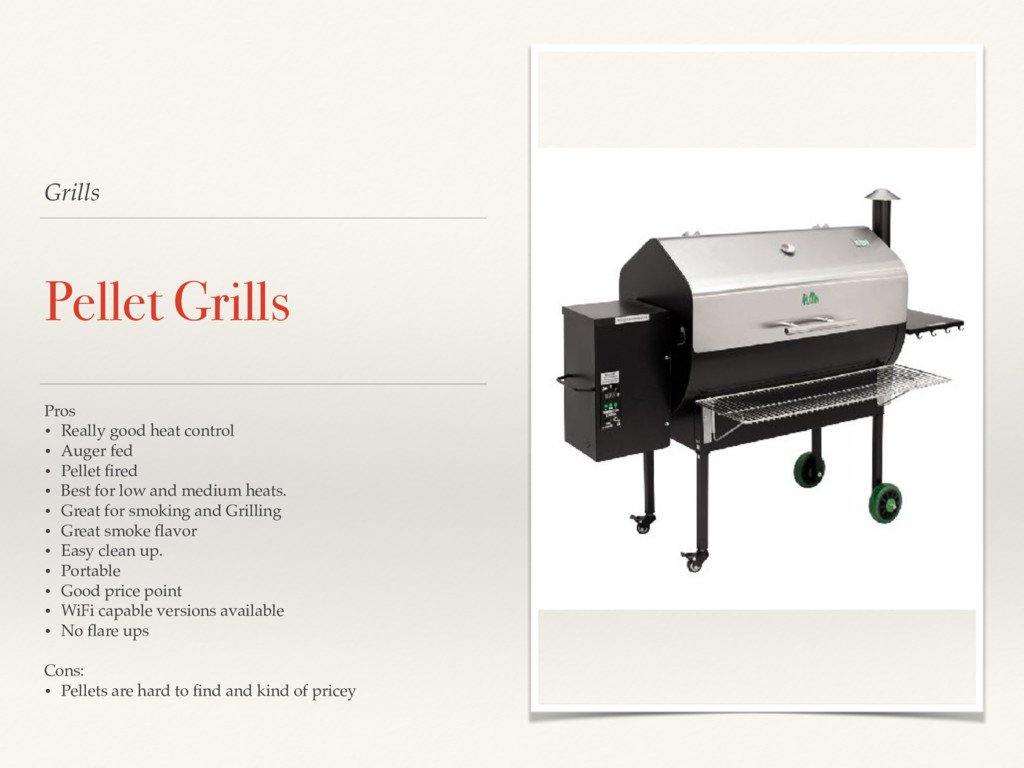
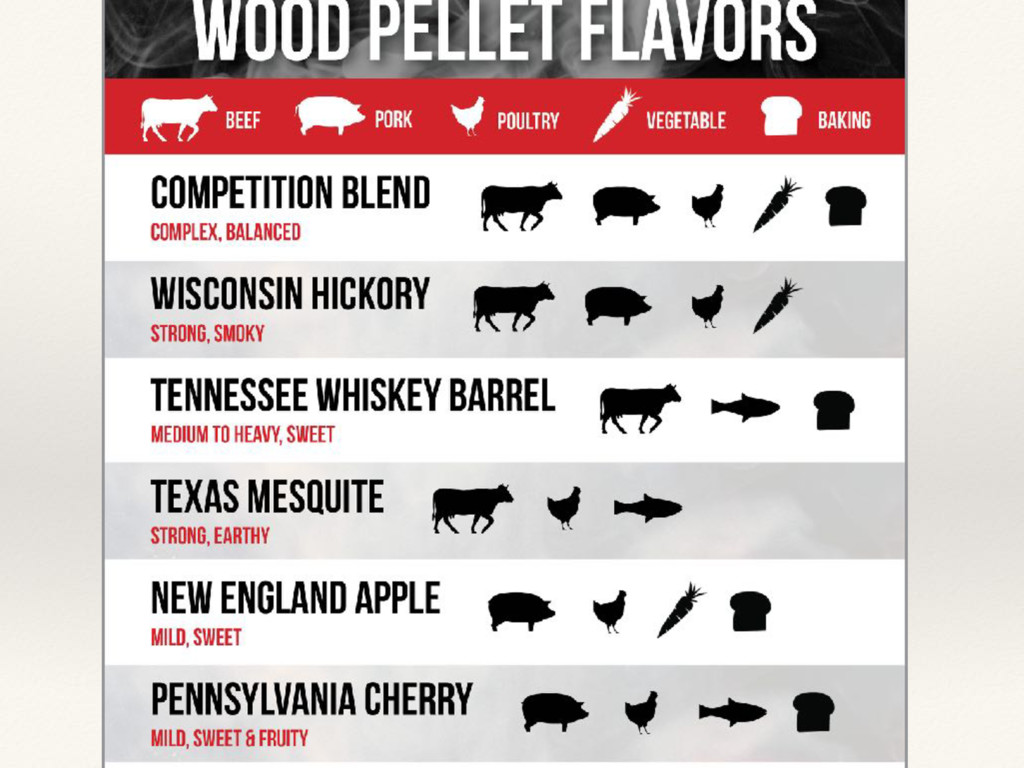
Auger fed • Pellet fired • Best for low and medium heats. • Great for smoking and Grilling • Great smoke flavor • Easy clean up. • Portable • Good price point • WiFi capable versions available • No flare ups Cons: • Pellets are hard to find and kind of pricey
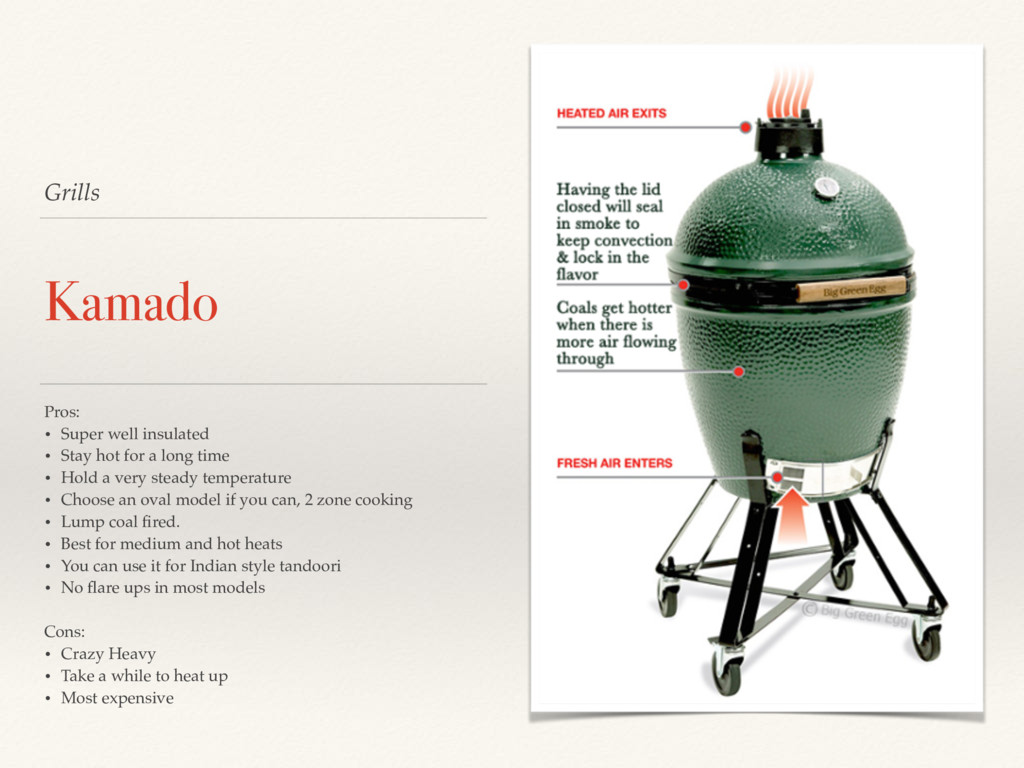
for a long time • Hold a very steady temperature • Choose an oval model if you can, 2 zone cooking • Lump coal fired. • Best for medium and hot heats • You can use it for Indian style tandoori • No flare ups in most models Cons: • Crazy Heavy • Take a while to heat up • Most expensive
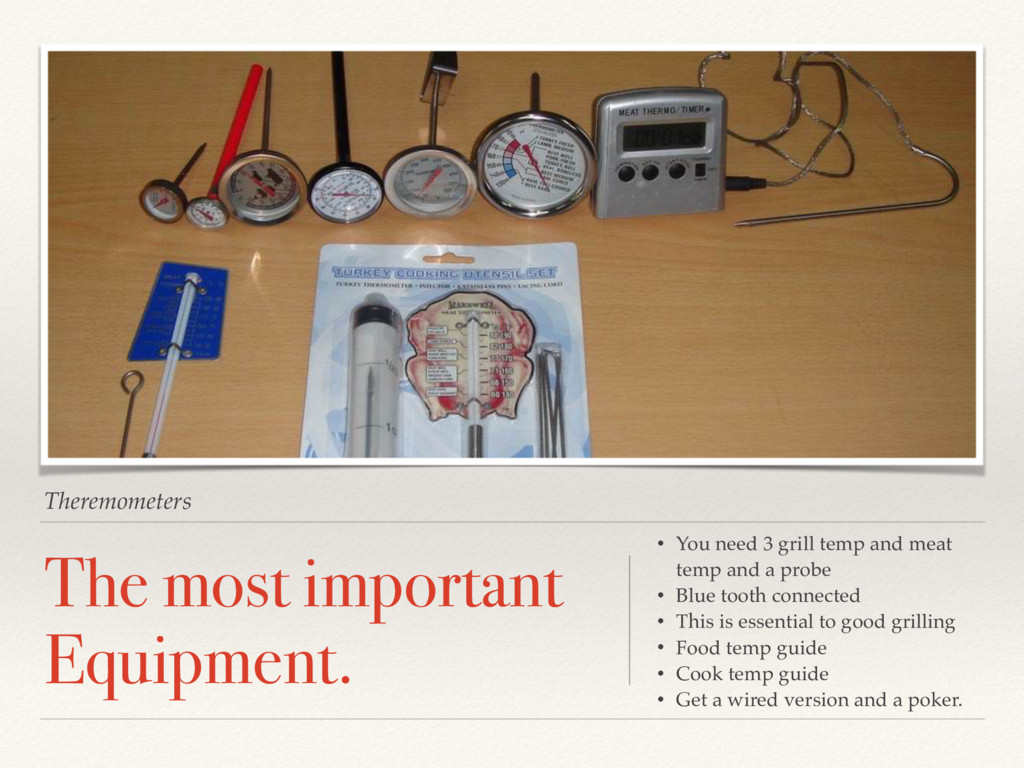
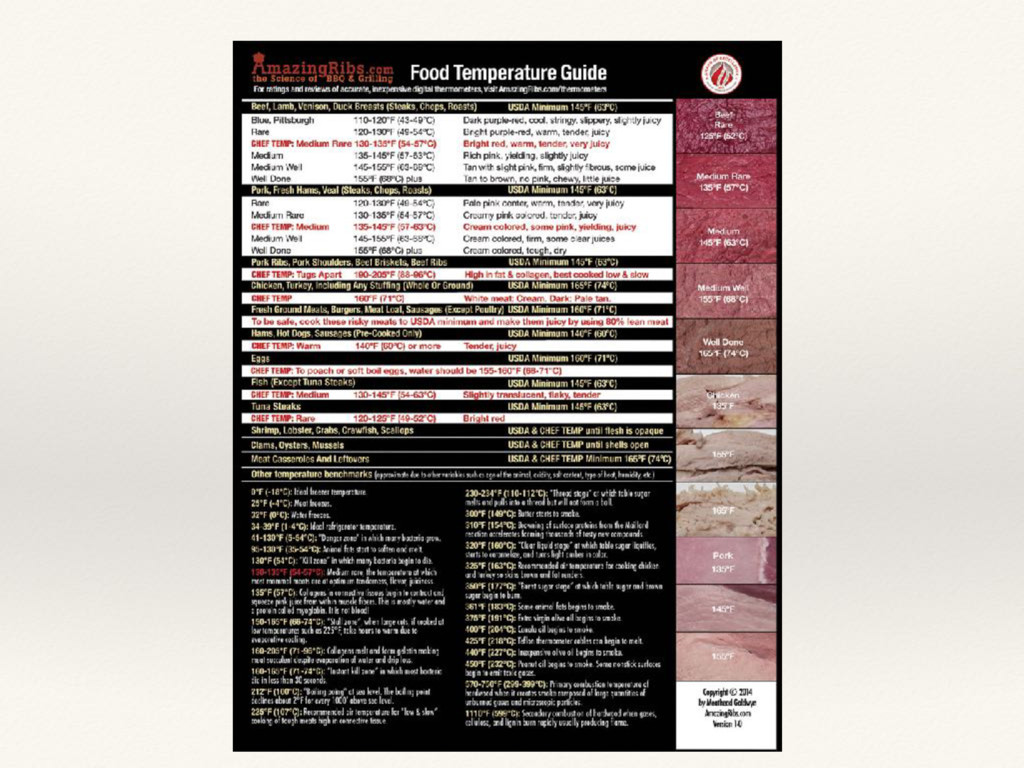
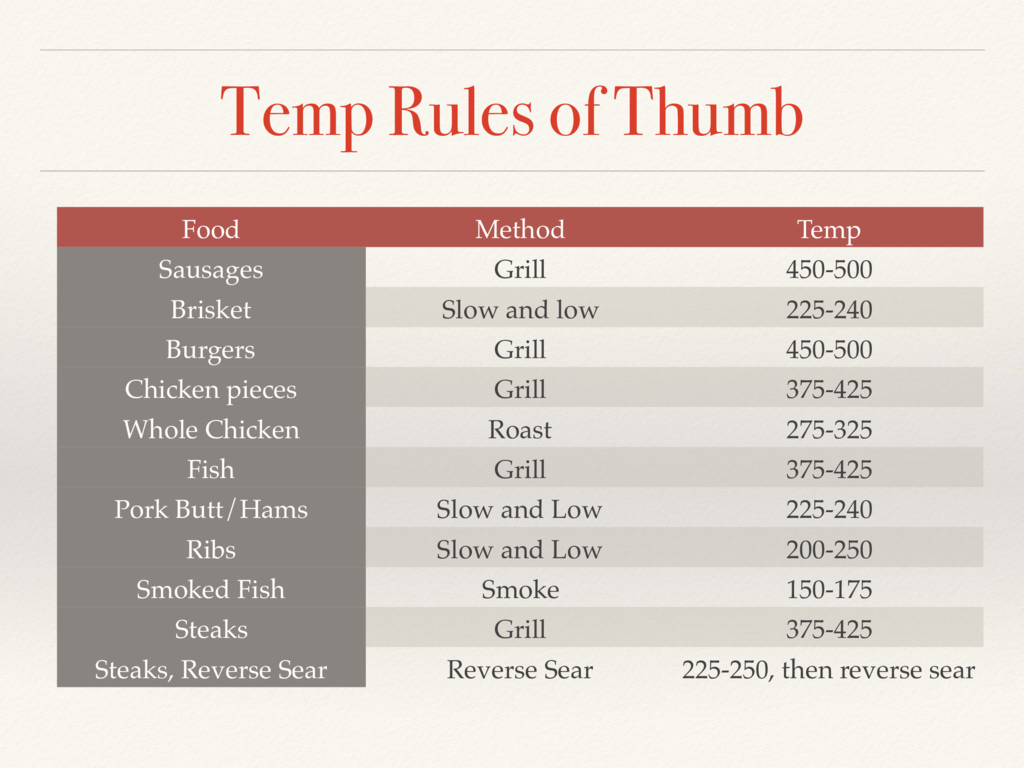
temp and meat temp and a probe • Blue tooth connected • This is essential to good grilling • Food temp guide • Cook temp guide • Get a wired version and a poker.
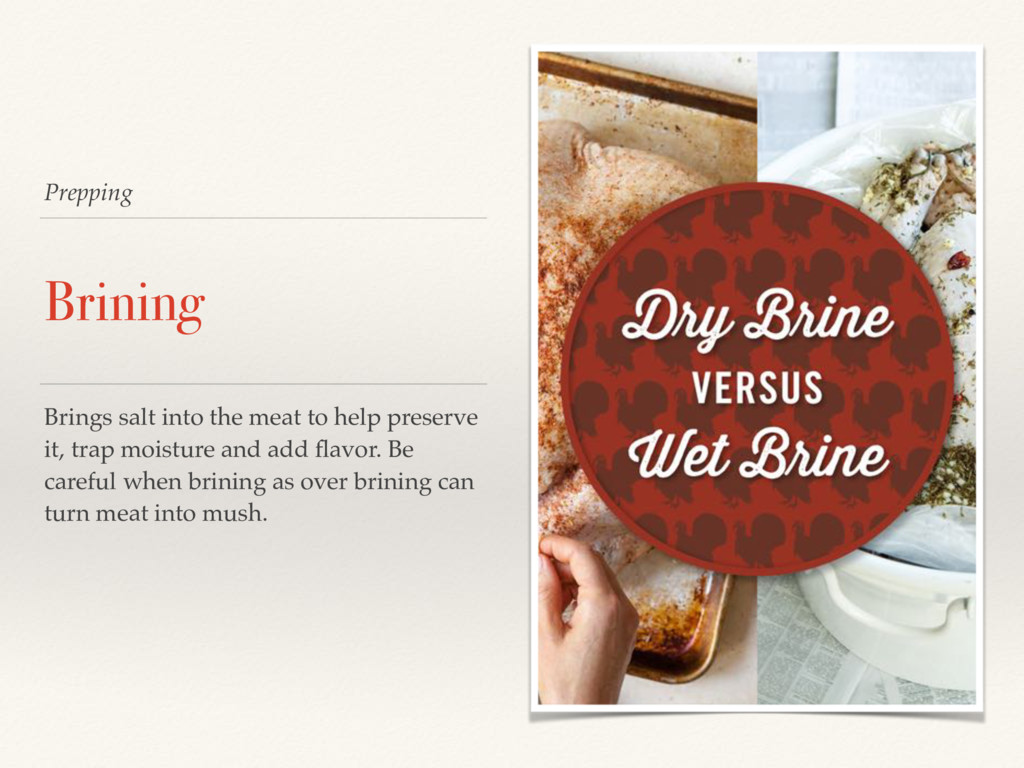
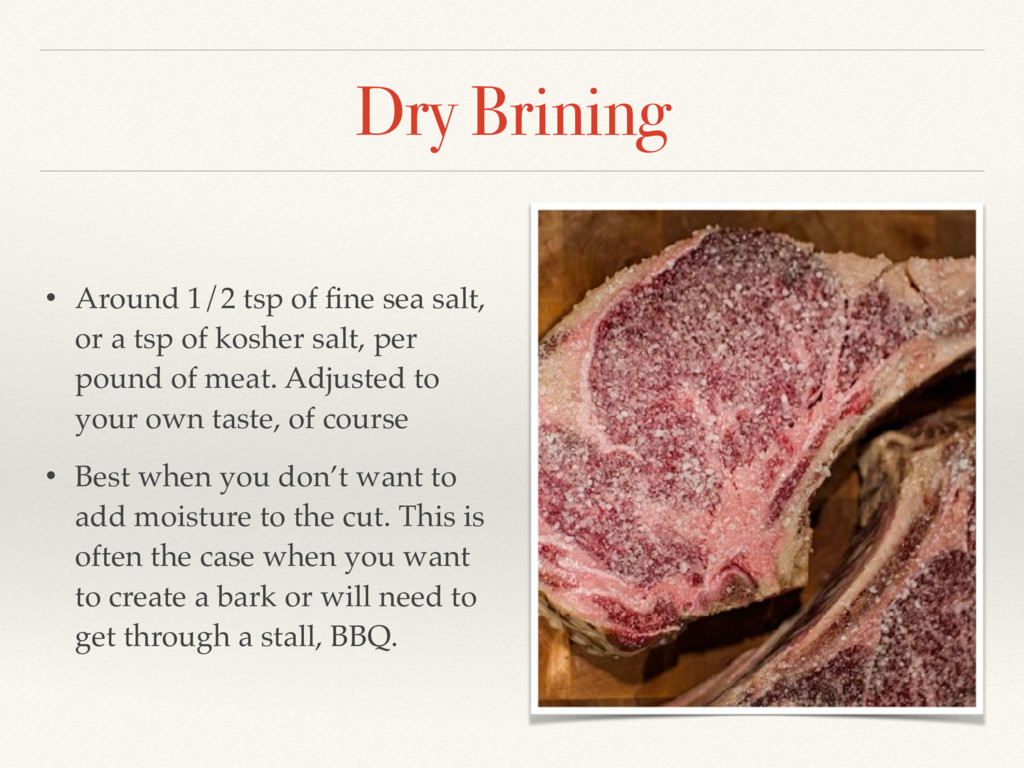
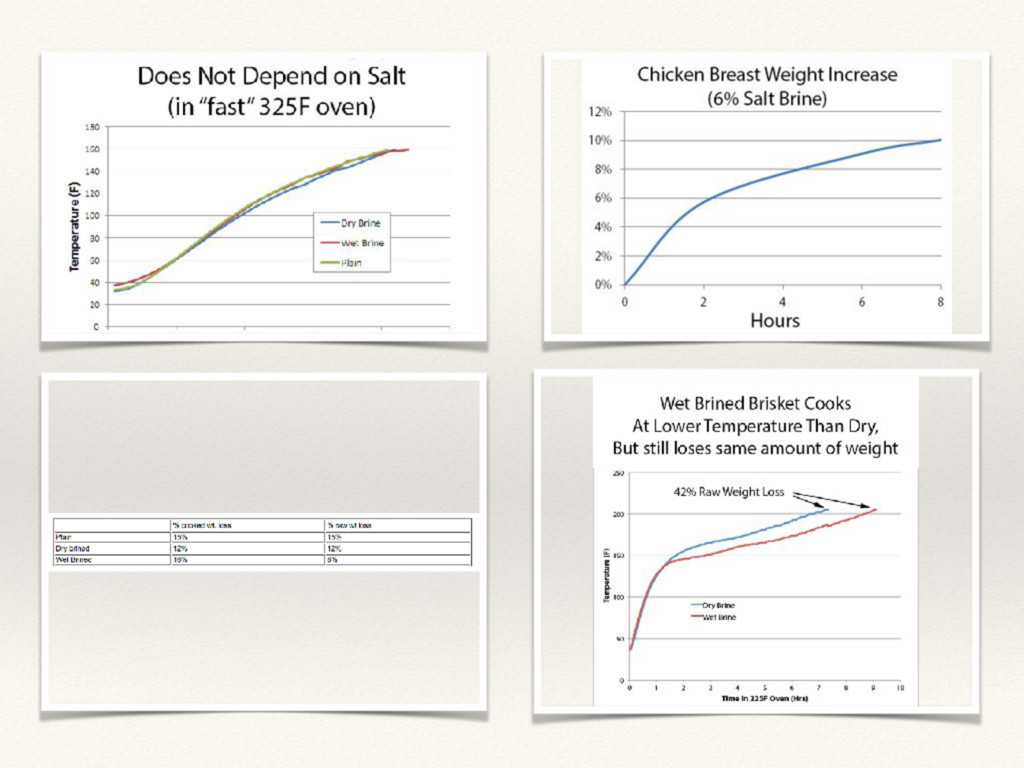
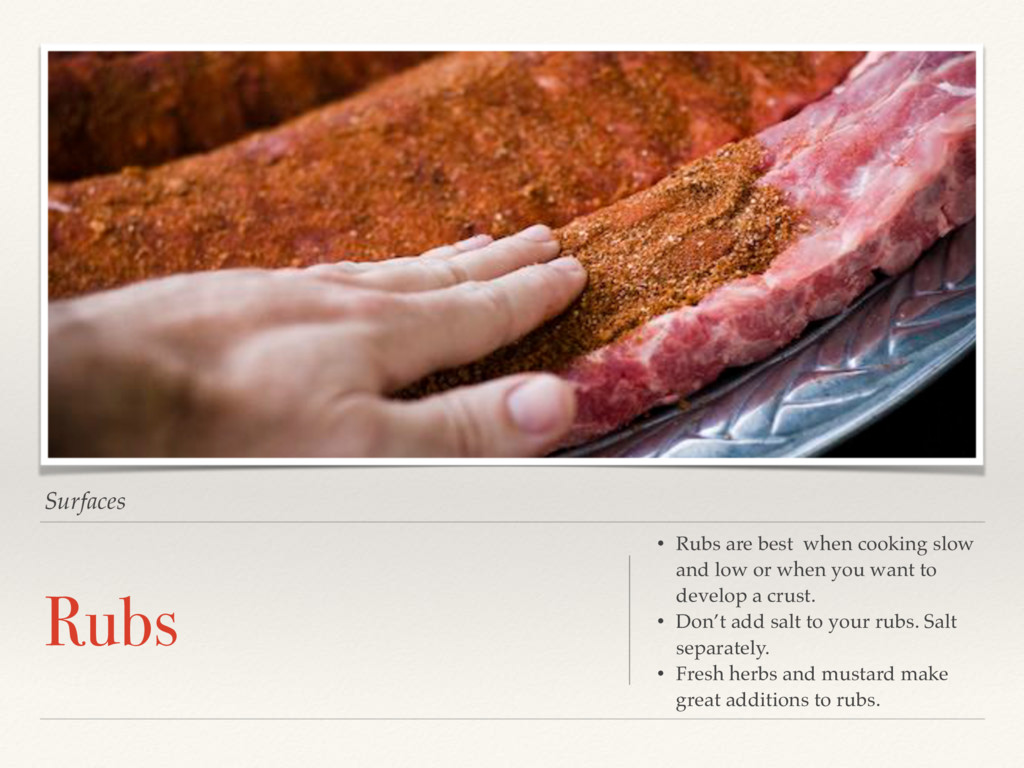
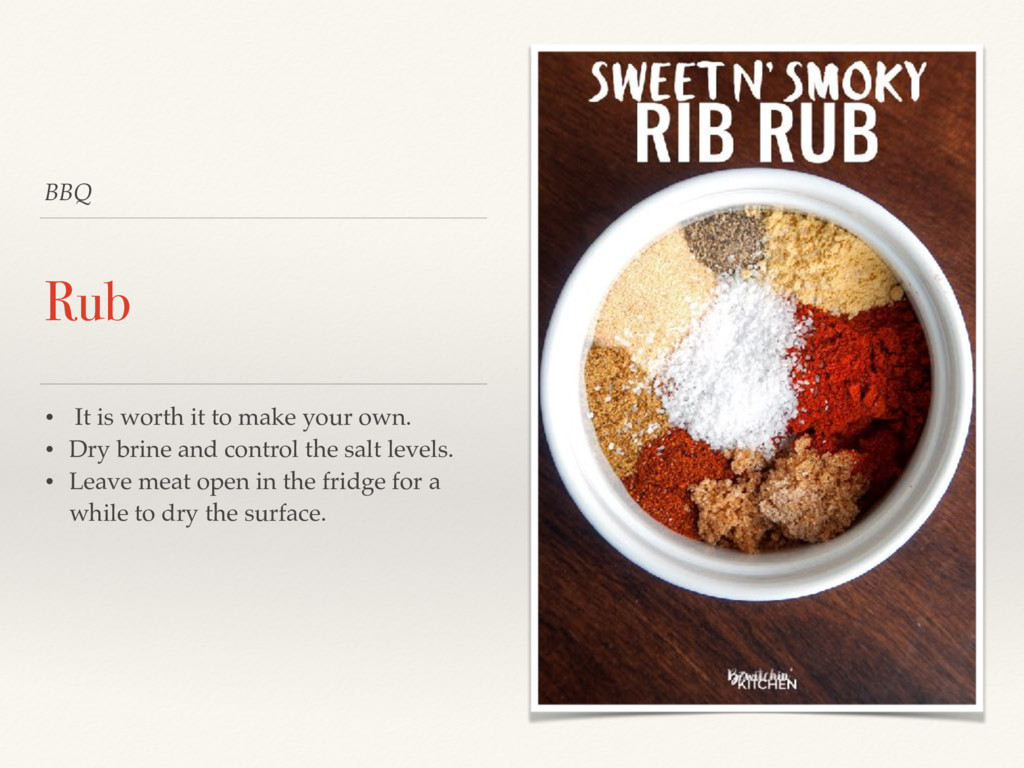
or a tsp of kosher salt, per pound of meat. Adjusted to your own taste, of course • Best when you don’t want to add moisture to the cut. This is often the case when you want to create a bark or will need to get through a stall, BBQ.
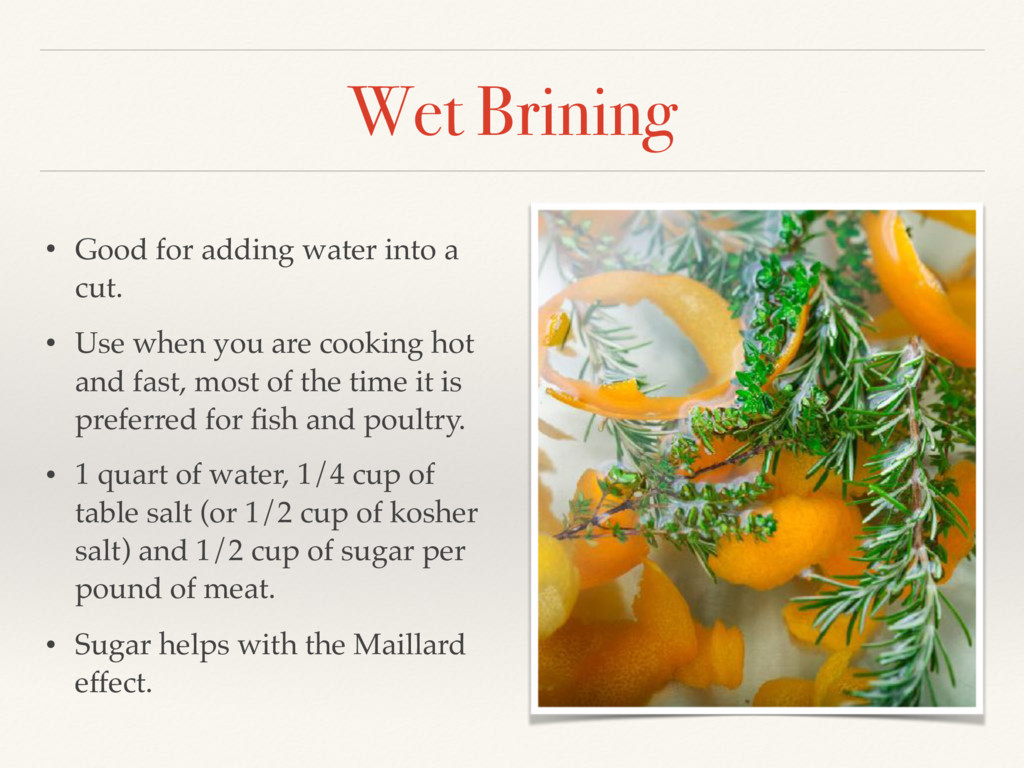
• Use when you are cooking hot and fast, most of the time it is preferred for fish and poultry. • 1 quart of water, 1/4 cup of table salt (or 1/2 cup of kosher salt) and 1/2 cup of sugar per pound of meat. • Sugar helps with the Maillard effect.
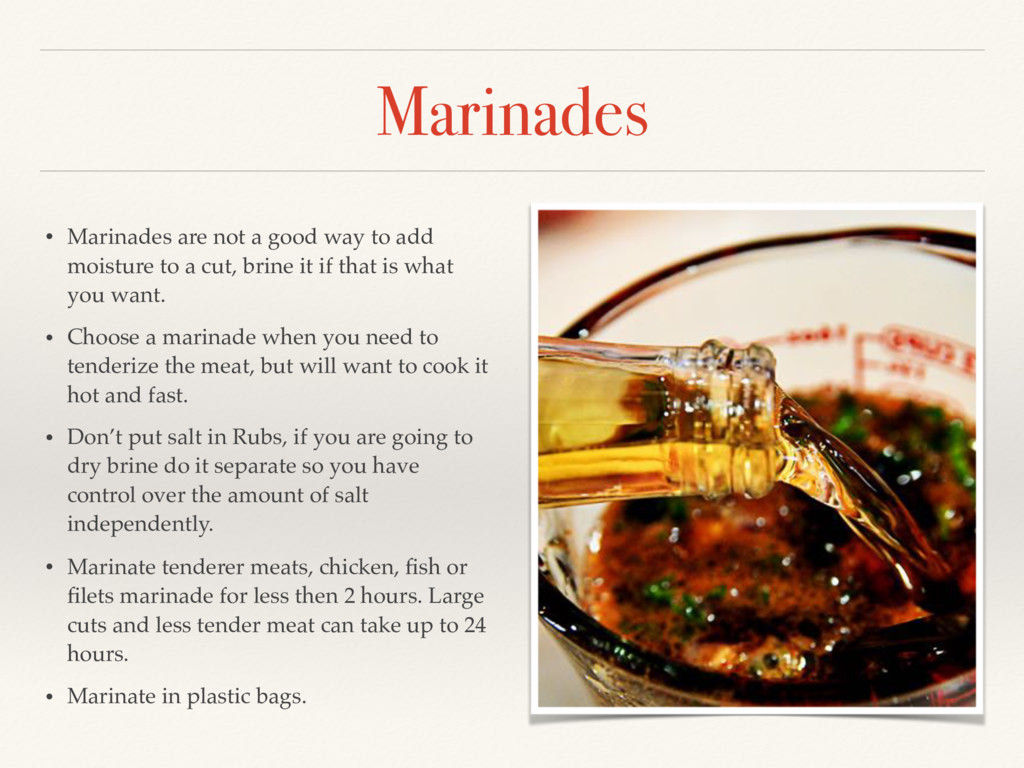
moisture to a cut, brine it if that is what you want. • Choose a marinade when you need to tenderize the meat, but will want to cook it hot and fast. • Don’t put salt in Rubs, if you are going to dry brine do it separate so you have control over the amount of salt independently. • Marinate tenderer meats, chicken, fish or filets marinade for less then 2 hours. Large cuts and less tender meat can take up to 24 hours. • Marinate in plastic bags.
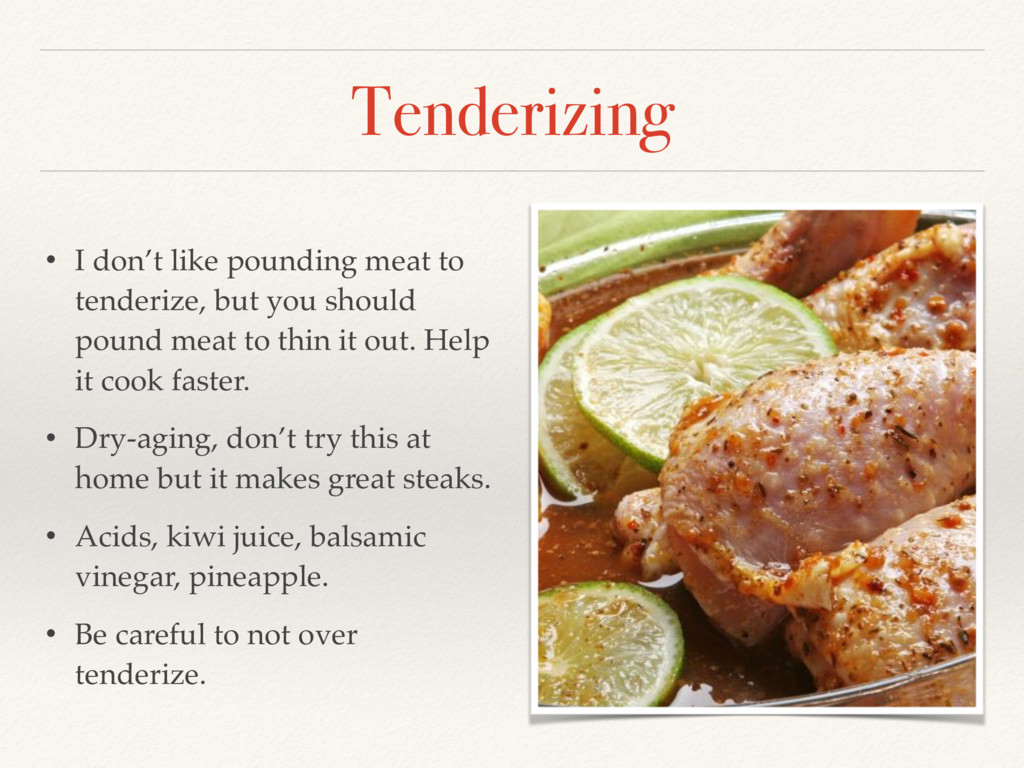
you should pound meat to thin it out. Help it cook faster. • Dry-aging, don’t try this at home but it makes great steaks. • Acids, kiwi juice, balsamic vinegar, pineapple. • Be careful to not over tenderize.
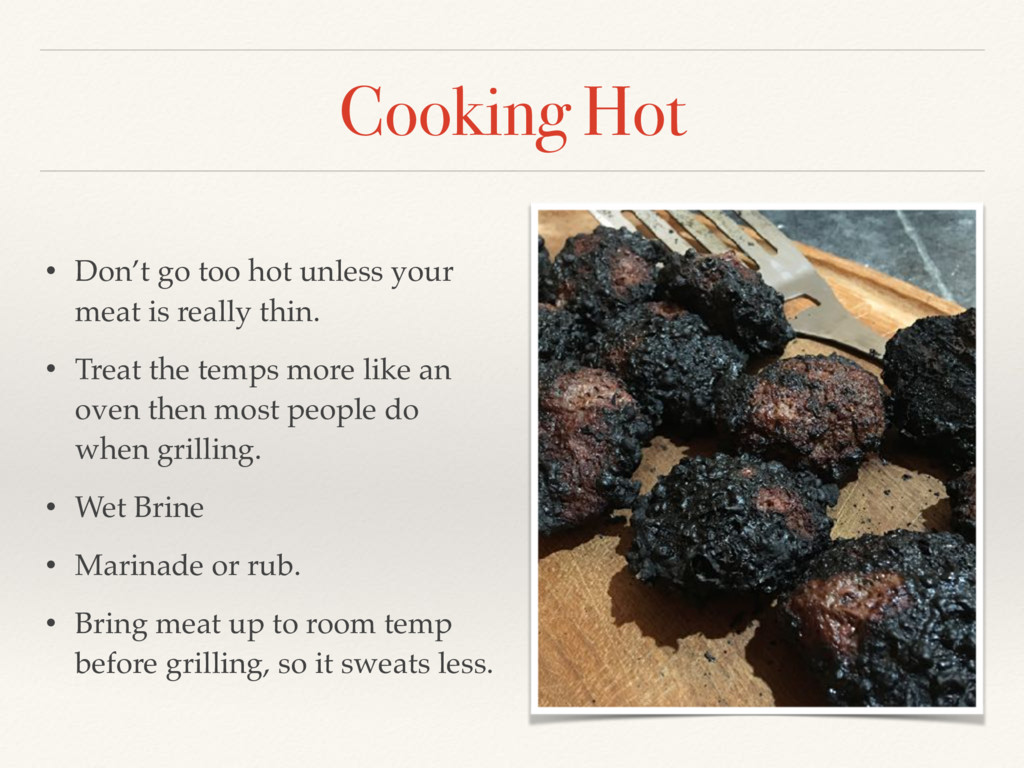
is really thin. • Treat the temps more like an oven then most people do when grilling. • Wet Brine • Marinade or rub. • Bring meat up to room temp before grilling, so it sweats less.
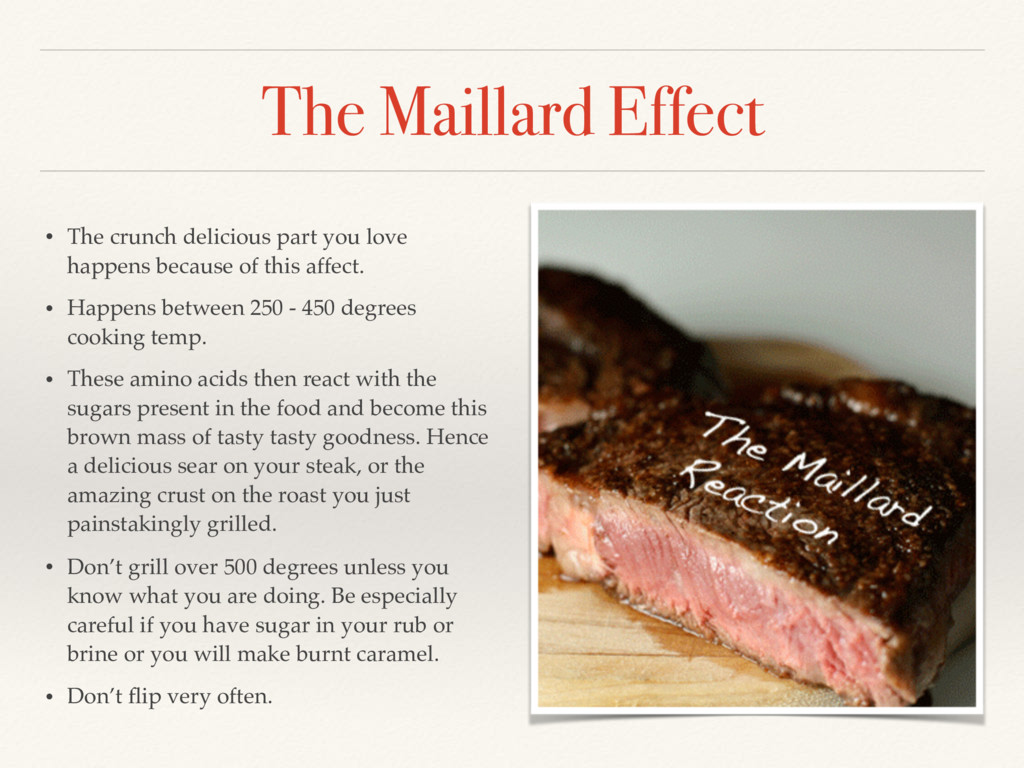
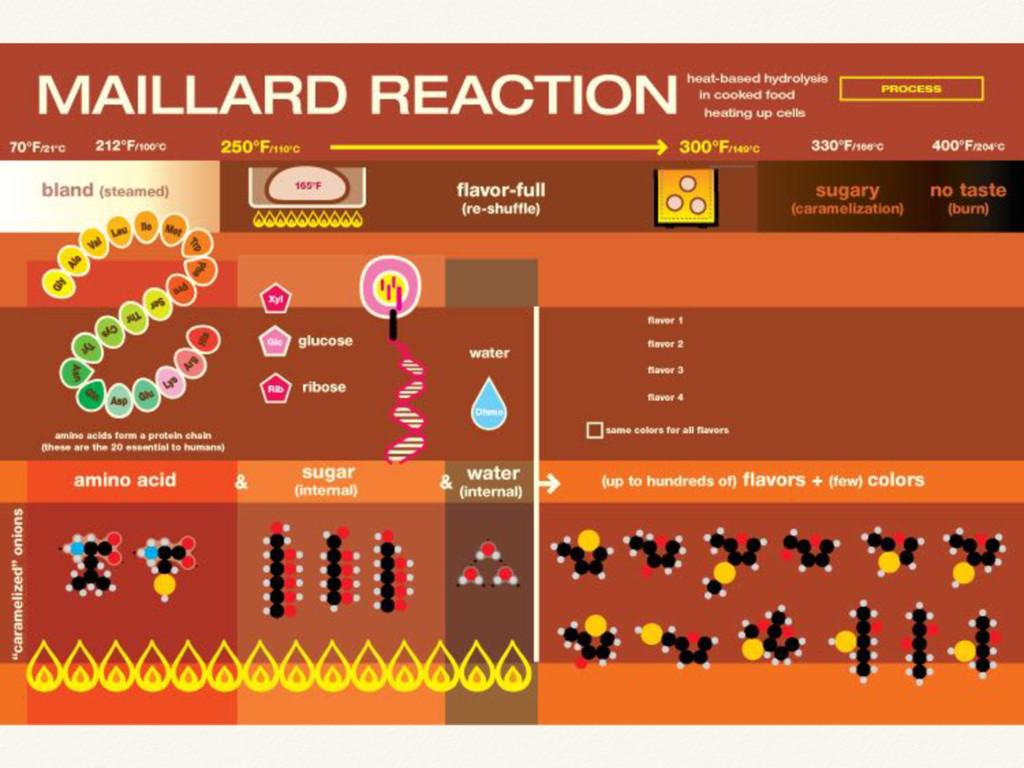
happens because of this affect. • Happens between 250 - 450 degrees cooking temp. • These amino acids then react with the sugars present in the food and become this brown mass of tasty tasty goodness. Hence a delicious sear on your steak, or the amazing crust on the roast you just painstakingly grilled. • Don’t grill over 500 degrees unless you know what you are doing. Be especially careful if you have sugar in your rub or brine or you will make burnt caramel. • Don’t flip very often.
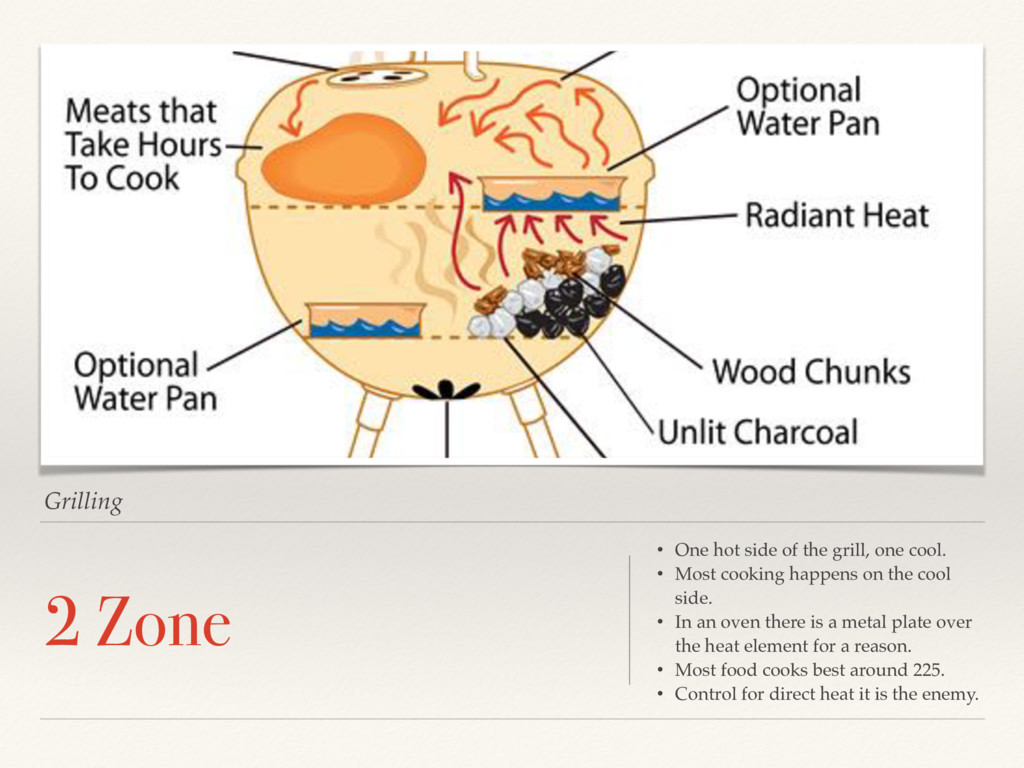
one cool. • Most cooking happens on the cool side. • In an oven there is a metal plate over the heat element for a reason. • Most food cooks best around 225. • Control for direct heat it is the enemy.
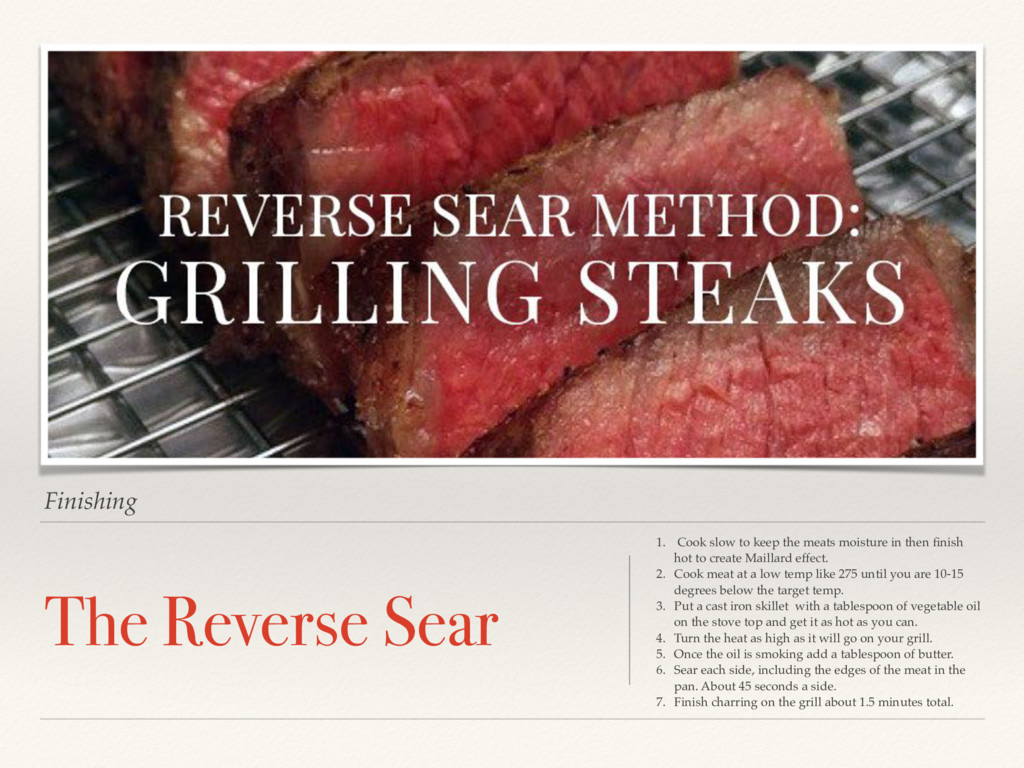
meats moisture in then finish hot to create Maillard effect. 2. Cook meat at a low temp like 275 until you are 10-15 degrees below the target temp. 3. Put a cast iron skillet with a tablespoon of vegetable oil on the stove top and get it as hot as you can. 4. Turn the heat as high as it will go on your grill. 5. Once the oil is smoking add a tablespoon of butter. 6. Sear each side, including the edges of the meat in the pan. About 45 seconds a side. 7. Finish charring on the grill about 1.5 minutes total.
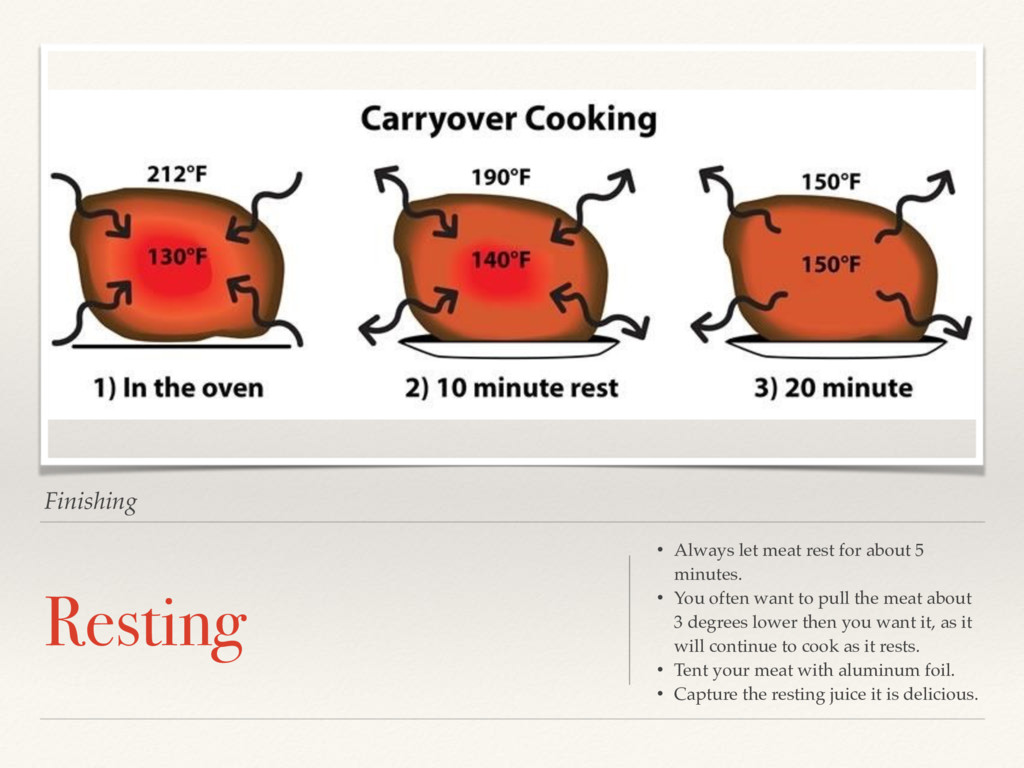
minutes. • You often want to pull the meat about 3 degrees lower then you want it, as it will continue to cook as it rests. • Tent your meat with aluminum foil. • Capture the resting juice it is delicious.
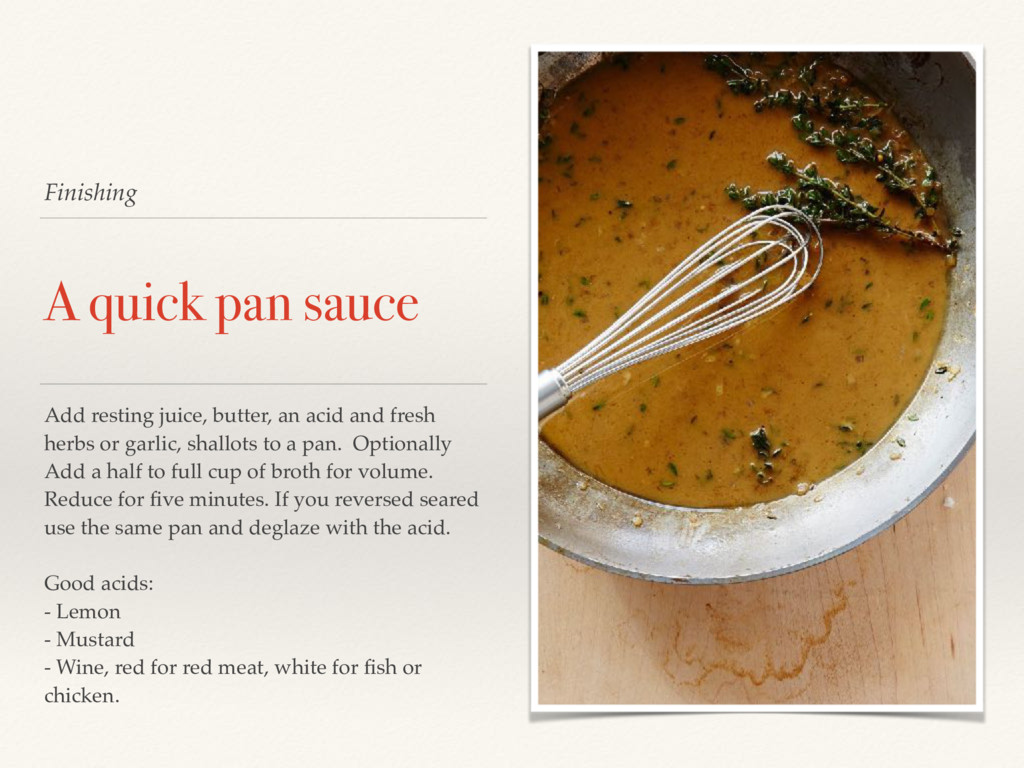
acid and fresh herbs or garlic, shallots to a pan. Optionally Add a half to full cup of broth for volume. Reduce for five minutes. If you reversed seared use the same pan and deglaze with the acid. Good acids: - Lemon - Mustard - Wine, red for red meat, white for fish or chicken.


 aleyda
 akademiya2063
 khoart
 jonyablonski
 axbom
 addyosmani
 tonyrice
 portentint
 tessaabrams
 ks91
 nwiizo
 cargoodrich