the banner of the webpage so recipients know whom the email is coming from. The banner area will fit a maximum 200 pixel-wide by 70 pixel-tall image, that will need to be hosted by the partner. A .gif or .jpg image should be used for best results. Instructions for Inserting Your Company Logo: Adjust logo in image editing software to fit within a 200 x 70 pixel space. Do not distort or skew your logo to fit these dimensions 1. exactly, simply sizing to fit within a box with those dimensions will be appropriate. Upload your edited logo to a remote web server that is accessible from anywhere (i.e. not an intranet). It may be necessary to contact 2. your usual webmaster in order to accomplish this. Copy full direct path (starting with 3. http://) to the logo image on your server, or obtain the path from your webmaster. In the HTML of the registration page, replace the 4. [Insert Logo] text (including surrounding brackets) with: <img src="http://[YOUR URL]" width="[image width]" height="[image height]" alt="Logo for [Company Name]" border="0"> This document will walk partners through editing six customizable portions of the Seminar Registration page (provided). There are six mandatory editable sections of the Registration webpage: The Banner 1. a. Opportunity to add your company logo to the banner. b. Opportunity to add your Salesforce.com Partner logo to the banner. Seminar Name—Partners should update the name of the seminar, if it is different from the provided example. 2. Date, Time, Location—Partners should include the date, time and location of the seminar. 3. Registration— The form on this page will not work until properly set up to an associated formmail script. You 4. will need to contact your webmaster in order to complete this step. Agenda (optional)—The Agenda may be updated to correspond with the agenda of your seminar. 5. The Footer—Partners have the opportunity to fill in any copyright, contact and/or legal information. 6. All editable sections are noted in the HTML with <!--OPEN EDITABLE--> and <!--CLOSE EDITABLE--> tags for text updates or [INSERT LINK] for the Call to Action updates. You will need to be able to edit the HTML directly using a code editing software (e.g. Dreamweaver) or plain text editing software (e.g. TextPad). These will not be easily updated using Outlook. Please contact your webmaster if necessary. Note: This template has been tested in a variety of common email and website environments for layout consistency. To maintain this consistency, and to help avoid unpredictable design results, please follow these instructions carefully when editing your template. instructions for Editing: Seminar Registration Page
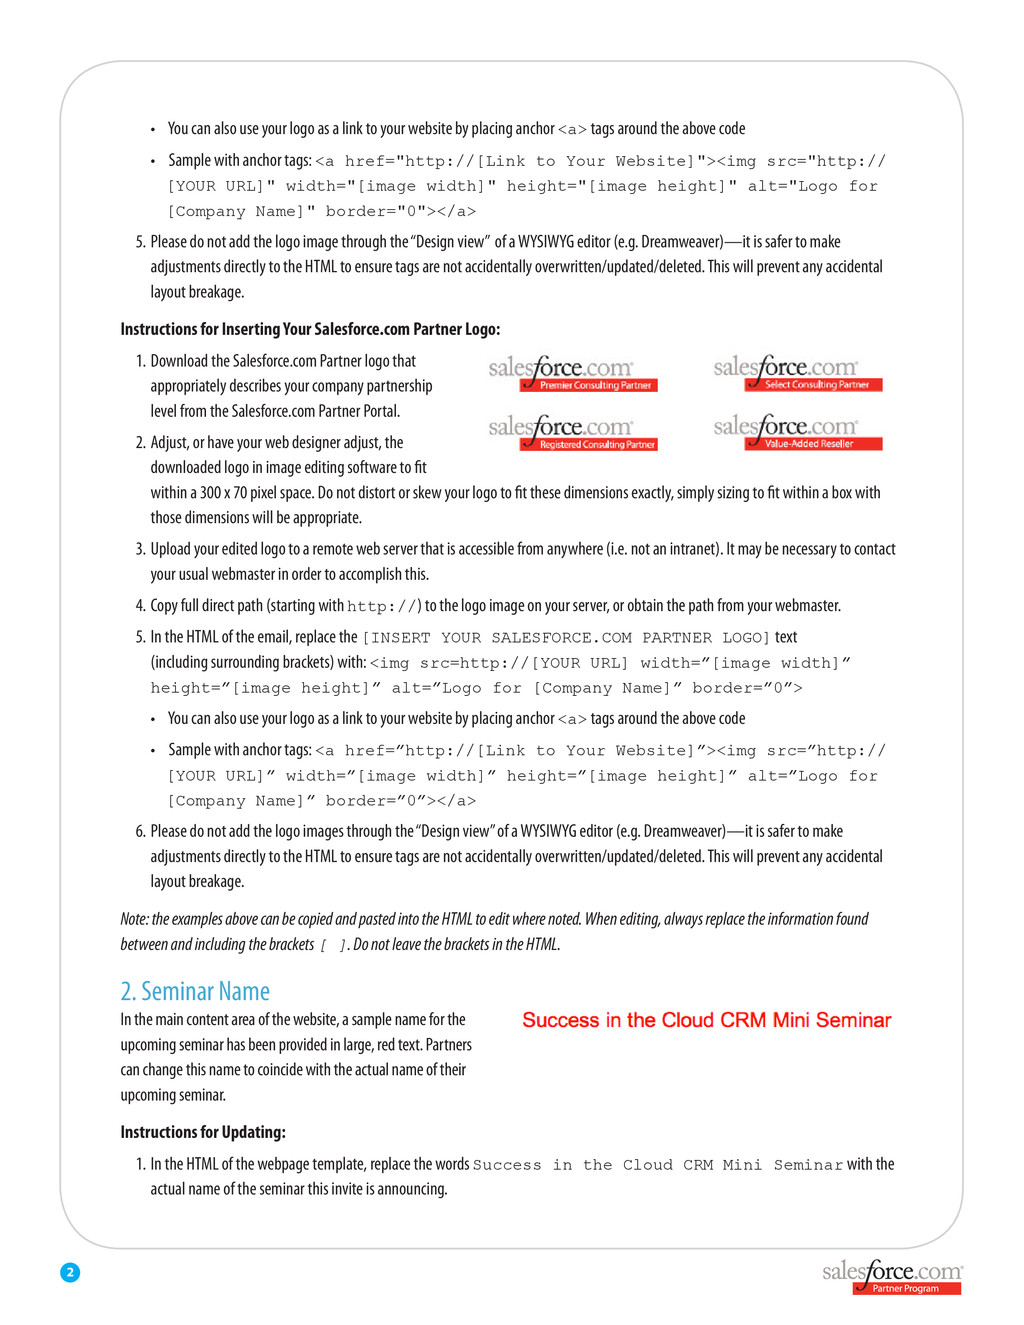
to your website by placing anchor • <a> tags around the above code Sample with anchor tags: • <a href="http://[Link to Your Website]"><img src="http:// [YOUR URL]" width="[image width]" height="[image height]" alt="Logo for [Company Name]" border="0"></a> Please do not add the logo image through the “Design view” of a WYSIWYG editor (e.g. Dreamweaver)—it is safer to make 5. adjustments directly to the HTML to ensure tags are not accidentally overwritten/updated/deleted. This will prevent any accidental layout breakage. Instructions for Inserting Your Salesforce.com Partner Logo: Download the Salesforce.com Partner logo that 1. appropriately describes your company partnership level from the Salesforce.com Partner Portal. Adjust, or have your web designer adjust, the 2. downloaded logo in image editing software to fit within a 300 x 70 pixel space. Do not distort or skew your logo to fit these dimensions exactly, simply sizing to fit within a box with those dimensions will be appropriate. Upload your edited logo to a remote web server that is accessible from anywhere (i.e. not an intranet). It may be necessary to contact 3. your usual webmaster in order to accomplish this. Copy full direct path (starting with 4. http://) to the logo image on your server, or obtain the path from your webmaster. In the HTML of the email, replace the 5. [INSERT YOUR SALESFORCE.COM PARTNER LOGO] text (including surrounding brackets) with: <img src=http://[YOUR URL] width=”[image width]” height=”[image height]” alt=”Logo for [Company Name]” border=”0”> You can also use your logo as a link to your website by placing anchor • <a> tags around the above code Sample with anchor tags: • <a href=”http://[Link to Your Website]”><img src=”http:// [YOUR URL]” width=”[image width]” height=”[image height]” alt=”Logo for [Company Name]” border=”0”></a> Please do not add the logo images through the “Design view” of a WYSIWYG editor (e.g. Dreamweaver)—it is safer to make 6. adjustments directly to the HTML to ensure tags are not accidentally overwritten/updated/deleted. This will prevent any accidental layout breakage. Note: the examples above can be copied and pasted into the HTML to edit where noted. When editing, always replace the information found between and including the brackets [ ]. Do not leave the brackets in the HTML. 2. Seminar Name In the main content area of the website, a sample name for the upcoming seminar has been provided in large, red text. Partners can change this name to coincide with the actual name of their upcoming seminar. Instructions for Updating: In the HTML of the webpage template, replace the words 1. Success in the Cloud CRM Mini Seminar with the actual name of the seminar this invite is announcing.
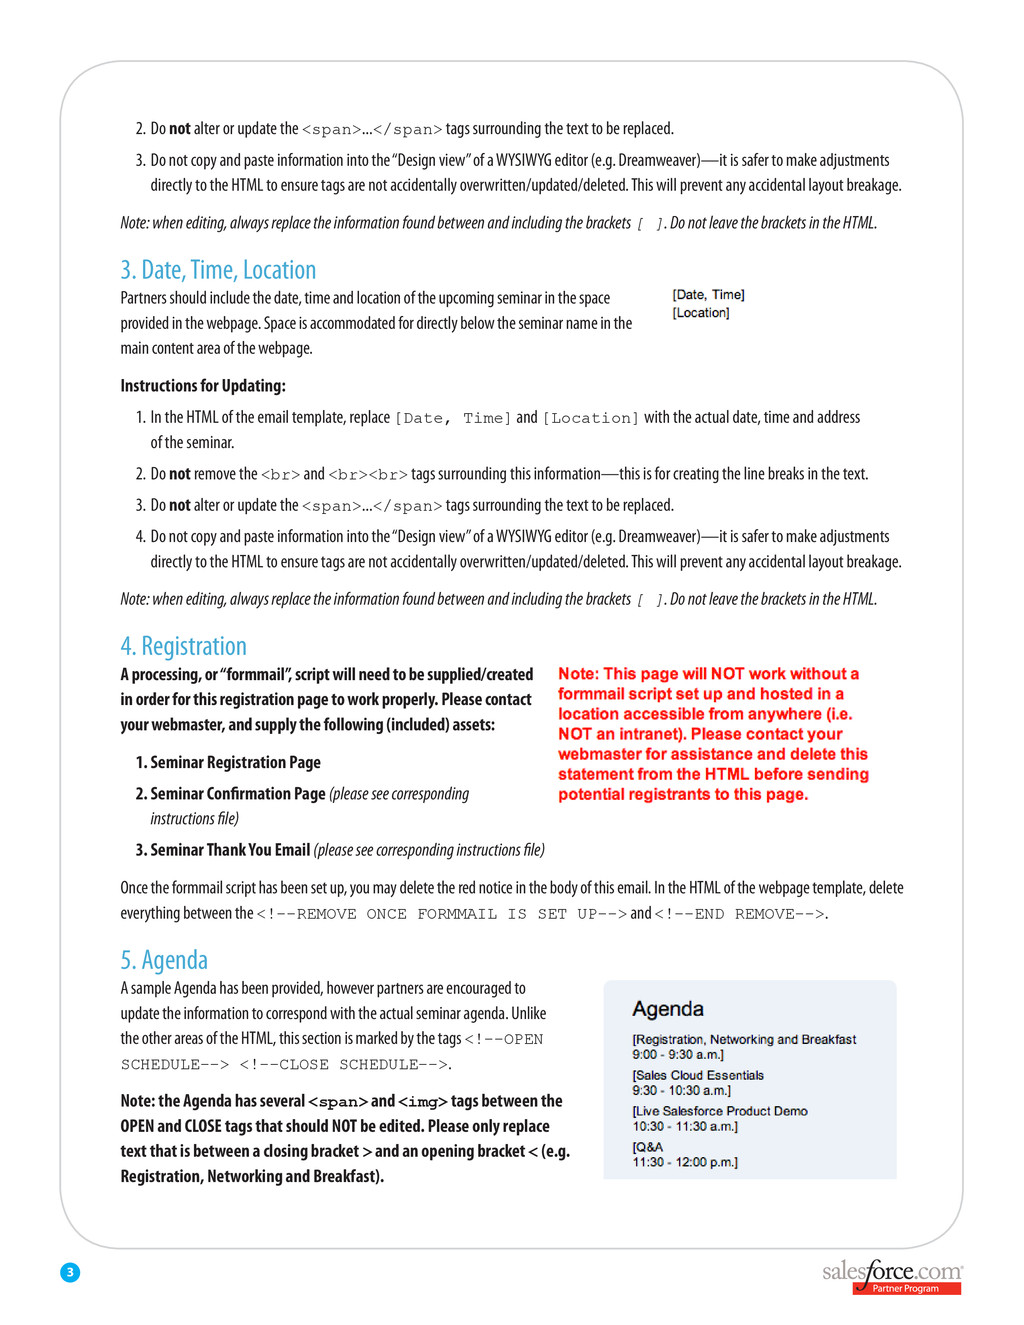
surrounding the text to be replaced. Do not copy and paste information into the “Design view” of a WYSIWYG editor (e.g. Dreamweaver)—it is safer to make adjustments 3. directly to the HTML to ensure tags are not accidentally overwritten/updated/deleted. This will prevent any accidental layout breakage. Note: when editing, always replace the information found between and including the brackets [ ]. Do not leave the brackets in the HTML. 3. Date, Time, Location Partners should include the date, time and location of the upcoming seminar in the space provided in the webpage. Space is accommodated for directly below the seminar name in the main content area of the webpage. Instructions for Updating: In the HTML of the email template, replace 1. [Date, Time] and [Location] with the actual date, time and address of the seminar. Do 2. not remove the <br> and <br><br> tags surrounding this information—this is for creating the line breaks in the text. Do 3. not alter or update the <span>...</span> tags surrounding the text to be replaced. Do not copy and paste information into the “Design view” of a WYSIWYG editor (e.g. Dreamweaver)—it is safer to make adjustments 4. directly to the HTML to ensure tags are not accidentally overwritten/updated/deleted. This will prevent any accidental layout breakage. Note: when editing, always replace the information found between and including the brackets [ ]. Do not leave the brackets in the HTML. 4. Registration A processing, or “formmail”, script will need to be supplied/created in order for this registration page to work properly. Please contact your webmaster, and supply the following (included) assets: Seminar Registration Page 1. Seminar Confirmation Page 2. (please see corresponding instructions file) Seminar Thank You Email 3. (please see corresponding instructions file) Once the formmail script has been set up, you may delete the red notice in the body of this email. In the HTML of the webpage template, delete everything between the <!--REMOVE ONCE FORMMAIL IS SET UP--> and <!--END REMOVE-->. 5. Agenda A sample Agenda has been provided, however partners are encouraged to update the information to correspond with the actual seminar agenda. Unlike the other areas of the HTML, this section is marked by the tags <!--OPEN SCHEDULE--> <!--CLOSE SCHEDULE-->. Note: the Agenda has several <span> and <img> tags between the OPEN and CLOSE tags that should NOT be edited. Please only replace text that is between a closing bracket > and an opening bracket < (e.g. Registration, Networking and Breakfast).
include any copyright, contact, or legal information required. At a minimum, this information should include the year and company name. To update this portion of the webpage, simply replace “[Insert partner signature, branding, legal terms and unsubscribe text]” in the HTML of the webpage template with your usual sign-off information. Remember: hitting Return to create a new line in the HTML will not render in the final version. To create line breaks, insert <br> for a single line break and <br><br> to create a new paragraph. Note: when editing, always replace the information found between and including the brackets [ ]. Do not leave the brackets in the HTML.