Medical Technologies’ TenderTrode Plus is a unique pre-wired Infant Monitoring electrode specifically designed for the unique needs of NICU nurses and patients. Scene 1 Duration 09:04 Panel 2 Duration 00:05 Dialog Nissha Medical Technologies’ TenderTrode Plus is a unique pre-wired Infant Monitoring electrode specifically designed for the unique needs of NICU nurses and patients. Scene 1 Duration 09:04 Panel 3 Duration 00:05 Dialog Nissha Medical Technologies’ TenderTrode Plus is a unique pre-wired Infant Monitoring electrode specifically designed for the unique needs of NICU nurses and patients. NISSHA TenderTrode1 Page 1/91
Medical Technologies’ TenderTrode Plus is a unique pre-wired Infant Monitoring electrode specifically designed for the unique needs of NICU nurses and patients. Scene 1 Duration 09:04 Panel 5 Duration 00:23 Dialog Nissha Medical Technologies’ TenderTrode Plus is a unique pre-wired Infant Monitoring electrode specifically designed for the unique needs of NICU nurses and patients. Scene 1 Duration 09:04 Panel 6 Duration 00:06 Dialog Nissha Medical Technologies’ TenderTrode Plus is a unique pre-wired Infant Monitoring electrode specifically designed for the unique needs of NICU nurses and patients. NISSHA TenderTrode1 Page 2/91
Medical Technologies’ TenderTrode Plus is a unique pre-wired Infant Monitoring electrode specifically designed for the unique needs of NICU nurses and patients. Scene 1 Duration 09:04 Panel 8 Duration 00:06 Dialog Nissha Medical Technologies’ TenderTrode Plus is a unique pre-wired Infant Monitoring electrode specifically designed for the unique needs of NICU nurses and patients. Scene 1 Duration 09:04 Panel 9 Duration 00:06 Dialog Nissha Medical Technologies’ TenderTrode Plus is a unique pre-wired Infant Monitoring electrode specifically designed for the unique needs of NICU nurses and patients. NISSHA TenderTrode1 Page 3/91
Medical Technologies’ TenderTrode Plus is a unique pre-wired Infant Monitoring electrode specifically designed for the unique needs of NICU nurses and patients. Scene 2 Duration 11:10 Panel 1 Duration 00:10 Dialog They are gentle to newborn skin and with proper application, TenderTrode Plus electrodes can be worn for up to five days even with infants in incubation. Scene 2 Duration 11:10 Panel 2 Duration 00:10 Dialog They are gentle to newborn skin and with proper application, TenderTrode Plus electrodes can be worn for up to five days even with infants in incubation. NISSHA TenderTrode1 Page 4/91
are gentle to newborn skin and with proper application, TenderTrode Plus electrodes can be worn for up to five days even with infants in incubation. Scene 2 Duration 11:10 Panel 4 Duration 00:10 Dialog They are gentle to newborn skin and with proper application, TenderTrode Plus electrodes can be worn for up to five days even with infants in incubation. Scene 2 Duration 11:10 Panel 5 Duration 02:07 Dialog They are gentle to newborn skin and with proper application, TenderTrode Plus electrodes can be worn for up to five days even with infants in incubation. NISSHA TenderTrode1 Page 5/91
are gentle to newborn skin and with proper application, TenderTrode Plus electrodes can be worn for up to five days even with infants in incubation. Scene 2 Duration 11:10 Panel 7 Duration 00:11 Dialog They are gentle to newborn skin and with proper application, TenderTrode Plus electrodes can be worn for up to five days even with infants in incubation. Scene 2 Duration 11:10 Panel 8 Duration 00:11 Dialog They are gentle to newborn skin and with proper application, TenderTrode Plus electrodes can be worn for up to five days even with infants in incubation. NISSHA TenderTrode1 Page 6/91
are gentle to newborn skin and with proper application, TenderTrode Plus electrodes can be worn for up to five days even with infants in incubation. Scene 2 Duration 11:10 Panel 10 Duration 00:10 Dialog They are gentle to newborn skin and with proper application, TenderTrode Plus electrodes can be worn for up to five days even with infants in incubation. Scene 2 Duration 11:10 Panel 11 Duration 00:10 Dialog They are gentle to newborn skin and with proper application, TenderTrode Plus electrodes can be worn for up to five days even with infants in incubation. NISSHA TenderTrode1 Page 7/91
are gentle to newborn skin and with proper application, TenderTrode Plus electrodes can be worn for up to five days even with infants in incubation. Scene 2 Duration 11:10 Panel 13 Duration 00:10 Dialog They are gentle to newborn skin and with proper application, TenderTrode Plus electrodes can be worn for up to five days even with infants in incubation. Scene 2 Duration 11:10 Panel 14 Duration 04:00 Dialog They are gentle to newborn skin and with proper application, TenderTrode Plus electrodes can be worn for up to five days even with infants in incubation. NISSHA TenderTrode1 Page 8/91
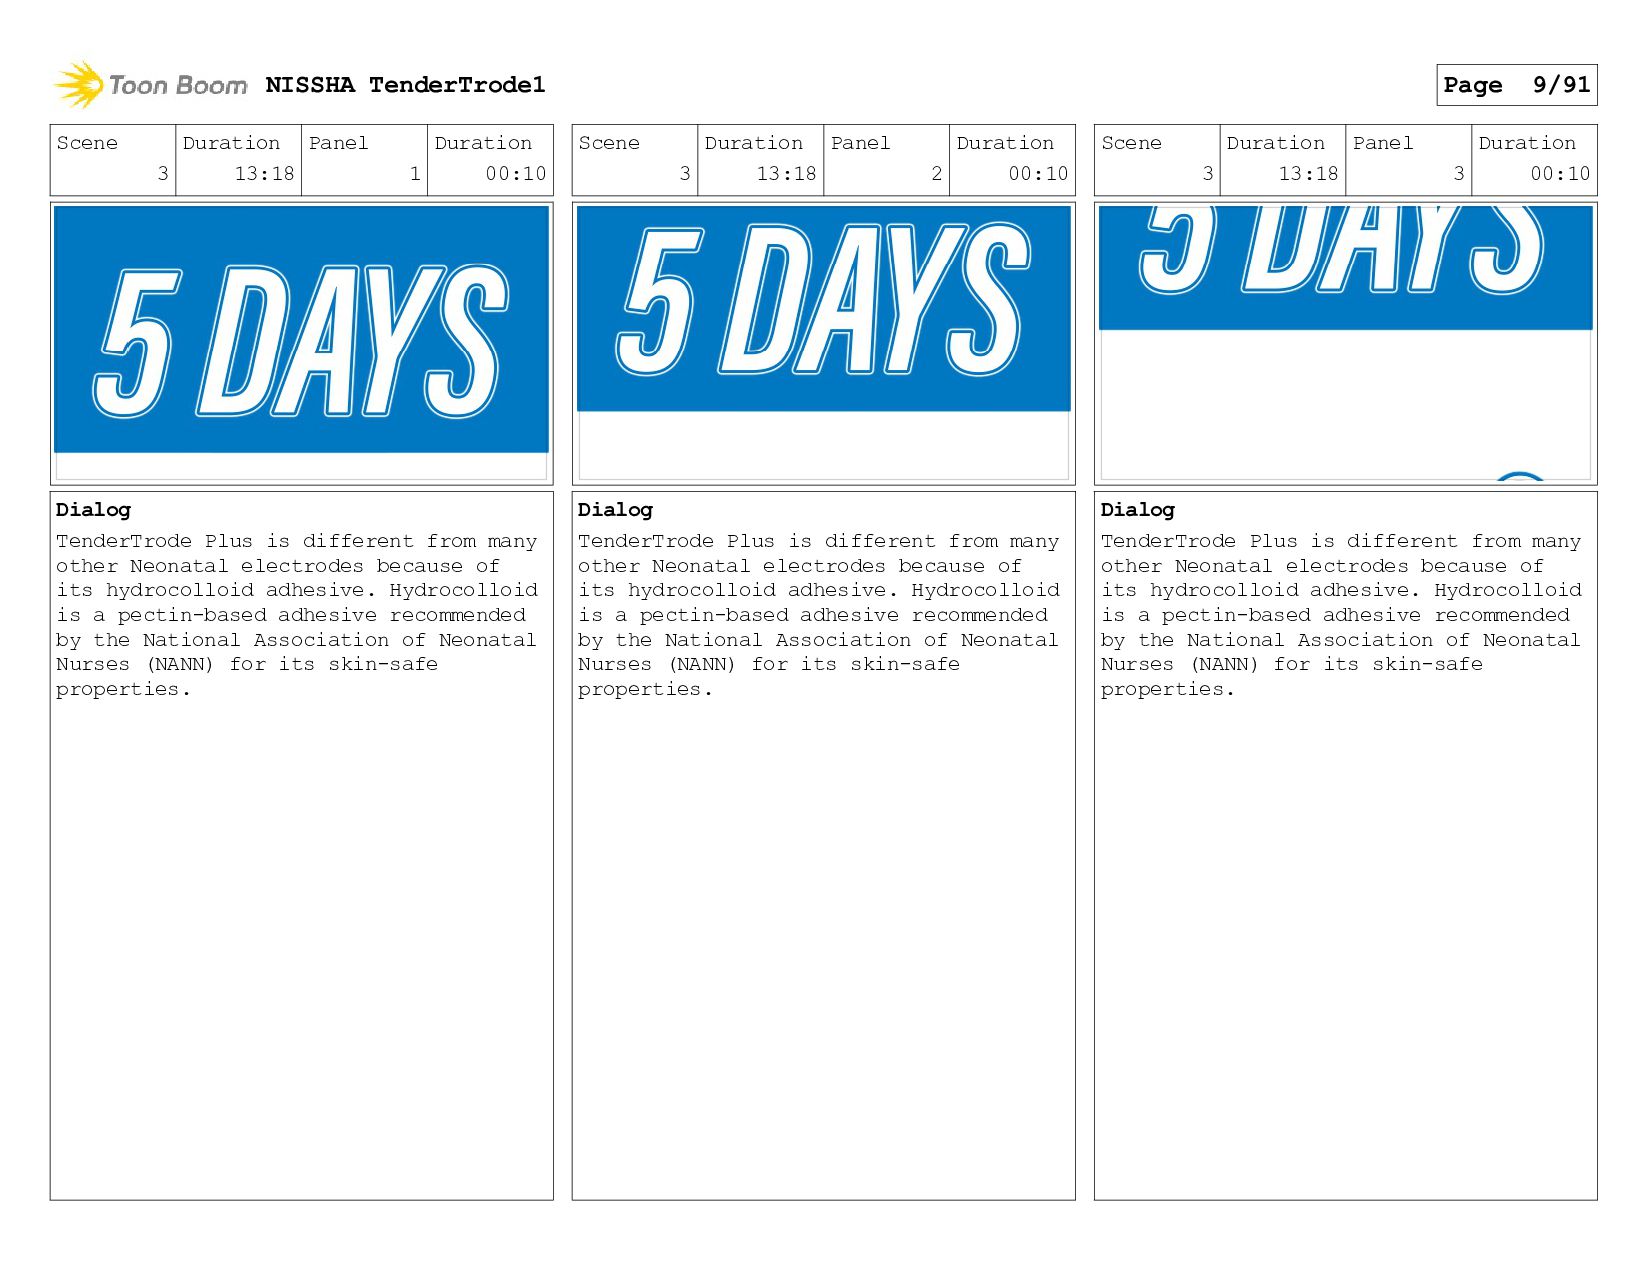
Plus is different from many other Neonatal electrodes because of its hydrocolloid adhesive. Hydrocolloid is a pectin-based adhesive recommended by the National Association of Neonatal Nurses (NANN) for its skin-safe properties. Scene 3 Duration 13:18 Panel 2 Duration 00:10 Dialog TenderTrode Plus is different from many other Neonatal electrodes because of its hydrocolloid adhesive. Hydrocolloid is a pectin-based adhesive recommended by the National Association of Neonatal Nurses (NANN) for its skin-safe properties. Scene 3 Duration 13:18 Panel 3 Duration 00:10 Dialog TenderTrode Plus is different from many other Neonatal electrodes because of its hydrocolloid adhesive. Hydrocolloid is a pectin-based adhesive recommended by the National Association of Neonatal Nurses (NANN) for its skin-safe properties. NISSHA TenderTrode1 Page 9/91
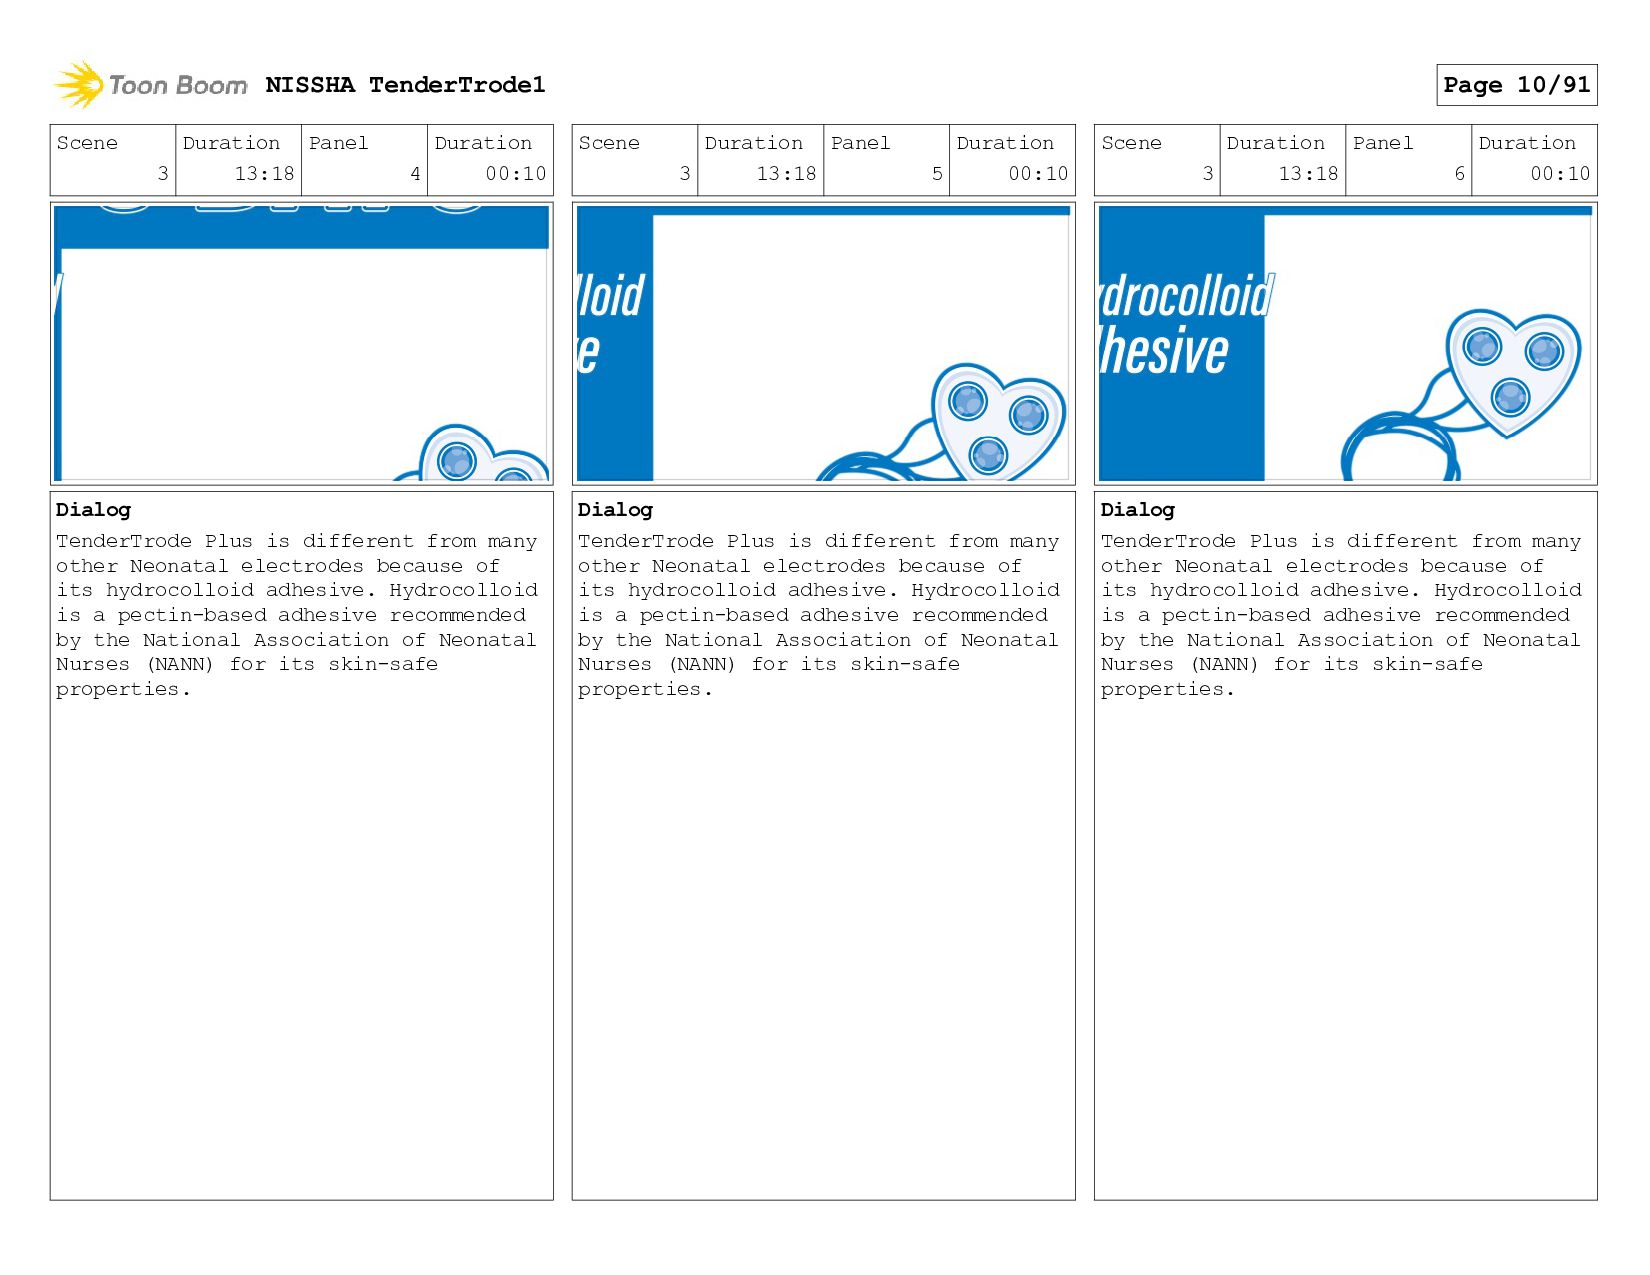
Plus is different from many other Neonatal electrodes because of its hydrocolloid adhesive. Hydrocolloid is a pectin-based adhesive recommended by the National Association of Neonatal Nurses (NANN) for its skin-safe properties. Scene 3 Duration 13:18 Panel 5 Duration 00:10 Dialog TenderTrode Plus is different from many other Neonatal electrodes because of its hydrocolloid adhesive. Hydrocolloid is a pectin-based adhesive recommended by the National Association of Neonatal Nurses (NANN) for its skin-safe properties. Scene 3 Duration 13:18 Panel 6 Duration 00:10 Dialog TenderTrode Plus is different from many other Neonatal electrodes because of its hydrocolloid adhesive. Hydrocolloid is a pectin-based adhesive recommended by the National Association of Neonatal Nurses (NANN) for its skin-safe properties. NISSHA TenderTrode1 Page 10/91
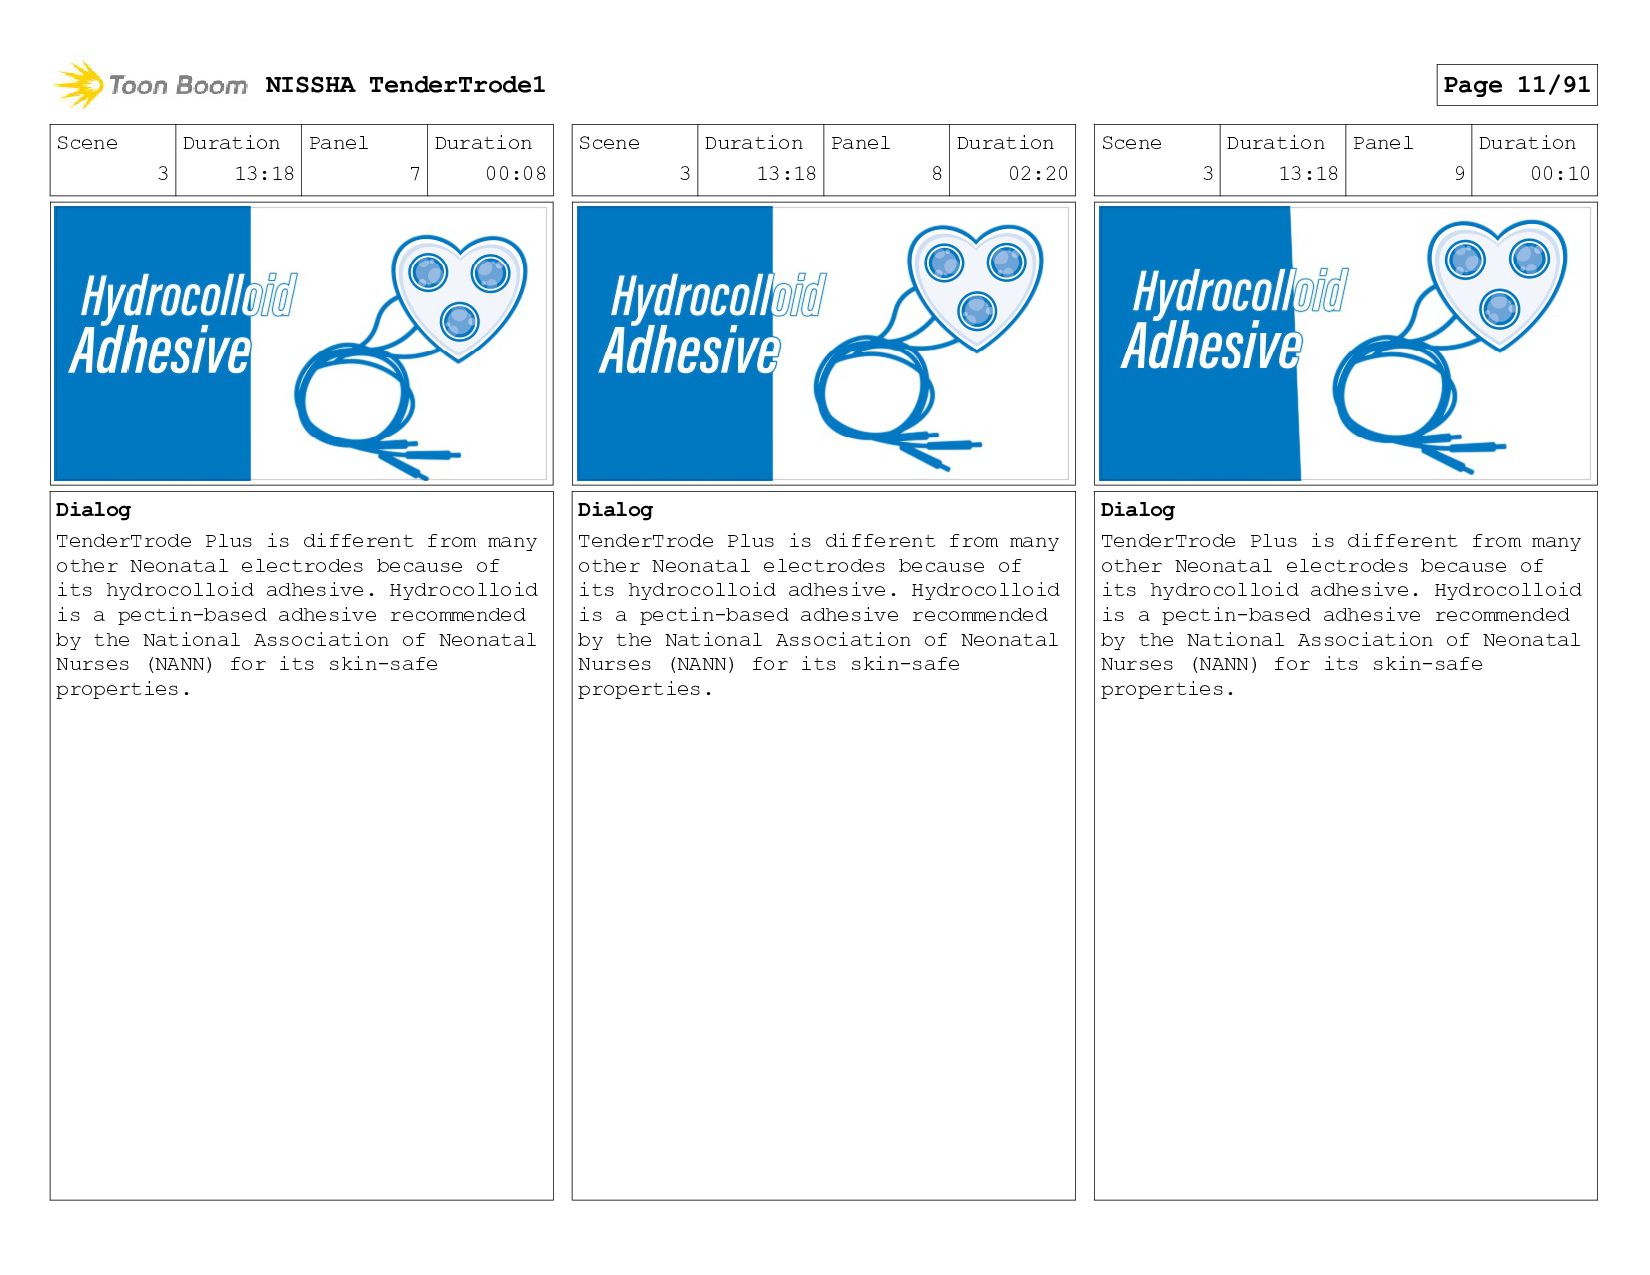
Plus is different from many other Neonatal electrodes because of its hydrocolloid adhesive. Hydrocolloid is a pectin-based adhesive recommended by the National Association of Neonatal Nurses (NANN) for its skin-safe properties. Scene 3 Duration 13:18 Panel 8 Duration 02:20 Dialog TenderTrode Plus is different from many other Neonatal electrodes because of its hydrocolloid adhesive. Hydrocolloid is a pectin-based adhesive recommended by the National Association of Neonatal Nurses (NANN) for its skin-safe properties. Scene 3 Duration 13:18 Panel 9 Duration 00:10 Dialog TenderTrode Plus is different from many other Neonatal electrodes because of its hydrocolloid adhesive. Hydrocolloid is a pectin-based adhesive recommended by the National Association of Neonatal Nurses (NANN) for its skin-safe properties. NISSHA TenderTrode1 Page 11/91
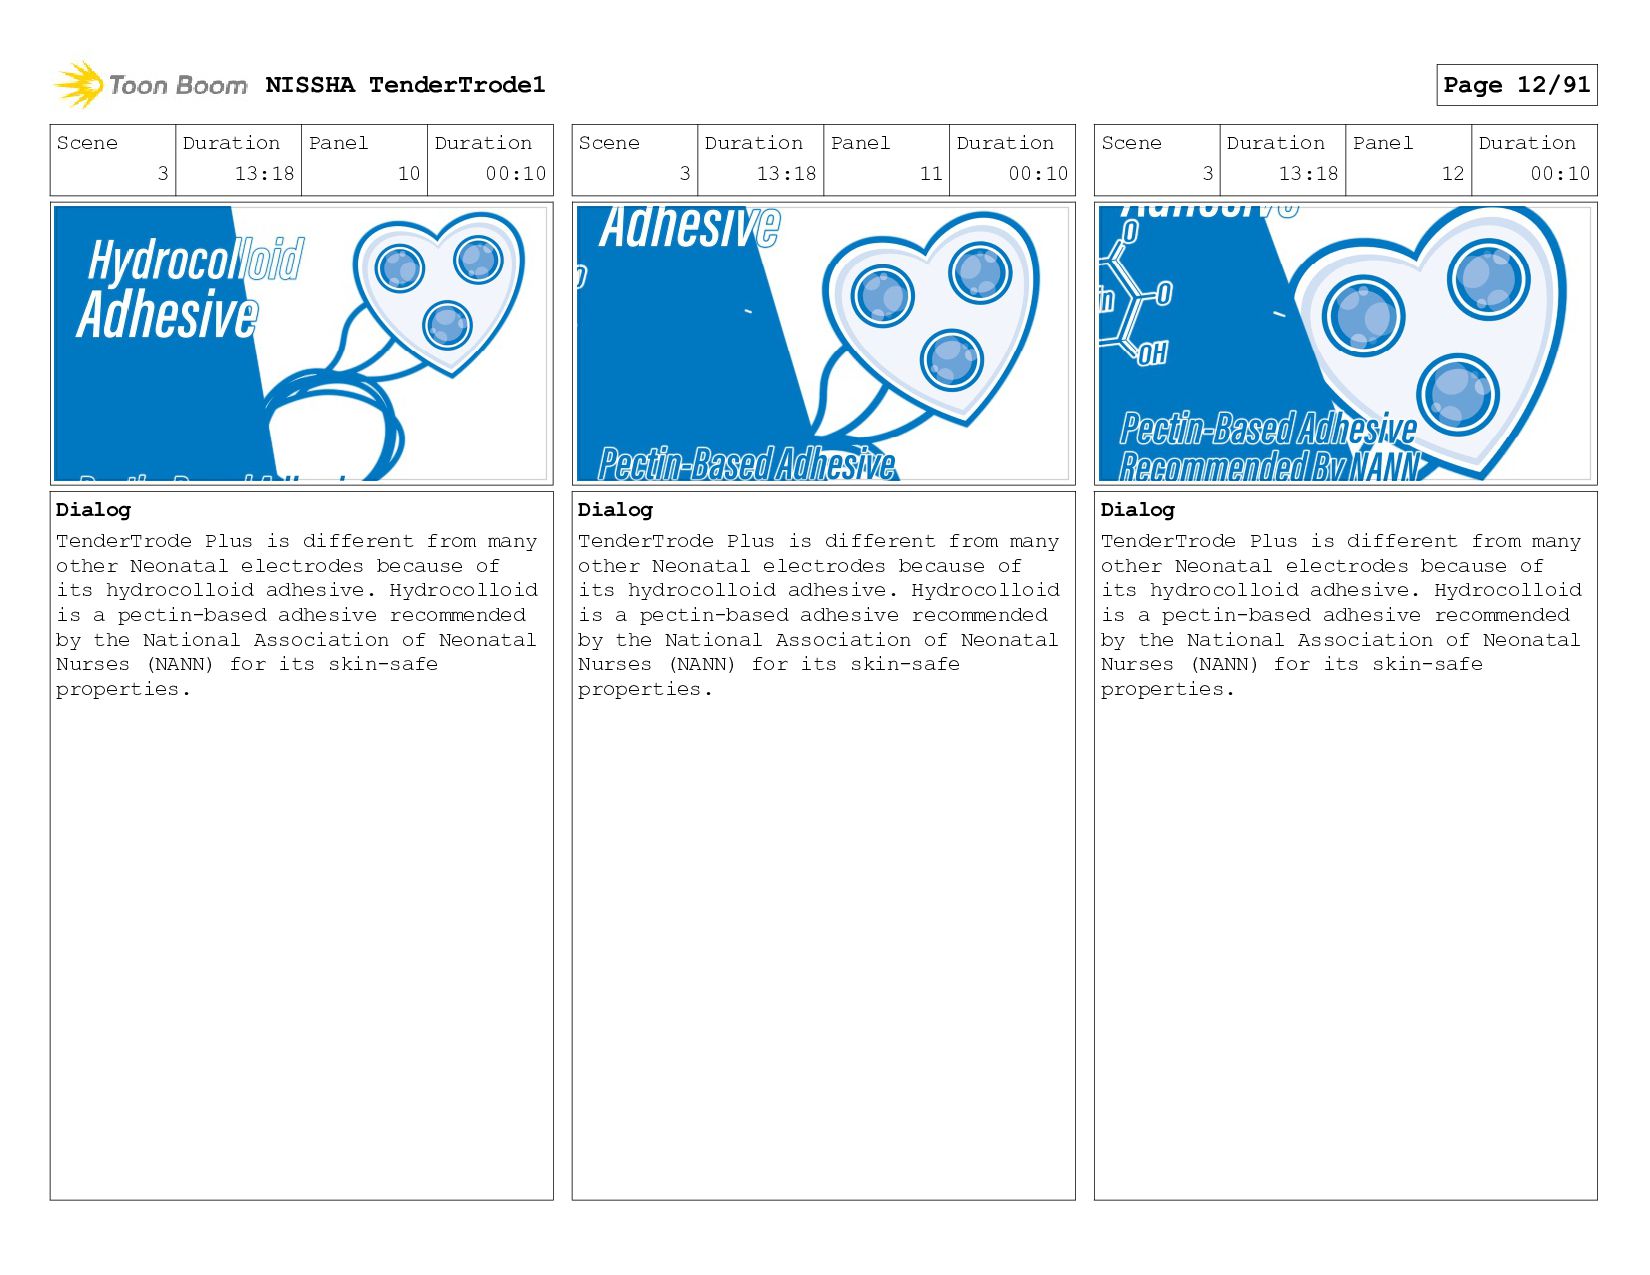
Plus is different from many other Neonatal electrodes because of its hydrocolloid adhesive. Hydrocolloid is a pectin-based adhesive recommended by the National Association of Neonatal Nurses (NANN) for its skin-safe properties. Scene 3 Duration 13:18 Panel 11 Duration 00:10 Dialog TenderTrode Plus is different from many other Neonatal electrodes because of its hydrocolloid adhesive. Hydrocolloid is a pectin-based adhesive recommended by the National Association of Neonatal Nurses (NANN) for its skin-safe properties. Scene 3 Duration 13:18 Panel 12 Duration 00:10 Dialog TenderTrode Plus is different from many other Neonatal electrodes because of its hydrocolloid adhesive. Hydrocolloid is a pectin-based adhesive recommended by the National Association of Neonatal Nurses (NANN) for its skin-safe properties. NISSHA TenderTrode1 Page 12/91
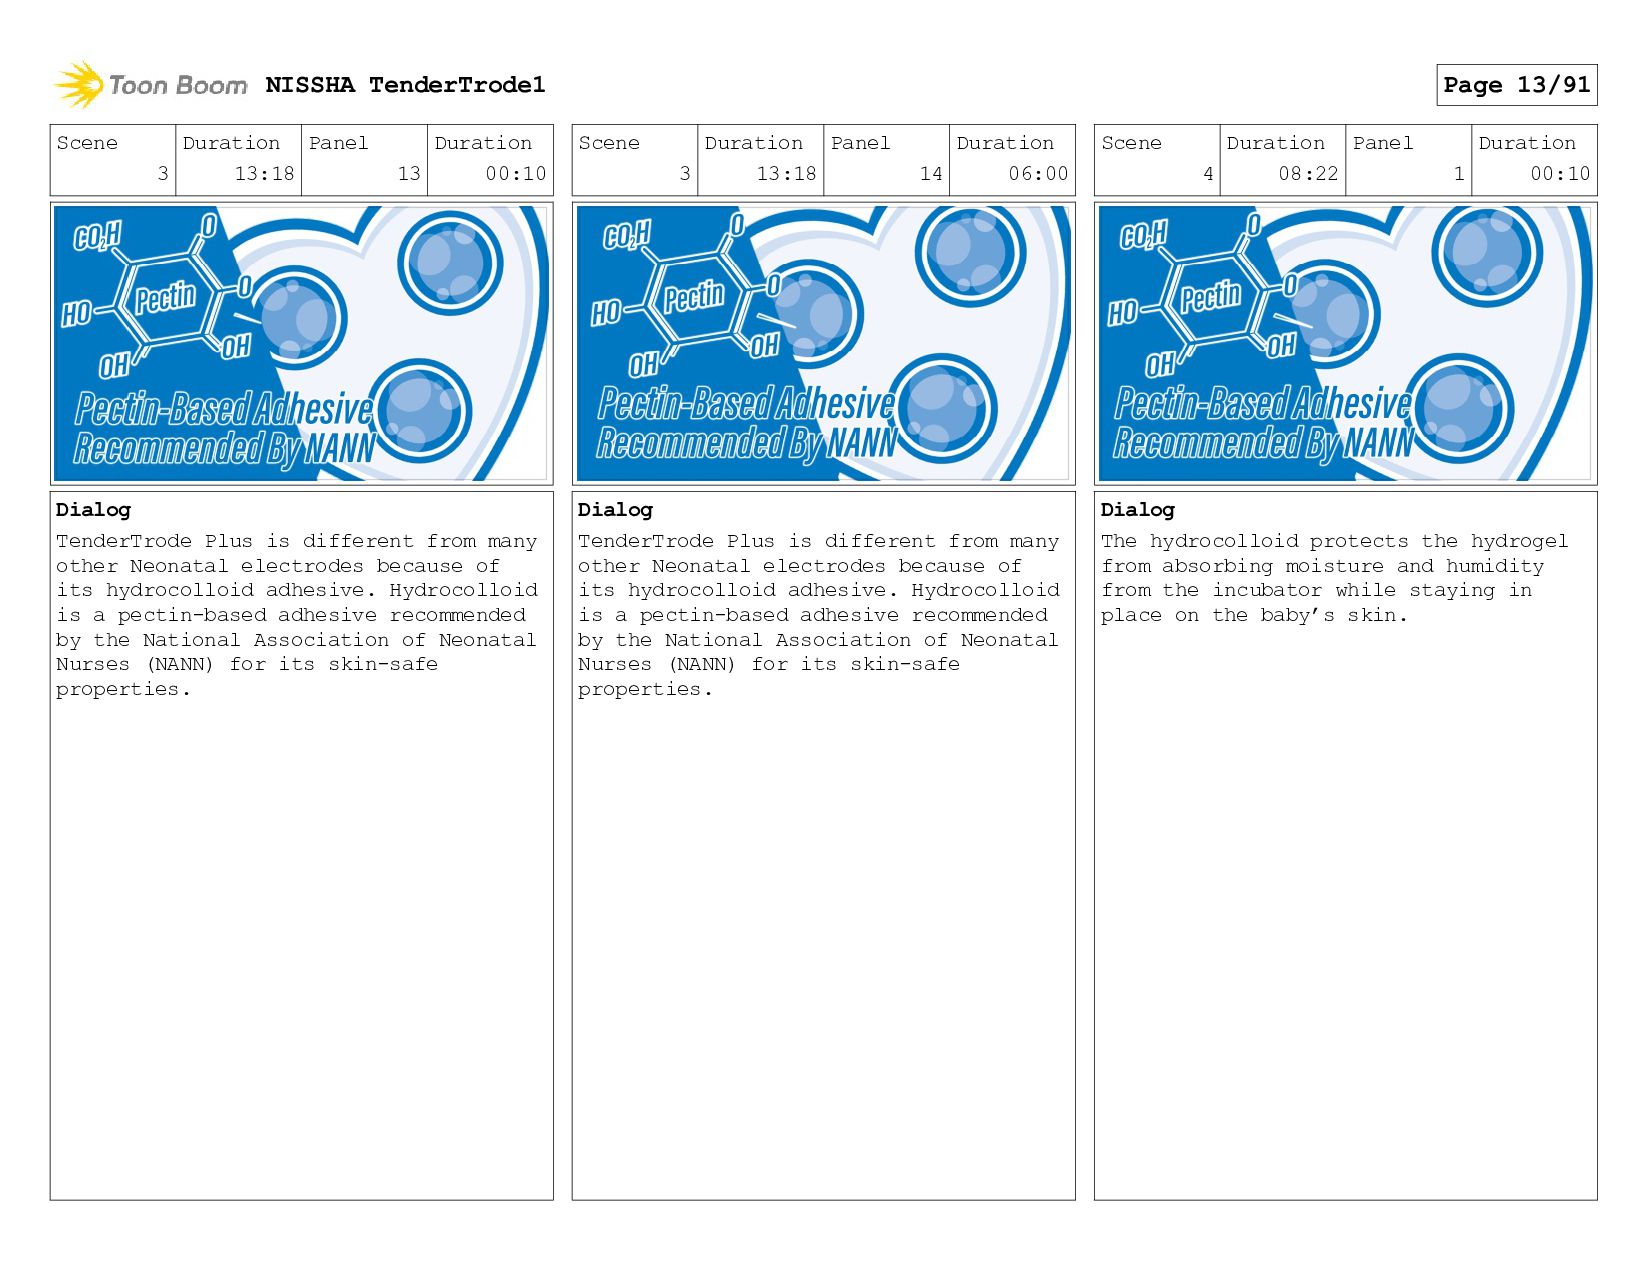
Plus is different from many other Neonatal electrodes because of its hydrocolloid adhesive. Hydrocolloid is a pectin-based adhesive recommended by the National Association of Neonatal Nurses (NANN) for its skin-safe properties. Scene 3 Duration 13:18 Panel 14 Duration 06:00 Dialog TenderTrode Plus is different from many other Neonatal electrodes because of its hydrocolloid adhesive. Hydrocolloid is a pectin-based adhesive recommended by the National Association of Neonatal Nurses (NANN) for its skin-safe properties. Scene 4 Duration 08:22 Panel 1 Duration 00:10 Dialog The hydrocolloid protects the hydrogel from absorbing moisture and humidity from the incubator while staying in place on the baby’s skin. NISSHA TenderTrode1 Page 13/91
hydrocolloid protects the hydrogel from absorbing moisture and humidity from the incubator while staying in place on the baby’s skin. Scene 4 Duration 08:22 Panel 3 Duration 00:10 Dialog The hydrocolloid protects the hydrogel from absorbing moisture and humidity from the incubator while staying in place on the baby’s skin. Scene 4 Duration 08:22 Panel 4 Duration 00:10 Dialog The hydrocolloid protects the hydrogel from absorbing moisture and humidity from the incubator while staying in place on the baby’s skin. NISSHA TenderTrode1 Page 14/91
hydrocolloid protects the hydrogel from absorbing moisture and humidity from the incubator while staying in place on the baby’s skin. Scene 4 Duration 08:22 Panel 6 Duration 00:10 Dialog The hydrocolloid protects the hydrogel from absorbing moisture and humidity from the incubator while staying in place on the baby’s skin. Scene 4 Duration 08:22 Panel 7 Duration 00:10 Dialog The hydrocolloid protects the hydrogel from absorbing moisture and humidity from the incubator while staying in place on the baby’s skin. NISSHA TenderTrode1 Page 15/91
hydrocolloid protects the hydrogel from absorbing moisture and humidity from the incubator while staying in place on the baby’s skin. Scene 5 Duration 13:13 Panel 1 Duration 00:08 Dialog The leads are radiolucent and safe for x-ray procedures meaning fewer electrode changes. Additionally, TenderTrode Plus may be kept on patients while performing sponge baths further saving time and money per application. Scene 5 Duration 13:13 Panel 2 Duration 00:08 Dialog The leads are radiolucent and safe for x-ray procedures meaning fewer electrode changes. Additionally, TenderTrode Plus may be kept on patients while performing sponge baths further saving time and money per application. NISSHA TenderTrode1 Page 16/91
leads are radiolucent and safe for x-ray procedures meaning fewer electrode changes. Additionally, TenderTrode Plus may be kept on patients while performing sponge baths further saving time and money per application. Scene 5 Duration 13:13 Panel 4 Duration 00:08 Dialog The leads are radiolucent and safe for x-ray procedures meaning fewer electrode changes. Additionally, TenderTrode Plus may be kept on patients while performing sponge baths further saving time and money per application. Scene 5 Duration 13:13 Panel 5 Duration 00:08 Dialog The leads are radiolucent and safe for x-ray procedures meaning fewer electrode changes. Additionally, TenderTrode Plus may be kept on patients while performing sponge baths further saving time and money per application. NISSHA TenderTrode1 Page 17/91
leads are radiolucent and safe for x-ray procedures meaning fewer electrode changes. Additionally, TenderTrode Plus may be kept on patients while performing sponge baths further saving time and money per application. Scene 5 Duration 13:13 Panel 7 Duration 00:08 Dialog The leads are radiolucent and safe for x-ray procedures meaning fewer electrode changes. Additionally, TenderTrode Plus may be kept on patients while performing sponge baths further saving time and money per application. Scene 5 Duration 13:13 Panel 8 Duration 00:08 Dialog The leads are radiolucent and safe for x-ray procedures meaning fewer electrode changes. Additionally, TenderTrode Plus may be kept on patients while performing sponge baths further saving time and money per application. NISSHA TenderTrode1 Page 18/91
leads are radiolucent and safe for x-ray procedures meaning fewer electrode changes. Additionally, TenderTrode Plus may be kept on patients while performing sponge baths further saving time and money per application. Scene 5 Duration 13:13 Panel 10 Duration 00:10 Dialog The leads are radiolucent and safe for x-ray procedures meaning fewer electrode changes. Additionally, TenderTrode Plus may be kept on patients while performing sponge baths further saving time and money per application. Scene 5 Duration 13:13 Panel 11 Duration 00:10 Dialog The leads are radiolucent and safe for x-ray procedures meaning fewer electrode changes. Additionally, TenderTrode Plus may be kept on patients while performing sponge baths further saving time and money per application. NISSHA TenderTrode1 Page 19/91
leads are radiolucent and safe for x-ray procedures meaning fewer electrode changes. Additionally, TenderTrode Plus may be kept on patients while performing sponge baths further saving time and money per application. Scene 5 Duration 13:13 Panel 13 Duration 00:10 Dialog The leads are radiolucent and safe for x-ray procedures meaning fewer electrode changes. Additionally, TenderTrode Plus may be kept on patients while performing sponge baths further saving time and money per application. Scene 5 Duration 13:13 Panel 14 Duration 00:10 Dialog The leads are radiolucent and safe for x-ray procedures meaning fewer electrode changes. Additionally, TenderTrode Plus may be kept on patients while performing sponge baths further saving time and money per application. NISSHA TenderTrode1 Page 20/91
leads are radiolucent and safe for x-ray procedures meaning fewer electrode changes. Additionally, TenderTrode Plus may be kept on patients while performing sponge baths further saving time and money per application. Scene 5 Duration 13:13 Panel 16 Duration 00:10 Dialog The leads are radiolucent and safe for x-ray procedures meaning fewer electrode changes. Additionally, TenderTrode Plus may be kept on patients while performing sponge baths further saving time and money per application. Scene 5 Duration 13:13 Panel 17 Duration 00:22 Dialog The leads are radiolucent and safe for x-ray procedures meaning fewer electrode changes. Additionally, TenderTrode Plus may be kept on patients while performing sponge baths further saving time and money per application. NISSHA TenderTrode1 Page 21/91
leads are radiolucent and safe for x-ray procedures meaning fewer electrode changes. Additionally, TenderTrode Plus may be kept on patients while performing sponge baths further saving time and money per application. Scene 5 Duration 13:13 Panel 19 Duration 00:22 Dialog The leads are radiolucent and safe for x-ray procedures meaning fewer electrode changes. Additionally, TenderTrode Plus may be kept on patients while performing sponge baths further saving time and money per application. Scene 5 Duration 13:13 Panel 20 Duration 00:22 Dialog The leads are radiolucent and safe for x-ray procedures meaning fewer electrode changes. Additionally, TenderTrode Plus may be kept on patients while performing sponge baths further saving time and money per application. NISSHA TenderTrode1 Page 22/91
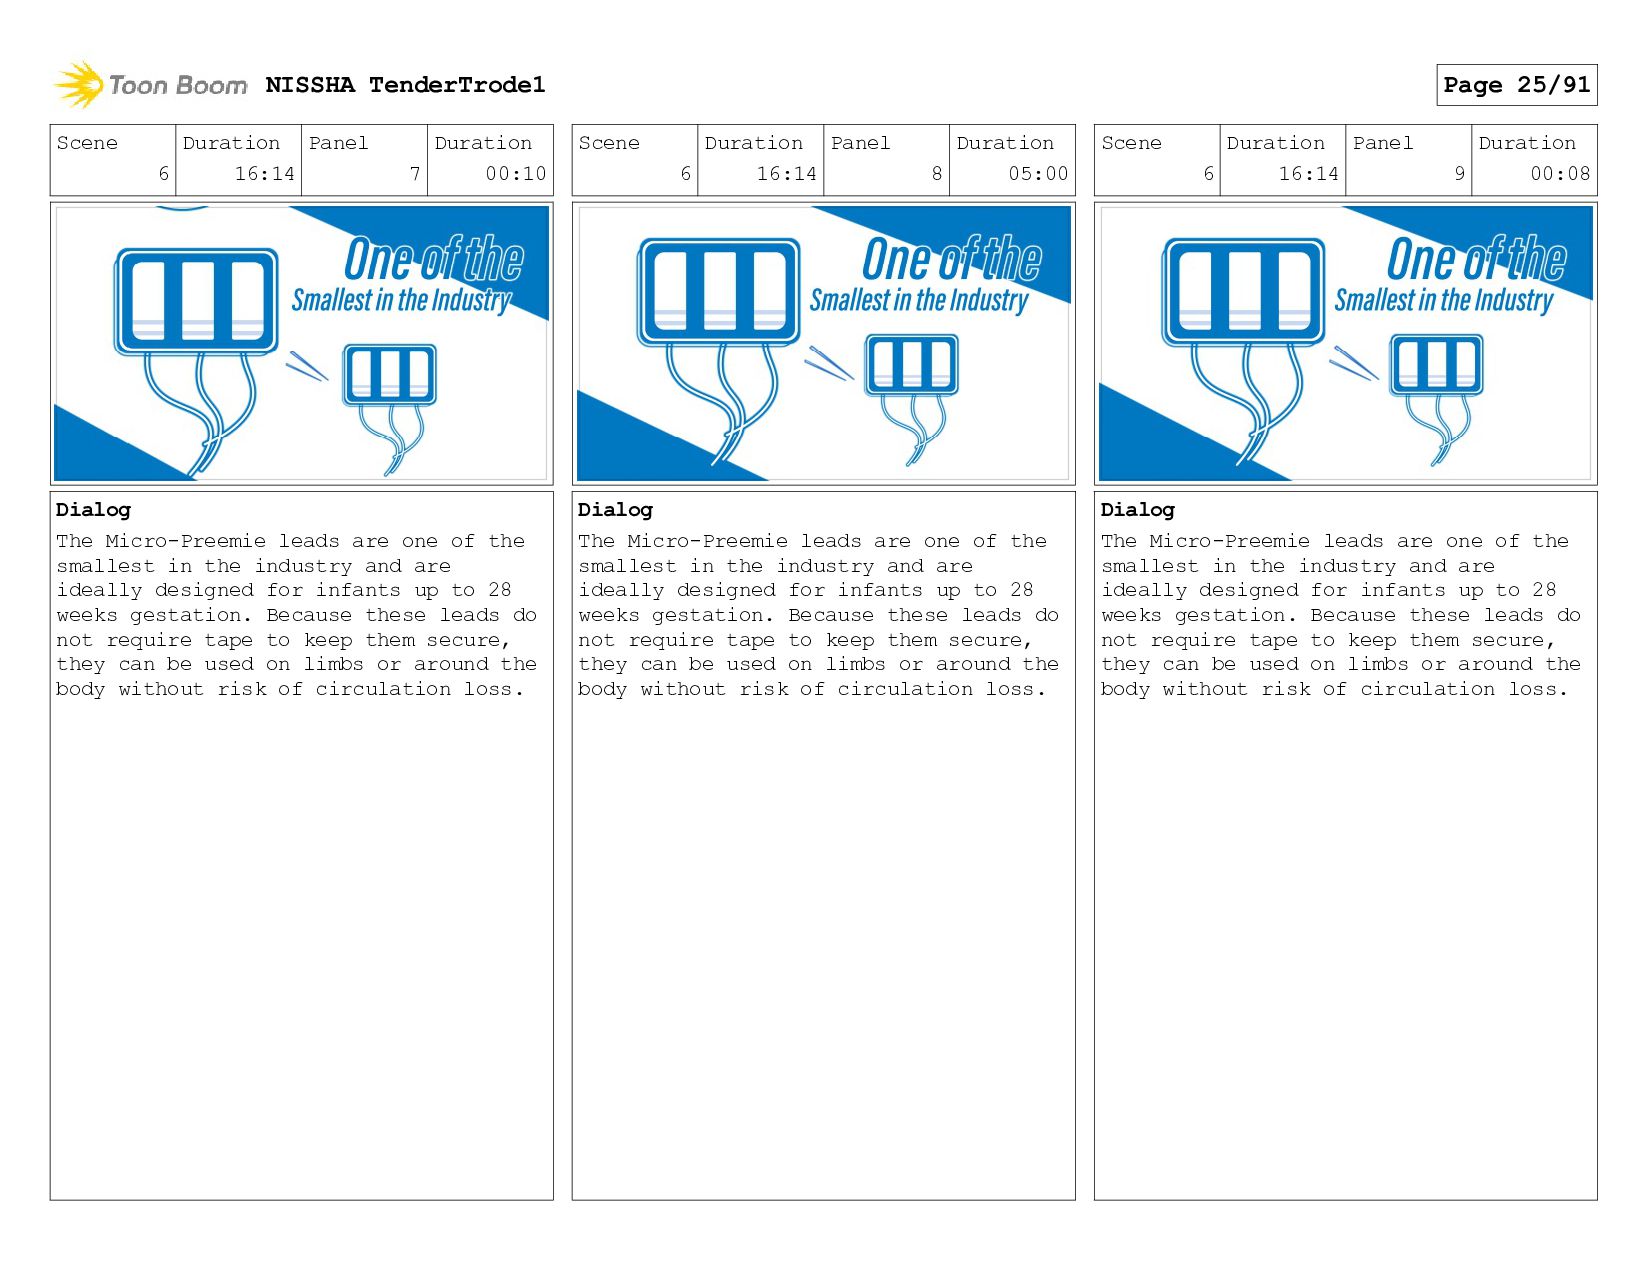
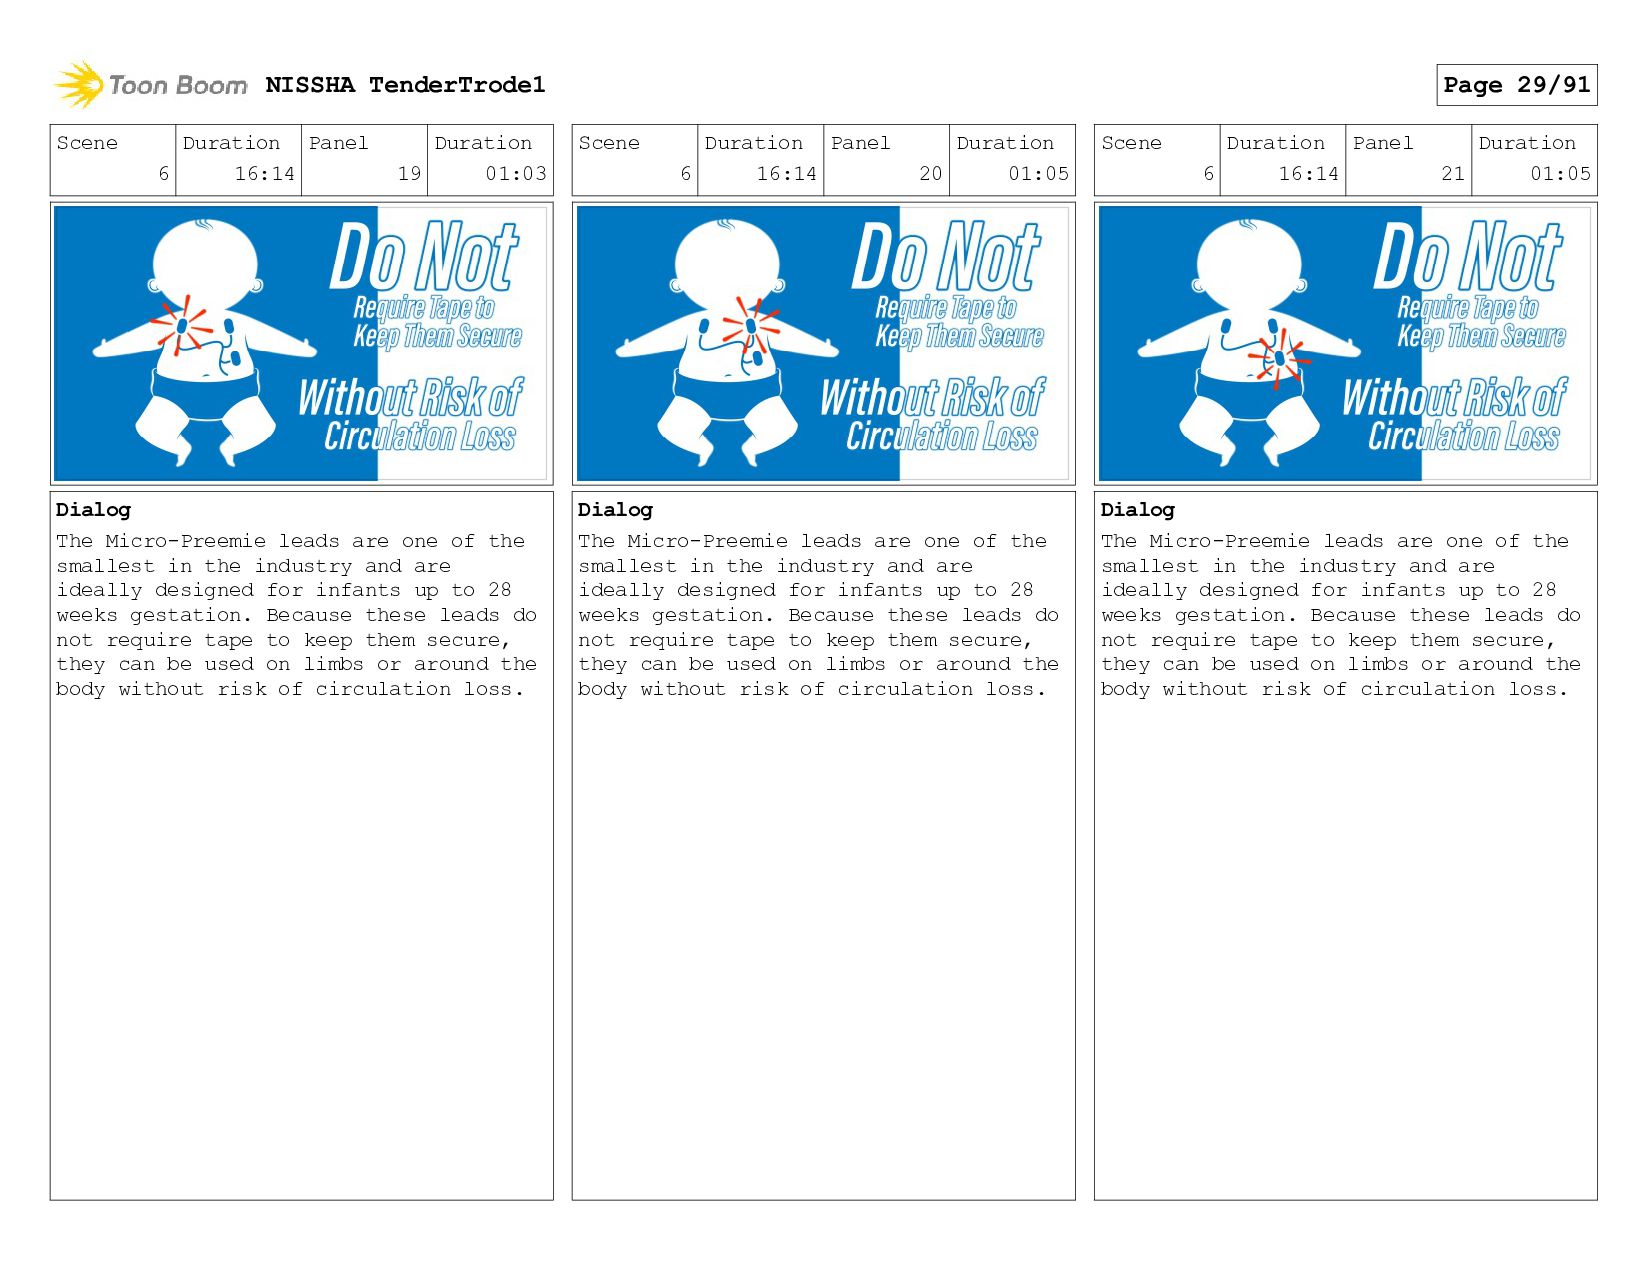
Micro-Preemie leads are one of the smallest in the industry and are ideally designed for infants up to 28 weeks gestation. Because these leads do not require tape to keep them secure, they can be used on limbs or around the body without risk of circulation loss. Scene 6 Duration 16:14 Panel 2 Duration 00:10 Dialog The Micro-Preemie leads are one of the smallest in the industry and are ideally designed for infants up to 28 weeks gestation. Because these leads do not require tape to keep them secure, they can be used on limbs or around the body without risk of circulation loss. Scene 6 Duration 16:14 Panel 3 Duration 00:10 Dialog The Micro-Preemie leads are one of the smallest in the industry and are ideally designed for infants up to 28 weeks gestation. Because these leads do not require tape to keep them secure, they can be used on limbs or around the body without risk of circulation loss. NISSHA TenderTrode1 Page 23/91
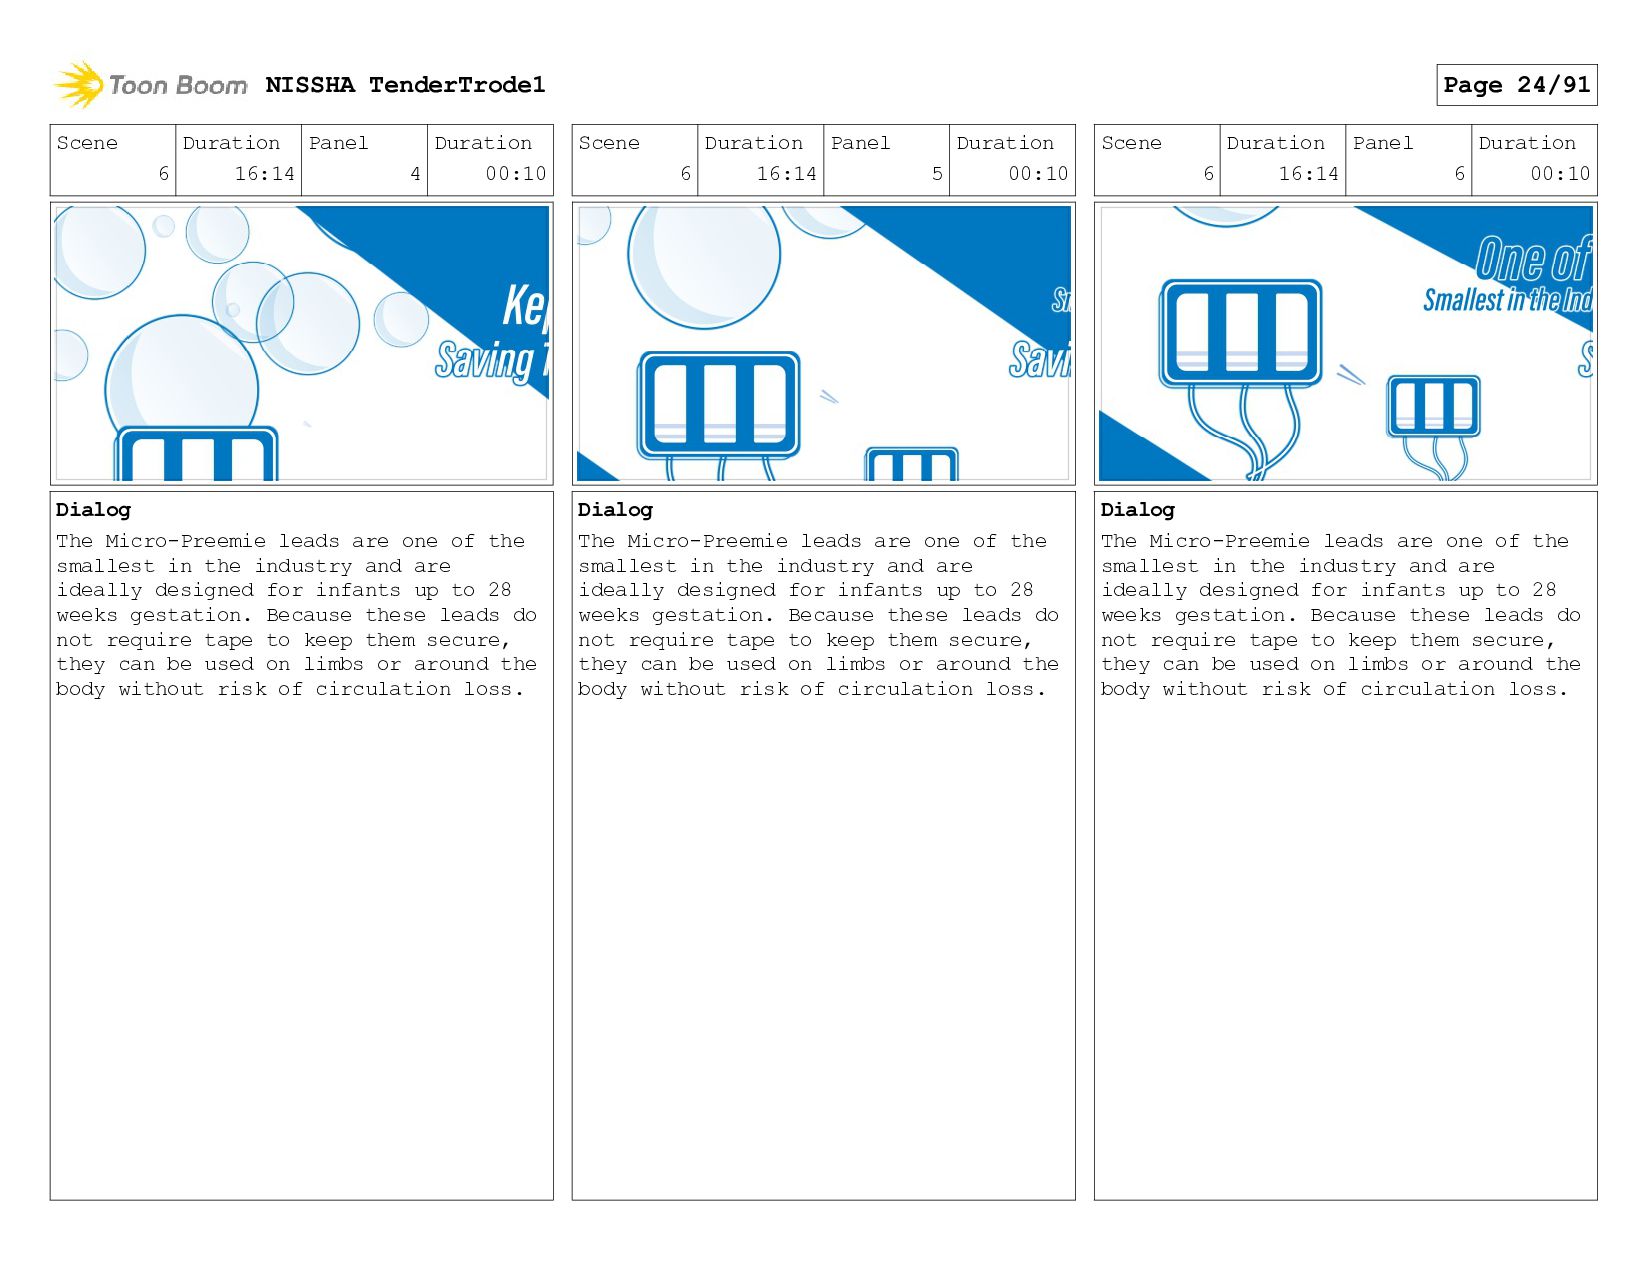
Micro-Preemie leads are one of the smallest in the industry and are ideally designed for infants up to 28 weeks gestation. Because these leads do not require tape to keep them secure, they can be used on limbs or around the body without risk of circulation loss. Scene 6 Duration 16:14 Panel 5 Duration 00:10 Dialog The Micro-Preemie leads are one of the smallest in the industry and are ideally designed for infants up to 28 weeks gestation. Because these leads do not require tape to keep them secure, they can be used on limbs or around the body without risk of circulation loss. Scene 6 Duration 16:14 Panel 6 Duration 00:10 Dialog The Micro-Preemie leads are one of the smallest in the industry and are ideally designed for infants up to 28 weeks gestation. Because these leads do not require tape to keep them secure, they can be used on limbs or around the body without risk of circulation loss. NISSHA TenderTrode1 Page 24/91
Micro-Preemie leads are one of the smallest in the industry and are ideally designed for infants up to 28 weeks gestation. Because these leads do not require tape to keep them secure, they can be used on limbs or around the body without risk of circulation loss. Scene 6 Duration 16:14 Panel 8 Duration 05:00 Dialog The Micro-Preemie leads are one of the smallest in the industry and are ideally designed for infants up to 28 weeks gestation. Because these leads do not require tape to keep them secure, they can be used on limbs or around the body without risk of circulation loss. Scene 6 Duration 16:14 Panel 9 Duration 00:08 Dialog The Micro-Preemie leads are one of the smallest in the industry and are ideally designed for infants up to 28 weeks gestation. Because these leads do not require tape to keep them secure, they can be used on limbs or around the body without risk of circulation loss. NISSHA TenderTrode1 Page 25/91
Micro-Preemie leads are one of the smallest in the industry and are ideally designed for infants up to 28 weeks gestation. Because these leads do not require tape to keep them secure, they can be used on limbs or around the body without risk of circulation loss. Scene 6 Duration 16:14 Panel 11 Duration 00:08 Dialog The Micro-Preemie leads are one of the smallest in the industry and are ideally designed for infants up to 28 weeks gestation. Because these leads do not require tape to keep them secure, they can be used on limbs or around the body without risk of circulation loss. Scene 6 Duration 16:14 Panel 12 Duration 00:08 Dialog The Micro-Preemie leads are one of the smallest in the industry and are ideally designed for infants up to 28 weeks gestation. Because these leads do not require tape to keep them secure, they can be used on limbs or around the body without risk of circulation loss. NISSHA TenderTrode1 Page 26/91
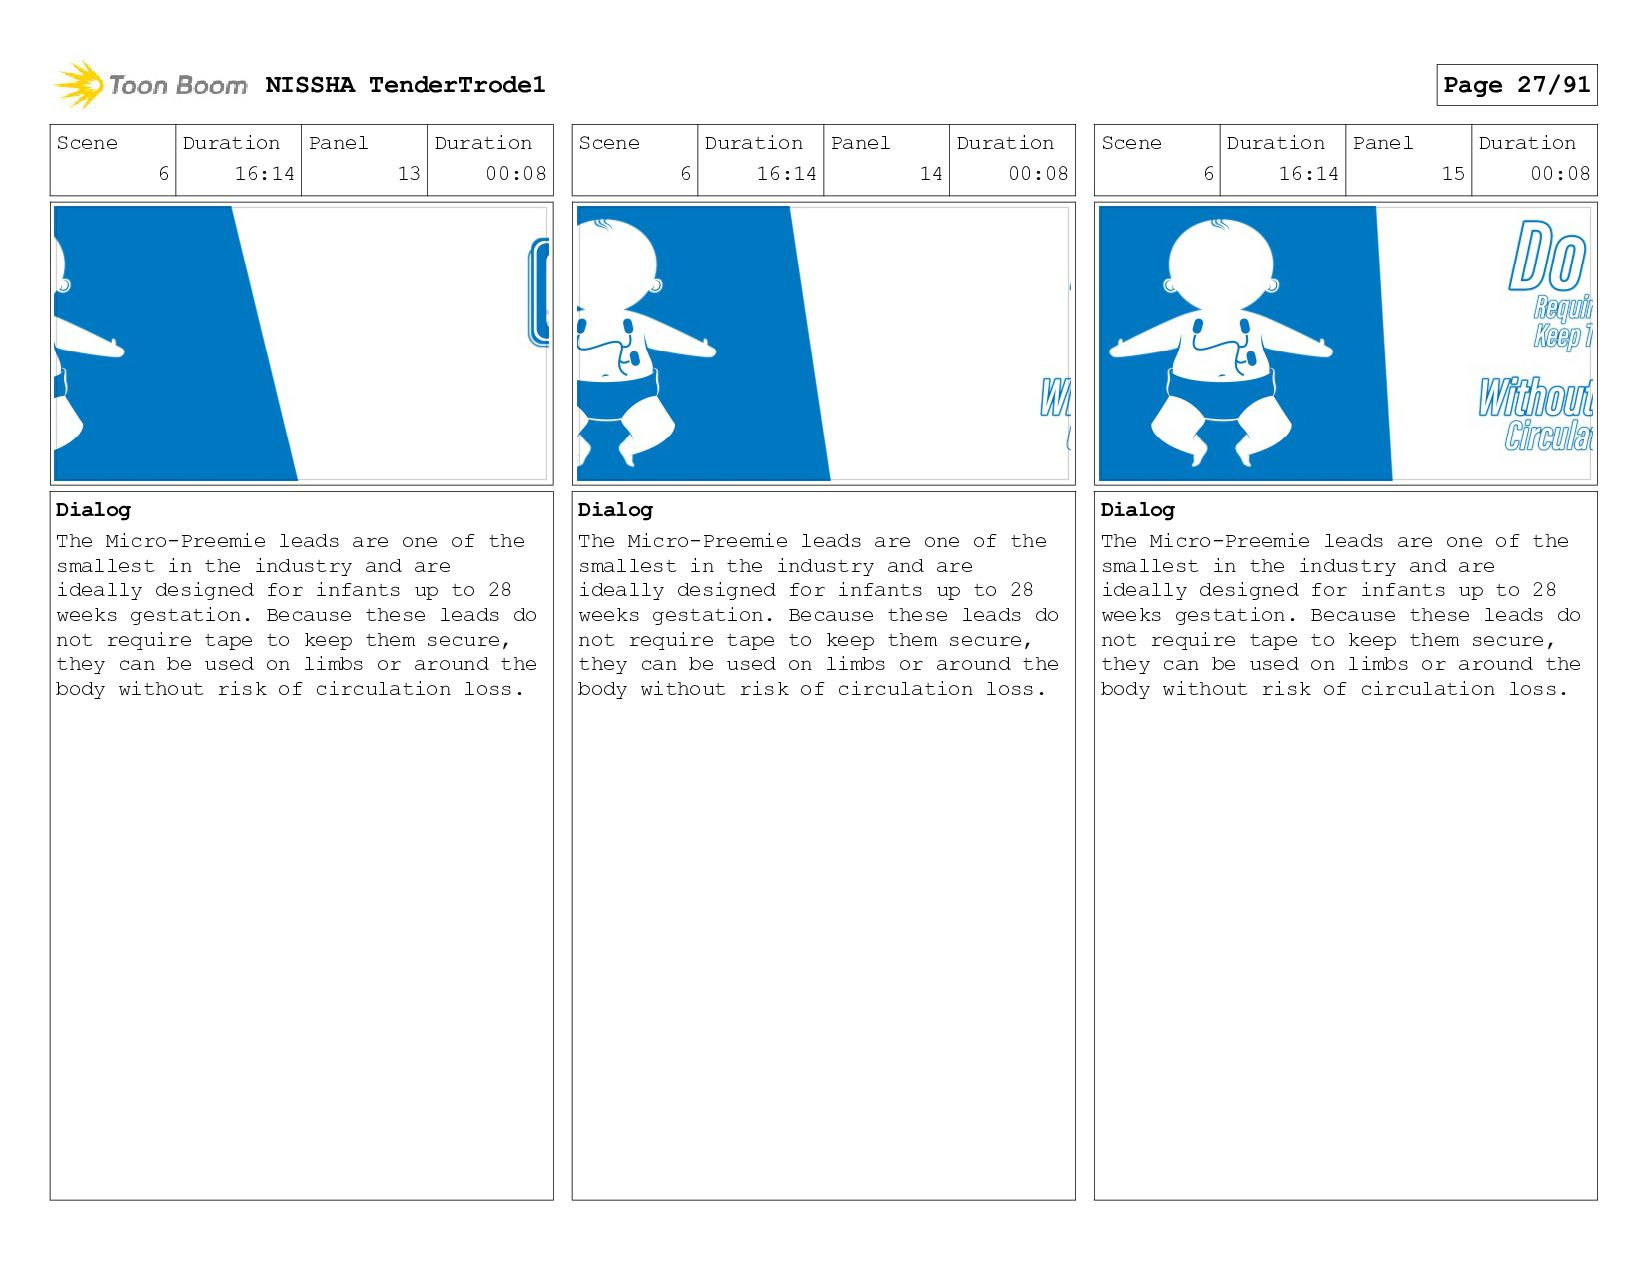
Micro-Preemie leads are one of the smallest in the industry and are ideally designed for infants up to 28 weeks gestation. Because these leads do not require tape to keep them secure, they can be used on limbs or around the body without risk of circulation loss. Scene 6 Duration 16:14 Panel 14 Duration 00:08 Dialog The Micro-Preemie leads are one of the smallest in the industry and are ideally designed for infants up to 28 weeks gestation. Because these leads do not require tape to keep them secure, they can be used on limbs or around the body without risk of circulation loss. Scene 6 Duration 16:14 Panel 15 Duration 00:08 Dialog The Micro-Preemie leads are one of the smallest in the industry and are ideally designed for infants up to 28 weeks gestation. Because these leads do not require tape to keep them secure, they can be used on limbs or around the body without risk of circulation loss. NISSHA TenderTrode1 Page 27/91
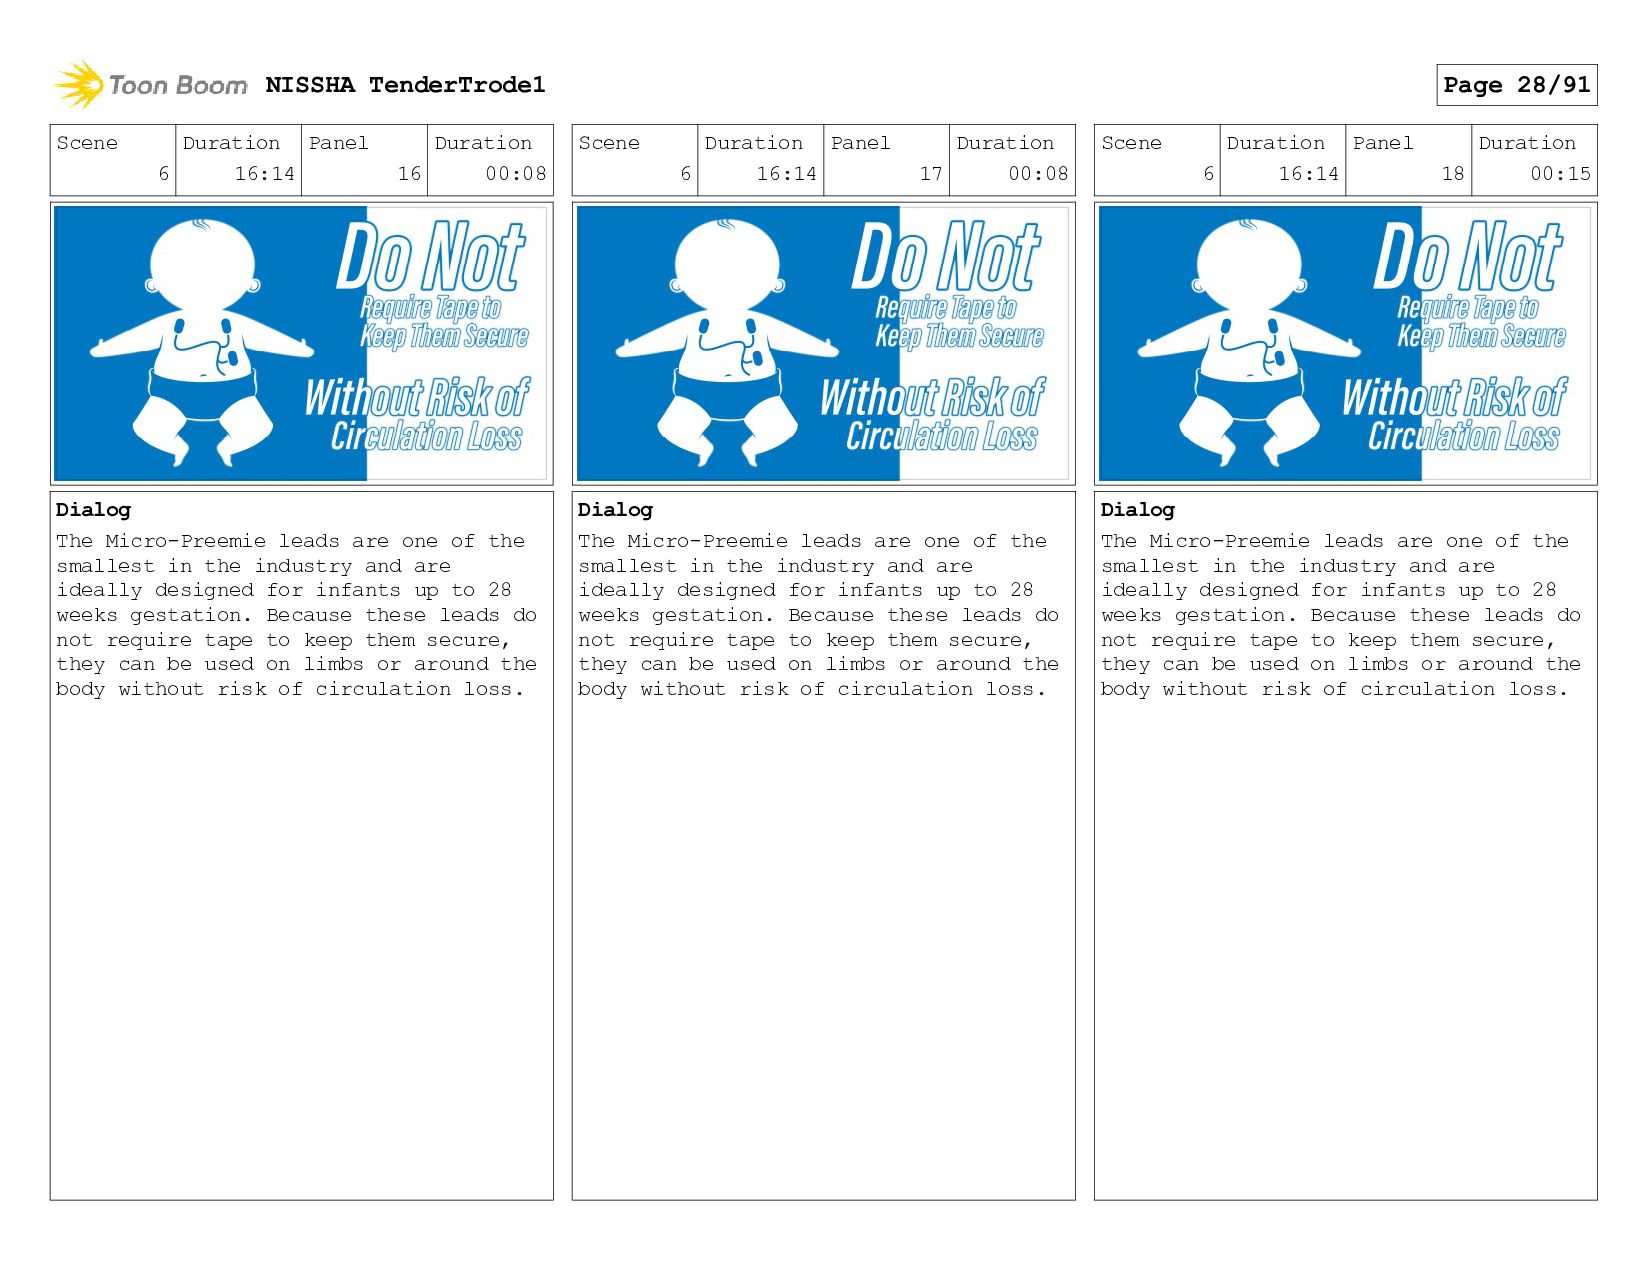
Micro-Preemie leads are one of the smallest in the industry and are ideally designed for infants up to 28 weeks gestation. Because these leads do not require tape to keep them secure, they can be used on limbs or around the body without risk of circulation loss. Scene 6 Duration 16:14 Panel 17 Duration 00:08 Dialog The Micro-Preemie leads are one of the smallest in the industry and are ideally designed for infants up to 28 weeks gestation. Because these leads do not require tape to keep them secure, they can be used on limbs or around the body without risk of circulation loss. Scene 6 Duration 16:14 Panel 18 Duration 00:15 Dialog The Micro-Preemie leads are one of the smallest in the industry and are ideally designed for infants up to 28 weeks gestation. Because these leads do not require tape to keep them secure, they can be used on limbs or around the body without risk of circulation loss. NISSHA TenderTrode1 Page 28/91
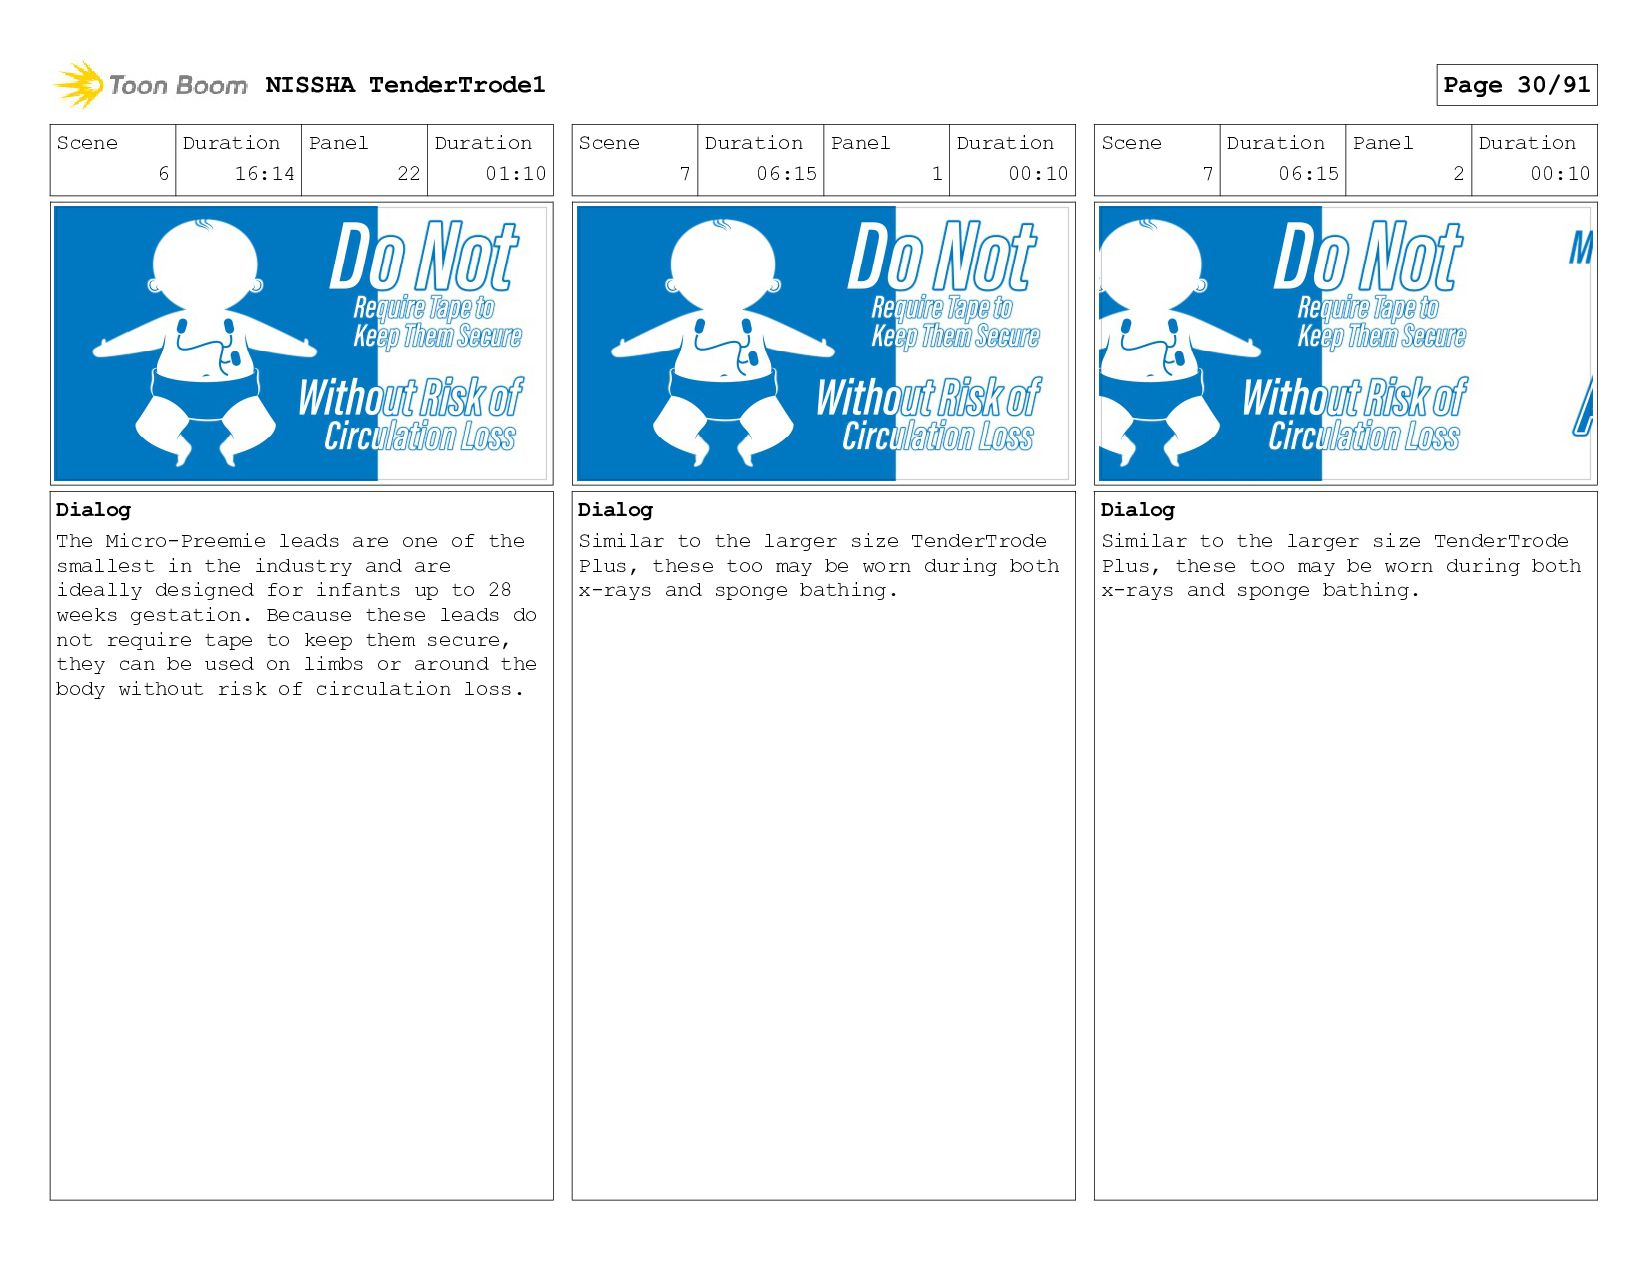
Micro-Preemie leads are one of the smallest in the industry and are ideally designed for infants up to 28 weeks gestation. Because these leads do not require tape to keep them secure, they can be used on limbs or around the body without risk of circulation loss. Scene 6 Duration 16:14 Panel 20 Duration 01:05 Dialog The Micro-Preemie leads are one of the smallest in the industry and are ideally designed for infants up to 28 weeks gestation. Because these leads do not require tape to keep them secure, they can be used on limbs or around the body without risk of circulation loss. Scene 6 Duration 16:14 Panel 21 Duration 01:05 Dialog The Micro-Preemie leads are one of the smallest in the industry and are ideally designed for infants up to 28 weeks gestation. Because these leads do not require tape to keep them secure, they can be used on limbs or around the body without risk of circulation loss. NISSHA TenderTrode1 Page 29/91
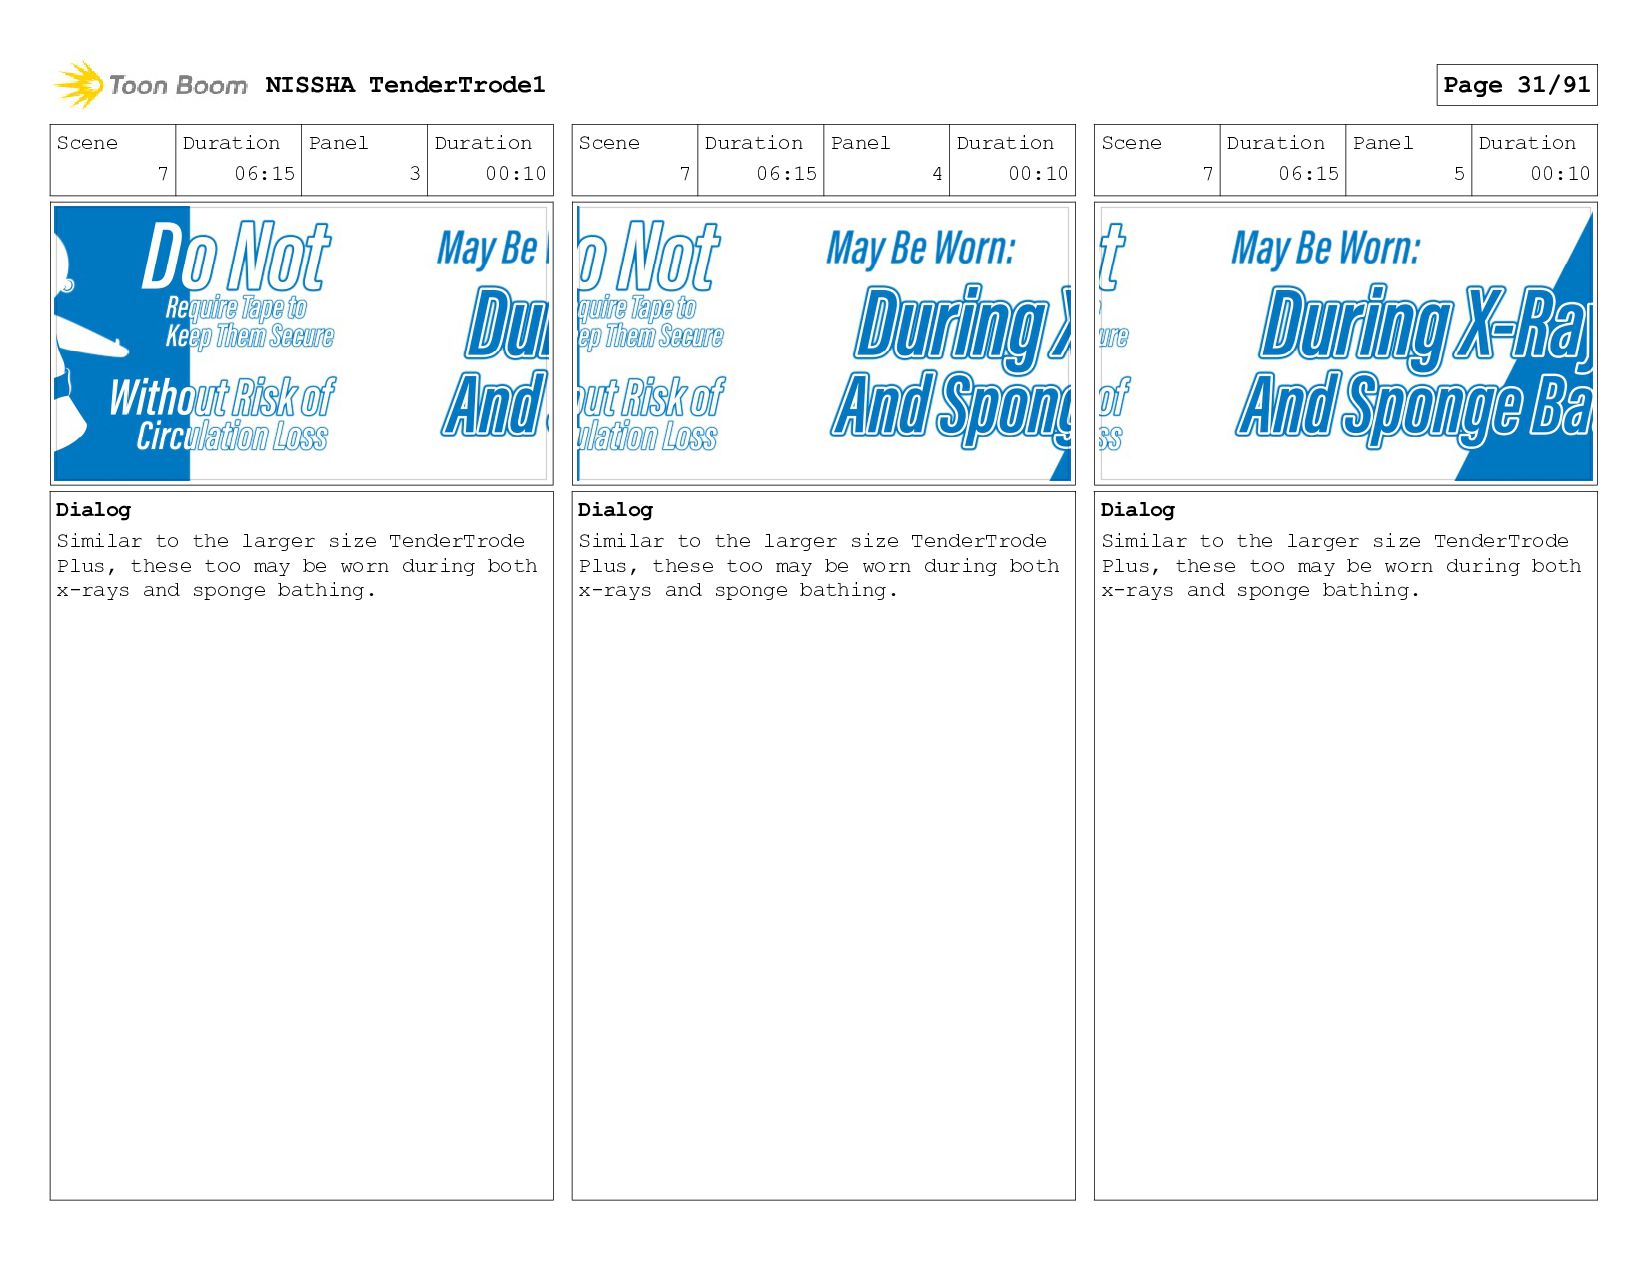
Micro-Preemie leads are one of the smallest in the industry and are ideally designed for infants up to 28 weeks gestation. Because these leads do not require tape to keep them secure, they can be used on limbs or around the body without risk of circulation loss. Scene 7 Duration 06:15 Panel 1 Duration 00:10 Dialog Similar to the larger size TenderTrode Plus, these too may be worn during both x-rays and sponge bathing. Scene 7 Duration 06:15 Panel 2 Duration 00:10 Dialog Similar to the larger size TenderTrode Plus, these too may be worn during both x-rays and sponge bathing. NISSHA TenderTrode1 Page 30/91
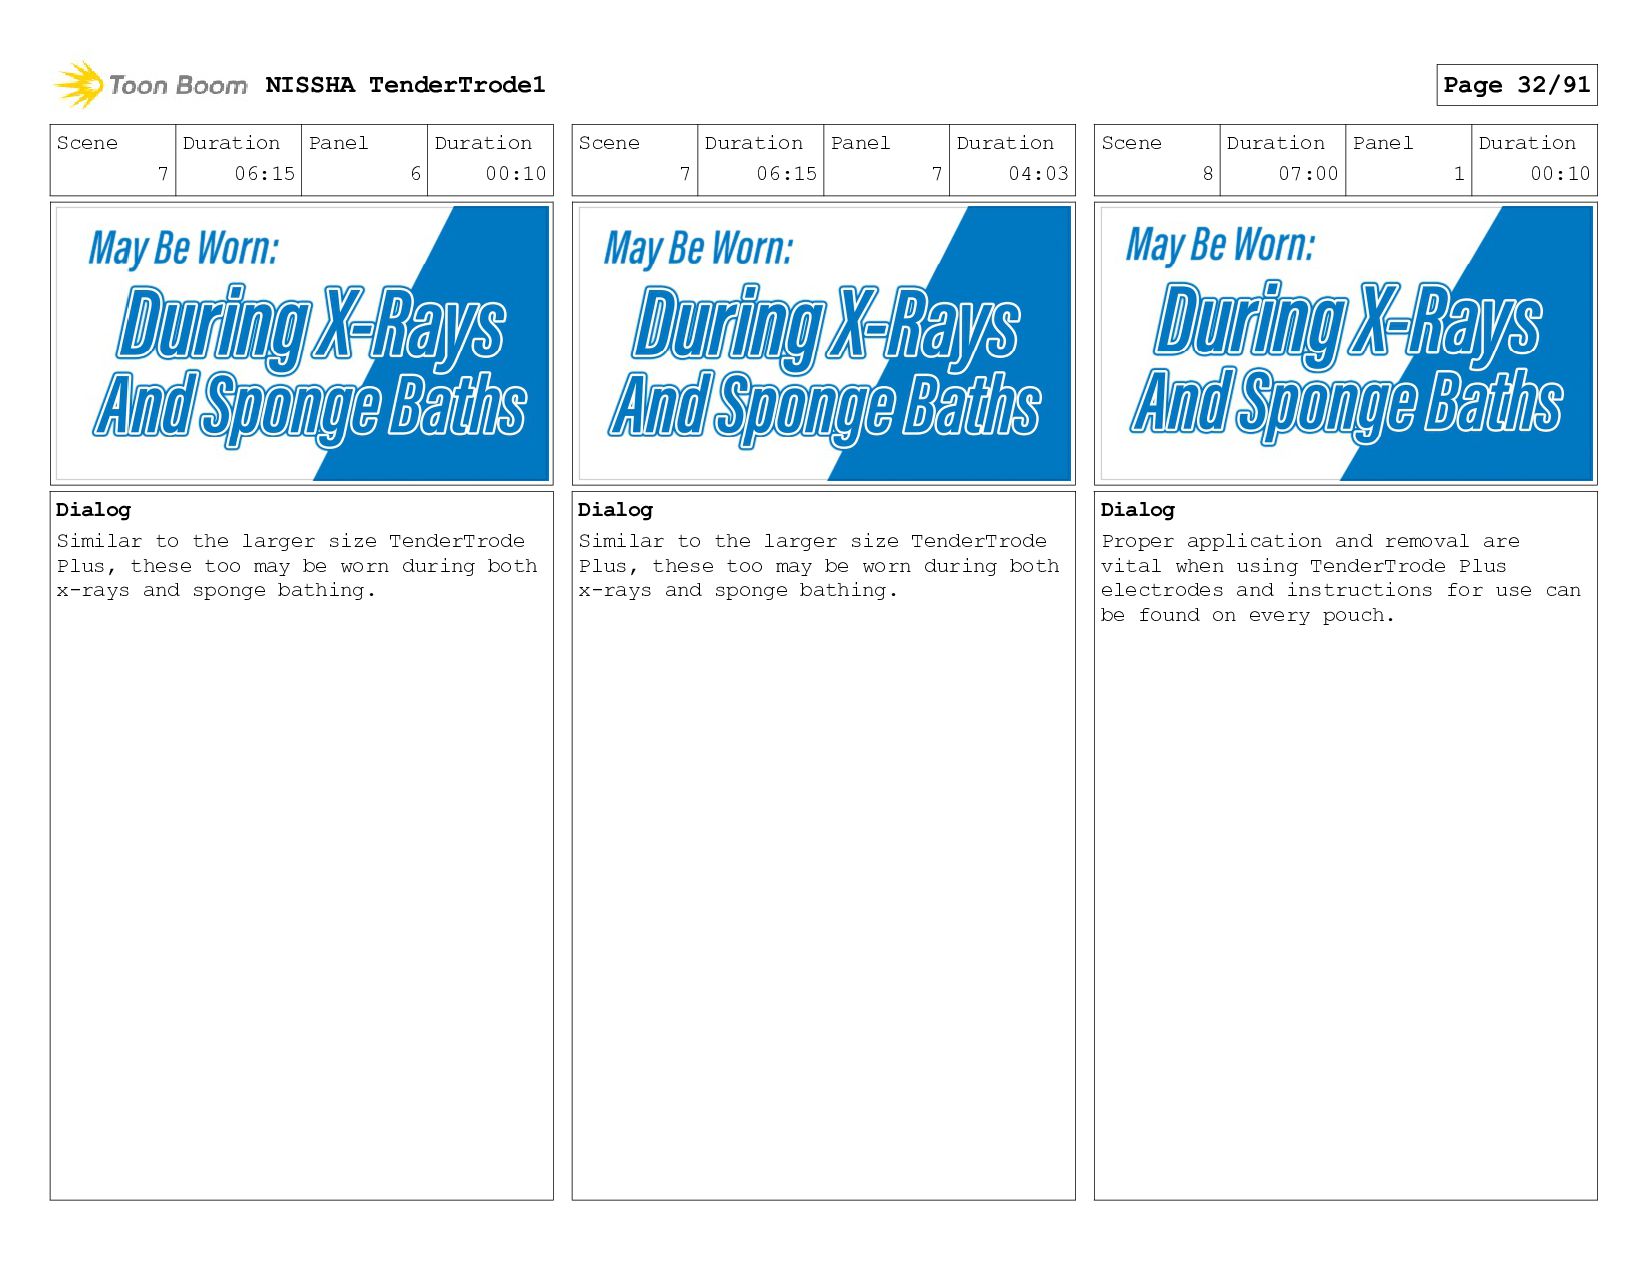
to the larger size TenderTrode Plus, these too may be worn during both x-rays and sponge bathing. Scene 7 Duration 06:15 Panel 4 Duration 00:10 Dialog Similar to the larger size TenderTrode Plus, these too may be worn during both x-rays and sponge bathing. Scene 7 Duration 06:15 Panel 5 Duration 00:10 Dialog Similar to the larger size TenderTrode Plus, these too may be worn during both x-rays and sponge bathing. NISSHA TenderTrode1 Page 31/91
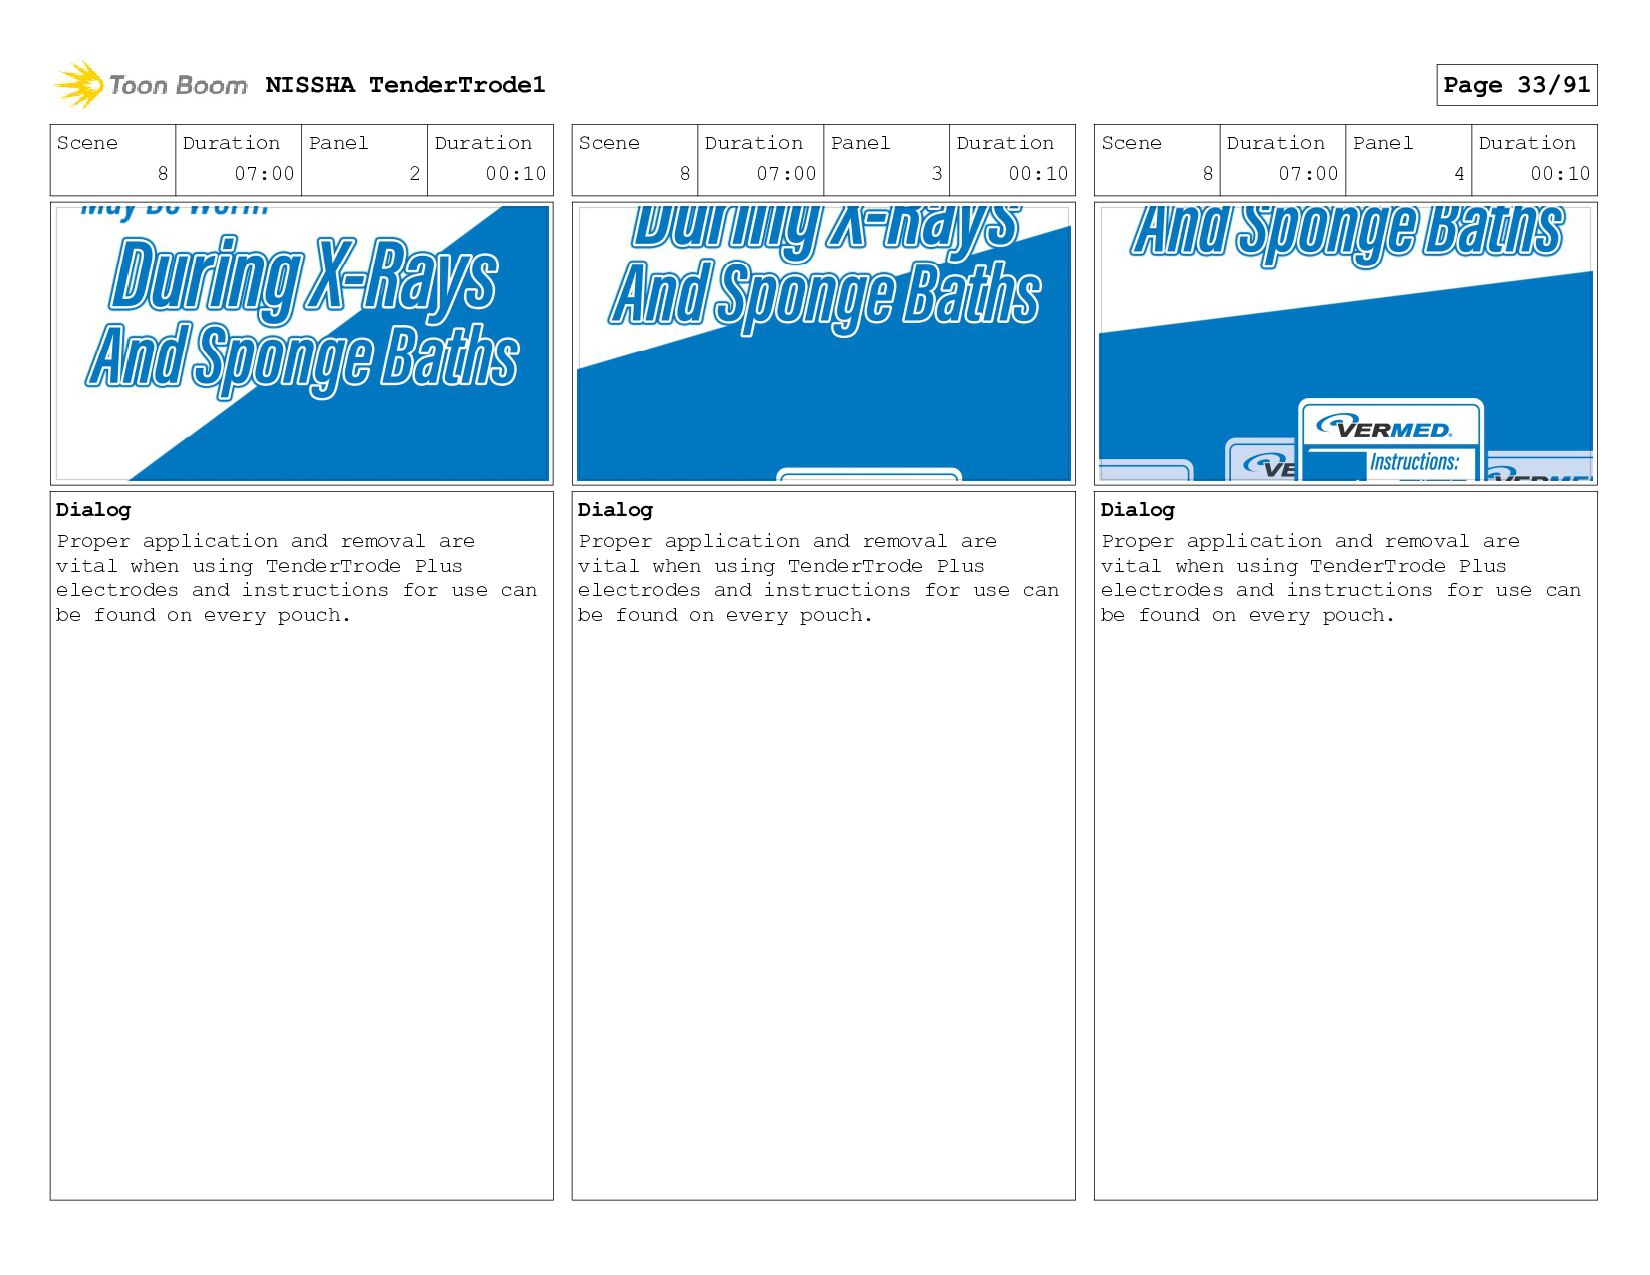
to the larger size TenderTrode Plus, these too may be worn during both x-rays and sponge bathing. Scene 7 Duration 06:15 Panel 7 Duration 04:03 Dialog Similar to the larger size TenderTrode Plus, these too may be worn during both x-rays and sponge bathing. Scene 8 Duration 07:00 Panel 1 Duration 00:10 Dialog Proper application and removal are vital when using TenderTrode Plus electrodes and instructions for use can be found on every pouch. NISSHA TenderTrode1 Page 32/91
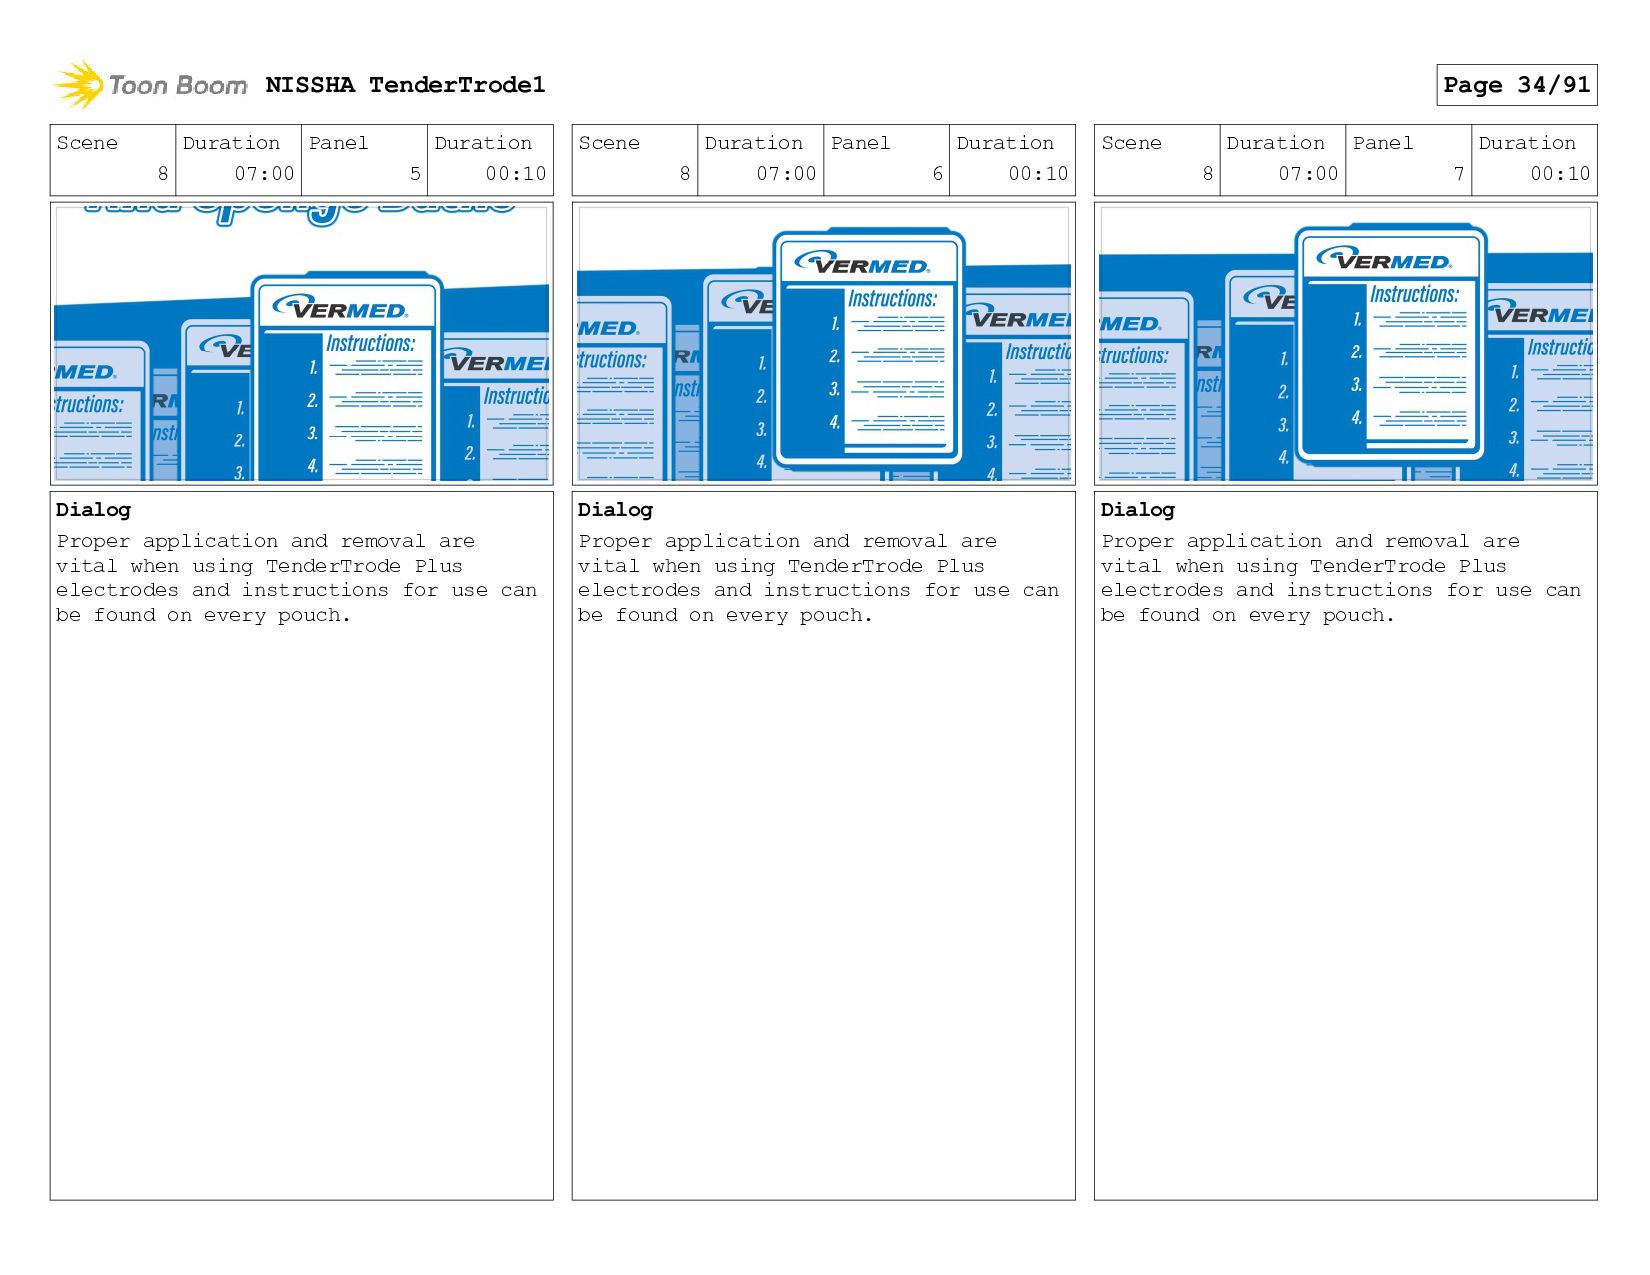
application and removal are vital when using TenderTrode Plus electrodes and instructions for use can be found on every pouch. Scene 8 Duration 07:00 Panel 3 Duration 00:10 Dialog Proper application and removal are vital when using TenderTrode Plus electrodes and instructions for use can be found on every pouch. Scene 8 Duration 07:00 Panel 4 Duration 00:10 Dialog Proper application and removal are vital when using TenderTrode Plus electrodes and instructions for use can be found on every pouch. NISSHA TenderTrode1 Page 33/91
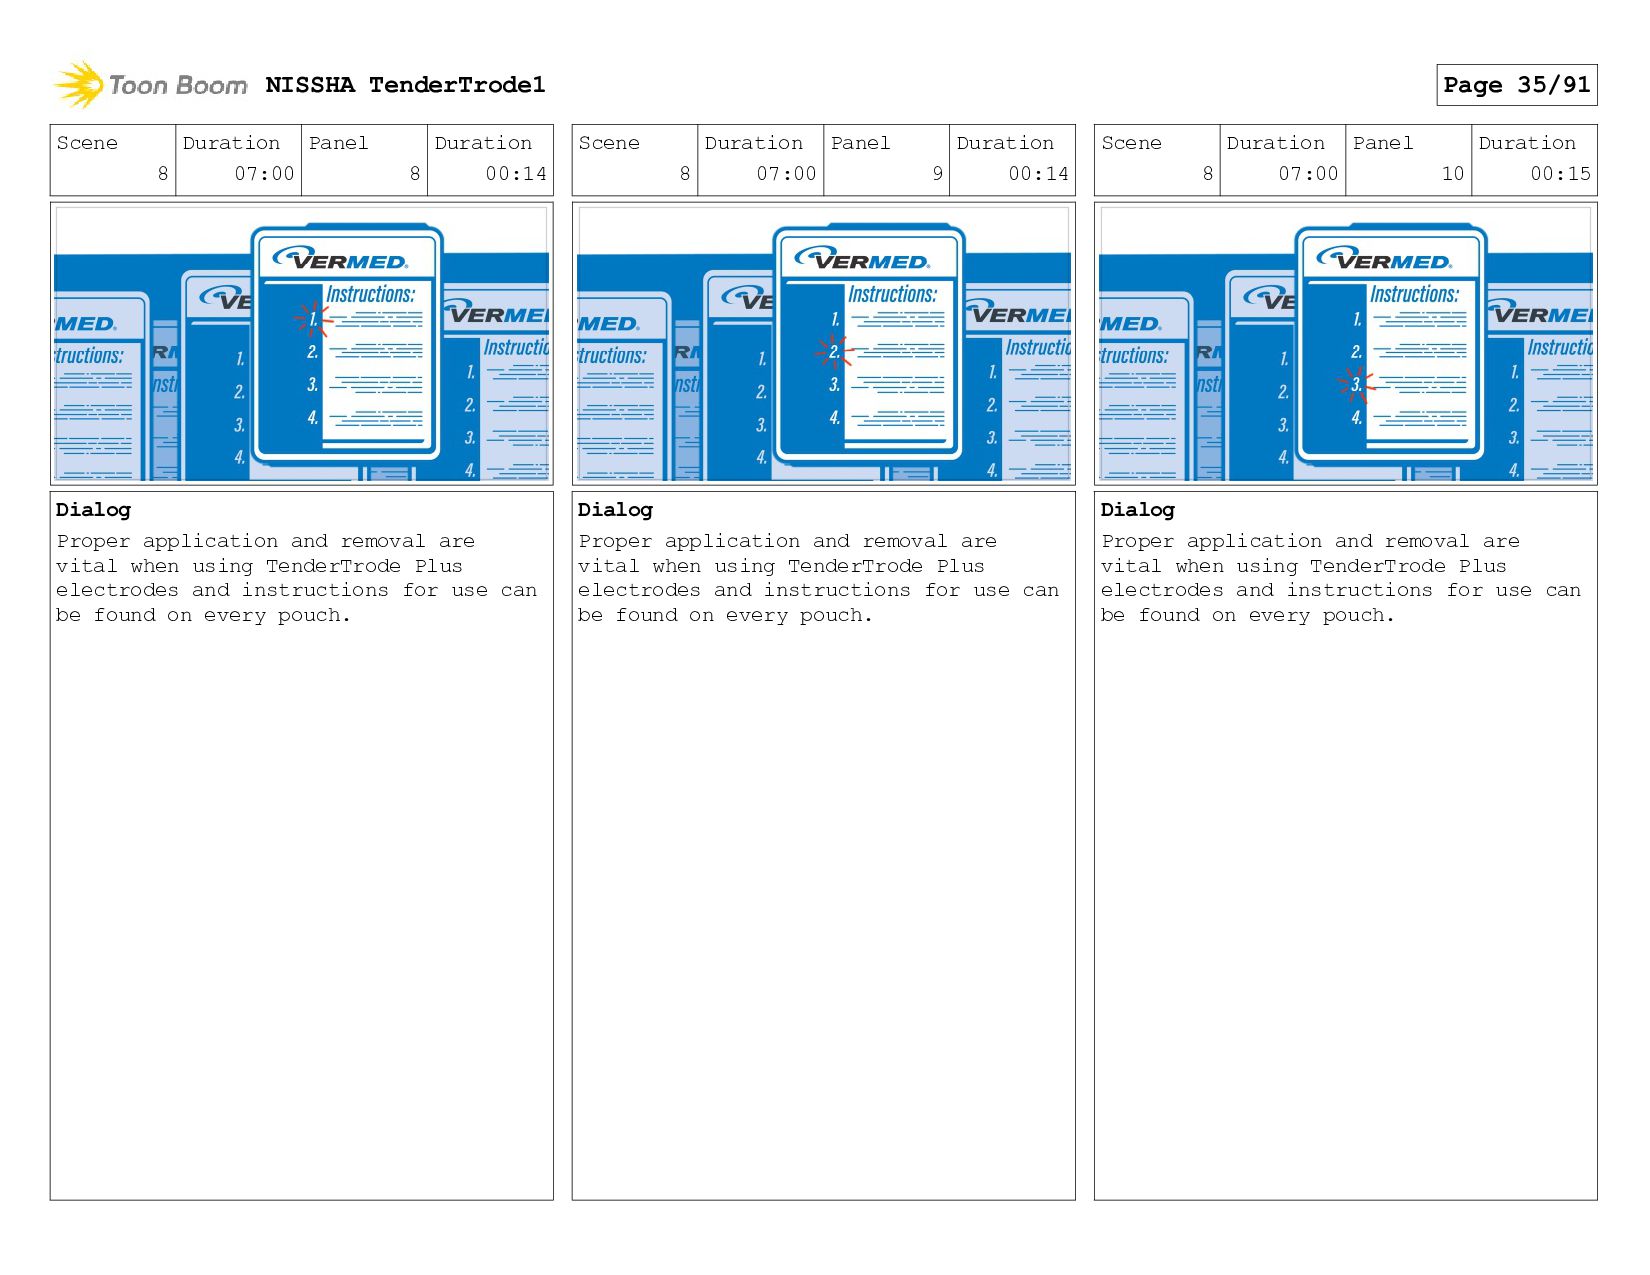
application and removal are vital when using TenderTrode Plus electrodes and instructions for use can be found on every pouch. Scene 8 Duration 07:00 Panel 6 Duration 00:10 Dialog Proper application and removal are vital when using TenderTrode Plus electrodes and instructions for use can be found on every pouch. Scene 8 Duration 07:00 Panel 7 Duration 00:10 Dialog Proper application and removal are vital when using TenderTrode Plus electrodes and instructions for use can be found on every pouch. NISSHA TenderTrode1 Page 34/91
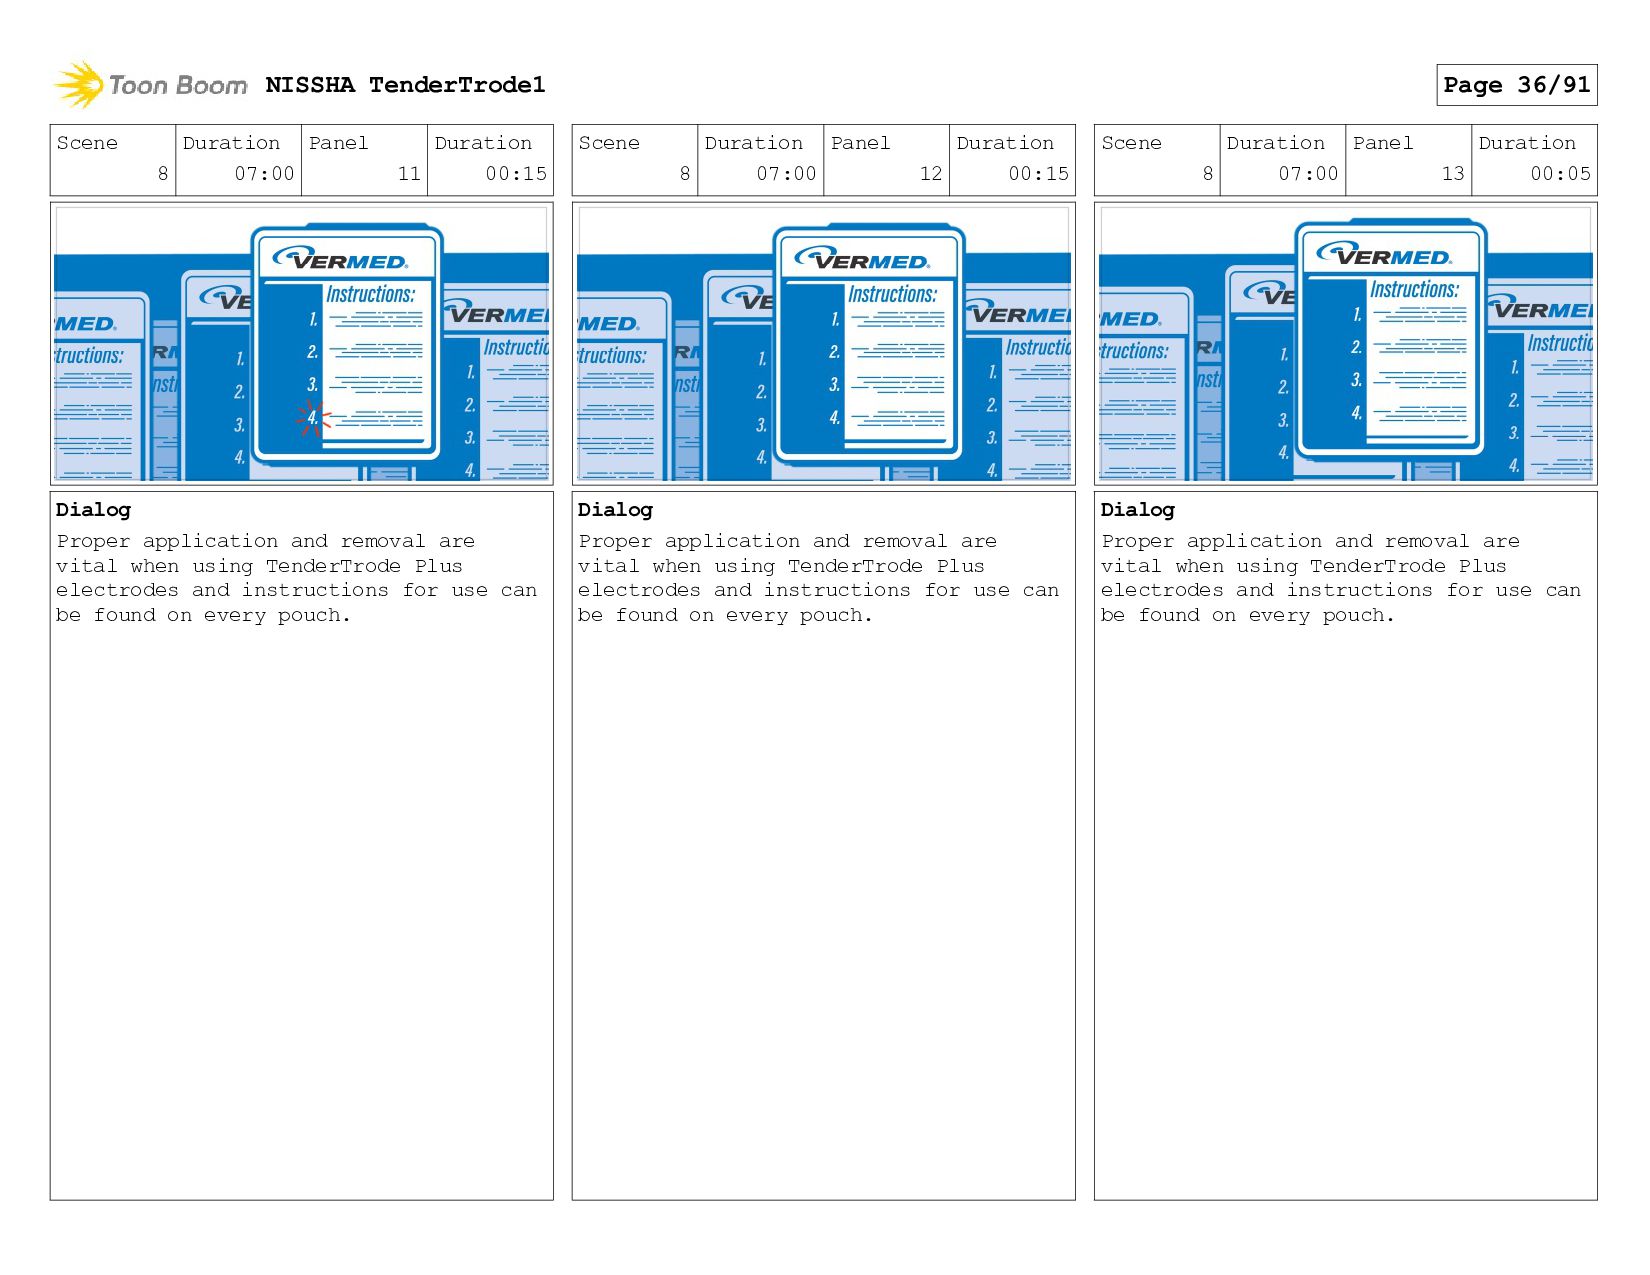
application and removal are vital when using TenderTrode Plus electrodes and instructions for use can be found on every pouch. Scene 8 Duration 07:00 Panel 9 Duration 00:14 Dialog Proper application and removal are vital when using TenderTrode Plus electrodes and instructions for use can be found on every pouch. Scene 8 Duration 07:00 Panel 10 Duration 00:15 Dialog Proper application and removal are vital when using TenderTrode Plus electrodes and instructions for use can be found on every pouch. NISSHA TenderTrode1 Page 35/91
application and removal are vital when using TenderTrode Plus electrodes and instructions for use can be found on every pouch. Scene 8 Duration 07:00 Panel 12 Duration 00:15 Dialog Proper application and removal are vital when using TenderTrode Plus electrodes and instructions for use can be found on every pouch. Scene 8 Duration 07:00 Panel 13 Duration 00:05 Dialog Proper application and removal are vital when using TenderTrode Plus electrodes and instructions for use can be found on every pouch. NISSHA TenderTrode1 Page 36/91
application and removal are vital when using TenderTrode Plus electrodes and instructions for use can be found on every pouch. Scene 8 Duration 07:00 Panel 15 Duration 00:04 Dialog Proper application and removal are vital when using TenderTrode Plus electrodes and instructions for use can be found on every pouch. Scene 8 Duration 07:00 Panel 16 Duration 00:04 Dialog Proper application and removal are vital when using TenderTrode Plus electrodes and instructions for use can be found on every pouch. NISSHA TenderTrode1 Page 37/91
application and removal are vital when using TenderTrode Plus electrodes and instructions for use can be found on every pouch. Scene 8 Duration 07:00 Panel 18 Duration 00:04 Dialog Proper application and removal are vital when using TenderTrode Plus electrodes and instructions for use can be found on every pouch. Scene 9 Duration 01:23 Panel 1 Duration 00:04 Dialog Let’s review these instructions in detail: NISSHA TenderTrode1 Page 38/91
review these instructions in detail: Scene 9 Duration 01:23 Panel 3 Duration 00:03 Dialog Let’s review these instructions in detail: Scene 9 Duration 01:23 Panel 4 Duration 00:20 Dialog Let’s review these instructions in detail: NISSHA TenderTrode1 Page 39/91
review these instructions in detail: Scene 9 Duration 01:23 Panel 6 Duration 00:04 Dialog Let’s review these instructions in detail: Scene 9 Duration 01:23 Panel 7 Duration 00:04 Dialog Let’s review these instructions in detail: NISSHA TenderTrode1 Page 40/91
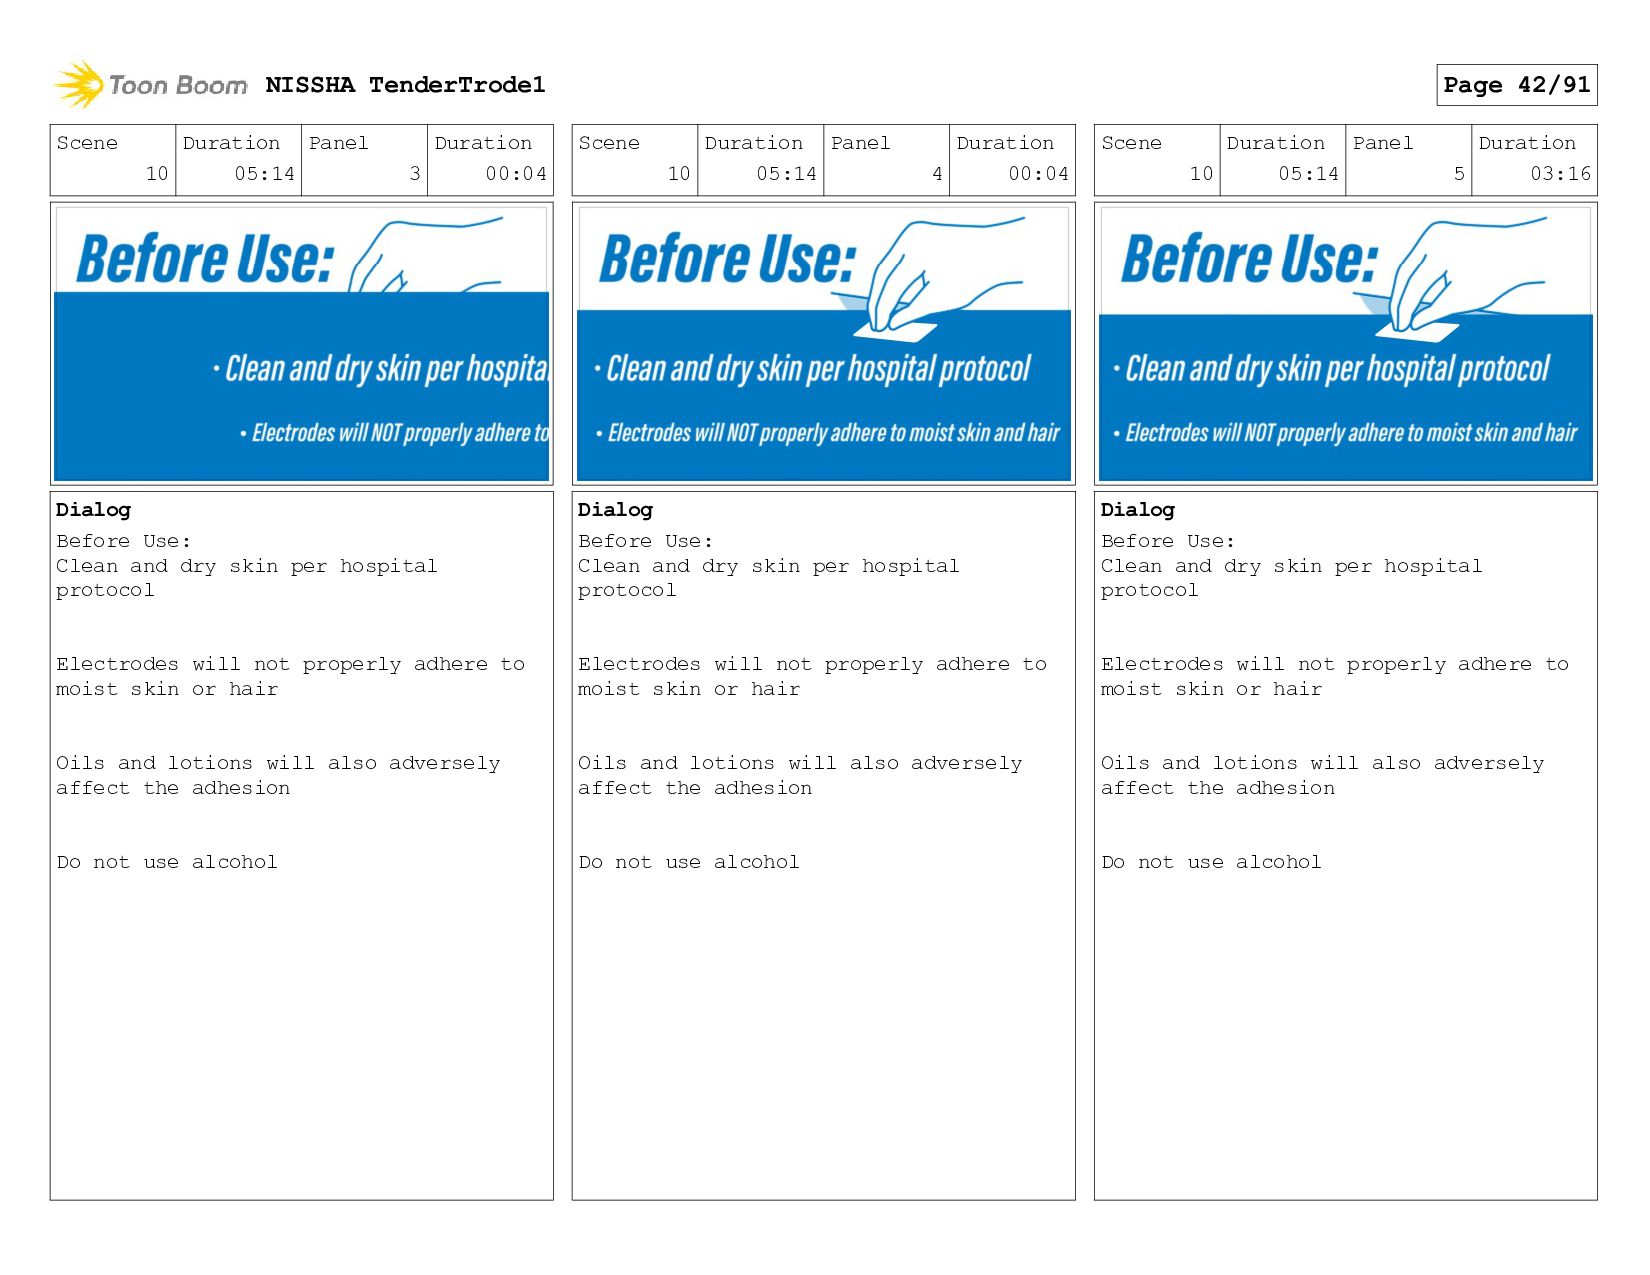
review these instructions in detail: Scene 10 Duration 05:14 Panel 1 Duration 00:04 Dialog Before Use: Clean and dry skin per hospital protocol Electrodes will not properly adhere to moist skin or hair Oils and lotions will also adversely affect the adhesion Do not use alcohol Scene 10 Duration 05:14 Panel 2 Duration 00:04 Dialog Before Use: Clean and dry skin per hospital protocol Electrodes will not properly adhere to moist skin or hair Oils and lotions will also adversely affect the adhesion Do not use alcohol NISSHA TenderTrode1 Page 41/91
Use: Clean and dry skin per hospital protocol Electrodes will not properly adhere to moist skin or hair Oils and lotions will also adversely affect the adhesion Do not use alcohol Scene 10 Duration 05:14 Panel 4 Duration 00:04 Dialog Before Use: Clean and dry skin per hospital protocol Electrodes will not properly adhere to moist skin or hair Oils and lotions will also adversely affect the adhesion Do not use alcohol Scene 10 Duration 05:14 Panel 5 Duration 03:16 Dialog Before Use: Clean and dry skin per hospital protocol Electrodes will not properly adhere to moist skin or hair Oils and lotions will also adversely affect the adhesion Do not use alcohol NISSHA TenderTrode1 Page 42/91
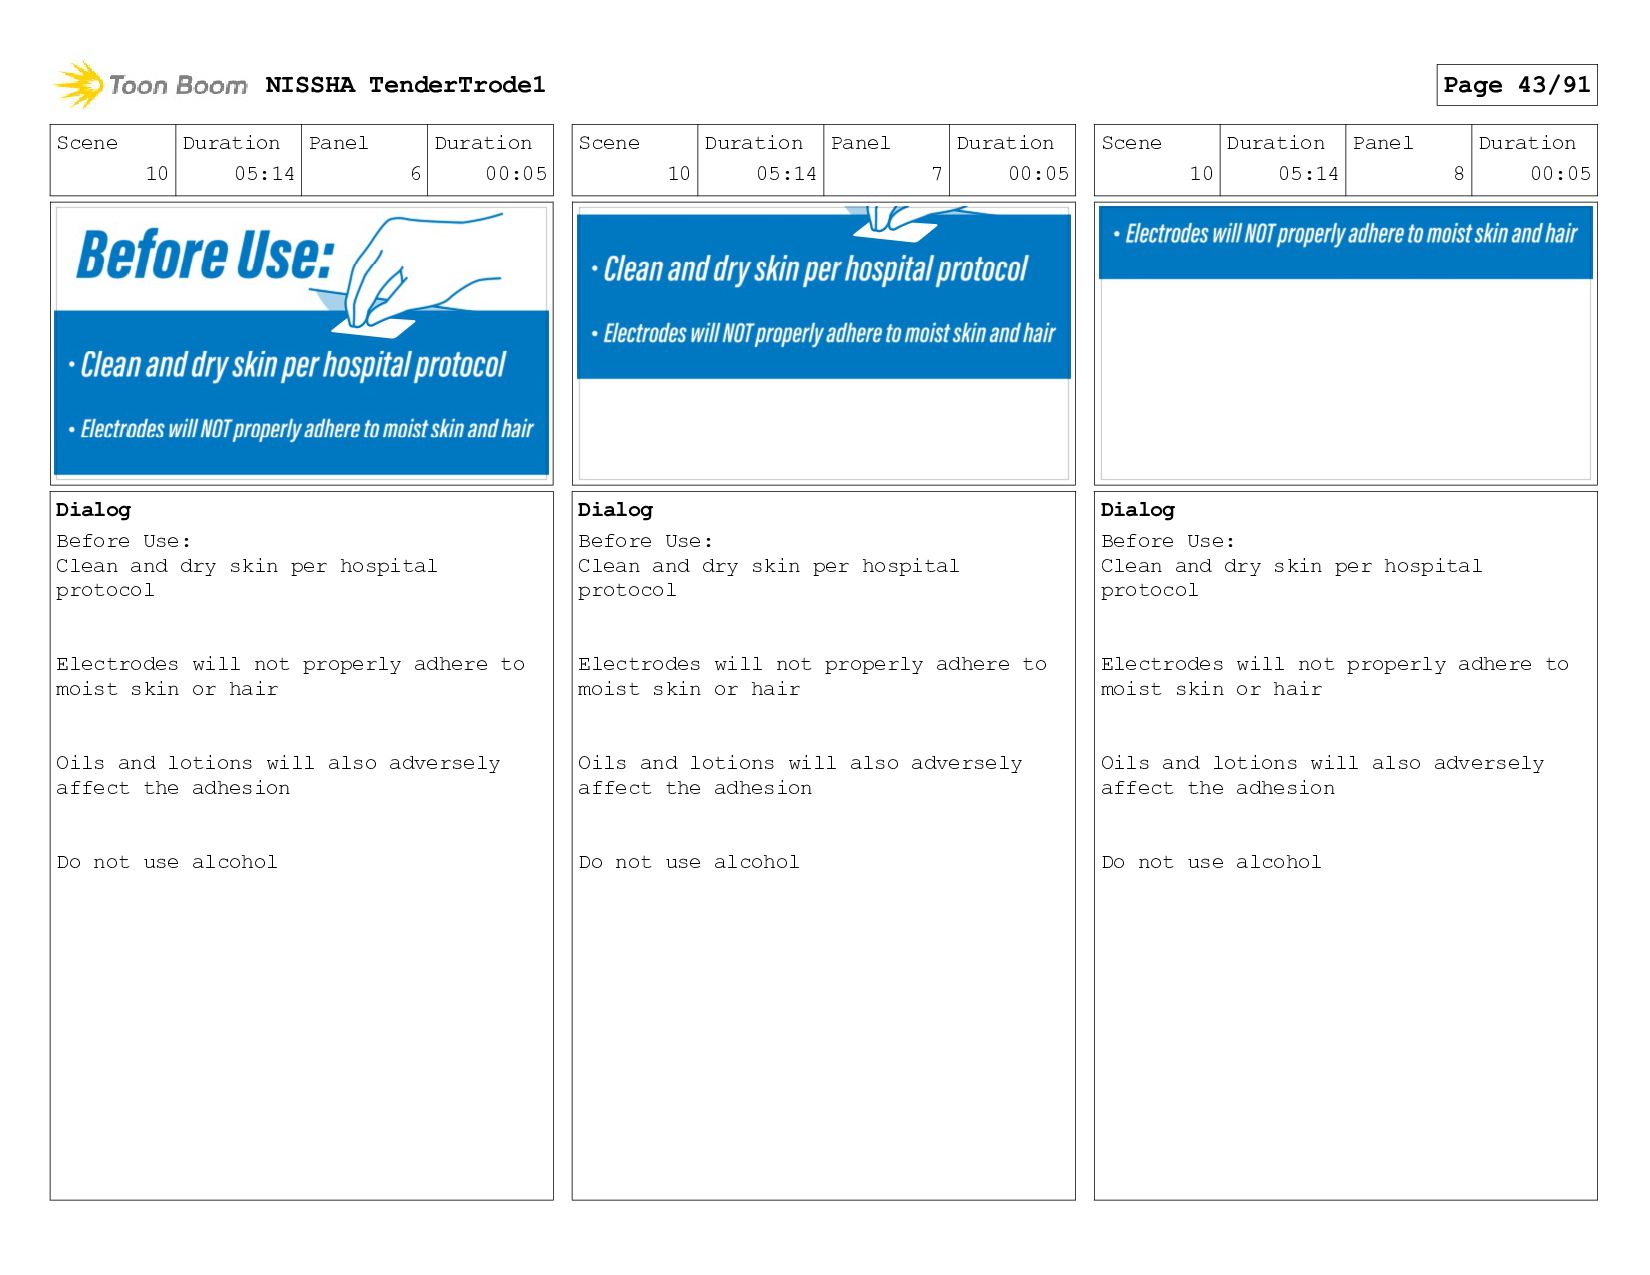
Use: Clean and dry skin per hospital protocol Electrodes will not properly adhere to moist skin or hair Oils and lotions will also adversely affect the adhesion Do not use alcohol Scene 10 Duration 05:14 Panel 7 Duration 00:05 Dialog Before Use: Clean and dry skin per hospital protocol Electrodes will not properly adhere to moist skin or hair Oils and lotions will also adversely affect the adhesion Do not use alcohol Scene 10 Duration 05:14 Panel 8 Duration 00:05 Dialog Before Use: Clean and dry skin per hospital protocol Electrodes will not properly adhere to moist skin or hair Oils and lotions will also adversely affect the adhesion Do not use alcohol NISSHA TenderTrode1 Page 43/91
Use: Clean and dry skin per hospital protocol Electrodes will not properly adhere to moist skin or hair Oils and lotions will also adversely affect the adhesion Do not use alcohol Scene 10 Duration 05:14 Panel 10 Duration 00:05 Dialog Before Use: Clean and dry skin per hospital protocol Electrodes will not properly adhere to moist skin or hair Oils and lotions will also adversely affect the adhesion Do not use alcohol Scene 10 Duration 05:14 Panel 11 Duration 00:05 Dialog Before Use: Clean and dry skin per hospital protocol Electrodes will not properly adhere to moist skin or hair Oils and lotions will also adversely affect the adhesion Do not use alcohol NISSHA TenderTrode1 Page 44/91
Remove the electrodes from the pouch Before removing the plastic liner, hydrocolloid adhesive must be actively warmed Warming techniques include Holding between palms of the hands for at least 60 seconds Use of a radiant warmer for 10-15 seconds Holding against a chemical heel warmer for 10-15 seconds Peel each lead from plastic liner and place on the skin Hold the electrodes in place for 60 seconds to ensure proper adhesion Discard the plastic liner Scene 11 Duration 21:02 Panel 2 Duration 00:04 Dialog Application: Remove the electrodes from the pouch Before removing the plastic liner, hydrocolloid adhesive must be actively warmed Warming techniques include Holding between palms of the hands for at least 60 seconds Use of a radiant warmer for 10-15 seconds Holding against a chemical heel warmer for 10-15 seconds Peel each lead from plastic liner and place on the skin Hold the electrodes in place for 60 seconds to ensure proper adhesion Discard the plastic liner Scene 11 Duration 21:02 Panel 3 Duration 00:07 Dialog Application: Remove the electrodes from the pouch Before removing the plastic liner, hydrocolloid adhesive must be actively warmed Warming techniques include Holding between palms of the hands for at least 60 seconds Use of a radiant warmer for 10-15 seconds Holding against a chemical heel warmer for 10-15 seconds Peel each lead from plastic liner and place on the skin Hold the electrodes in place for 60 seconds to ensure proper adhesion Discard the plastic liner NISSHA TenderTrode1 Page 45/91
Remove the electrodes from the pouch Before removing the plastic liner, hydrocolloid adhesive must be actively warmed Warming techniques include Holding between palms of the hands for at least 60 seconds Use of a radiant warmer for 10-15 seconds Holding against a chemical heel warmer for 10-15 seconds Peel each lead from plastic liner and place on the skin Hold the electrodes in place for 60 seconds to ensure proper adhesion Discard the plastic liner Scene 11 Duration 21:02 Panel 5 Duration 00:04 Dialog Application: Remove the electrodes from the pouch Before removing the plastic liner, hydrocolloid adhesive must be actively warmed Warming techniques include Holding between palms of the hands for at least 60 seconds Use of a radiant warmer for 10-15 seconds Holding against a chemical heel warmer for 10-15 seconds Peel each lead from plastic liner and place on the skin Hold the electrodes in place for 60 seconds to ensure proper adhesion Discard the plastic liner Scene 11 Duration 21:02 Panel 6 Duration 00:04 Dialog Application: Remove the electrodes from the pouch Before removing the plastic liner, hydrocolloid adhesive must be actively warmed Warming techniques include Holding between palms of the hands for at least 60 seconds Use of a radiant warmer for 10-15 seconds Holding against a chemical heel warmer for 10-15 seconds Peel each lead from plastic liner and place on the skin Hold the electrodes in place for 60 seconds to ensure proper adhesion Discard the plastic liner NISSHA TenderTrode1 Page 46/91
Remove the electrodes from the pouch Before removing the plastic liner, hydrocolloid adhesive must be actively warmed Warming techniques include Holding between palms of the hands for at least 60 seconds Use of a radiant warmer for 10-15 seconds Holding against a chemical heel warmer for 10-15 seconds Peel each lead from plastic liner and place on the skin Hold the electrodes in place for 60 seconds to ensure proper adhesion Discard the plastic liner Scene 11 Duration 21:02 Panel 8 Duration 00:04 Dialog Application: Remove the electrodes from the pouch Before removing the plastic liner, hydrocolloid adhesive must be actively warmed Warming techniques include Holding between palms of the hands for at least 60 seconds Use of a radiant warmer for 10-15 seconds Holding against a chemical heel warmer for 10-15 seconds Peel each lead from plastic liner and place on the skin Hold the electrodes in place for 60 seconds to ensure proper adhesion Discard the plastic liner Scene 11 Duration 21:02 Panel 9 Duration 05:00 Dialog Application: Remove the electrodes from the pouch Before removing the plastic liner, hydrocolloid adhesive must be actively warmed Warming techniques include Holding between palms of the hands for at least 60 seconds Use of a radiant warmer for 10-15 seconds Holding against a chemical heel warmer for 10-15 seconds Peel each lead from plastic liner and place on the skin Hold the electrodes in place for 60 seconds to ensure proper adhesion Discard the plastic liner NISSHA TenderTrode1 Page 47/91
Remove the electrodes from the pouch Before removing the plastic liner, hydrocolloid adhesive must be actively warmed Warming techniques include Holding between palms of the hands for at least 60 seconds Use of a radiant warmer for 10-15 seconds Holding against a chemical heel warmer for 10-15 seconds Peel each lead from plastic liner and place on the skin Hold the electrodes in place for 60 seconds to ensure proper adhesion Discard the plastic liner Scene 11 Duration 21:02 Panel 11 Duration 00:04 Dialog Application: Remove the electrodes from the pouch Before removing the plastic liner, hydrocolloid adhesive must be actively warmed Warming techniques include Holding between palms of the hands for at least 60 seconds Use of a radiant warmer for 10-15 seconds Holding against a chemical heel warmer for 10-15 seconds Peel each lead from plastic liner and place on the skin Hold the electrodes in place for 60 seconds to ensure proper adhesion Discard the plastic liner Scene 11 Duration 21:02 Panel 12 Duration 00:04 Dialog Application: Remove the electrodes from the pouch Before removing the plastic liner, hydrocolloid adhesive must be actively warmed Warming techniques include Holding between palms of the hands for at least 60 seconds Use of a radiant warmer for 10-15 seconds Holding against a chemical heel warmer for 10-15 seconds Peel each lead from plastic liner and place on the skin Hold the electrodes in place for 60 seconds to ensure proper adhesion Discard the plastic liner NISSHA TenderTrode1 Page 48/91
Remove the electrodes from the pouch Before removing the plastic liner, hydrocolloid adhesive must be actively warmed Warming techniques include Holding between palms of the hands for at least 60 seconds Use of a radiant warmer for 10-15 seconds Holding against a chemical heel warmer for 10-15 seconds Peel each lead from plastic liner and place on the skin Hold the electrodes in place for 60 seconds to ensure proper adhesion Discard the plastic liner Scene 11 Duration 21:02 Panel 14 Duration 00:05 Dialog Application: Remove the electrodes from the pouch Before removing the plastic liner, hydrocolloid adhesive must be actively warmed Warming techniques include Holding between palms of the hands for at least 60 seconds Use of a radiant warmer for 10-15 seconds Holding against a chemical heel warmer for 10-15 seconds Peel each lead from plastic liner and place on the skin Hold the electrodes in place for 60 seconds to ensure proper adhesion Discard the plastic liner Scene 11 Duration 21:02 Panel 15 Duration 00:05 Dialog Application: Remove the electrodes from the pouch Before removing the plastic liner, hydrocolloid adhesive must be actively warmed Warming techniques include Holding between palms of the hands for at least 60 seconds Use of a radiant warmer for 10-15 seconds Holding against a chemical heel warmer for 10-15 seconds Peel each lead from plastic liner and place on the skin Hold the electrodes in place for 60 seconds to ensure proper adhesion Discard the plastic liner NISSHA TenderTrode1 Page 49/91
Remove the electrodes from the pouch Before removing the plastic liner, hydrocolloid adhesive must be actively warmed Warming techniques include Holding between palms of the hands for at least 60 seconds Use of a radiant warmer for 10-15 seconds Holding against a chemical heel warmer for 10-15 seconds Peel each lead from plastic liner and place on the skin Hold the electrodes in place for 60 seconds to ensure proper adhesion Discard the plastic liner Scene 11 Duration 21:02 Panel 17 Duration 02:15 Dialog Application: Remove the electrodes from the pouch Before removing the plastic liner, hydrocolloid adhesive must be actively warmed Warming techniques include Holding between palms of the hands for at least 60 seconds Use of a radiant warmer for 10-15 seconds Holding against a chemical heel warmer for 10-15 seconds Peel each lead from plastic liner and place on the skin Hold the electrodes in place for 60 seconds to ensure proper adhesion Discard the plastic liner Scene 11 Duration 21:02 Panel 18 Duration 00:05 Dialog Application: Remove the electrodes from the pouch Before removing the plastic liner, hydrocolloid adhesive must be actively warmed Warming techniques include Holding between palms of the hands for at least 60 seconds Use of a radiant warmer for 10-15 seconds Holding against a chemical heel warmer for 10-15 seconds Peel each lead from plastic liner and place on the skin Hold the electrodes in place for 60 seconds to ensure proper adhesion Discard the plastic liner NISSHA TenderTrode1 Page 50/91
Remove the electrodes from the pouch Before removing the plastic liner, hydrocolloid adhesive must be actively warmed Warming techniques include Holding between palms of the hands for at least 60 seconds Use of a radiant warmer for 10-15 seconds Holding against a chemical heel warmer for 10-15 seconds Peel each lead from plastic liner and place on the skin Hold the electrodes in place for 60 seconds to ensure proper adhesion Discard the plastic liner Scene 11 Duration 21:02 Panel 20 Duration 00:05 Dialog Application: Remove the electrodes from the pouch Before removing the plastic liner, hydrocolloid adhesive must be actively warmed Warming techniques include Holding between palms of the hands for at least 60 seconds Use of a radiant warmer for 10-15 seconds Holding against a chemical heel warmer for 10-15 seconds Peel each lead from plastic liner and place on the skin Hold the electrodes in place for 60 seconds to ensure proper adhesion Discard the plastic liner Scene 11 Duration 21:02 Panel 21 Duration 00:05 Dialog Application: Remove the electrodes from the pouch Before removing the plastic liner, hydrocolloid adhesive must be actively warmed Warming techniques include Holding between palms of the hands for at least 60 seconds Use of a radiant warmer for 10-15 seconds Holding against a chemical heel warmer for 10-15 seconds Peel each lead from plastic liner and place on the skin Hold the electrodes in place for 60 seconds to ensure proper adhesion Discard the plastic liner NISSHA TenderTrode1 Page 51/91
Remove the electrodes from the pouch Before removing the plastic liner, hydrocolloid adhesive must be actively warmed Warming techniques include Holding between palms of the hands for at least 60 seconds Use of a radiant warmer for 10-15 seconds Holding against a chemical heel warmer for 10-15 seconds Peel each lead from plastic liner and place on the skin Hold the electrodes in place for 60 seconds to ensure proper adhesion Discard the plastic liner Scene 11 Duration 21:02 Panel 23 Duration 00:05 Dialog Application: Remove the electrodes from the pouch Before removing the plastic liner, hydrocolloid adhesive must be actively warmed Warming techniques include Holding between palms of the hands for at least 60 seconds Use of a radiant warmer for 10-15 seconds Holding against a chemical heel warmer for 10-15 seconds Peel each lead from plastic liner and place on the skin Hold the electrodes in place for 60 seconds to ensure proper adhesion Discard the plastic liner Scene 11 Duration 21:02 Panel 24 Duration 00:05 Dialog Application: Remove the electrodes from the pouch Before removing the plastic liner, hydrocolloid adhesive must be actively warmed Warming techniques include Holding between palms of the hands for at least 60 seconds Use of a radiant warmer for 10-15 seconds Holding against a chemical heel warmer for 10-15 seconds Peel each lead from plastic liner and place on the skin Hold the electrodes in place for 60 seconds to ensure proper adhesion Discard the plastic liner NISSHA TenderTrode1 Page 52/91
Remove the electrodes from the pouch Before removing the plastic liner, hydrocolloid adhesive must be actively warmed Warming techniques include Holding between palms of the hands for at least 60 seconds Use of a radiant warmer for 10-15 seconds Holding against a chemical heel warmer for 10-15 seconds Peel each lead from plastic liner and place on the skin Hold the electrodes in place for 60 seconds to ensure proper adhesion Discard the plastic liner Scene 11 Duration 21:02 Panel 26 Duration 00:09 Dialog Application: Remove the electrodes from the pouch Before removing the plastic liner, hydrocolloid adhesive must be actively warmed Warming techniques include Holding between palms of the hands for at least 60 seconds Use of a radiant warmer for 10-15 seconds Holding against a chemical heel warmer for 10-15 seconds Peel each lead from plastic liner and place on the skin Hold the electrodes in place for 60 seconds to ensure proper adhesion Discard the plastic liner Scene 11 Duration 21:02 Panel 27 Duration 00:09 Dialog Application: Remove the electrodes from the pouch Before removing the plastic liner, hydrocolloid adhesive must be actively warmed Warming techniques include Holding between palms of the hands for at least 60 seconds Use of a radiant warmer for 10-15 seconds Holding against a chemical heel warmer for 10-15 seconds Peel each lead from plastic liner and place on the skin Hold the electrodes in place for 60 seconds to ensure proper adhesion Discard the plastic liner NISSHA TenderTrode1 Page 53/91
Remove the electrodes from the pouch Before removing the plastic liner, hydrocolloid adhesive must be actively warmed Warming techniques include Holding between palms of the hands for at least 60 seconds Use of a radiant warmer for 10-15 seconds Holding against a chemical heel warmer for 10-15 seconds Peel each lead from plastic liner and place on the skin Hold the electrodes in place for 60 seconds to ensure proper adhesion Discard the plastic liner Scene 11 Duration 21:02 Panel 29 Duration 00:09 Dialog Application: Remove the electrodes from the pouch Before removing the plastic liner, hydrocolloid adhesive must be actively warmed Warming techniques include Holding between palms of the hands for at least 60 seconds Use of a radiant warmer for 10-15 seconds Holding against a chemical heel warmer for 10-15 seconds Peel each lead from plastic liner and place on the skin Hold the electrodes in place for 60 seconds to ensure proper adhesion Discard the plastic liner Scene 11 Duration 21:02 Panel 30 Duration 00:09 Dialog Application: Remove the electrodes from the pouch Before removing the plastic liner, hydrocolloid adhesive must be actively warmed Warming techniques include Holding between palms of the hands for at least 60 seconds Use of a radiant warmer for 10-15 seconds Holding against a chemical heel warmer for 10-15 seconds Peel each lead from plastic liner and place on the skin Hold the electrodes in place for 60 seconds to ensure proper adhesion Discard the plastic liner NISSHA TenderTrode1 Page 54/91
Remove the electrodes from the pouch Before removing the plastic liner, hydrocolloid adhesive must be actively warmed Warming techniques include Holding between palms of the hands for at least 60 seconds Use of a radiant warmer for 10-15 seconds Holding against a chemical heel warmer for 10-15 seconds Peel each lead from plastic liner and place on the skin Hold the electrodes in place for 60 seconds to ensure proper adhesion Discard the plastic liner Scene 11 Duration 21:02 Panel 32 Duration 00:05 Dialog Application: Remove the electrodes from the pouch Before removing the plastic liner, hydrocolloid adhesive must be actively warmed Warming techniques include Holding between palms of the hands for at least 60 seconds Use of a radiant warmer for 10-15 seconds Holding against a chemical heel warmer for 10-15 seconds Peel each lead from plastic liner and place on the skin Hold the electrodes in place for 60 seconds to ensure proper adhesion Discard the plastic liner Scene 11 Duration 21:02 Panel 33 Duration 00:05 Dialog Application: Remove the electrodes from the pouch Before removing the plastic liner, hydrocolloid adhesive must be actively warmed Warming techniques include Holding between palms of the hands for at least 60 seconds Use of a radiant warmer for 10-15 seconds Holding against a chemical heel warmer for 10-15 seconds Peel each lead from plastic liner and place on the skin Hold the electrodes in place for 60 seconds to ensure proper adhesion Discard the plastic liner NISSHA TenderTrode1 Page 55/91
Remove the electrodes from the pouch Before removing the plastic liner, hydrocolloid adhesive must be actively warmed Warming techniques include Holding between palms of the hands for at least 60 seconds Use of a radiant warmer for 10-15 seconds Holding against a chemical heel warmer for 10-15 seconds Peel each lead from plastic liner and place on the skin Hold the electrodes in place for 60 seconds to ensure proper adhesion Discard the plastic liner Scene 11 Duration 21:02 Panel 35 Duration 00:05 Dialog Application: Remove the electrodes from the pouch Before removing the plastic liner, hydrocolloid adhesive must be actively warmed Warming techniques include Holding between palms of the hands for at least 60 seconds Use of a radiant warmer for 10-15 seconds Holding against a chemical heel warmer for 10-15 seconds Peel each lead from plastic liner and place on the skin Hold the electrodes in place for 60 seconds to ensure proper adhesion Discard the plastic liner Scene 11 Duration 21:02 Panel 36 Duration 00:04 Dialog Application: Remove the electrodes from the pouch Before removing the plastic liner, hydrocolloid adhesive must be actively warmed Warming techniques include Holding between palms of the hands for at least 60 seconds Use of a radiant warmer for 10-15 seconds Holding against a chemical heel warmer for 10-15 seconds Peel each lead from plastic liner and place on the skin Hold the electrodes in place for 60 seconds to ensure proper adhesion Discard the plastic liner NISSHA TenderTrode1 Page 56/91
Remove the electrodes from the pouch Before removing the plastic liner, hydrocolloid adhesive must be actively warmed Warming techniques include Holding between palms of the hands for at least 60 seconds Use of a radiant warmer for 10-15 seconds Holding against a chemical heel warmer for 10-15 seconds Peel each lead from plastic liner and place on the skin Hold the electrodes in place for 60 seconds to ensure proper adhesion Discard the plastic liner Scene 11 Duration 21:02 Panel 38 Duration 00:05 Dialog Application: Remove the electrodes from the pouch Before removing the plastic liner, hydrocolloid adhesive must be actively warmed Warming techniques include Holding between palms of the hands for at least 60 seconds Use of a radiant warmer for 10-15 seconds Holding against a chemical heel warmer for 10-15 seconds Peel each lead from plastic liner and place on the skin Hold the electrodes in place for 60 seconds to ensure proper adhesion Discard the plastic liner Scene 11 Duration 21:02 Panel 39 Duration 00:05 Dialog Application: Remove the electrodes from the pouch Before removing the plastic liner, hydrocolloid adhesive must be actively warmed Warming techniques include Holding between palms of the hands for at least 60 seconds Use of a radiant warmer for 10-15 seconds Holding against a chemical heel warmer for 10-15 seconds Peel each lead from plastic liner and place on the skin Hold the electrodes in place for 60 seconds to ensure proper adhesion Discard the plastic liner NISSHA TenderTrode1 Page 57/91
Remove the electrodes from the pouch Before removing the plastic liner, hydrocolloid adhesive must be actively warmed Warming techniques include Holding between palms of the hands for at least 60 seconds Use of a radiant warmer for 10-15 seconds Holding against a chemical heel warmer for 10-15 seconds Peel each lead from plastic liner and place on the skin Hold the electrodes in place for 60 seconds to ensure proper adhesion Discard the plastic liner Scene 11 Duration 21:02 Panel 41 Duration 00:05 Dialog Application: Remove the electrodes from the pouch Before removing the plastic liner, hydrocolloid adhesive must be actively warmed Warming techniques include Holding between palms of the hands for at least 60 seconds Use of a radiant warmer for 10-15 seconds Holding against a chemical heel warmer for 10-15 seconds Peel each lead from plastic liner and place on the skin Hold the electrodes in place for 60 seconds to ensure proper adhesion Discard the plastic liner Scene 11 Duration 21:02 Panel 42 Duration 00:05 Dialog Application: Remove the electrodes from the pouch Before removing the plastic liner, hydrocolloid adhesive must be actively warmed Warming techniques include Holding between palms of the hands for at least 60 seconds Use of a radiant warmer for 10-15 seconds Holding against a chemical heel warmer for 10-15 seconds Peel each lead from plastic liner and place on the skin Hold the electrodes in place for 60 seconds to ensure proper adhesion Discard the plastic liner NISSHA TenderTrode1 Page 58/91
Remove the electrodes from the pouch Before removing the plastic liner, hydrocolloid adhesive must be actively warmed Warming techniques include Holding between palms of the hands for at least 60 seconds Use of a radiant warmer for 10-15 seconds Holding against a chemical heel warmer for 10-15 seconds Peel each lead from plastic liner and place on the skin Hold the electrodes in place for 60 seconds to ensure proper adhesion Discard the plastic liner Scene 11 Duration 21:02 Panel 44 Duration 00:05 Dialog Application: Remove the electrodes from the pouch Before removing the plastic liner, hydrocolloid adhesive must be actively warmed Warming techniques include Holding between palms of the hands for at least 60 seconds Use of a radiant warmer for 10-15 seconds Holding against a chemical heel warmer for 10-15 seconds Peel each lead from plastic liner and place on the skin Hold the electrodes in place for 60 seconds to ensure proper adhesion Discard the plastic liner Scene 11 Duration 21:02 Panel 45 Duration 00:09 Dialog Application: Remove the electrodes from the pouch Before removing the plastic liner, hydrocolloid adhesive must be actively warmed Warming techniques include Holding between palms of the hands for at least 60 seconds Use of a radiant warmer for 10-15 seconds Holding against a chemical heel warmer for 10-15 seconds Peel each lead from plastic liner and place on the skin Hold the electrodes in place for 60 seconds to ensure proper adhesion Discard the plastic liner NISSHA TenderTrode1 Page 59/91
Remove the electrodes from the pouch Before removing the plastic liner, hydrocolloid adhesive must be actively warmed Warming techniques include Holding between palms of the hands for at least 60 seconds Use of a radiant warmer for 10-15 seconds Holding against a chemical heel warmer for 10-15 seconds Peel each lead from plastic liner and place on the skin Hold the electrodes in place for 60 seconds to ensure proper adhesion Discard the plastic liner Scene 11 Duration 21:02 Panel 47 Duration 00:10 Dialog Application: Remove the electrodes from the pouch Before removing the plastic liner, hydrocolloid adhesive must be actively warmed Warming techniques include Holding between palms of the hands for at least 60 seconds Use of a radiant warmer for 10-15 seconds Holding against a chemical heel warmer for 10-15 seconds Peel each lead from plastic liner and place on the skin Hold the electrodes in place for 60 seconds to ensure proper adhesion Discard the plastic liner Scene 11 Duration 21:02 Panel 48 Duration 00:10 Dialog Application: Remove the electrodes from the pouch Before removing the plastic liner, hydrocolloid adhesive must be actively warmed Warming techniques include Holding between palms of the hands for at least 60 seconds Use of a radiant warmer for 10-15 seconds Holding against a chemical heel warmer for 10-15 seconds Peel each lead from plastic liner and place on the skin Hold the electrodes in place for 60 seconds to ensure proper adhesion Discard the plastic liner NISSHA TenderTrode1 Page 60/91
Remove the electrodes from the pouch Before removing the plastic liner, hydrocolloid adhesive must be actively warmed Warming techniques include Holding between palms of the hands for at least 60 seconds Use of a radiant warmer for 10-15 seconds Holding against a chemical heel warmer for 10-15 seconds Peel each lead from plastic liner and place on the skin Hold the electrodes in place for 60 seconds to ensure proper adhesion Discard the plastic liner Scene 11 Duration 21:02 Panel 50 Duration 00:10 Dialog Application: Remove the electrodes from the pouch Before removing the plastic liner, hydrocolloid adhesive must be actively warmed Warming techniques include Holding between palms of the hands for at least 60 seconds Use of a radiant warmer for 10-15 seconds Holding against a chemical heel warmer for 10-15 seconds Peel each lead from plastic liner and place on the skin Hold the electrodes in place for 60 seconds to ensure proper adhesion Discard the plastic liner Scene 12 Duration 04:00 Panel 1 Duration 00:10 Dialog When proper care is taken to correctly apply TenderTrode Plus electrodes, they will remain in place for up to 5 days NISSHA TenderTrode1 Page 61/91
proper care is taken to correctly apply TenderTrode Plus electrodes, they will remain in place for up to 5 days Scene 12 Duration 04:00 Panel 3 Duration 00:10 Dialog When proper care is taken to correctly apply TenderTrode Plus electrodes, they will remain in place for up to 5 days Scene 12 Duration 04:00 Panel 4 Duration 00:10 Dialog When proper care is taken to correctly apply TenderTrode Plus electrodes, they will remain in place for up to 5 days NISSHA TenderTrode1 Page 62/91
proper care is taken to correctly apply TenderTrode Plus electrodes, they will remain in place for up to 5 days Scene 12 Duration 04:00 Panel 6 Duration 00:03 Dialog When proper care is taken to correctly apply TenderTrode Plus electrodes, they will remain in place for up to 5 days Scene 12 Duration 04:00 Panel 7 Duration 00:03 Dialog When proper care is taken to correctly apply TenderTrode Plus electrodes, they will remain in place for up to 5 days NISSHA TenderTrode1 Page 63/91
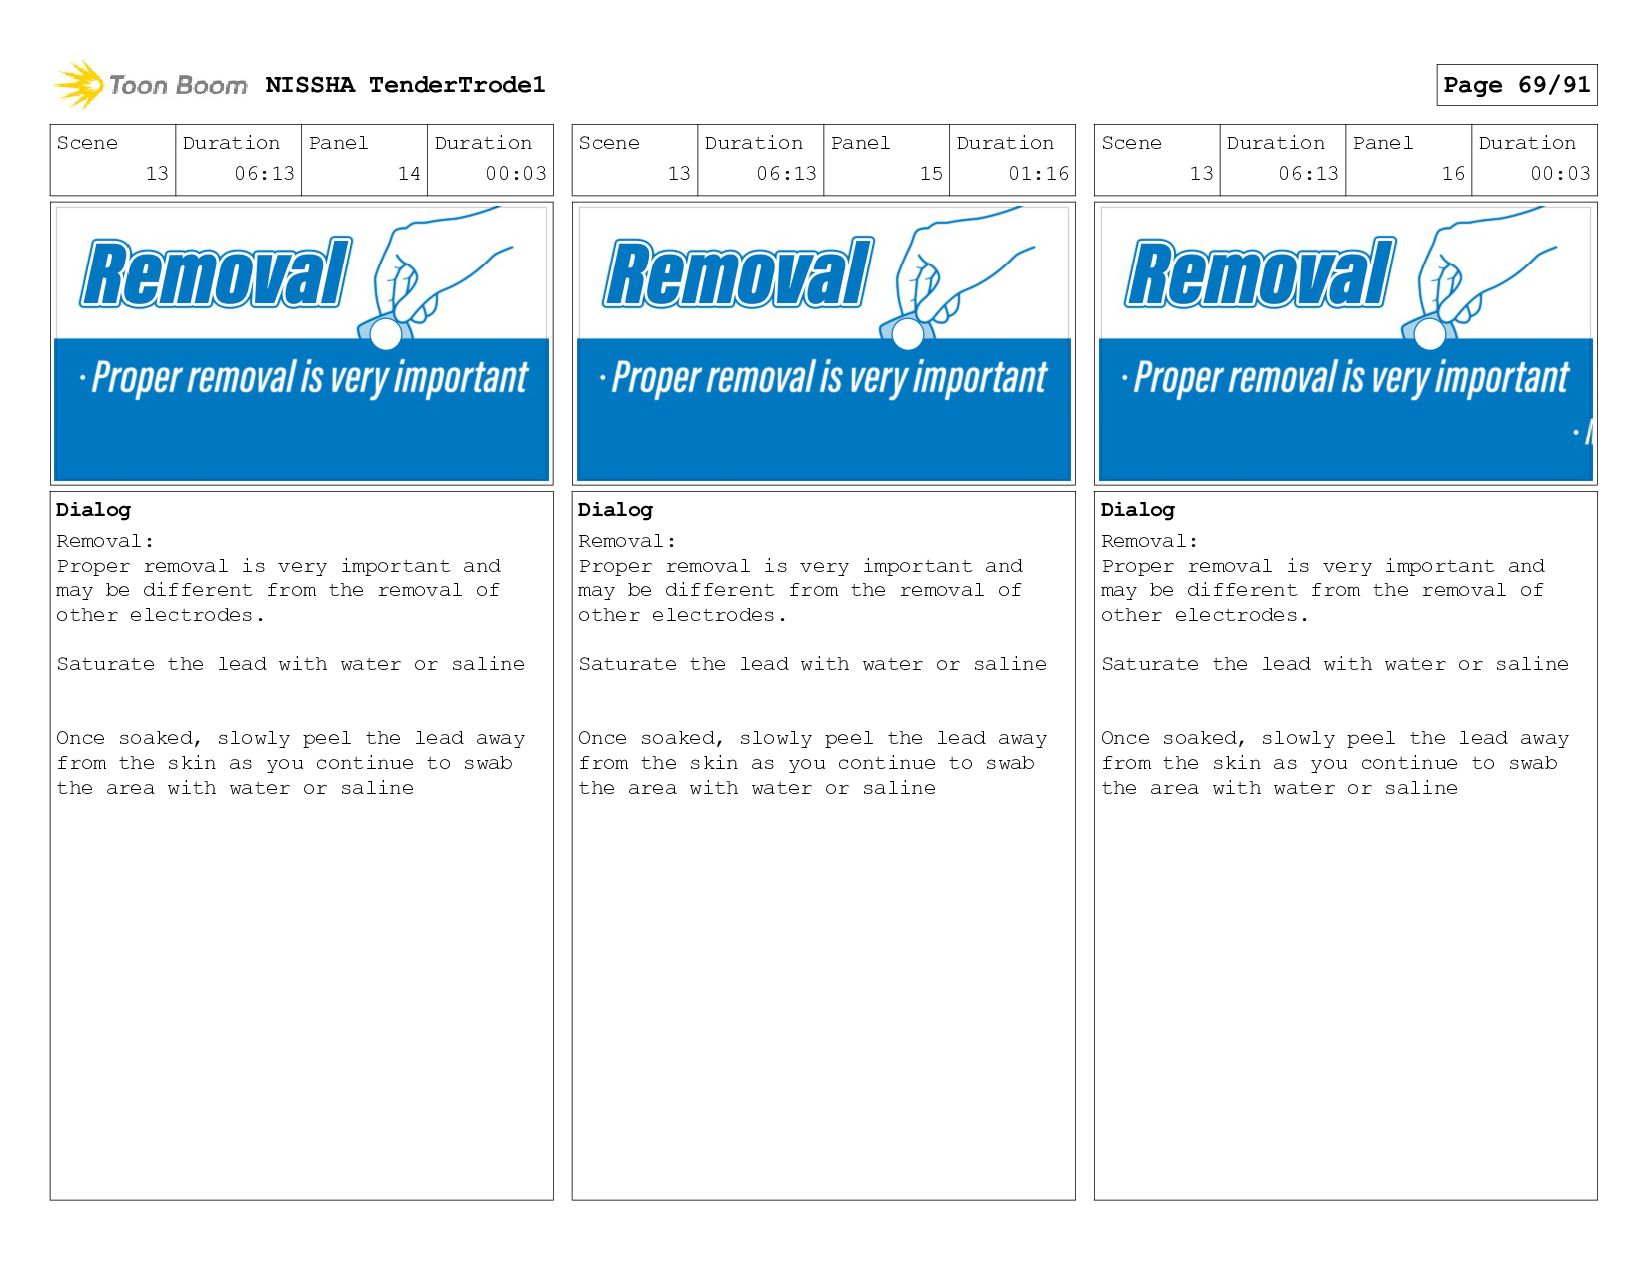
proper care is taken to correctly apply TenderTrode Plus electrodes, they will remain in place for up to 5 days Scene 12 Duration 04:00 Panel 9 Duration 00:03 Dialog When proper care is taken to correctly apply TenderTrode Plus electrodes, they will remain in place for up to 5 days Scene 13 Duration 06:13 Panel 1 Duration 00:03 Dialog Removal: Proper removal is very important and may be different from the removal of other electrodes. Saturate the lead with water or saline Once soaked, slowly peel the lead away from the skin as you continue to swab the area with water or saline NISSHA TenderTrode1 Page 64/91
Proper removal is very important and may be different from the removal of other electrodes. Saturate the lead with water or saline Once soaked, slowly peel the lead away from the skin as you continue to swab the area with water or saline Scene 13 Duration 06:13 Panel 3 Duration 00:03 Dialog Removal: Proper removal is very important and may be different from the removal of other electrodes. Saturate the lead with water or saline Once soaked, slowly peel the lead away from the skin as you continue to swab the area with water or saline Scene 13 Duration 06:13 Panel 4 Duration 00:03 Dialog Removal: Proper removal is very important and may be different from the removal of other electrodes. Saturate the lead with water or saline Once soaked, slowly peel the lead away from the skin as you continue to swab the area with water or saline NISSHA TenderTrode1 Page 65/91
Proper removal is very important and may be different from the removal of other electrodes. Saturate the lead with water or saline Once soaked, slowly peel the lead away from the skin as you continue to swab the area with water or saline Scene 13 Duration 06:13 Panel 6 Duration 00:03 Dialog Removal: Proper removal is very important and may be different from the removal of other electrodes. Saturate the lead with water or saline Once soaked, slowly peel the lead away from the skin as you continue to swab the area with water or saline Scene 13 Duration 06:13 Panel 7 Duration 00:03 Dialog Removal: Proper removal is very important and may be different from the removal of other electrodes. Saturate the lead with water or saline Once soaked, slowly peel the lead away from the skin as you continue to swab the area with water or saline NISSHA TenderTrode1 Page 66/91
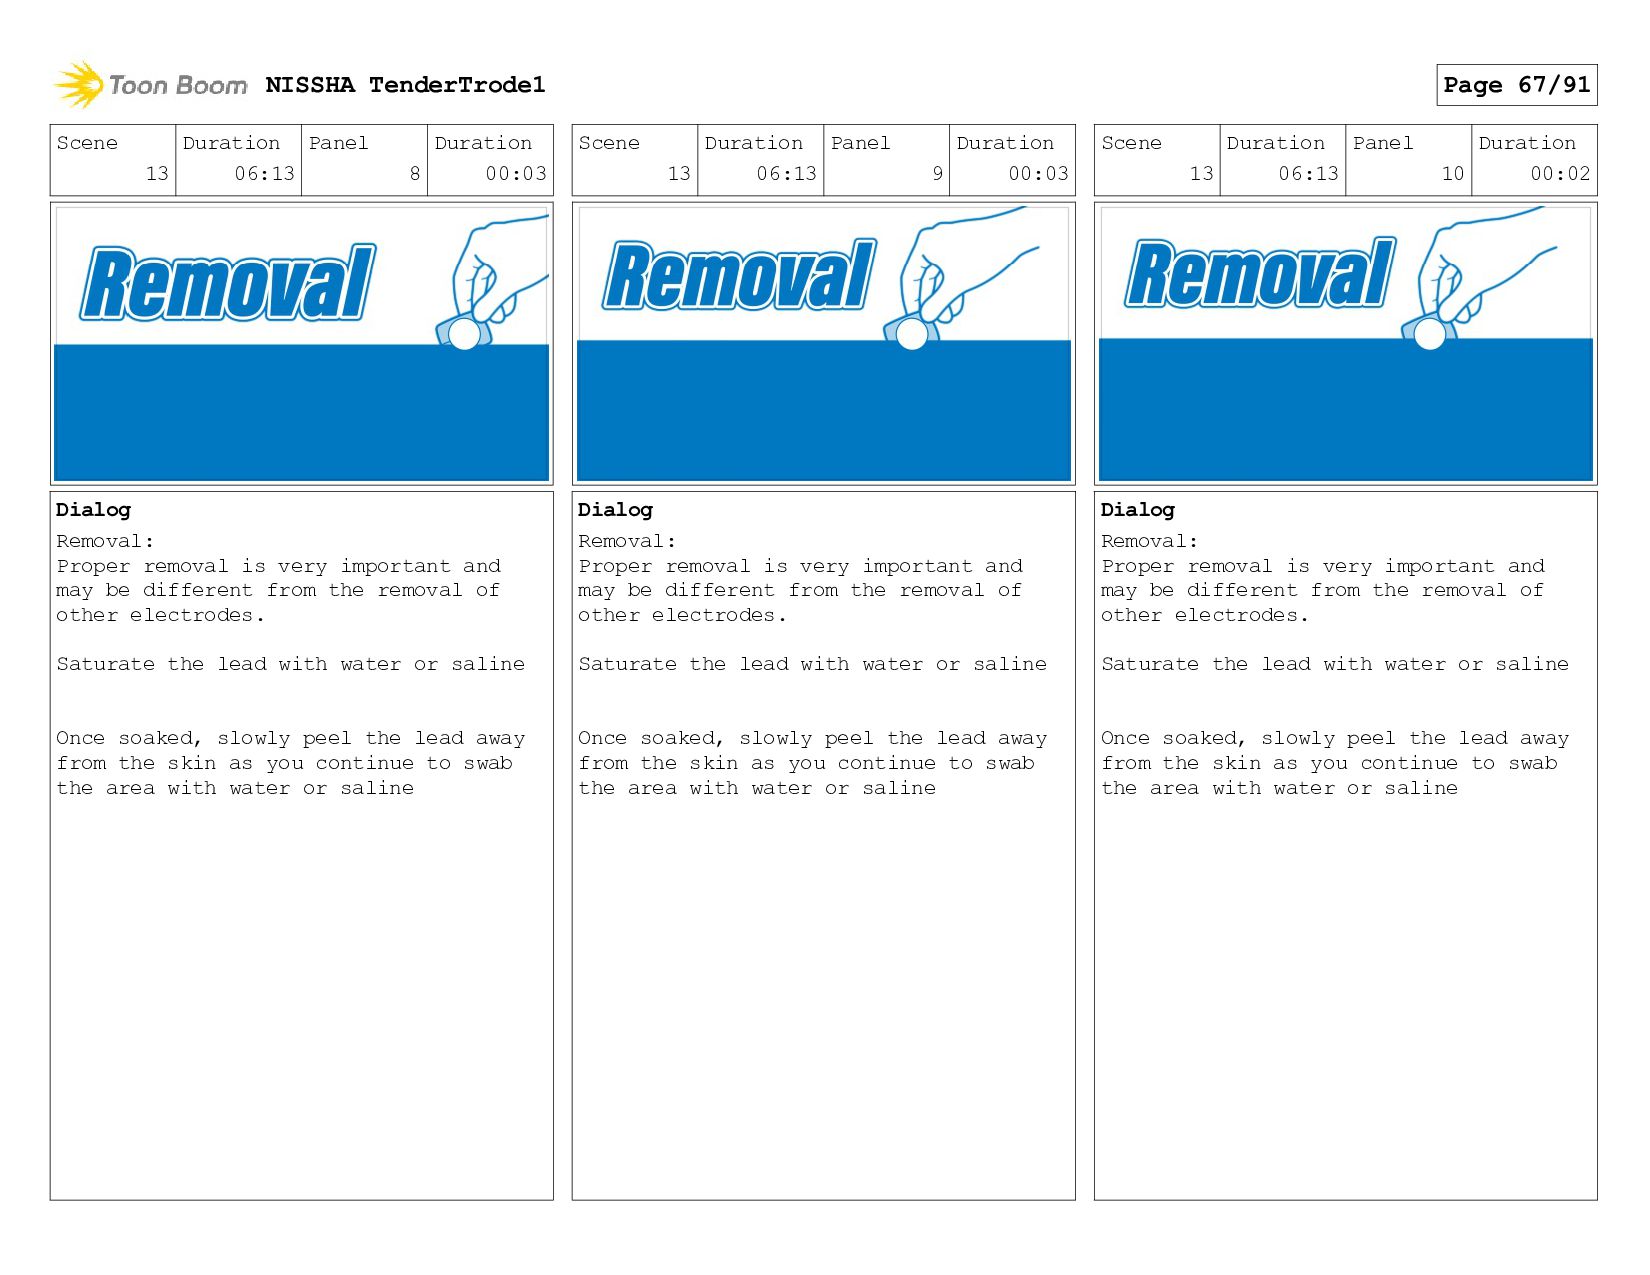
Proper removal is very important and may be different from the removal of other electrodes. Saturate the lead with water or saline Once soaked, slowly peel the lead away from the skin as you continue to swab the area with water or saline Scene 13 Duration 06:13 Panel 9 Duration 00:03 Dialog Removal: Proper removal is very important and may be different from the removal of other electrodes. Saturate the lead with water or saline Once soaked, slowly peel the lead away from the skin as you continue to swab the area with water or saline Scene 13 Duration 06:13 Panel 10 Duration 00:02 Dialog Removal: Proper removal is very important and may be different from the removal of other electrodes. Saturate the lead with water or saline Once soaked, slowly peel the lead away from the skin as you continue to swab the area with water or saline NISSHA TenderTrode1 Page 67/91
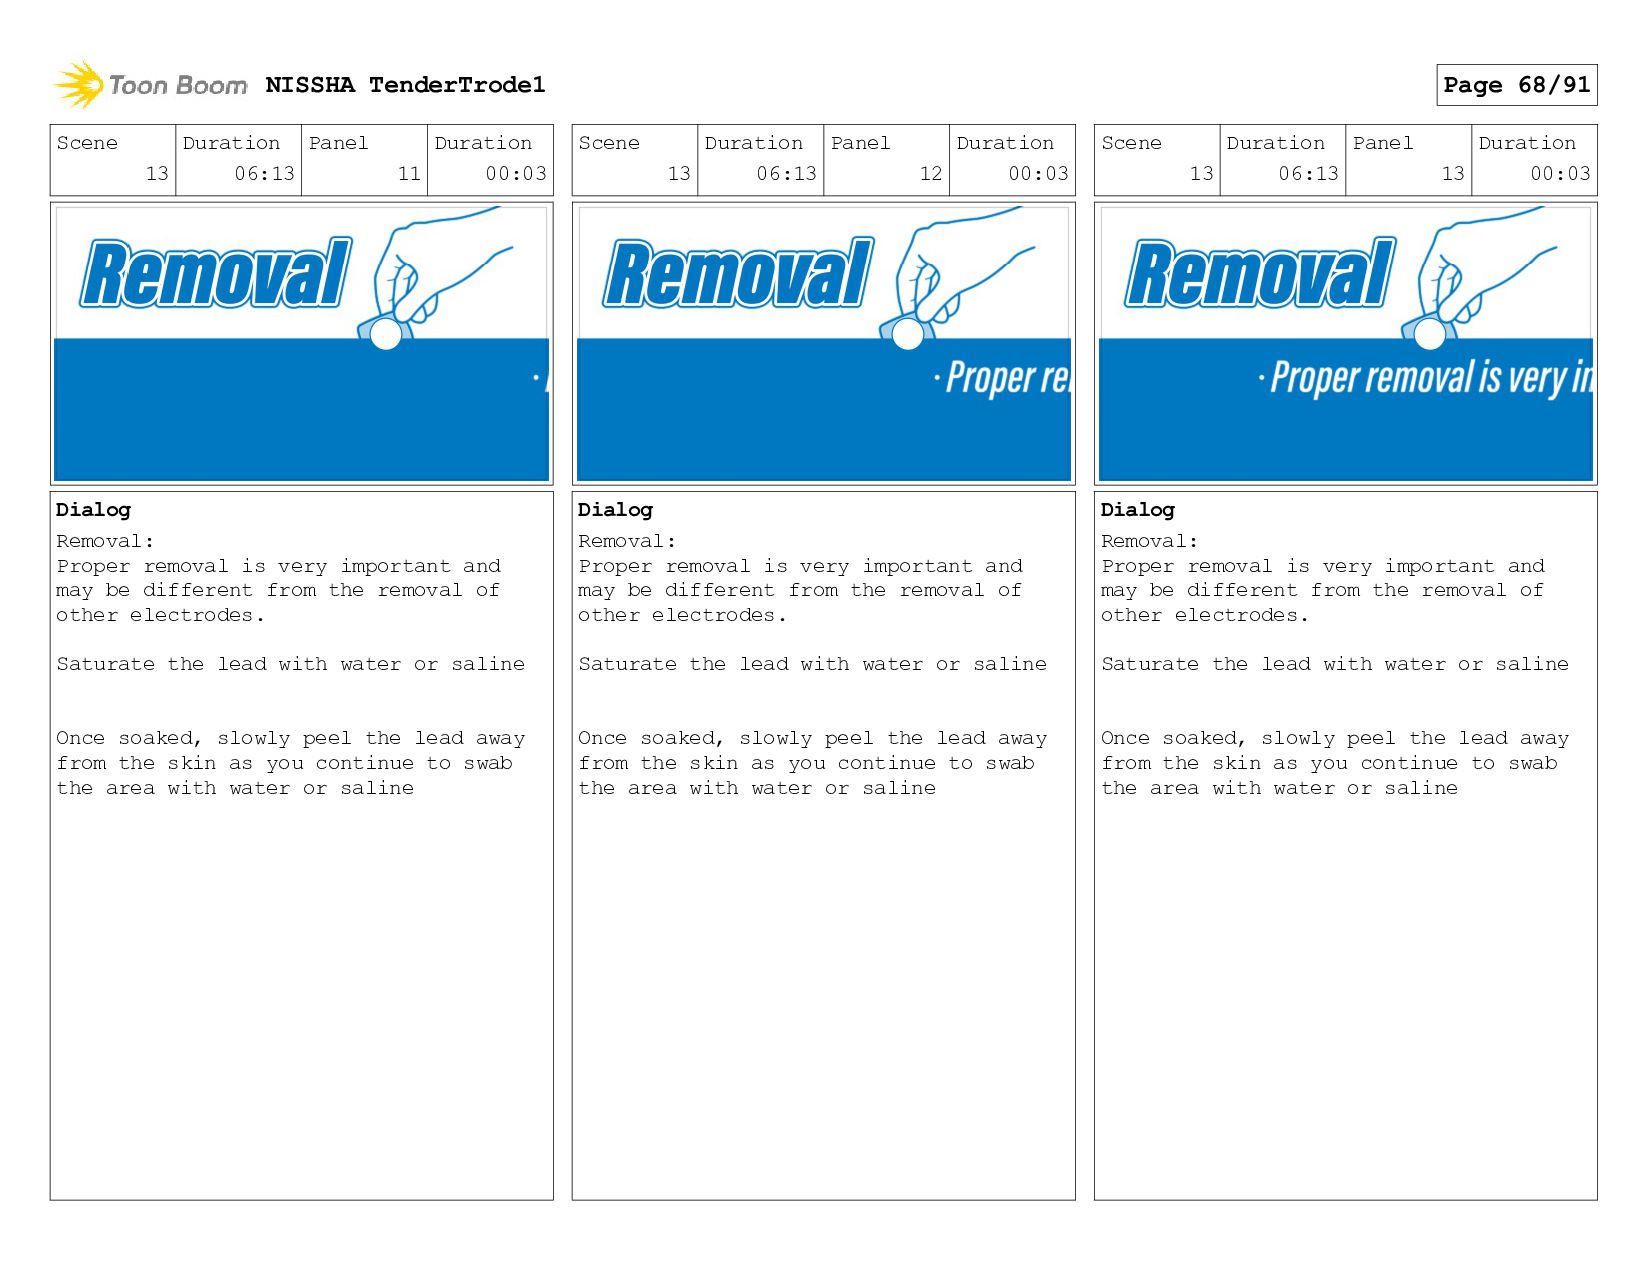
Proper removal is very important and may be different from the removal of other electrodes. Saturate the lead with water or saline Once soaked, slowly peel the lead away from the skin as you continue to swab the area with water or saline Scene 13 Duration 06:13 Panel 12 Duration 00:03 Dialog Removal: Proper removal is very important and may be different from the removal of other electrodes. Saturate the lead with water or saline Once soaked, slowly peel the lead away from the skin as you continue to swab the area with water or saline Scene 13 Duration 06:13 Panel 13 Duration 00:03 Dialog Removal: Proper removal is very important and may be different from the removal of other electrodes. Saturate the lead with water or saline Once soaked, slowly peel the lead away from the skin as you continue to swab the area with water or saline NISSHA TenderTrode1 Page 68/91
Proper removal is very important and may be different from the removal of other electrodes. Saturate the lead with water or saline Once soaked, slowly peel the lead away from the skin as you continue to swab the area with water or saline Scene 13 Duration 06:13 Panel 15 Duration 01:16 Dialog Removal: Proper removal is very important and may be different from the removal of other electrodes. Saturate the lead with water or saline Once soaked, slowly peel the lead away from the skin as you continue to swab the area with water or saline Scene 13 Duration 06:13 Panel 16 Duration 00:03 Dialog Removal: Proper removal is very important and may be different from the removal of other electrodes. Saturate the lead with water or saline Once soaked, slowly peel the lead away from the skin as you continue to swab the area with water or saline NISSHA TenderTrode1 Page 69/91
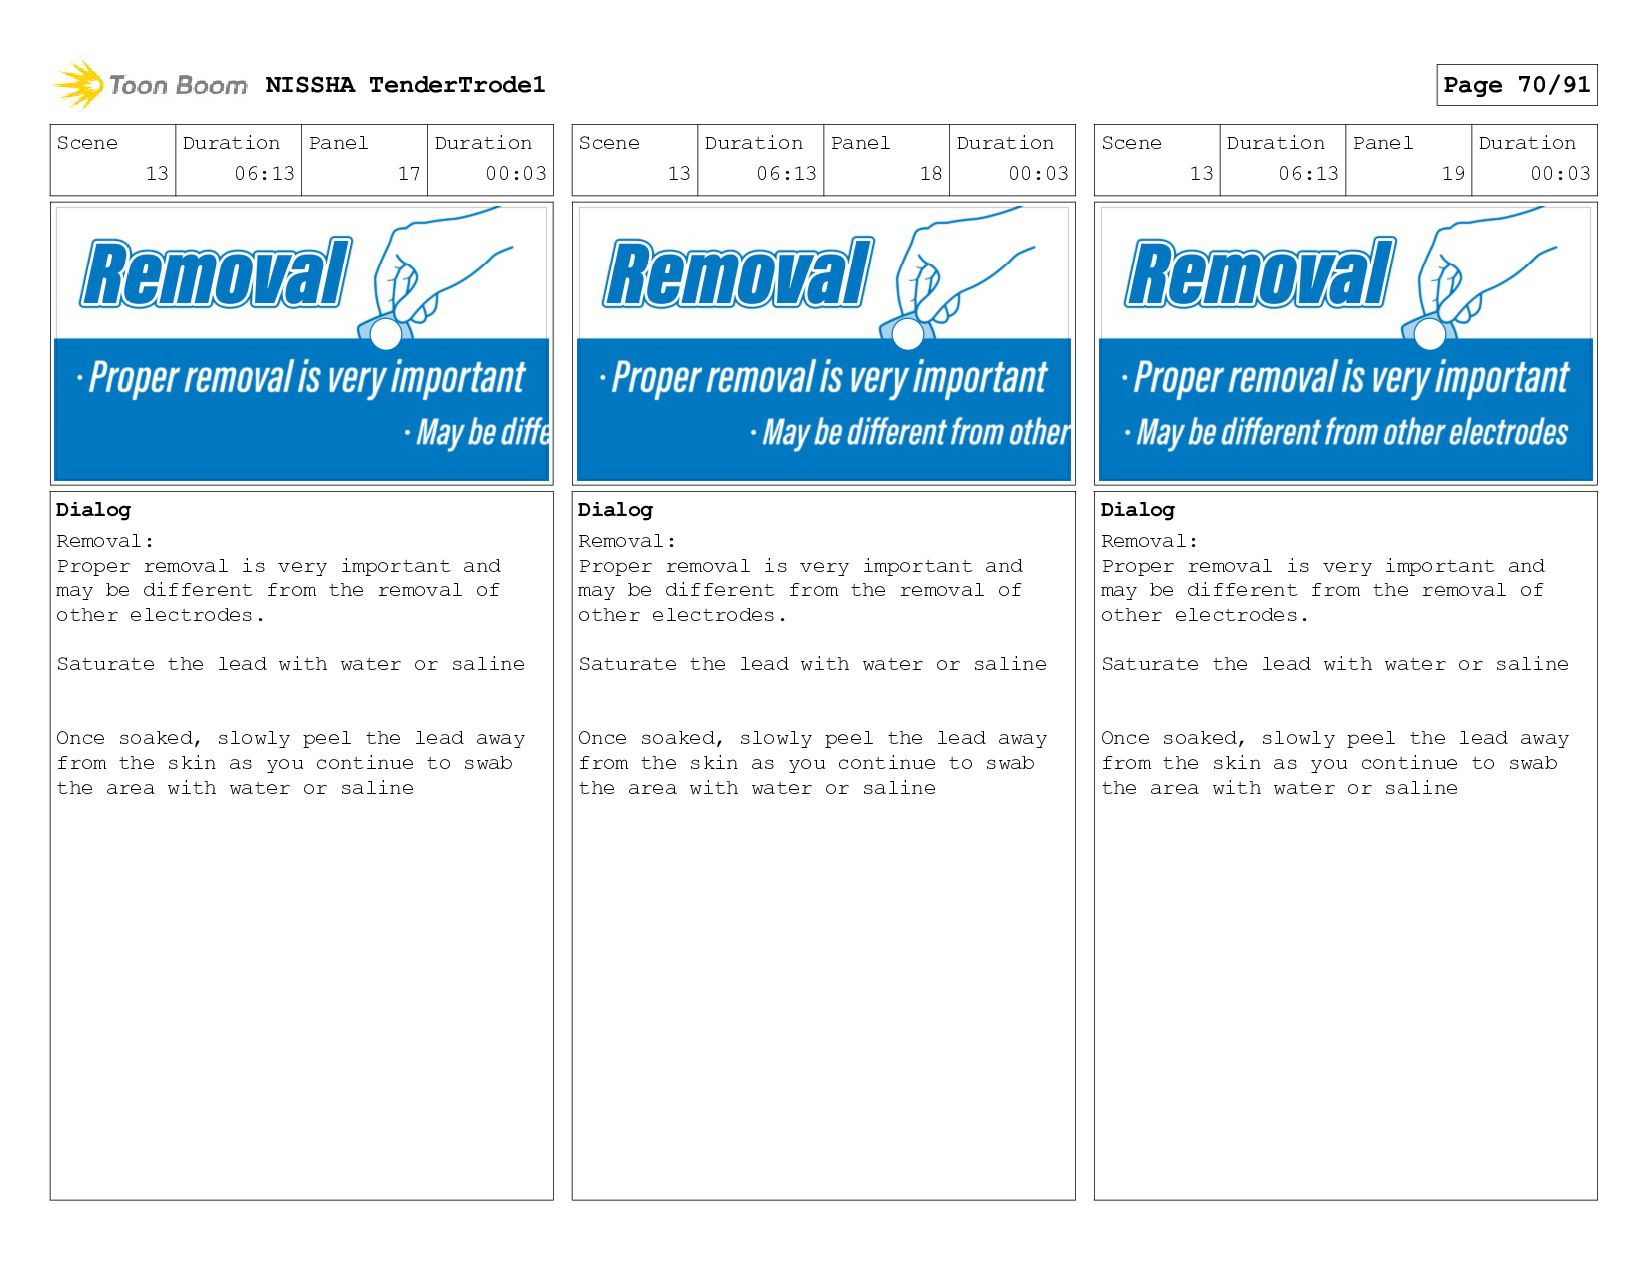
Proper removal is very important and may be different from the removal of other electrodes. Saturate the lead with water or saline Once soaked, slowly peel the lead away from the skin as you continue to swab the area with water or saline Scene 13 Duration 06:13 Panel 18 Duration 00:03 Dialog Removal: Proper removal is very important and may be different from the removal of other electrodes. Saturate the lead with water or saline Once soaked, slowly peel the lead away from the skin as you continue to swab the area with water or saline Scene 13 Duration 06:13 Panel 19 Duration 00:03 Dialog Removal: Proper removal is very important and may be different from the removal of other electrodes. Saturate the lead with water or saline Once soaked, slowly peel the lead away from the skin as you continue to swab the area with water or saline NISSHA TenderTrode1 Page 70/91
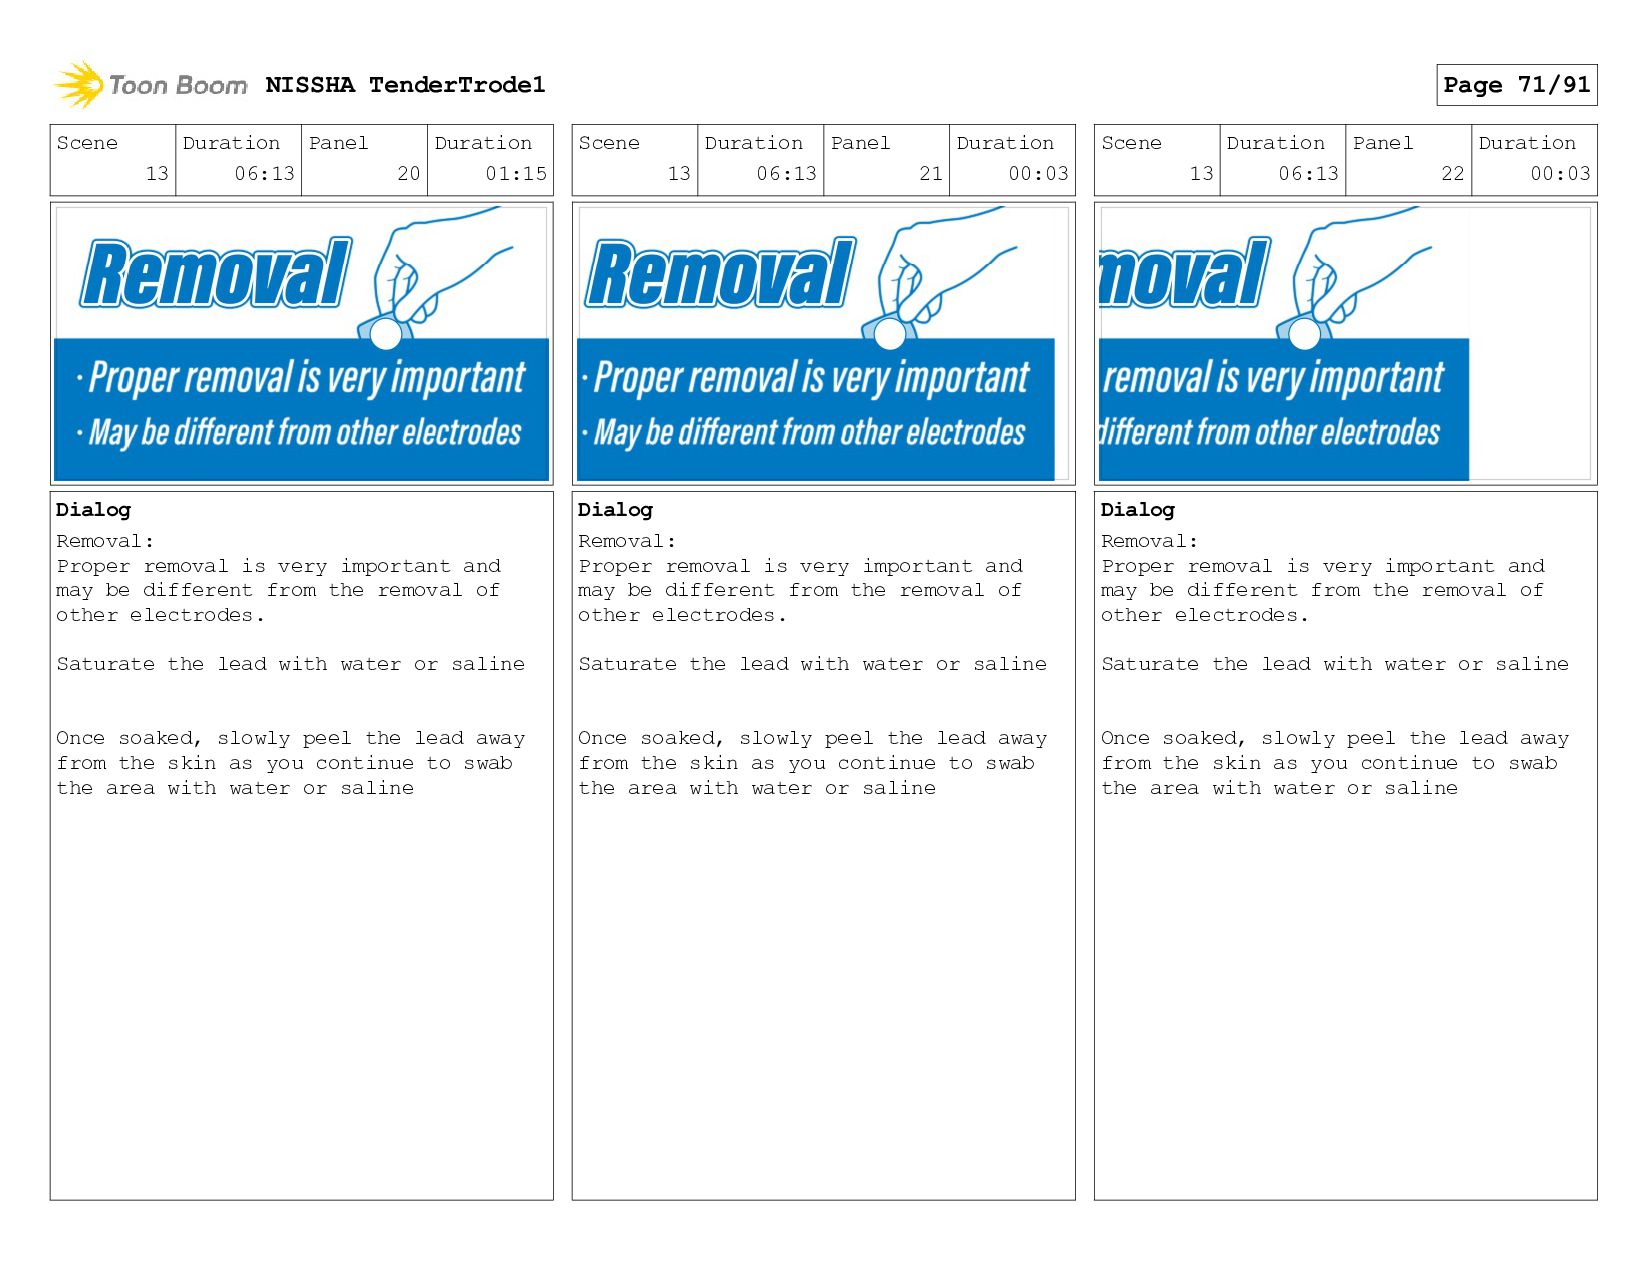
Proper removal is very important and may be different from the removal of other electrodes. Saturate the lead with water or saline Once soaked, slowly peel the lead away from the skin as you continue to swab the area with water or saline Scene 13 Duration 06:13 Panel 21 Duration 00:03 Dialog Removal: Proper removal is very important and may be different from the removal of other electrodes. Saturate the lead with water or saline Once soaked, slowly peel the lead away from the skin as you continue to swab the area with water or saline Scene 13 Duration 06:13 Panel 22 Duration 00:03 Dialog Removal: Proper removal is very important and may be different from the removal of other electrodes. Saturate the lead with water or saline Once soaked, slowly peel the lead away from the skin as you continue to swab the area with water or saline NISSHA TenderTrode1 Page 71/91
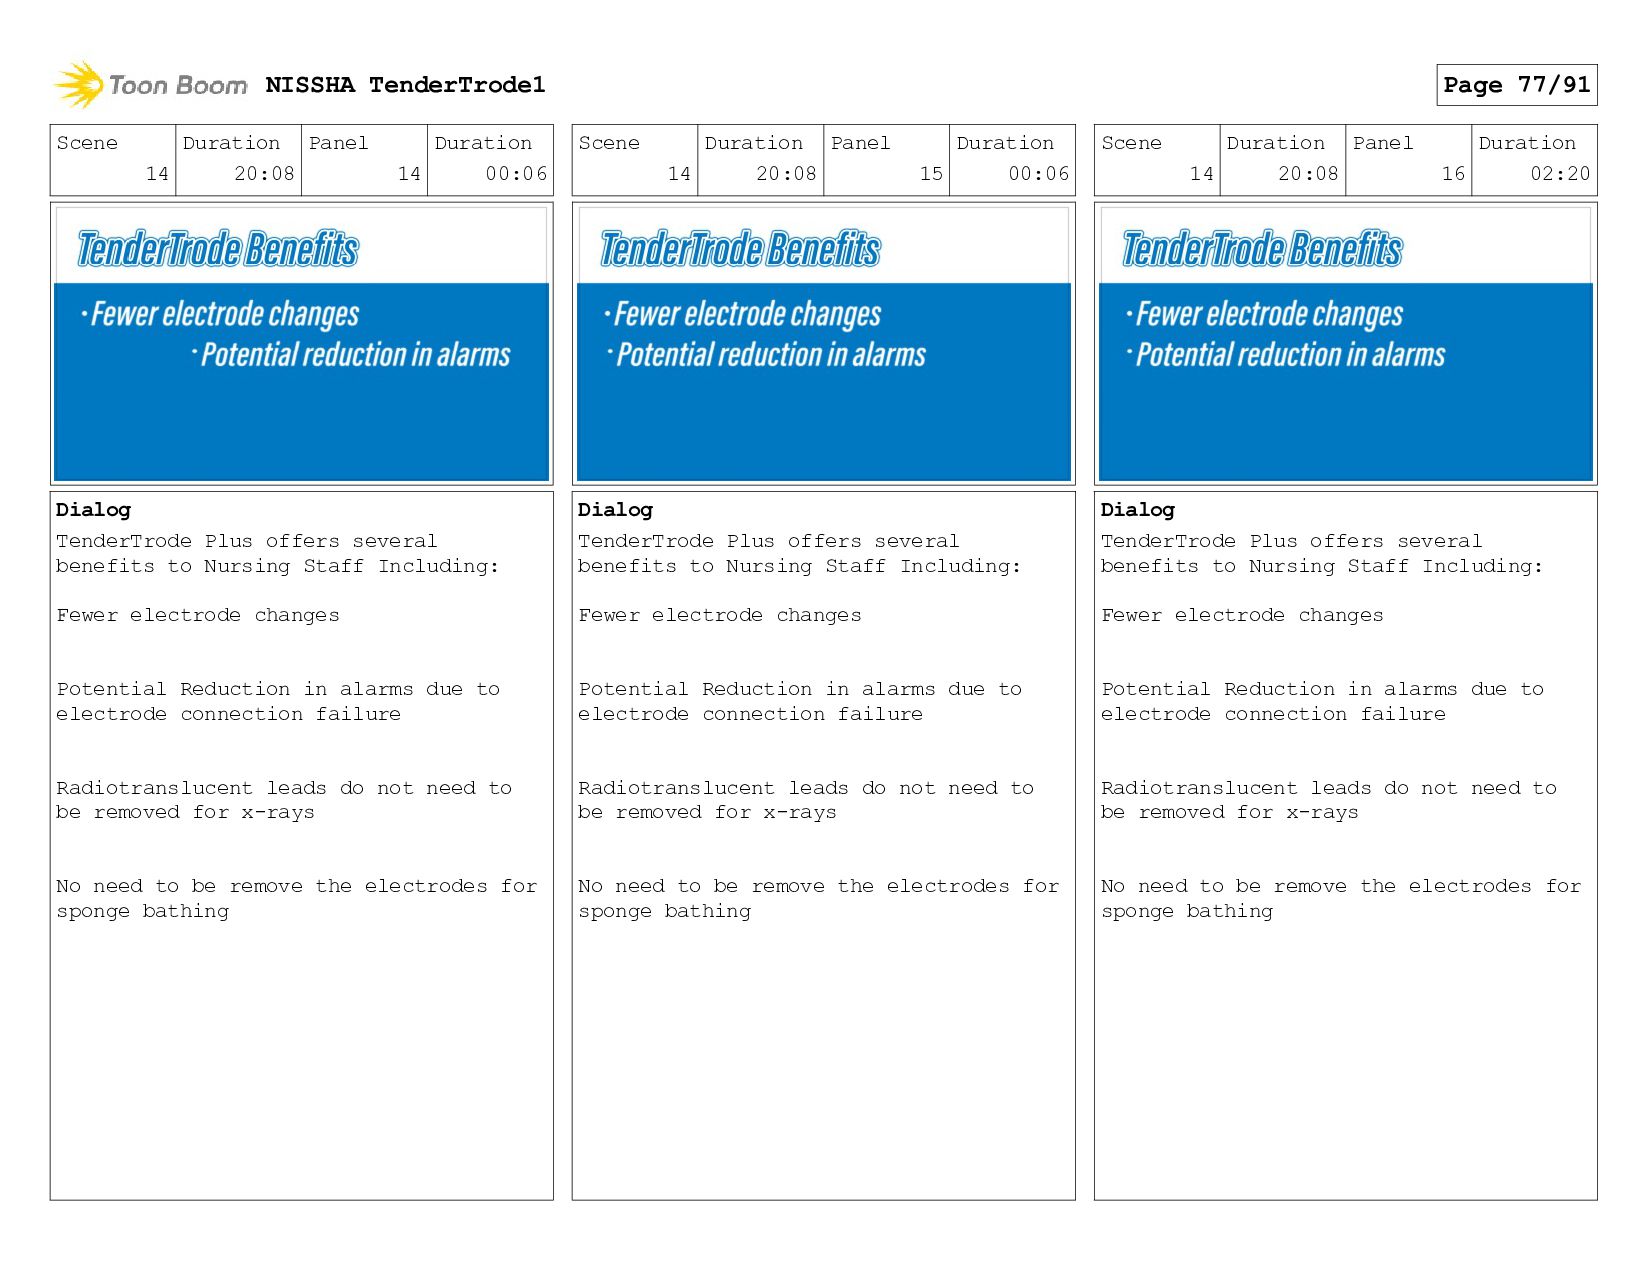
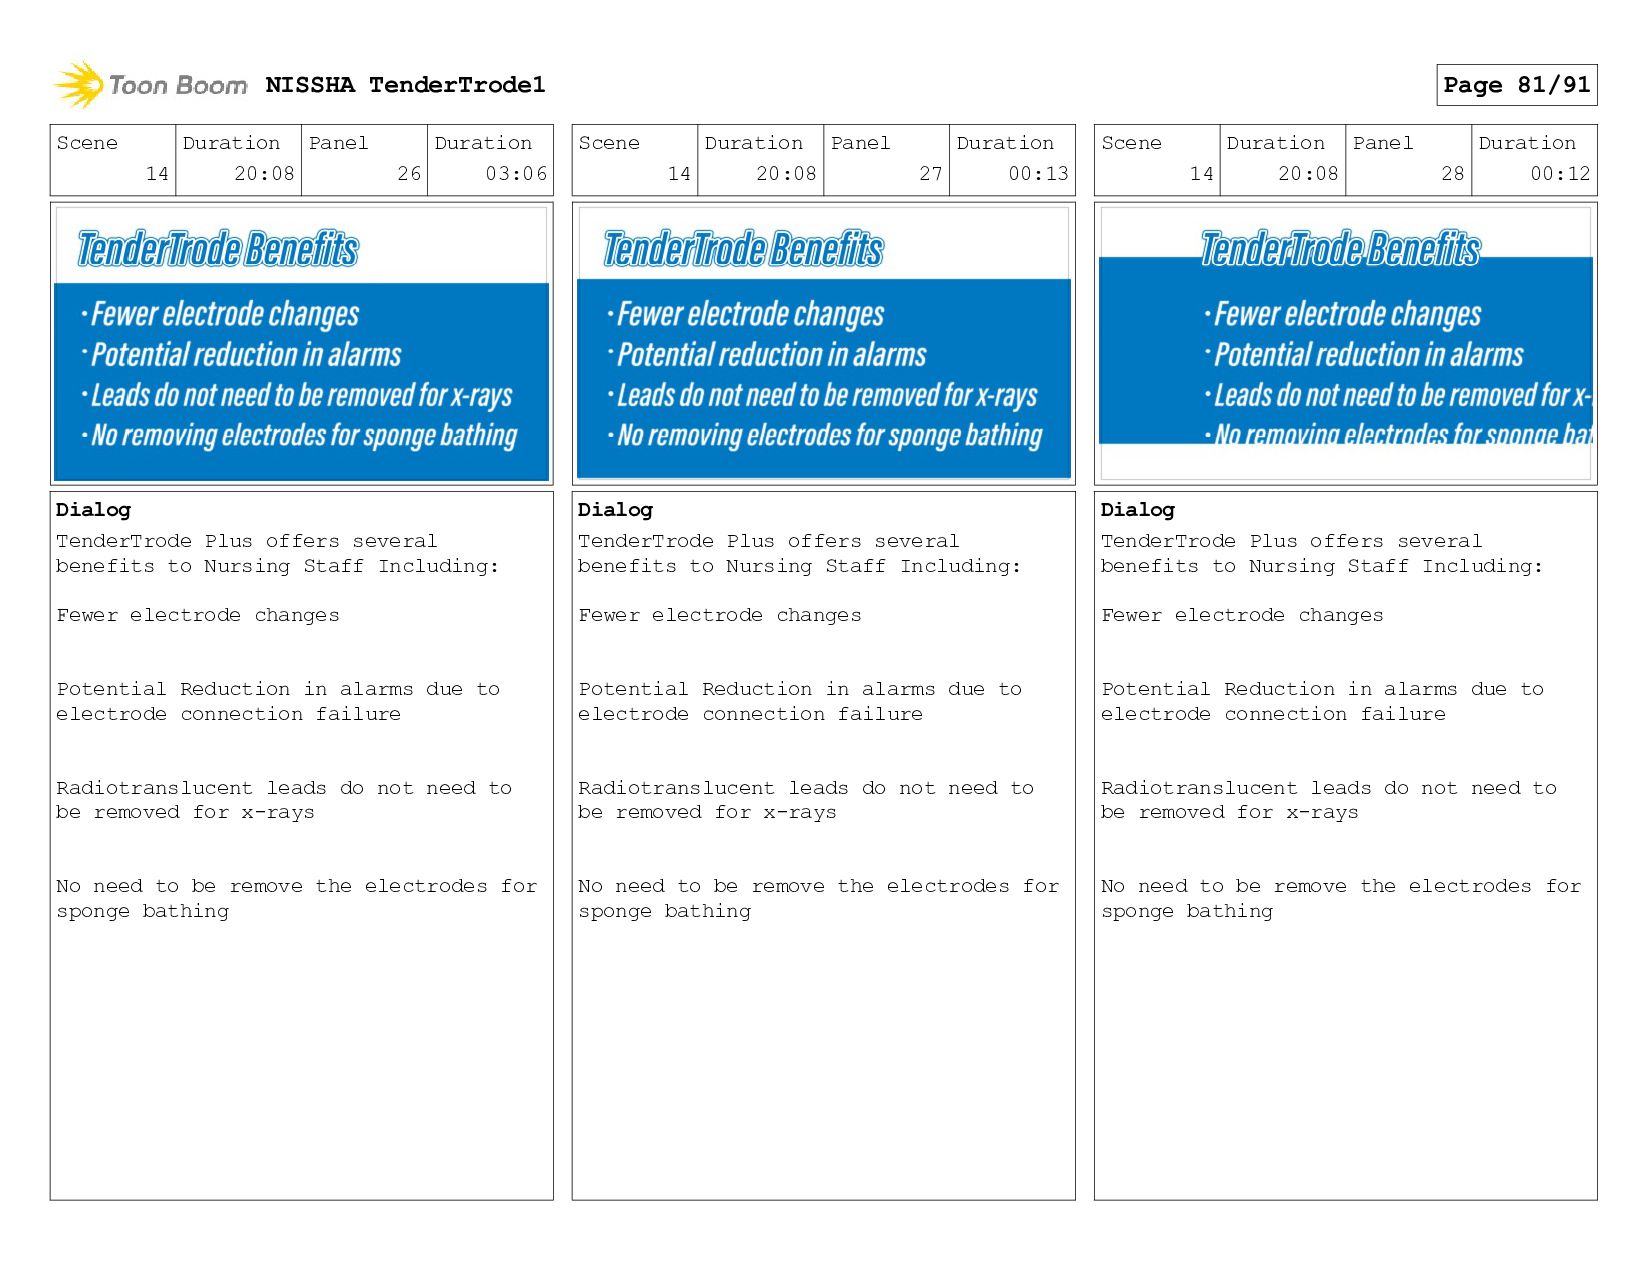
Proper removal is very important and may be different from the removal of other electrodes. Saturate the lead with water or saline Once soaked, slowly peel the lead away from the skin as you continue to swab the area with water or saline Scene 13 Duration 06:13 Panel 24 Duration 00:03 Dialog Removal: Proper removal is very important and may be different from the removal of other electrodes. Saturate the lead with water or saline Once soaked, slowly peel the lead away from the skin as you continue to swab the area with water or saline Scene 14 Duration 20:08 Panel 1 Duration 00:06 Dialog TenderTrode Plus offers several benefits to Nursing Staff Including: Fewer electrode changes Potential Reduction in alarms due to electrode connection failure Radiotranslucent leads do not need to be removed for x-rays No need to be remove the electrodes for sponge bathing NISSHA TenderTrode1 Page 72/91
Plus offers several benefits to Nursing Staff Including: Fewer electrode changes Potential Reduction in alarms due to electrode connection failure Radiotranslucent leads do not need to be removed for x-rays No need to be remove the electrodes for sponge bathing Scene 14 Duration 20:08 Panel 3 Duration 00:06 Dialog TenderTrode Plus offers several benefits to Nursing Staff Including: Fewer electrode changes Potential Reduction in alarms due to electrode connection failure Radiotranslucent leads do not need to be removed for x-rays No need to be remove the electrodes for sponge bathing Scene 14 Duration 20:08 Panel 4 Duration 00:06 Dialog TenderTrode Plus offers several benefits to Nursing Staff Including: Fewer electrode changes Potential Reduction in alarms due to electrode connection failure Radiotranslucent leads do not need to be removed for x-rays No need to be remove the electrodes for sponge bathing NISSHA TenderTrode1 Page 73/91
Plus offers several benefits to Nursing Staff Including: Fewer electrode changes Potential Reduction in alarms due to electrode connection failure Radiotranslucent leads do not need to be removed for x-rays No need to be remove the electrodes for sponge bathing Scene 14 Duration 20:08 Panel 6 Duration 00:06 Dialog TenderTrode Plus offers several benefits to Nursing Staff Including: Fewer electrode changes Potential Reduction in alarms due to electrode connection failure Radiotranslucent leads do not need to be removed for x-rays No need to be remove the electrodes for sponge bathing Scene 14 Duration 20:08 Panel 7 Duration 00:06 Dialog TenderTrode Plus offers several benefits to Nursing Staff Including: Fewer electrode changes Potential Reduction in alarms due to electrode connection failure Radiotranslucent leads do not need to be removed for x-rays No need to be remove the electrodes for sponge bathing NISSHA TenderTrode1 Page 74/91
Plus offers several benefits to Nursing Staff Including: Fewer electrode changes Potential Reduction in alarms due to electrode connection failure Radiotranslucent leads do not need to be removed for x-rays No need to be remove the electrodes for sponge bathing Scene 14 Duration 20:08 Panel 9 Duration 00:06 Dialog TenderTrode Plus offers several benefits to Nursing Staff Including: Fewer electrode changes Potential Reduction in alarms due to electrode connection failure Radiotranslucent leads do not need to be removed for x-rays No need to be remove the electrodes for sponge bathing Scene 14 Duration 20:08 Panel 10 Duration 00:06 Dialog TenderTrode Plus offers several benefits to Nursing Staff Including: Fewer electrode changes Potential Reduction in alarms due to electrode connection failure Radiotranslucent leads do not need to be removed for x-rays No need to be remove the electrodes for sponge bathing NISSHA TenderTrode1 Page 75/91
Plus offers several benefits to Nursing Staff Including: Fewer electrode changes Potential Reduction in alarms due to electrode connection failure Radiotranslucent leads do not need to be removed for x-rays No need to be remove the electrodes for sponge bathing Scene 14 Duration 20:08 Panel 12 Duration 00:06 Dialog TenderTrode Plus offers several benefits to Nursing Staff Including: Fewer electrode changes Potential Reduction in alarms due to electrode connection failure Radiotranslucent leads do not need to be removed for x-rays No need to be remove the electrodes for sponge bathing Scene 14 Duration 20:08 Panel 13 Duration 00:06 Dialog TenderTrode Plus offers several benefits to Nursing Staff Including: Fewer electrode changes Potential Reduction in alarms due to electrode connection failure Radiotranslucent leads do not need to be removed for x-rays No need to be remove the electrodes for sponge bathing NISSHA TenderTrode1 Page 76/91
Plus offers several benefits to Nursing Staff Including: Fewer electrode changes Potential Reduction in alarms due to electrode connection failure Radiotranslucent leads do not need to be removed for x-rays No need to be remove the electrodes for sponge bathing Scene 14 Duration 20:08 Panel 15 Duration 00:06 Dialog TenderTrode Plus offers several benefits to Nursing Staff Including: Fewer electrode changes Potential Reduction in alarms due to electrode connection failure Radiotranslucent leads do not need to be removed for x-rays No need to be remove the electrodes for sponge bathing Scene 14 Duration 20:08 Panel 16 Duration 02:20 Dialog TenderTrode Plus offers several benefits to Nursing Staff Including: Fewer electrode changes Potential Reduction in alarms due to electrode connection failure Radiotranslucent leads do not need to be removed for x-rays No need to be remove the electrodes for sponge bathing NISSHA TenderTrode1 Page 77/91
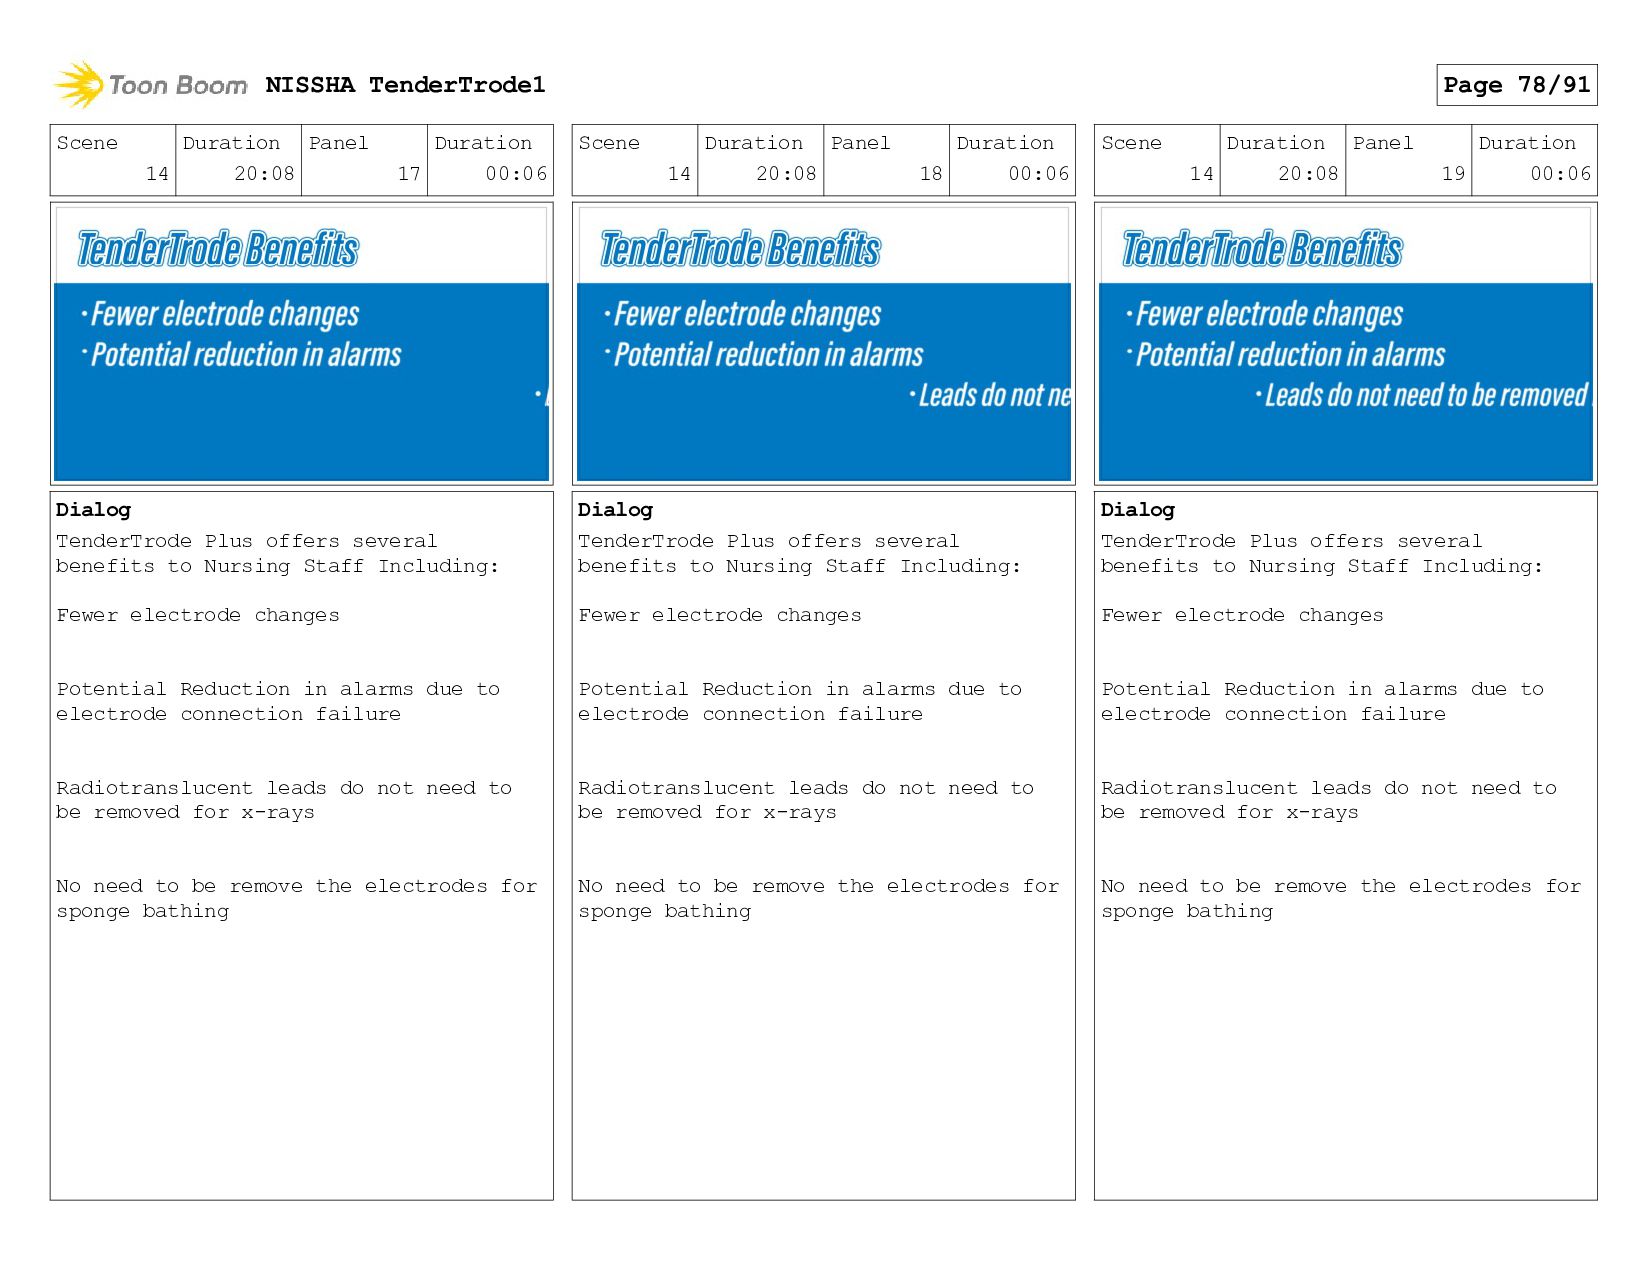
Plus offers several benefits to Nursing Staff Including: Fewer electrode changes Potential Reduction in alarms due to electrode connection failure Radiotranslucent leads do not need to be removed for x-rays No need to be remove the electrodes for sponge bathing Scene 14 Duration 20:08 Panel 18 Duration 00:06 Dialog TenderTrode Plus offers several benefits to Nursing Staff Including: Fewer electrode changes Potential Reduction in alarms due to electrode connection failure Radiotranslucent leads do not need to be removed for x-rays No need to be remove the electrodes for sponge bathing Scene 14 Duration 20:08 Panel 19 Duration 00:06 Dialog TenderTrode Plus offers several benefits to Nursing Staff Including: Fewer electrode changes Potential Reduction in alarms due to electrode connection failure Radiotranslucent leads do not need to be removed for x-rays No need to be remove the electrodes for sponge bathing NISSHA TenderTrode1 Page 78/91
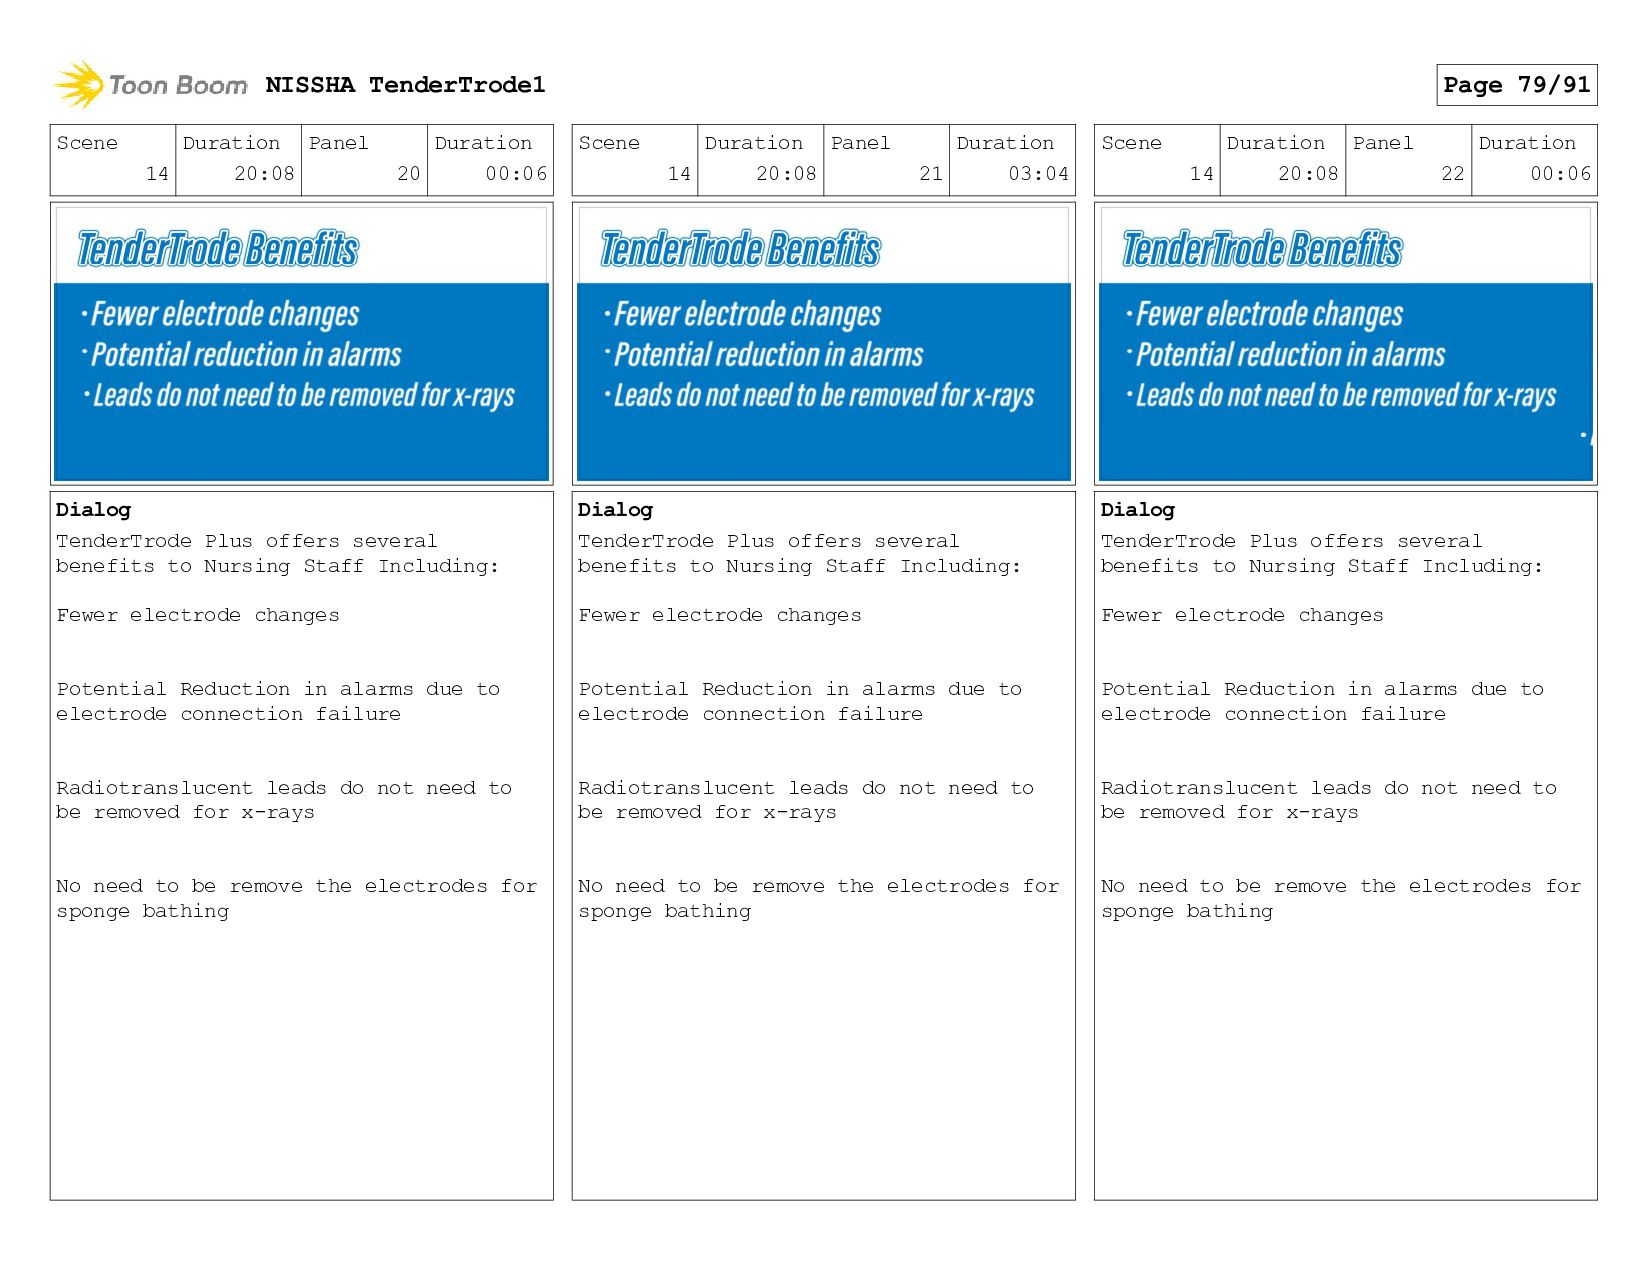
Plus offers several benefits to Nursing Staff Including: Fewer electrode changes Potential Reduction in alarms due to electrode connection failure Radiotranslucent leads do not need to be removed for x-rays No need to be remove the electrodes for sponge bathing Scene 14 Duration 20:08 Panel 21 Duration 03:04 Dialog TenderTrode Plus offers several benefits to Nursing Staff Including: Fewer electrode changes Potential Reduction in alarms due to electrode connection failure Radiotranslucent leads do not need to be removed for x-rays No need to be remove the electrodes for sponge bathing Scene 14 Duration 20:08 Panel 22 Duration 00:06 Dialog TenderTrode Plus offers several benefits to Nursing Staff Including: Fewer electrode changes Potential Reduction in alarms due to electrode connection failure Radiotranslucent leads do not need to be removed for x-rays No need to be remove the electrodes for sponge bathing NISSHA TenderTrode1 Page 79/91
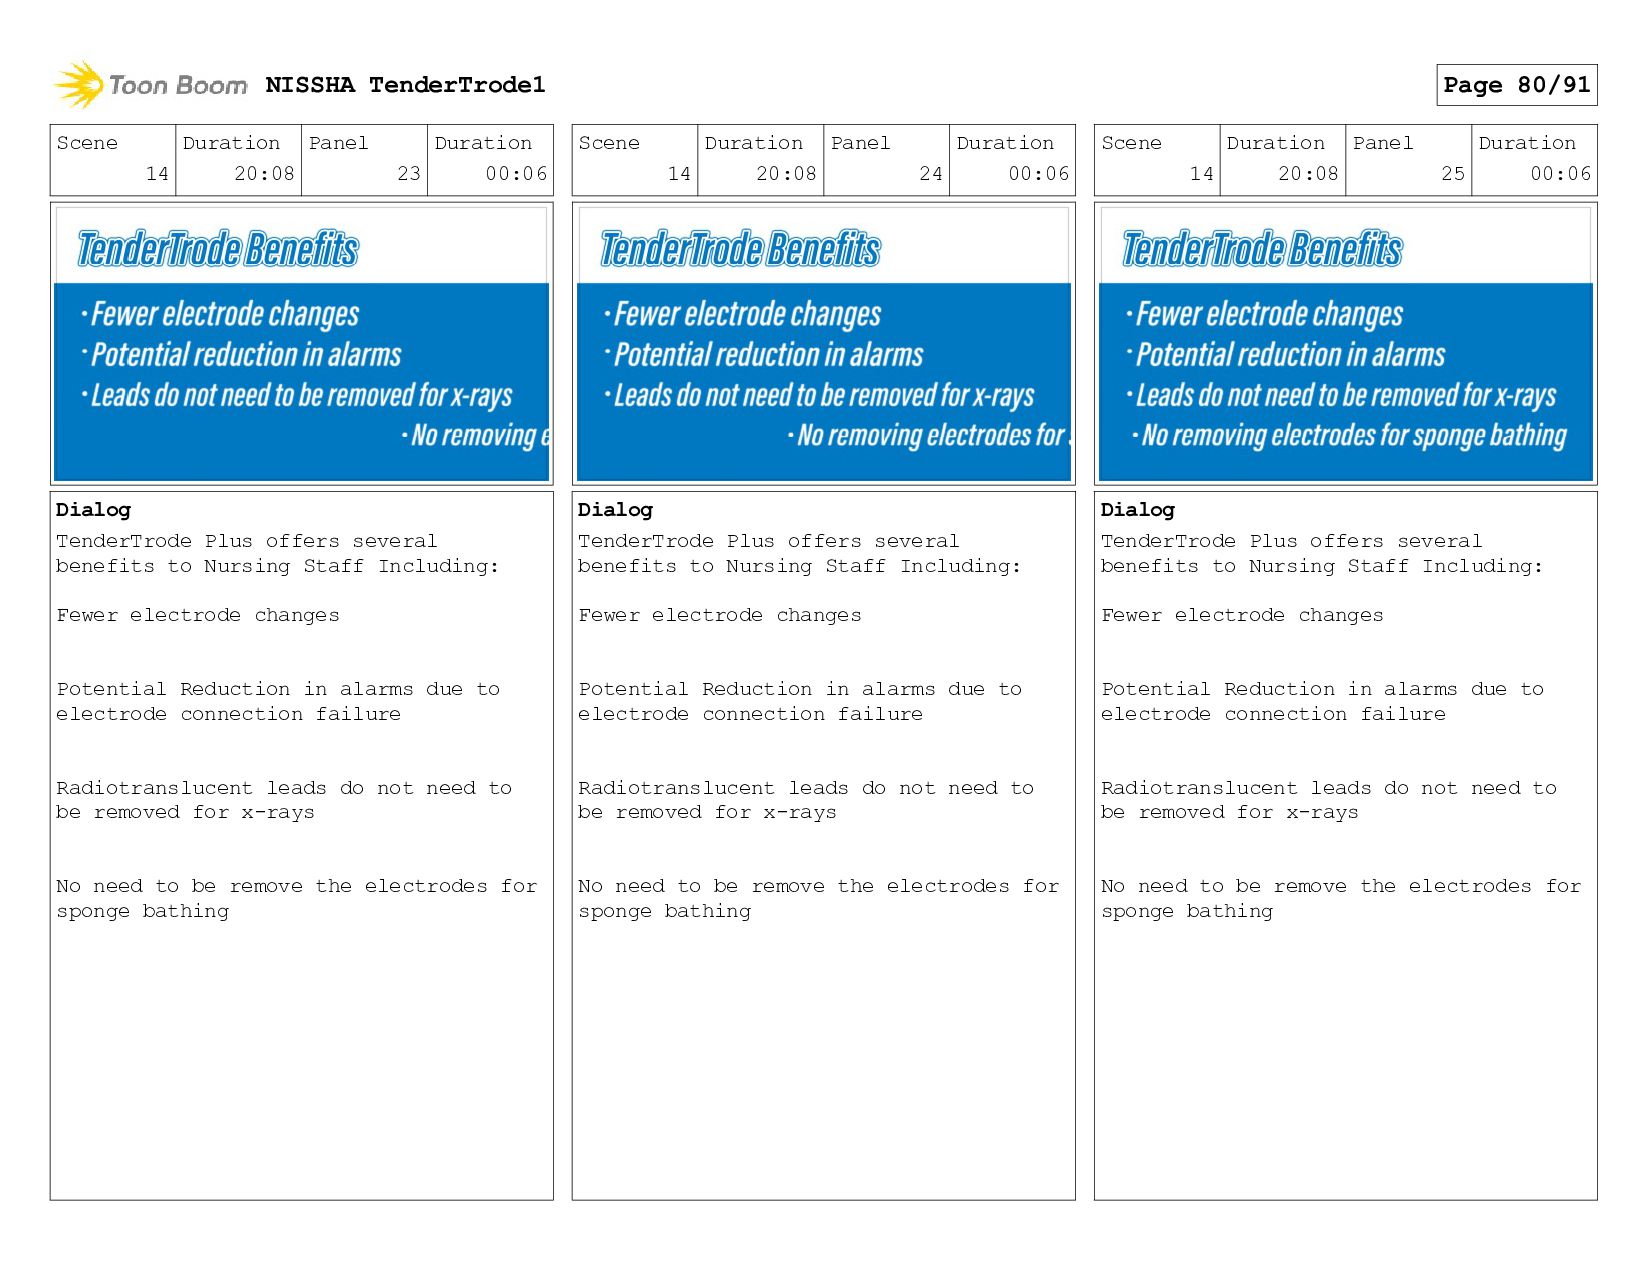
Plus offers several benefits to Nursing Staff Including: Fewer electrode changes Potential Reduction in alarms due to electrode connection failure Radiotranslucent leads do not need to be removed for x-rays No need to be remove the electrodes for sponge bathing Scene 14 Duration 20:08 Panel 24 Duration 00:06 Dialog TenderTrode Plus offers several benefits to Nursing Staff Including: Fewer electrode changes Potential Reduction in alarms due to electrode connection failure Radiotranslucent leads do not need to be removed for x-rays No need to be remove the electrodes for sponge bathing Scene 14 Duration 20:08 Panel 25 Duration 00:06 Dialog TenderTrode Plus offers several benefits to Nursing Staff Including: Fewer electrode changes Potential Reduction in alarms due to electrode connection failure Radiotranslucent leads do not need to be removed for x-rays No need to be remove the electrodes for sponge bathing NISSHA TenderTrode1 Page 80/91
Plus offers several benefits to Nursing Staff Including: Fewer electrode changes Potential Reduction in alarms due to electrode connection failure Radiotranslucent leads do not need to be removed for x-rays No need to be remove the electrodes for sponge bathing Scene 14 Duration 20:08 Panel 27 Duration 00:13 Dialog TenderTrode Plus offers several benefits to Nursing Staff Including: Fewer electrode changes Potential Reduction in alarms due to electrode connection failure Radiotranslucent leads do not need to be removed for x-rays No need to be remove the electrodes for sponge bathing Scene 14 Duration 20:08 Panel 28 Duration 00:12 Dialog TenderTrode Plus offers several benefits to Nursing Staff Including: Fewer electrode changes Potential Reduction in alarms due to electrode connection failure Radiotranslucent leads do not need to be removed for x-rays No need to be remove the electrodes for sponge bathing NISSHA TenderTrode1 Page 81/91
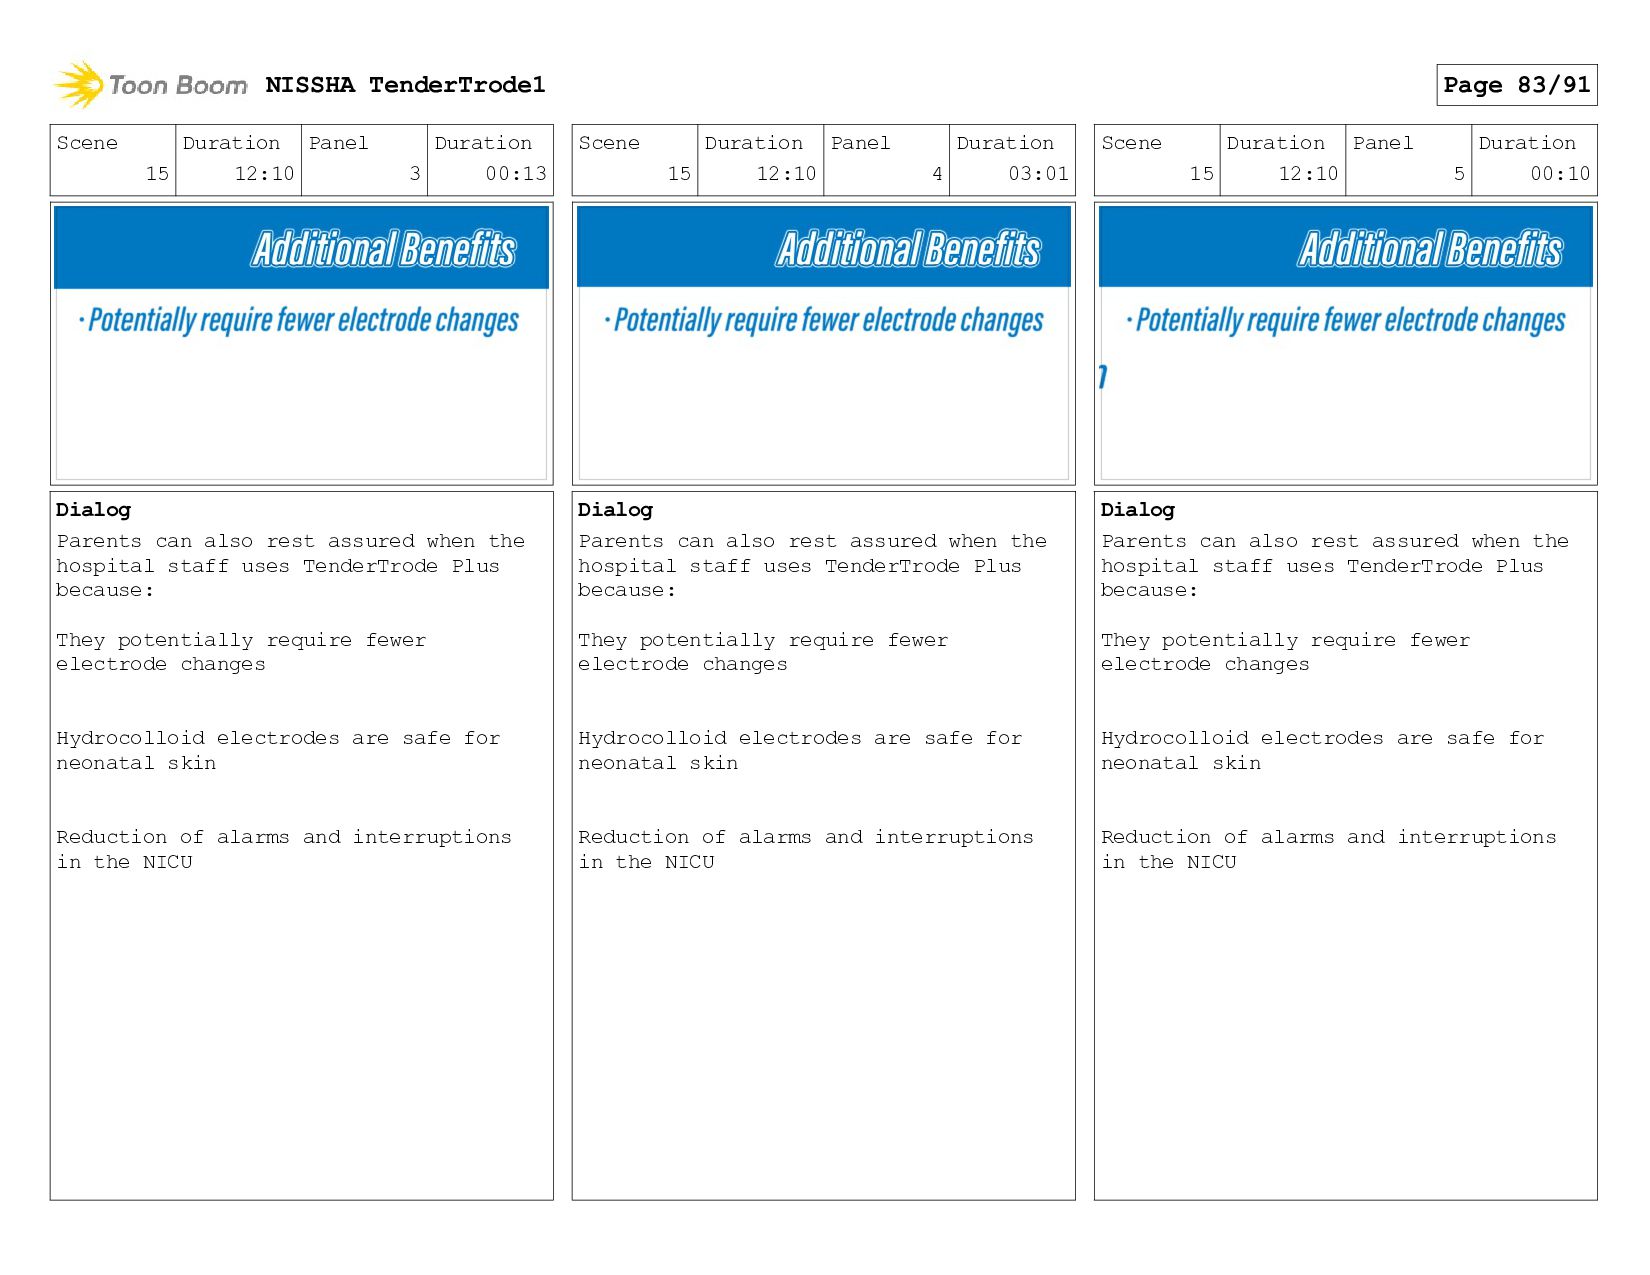
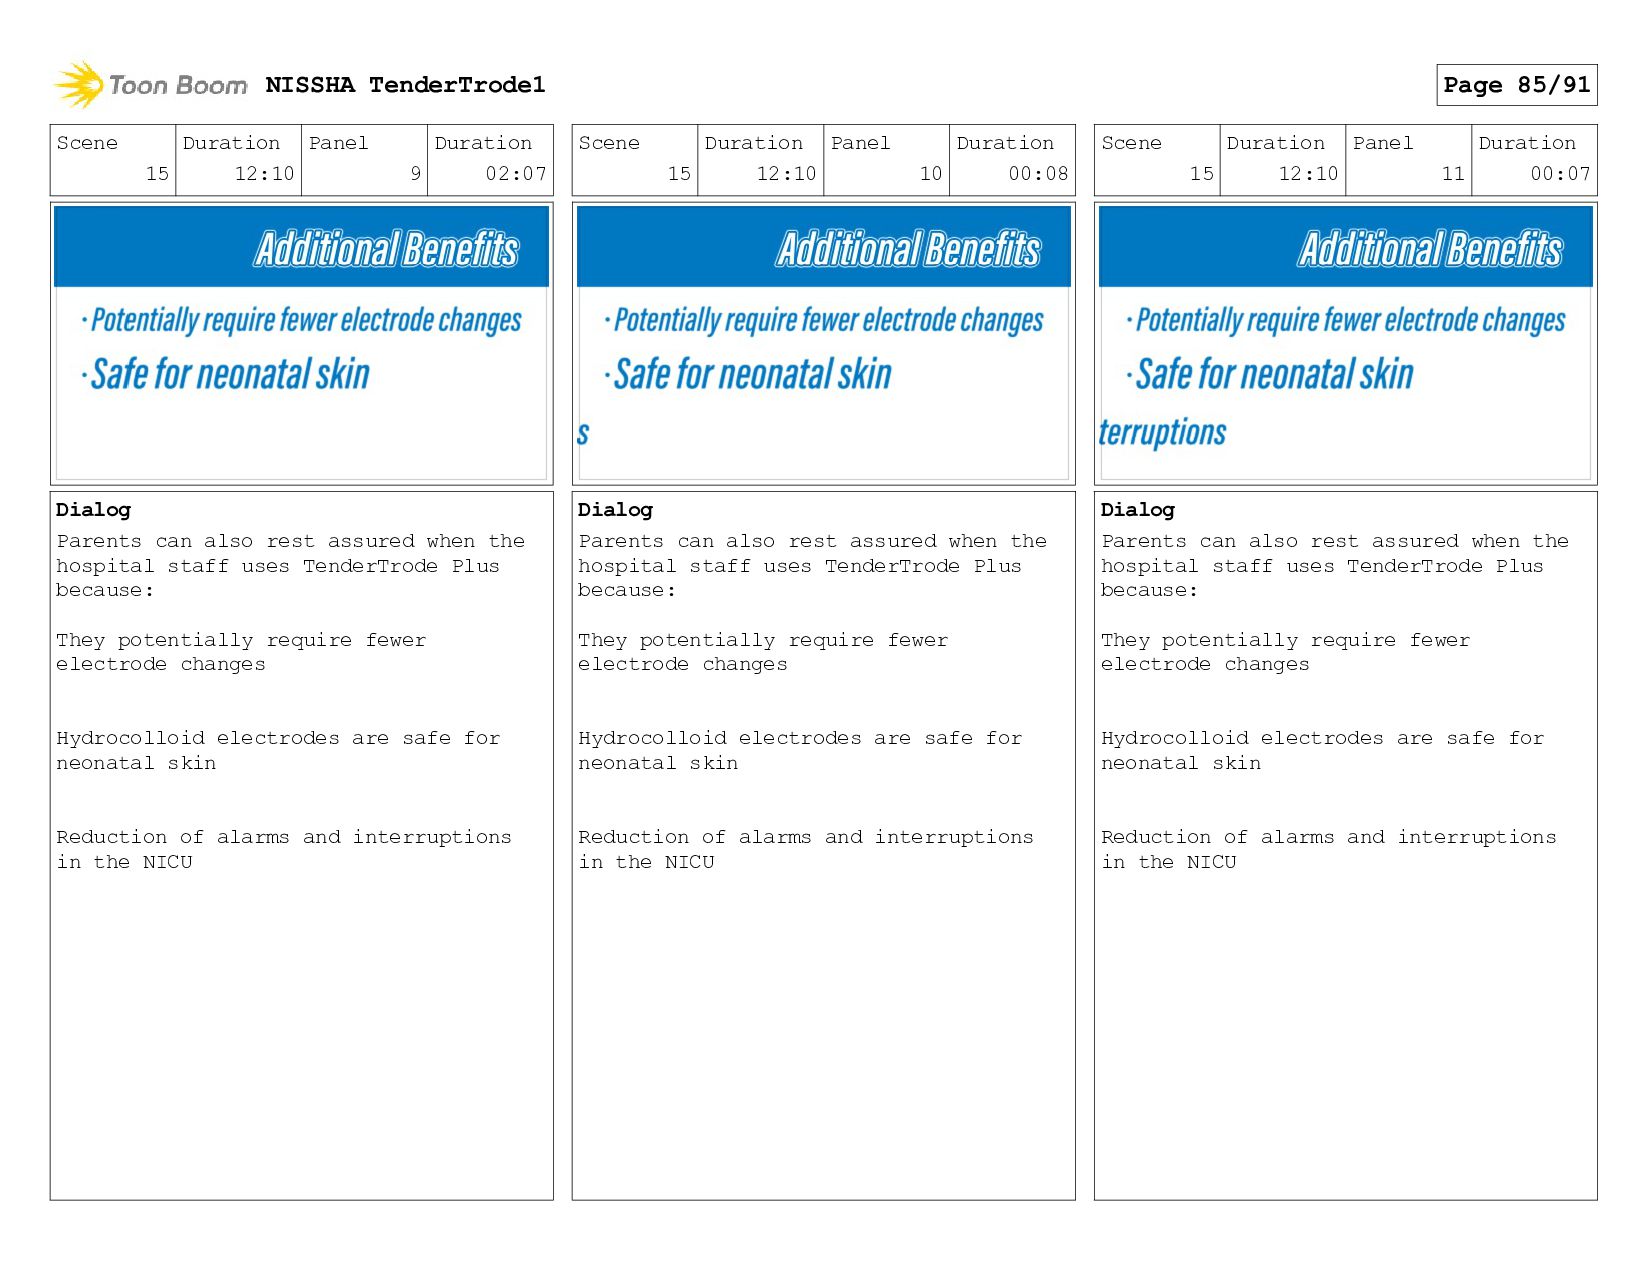
Plus offers several benefits to Nursing Staff Including: Fewer electrode changes Potential Reduction in alarms due to electrode connection failure Radiotranslucent leads do not need to be removed for x-rays No need to be remove the electrodes for sponge bathing Scene 15 Duration 12:10 Panel 1 Duration 00:12 Dialog Parents can also rest assured when the hospital staff uses TenderTrode Plus because: They potentially require fewer electrode changes Hydrocolloid electrodes are safe for neonatal skin Reduction of alarms and interruptions in the NICU Scene 15 Duration 12:10 Panel 2 Duration 00:12 Dialog Parents can also rest assured when the hospital staff uses TenderTrode Plus because: They potentially require fewer electrode changes Hydrocolloid electrodes are safe for neonatal skin Reduction of alarms and interruptions in the NICU NISSHA TenderTrode1 Page 82/91
can also rest assured when the hospital staff uses TenderTrode Plus because: They potentially require fewer electrode changes Hydrocolloid electrodes are safe for neonatal skin Reduction of alarms and interruptions in the NICU Scene 15 Duration 12:10 Panel 4 Duration 03:01 Dialog Parents can also rest assured when the hospital staff uses TenderTrode Plus because: They potentially require fewer electrode changes Hydrocolloid electrodes are safe for neonatal skin Reduction of alarms and interruptions in the NICU Scene 15 Duration 12:10 Panel 5 Duration 00:10 Dialog Parents can also rest assured when the hospital staff uses TenderTrode Plus because: They potentially require fewer electrode changes Hydrocolloid electrodes are safe for neonatal skin Reduction of alarms and interruptions in the NICU NISSHA TenderTrode1 Page 83/91
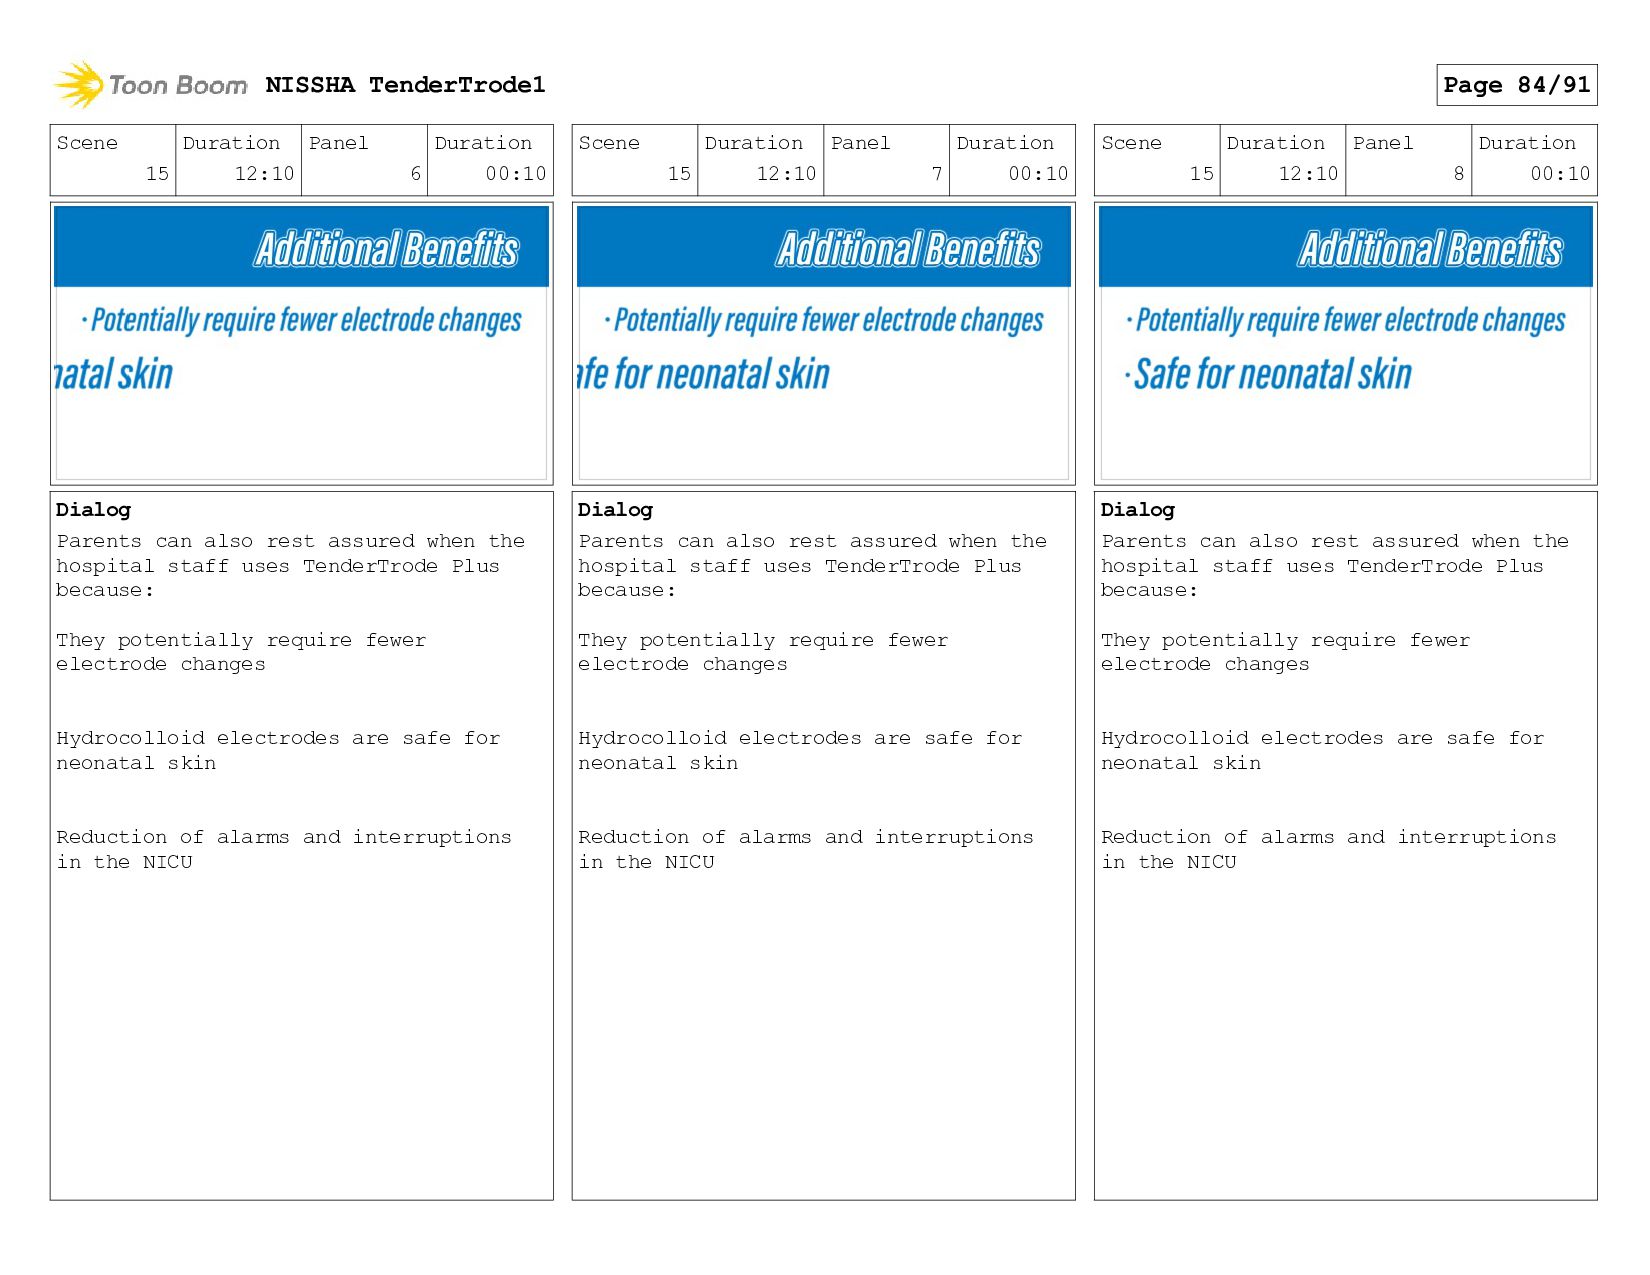
can also rest assured when the hospital staff uses TenderTrode Plus because: They potentially require fewer electrode changes Hydrocolloid electrodes are safe for neonatal skin Reduction of alarms and interruptions in the NICU Scene 15 Duration 12:10 Panel 7 Duration 00:10 Dialog Parents can also rest assured when the hospital staff uses TenderTrode Plus because: They potentially require fewer electrode changes Hydrocolloid electrodes are safe for neonatal skin Reduction of alarms and interruptions in the NICU Scene 15 Duration 12:10 Panel 8 Duration 00:10 Dialog Parents can also rest assured when the hospital staff uses TenderTrode Plus because: They potentially require fewer electrode changes Hydrocolloid electrodes are safe for neonatal skin Reduction of alarms and interruptions in the NICU NISSHA TenderTrode1 Page 84/91
can also rest assured when the hospital staff uses TenderTrode Plus because: They potentially require fewer electrode changes Hydrocolloid electrodes are safe for neonatal skin Reduction of alarms and interruptions in the NICU Scene 15 Duration 12:10 Panel 10 Duration 00:08 Dialog Parents can also rest assured when the hospital staff uses TenderTrode Plus because: They potentially require fewer electrode changes Hydrocolloid electrodes are safe for neonatal skin Reduction of alarms and interruptions in the NICU Scene 15 Duration 12:10 Panel 11 Duration 00:07 Dialog Parents can also rest assured when the hospital staff uses TenderTrode Plus because: They potentially require fewer electrode changes Hydrocolloid electrodes are safe for neonatal skin Reduction of alarms and interruptions in the NICU NISSHA TenderTrode1 Page 85/91
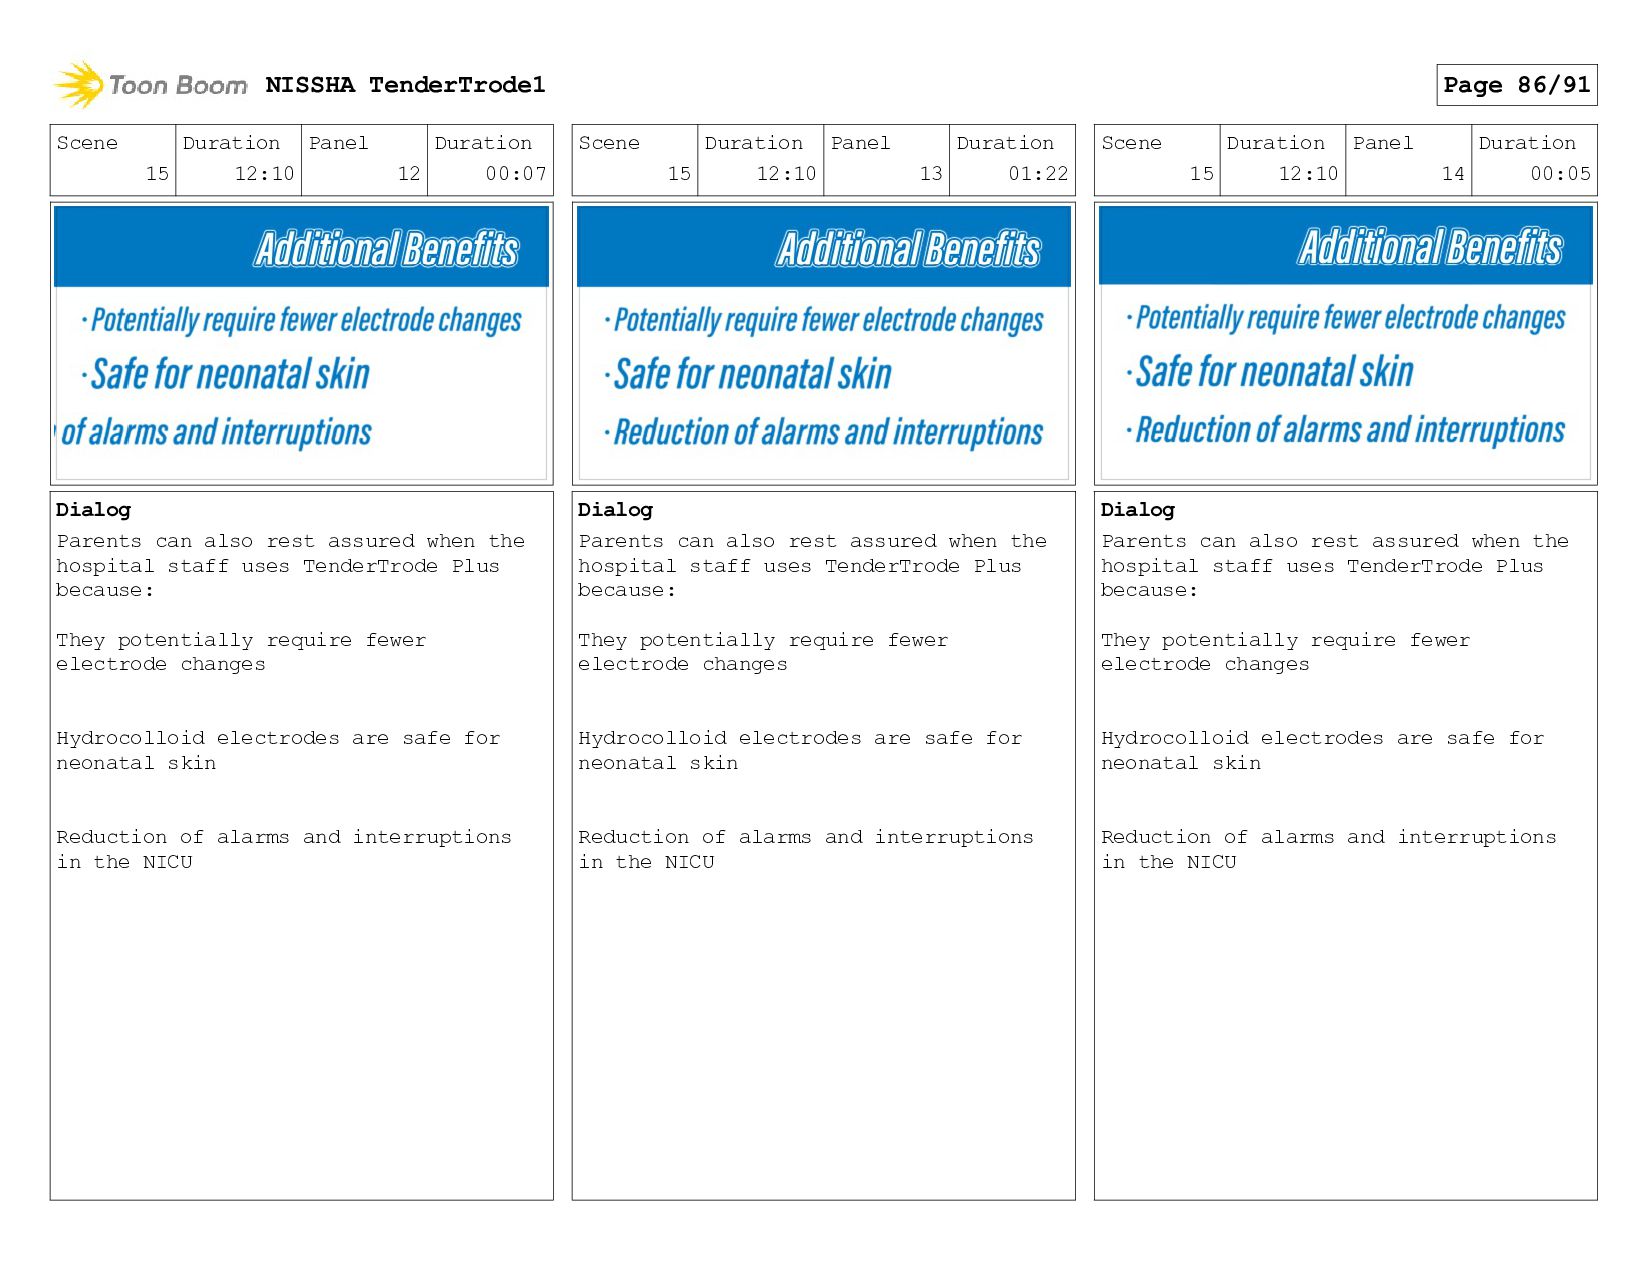
can also rest assured when the hospital staff uses TenderTrode Plus because: They potentially require fewer electrode changes Hydrocolloid electrodes are safe for neonatal skin Reduction of alarms and interruptions in the NICU Scene 15 Duration 12:10 Panel 13 Duration 01:22 Dialog Parents can also rest assured when the hospital staff uses TenderTrode Plus because: They potentially require fewer electrode changes Hydrocolloid electrodes are safe for neonatal skin Reduction of alarms and interruptions in the NICU Scene 15 Duration 12:10 Panel 14 Duration 00:05 Dialog Parents can also rest assured when the hospital staff uses TenderTrode Plus because: They potentially require fewer electrode changes Hydrocolloid electrodes are safe for neonatal skin Reduction of alarms and interruptions in the NICU NISSHA TenderTrode1 Page 86/91
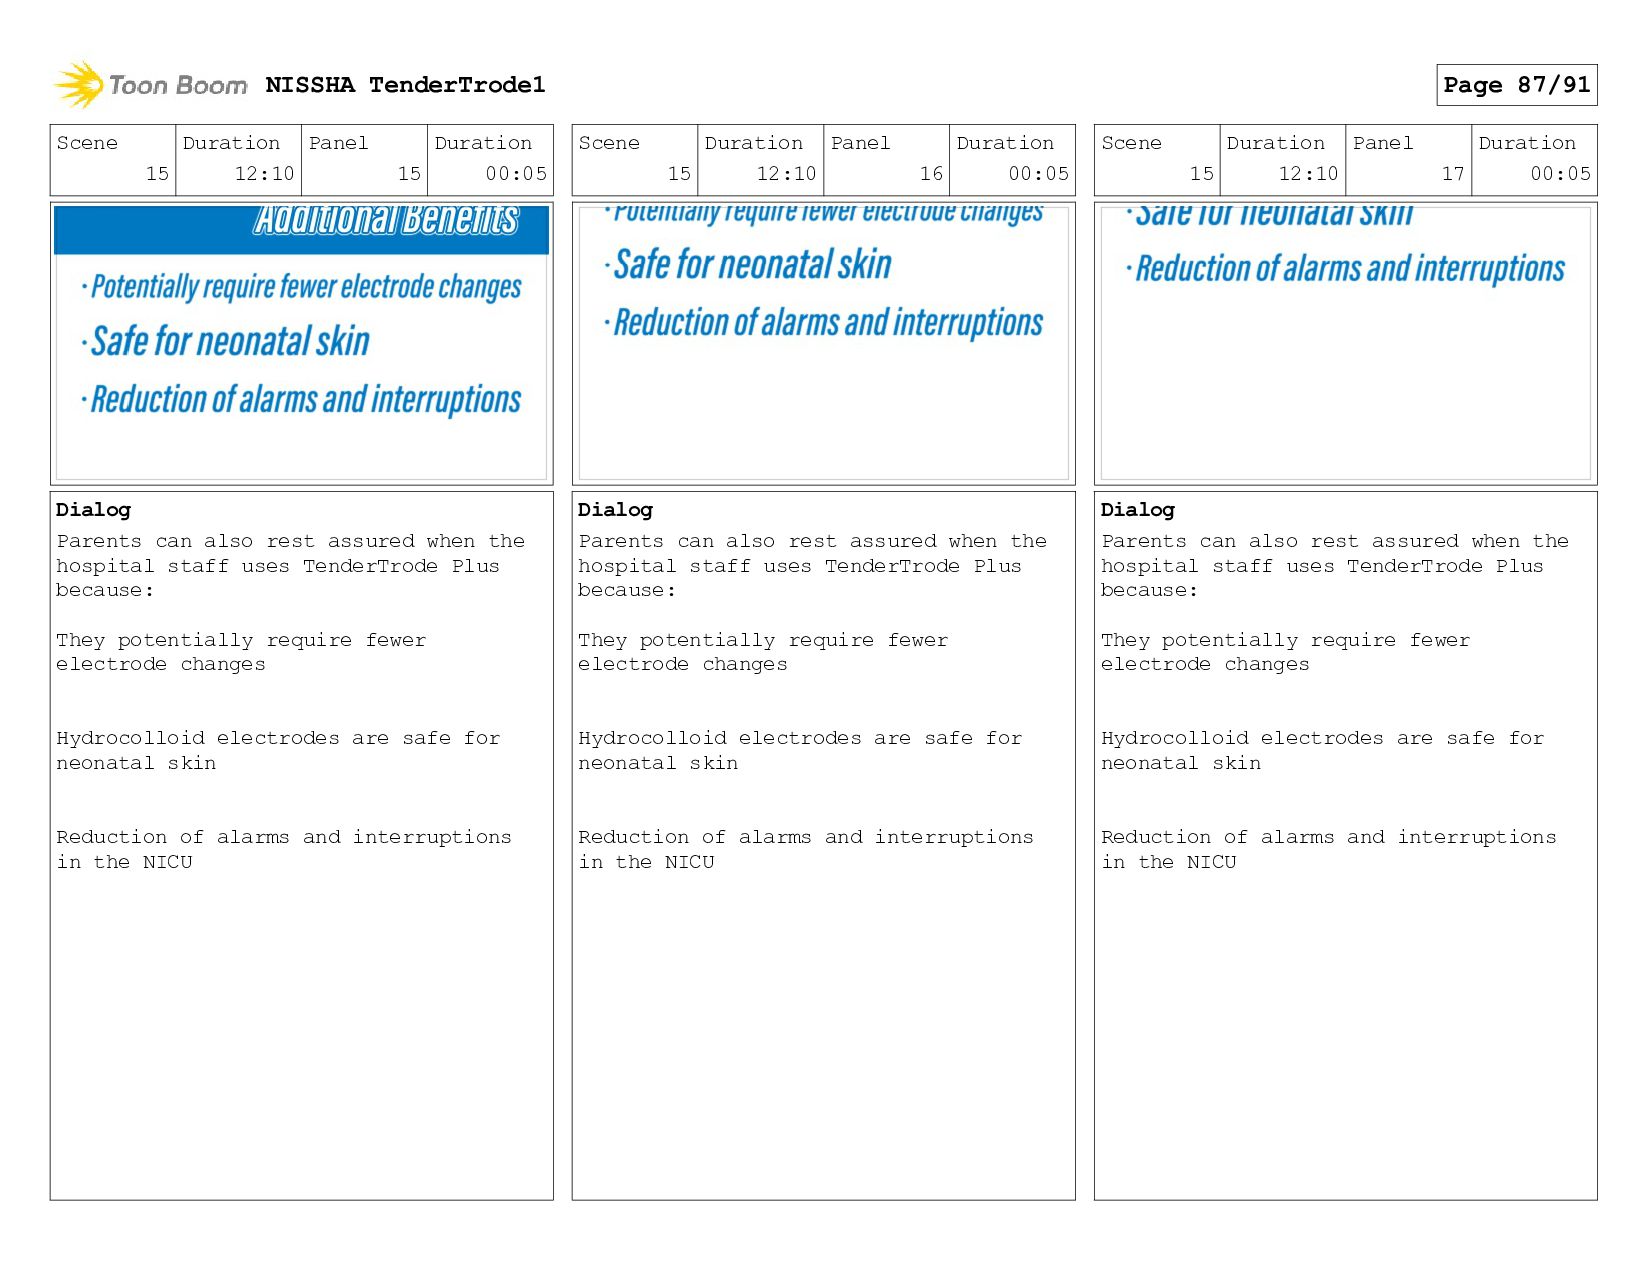
can also rest assured when the hospital staff uses TenderTrode Plus because: They potentially require fewer electrode changes Hydrocolloid electrodes are safe for neonatal skin Reduction of alarms and interruptions in the NICU Scene 15 Duration 12:10 Panel 16 Duration 00:05 Dialog Parents can also rest assured when the hospital staff uses TenderTrode Plus because: They potentially require fewer electrode changes Hydrocolloid electrodes are safe for neonatal skin Reduction of alarms and interruptions in the NICU Scene 15 Duration 12:10 Panel 17 Duration 00:05 Dialog Parents can also rest assured when the hospital staff uses TenderTrode Plus because: They potentially require fewer electrode changes Hydrocolloid electrodes are safe for neonatal skin Reduction of alarms and interruptions in the NICU NISSHA TenderTrode1 Page 87/91
can also rest assured when the hospital staff uses TenderTrode Plus because: They potentially require fewer electrode changes Hydrocolloid electrodes are safe for neonatal skin Reduction of alarms and interruptions in the NICU Scene 1_A Duration 07:20 Panel 1 Duration 00:08 Dialog Contact your Nissha Medical Technologies representative to learn more about TenderTrode Plus today! Scene 1_A Duration 07:20 Panel 2 Duration 00:08 Dialog Contact your Nissha Medical Technologies representative to learn more about TenderTrode Plus today! NISSHA TenderTrode1 Page 88/91
your Nissha Medical Technologies representative to learn more about TenderTrode Plus today! Scene 1_A Duration 07:20 Panel 4 Duration 00:08 Dialog Contact your Nissha Medical Technologies representative to learn more about TenderTrode Plus today! Scene 1_A Duration 07:20 Panel 5 Duration 03:06 Dialog Contact your Nissha Medical Technologies representative to learn more about TenderTrode Plus today! NISSHA TenderTrode1 Page 89/91
your Nissha Medical Technologies representative to learn more about TenderTrode Plus today! Scene 1_A Duration 07:20 Panel 7 Duration 00:06 Dialog Contact your Nissha Medical Technologies representative to learn more about TenderTrode Plus today! Scene 1_A Duration 07:20 Panel 8 Duration 00:06 Dialog Contact your Nissha Medical Technologies representative to learn more about TenderTrode Plus today! NISSHA TenderTrode1 Page 90/91
your Nissha Medical Technologies representative to learn more about TenderTrode Plus today! Scene 1_A Duration 07:20 Panel 10 Duration 00:06 Dialog Contact your Nissha Medical Technologies representative to learn more about TenderTrode Plus today! Scene 1_A Duration 07:20 Panel 11 Duration 02:00 Dialog Contact your Nissha Medical Technologies representative to learn more about TenderTrode Plus today! NISSHA TenderTrode1 Page 91/91

 Your Podcast. Everywhere. Effortlessly.
Share. Educate. Inspire. Entertain. You do you. We'll handle the rest.
→


 nickgboards123
 gurzu
 cromwellryan
 addyosmani
 reverentgeek
 jonoalderson
 tmiket
 techseoconnect
 auna
 helenjbeal
 lfama