Upgrade to Pro
— share decks privately, control downloads, hide ads and more …
Speaker Deck
Features
Speaker Deck
PRO
Sign in
Sign up for free
Search
Search
Ubuntuとコンテナ技術 What is LXD? and Why? 2015-12-08
Search
Sponsored
·
Your Podcast. Everywhere. Effortlessly.
Share. Educate. Inspire. Entertain. You do you. We'll handle the rest.
→
Nobuto Murata
December 08, 2015
Technology
74
0
Share
Embed
Copy iframe code
Copy JS code
Copy link
Start on current slide
Ubuntuとコンテナ技術 What is LXD? and Why? 2015-12-08
Ubuntuで使えるコンテナ技術としてLXDを紹介します。
Nobuto Murata
December 08, 2015
More Decks by Nobuto Murata
See All by Nobuto Murata
新しいUbuntu/GNOMEが使いたいからXからWaylandへ移行頑張ってるの巻 2026-06-20
nobutomurata
0
180
Untitled Presentation―プレゼンのためのプレゼンテーション
nobutomurata
0
190
助けて! XからWaylandに移行しないと新しいGNOMEが使えなくなっちゃう 2025-07-12
nobutomurata
2
530
安心してください、日本語使えますよ―Ubuntu日本語Remix提供休止に寄せて― 2024-11-17
nobutomurata
1
2.3k
おうちクラウドの夢よ再び―OpenStackが今熱い― 2024-06-01
nobutomurata
0
980
19.10をUnityっぽくして使う
nobutomurata
0
71
Canonical Livepatchサービスのご紹介 2017-11-01
nobutomurata
0
80
Nova-LXDとLivepatch, GREE Mini Tech Talk 2017-06-21
nobutomurata
0
50
Ubuntu PhoneとConvergence振り返り会 2017-05-13
nobutomurata
0
96
Other Decks in Technology
See All in Technology
あなたの『Site』はどこですか? — xREという考え方
miyamu
0
1.2k
AI Driven AI Governance
pict3
0
480
Terraform共通モジュールをチーム横断で“変えられる”運用へ ― リリースと適用の分離
kekke_n
1
3.3k
LLMやAIエージェントをソフトウェアに組み込むプラクティス
shibuiwilliam
2
410
AI、CDK と協働する Full TypeScript アプリケーション開発 / Full TypeScript Application with AI and CDK
geekplus_tech
2
360
Compose 新機能総まとめ / What's New in Jetpack Compose
yanzm
0
310
「最後に責任を取るのはチーム」— 人間のPRレビューを最小化してアップデートしたメンタルモデル
jnishime_dresscode
0
870
DatabricksにおけるMCPソリューション
taka_aki
1
270
ガバナンスの「ちょうどいい落とし所」を探れ!開発スピードを妨げない運用判断の勘所 / SRE NEXT 2026
genda
1
240
LLM/Agent評価:トップ営業の発言を「正解」にする 〜暗黙的正解による評価を営業資産に変える〜
takkuhiro
1
230
大量データに対しても、生成AIを用いてリーズナブルにデータ加工をしたい!Databricksのai_queryについて調べてみた
kamoshika
1
210
AI時代の開発生産性は、個人技からチーム設計へ
moongift
PRO
4
2.3k
Featured
See All Featured
Believing is Seeing
oripsolob
1
170
How to audit for AI Accessibility on your Front & Back End
davetheseo
0
470
The Director’s Chair: Orchestrating AI for Truly Effective Learning
tmiket
1
220
How to Build an AI Search Optimization Roadmap - Criteria and Steps to Take #SEOIRL
aleyda
1
2.1k
Noah Learner - AI + Me: how we built a GSC Bulk Export data pipeline
techseoconnect
PRO
0
220
Leading Effective Engineering Teams in the AI Era
addyosmani
9
2.1k
The Psychology of Web Performance [Beyond Tellerrand 2023]
tammyeverts
49
3.5k
End of SEO as We Know It (SMX Advanced Version)
ipullrank
3
4.3k
The Invisible Side of Design
smashingmag
301
52k
Statistics for Hackers
jakevdp
799
230k
The Art of Programming - Codeland 2020
erikaheidi
57
14k
Learning to Love Humans: Emotional Interface Design
aarron
275
41k
Transcript
Ubuntuとコンテナ技術 What is LXD? and Why? Nobuto Murata <
[email protected]
> 2015-12-08
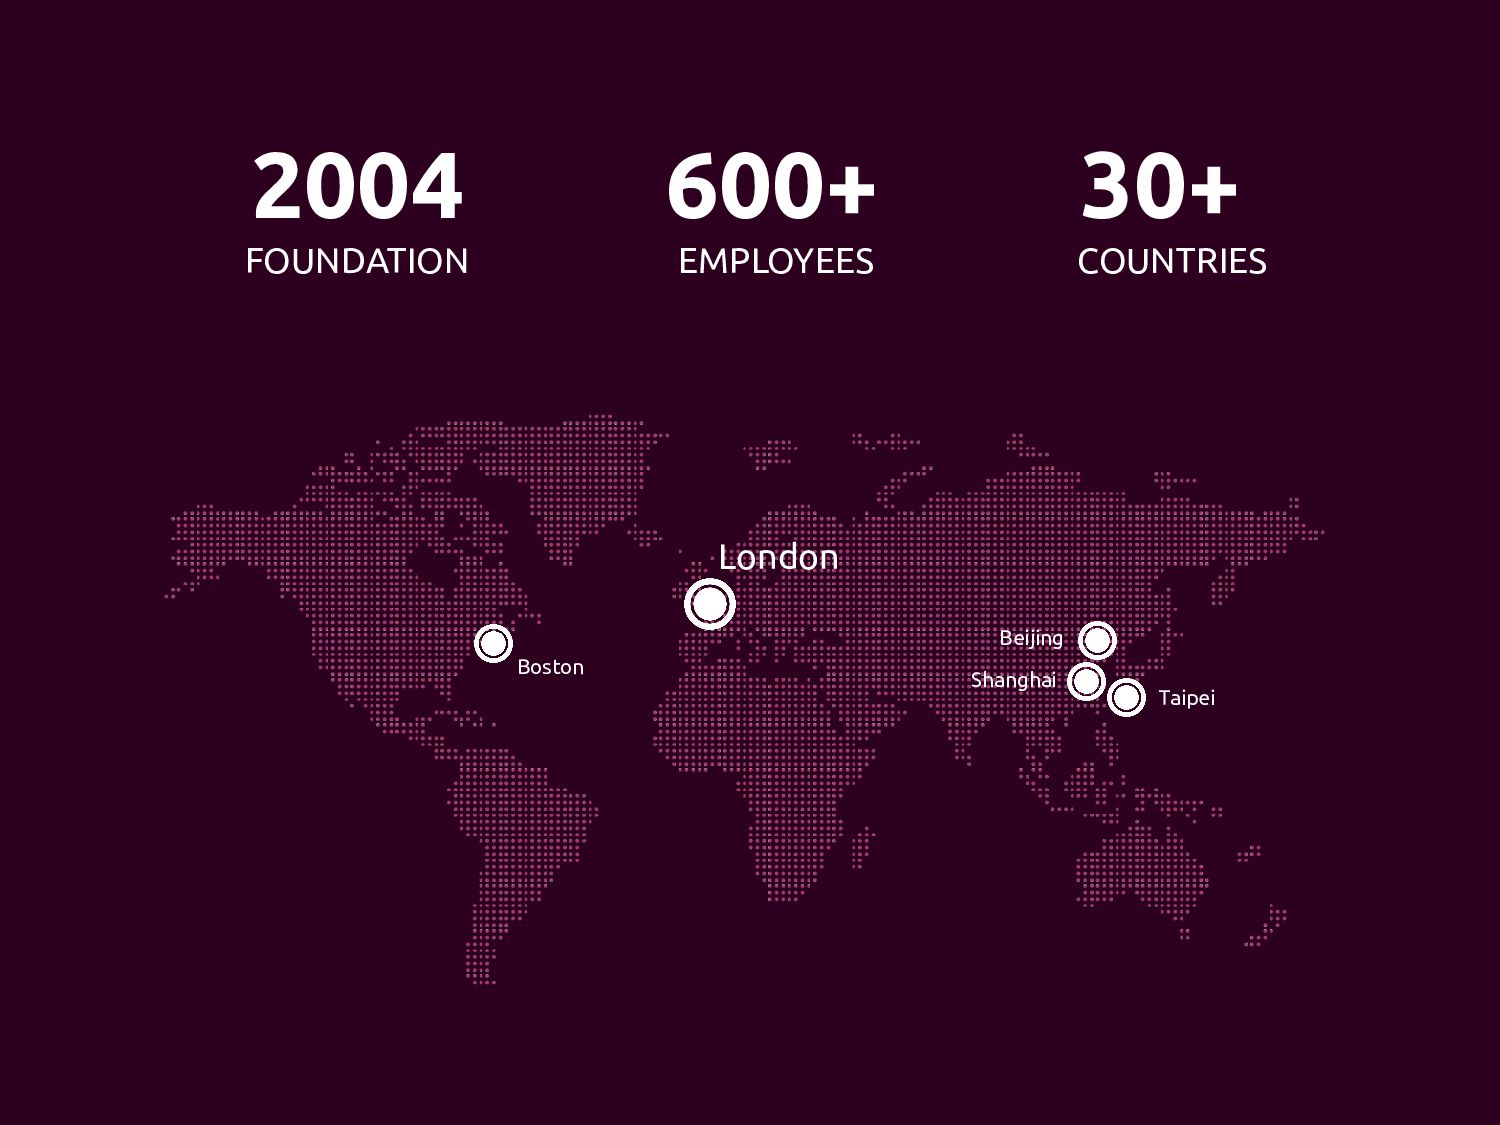
We are the company behind Ubuntu.
EMPLOYEES London Boston Shanghai Taipei 600+ COUNTRIES 30+ FOUNDATION 2004
Beijing
LXD The Linux container hypervisor
1 2 3 LXD (“lex-dee”) Secure by design(セキュア) 非特権コンテナ、リソースの制限、などなど Scalable(スケーラブル)
ノートPC上での検証から数千台規模の物理マシンクラスタまで Intuitive(直感的) シンプルかつ明快なAPI、 コマンド ubuntu.com/lxd linuxcontainers.org/lxd github.com/lxc/lxd 高速、高集積かつセキュアなコンテナマネジメントシステム
• “Docker is an amazing application delivery mechanism, which may
change the world of devops forever” • “LXD and Docker share some underlying kernel capabilities” And Docker? 安心してください、どちらも使えます
あたかも物理マシンみたいに使うコンテナ “システムコンテナ”がLXDの特徴 アプリケーションコンテナとは目的や使われ方が異なる
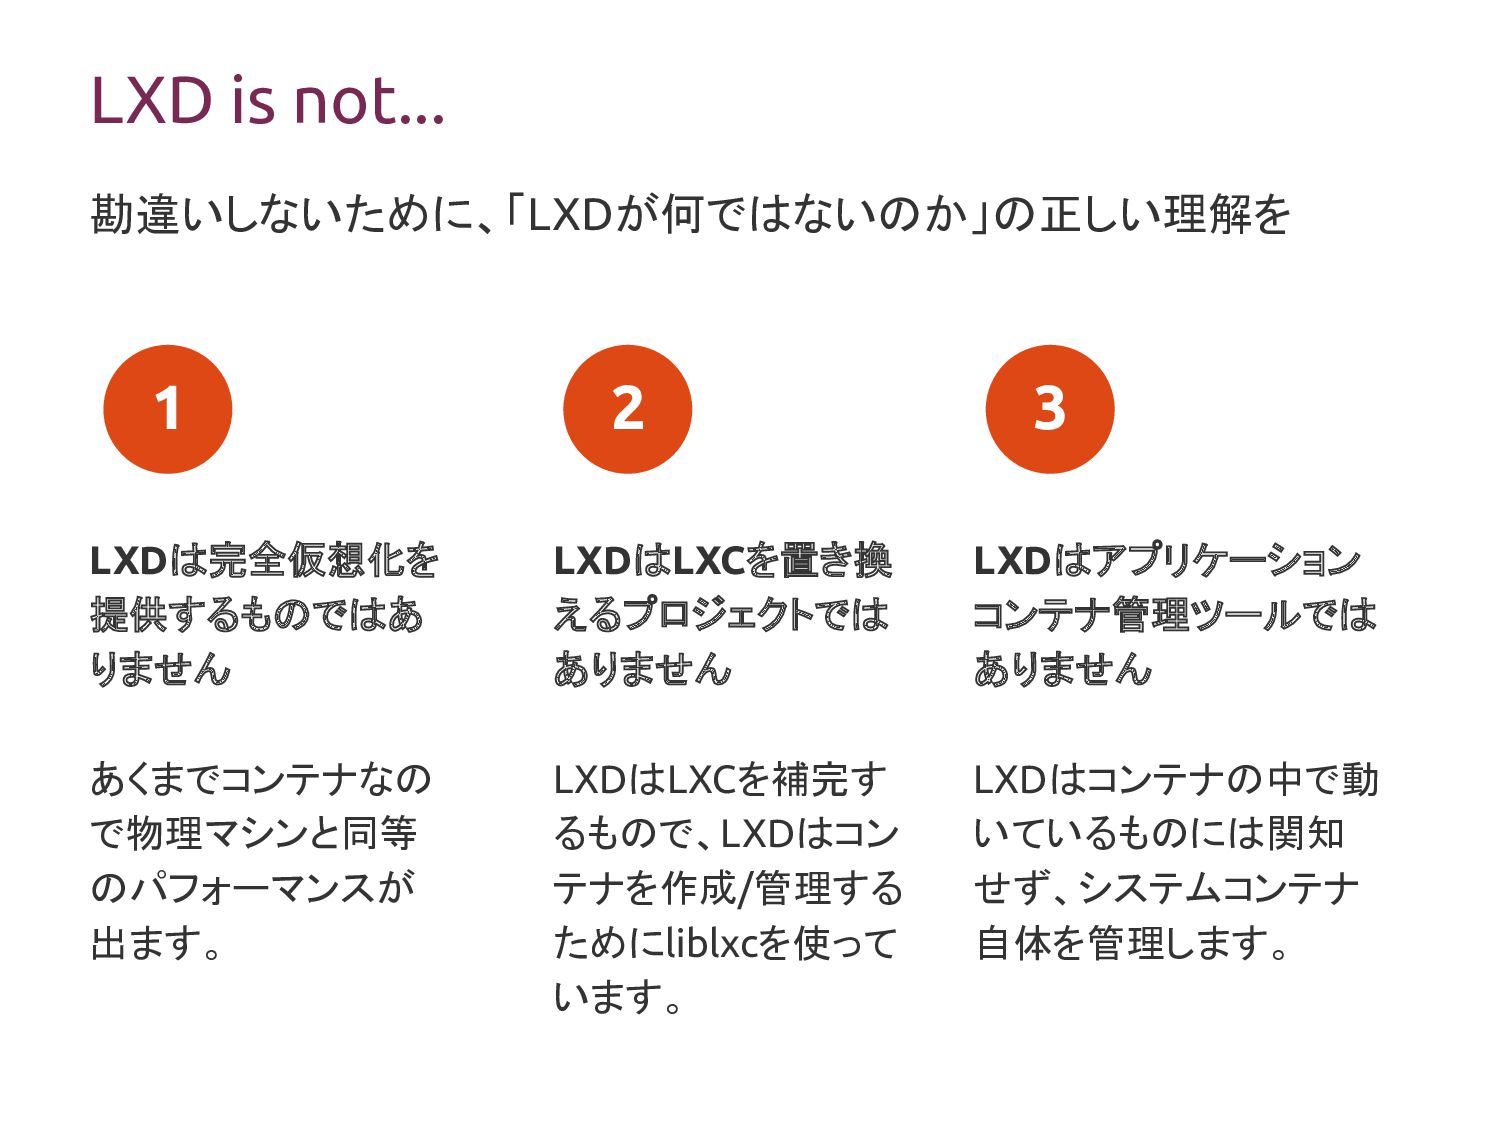
1 2 3 LXD is not... LXDは完全仮想化を 提供するものではあ りません あくまでコンテナなの
で物理マシンと同等 のパフォーマンスが 出ます。 LXDはLXCを置き換 えるプロジェクトでは ありません LXDはLXCを補完す るもので、LXDはコン テナを作成/管理する ためにliblxcを使って います。 LXDはアプリケーション コンテナ管理ツールでは ありません LXDはコンテナの中で動 いているものには関知 せず、システムコンテナ 自体を管理します。 勘違いしないために、「LXDが何ではないのか」の正しい理解を
ちなみに、よくある質問: 「コンテナは商用環境で使えるのか?」 LXC自体は何年も前から商用サービスのワークロードを支えています。 例えば…
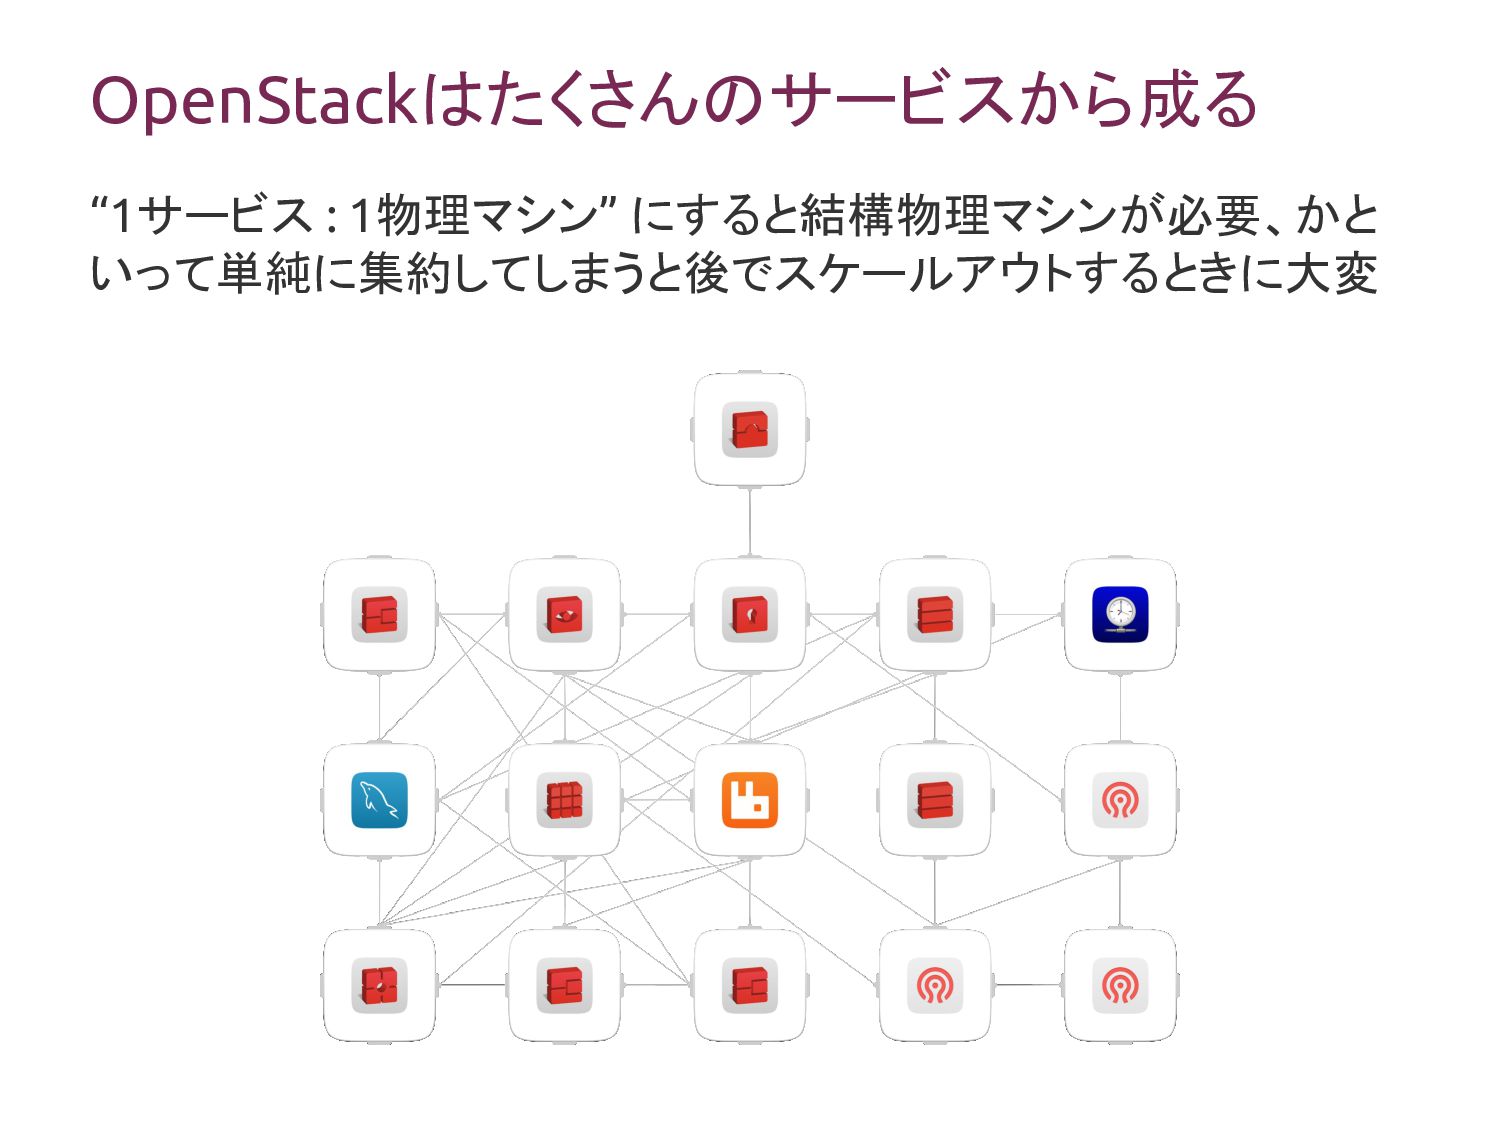
OpenStackはたくさんのサービスから成る “1サービス : 1物理マシン” にすると結構物理マシンが必要、かと いって単純に集約してしまうと後でスケールアウトするときに大変
そこで、LXCを使って 物理マシンの集約と柔軟性の両立
システムコンテナの応用例: Nova LXD OpenStack Novaでシステムコンテナ
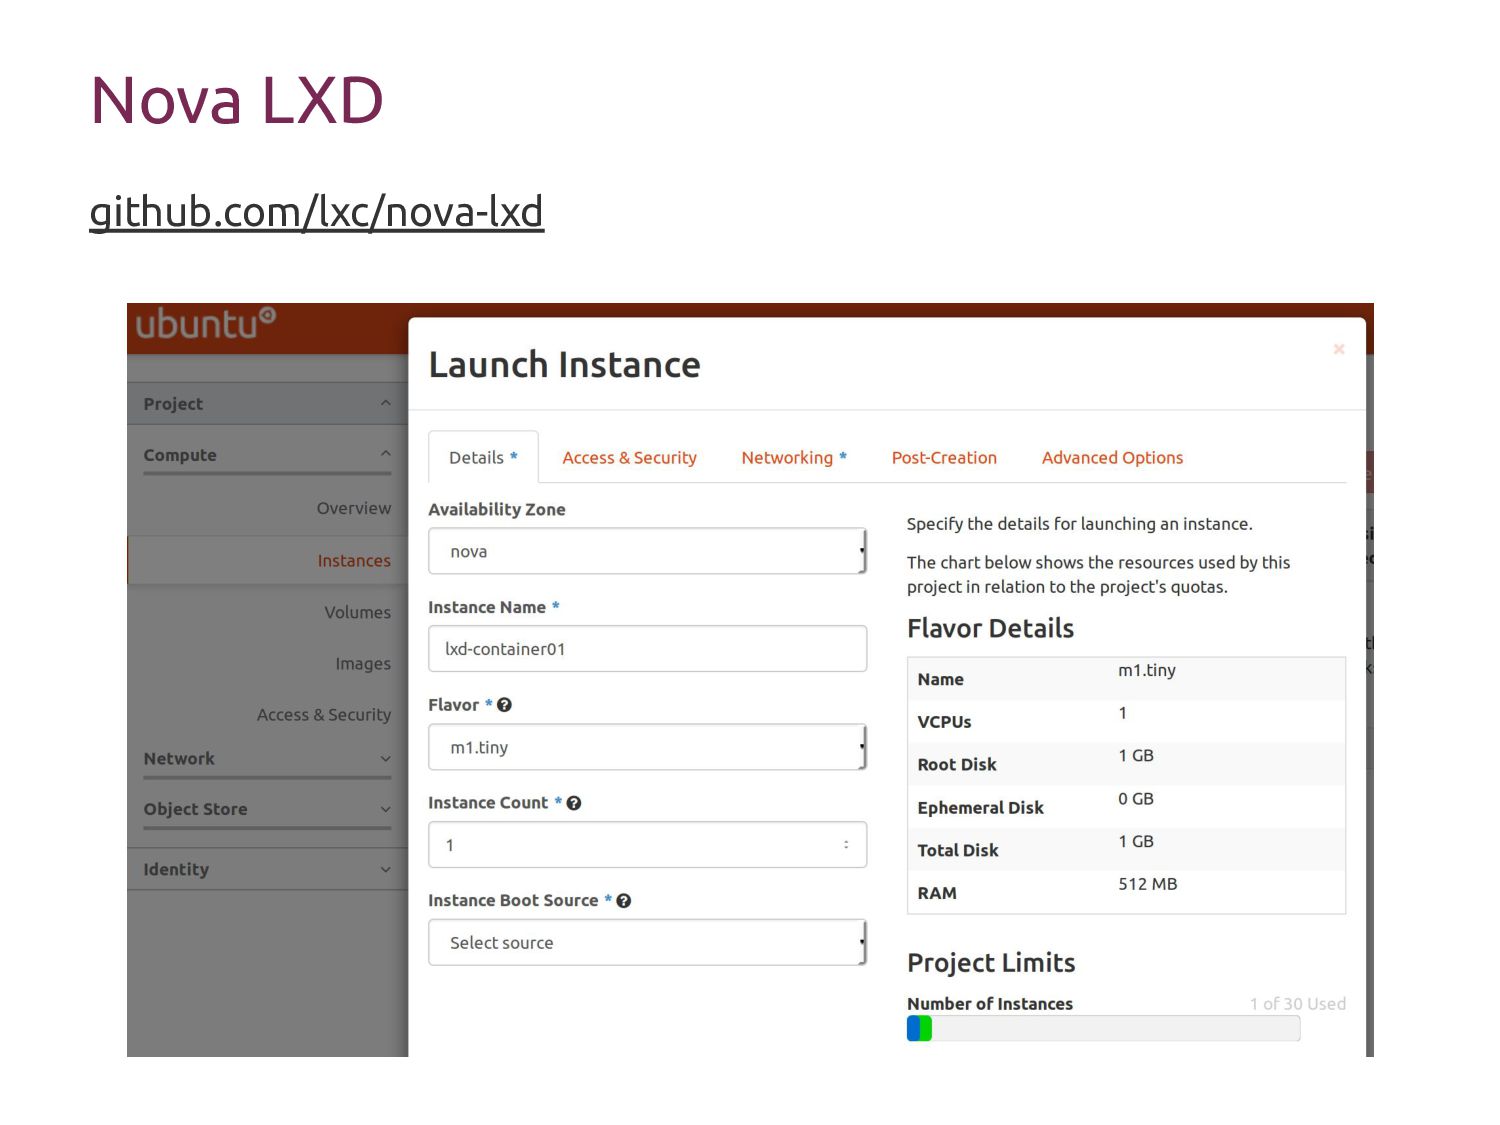
Nova LXD github.com/lxc/nova-lxd
LXDのインストール
LXDのインストール方法 ## "lxd"パッケージのインストール ## Ubuntu 15.10のクラウドイメージではデフォルトインストール済み $ sudo apt-get install
lxd $ newgrp lxd ## イメージダウンロードサーバーを登録 $ lxc remote add images images.linuxcontainers.org ## 最新のLXDを使いたい場合は ## $ sudo apt-add-repository ppa:ubuntu-lxc/lxd-stable Ubuntuの場合
LXDのデモ
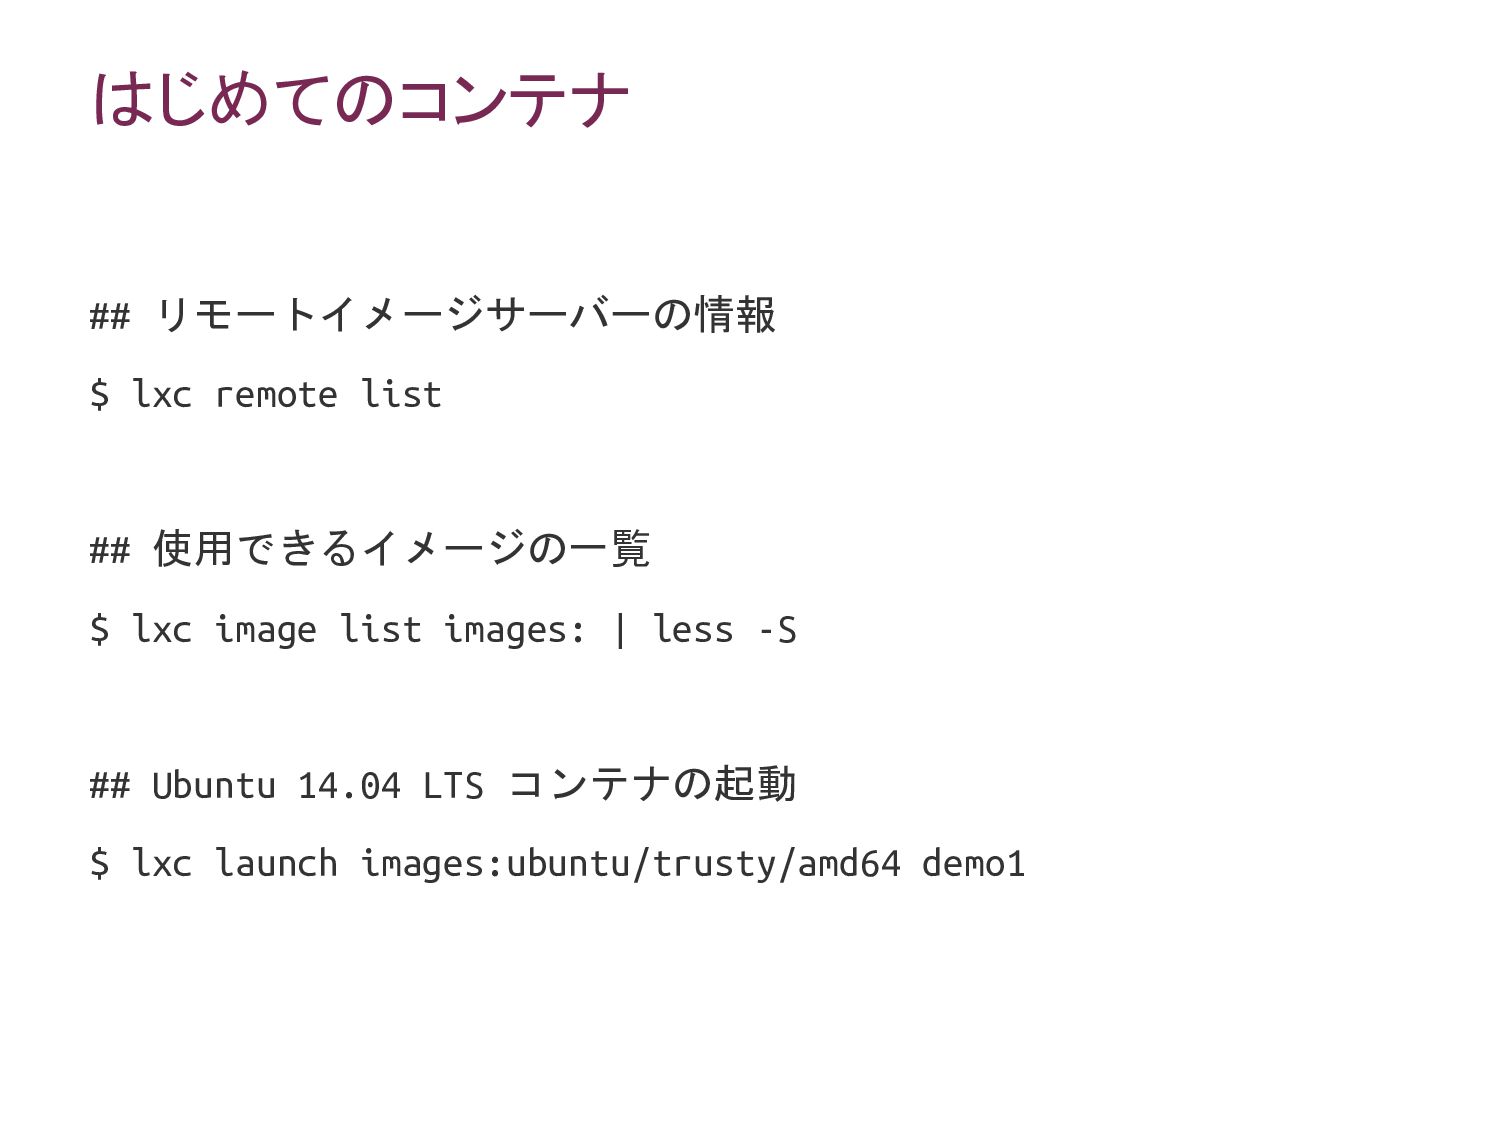
はじめてのコンテナ ## リモートイメージサーバーの情報 $ lxc remote list ## 使用できるイメージの一覧 $
lxc image list images: | less -S ## Ubuntu 14.04 LTS コンテナの起動 $ lxc launch images:ubuntu/trusty/amd64 demo1
コンテナ情報 ## コンテナ一覧 $ lxc list ## デバッグを見てみると… $ lxc
list --debug $ jq . ## コンテナ情報 $ lxc info demo1 $ pgrep -af /sbin/init $ ps fax | less -S $ lxc config show demo1
コンテナ内へ ## コンテナでbashを起動 $ lxc exec demo1 -- bash #
exit ## コンテナ内でコマンドを実行 $ lxc exec demo1 -- touch foo $ lxc exec demo1 -- ls -l ## ファイルのpush/pull $ lxc file push --mode=0600 /etc/hosts demo1/tmp/ $ lxc exec demo1 -- ls -l /tmp $ lxc file pull demo1/etc/hosts .
スナップショット ## スナップショットの保存 $ lxc snapshot demo1 good ## コンテナの破壊
$ lxc exec demo1 -- rm -rf /usr $ lxc exec demo1 -- ls /usr ## スナップショットから復元 $ lxc restore demo1 good $ lxc exec demo1 -- ls /usr
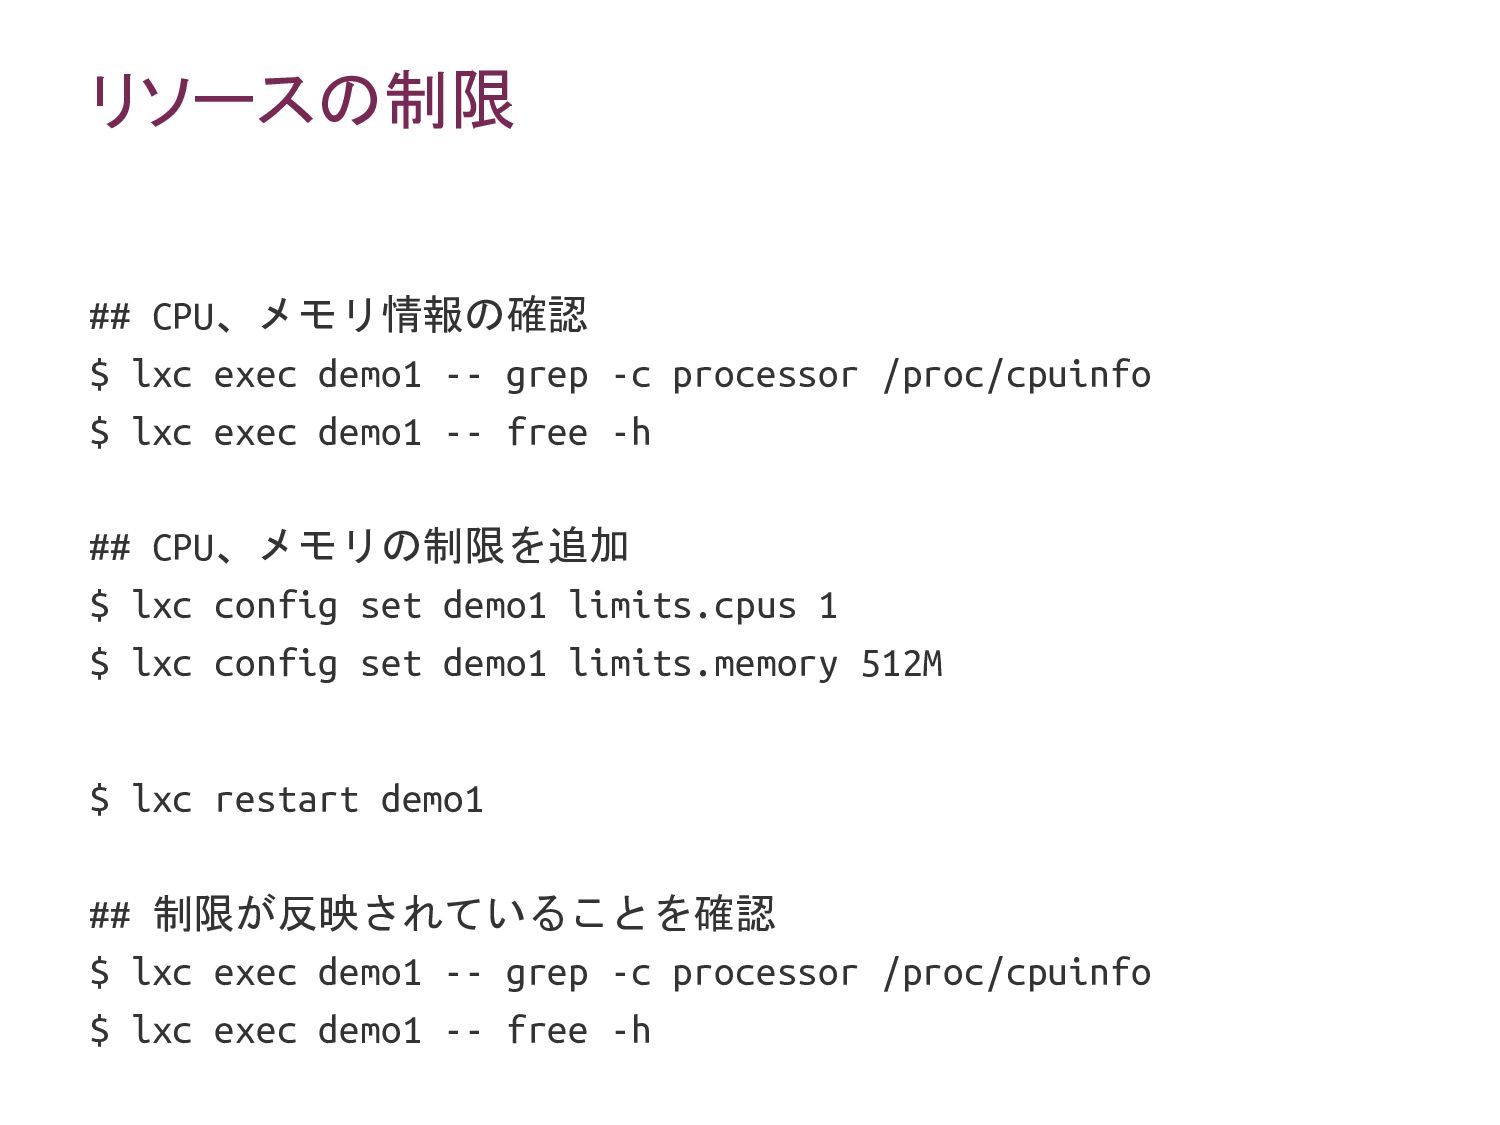
リソースの制限 ## CPU、メモリ情報の確認 $ lxc exec demo1 -- grep -c
processor /proc/cpuinfo $ lxc exec demo1 -- free -h ## CPU、メモリの制限を追加 $ lxc config set demo1 limits.cpus 1 $ lxc config set demo1 limits.memory 512M $ lxc restart demo1 ## 制限が反映されていることを確認 $ lxc exec demo1 -- grep -c processor /proc/cpuinfo $ lxc exec demo1 -- free -h
あとはどんどん作るだけ ## イメージにエイリアスを設定 $ lxc image list $ lxc image
alias create ubuntu 76668f72d313 ## 2コンテナ目以降を起動 $ lxc launch ubuntu demo2 $ lxc launch ubuntu demo3 ## コマンド一覧は $ lxc help
Ubuntu 16.04 LTSに向けて、LXDならびに Nova LXDは進化し続けます ひと口にコンテナと言っても、実はいろいろ。 あなたの使い方にLXDは合いますか?
canonical.com ubuntu.com Questions? canonical.com/careers
![Ubuntuとコンテナ技術 What is LXD? and Why? Nobuto Murata <[email protected]> 2015-12-08](https://files.speakerdeck.com/presentations/92c9849a260b44ca982d47c67b757557/slide_0.jpg)