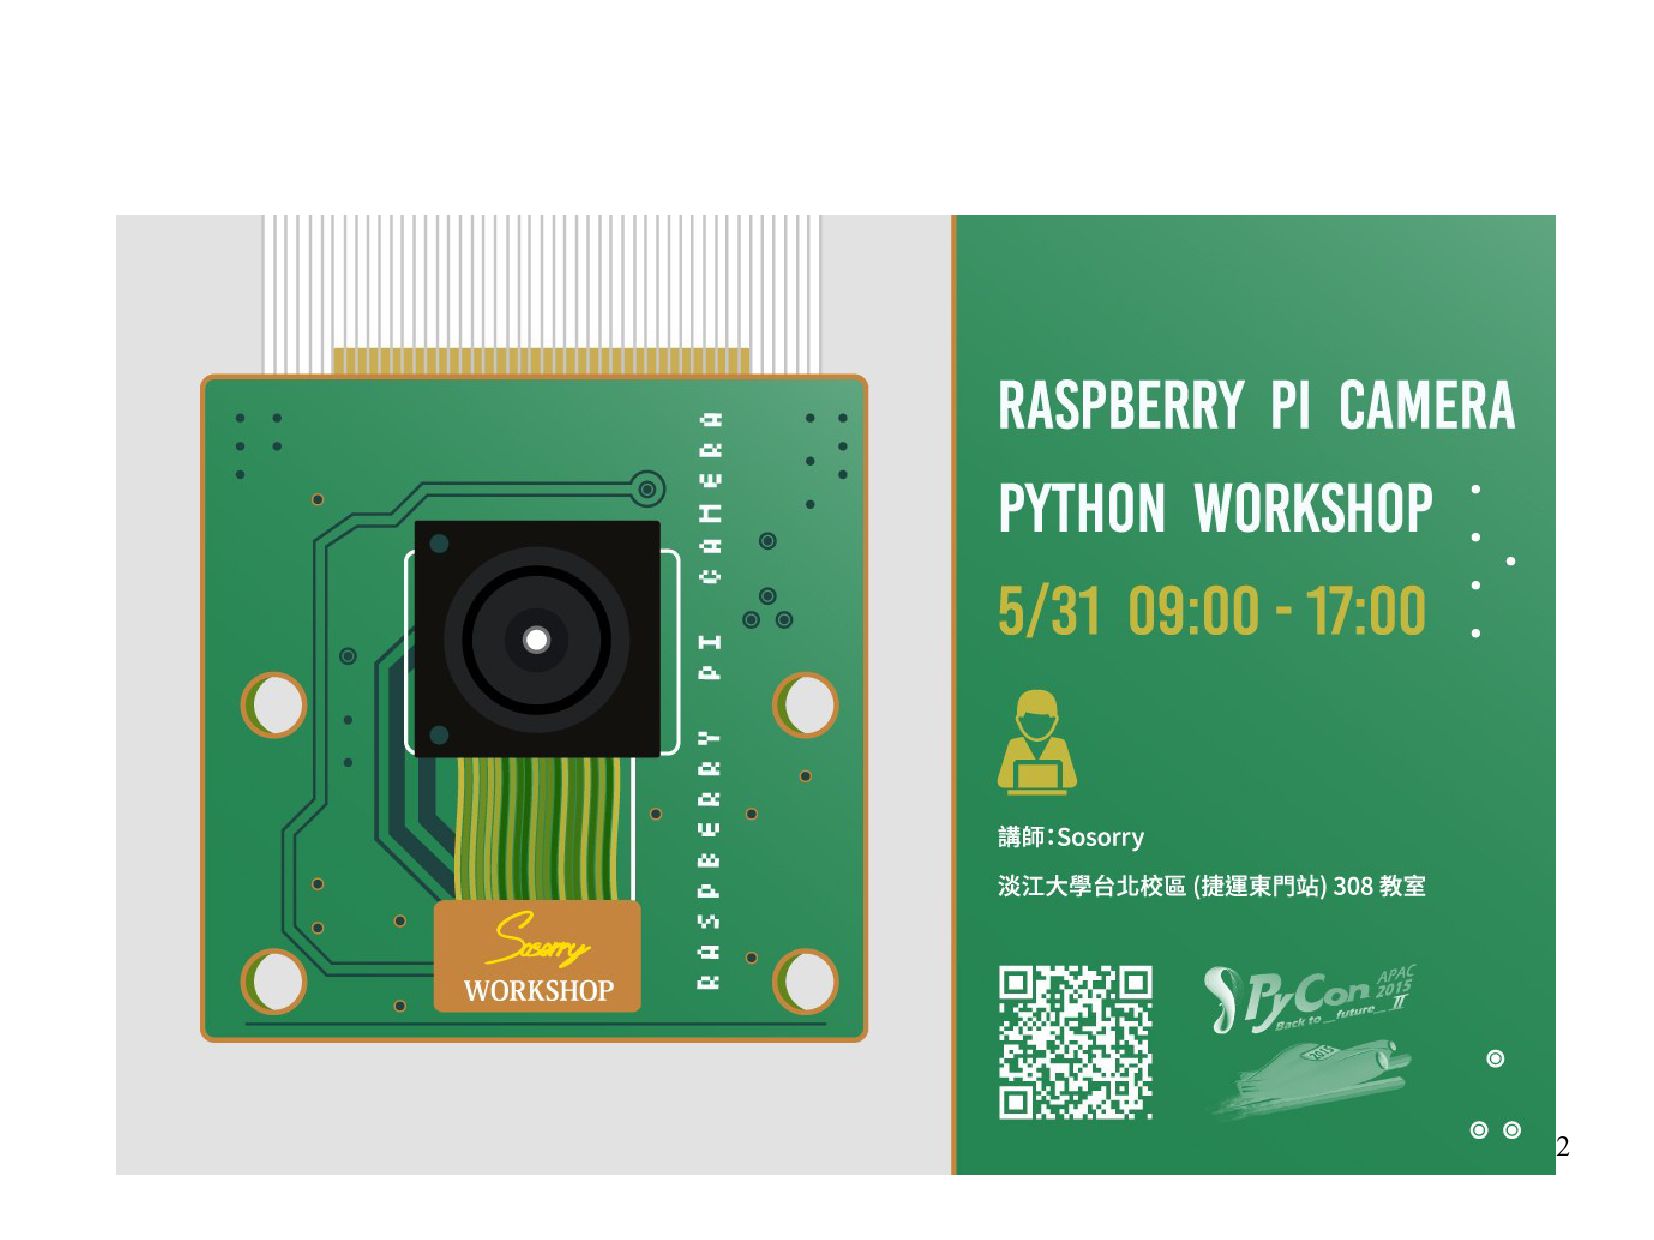
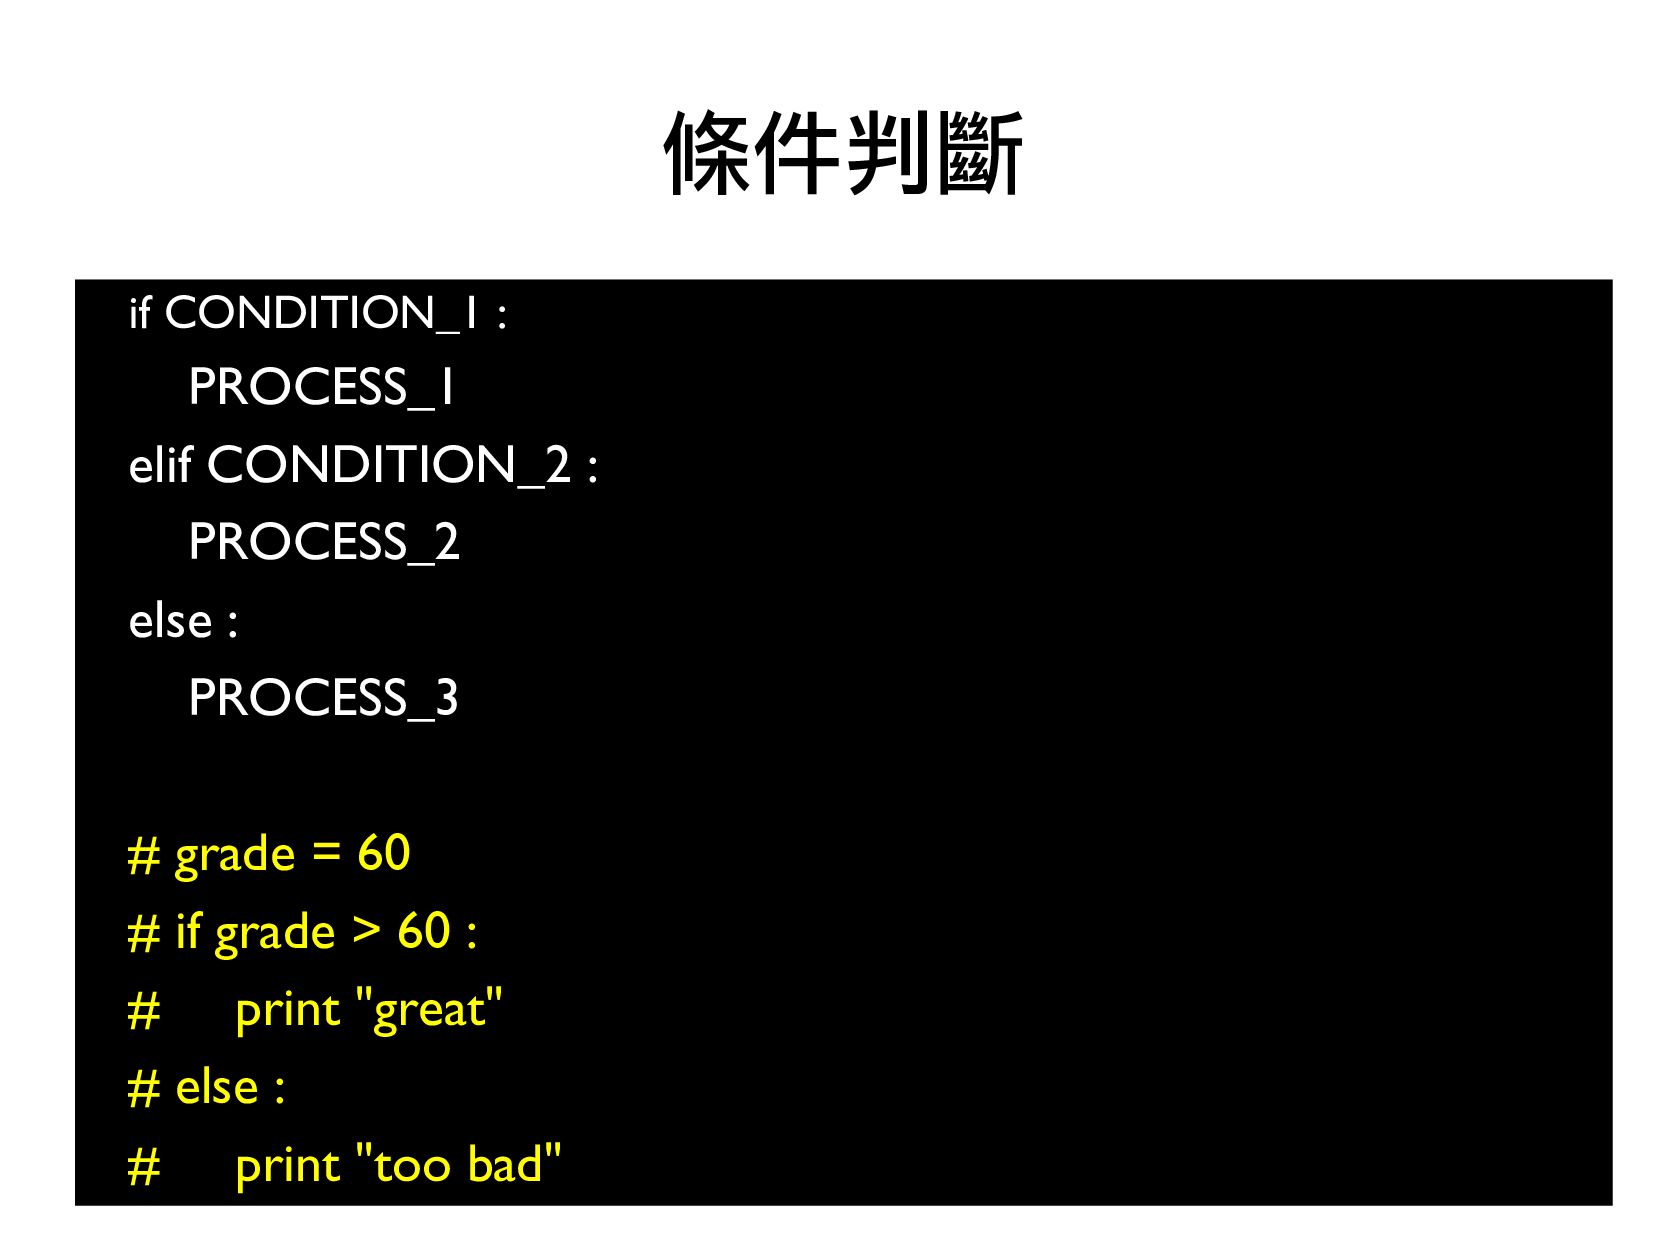
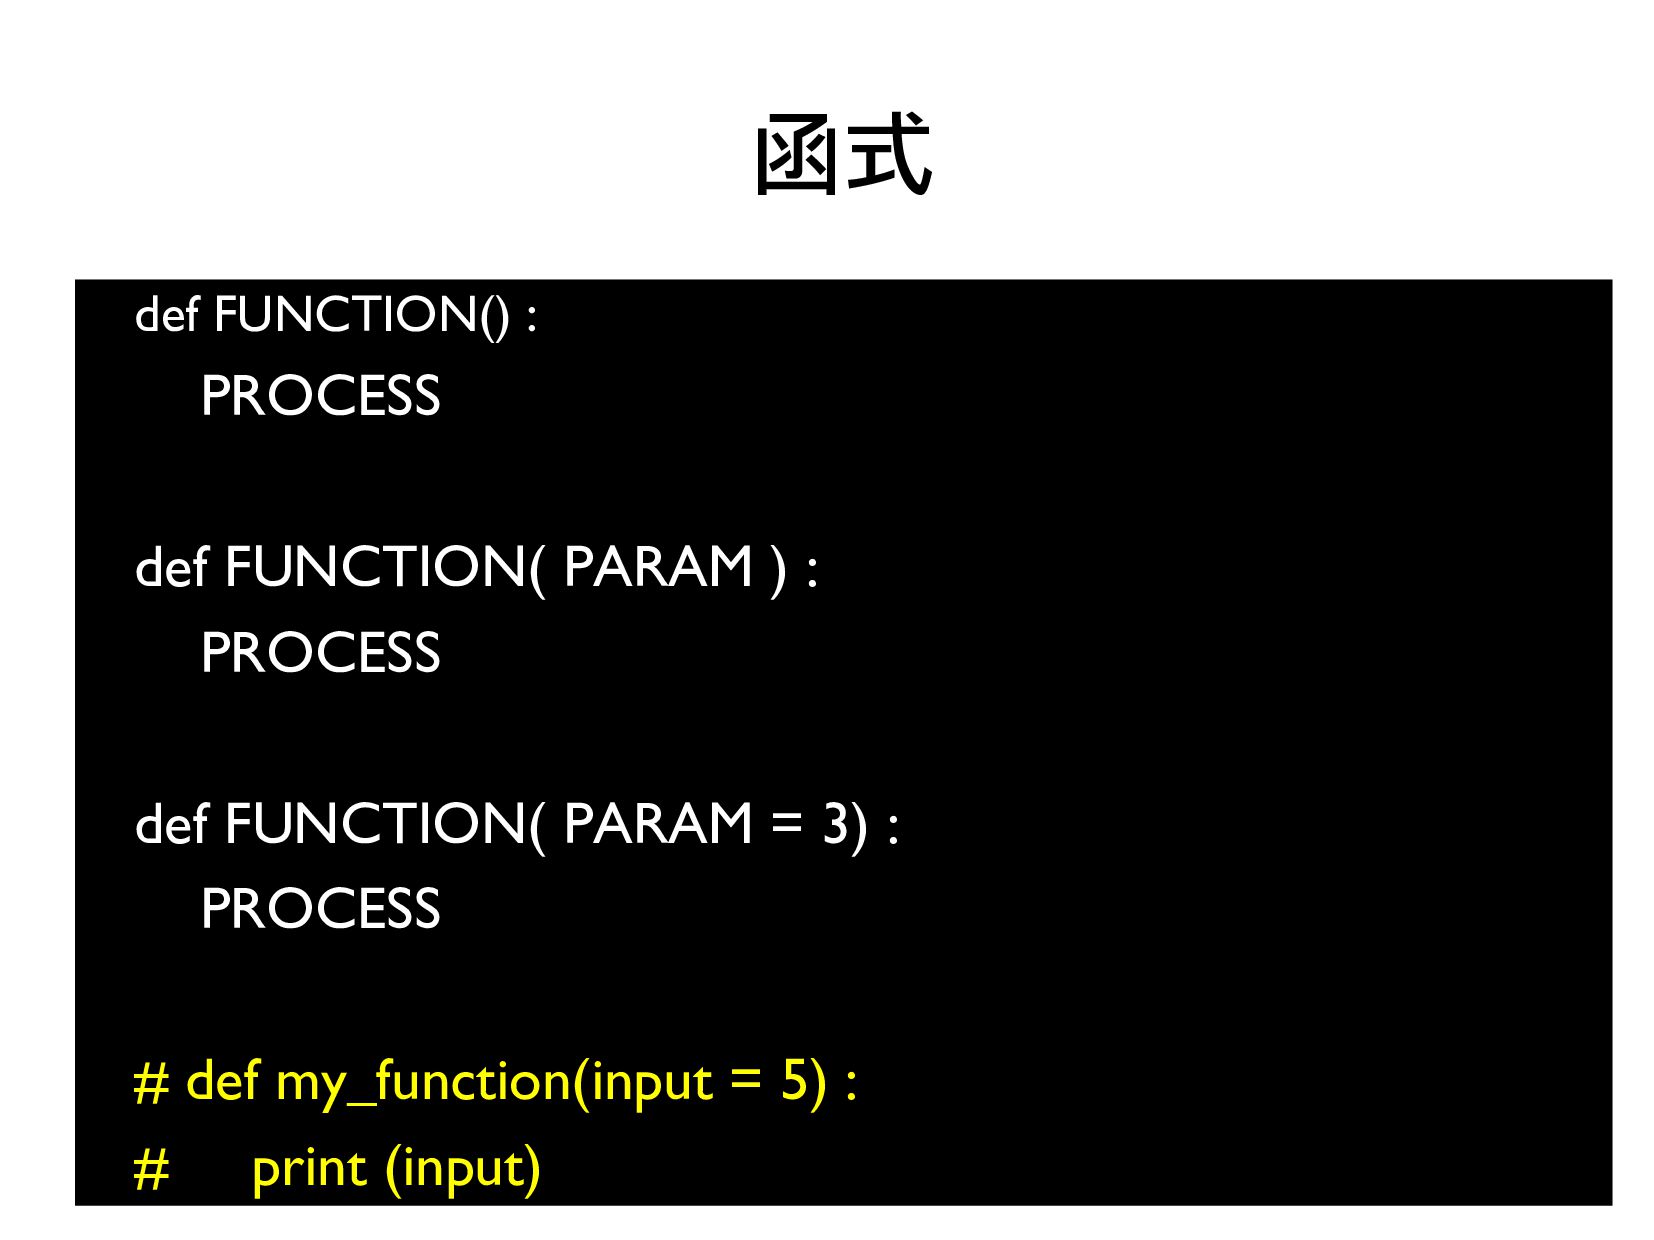
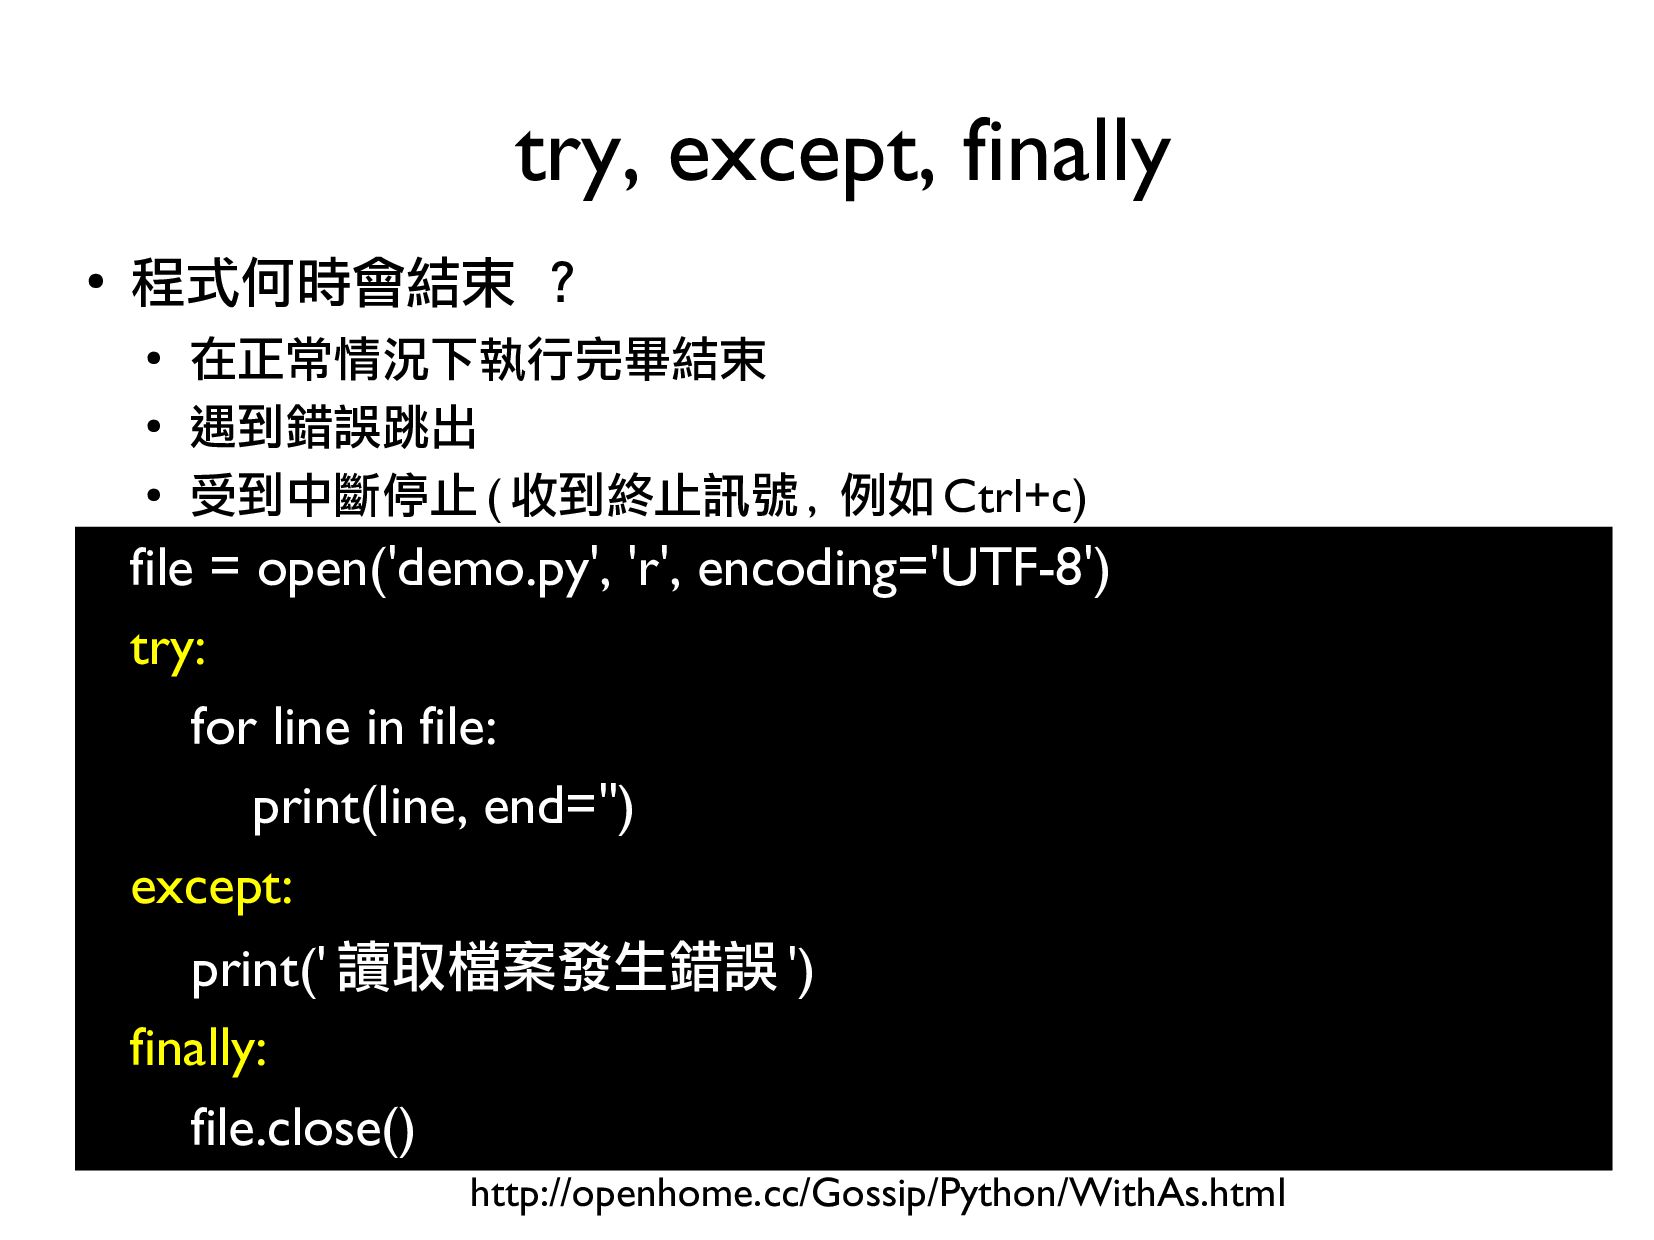
本投影片介紹 Raspberry Pi Camera 的使用方式,配合實體課程約八小時,涵蓋以下內容:
1. 環境設定(0.5 小時)
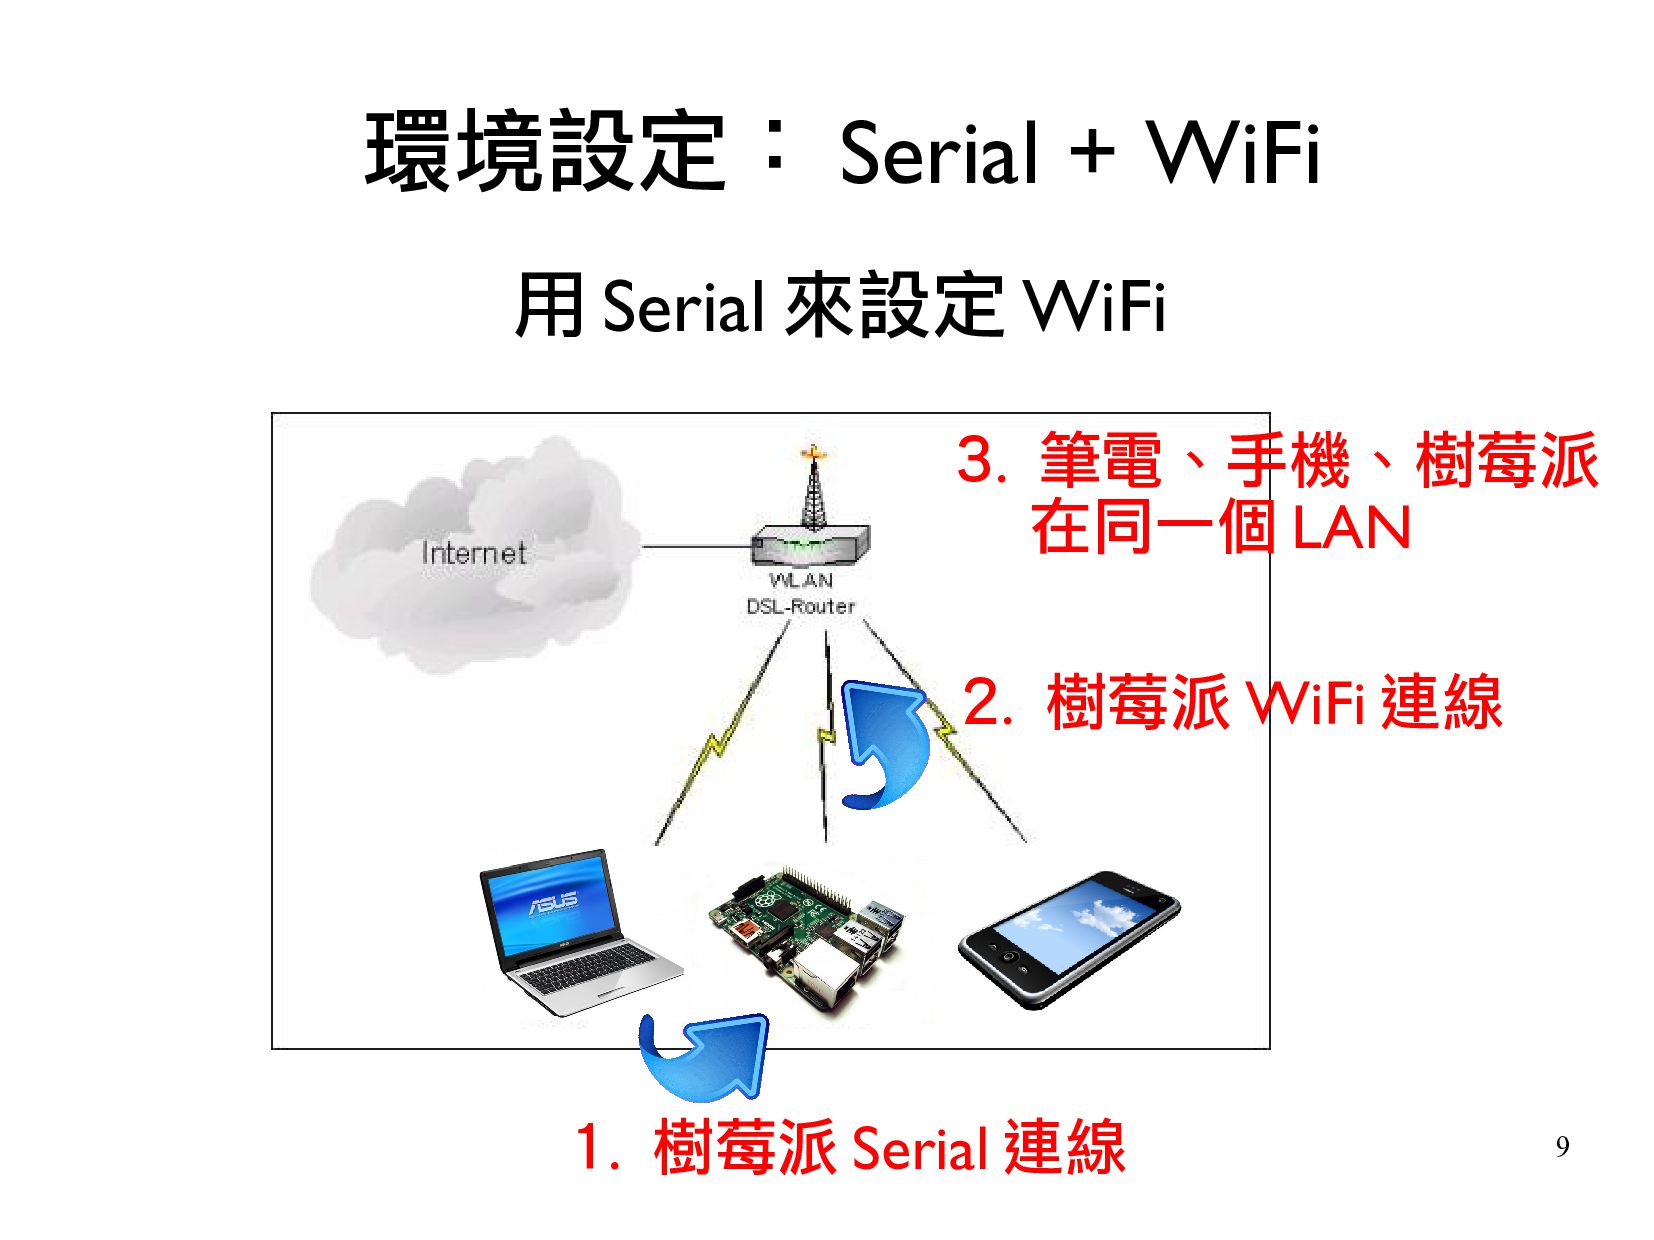
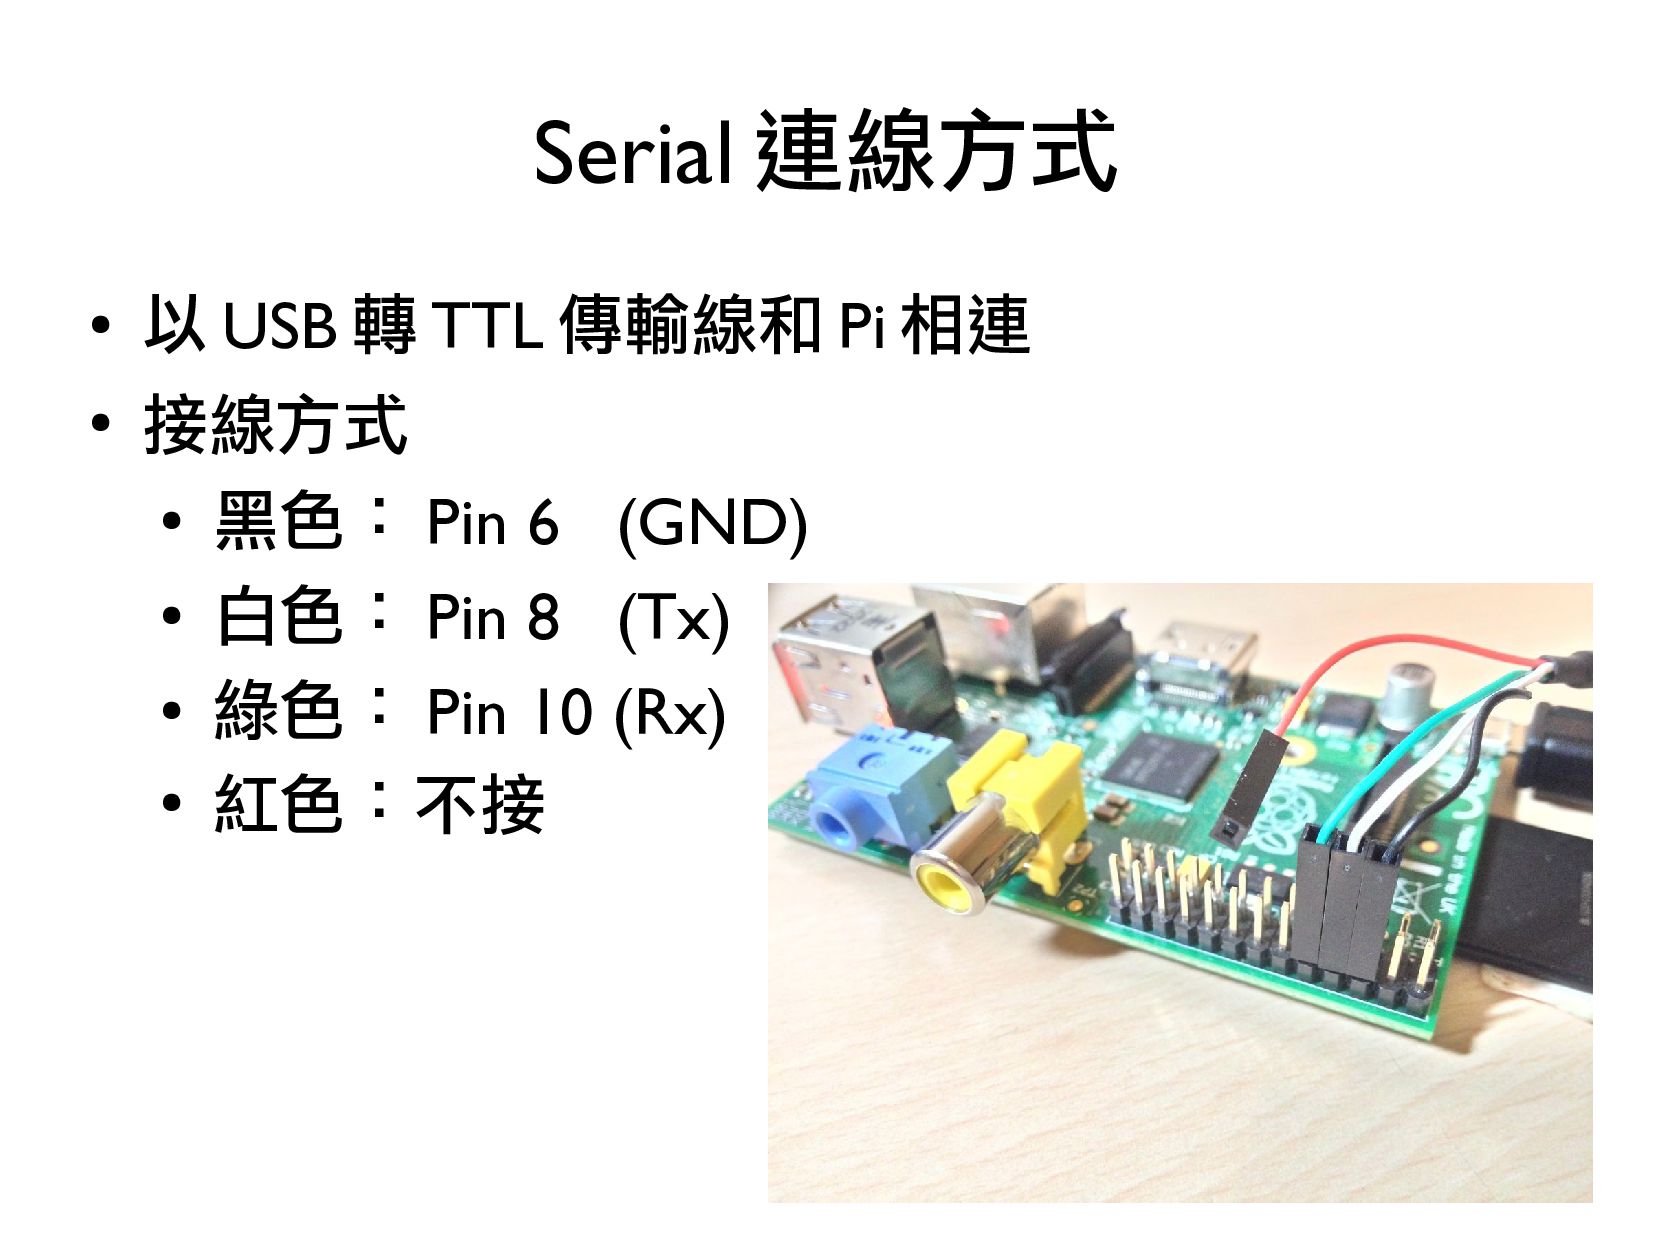
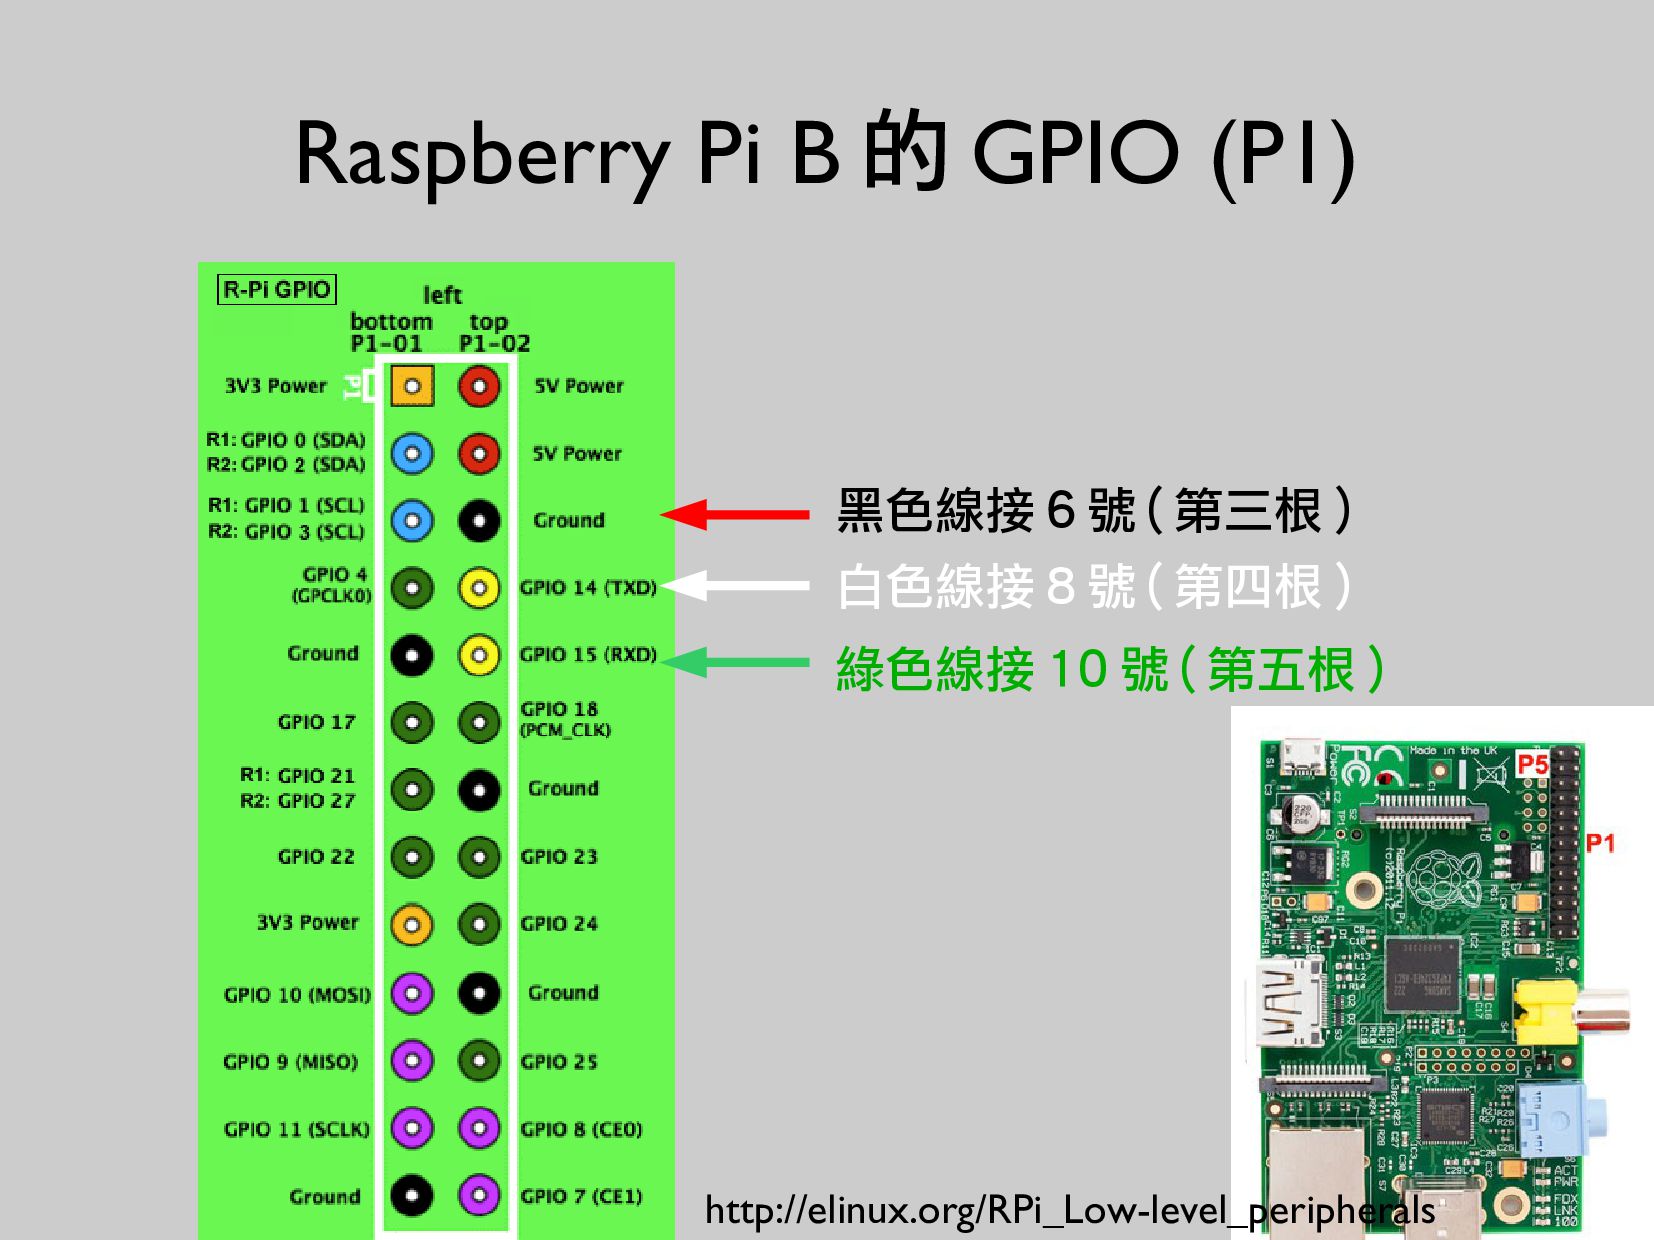
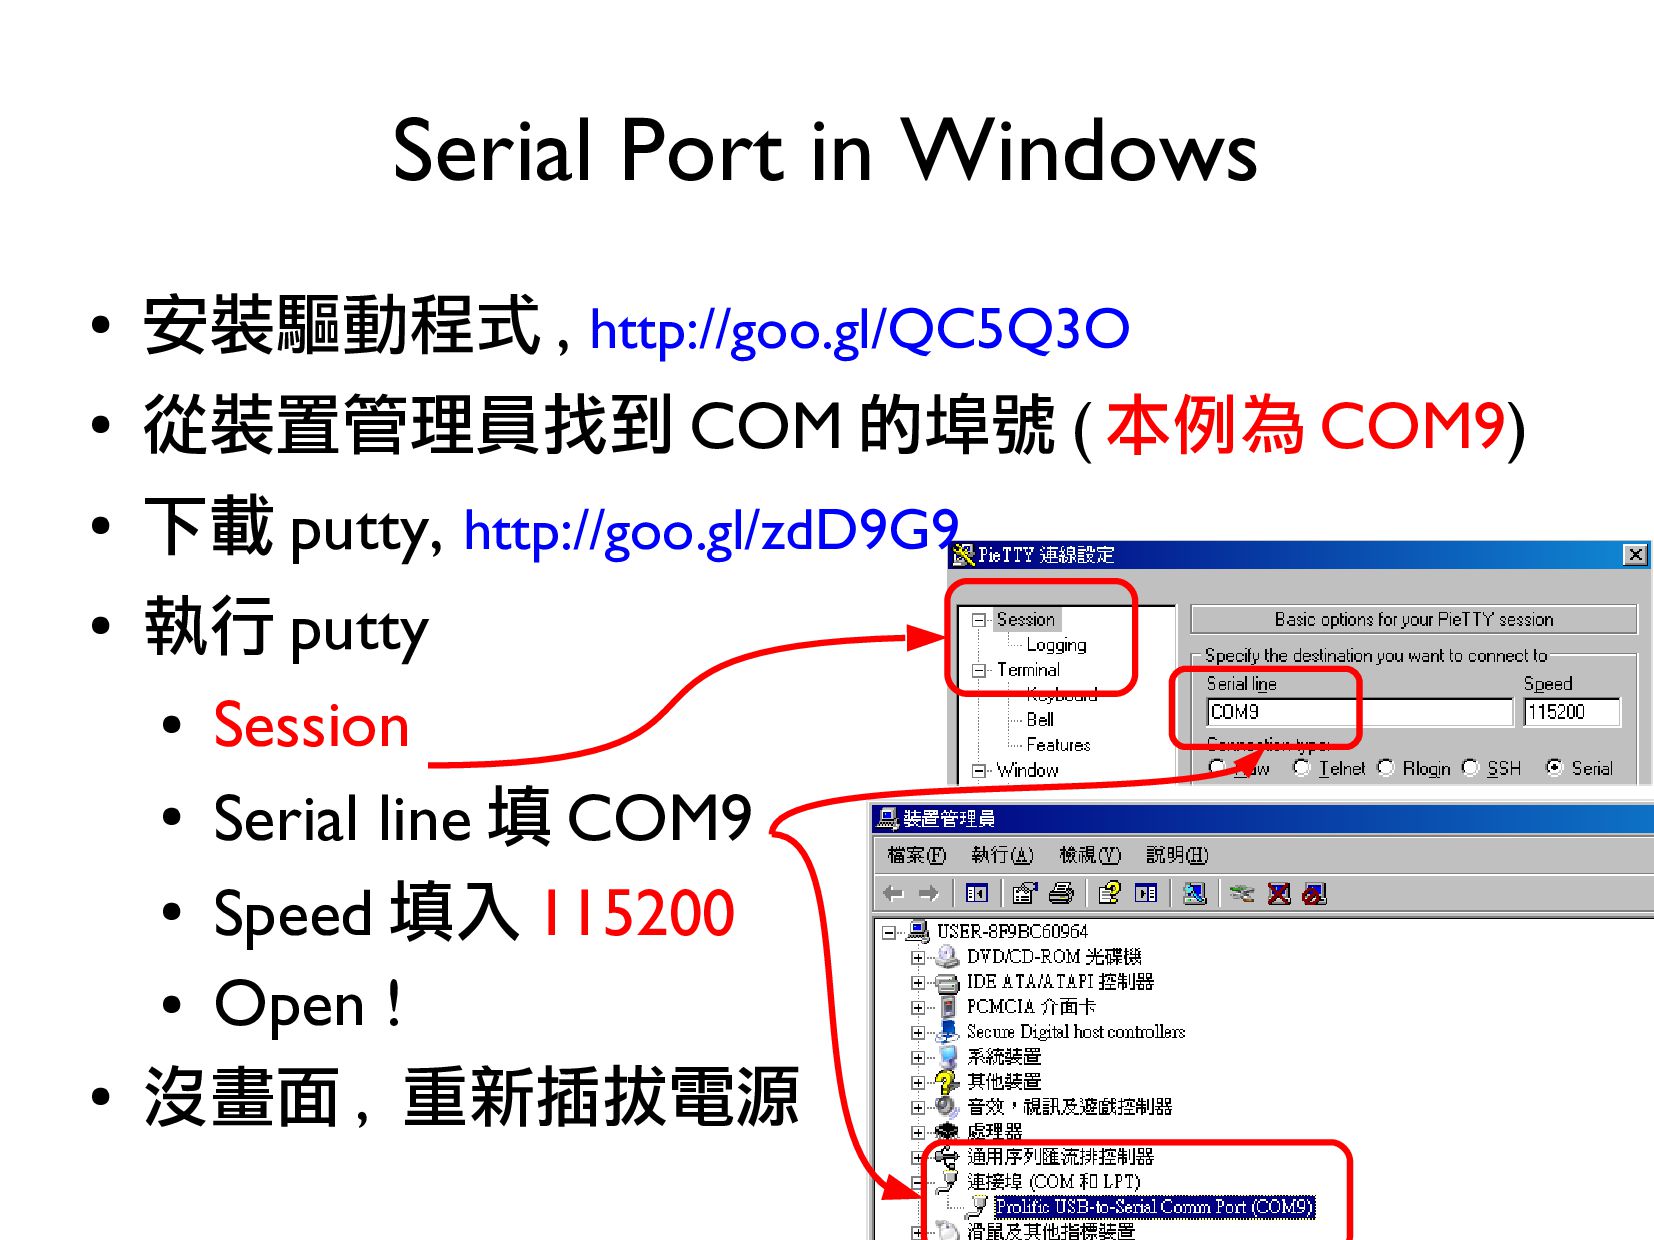
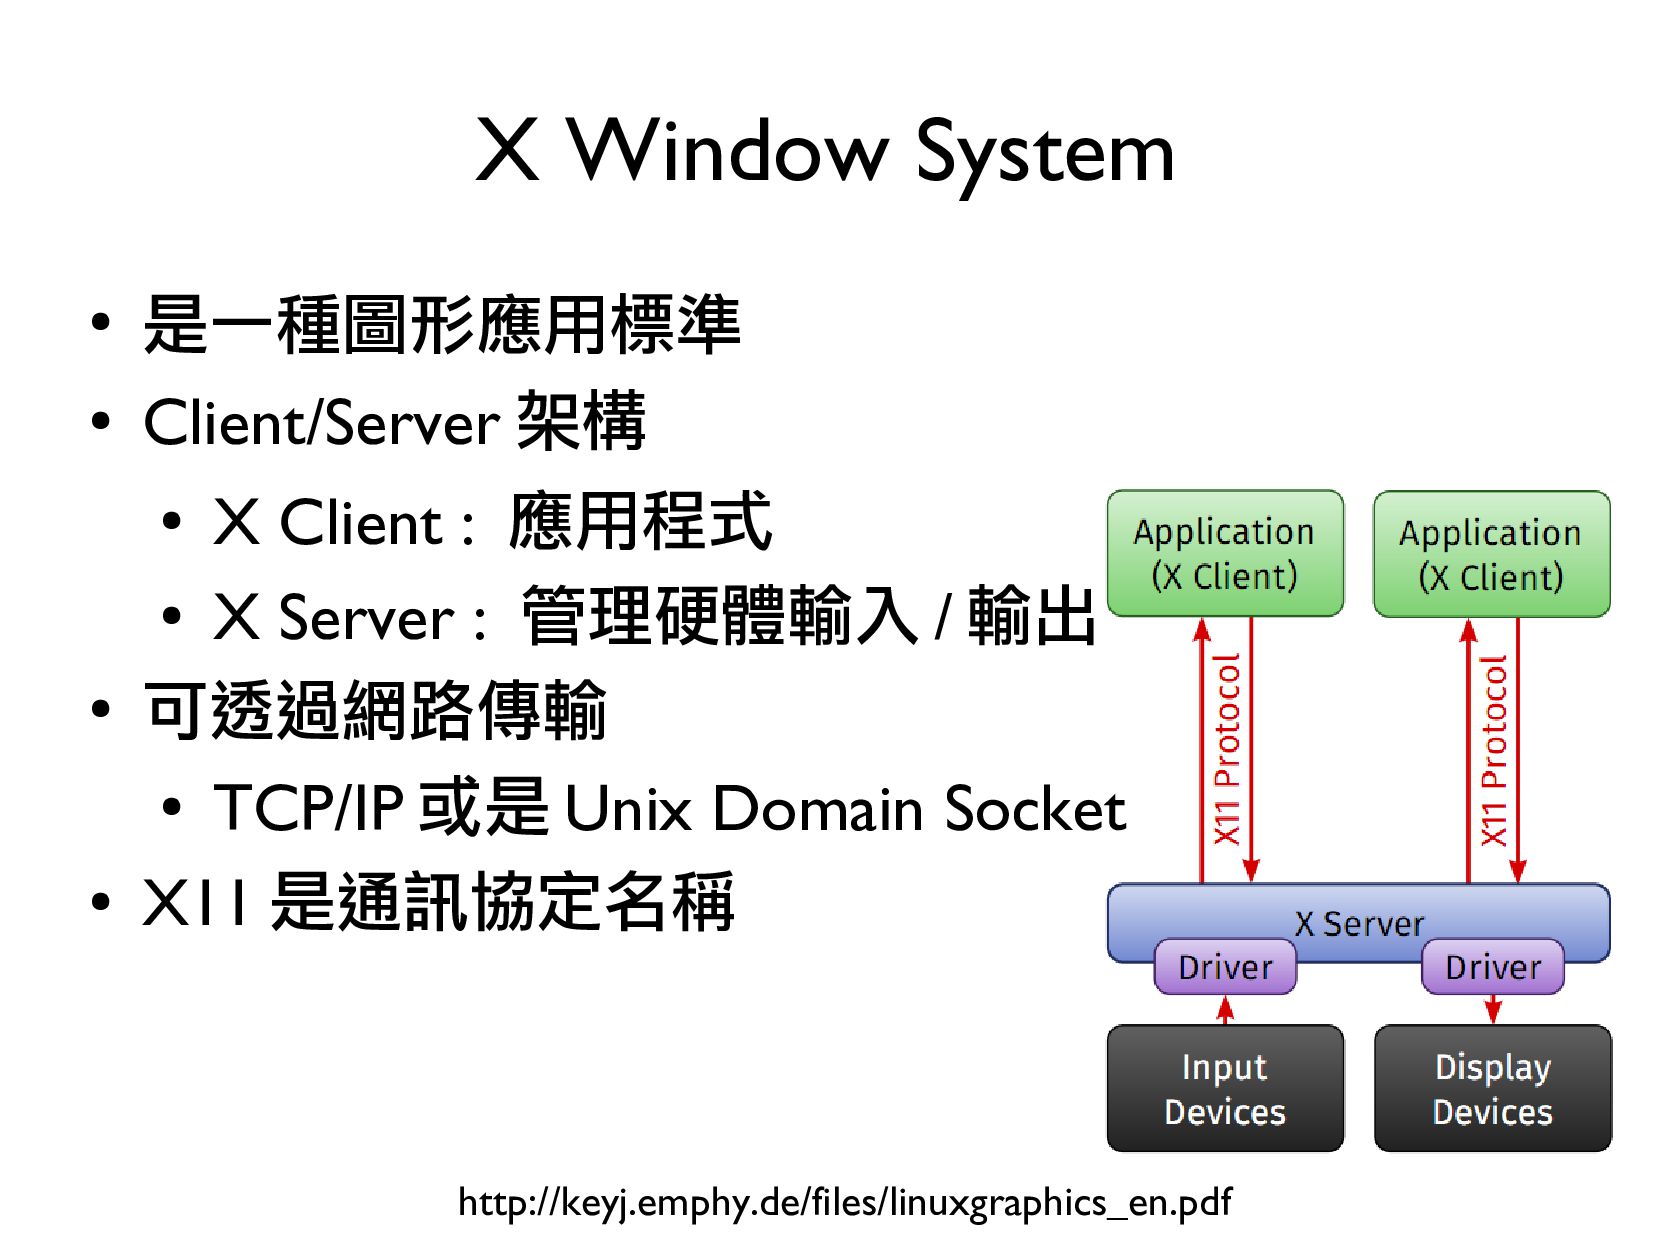
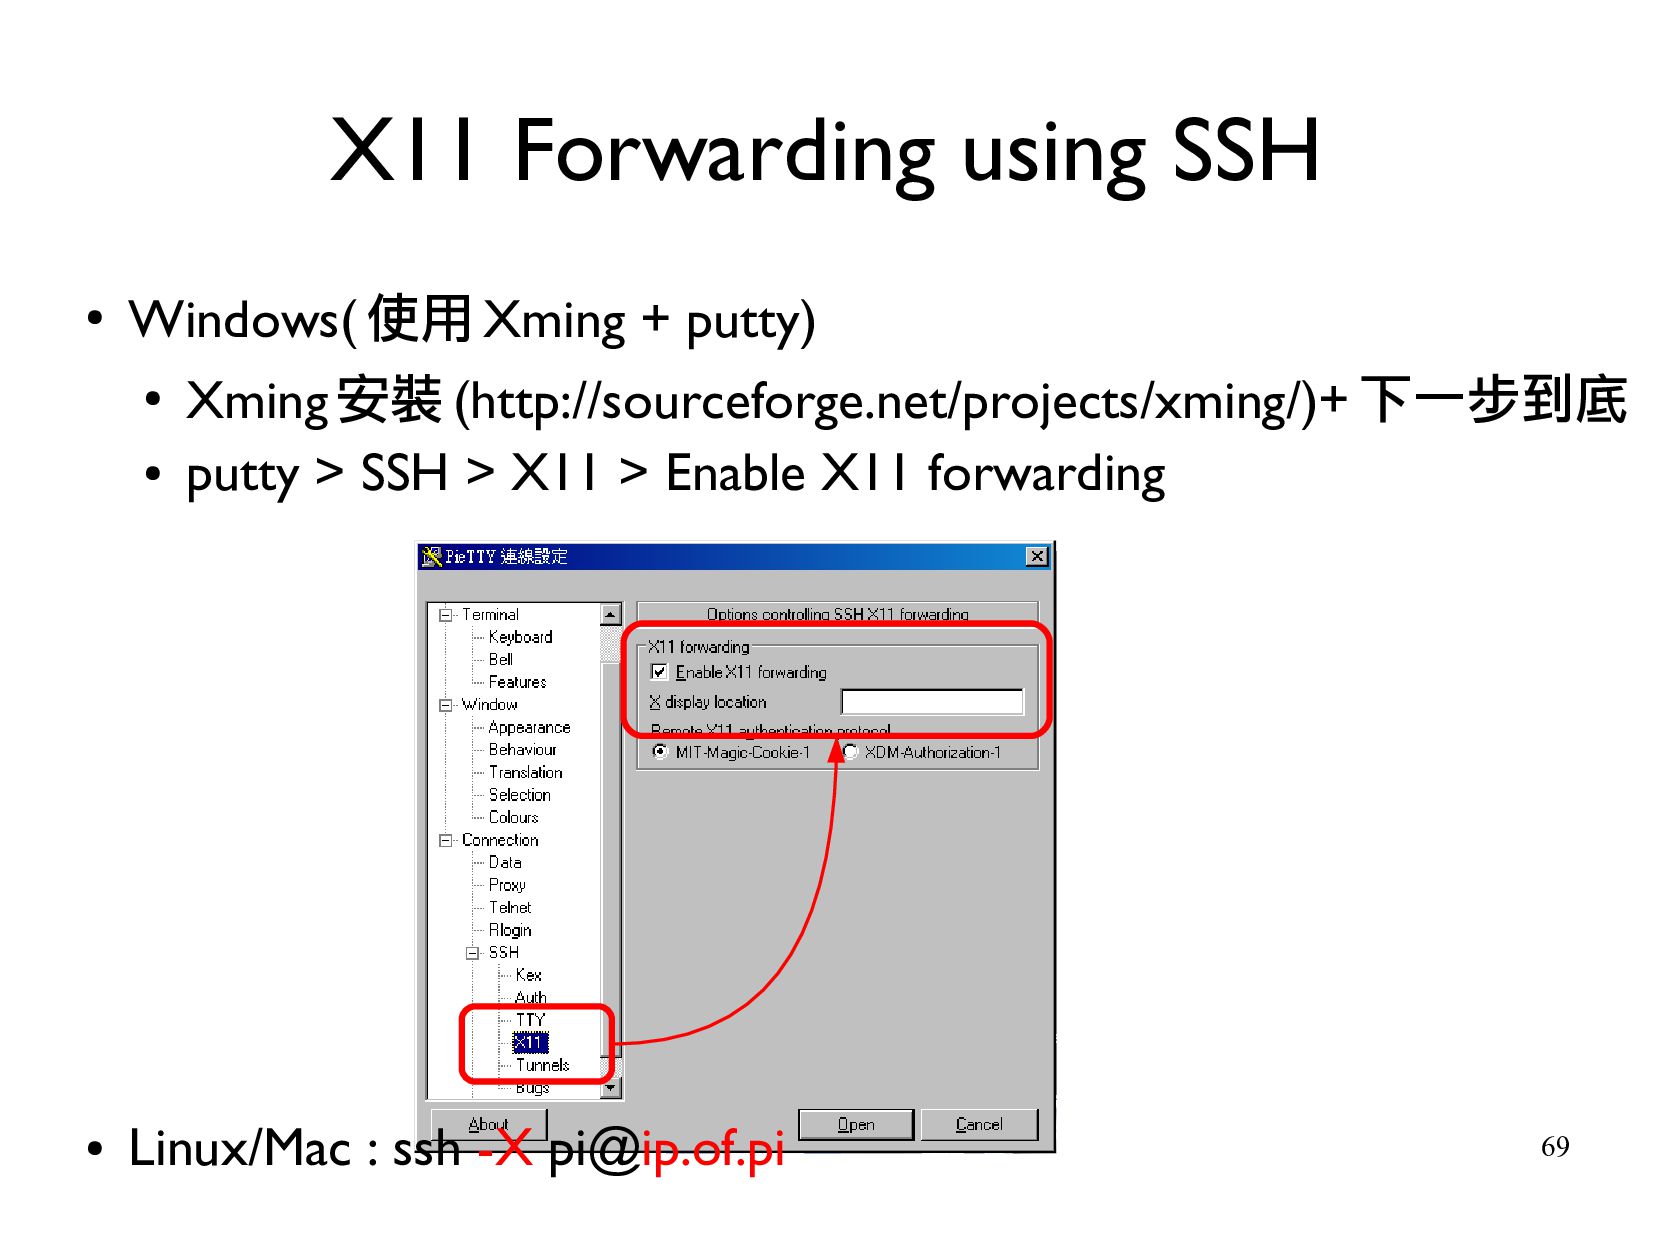
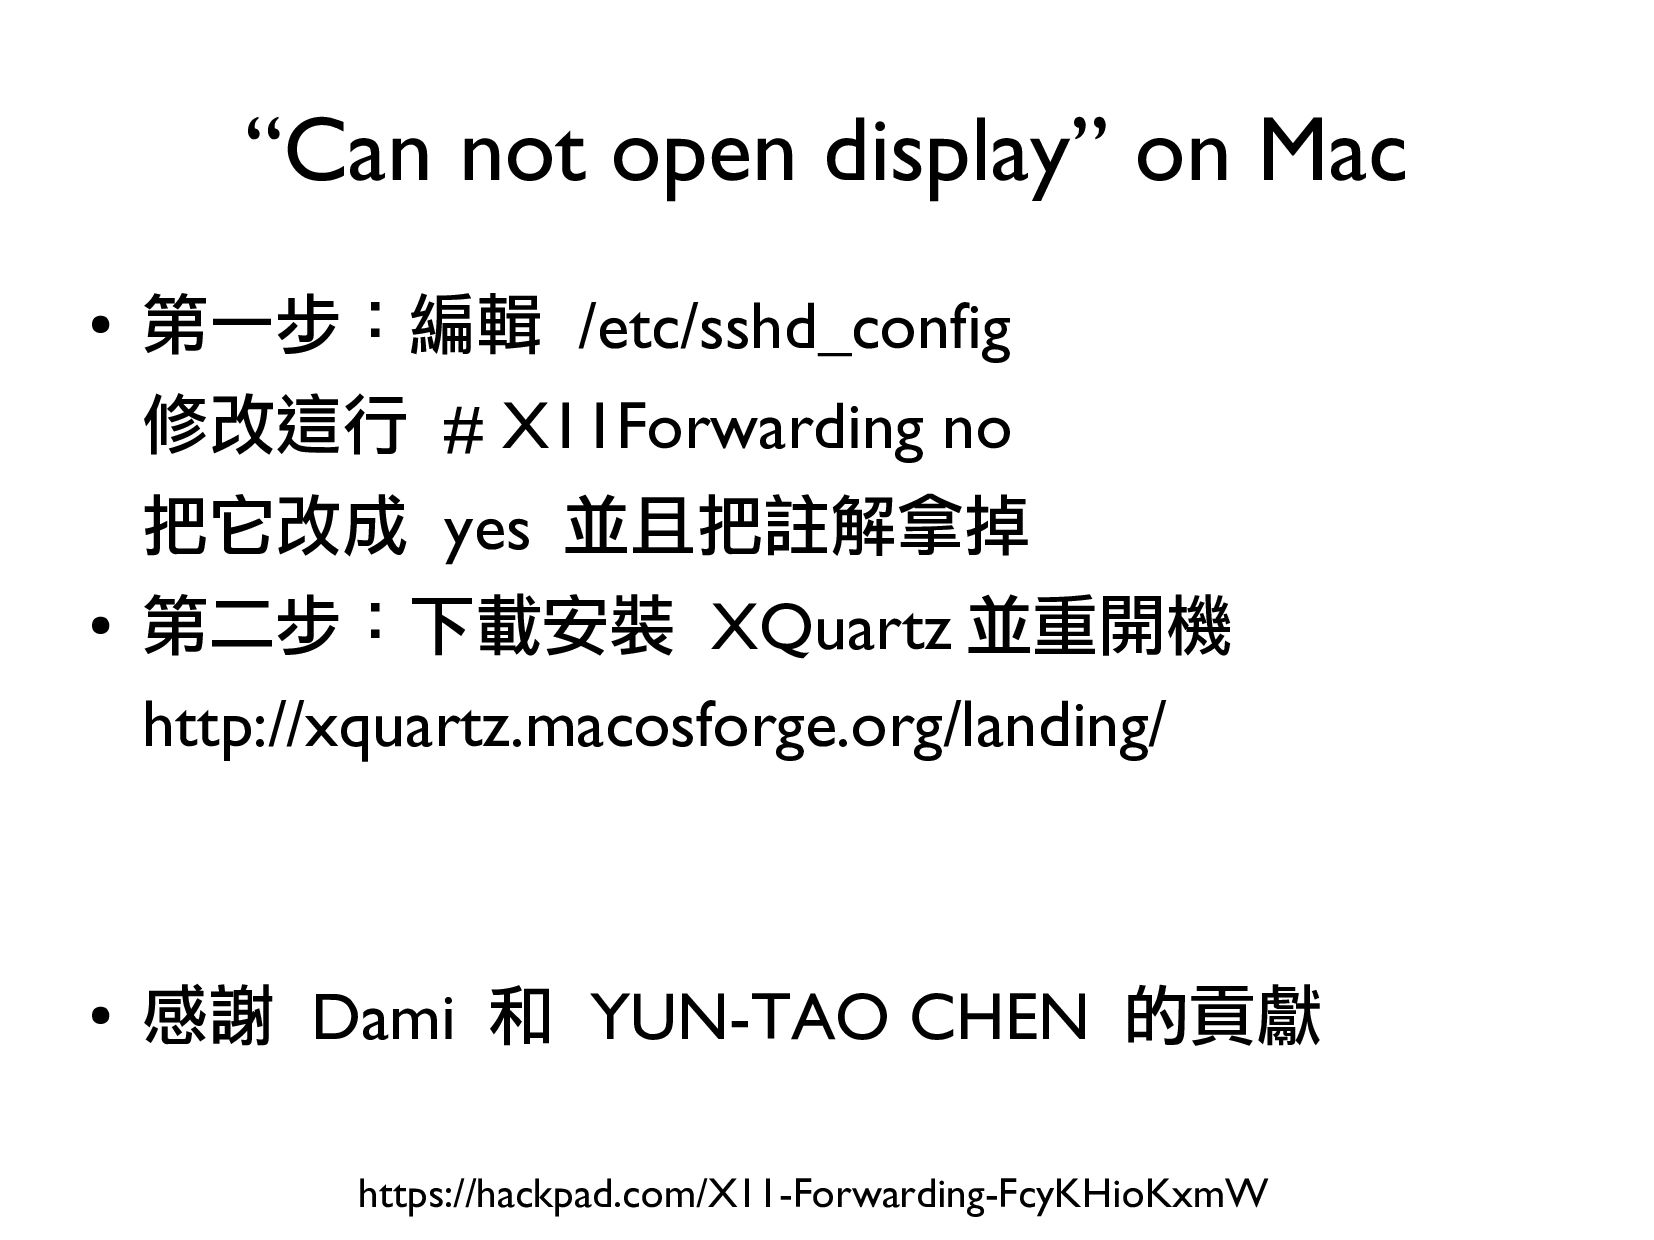
- 使用 Serial + WiFi
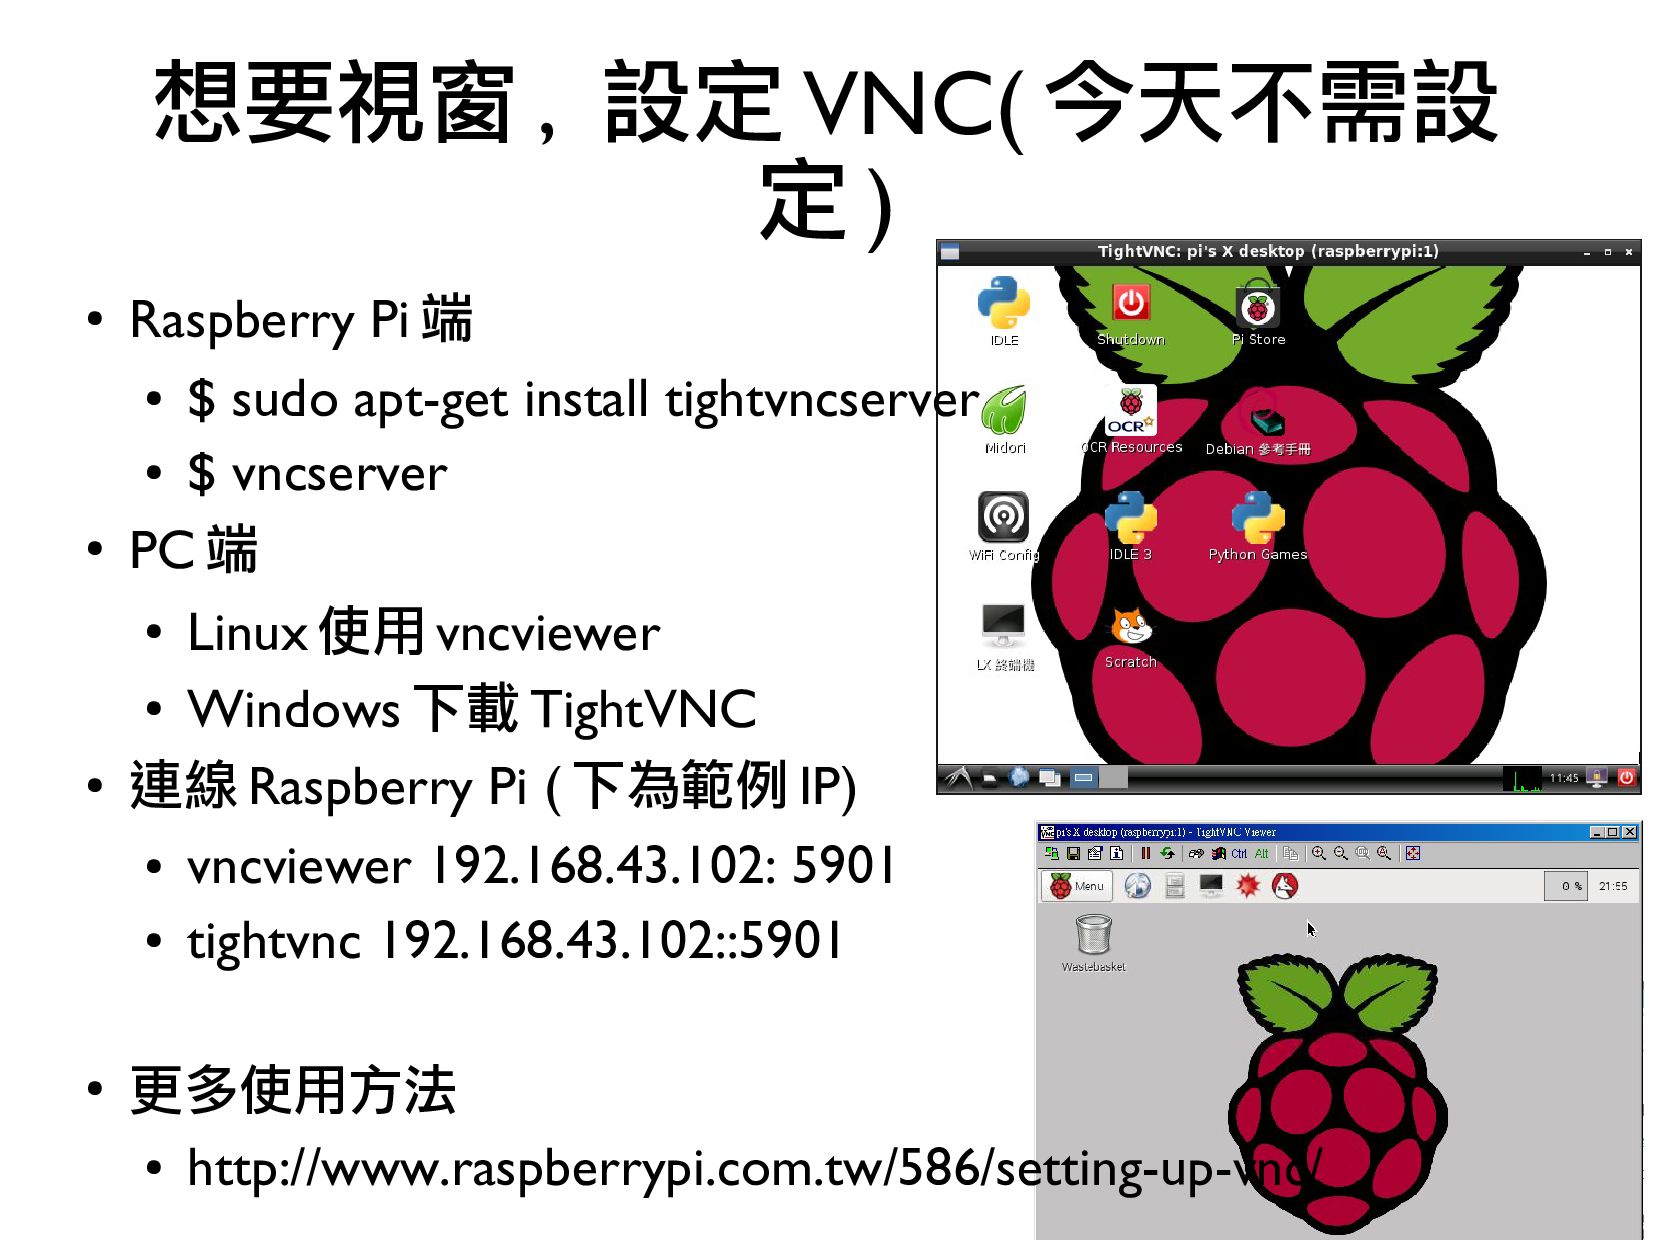
- 使用 VNC 和 X-Forwarding
2. Raspberry Pi Camera 簡介(1 小時)
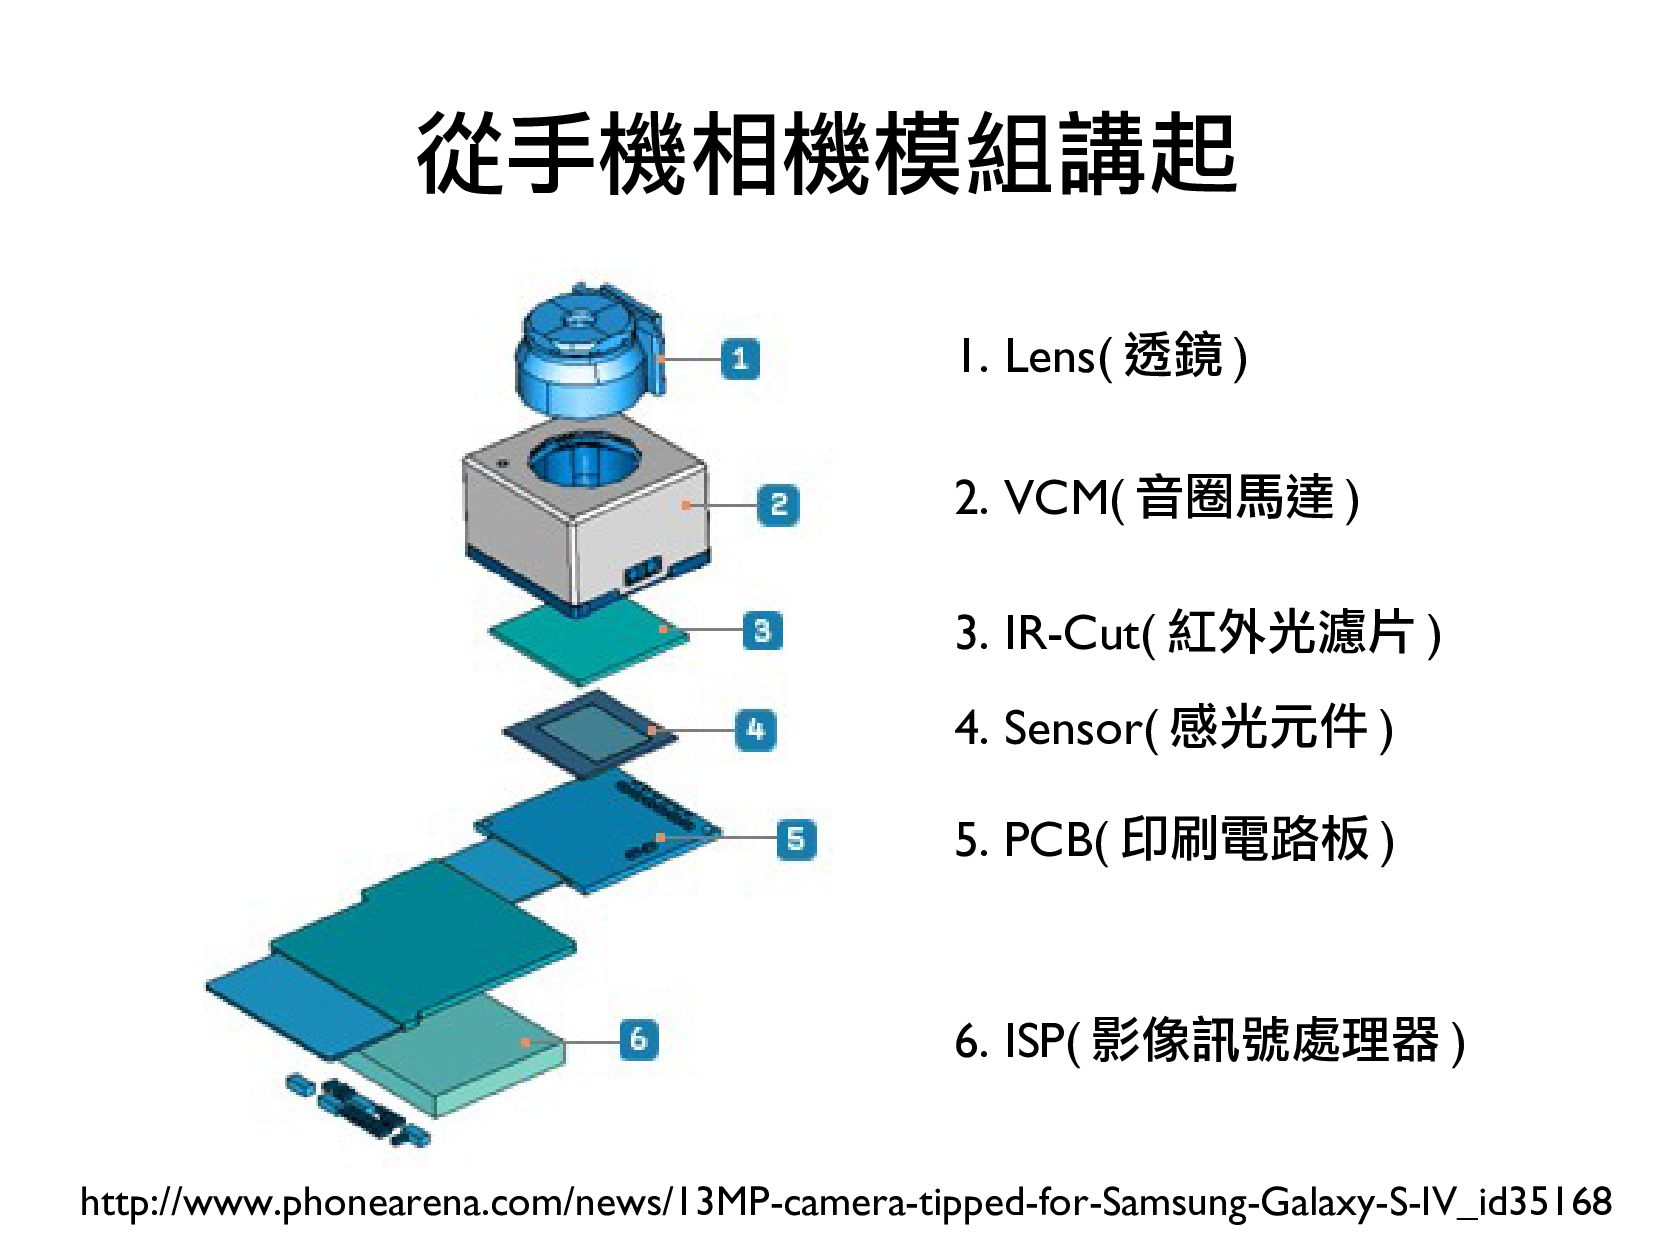
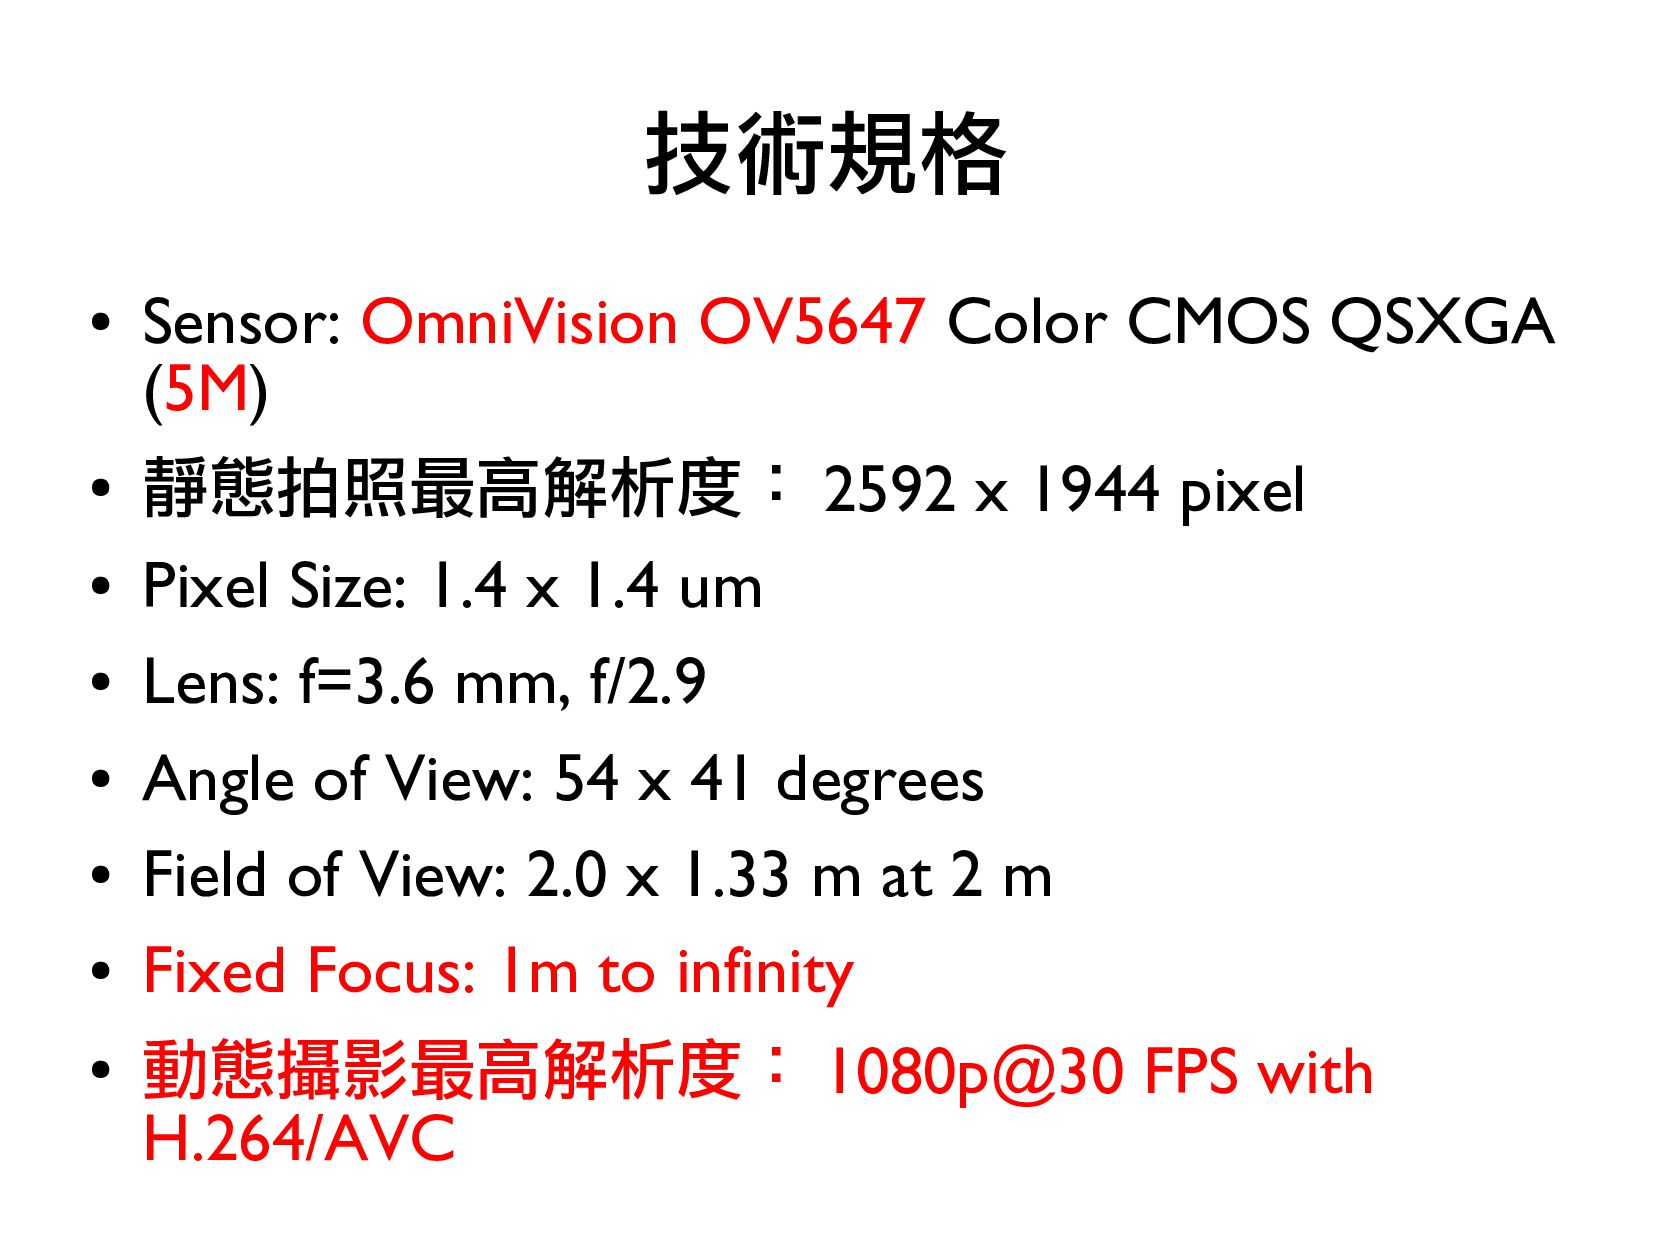
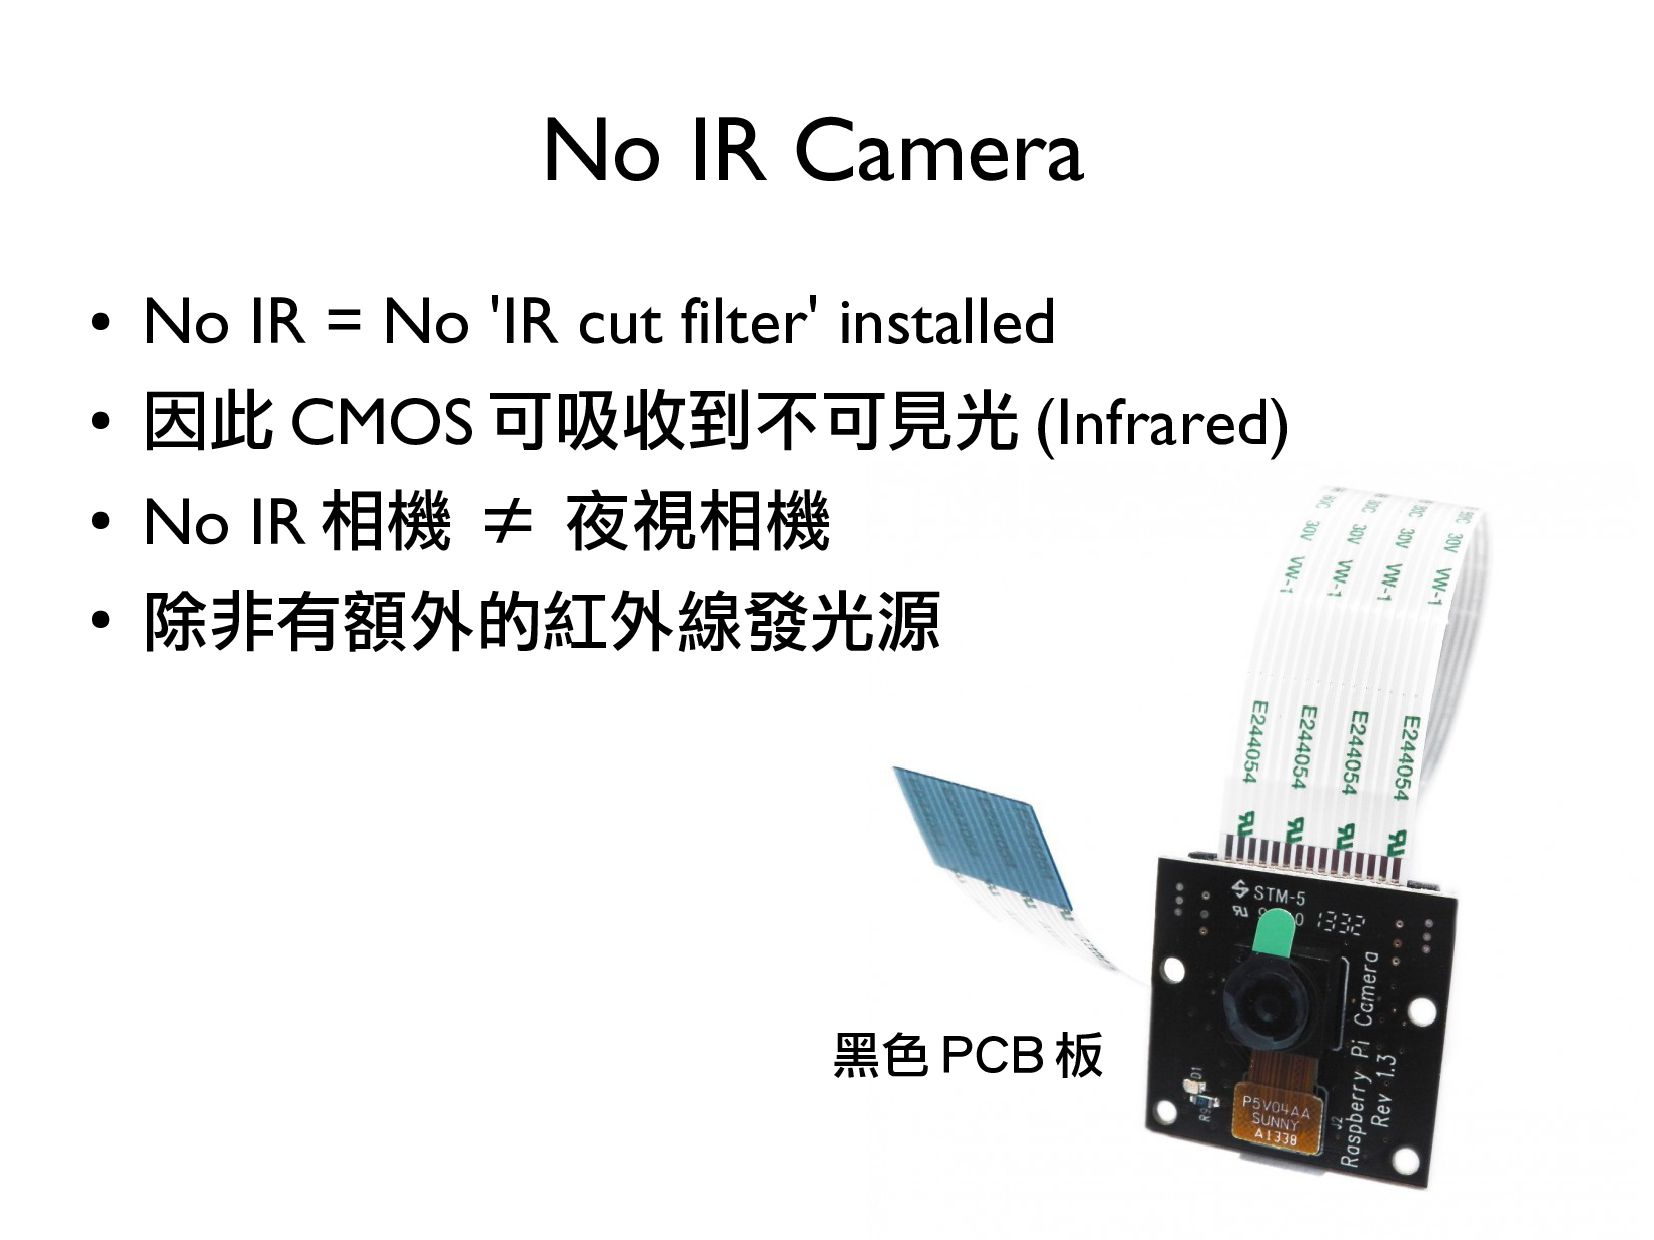
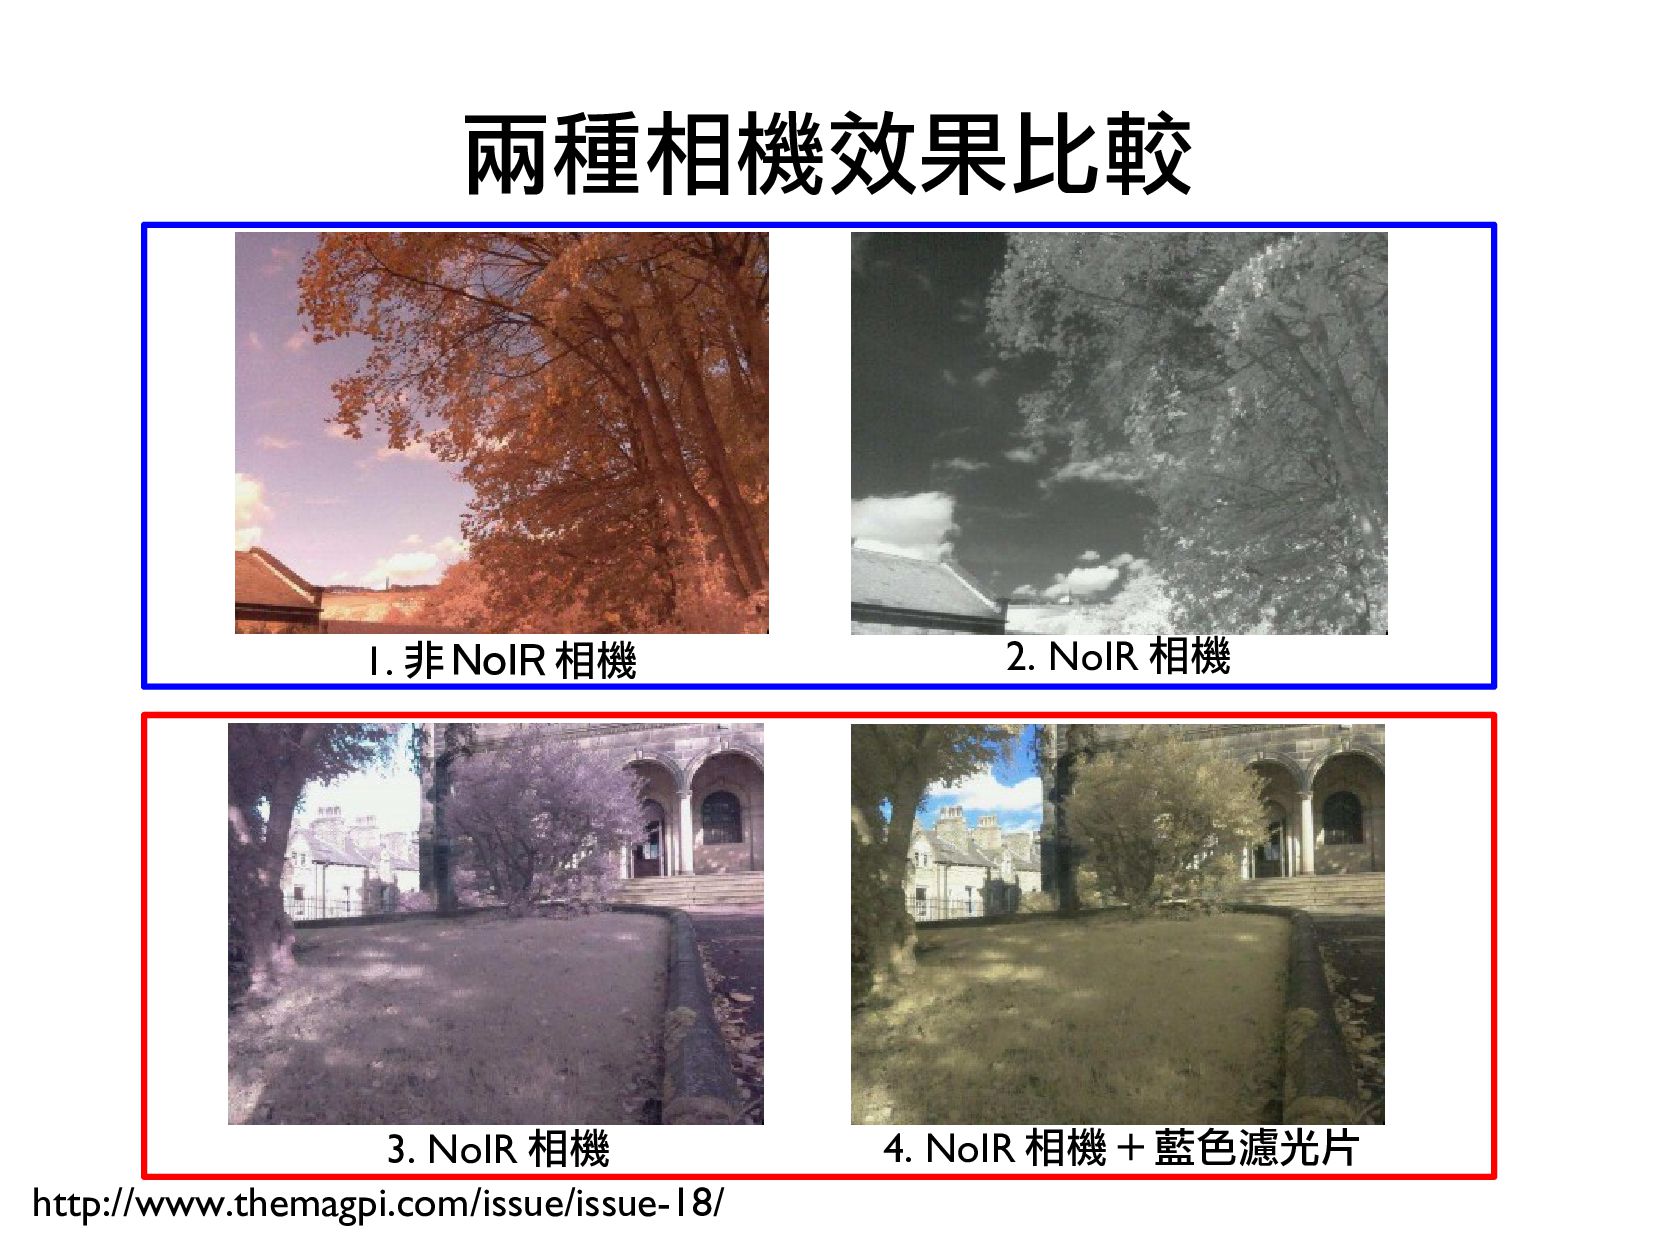
- 標準 Camera 和 NoIR Camera 介紹
- Camera 應用介紹
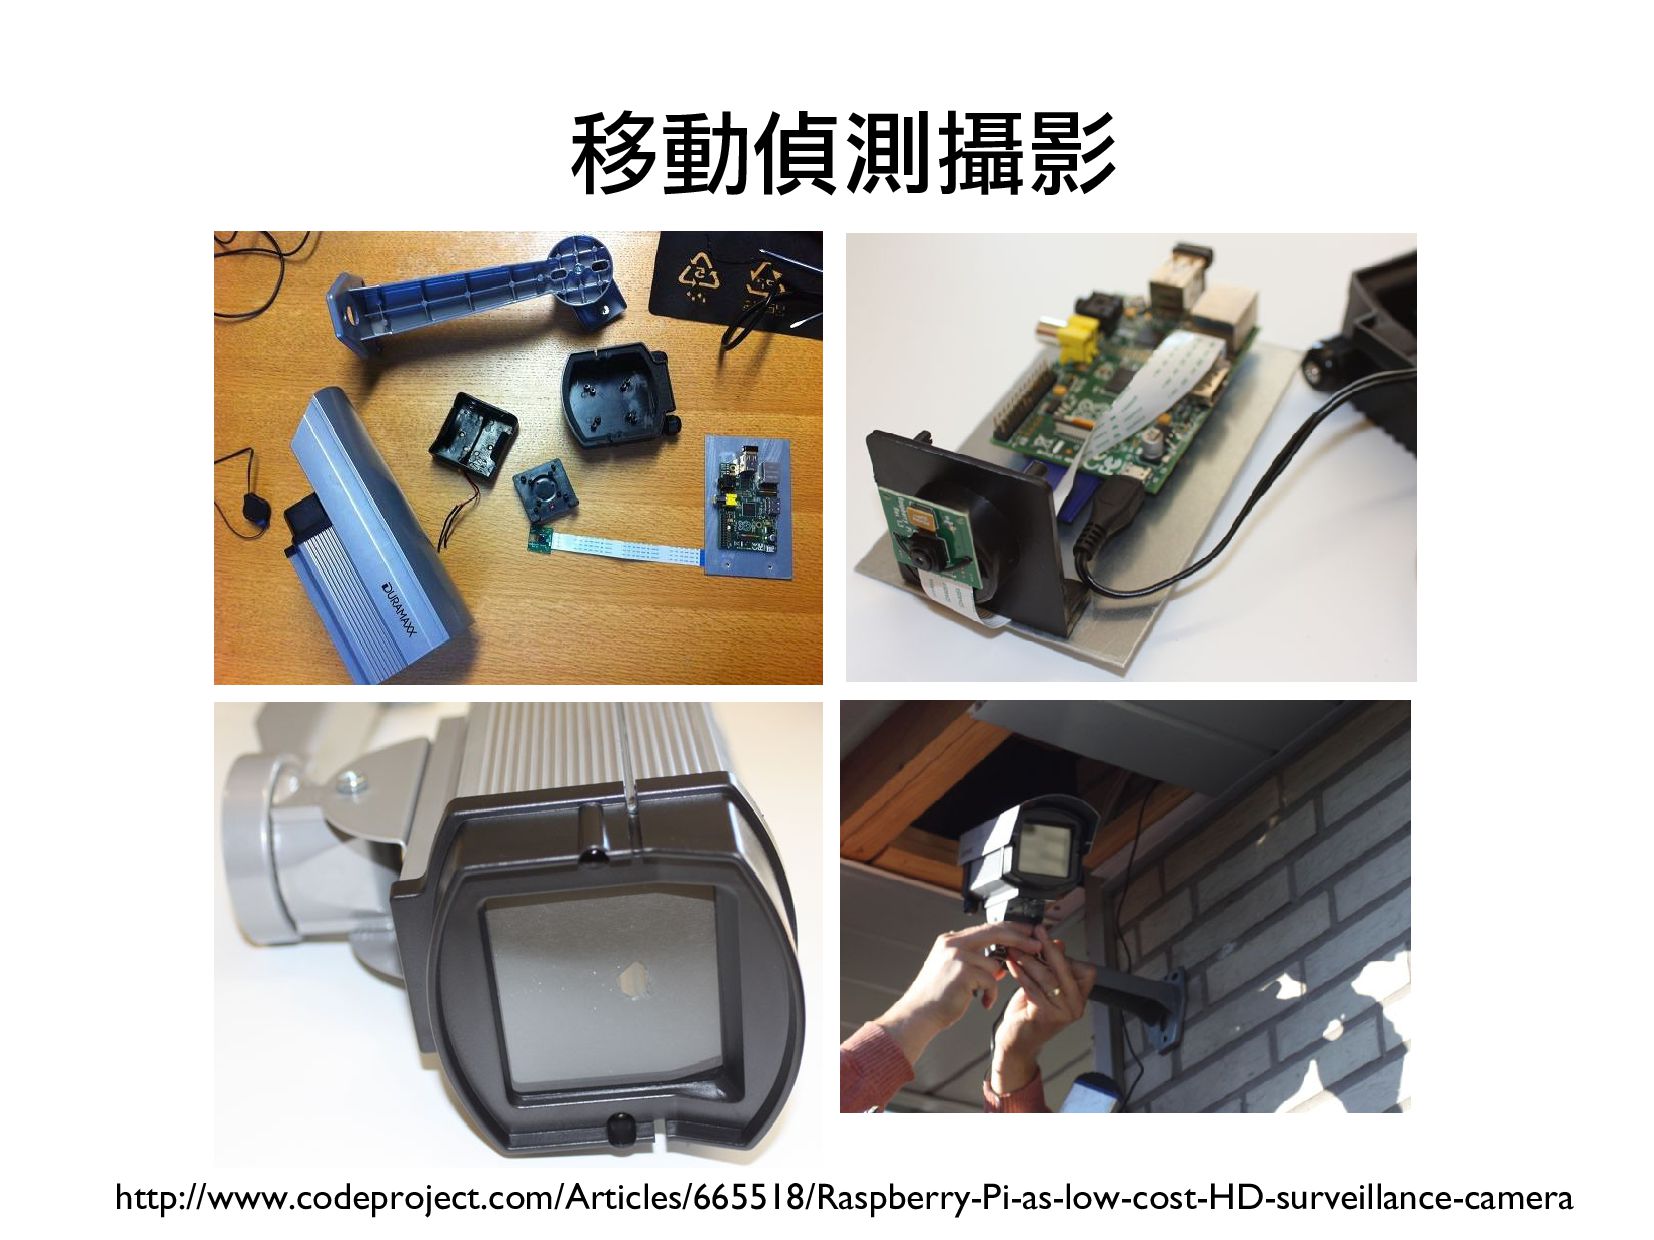
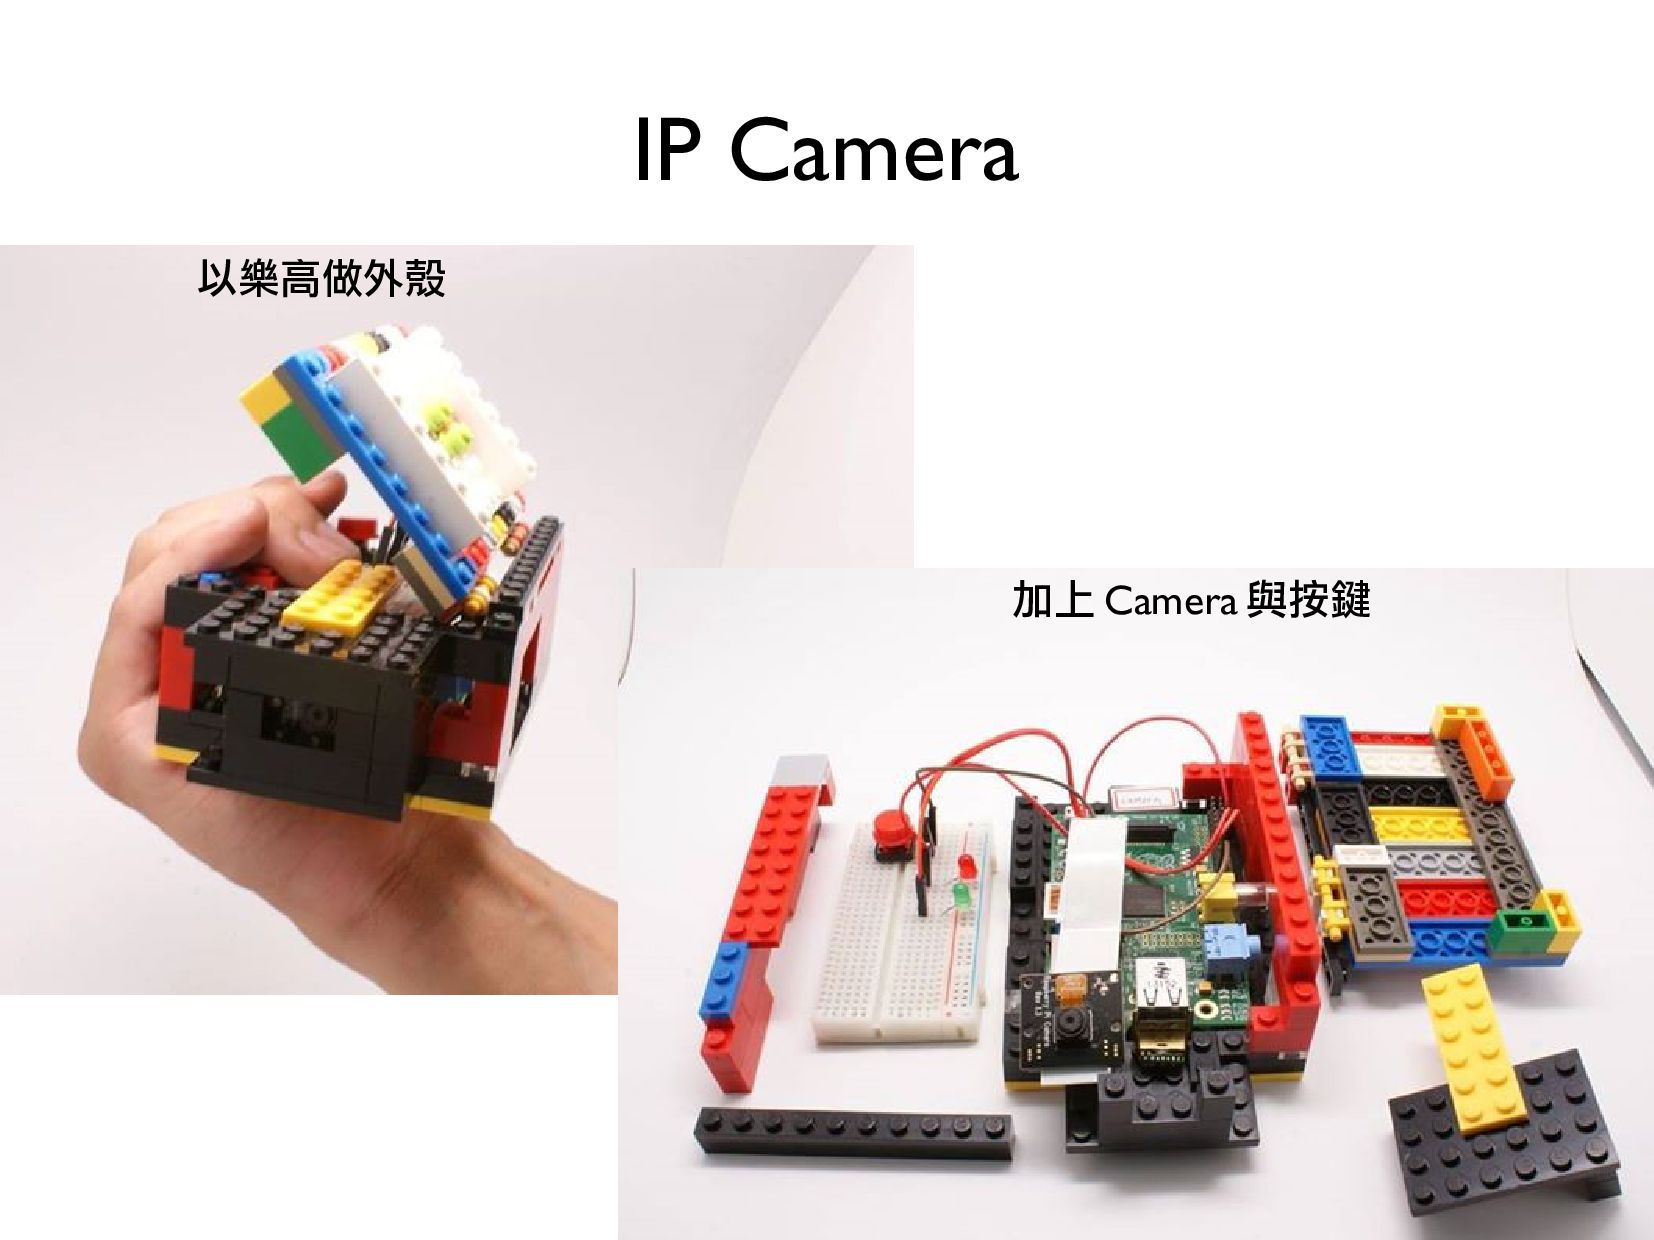
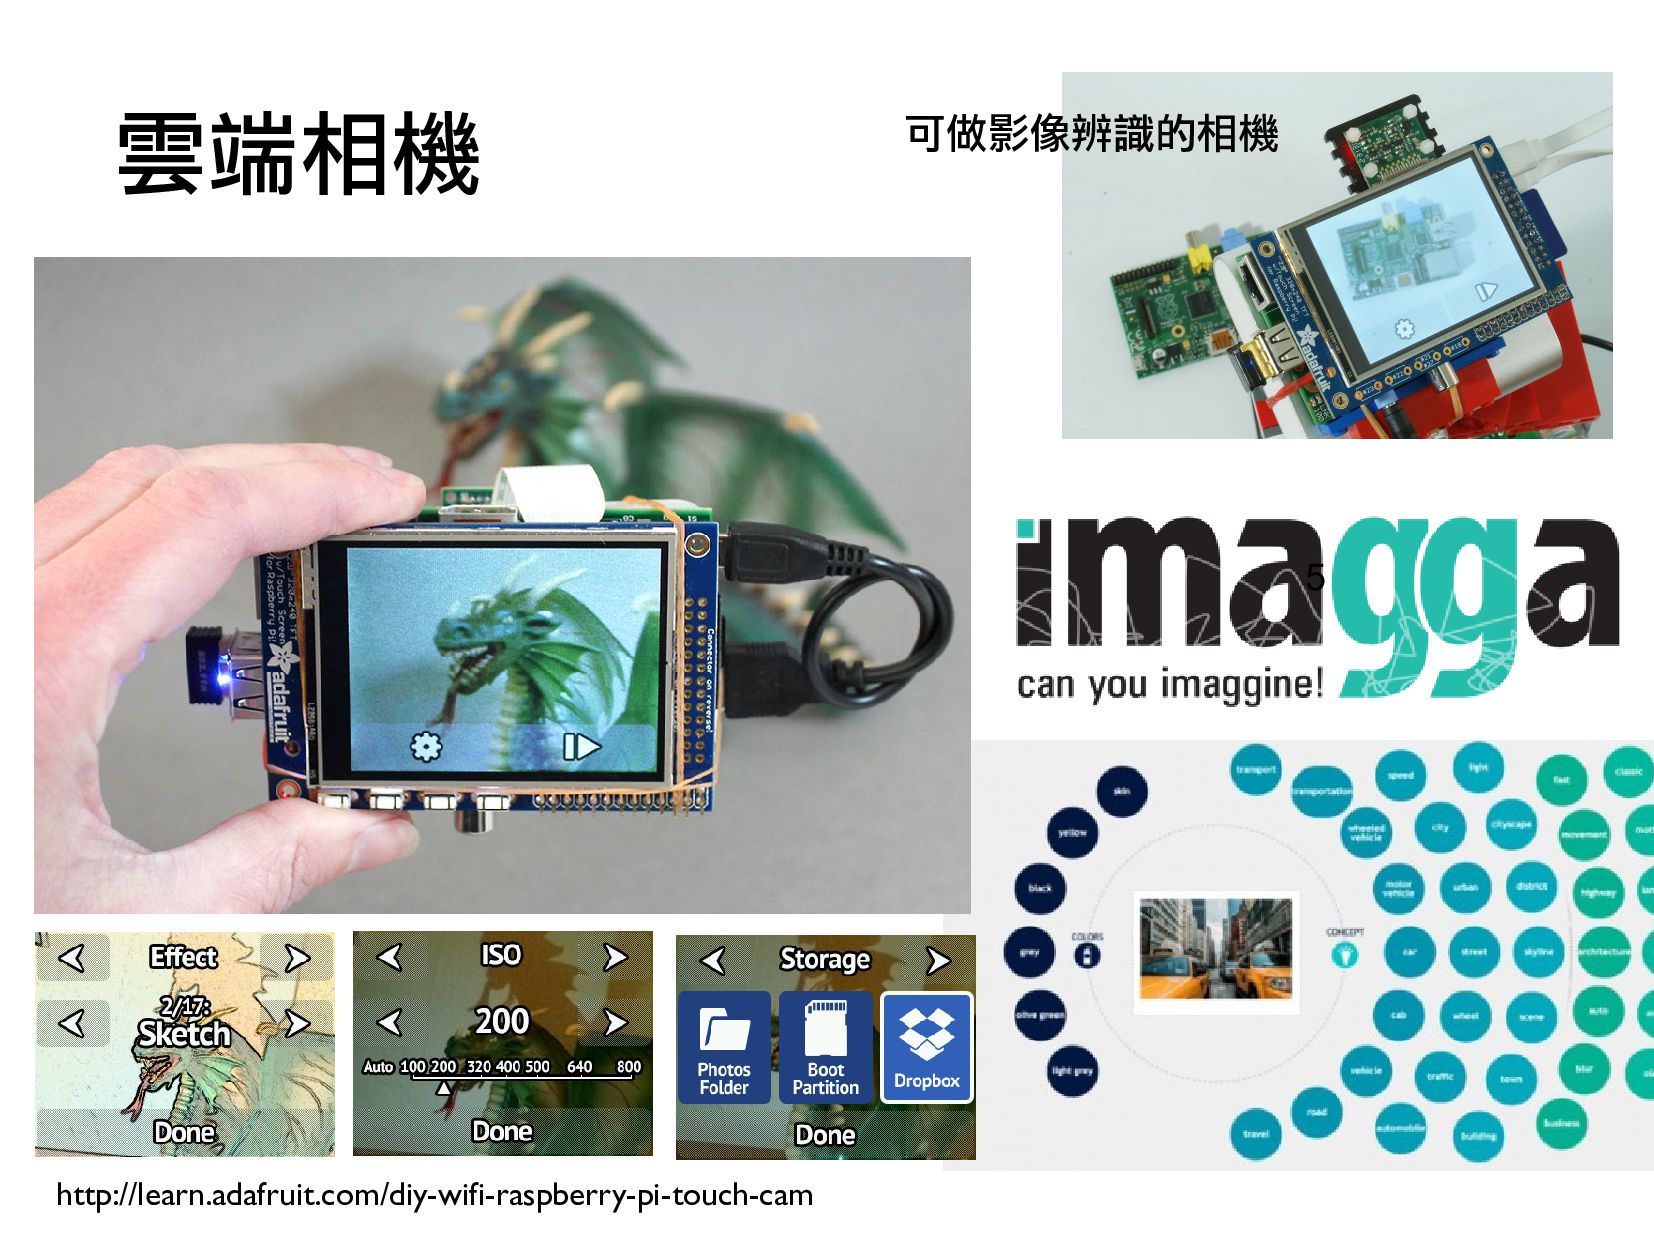
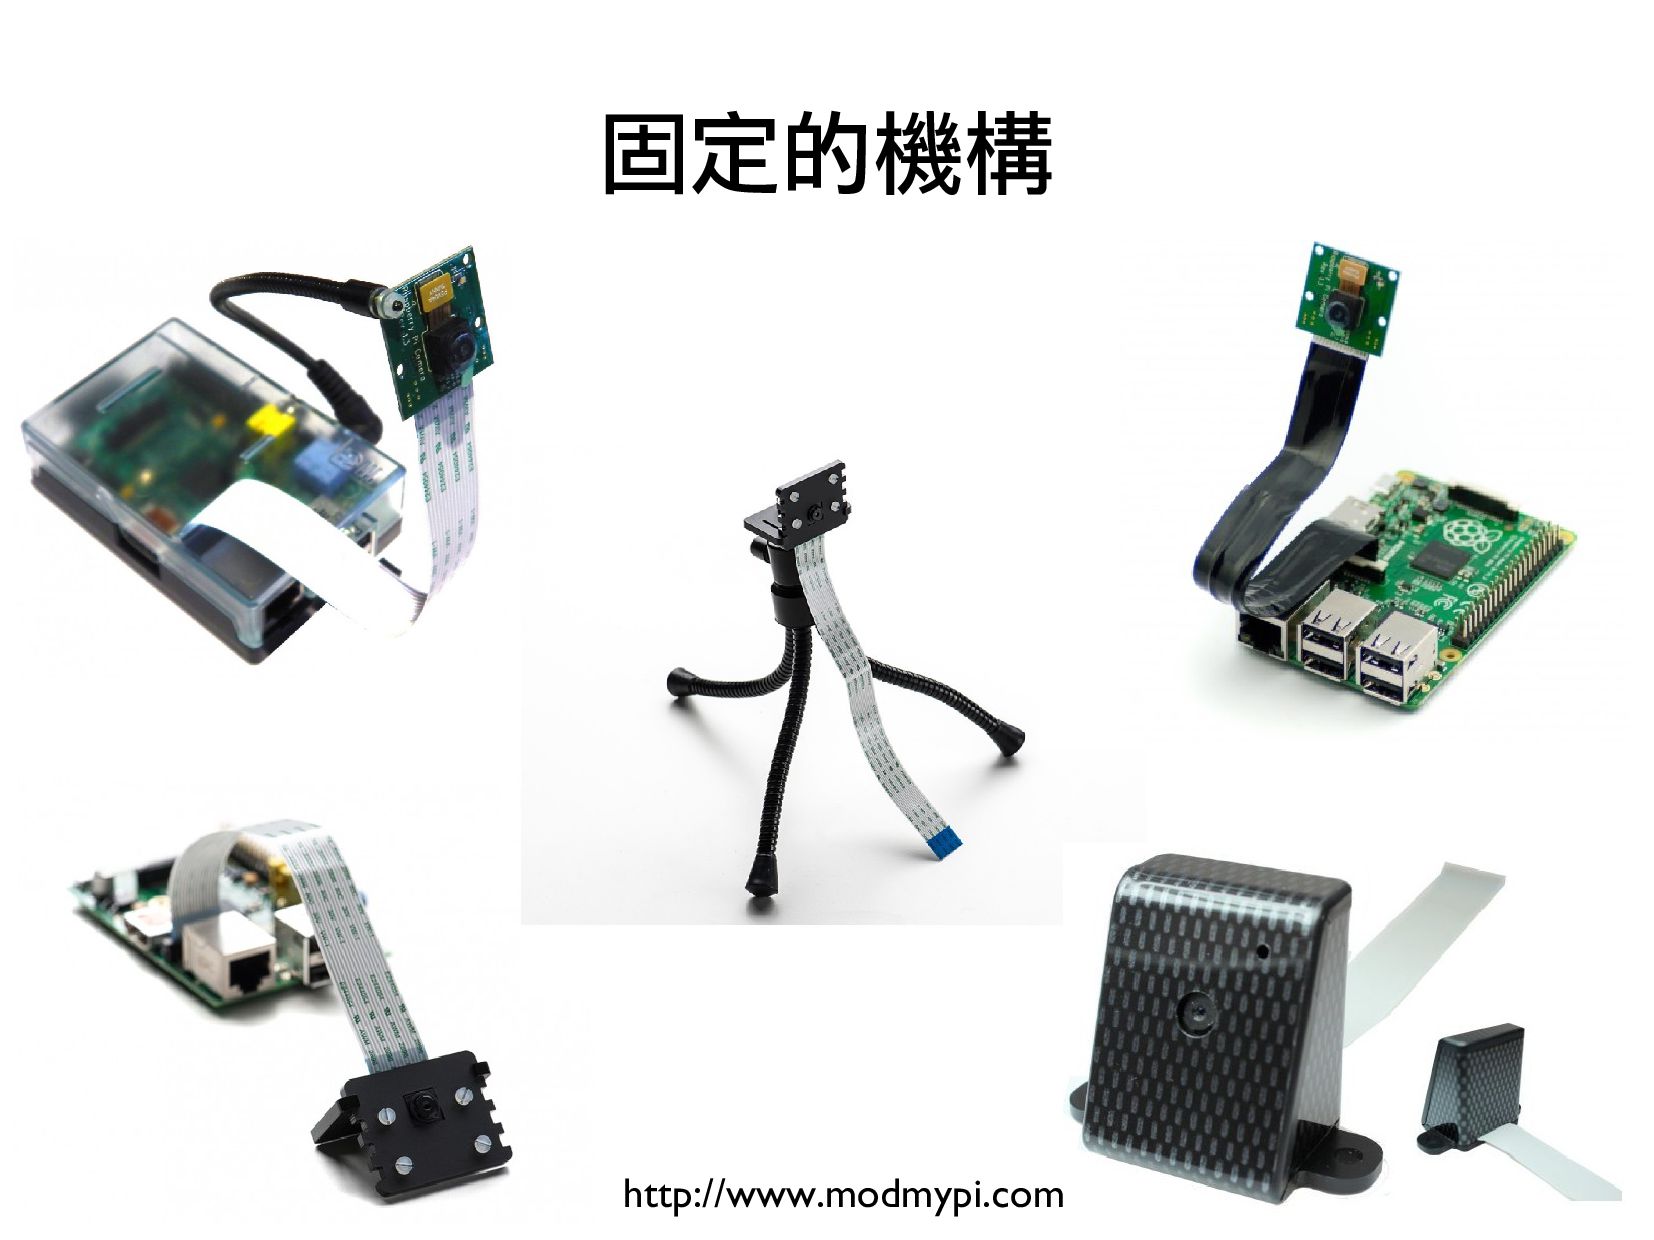
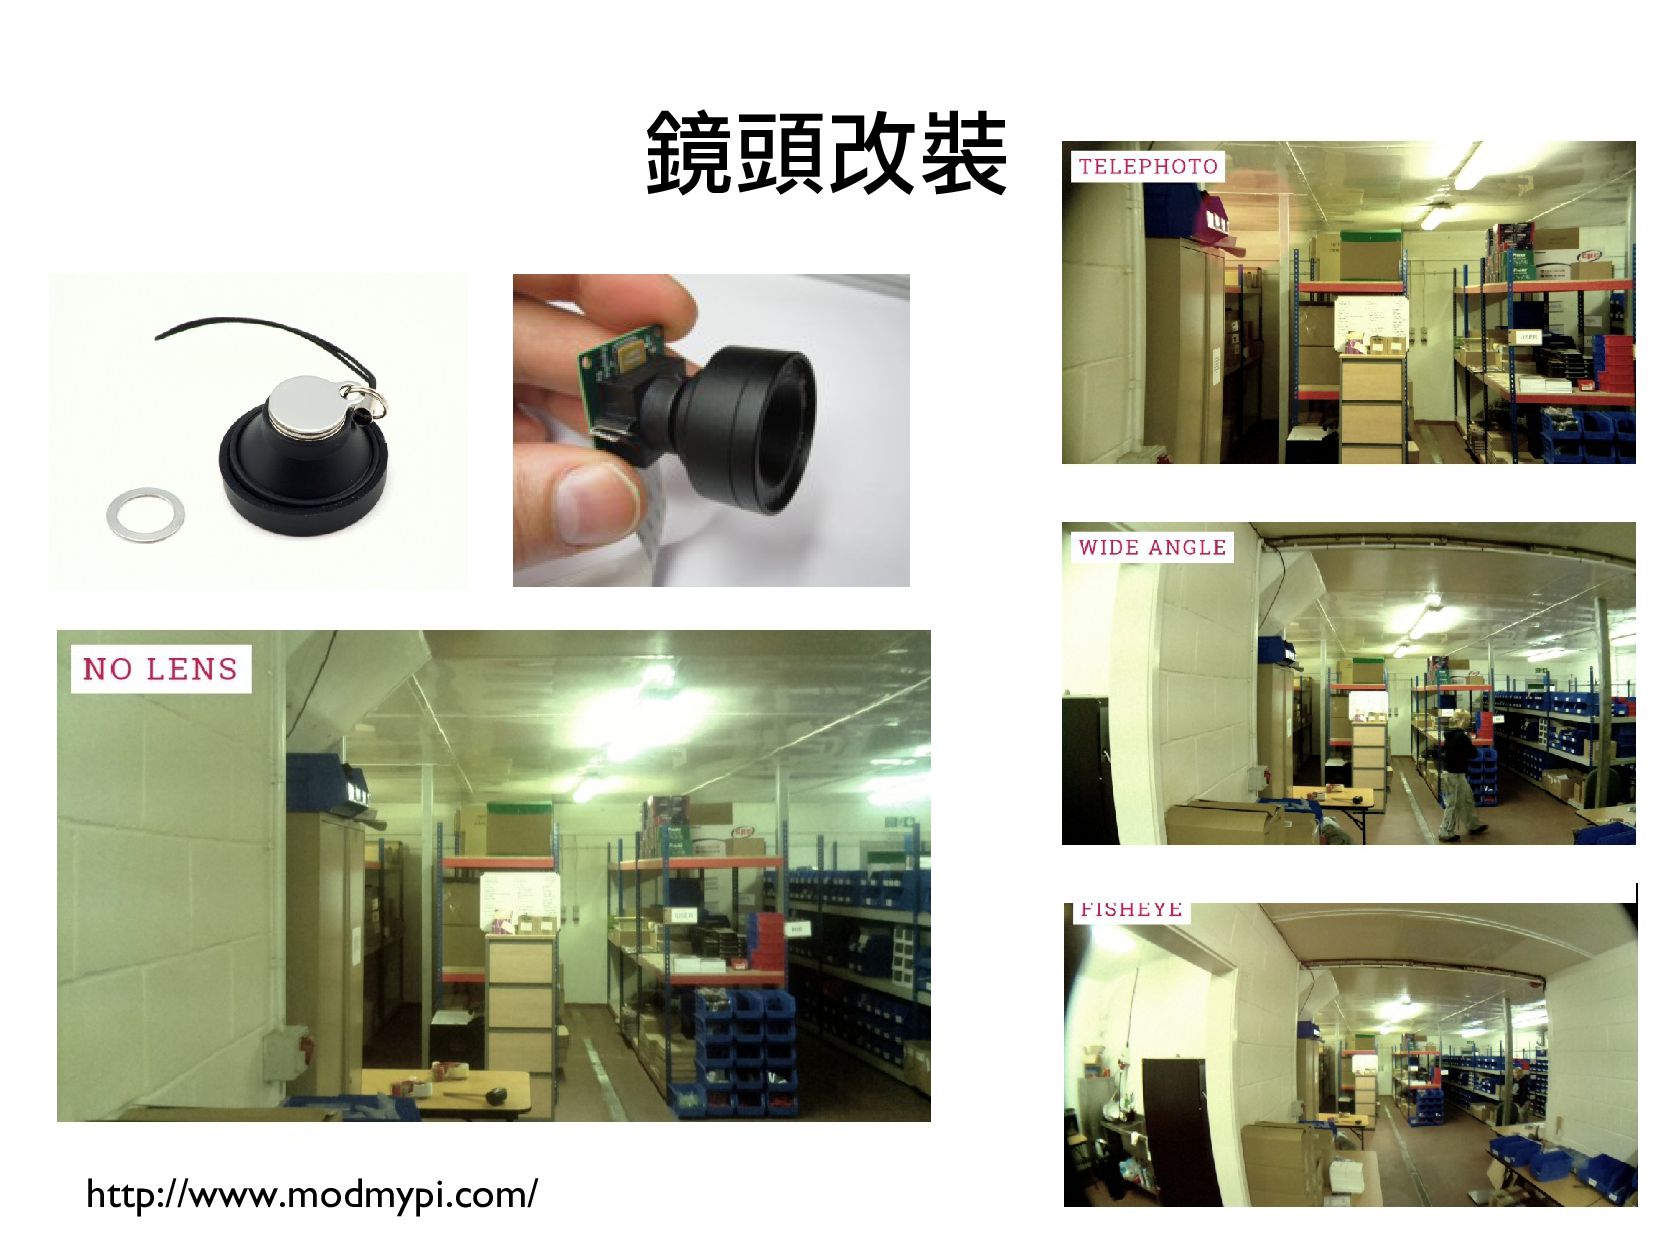
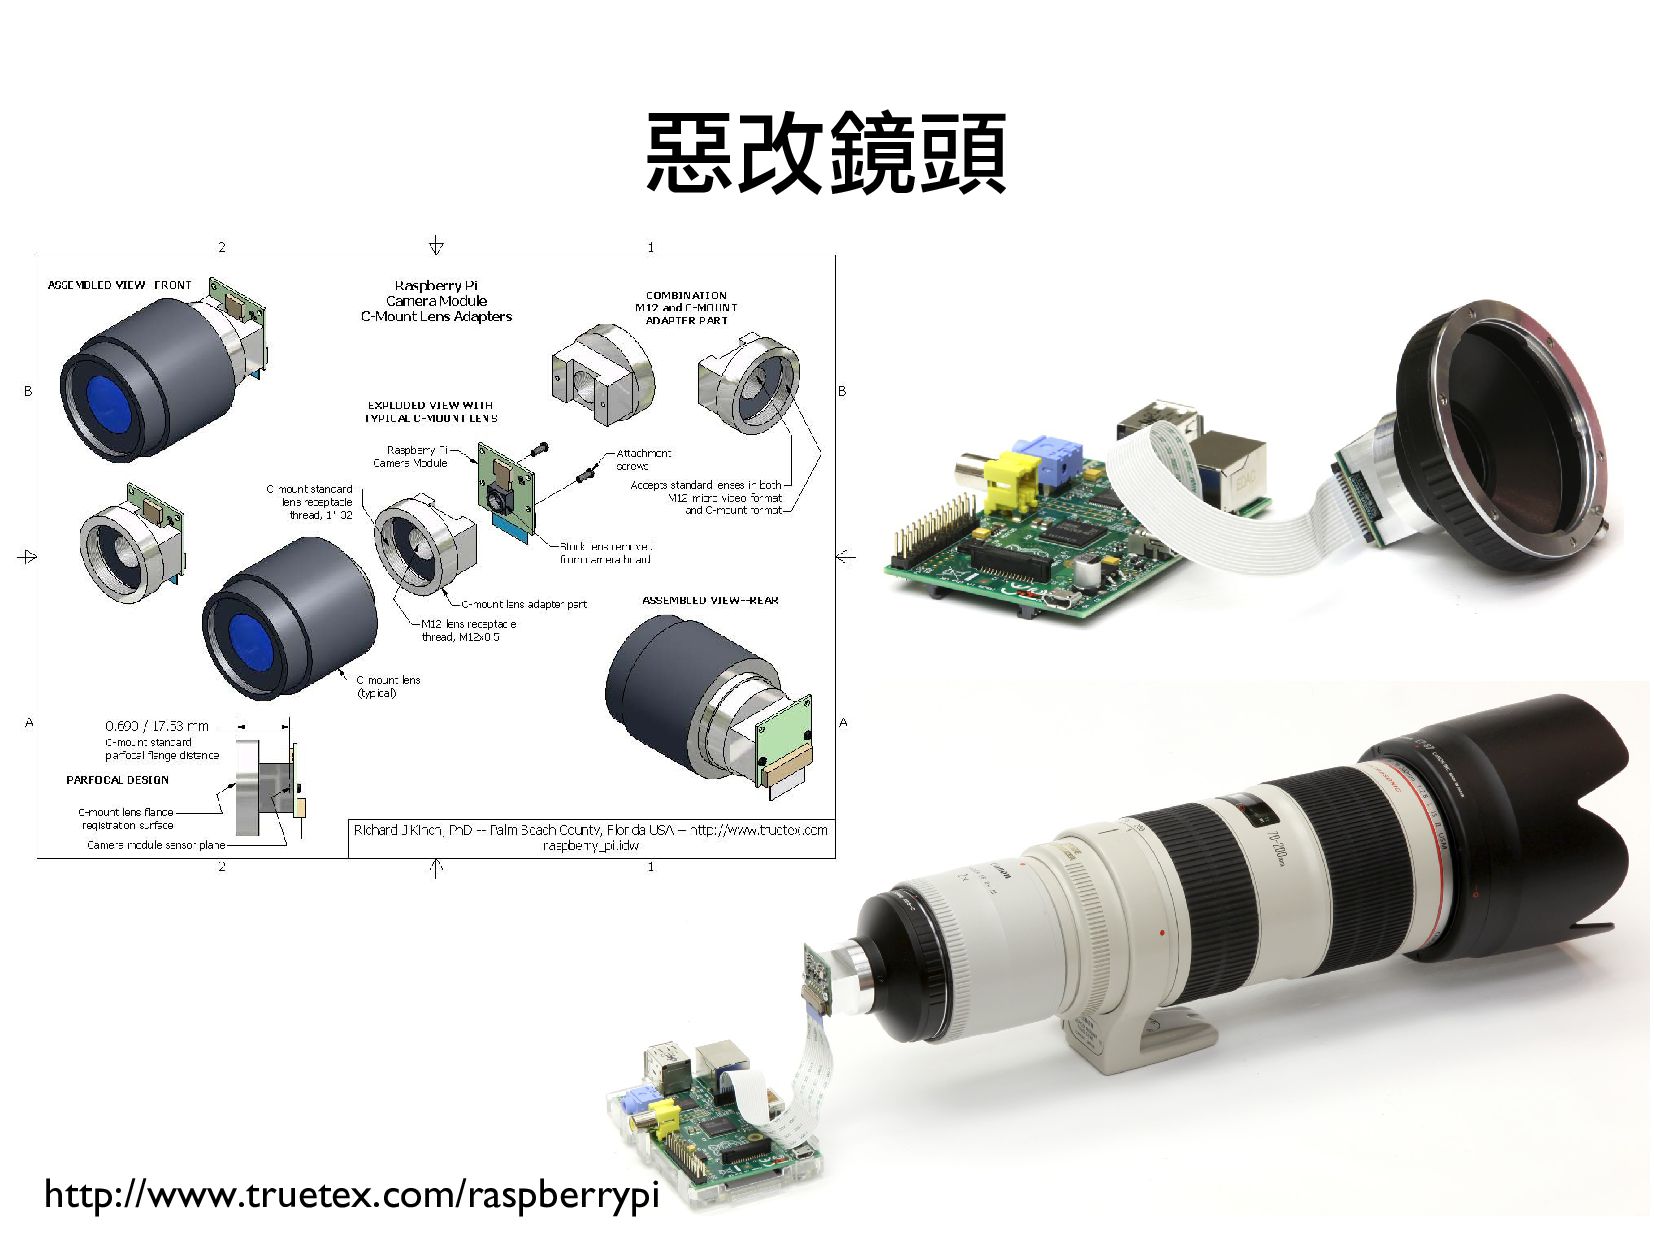
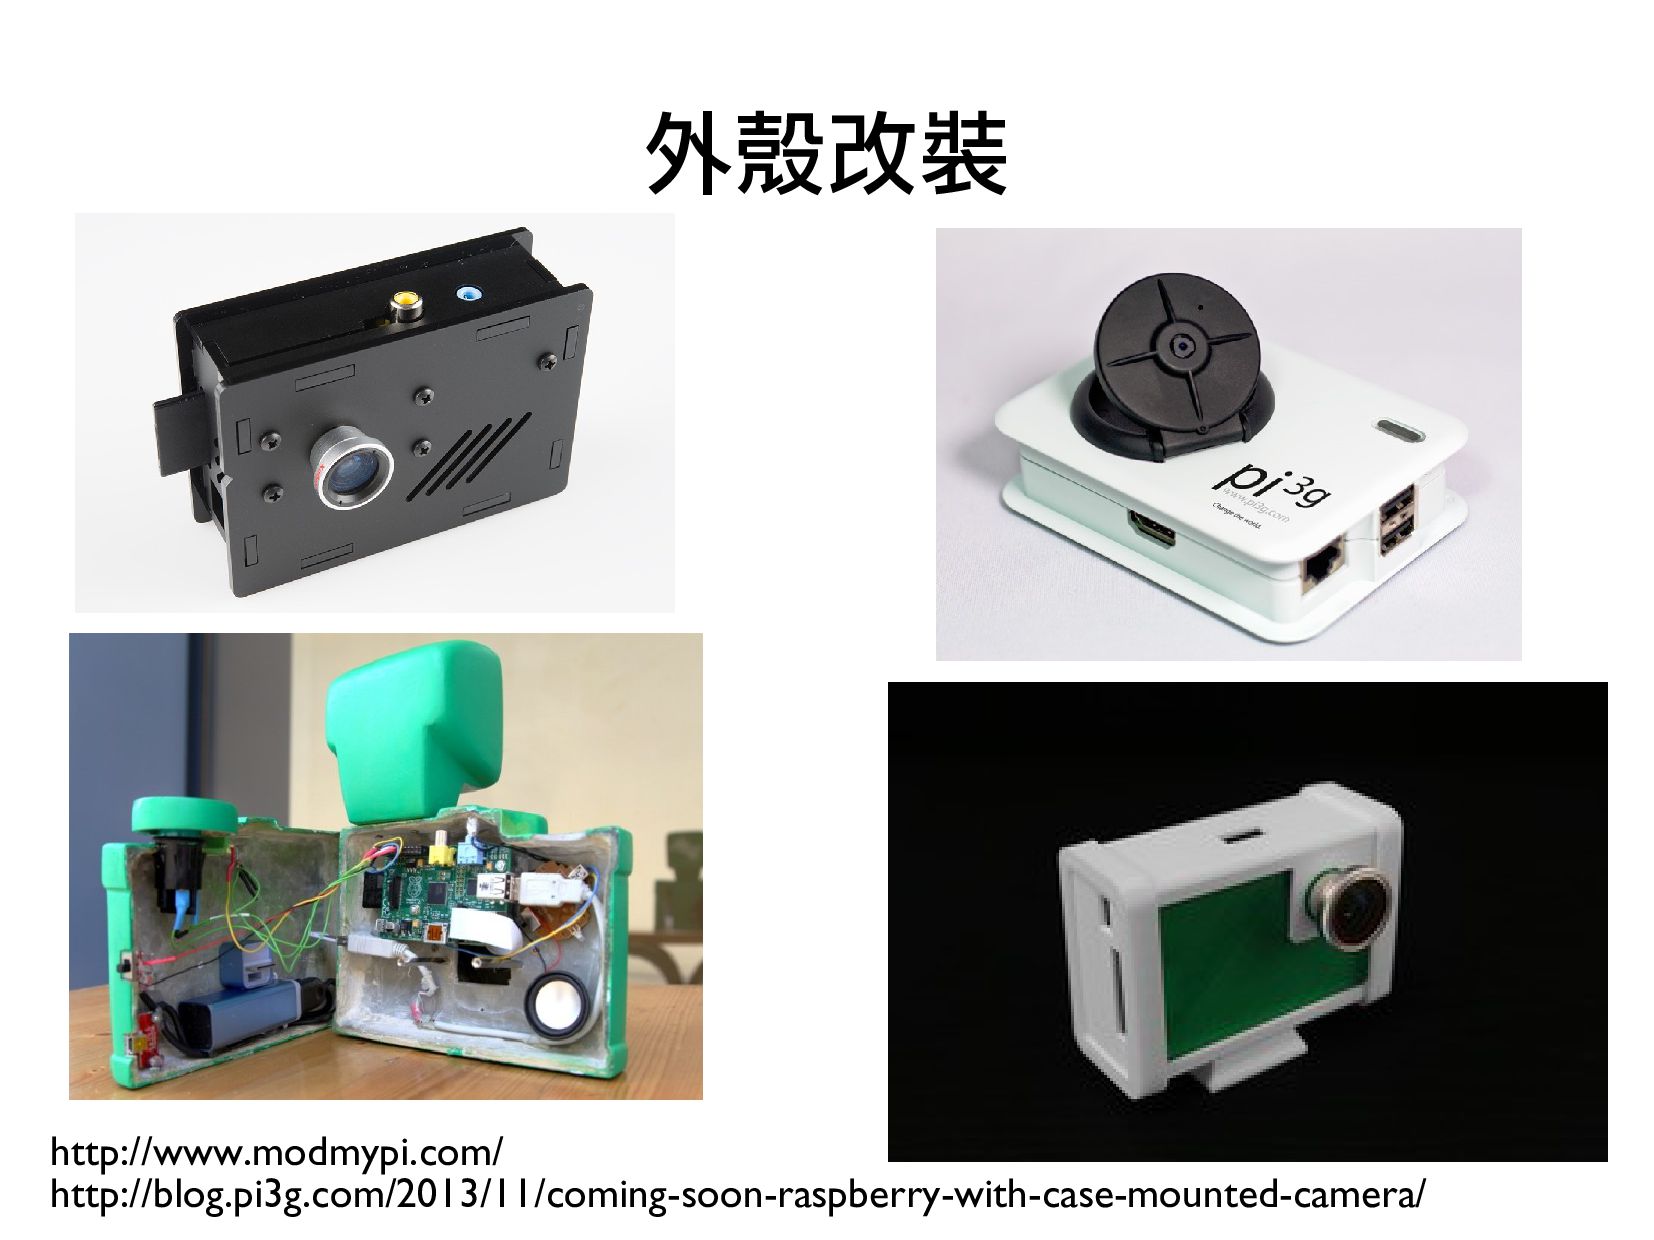
- Camera 改裝套件介紹
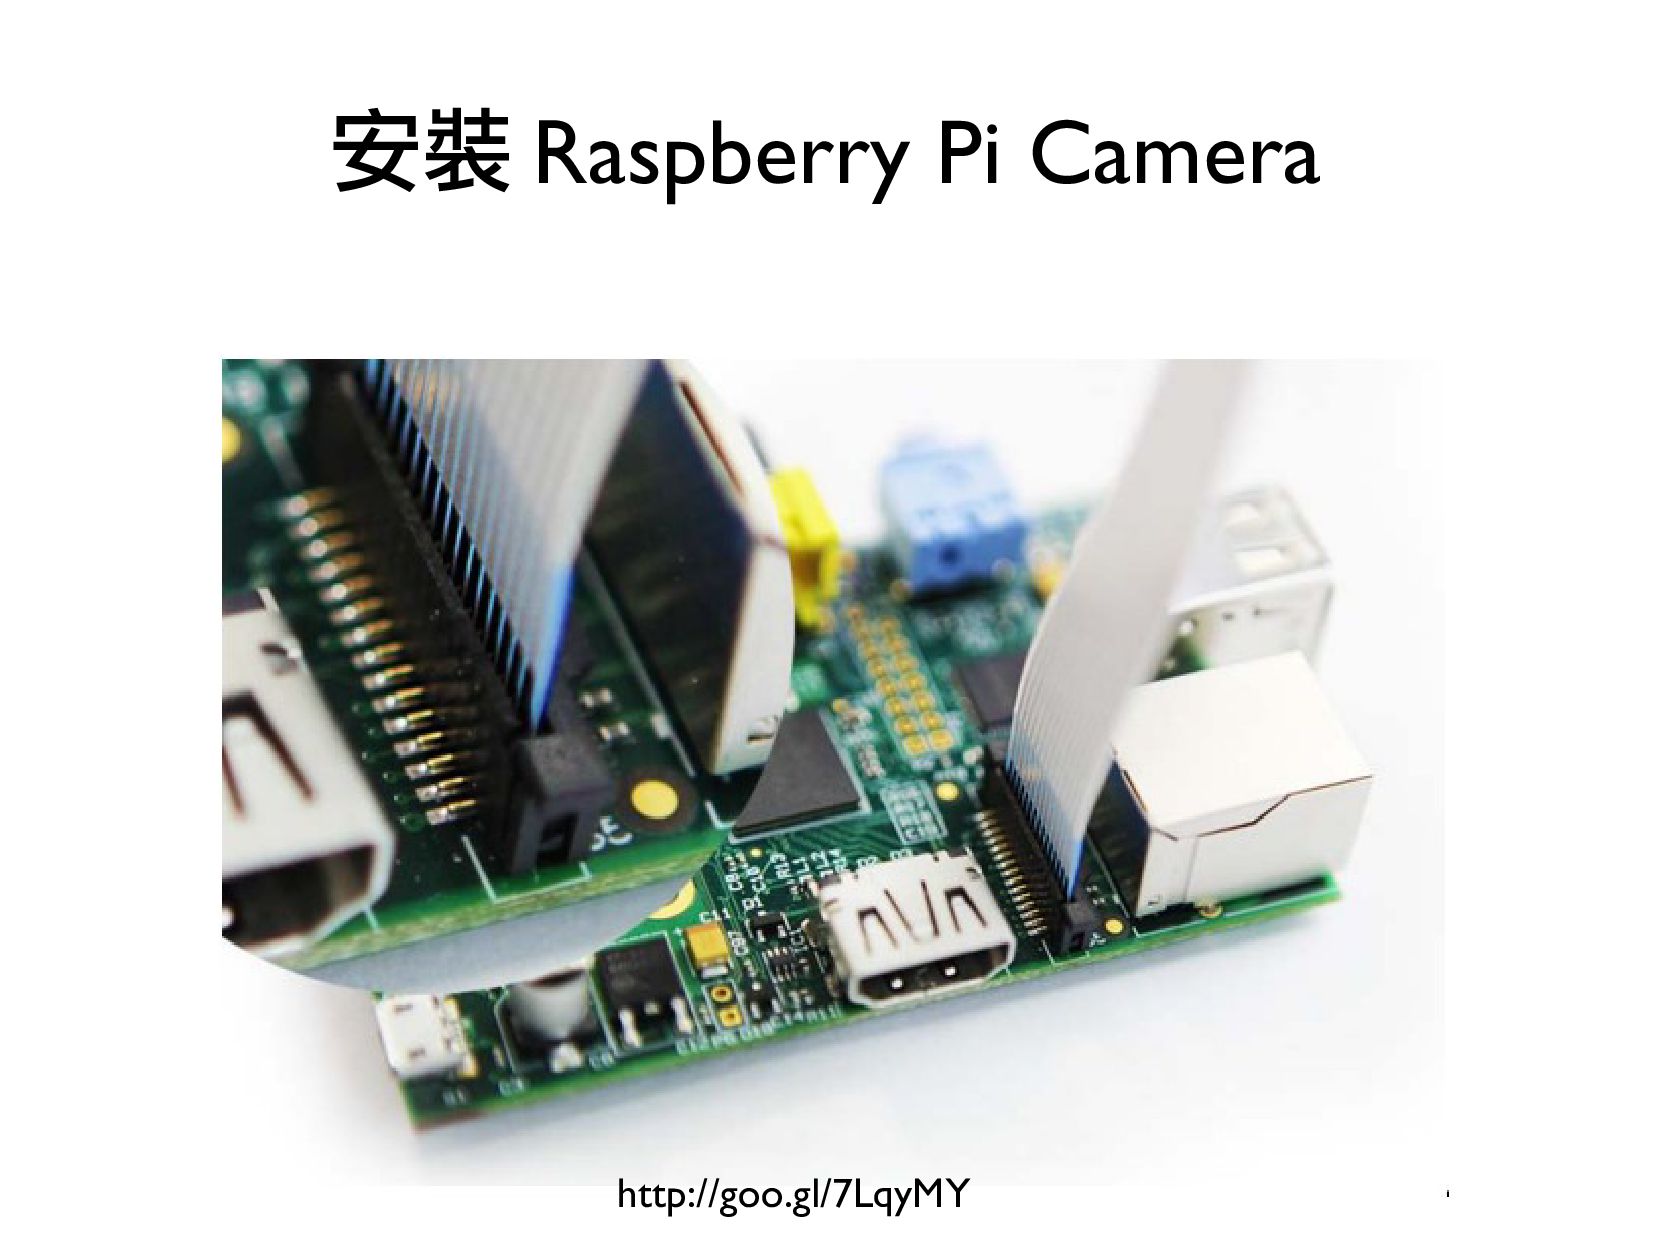
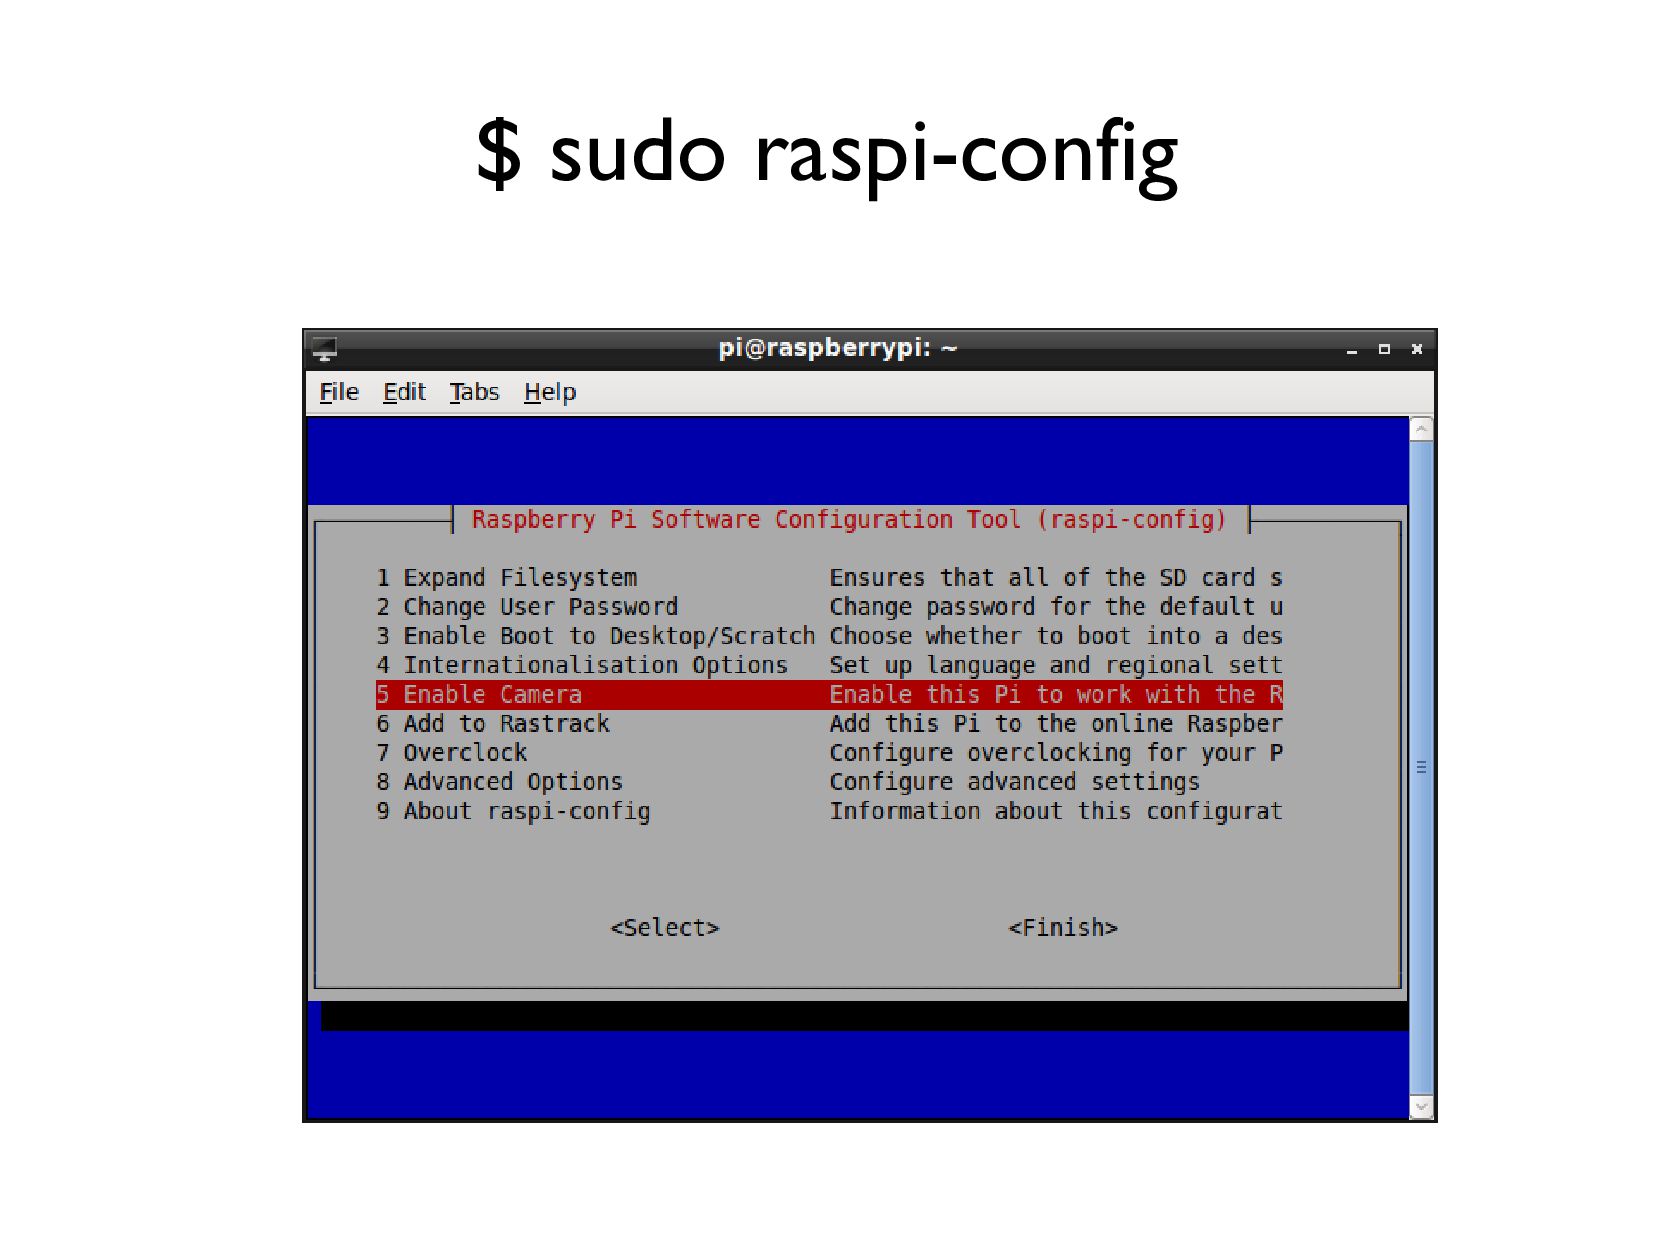
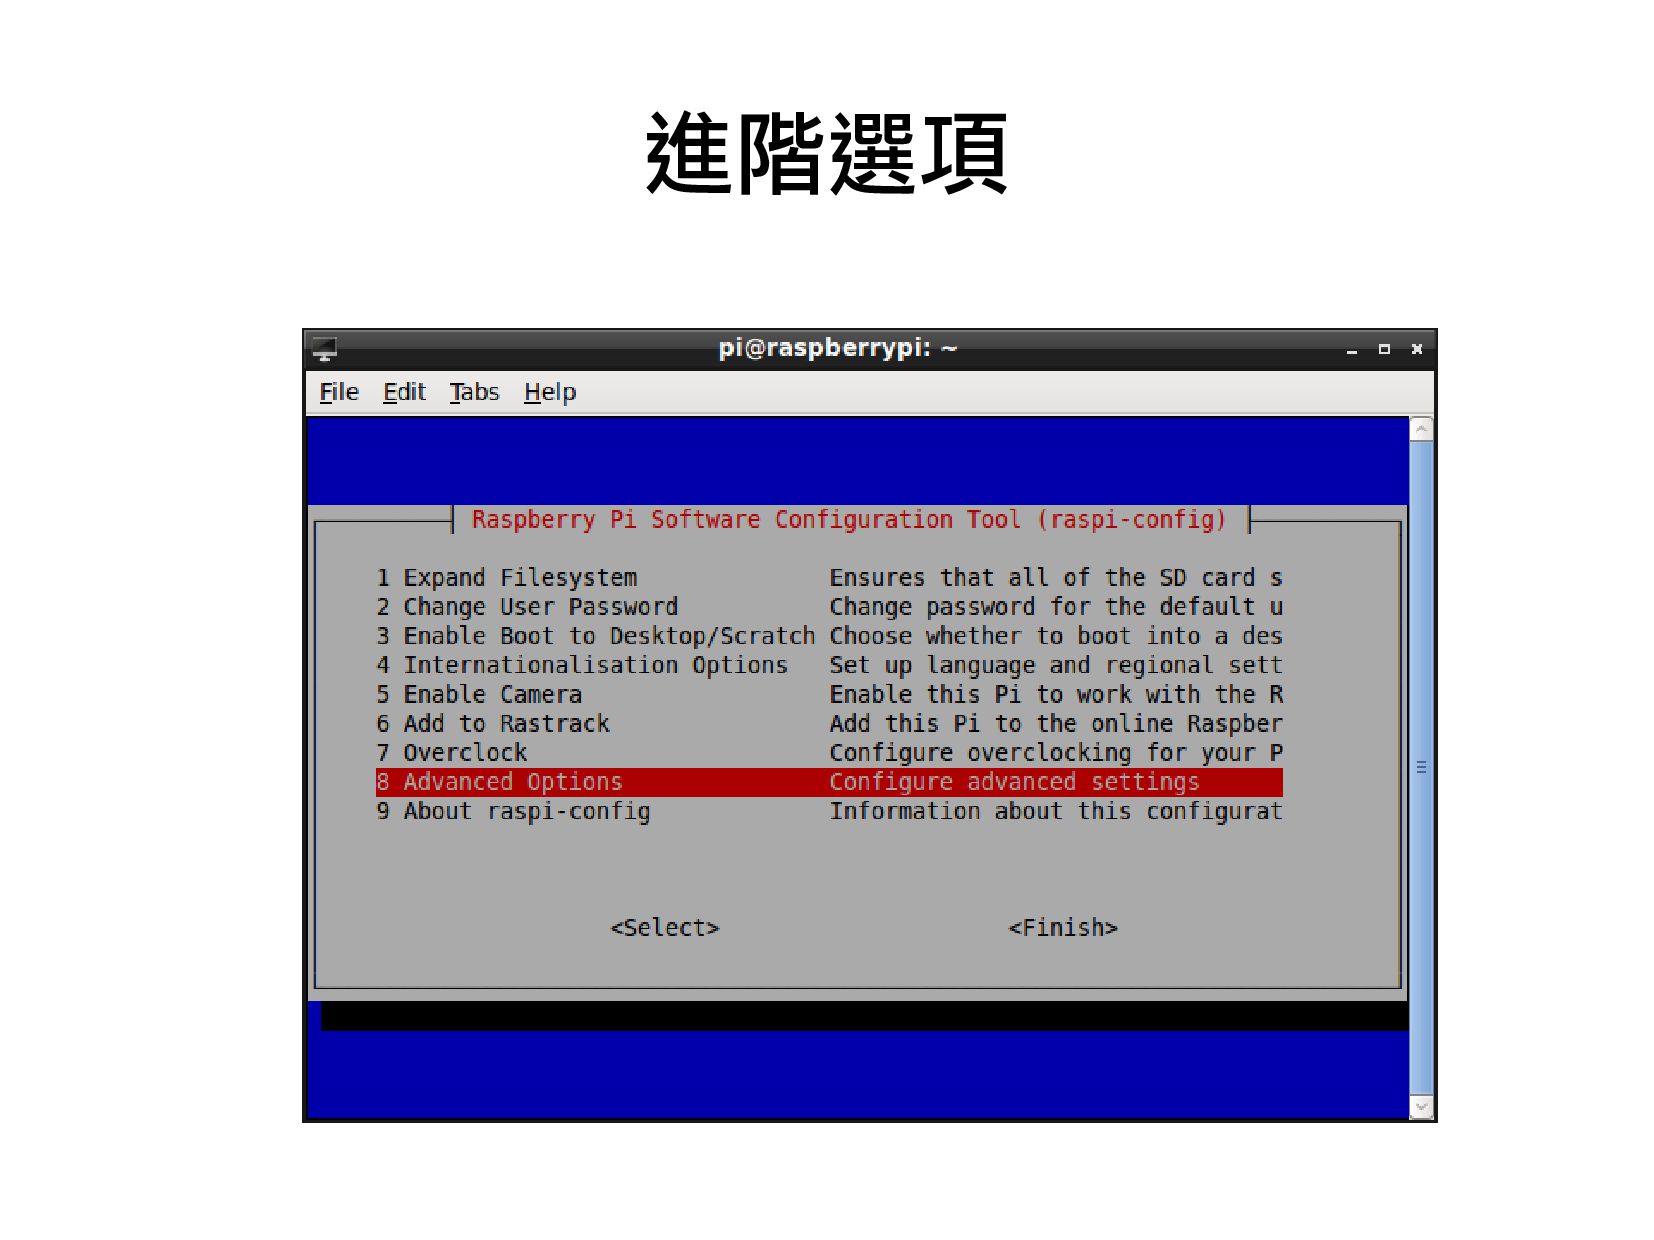
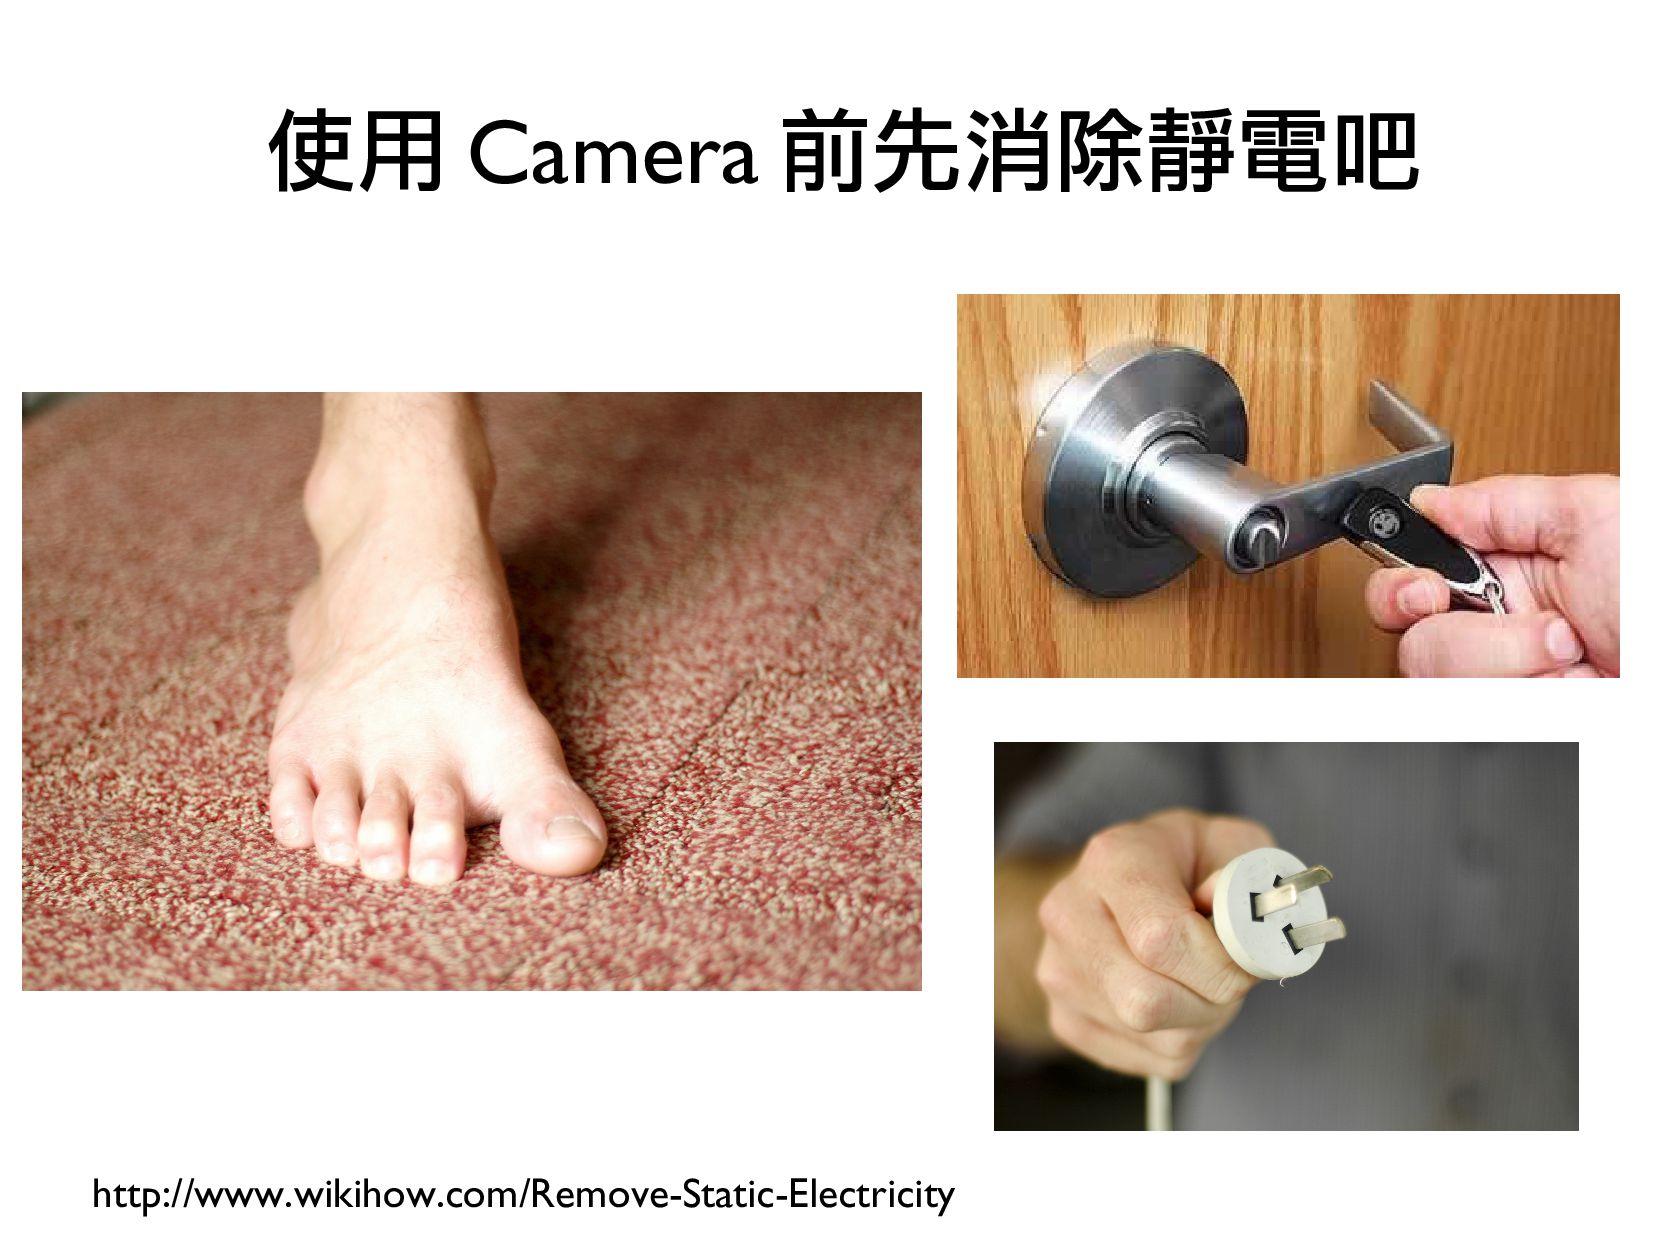
- Camera 安裝與設定
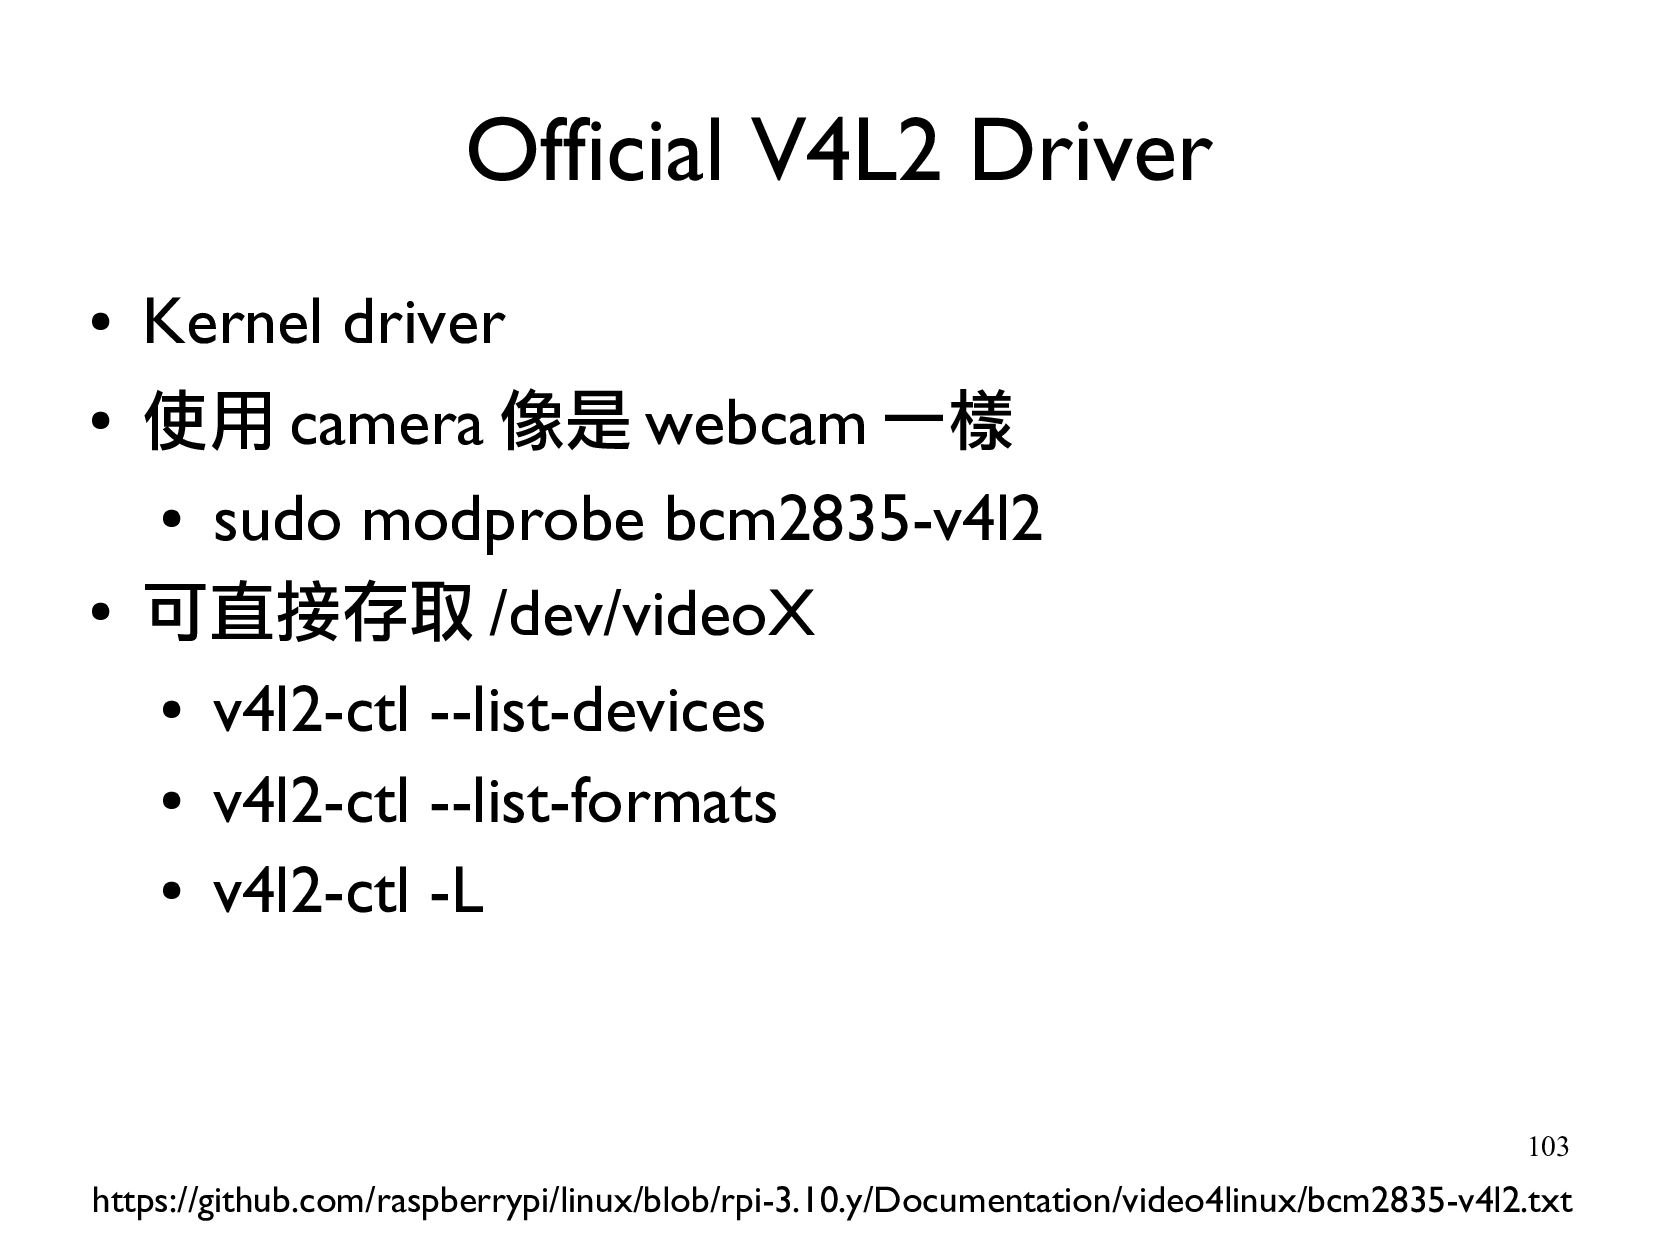
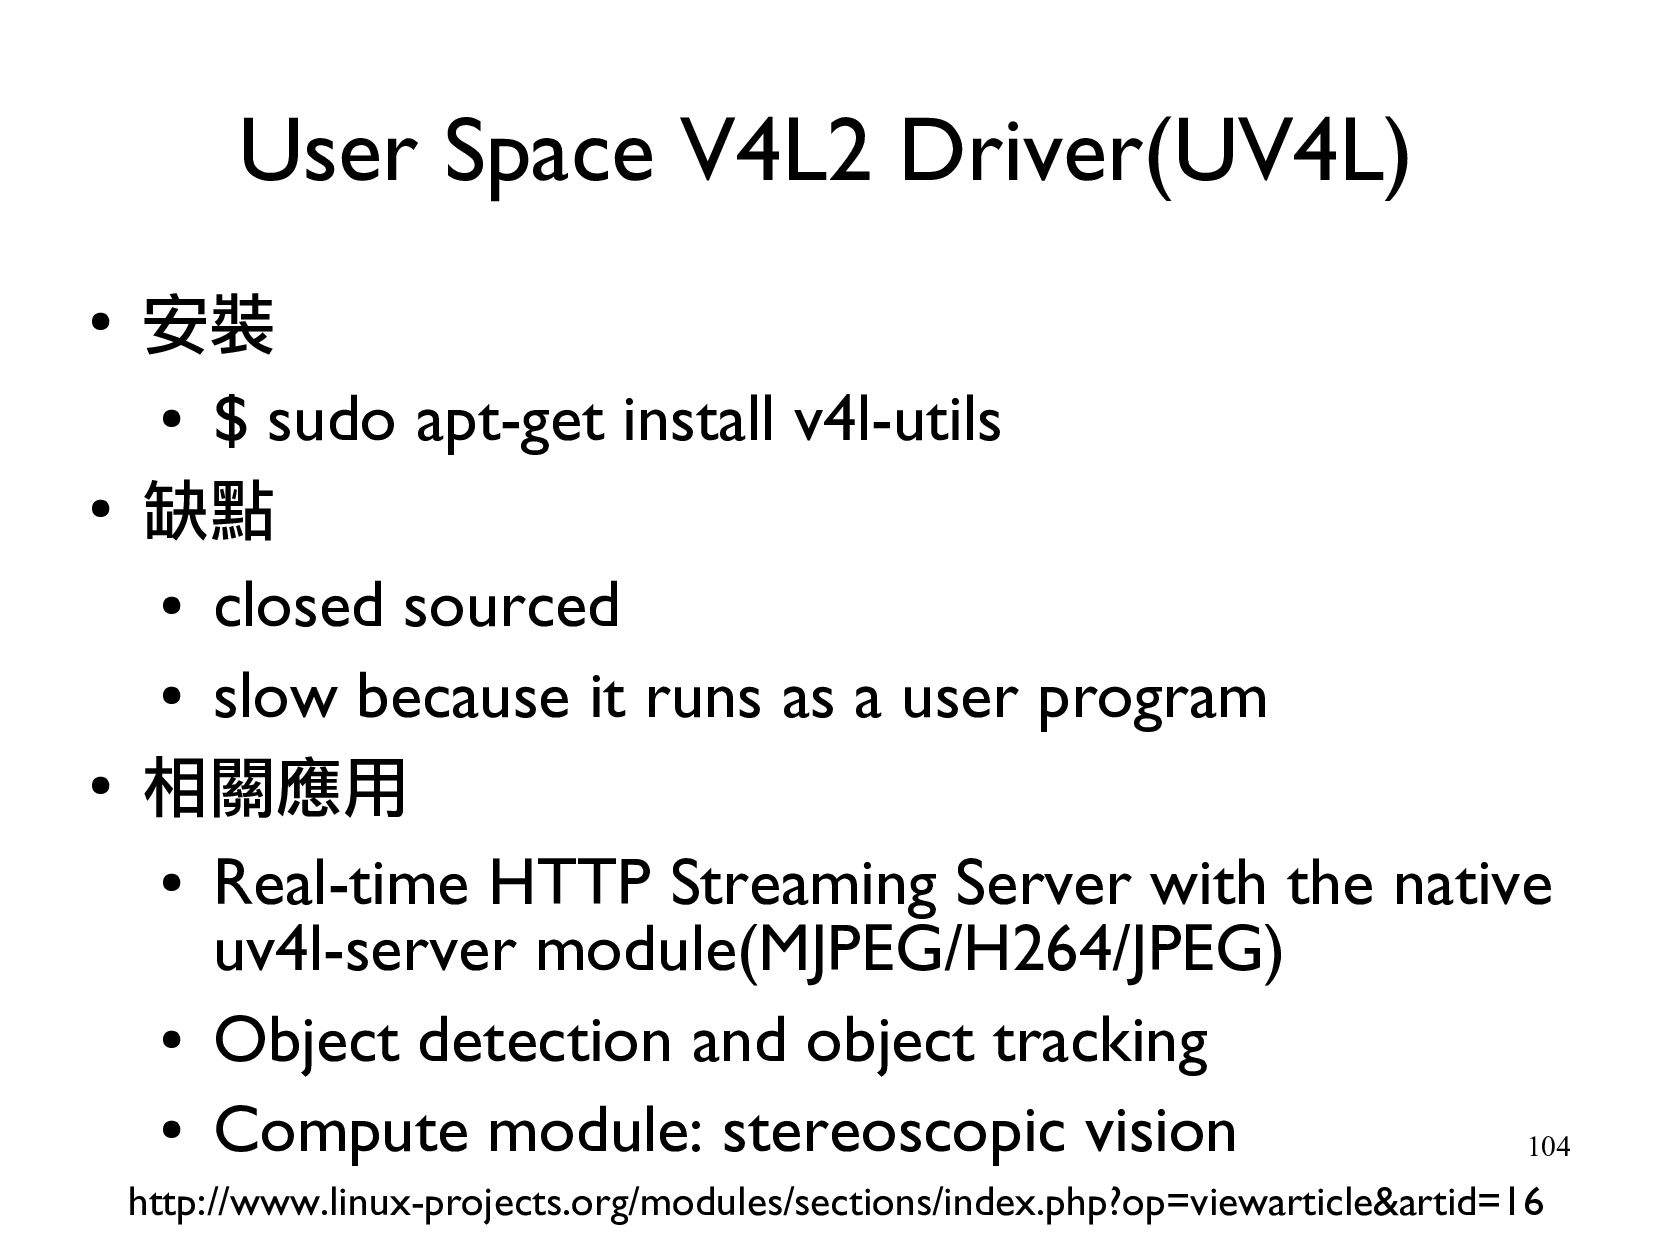
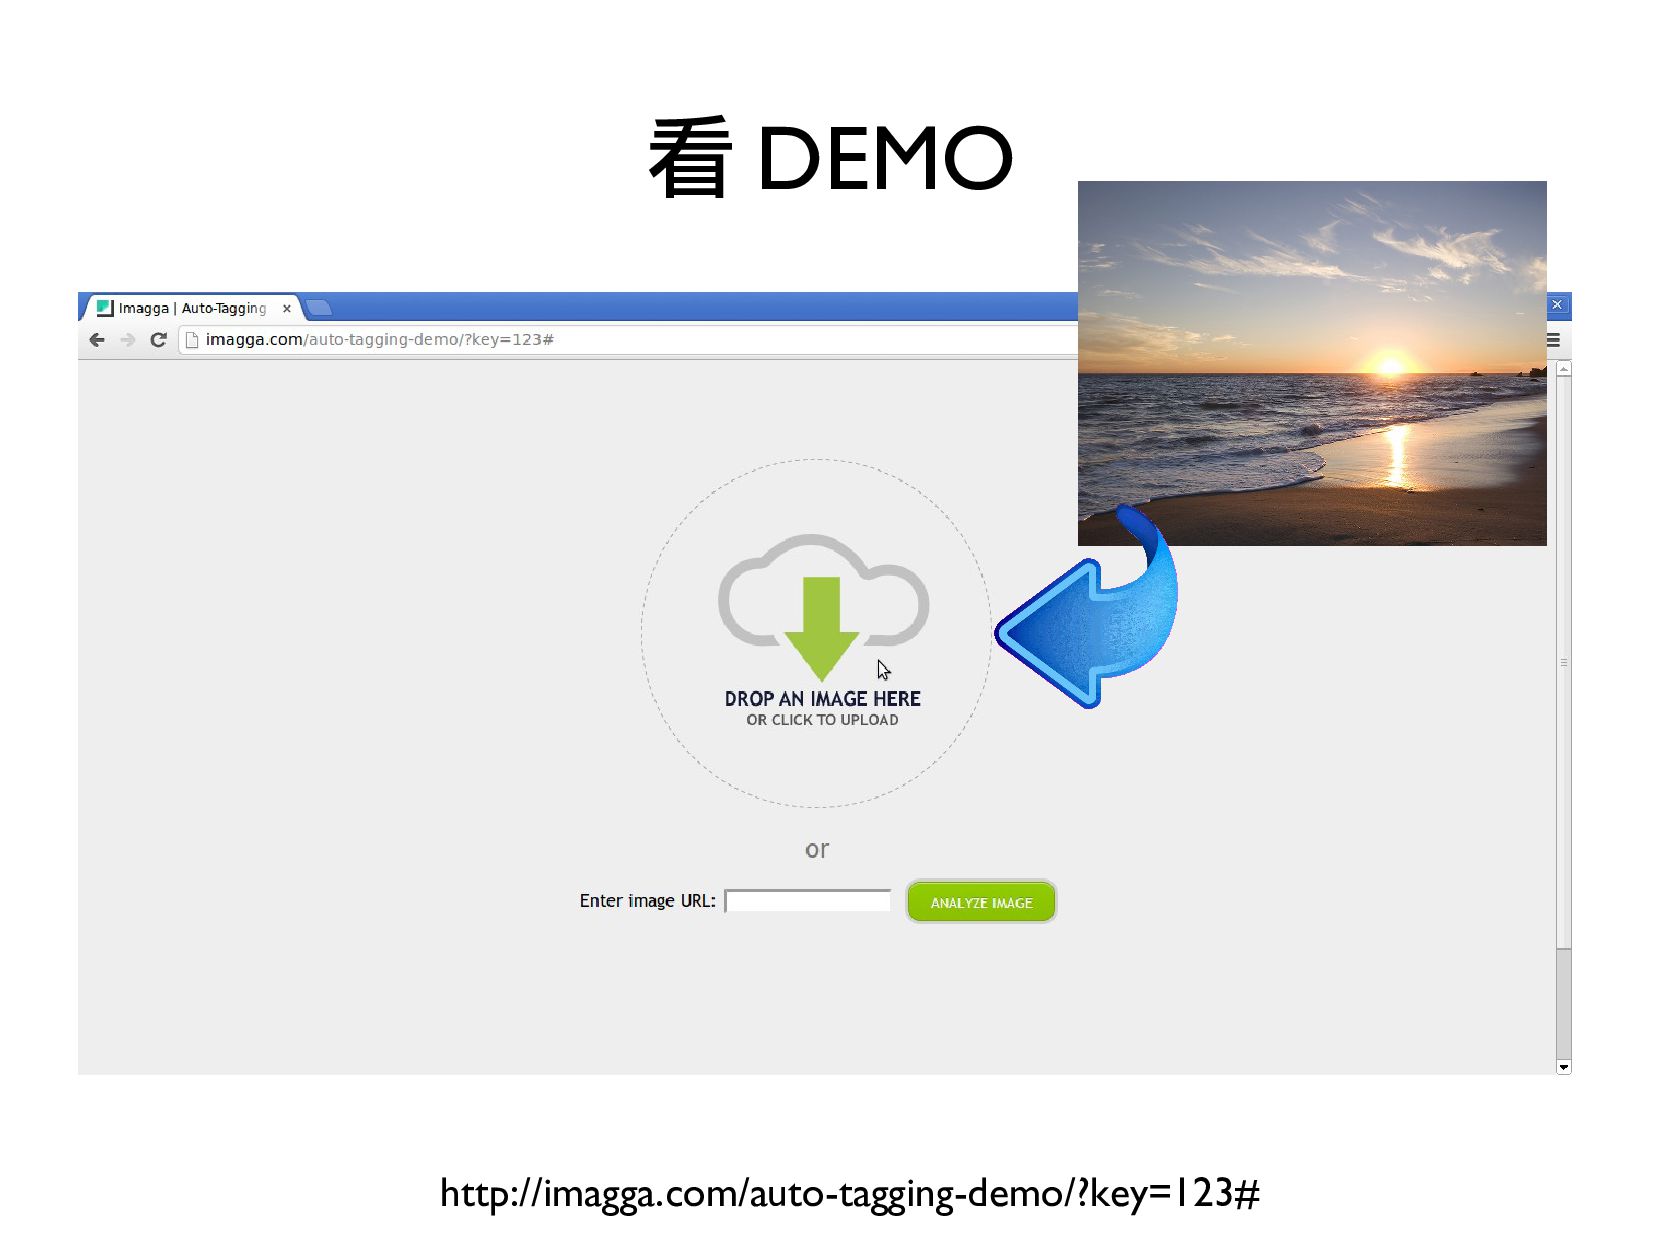
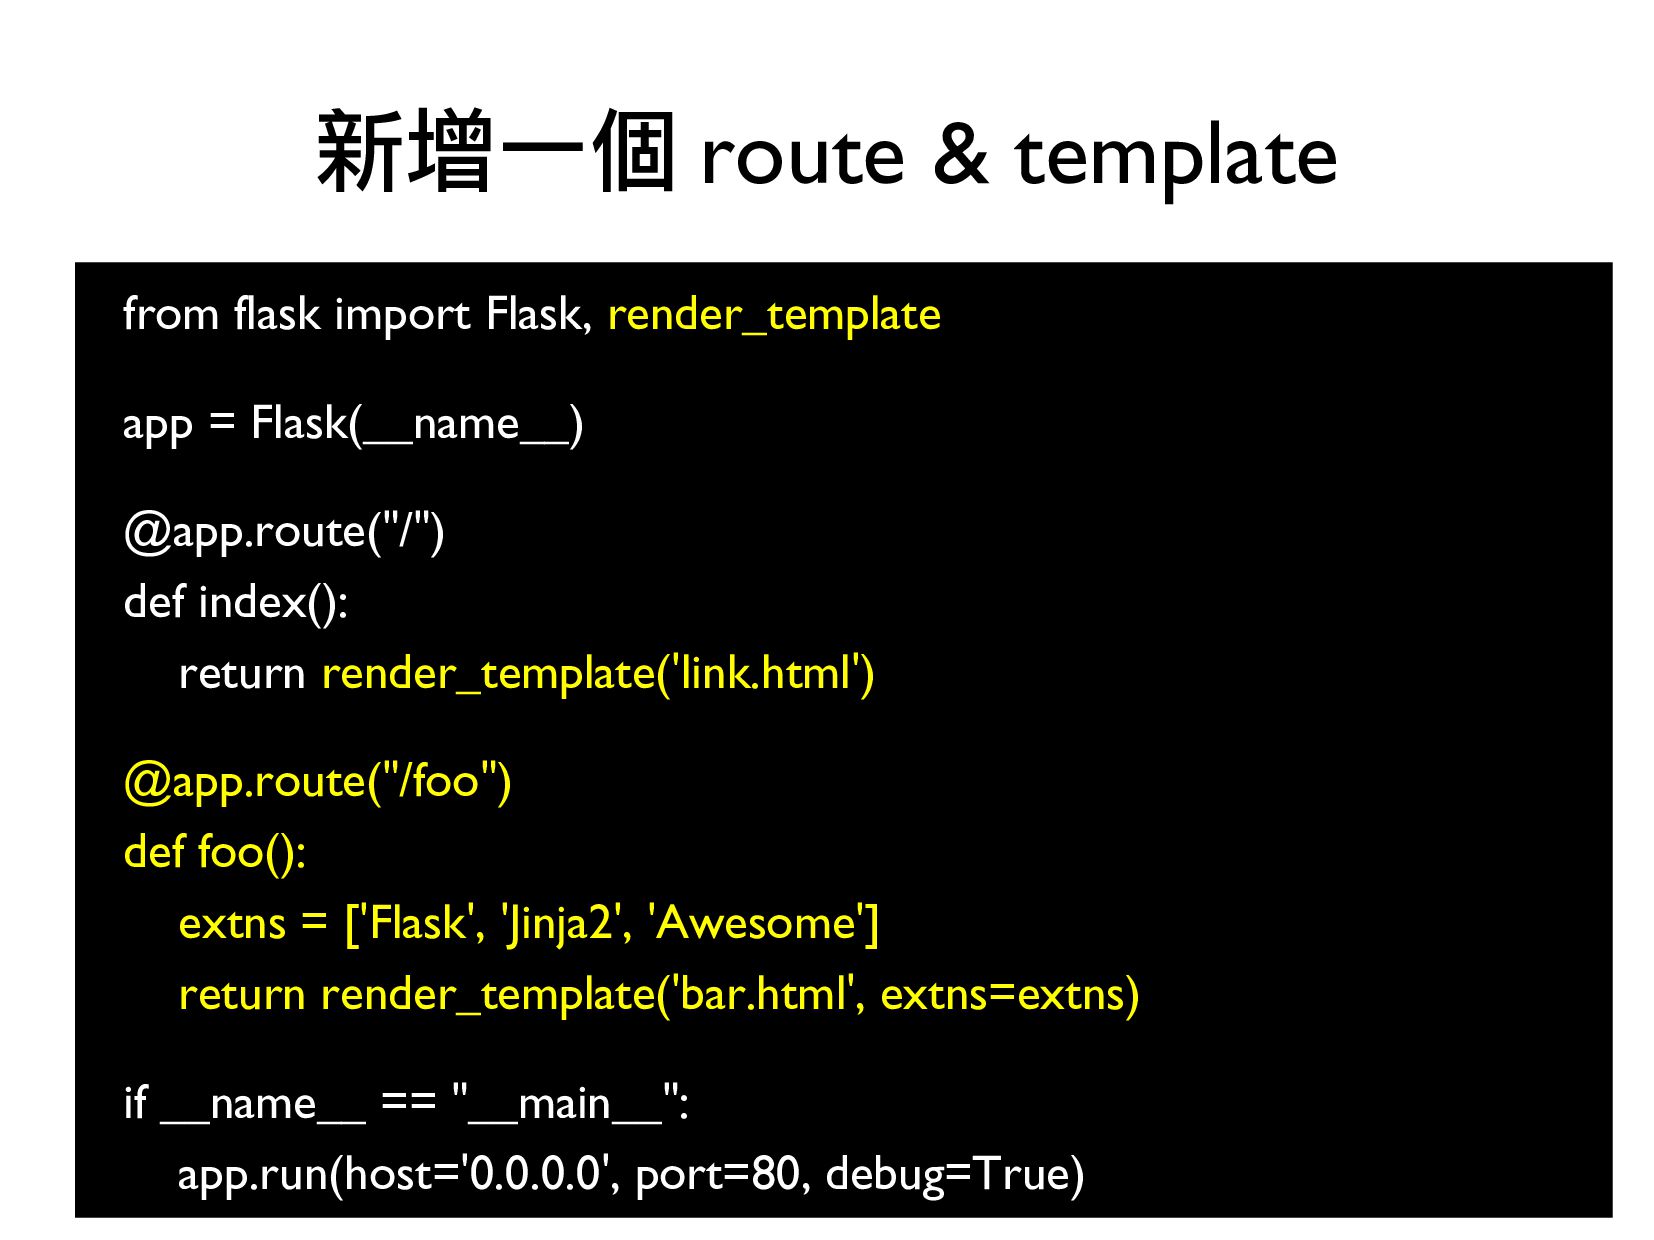
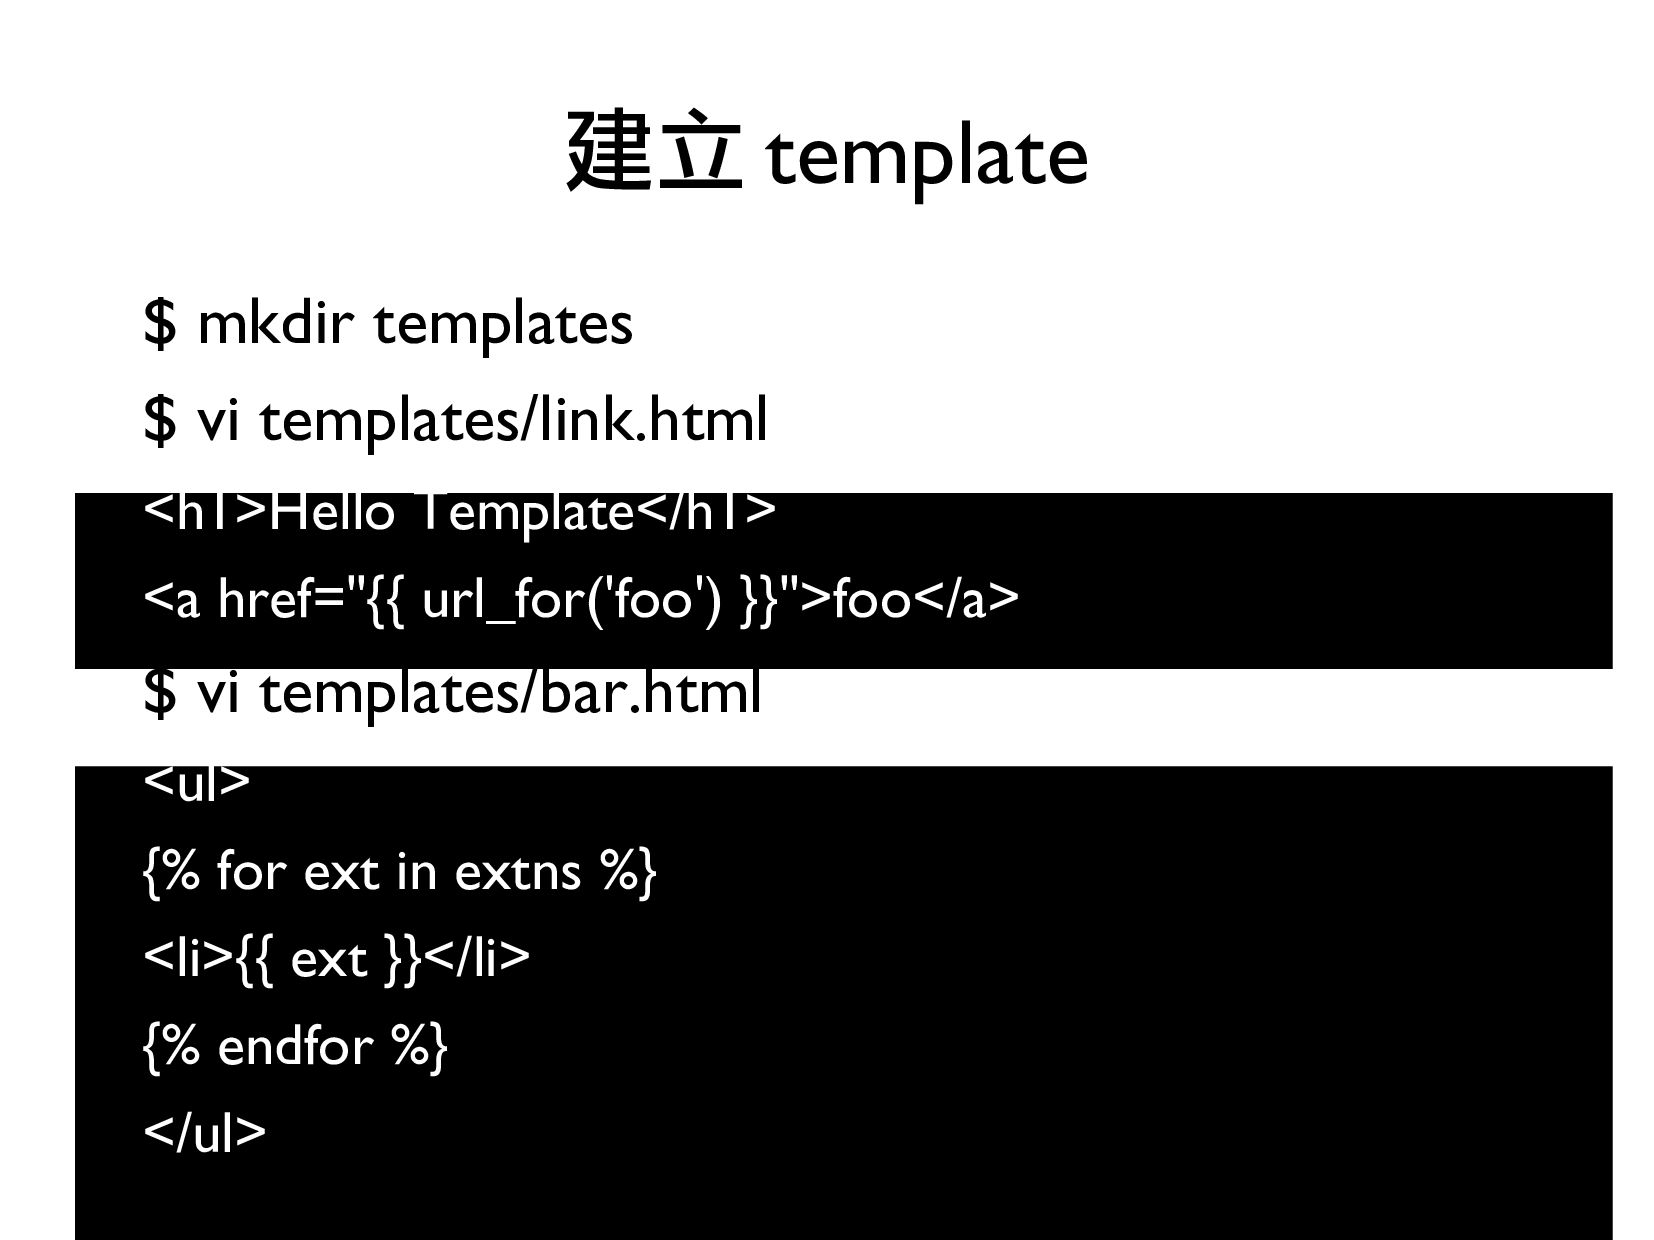
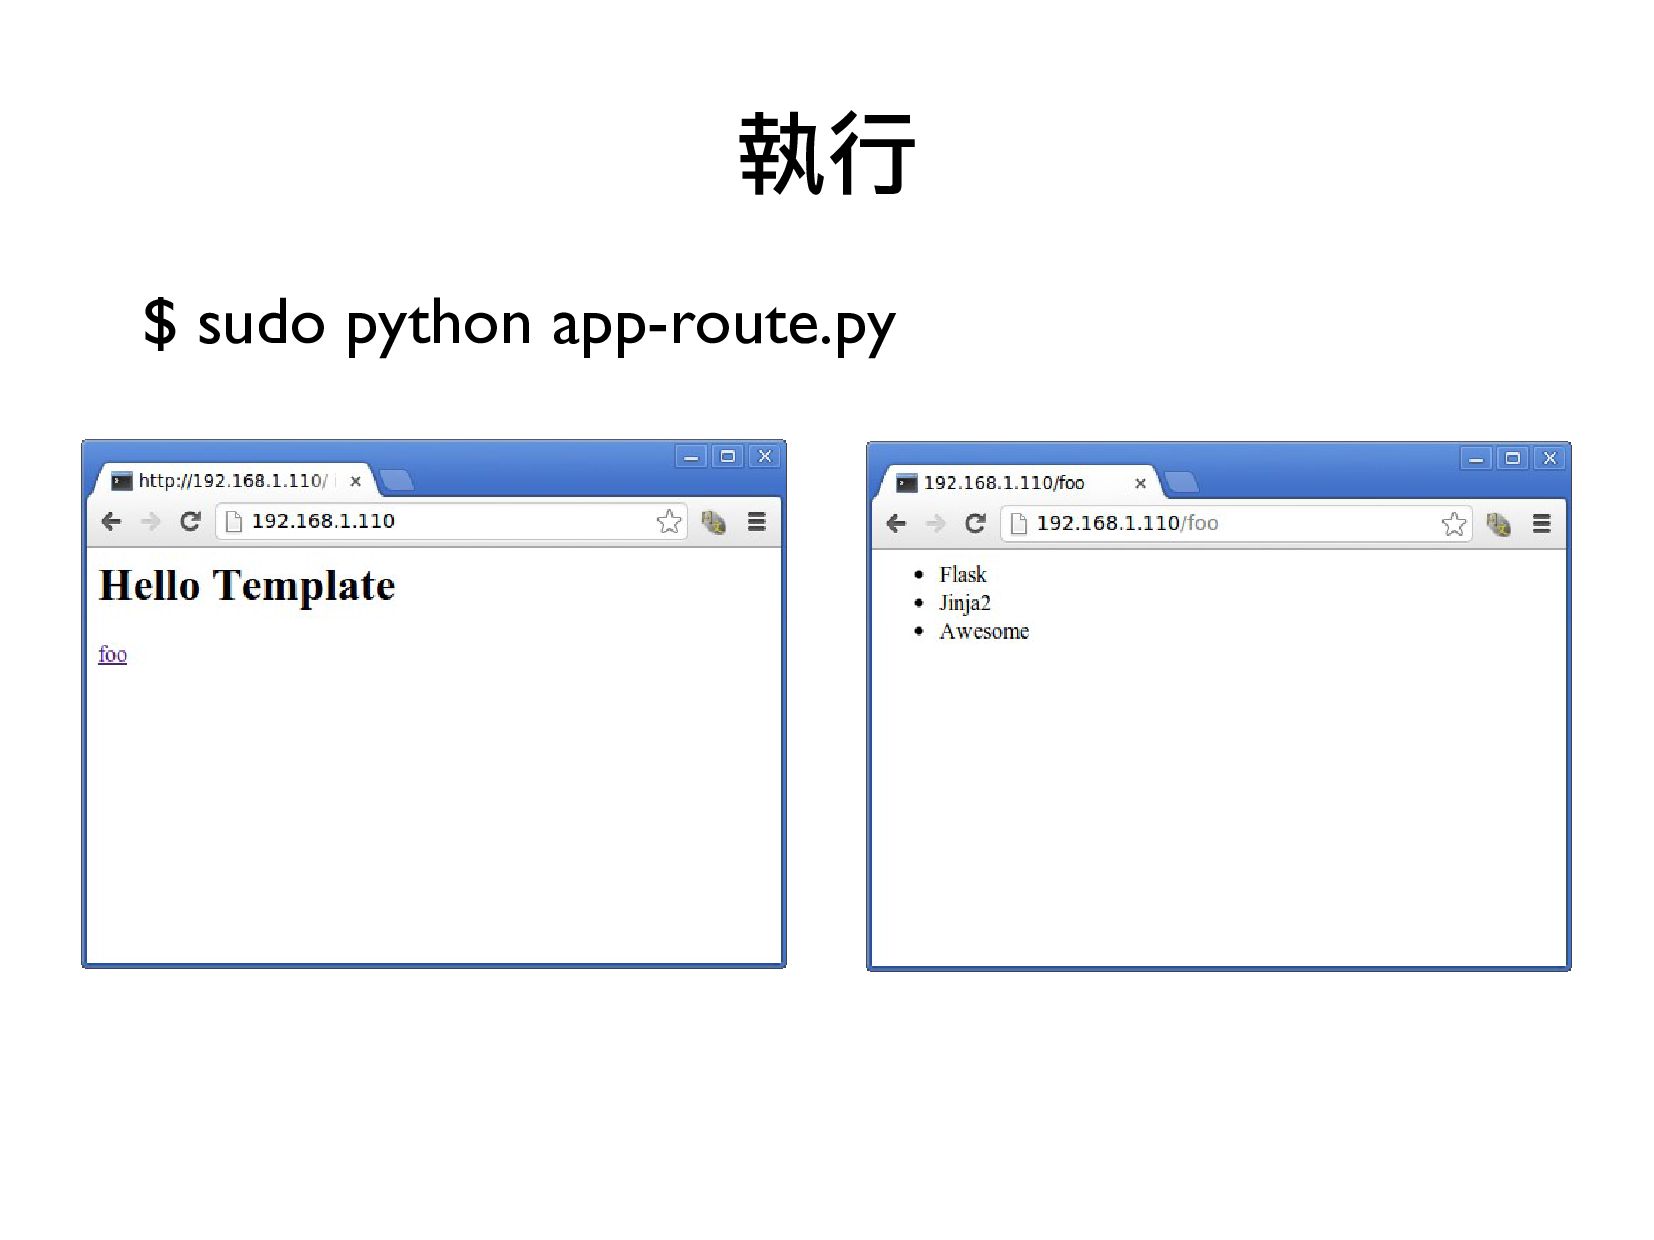
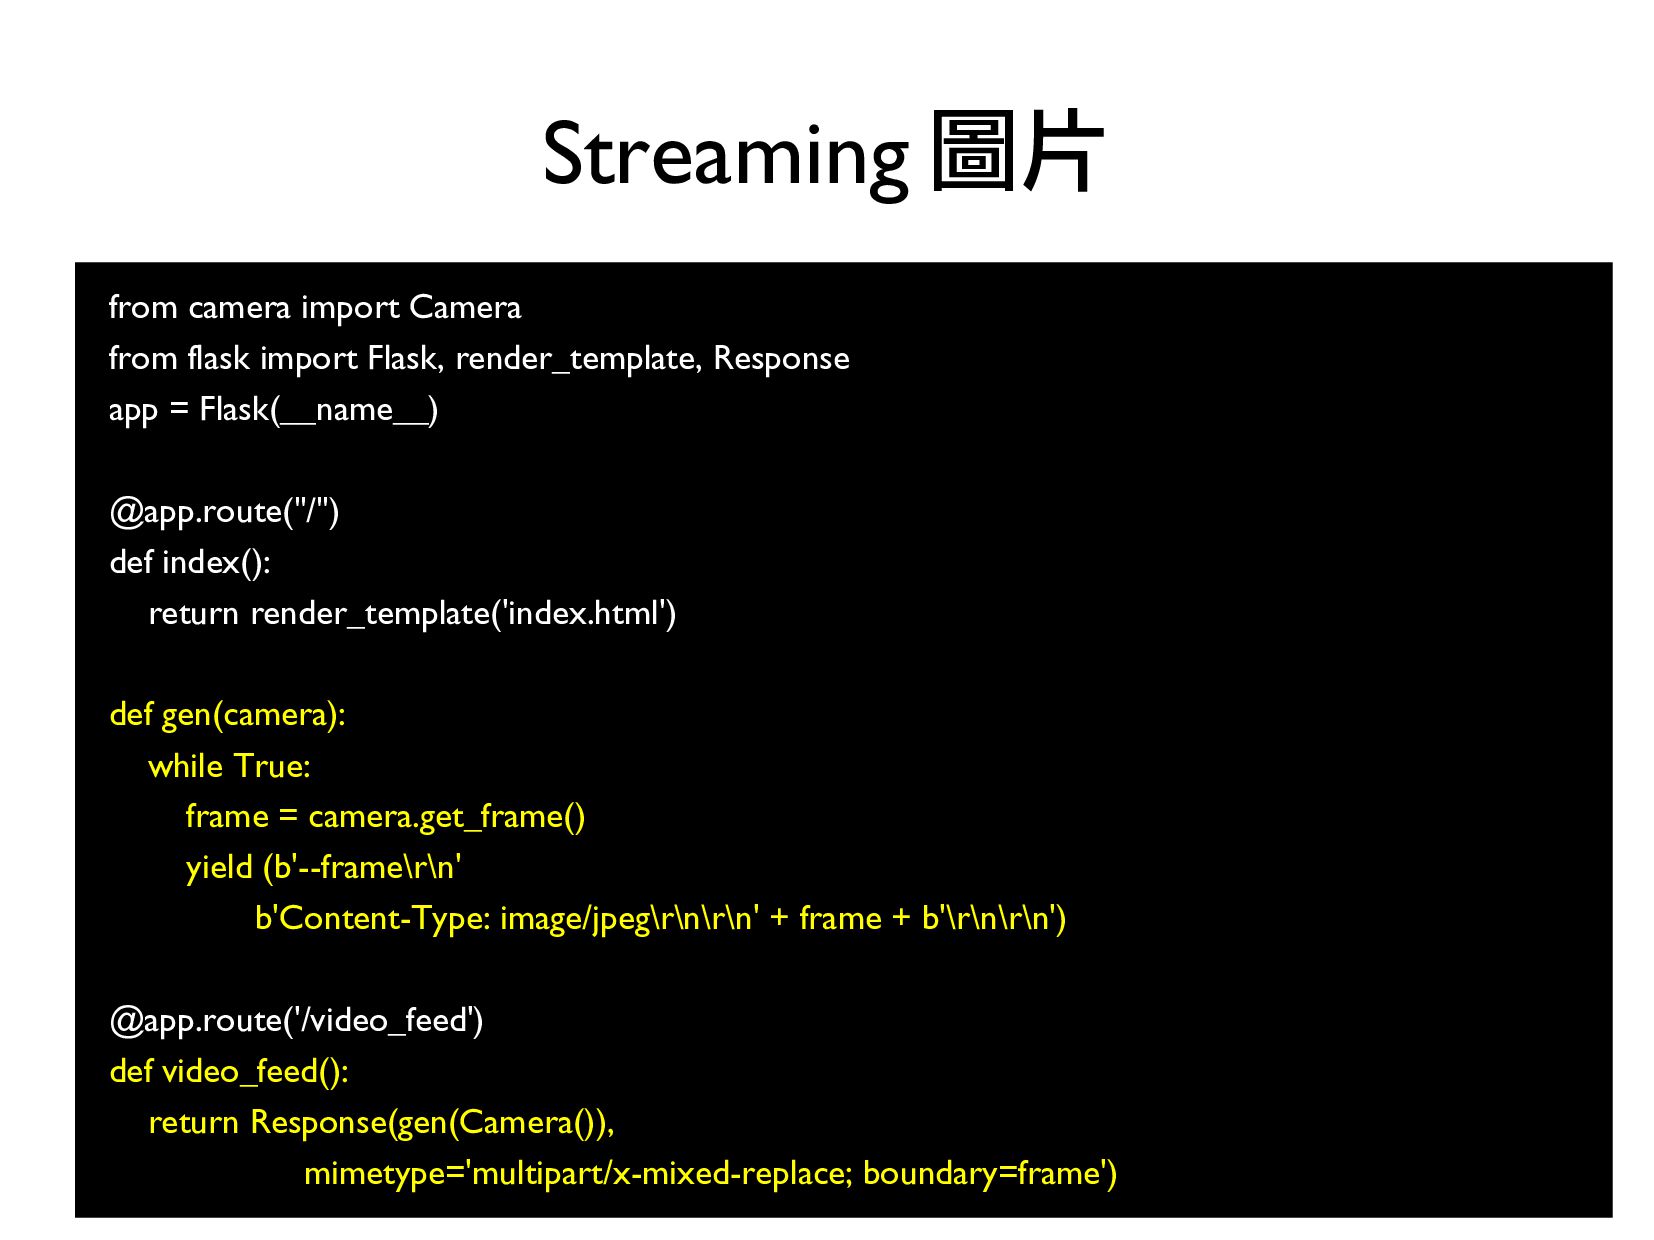
3. 基礎 Camera 使用 (2 小時)
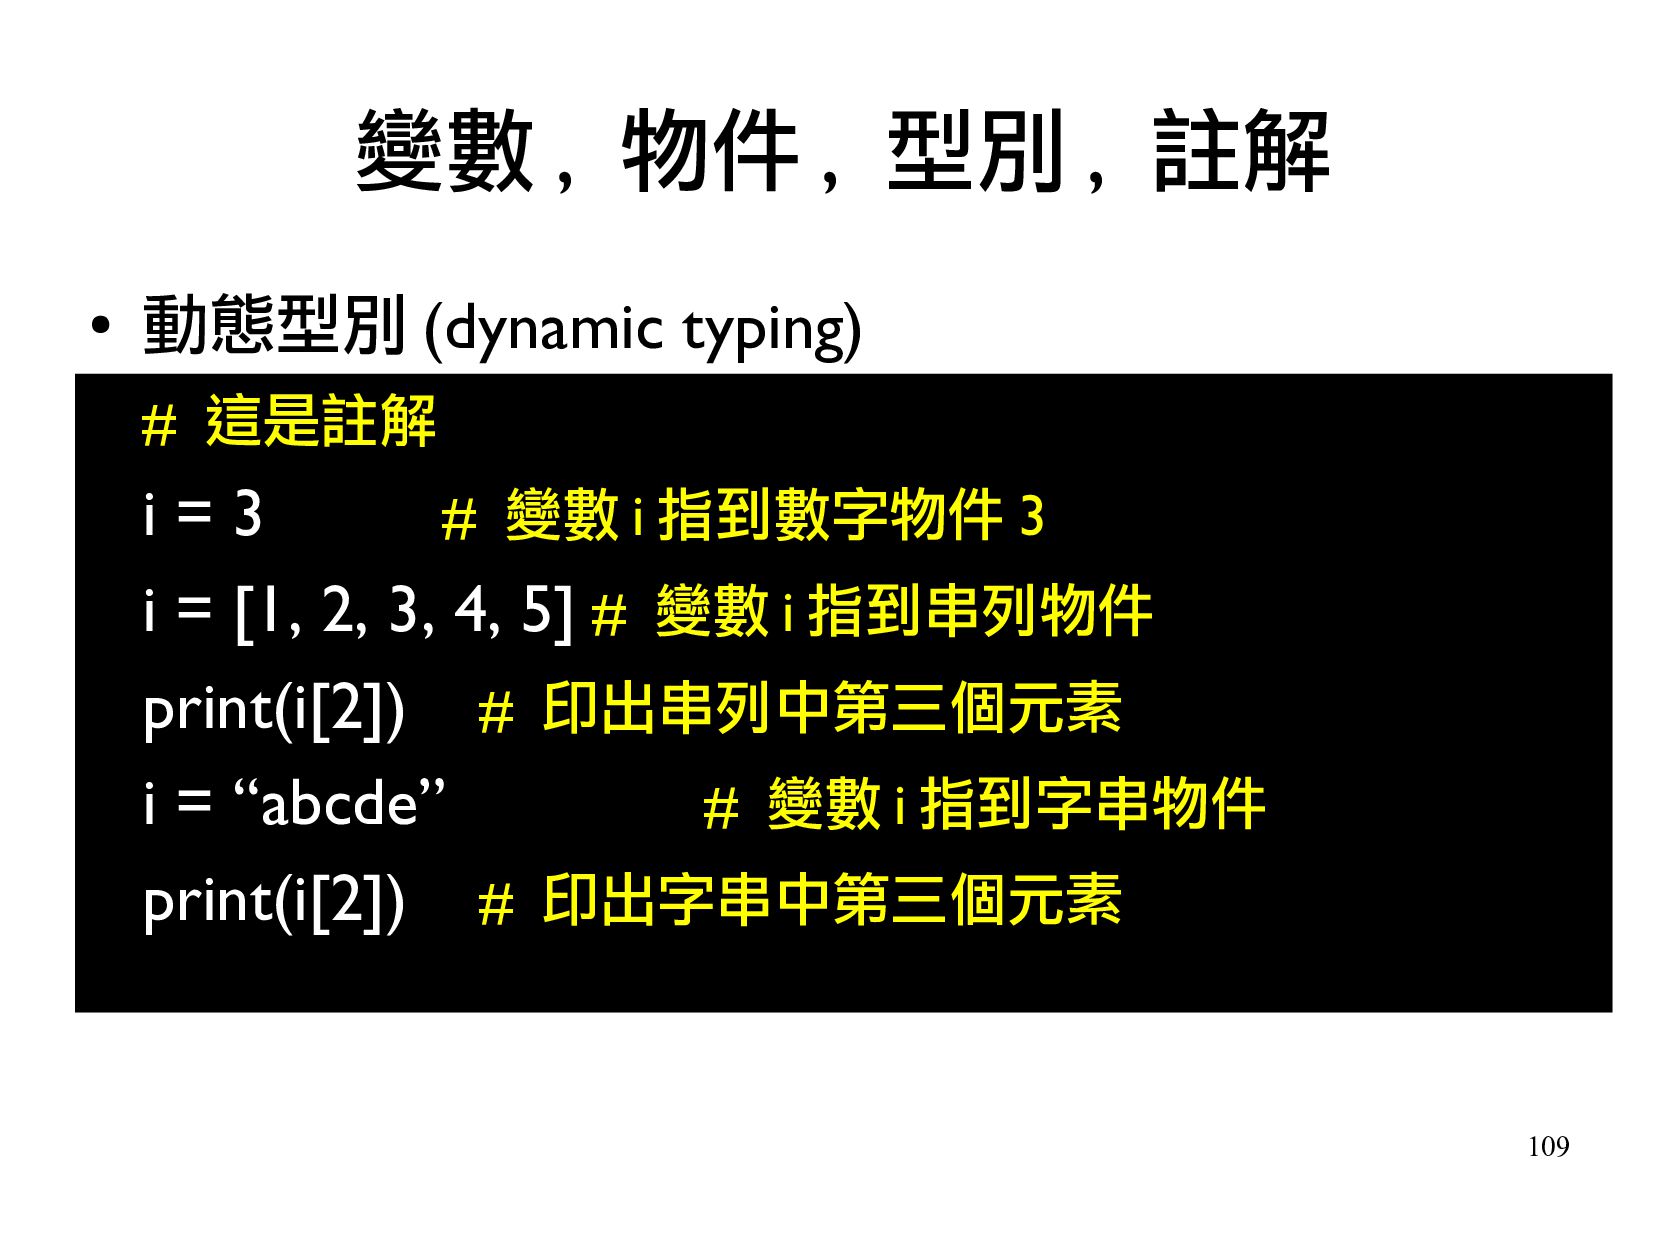
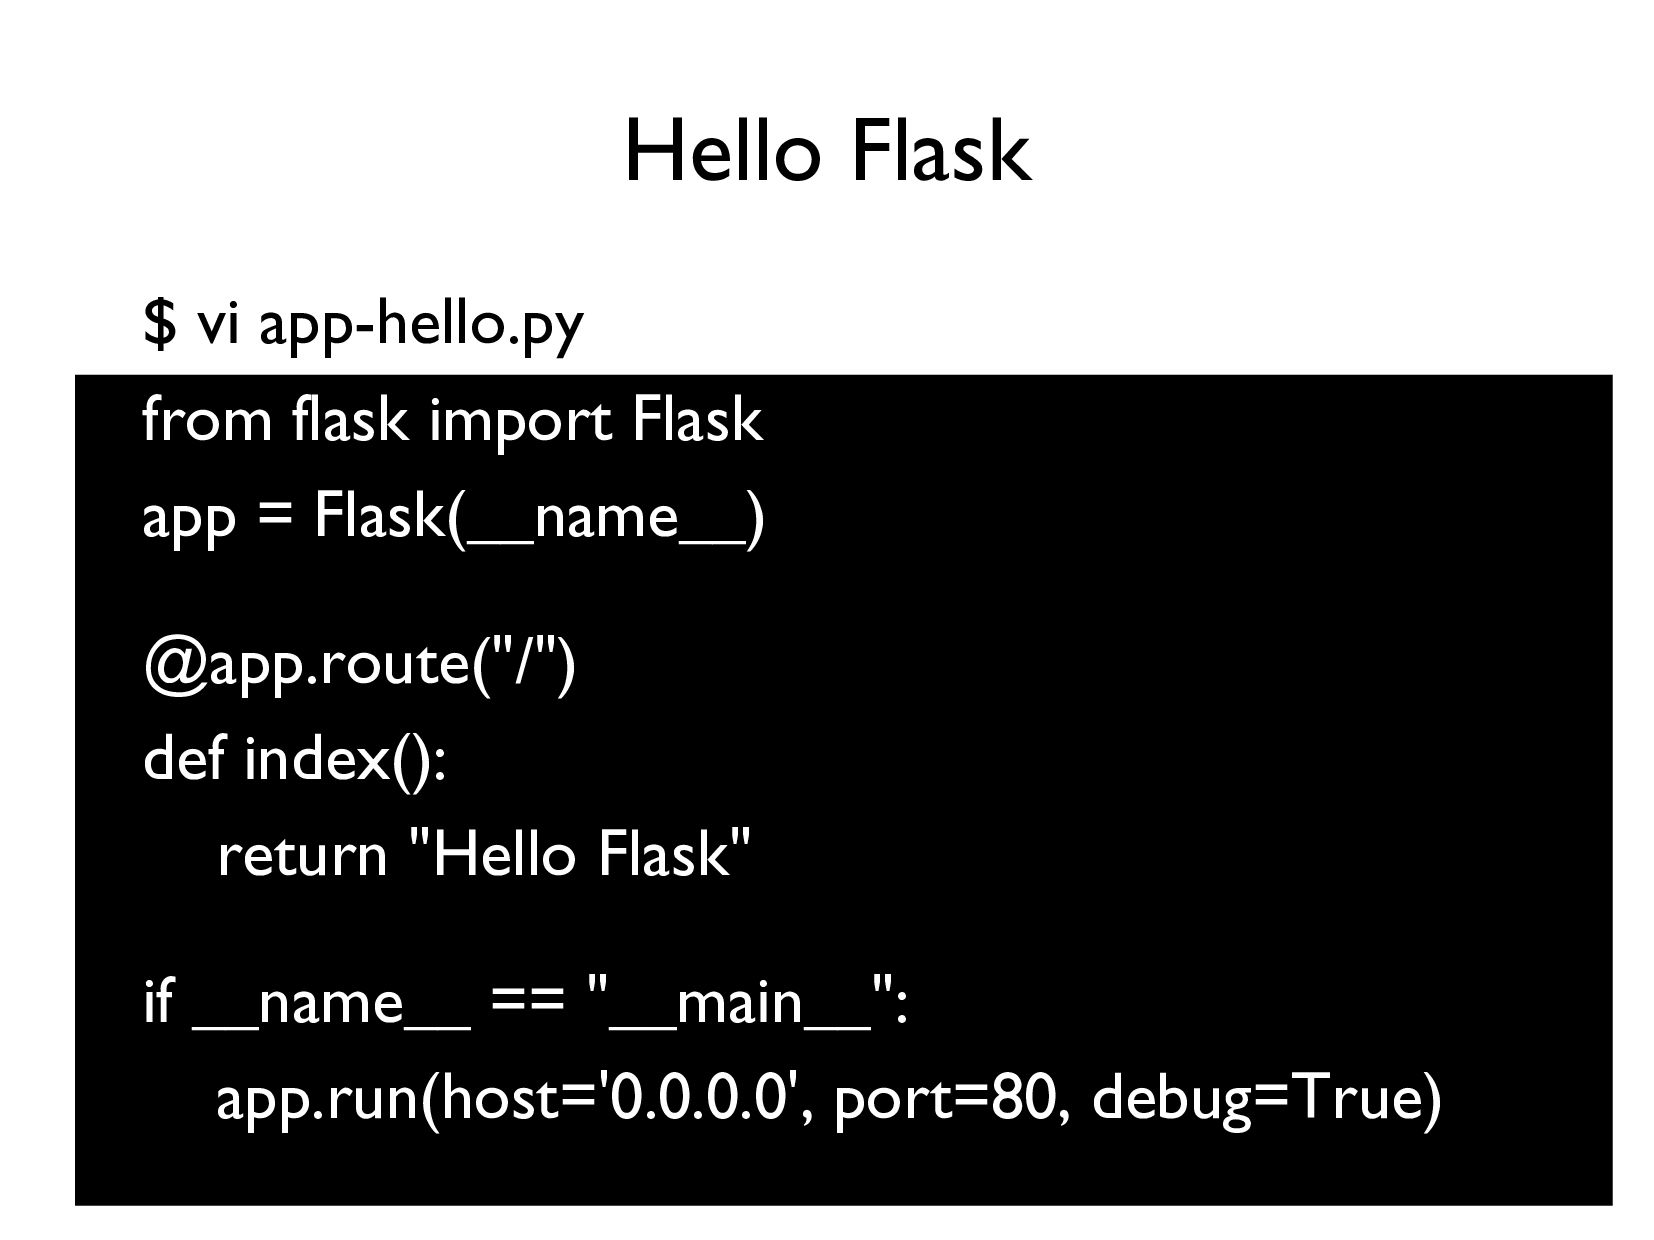
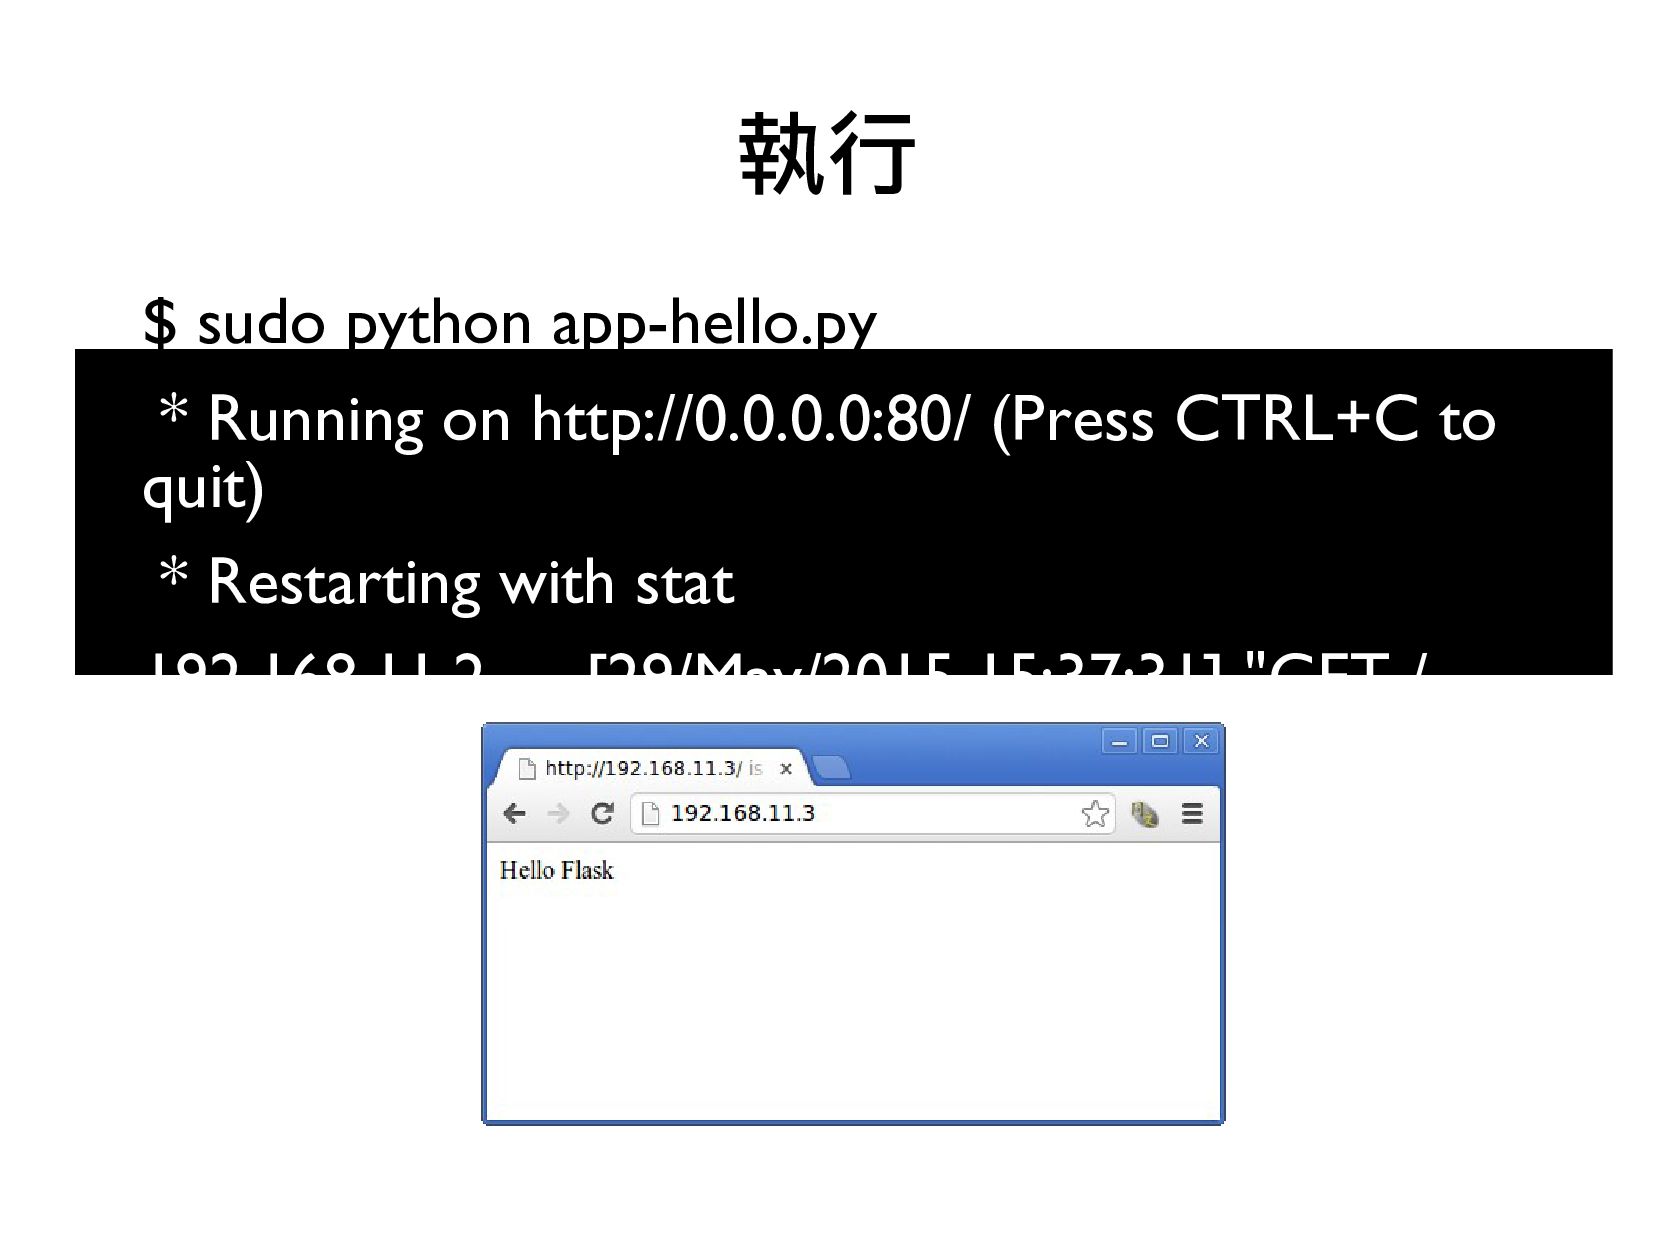
- 用 Python 控制
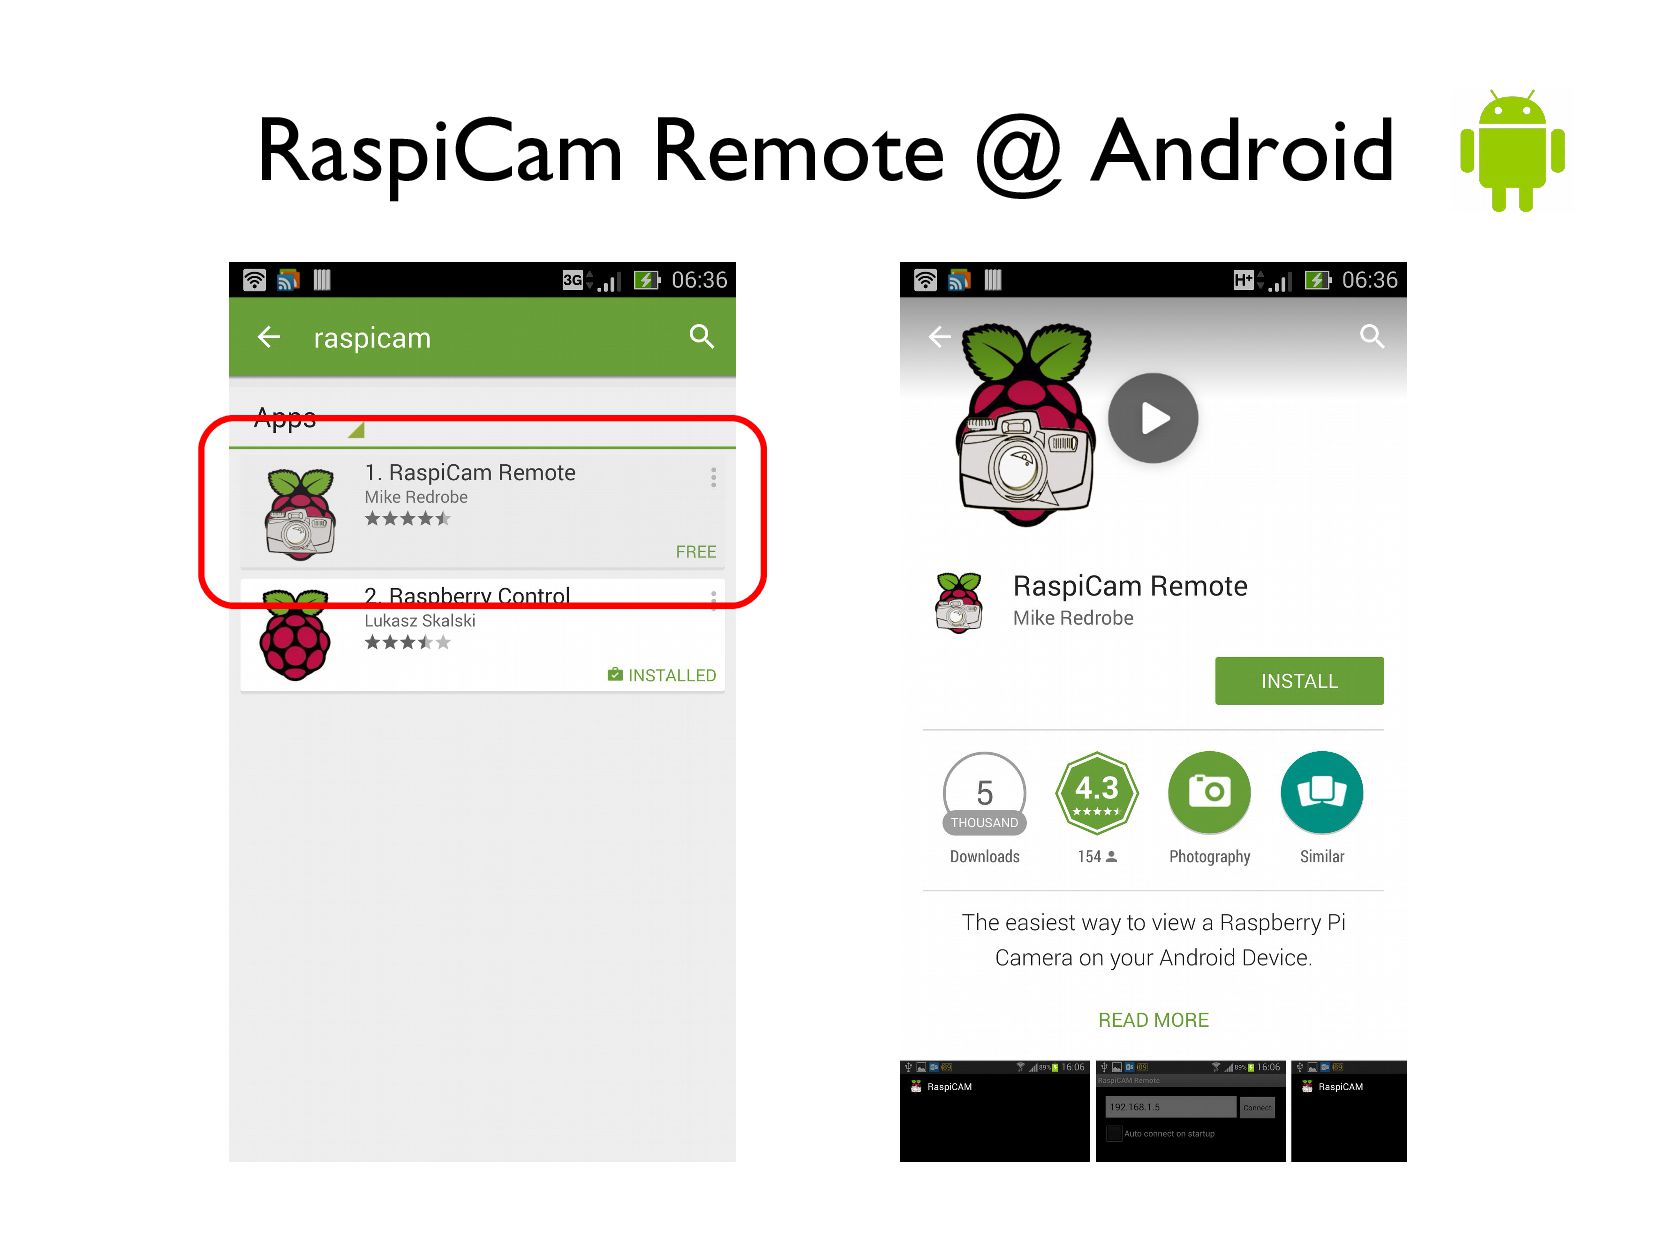
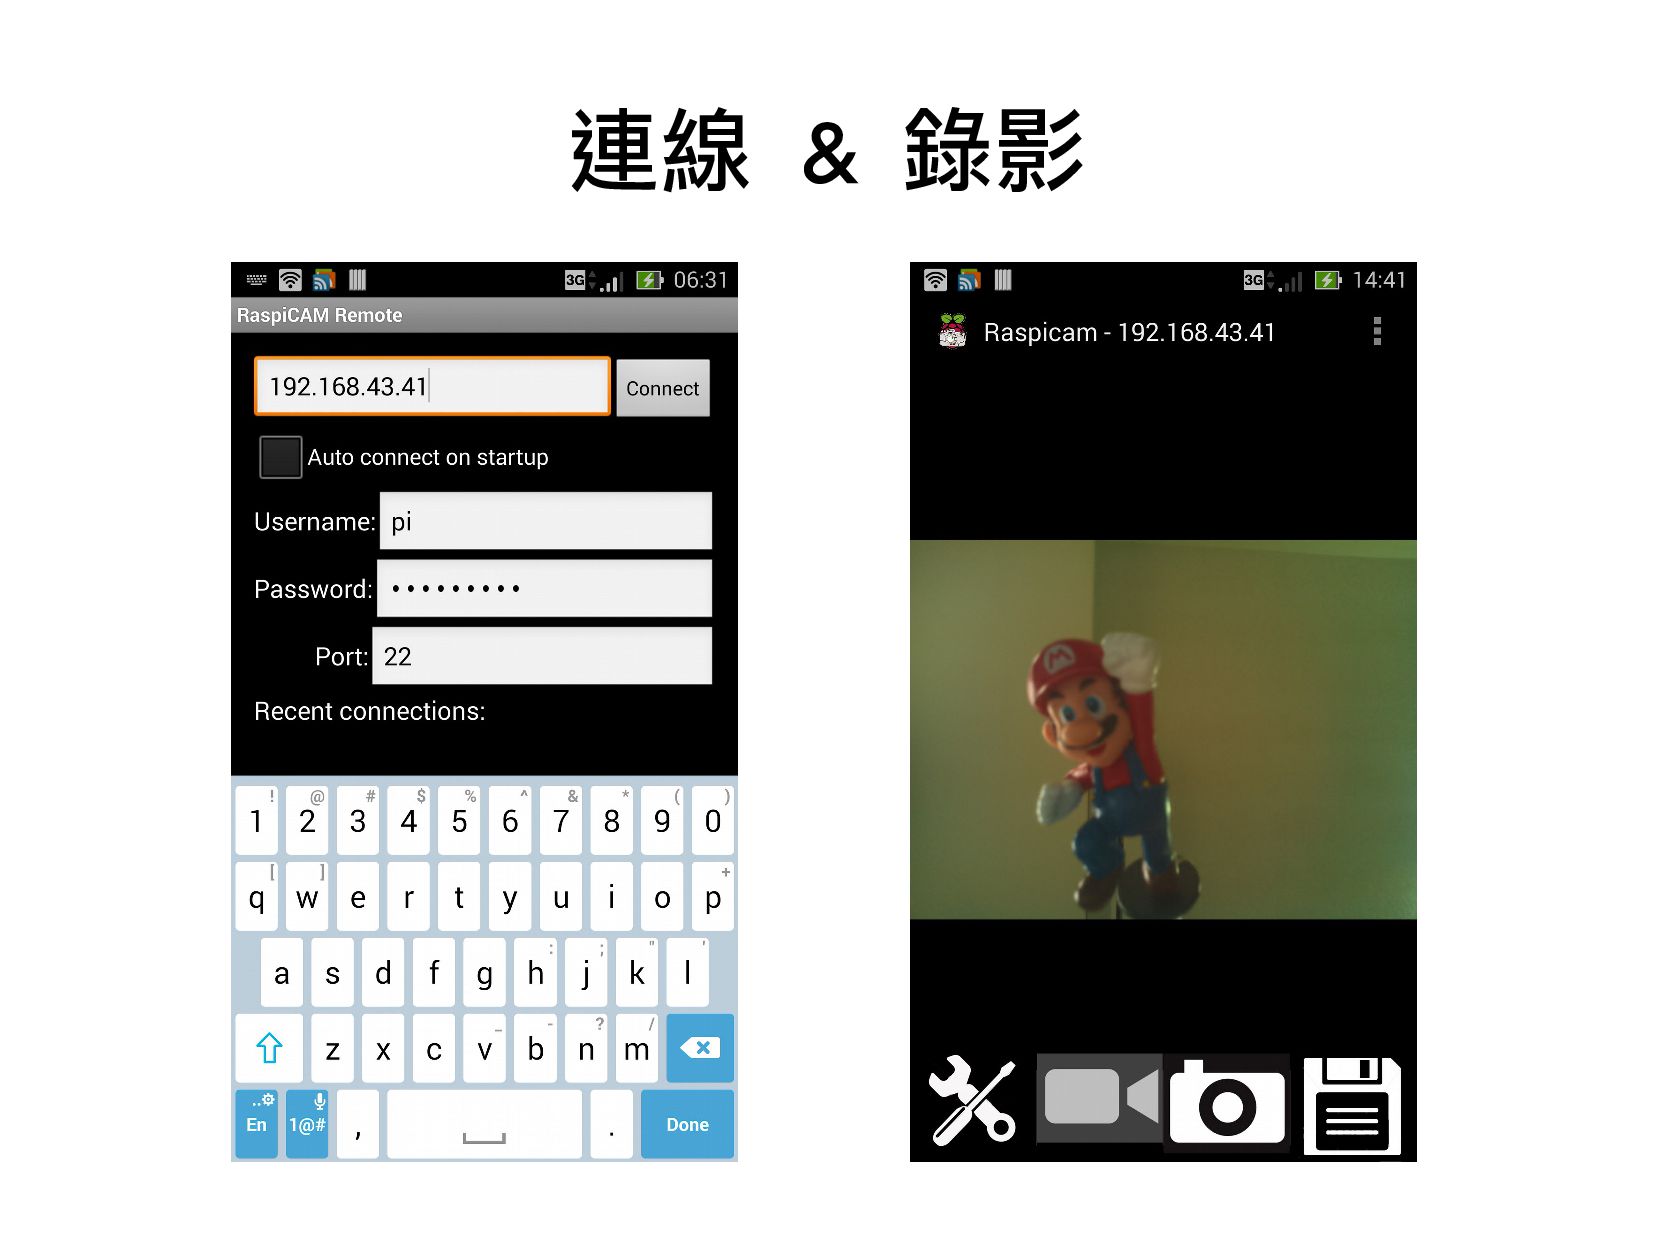
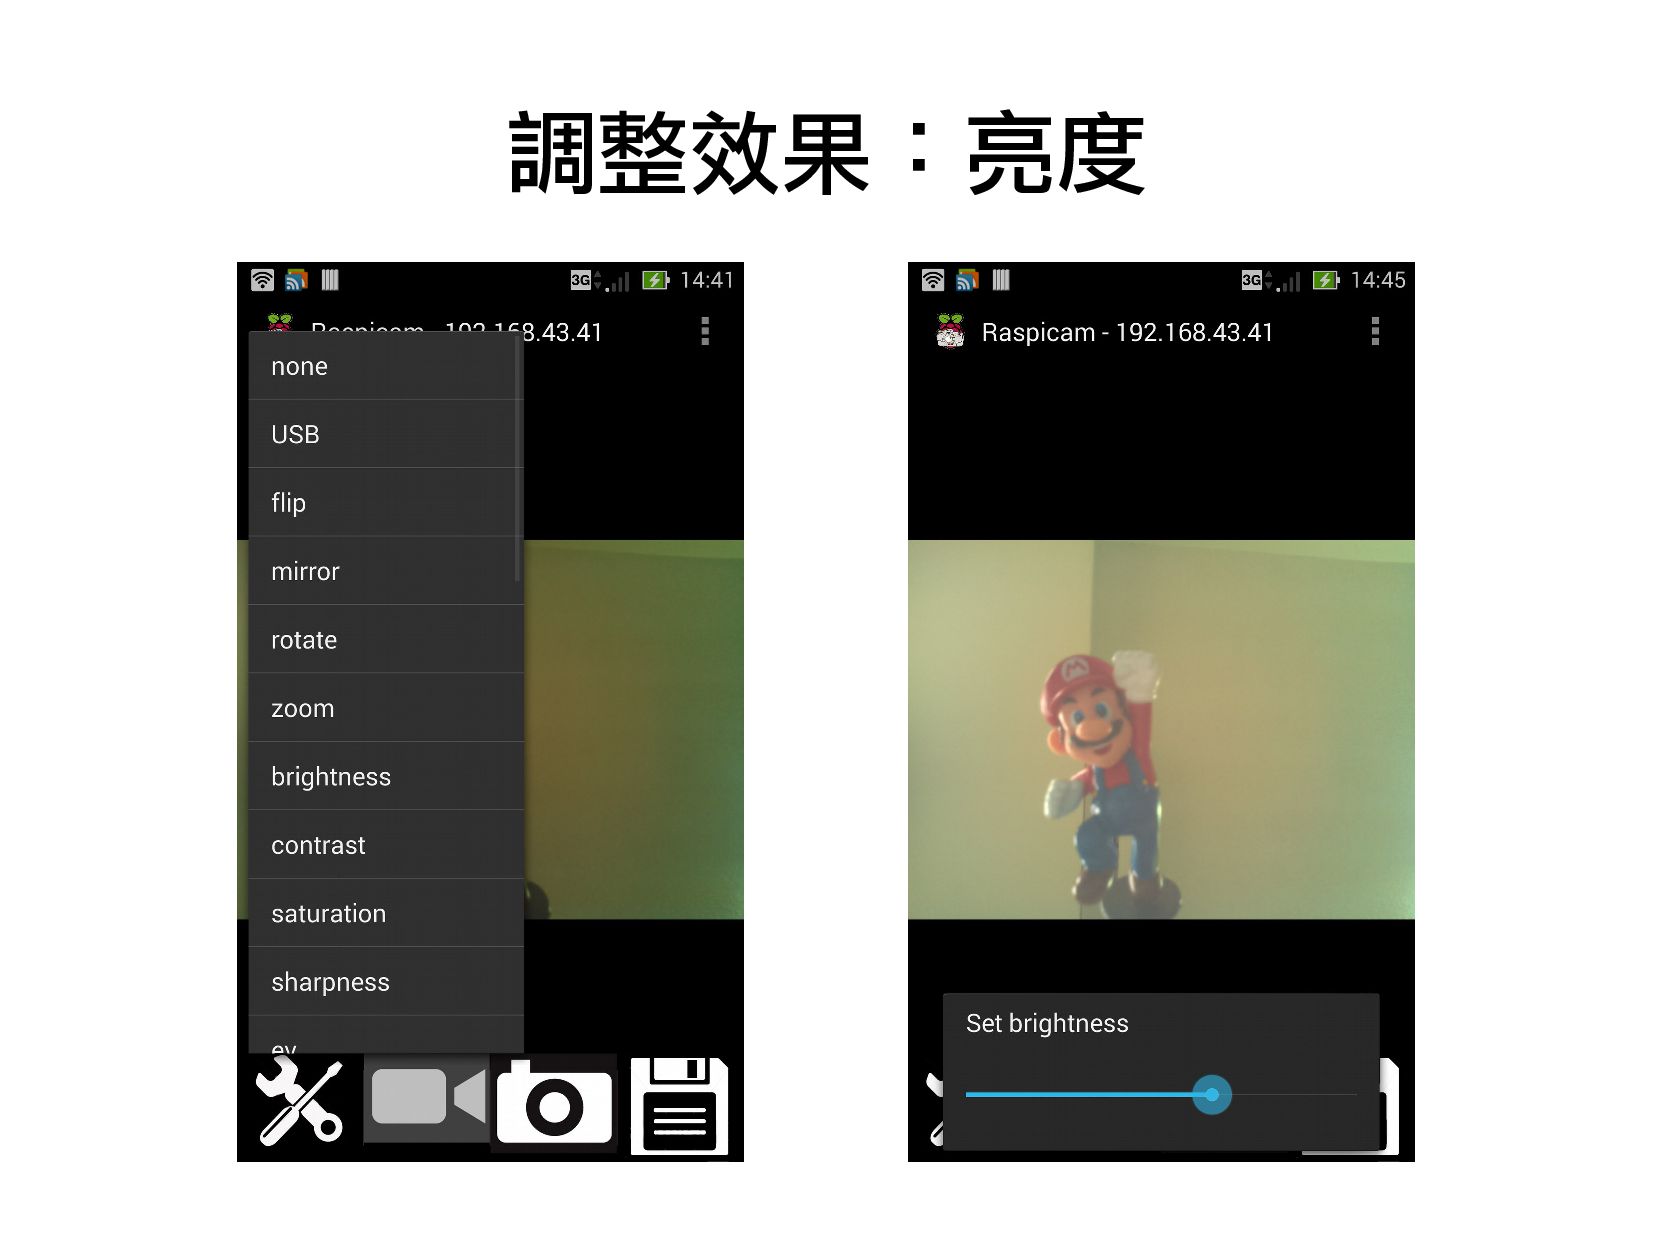
- 手機控制與網路串流
- 週邊硬體與 Camera 的互動
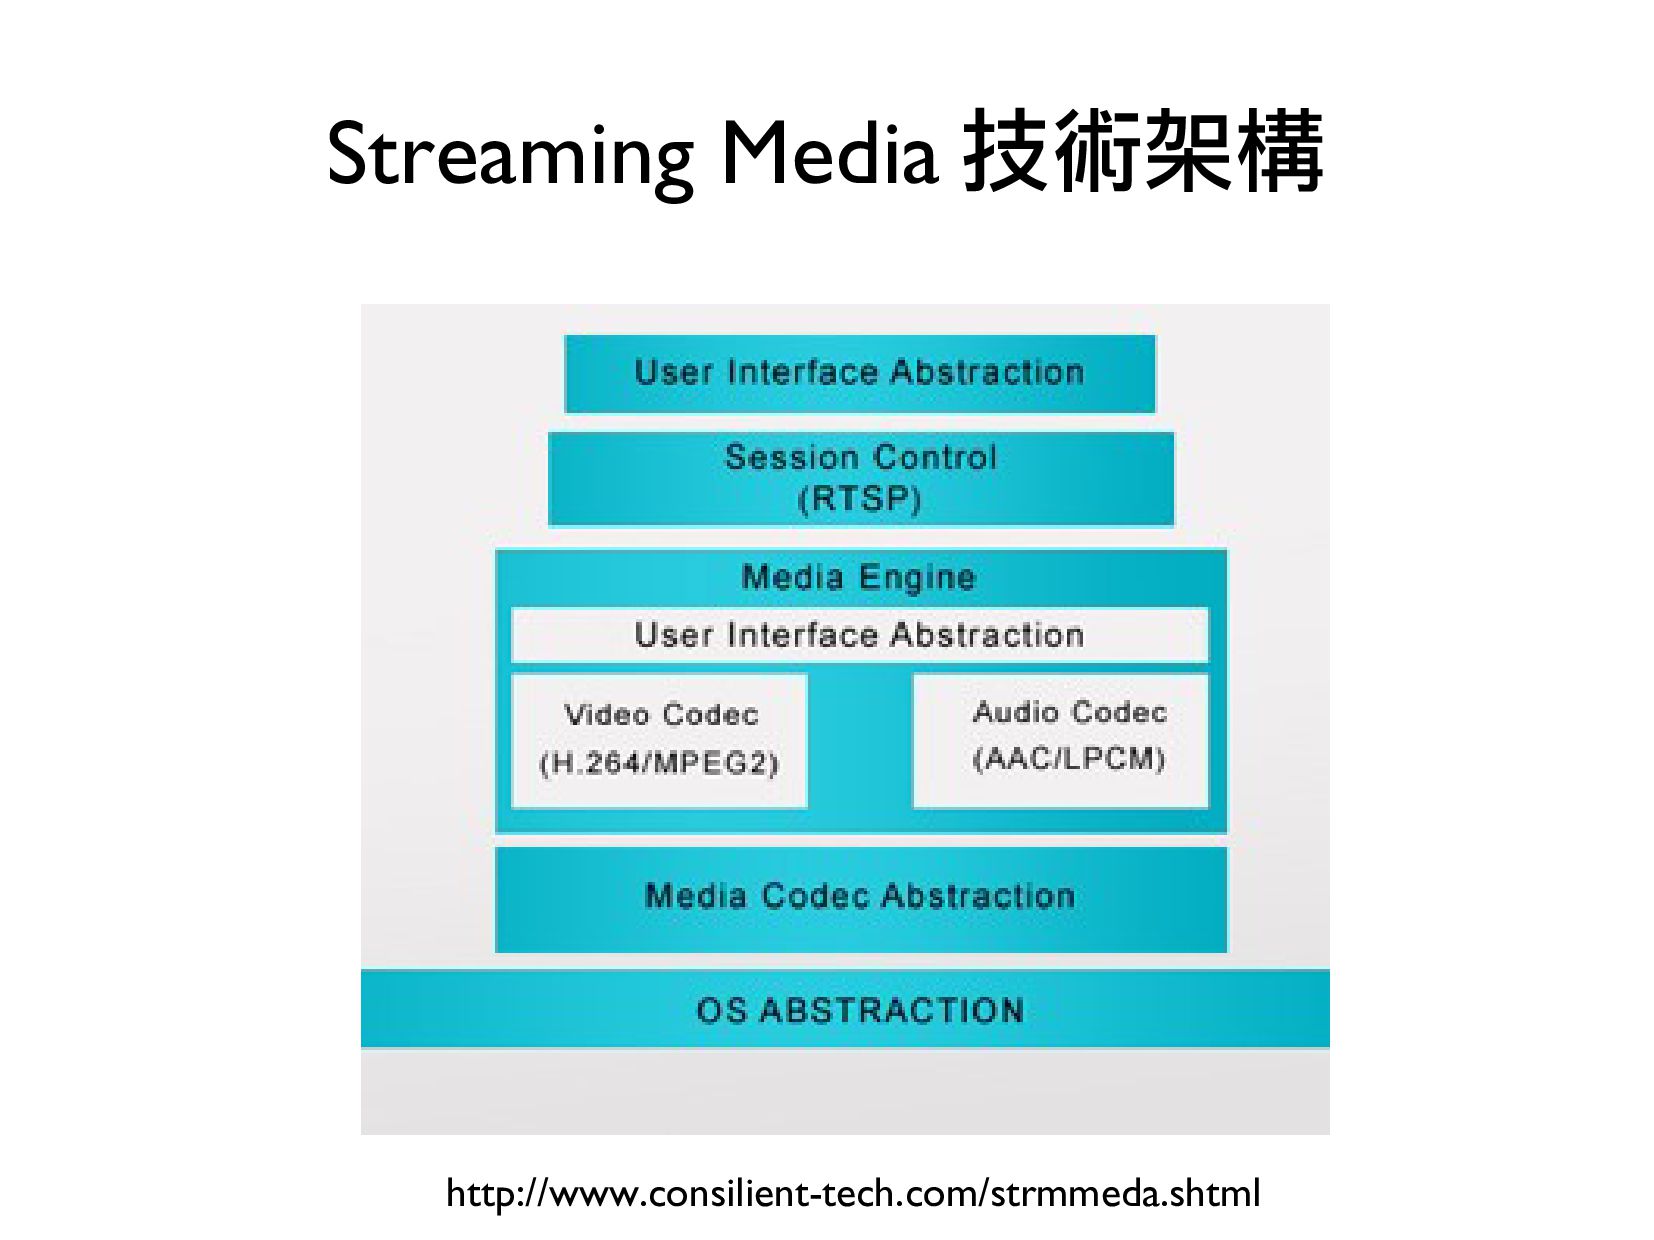
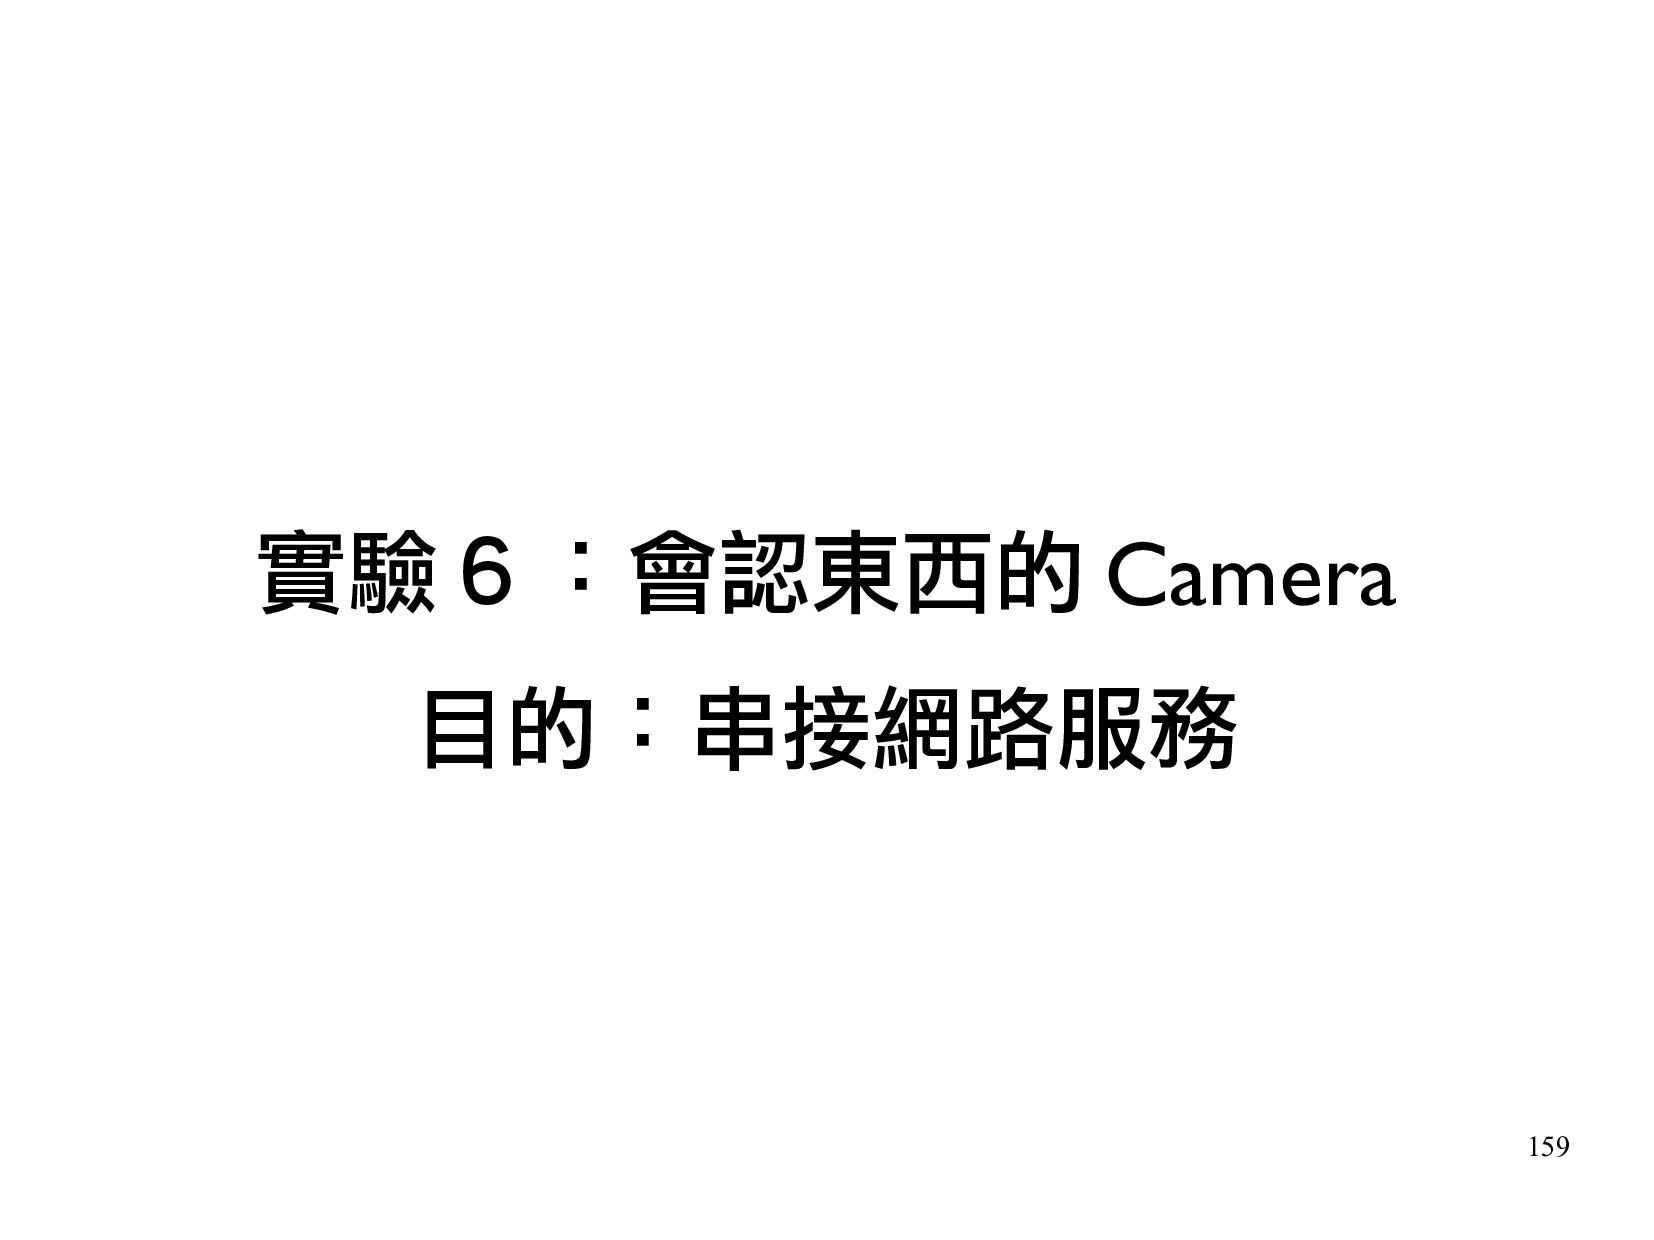
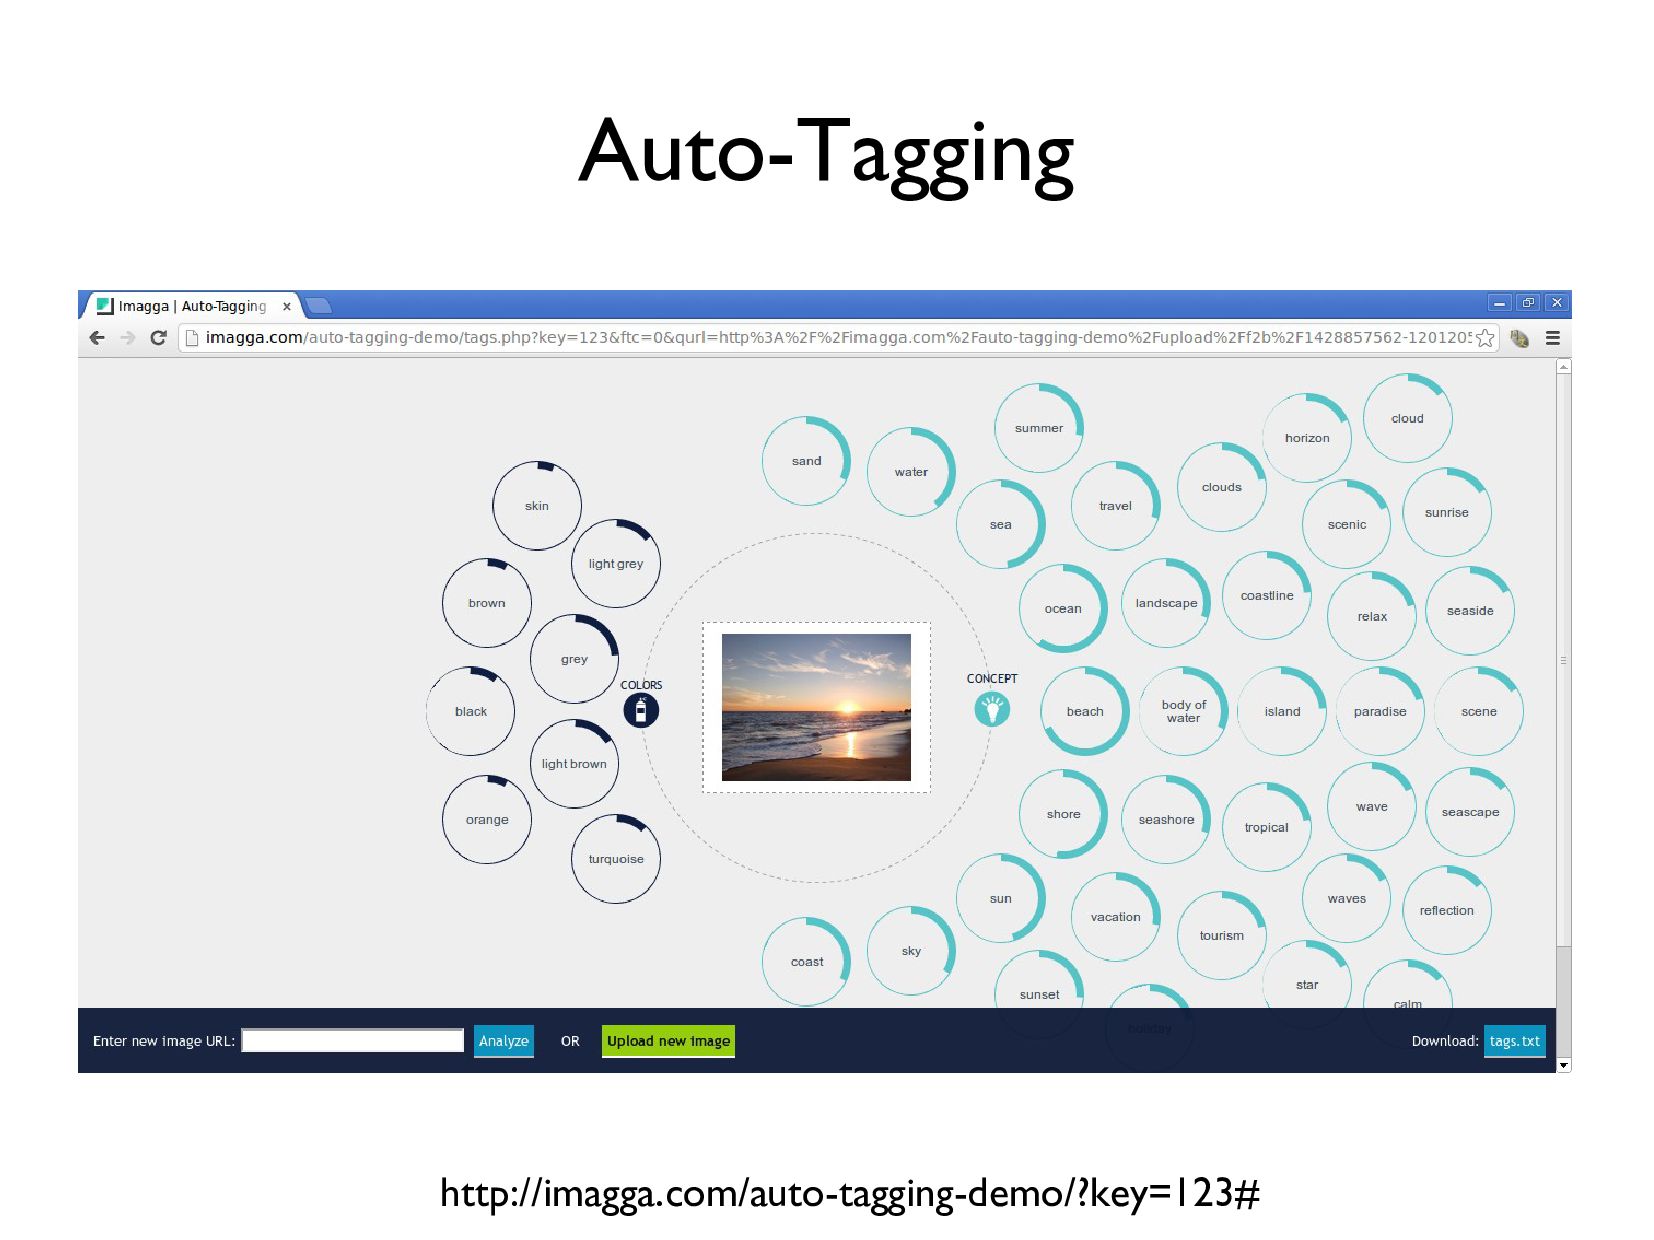
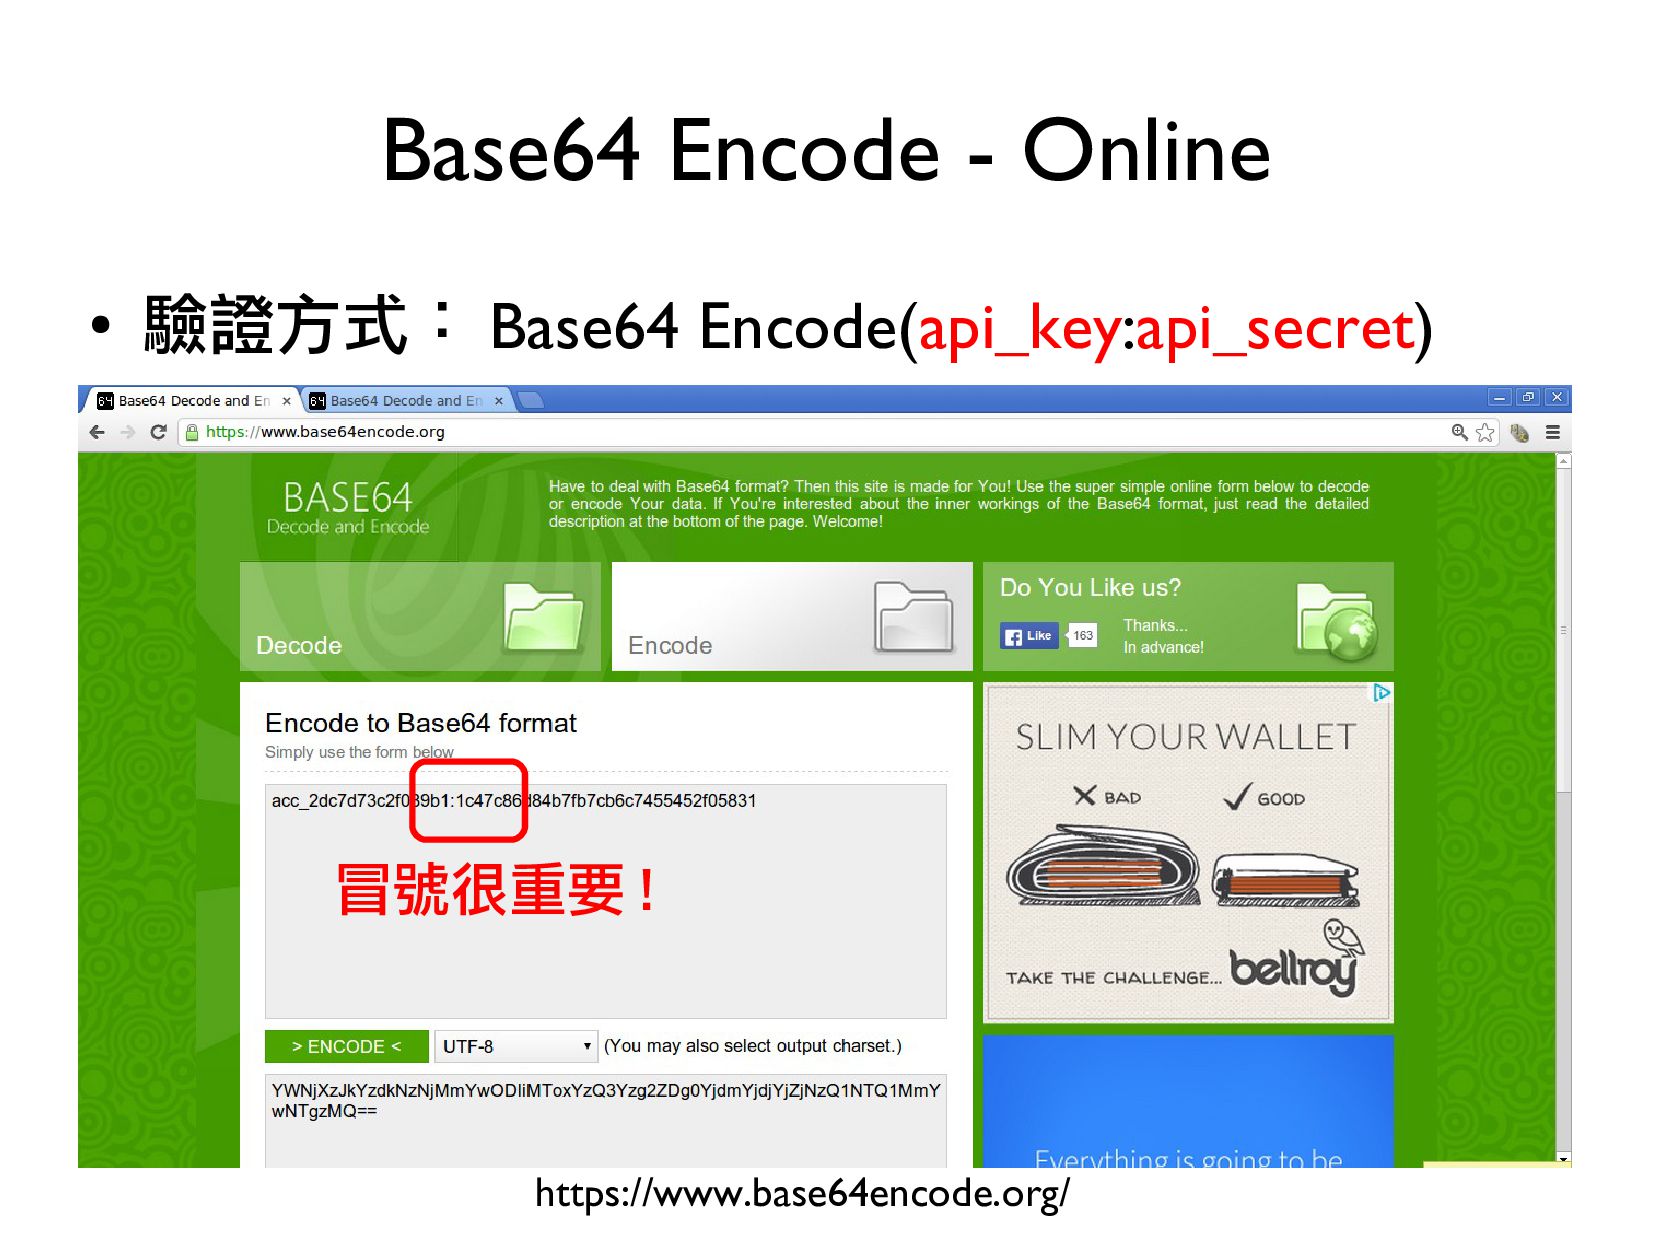
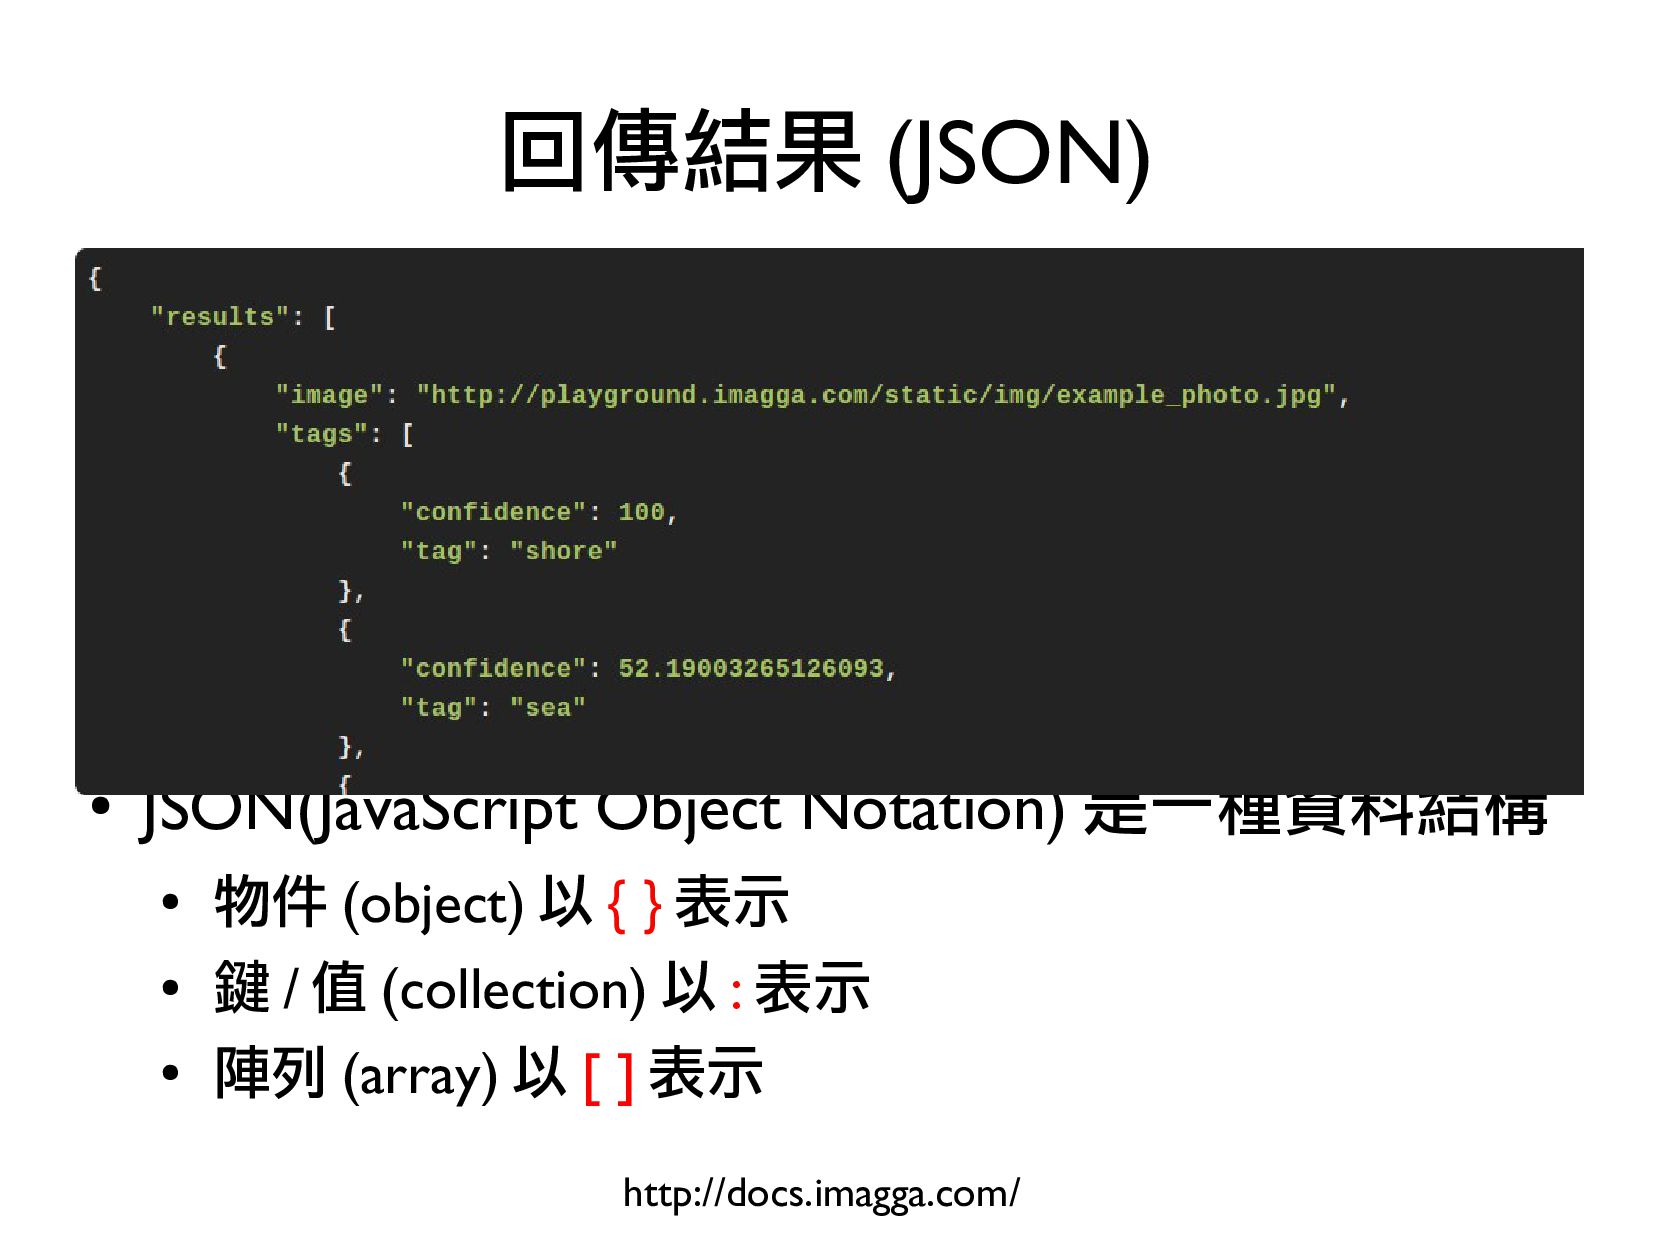
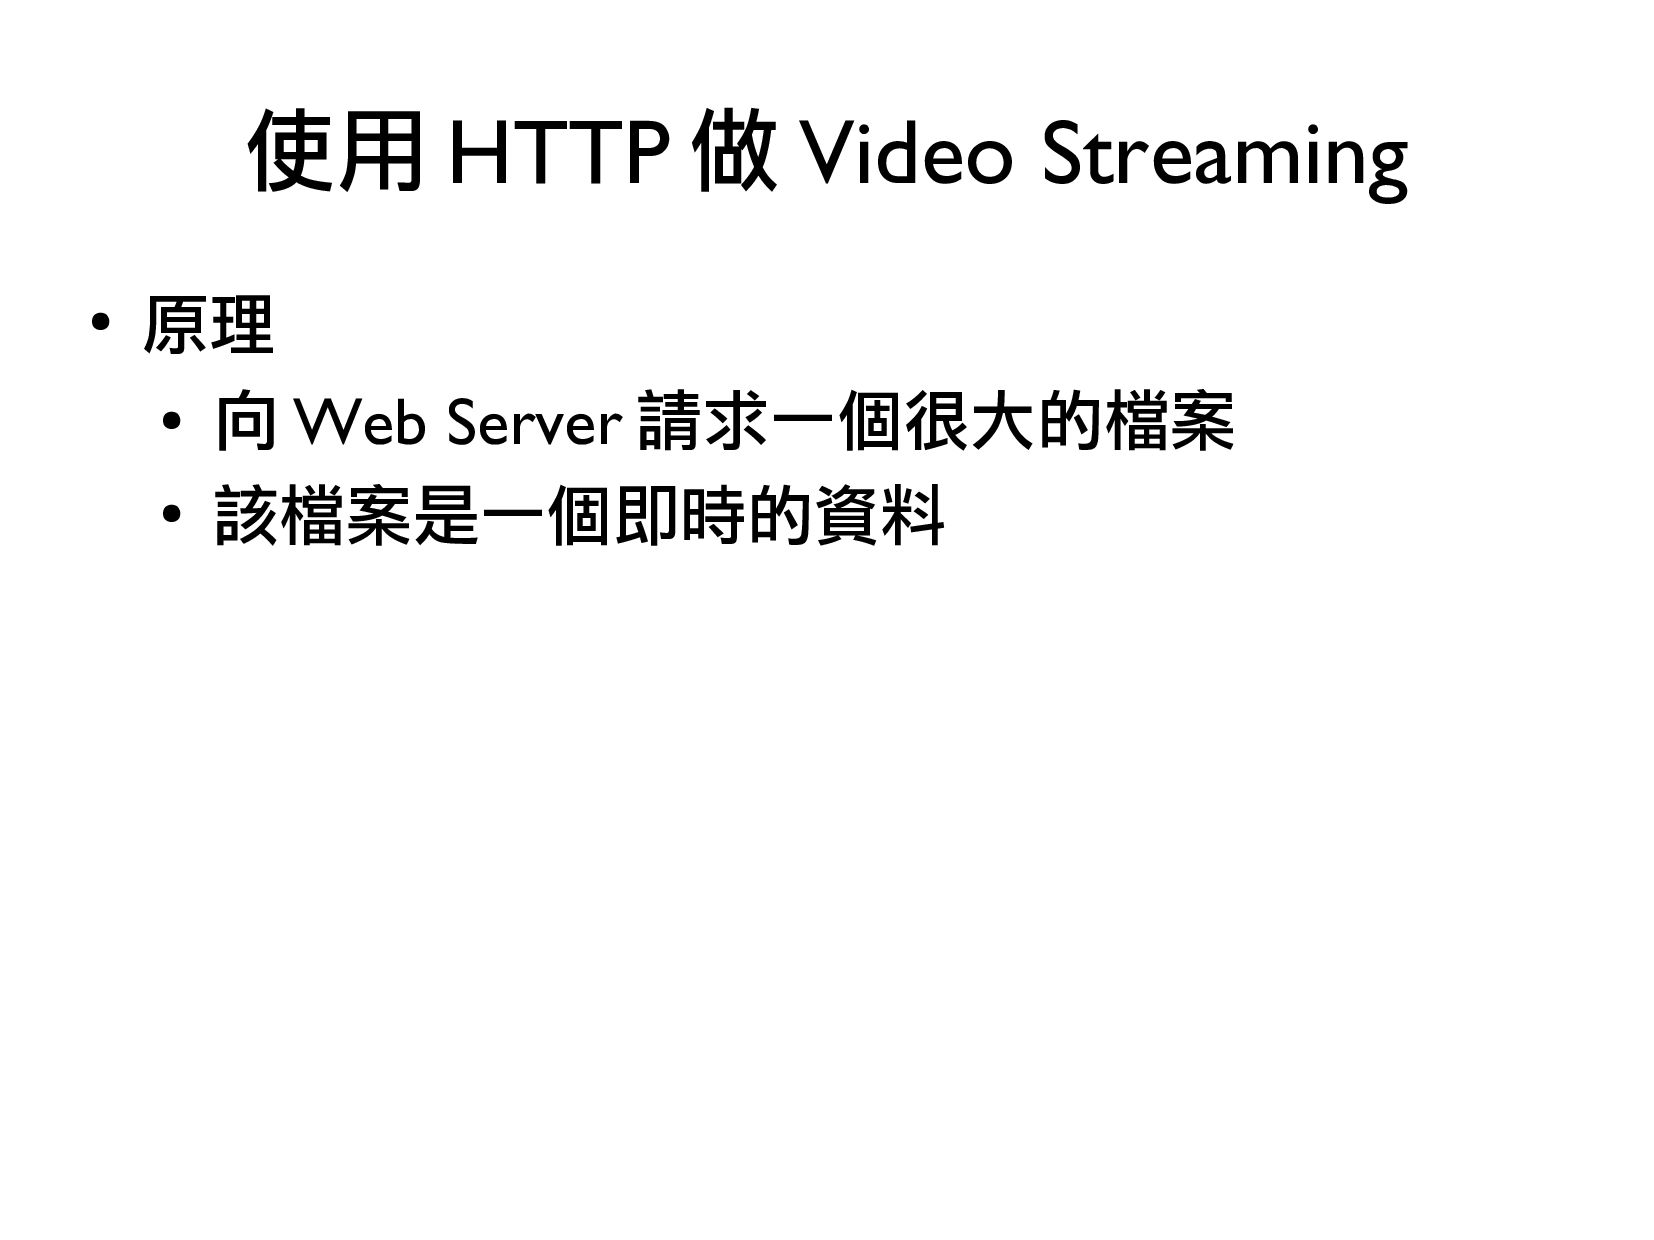
- 串接網路服務
4. 進階 Camera 使用 (2.5 小時)
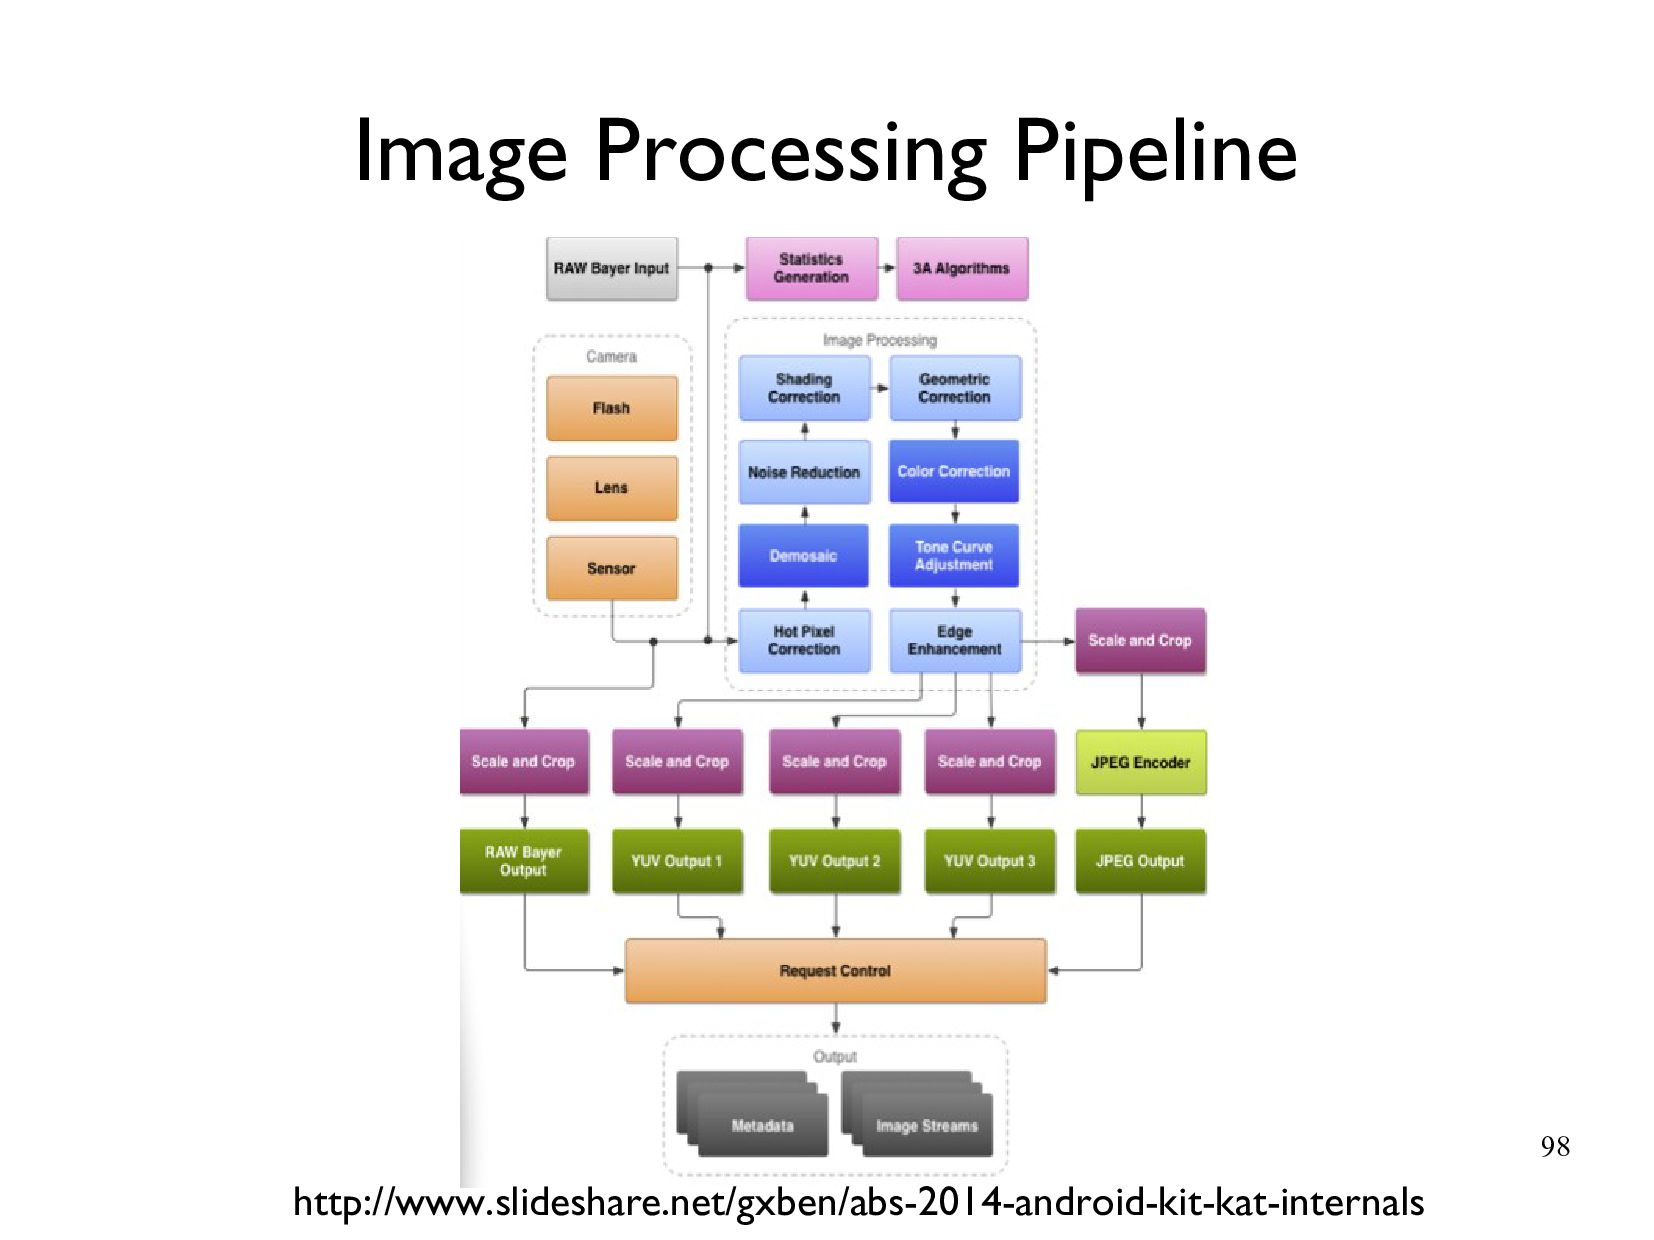
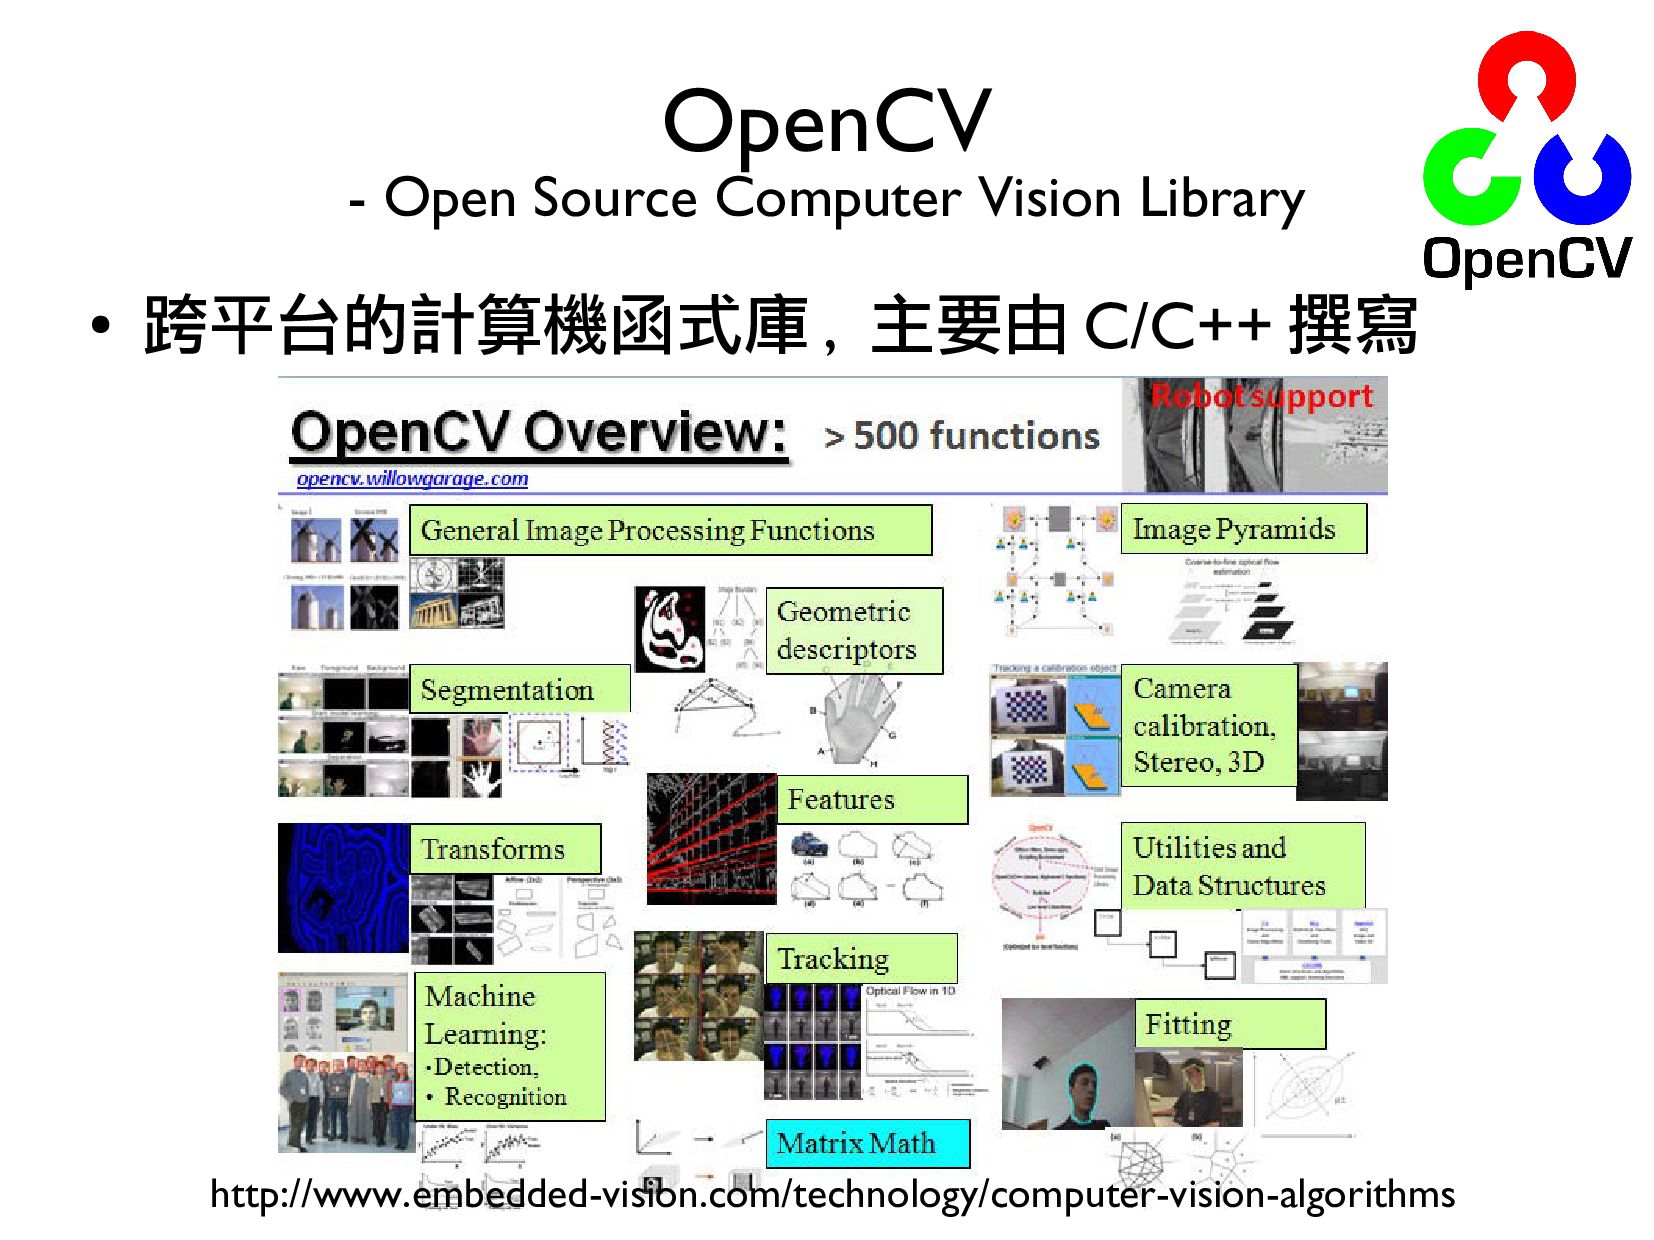
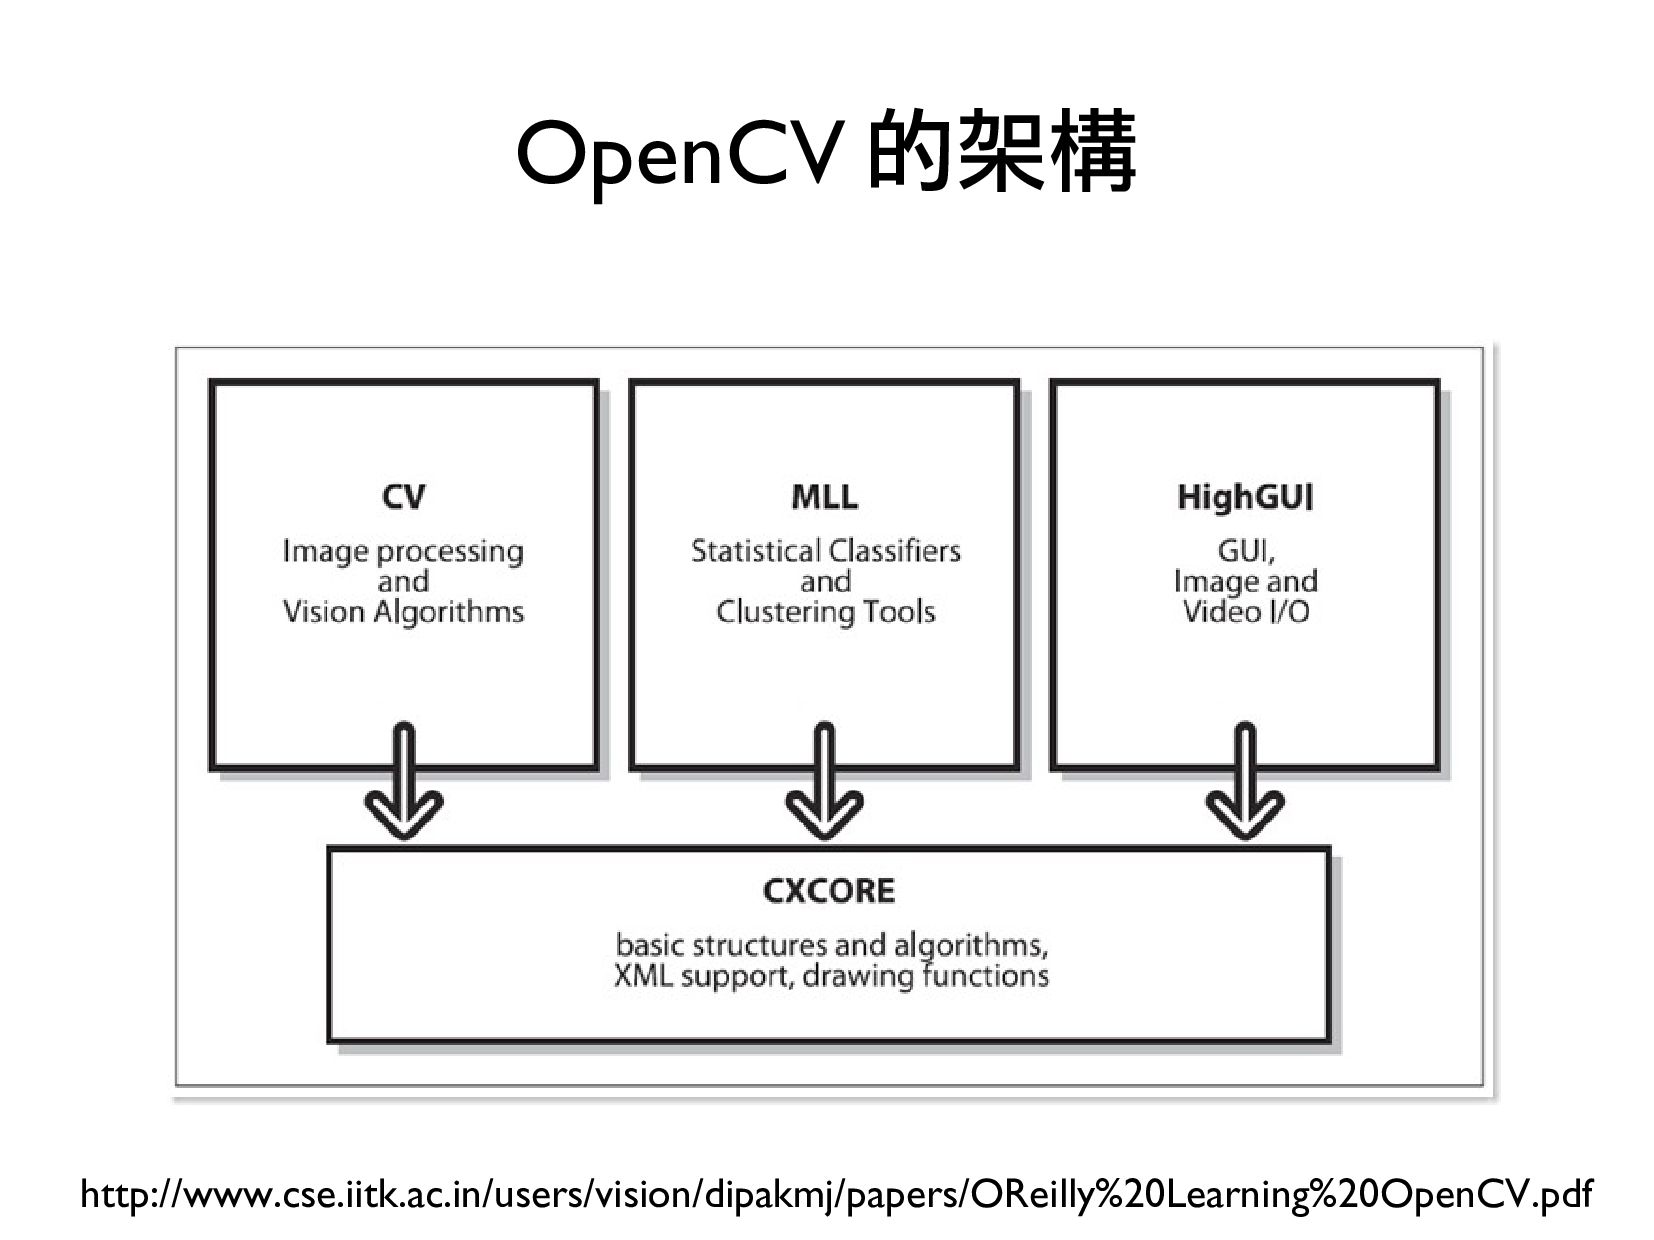
- 影像處理原理
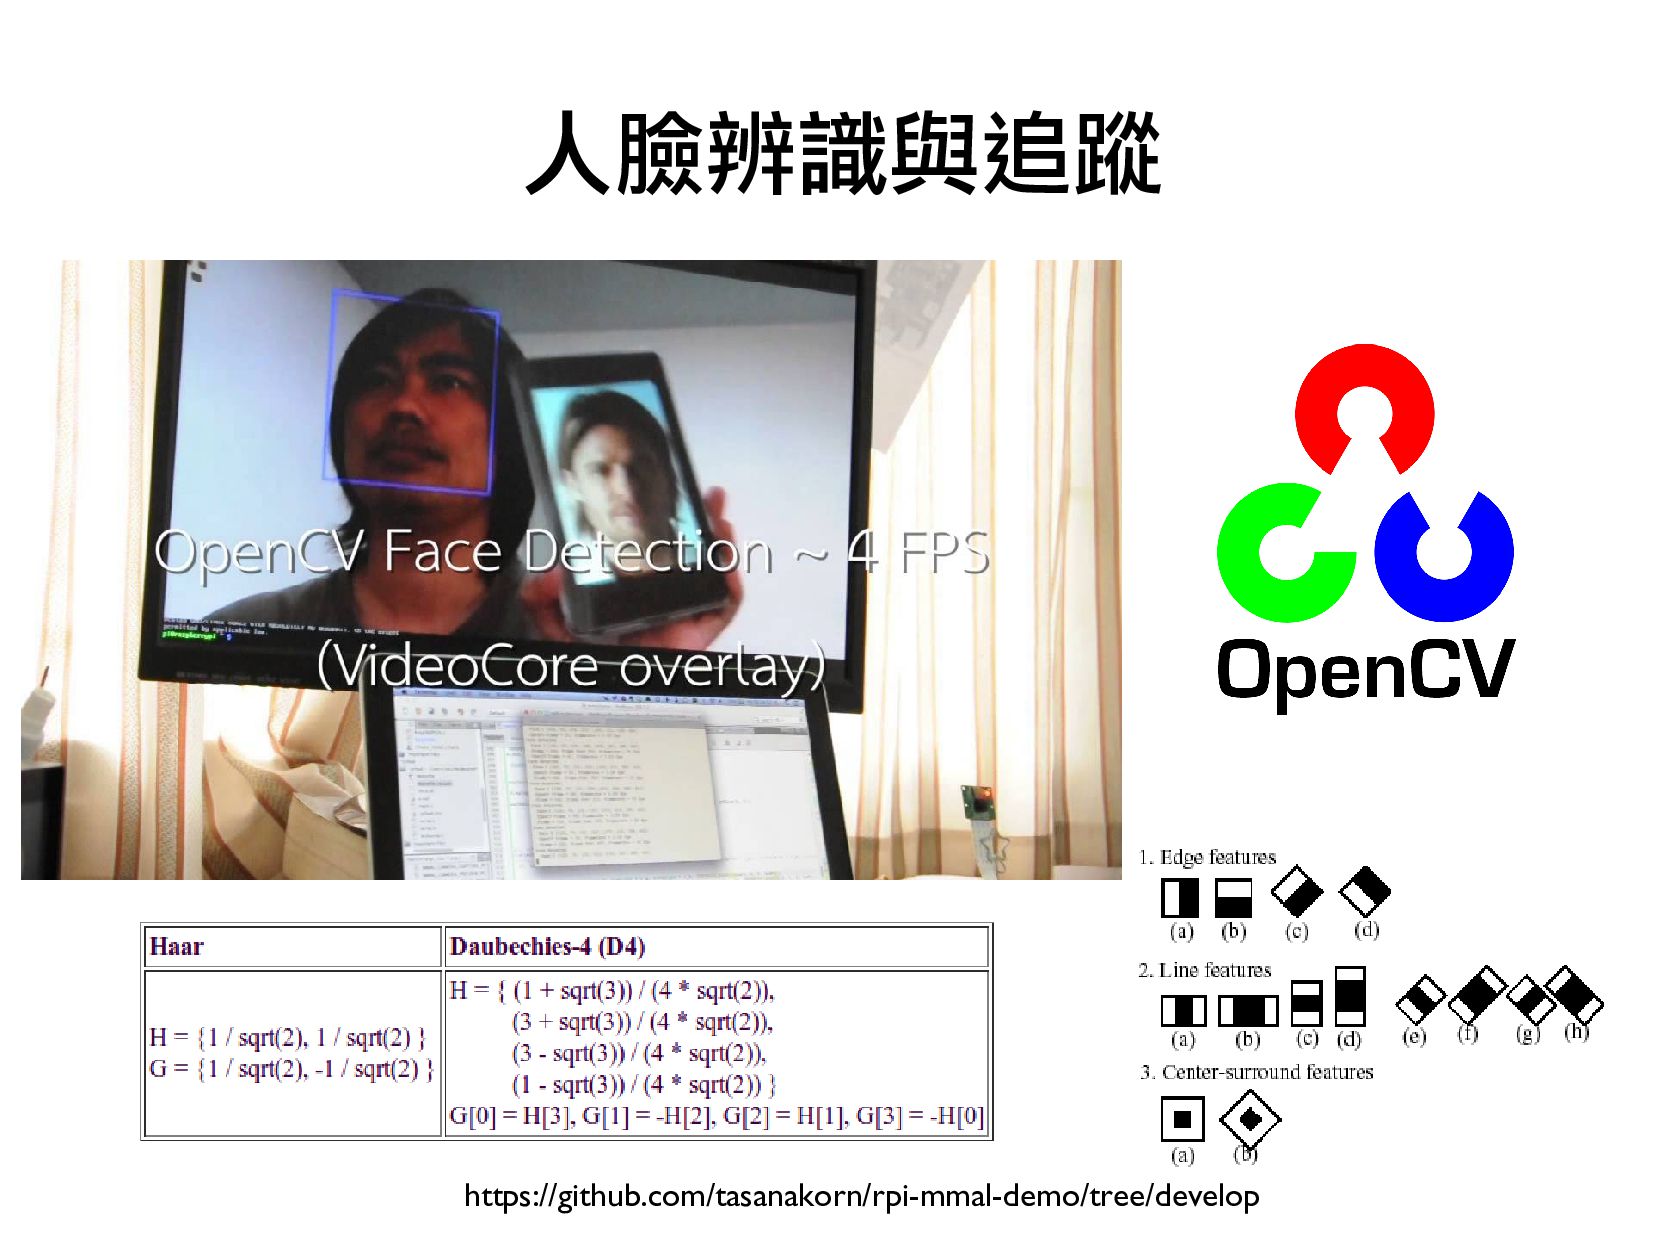
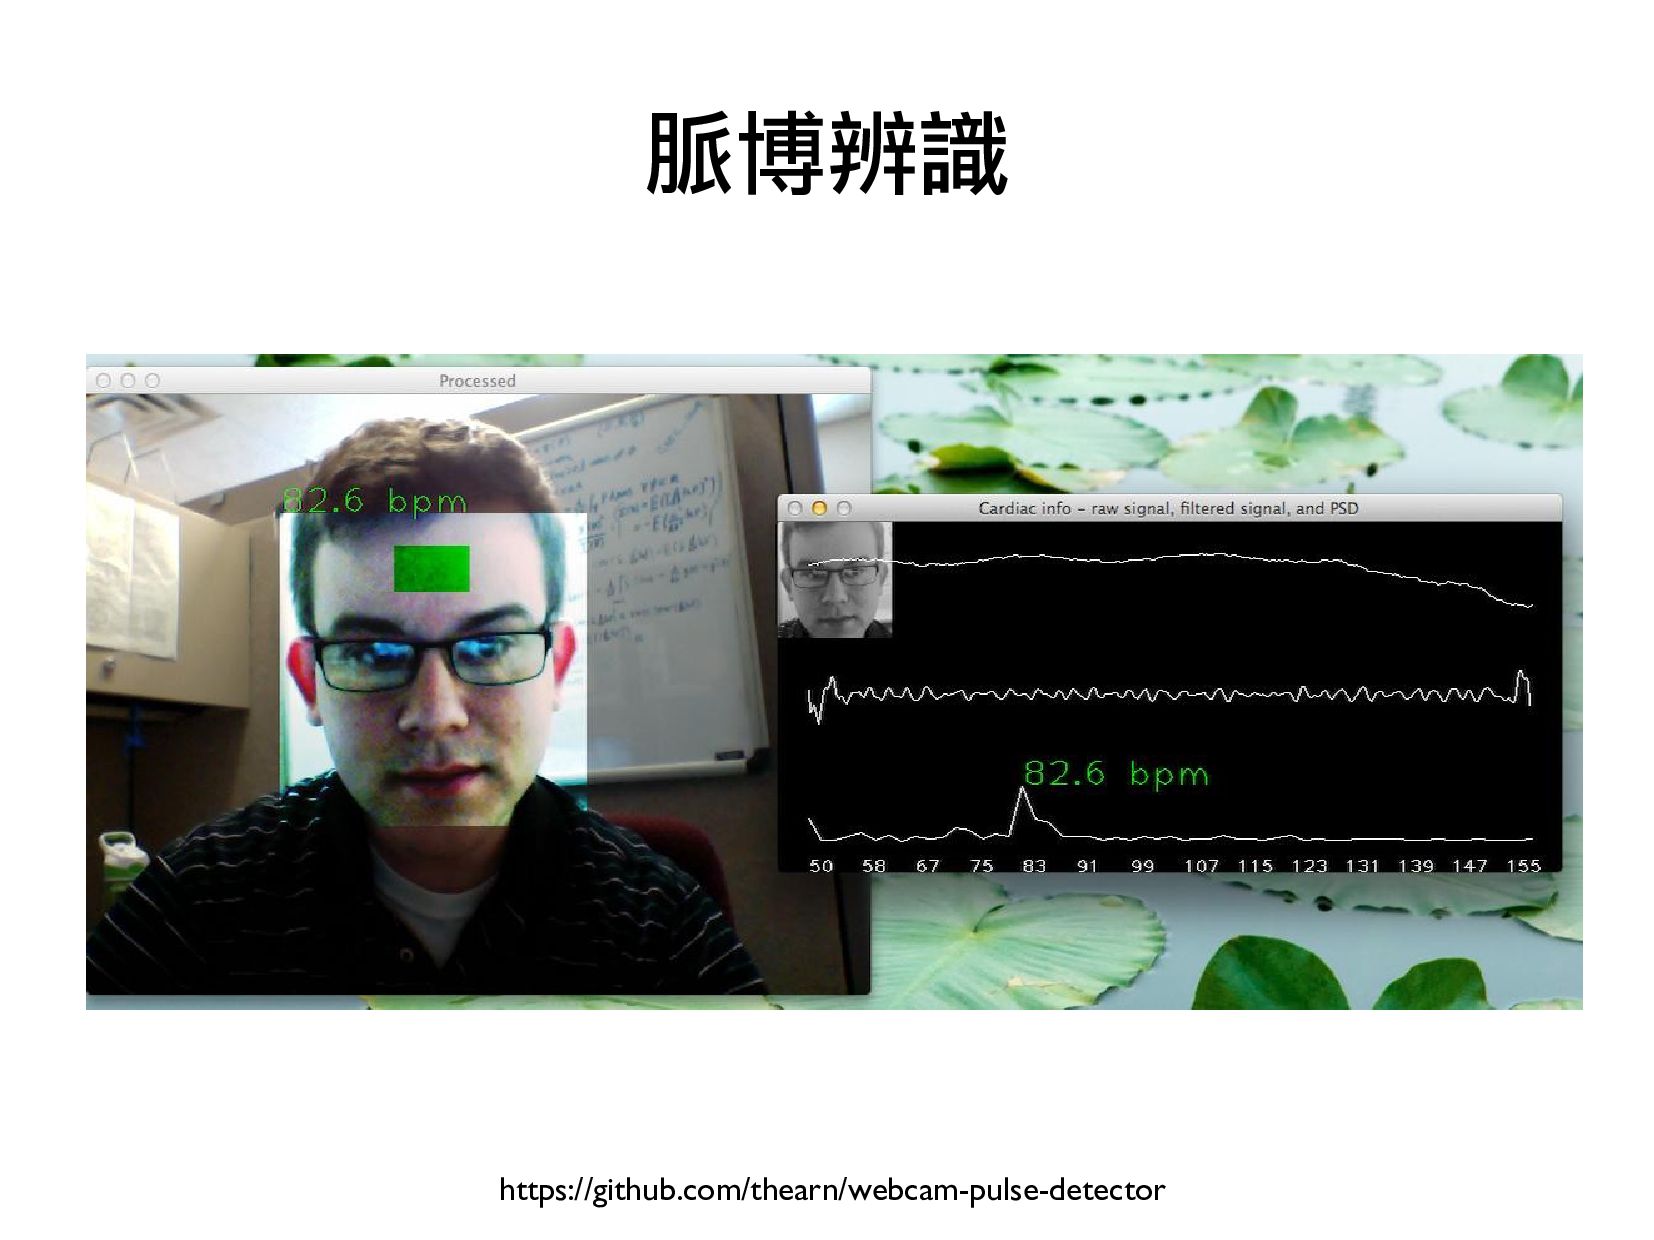
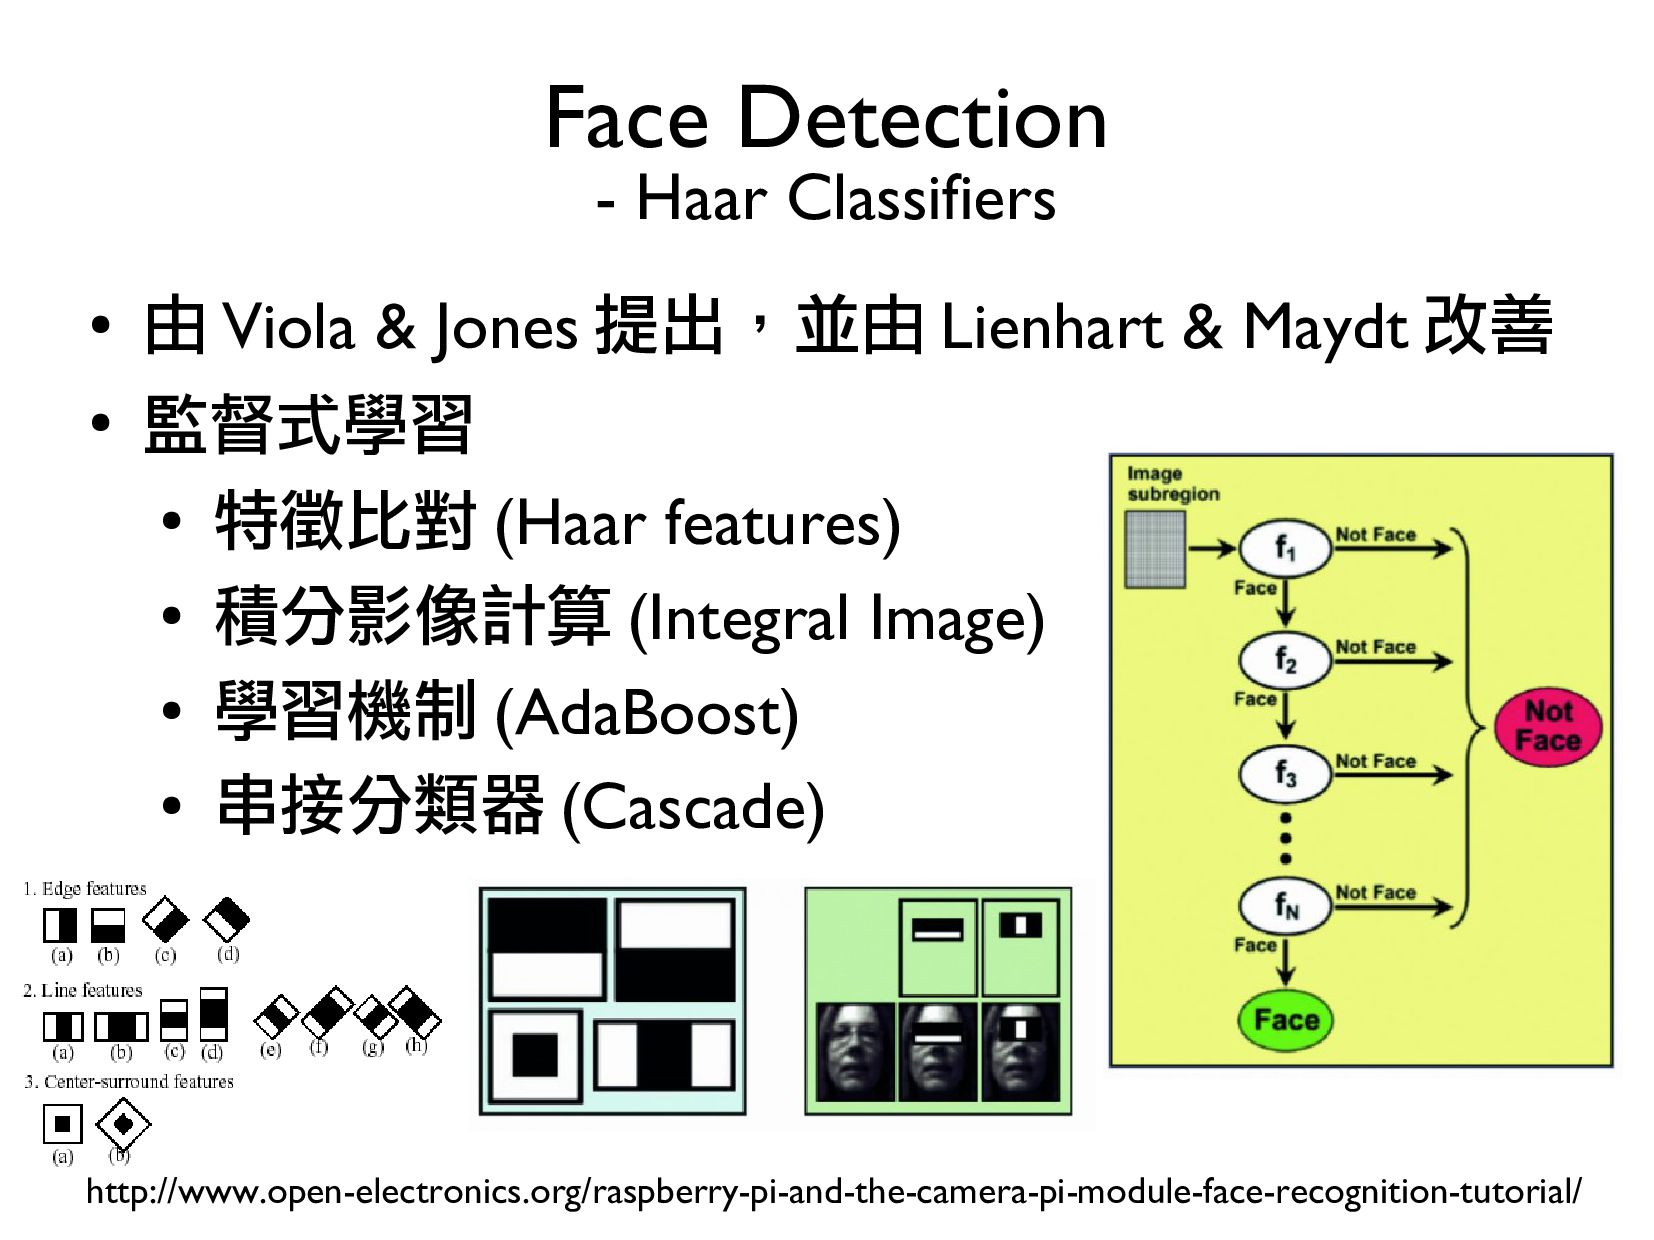
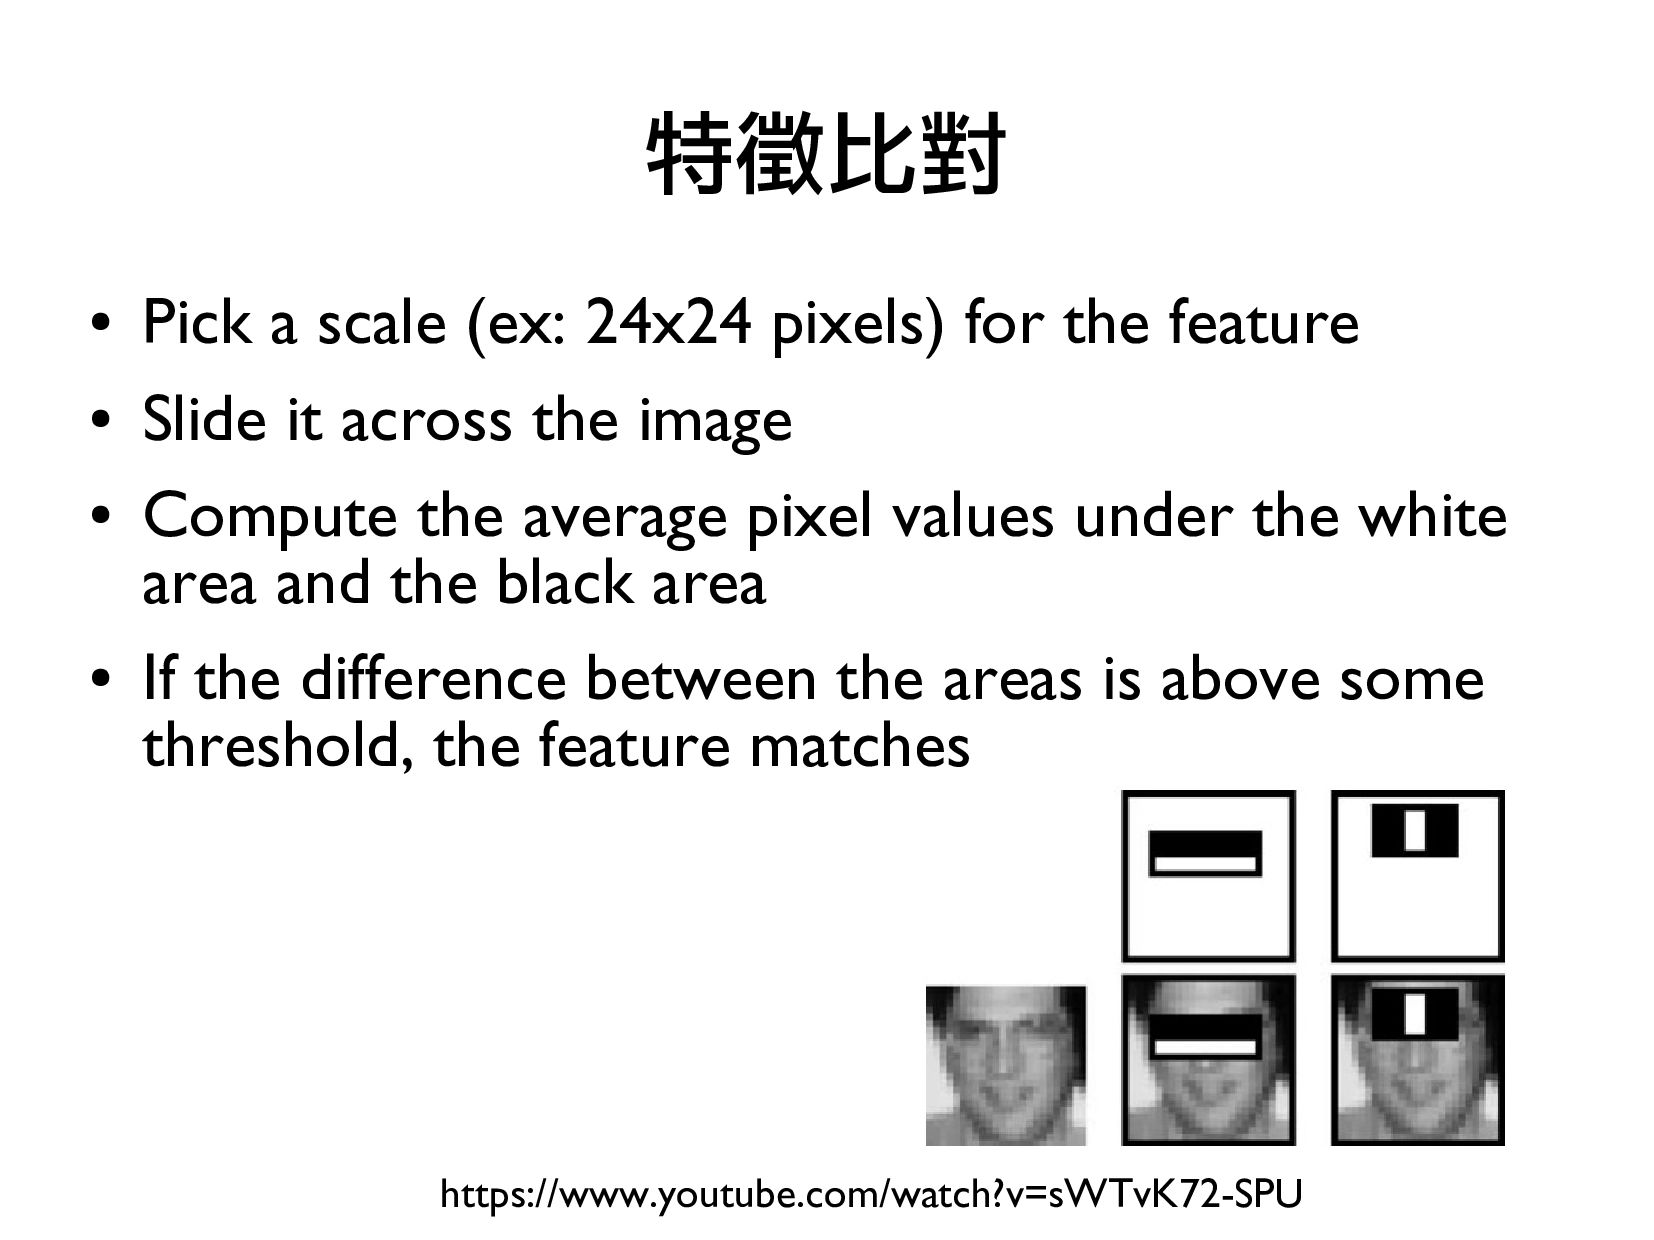
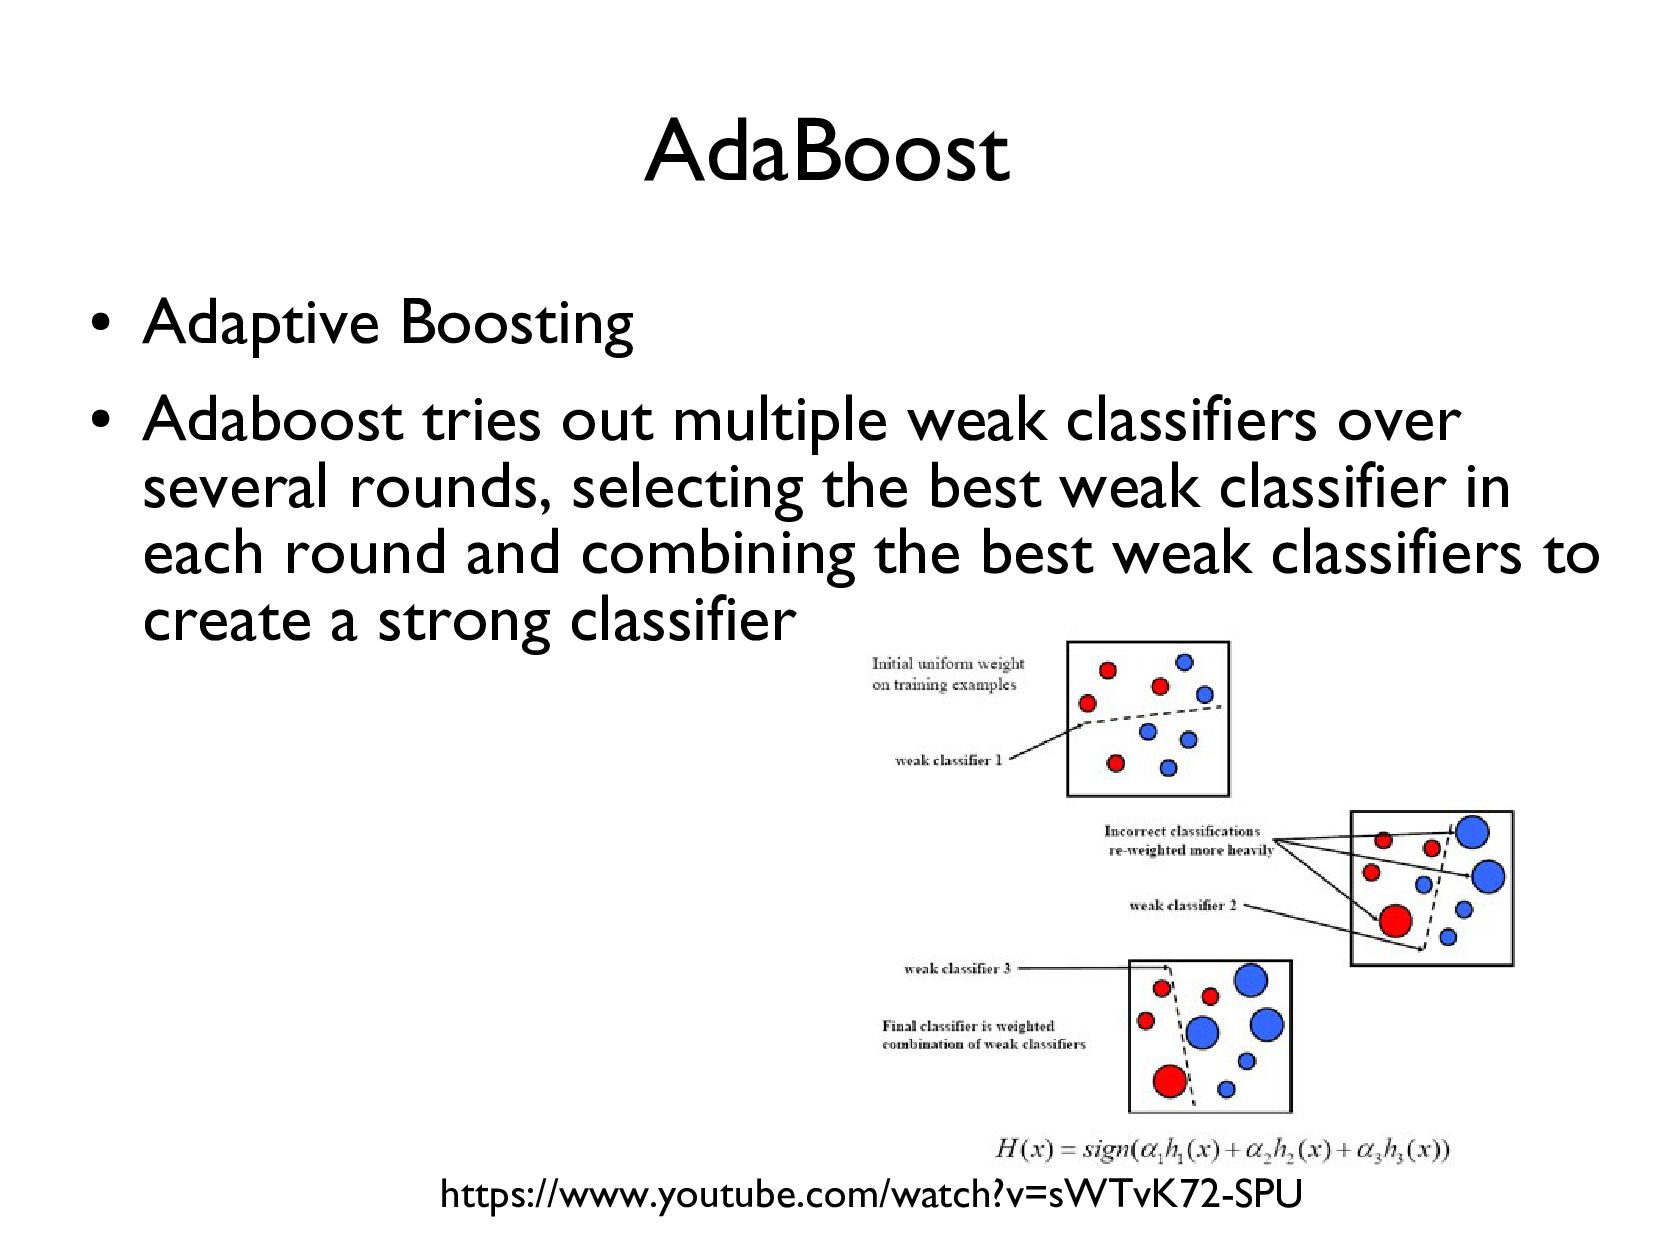
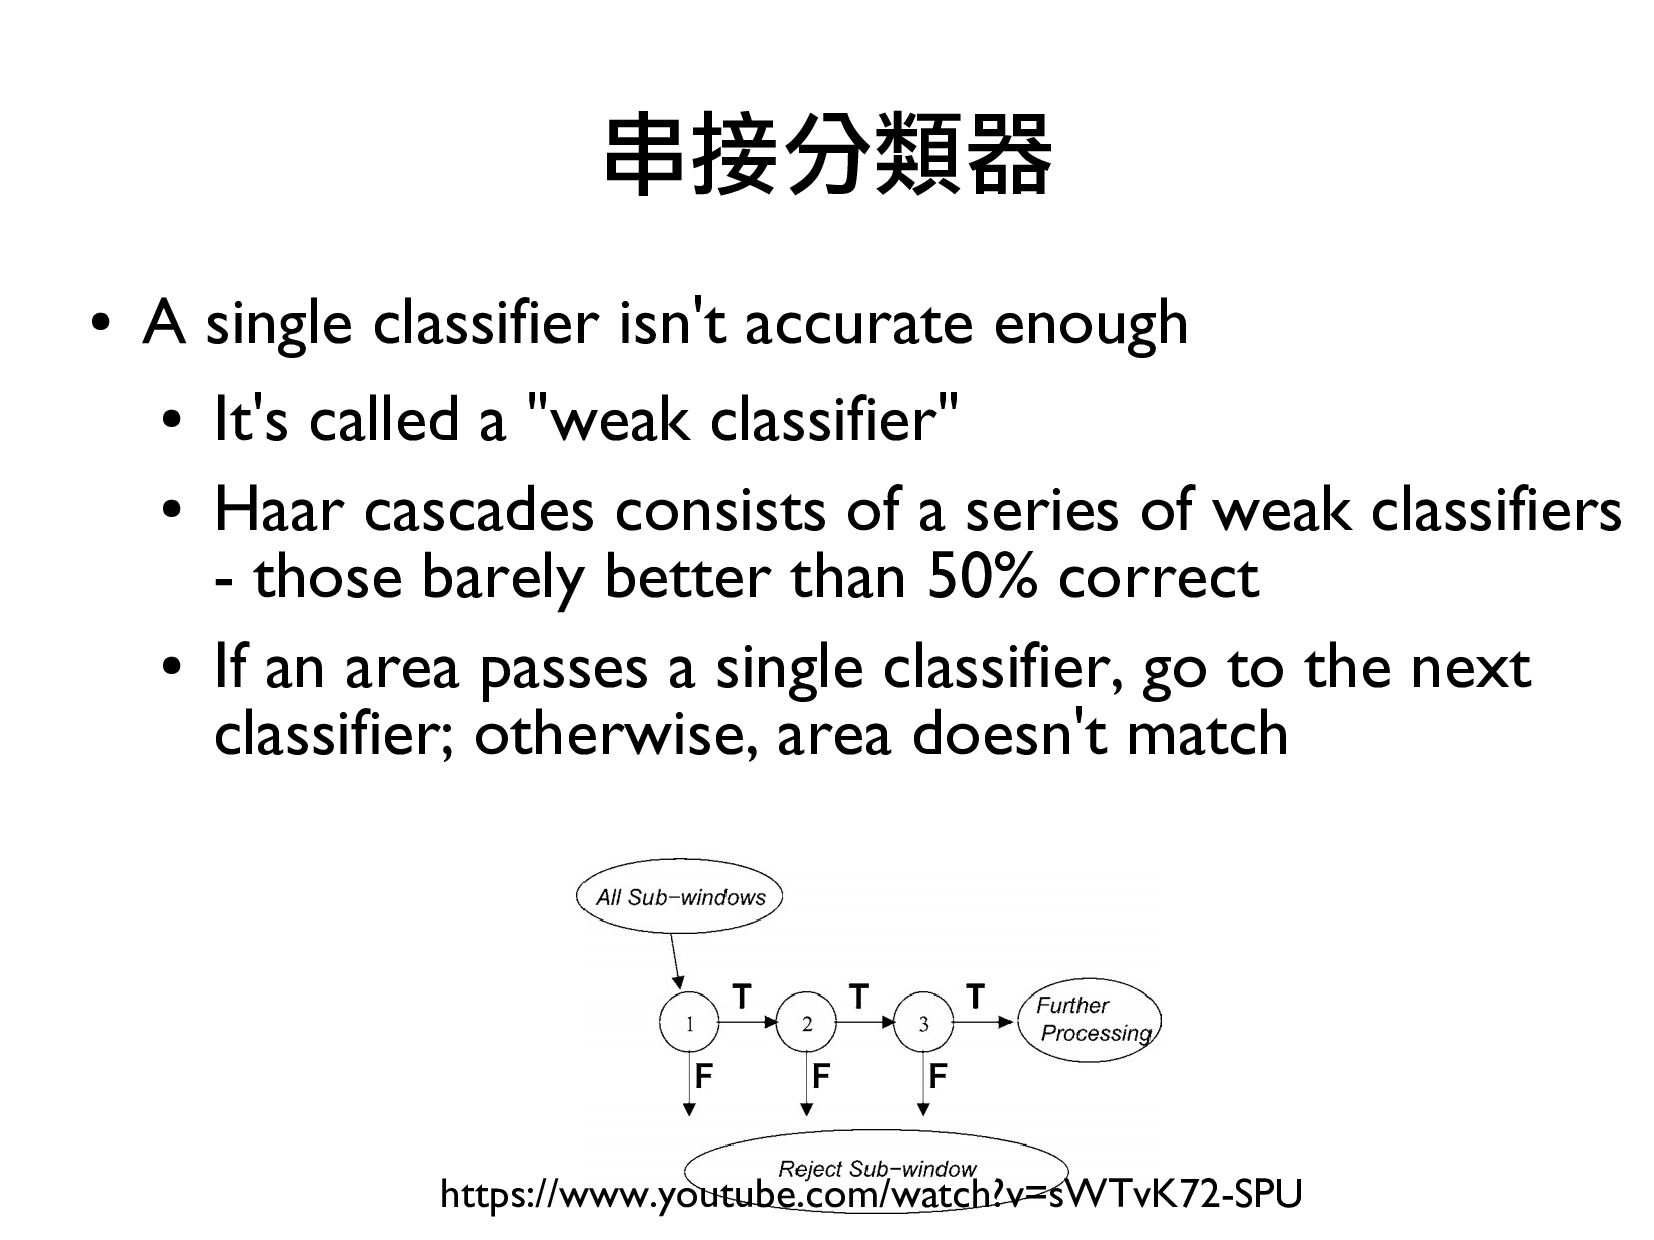
- 人臉偵測
範例程式(使用 Python2):
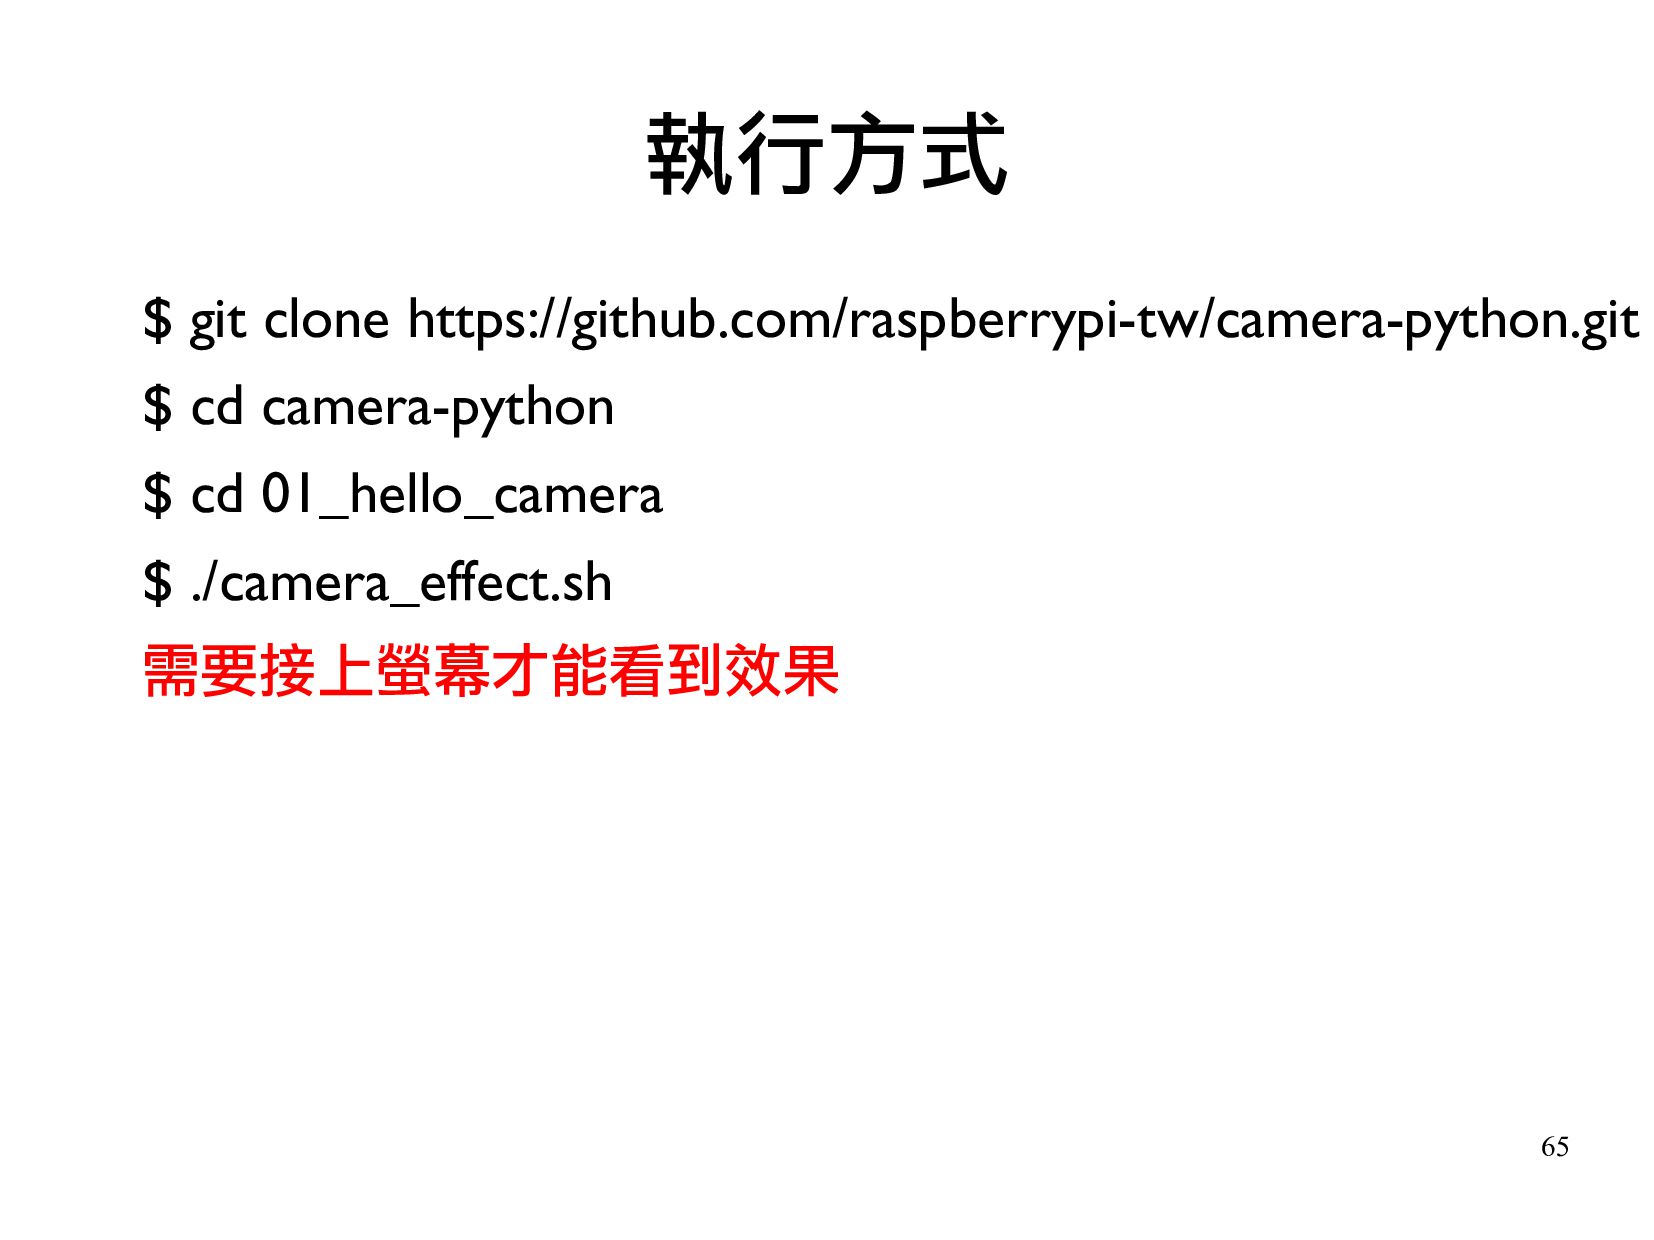
https://github.com/piepie-tw/camera-python
![Raspberry Pi Camera + Python 台灣樹莓派 <[email protected]> May 31, 2015](https://files.speakerdeck.com/presentations/3af1545b10f74d1280a5c43db22f4051/slide_0.jpg)
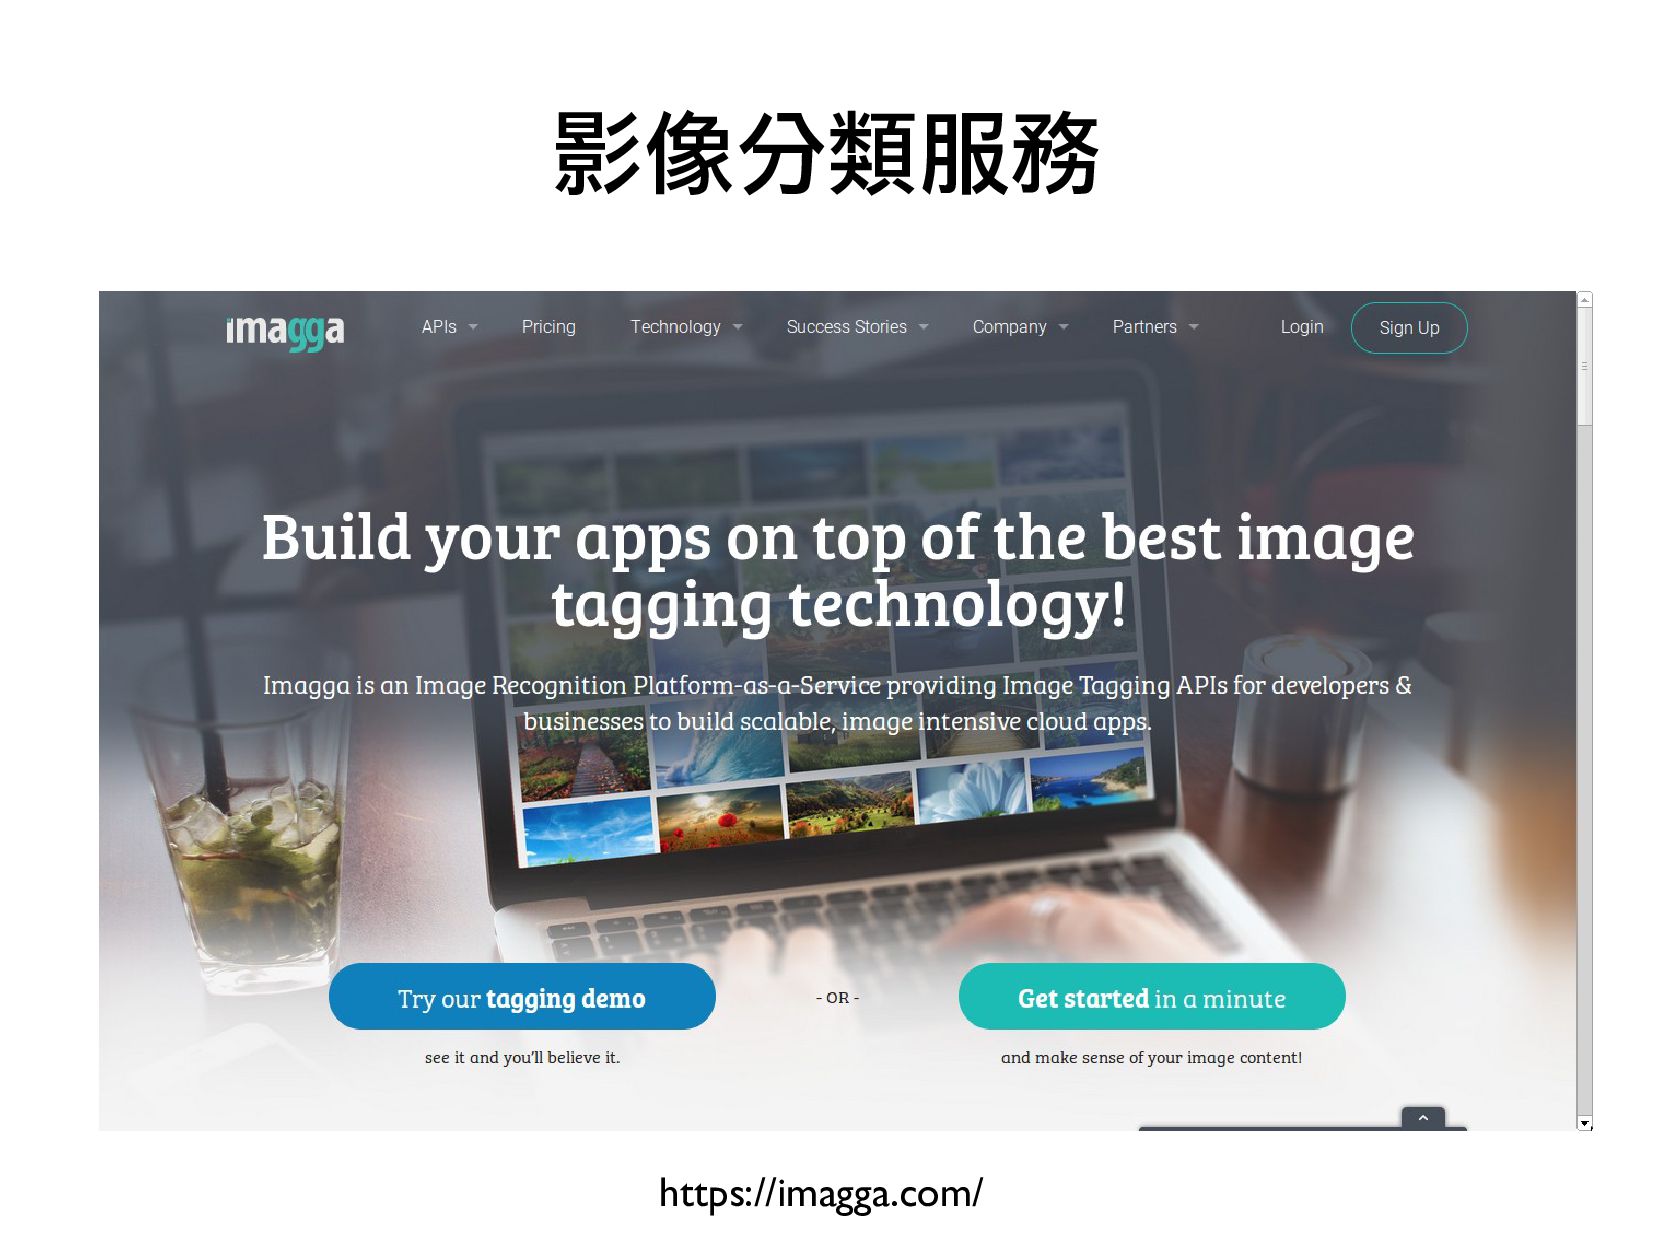
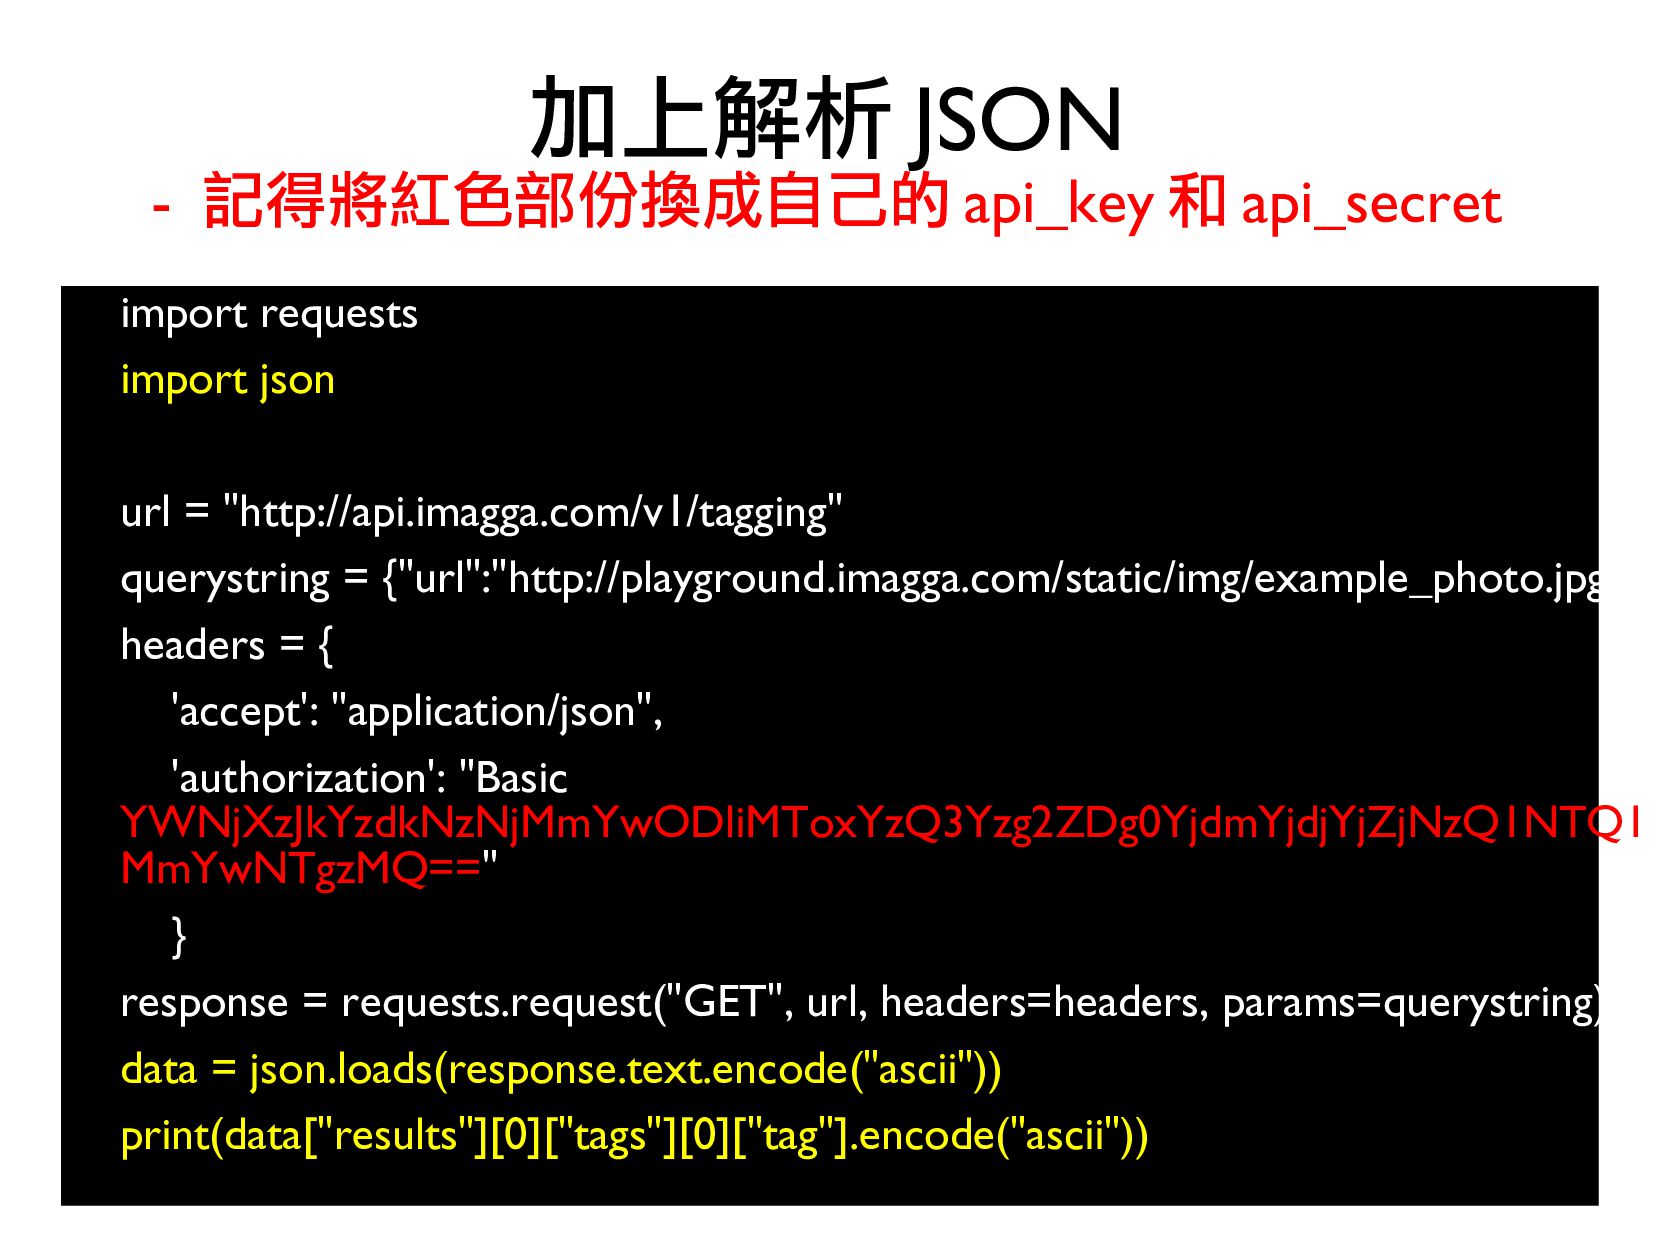
![# … 接前頁 • url = "http://api.imagga.com/v1/tagging" querystring = {"content":data["uploaded"][0]["id"]}](https://files.speakerdeck.com/presentations/3af1545b10f74d1280a5c43db22f4051/slide_176.jpg)
![import cv2 • import sys • imagePath = sys.argv[1] image](https://files.speakerdeck.com/presentations/3af1545b10f74d1280a5c43db22f4051/slide_183.jpg)
![faceCascade = cv2.CascadeClassifier(sys.argv[2]) • image = cv2.imread(sys.argv[1]) • gray =](https://files.speakerdeck.com/presentations/3af1545b10f74d1280a5c43db22f4051/slide_193.jpg)
![faceCascade = cv2.CascadeClassifier(sys.argv[1]) cap = cv2.VideoCapture(0) while True: ret, frame](https://files.speakerdeck.com/presentations/3af1545b10f74d1280a5c43db22f4051/slide_200.jpg)