Upgrade to Pro — share decks privately, control downloads, hide ads and more …

Building R Packages (RUGS Presentation)

Building R Packages (RUGS Presentation)

Shiraz14

March 30, 2018
Tweet

Other Decks in Technology

Transcript

  1. OUTLINE OF PRESENTATION 1. What are R packages? 2. Why

    create R packages? 3. Steps to creating a R package 4. Hands-on Session to create a simple R package 5. Deploying R packages to CRAN, GitHub & Bioconductor
  2. 1. R Packages – An Introduction • R packages serve

    as a collection of commonly-utilised functions/modules which allow a user to directly assimilate these functions in an R script. • Packages created in R may be uploaded into GitHub, CRAN, or Bioconductor. • Subsequently, these packages may be downloaded by other R users, and used in the R console (CLI) or R-Studio (GUI).
  3. 1. R Packages – An Introduction • Screenshots of package

    installation:  R Studio package installation  R console package installation
  4. 2. Why create R Packages? • R packages congregate complex

    functions/tasks/pipelines into a single module which simplifies data analysis (especially for repeat workflows). • Packages created in R may be shared with other R users, via uploading into GitHub, CRAN or Bioconductor. • Updates in deployed packages can be easily & quickly reflected in all user installations of the said package by simply calling the Update packages / Update function within R / RStudio respectively.
  5. 3. A) Steps in creating R Packages (using R Console)

    i. Install & load the following packages in R: a. roxygen2 & b. devtools ii. Create a package directory to save your .R files into & set the working directory to the created package directory. iii. Create a .R file containing the functions for the package & save it in the created package R directory. iv. Add comments at the beginning of the created function in the .R script. v. Create the documentation using the document() function. vi. Set the working directory to the parent directory of the created package & use the install() function to install the newly-created package. vii. Test the function/(s) in the newly-created & installed package. viii. *Upload the created package into CRAN/GitHub (optional).
  6. 3. B) Steps in creating R Packages (using R Studio)

    i. Click on New Project > New Directory > R Package. ii. Specify the package name & click the Add button to add the package source files. a. You need to have created the package source files first. iii. Click on Create Project to create the R package. iv. Go through the steps in 3. A) as indicated in the previous slide.
  7. 4. A) Hands-on Exercise in Creating R Packages (using R)

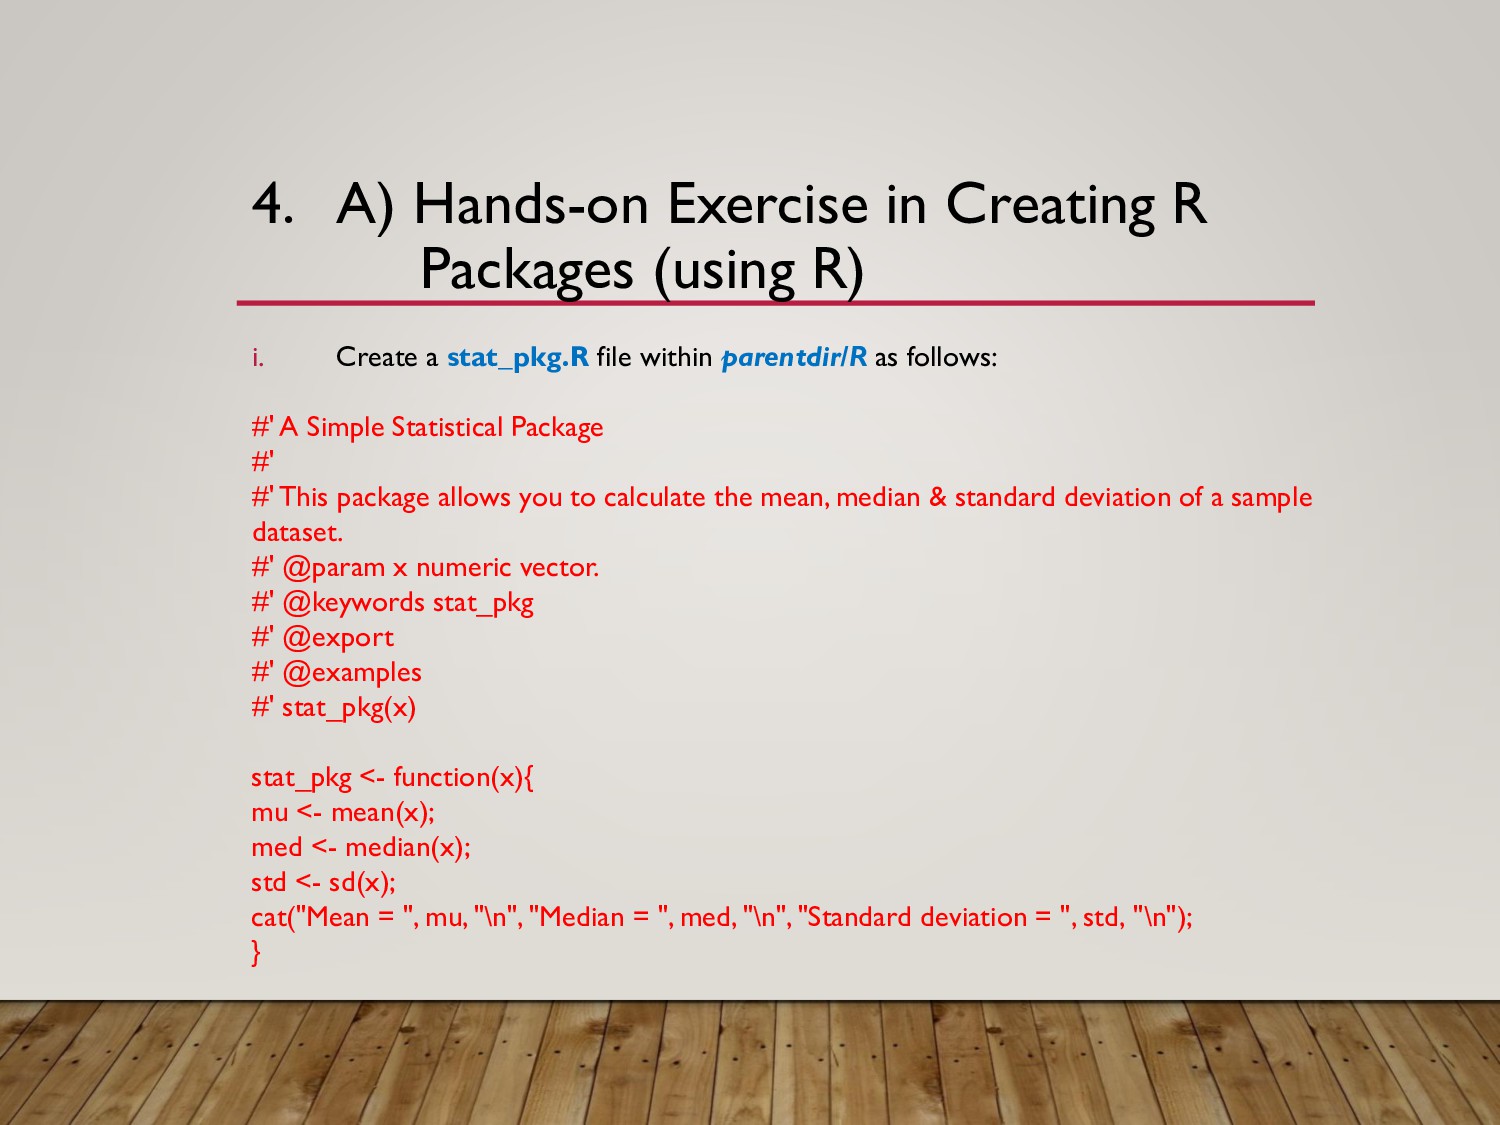
    i. Create a stat_pkg.R file within parentdir/R as follows: #' A Simple Statistical Package #' #' This package allows you to calculate the mean, median & standard deviation of a sample dataset. #' @param x numeric vector. #' @keywords stat_pkg #' @export #' @examples #' stat_pkg(x) stat_pkg <- function(x){ mu <- mean(x); med <- median(x); std <- sd(x); cat("Mean = ", mu, "\n", "Median = ", med, "\n", "Standard deviation = ", std, "\n"); }
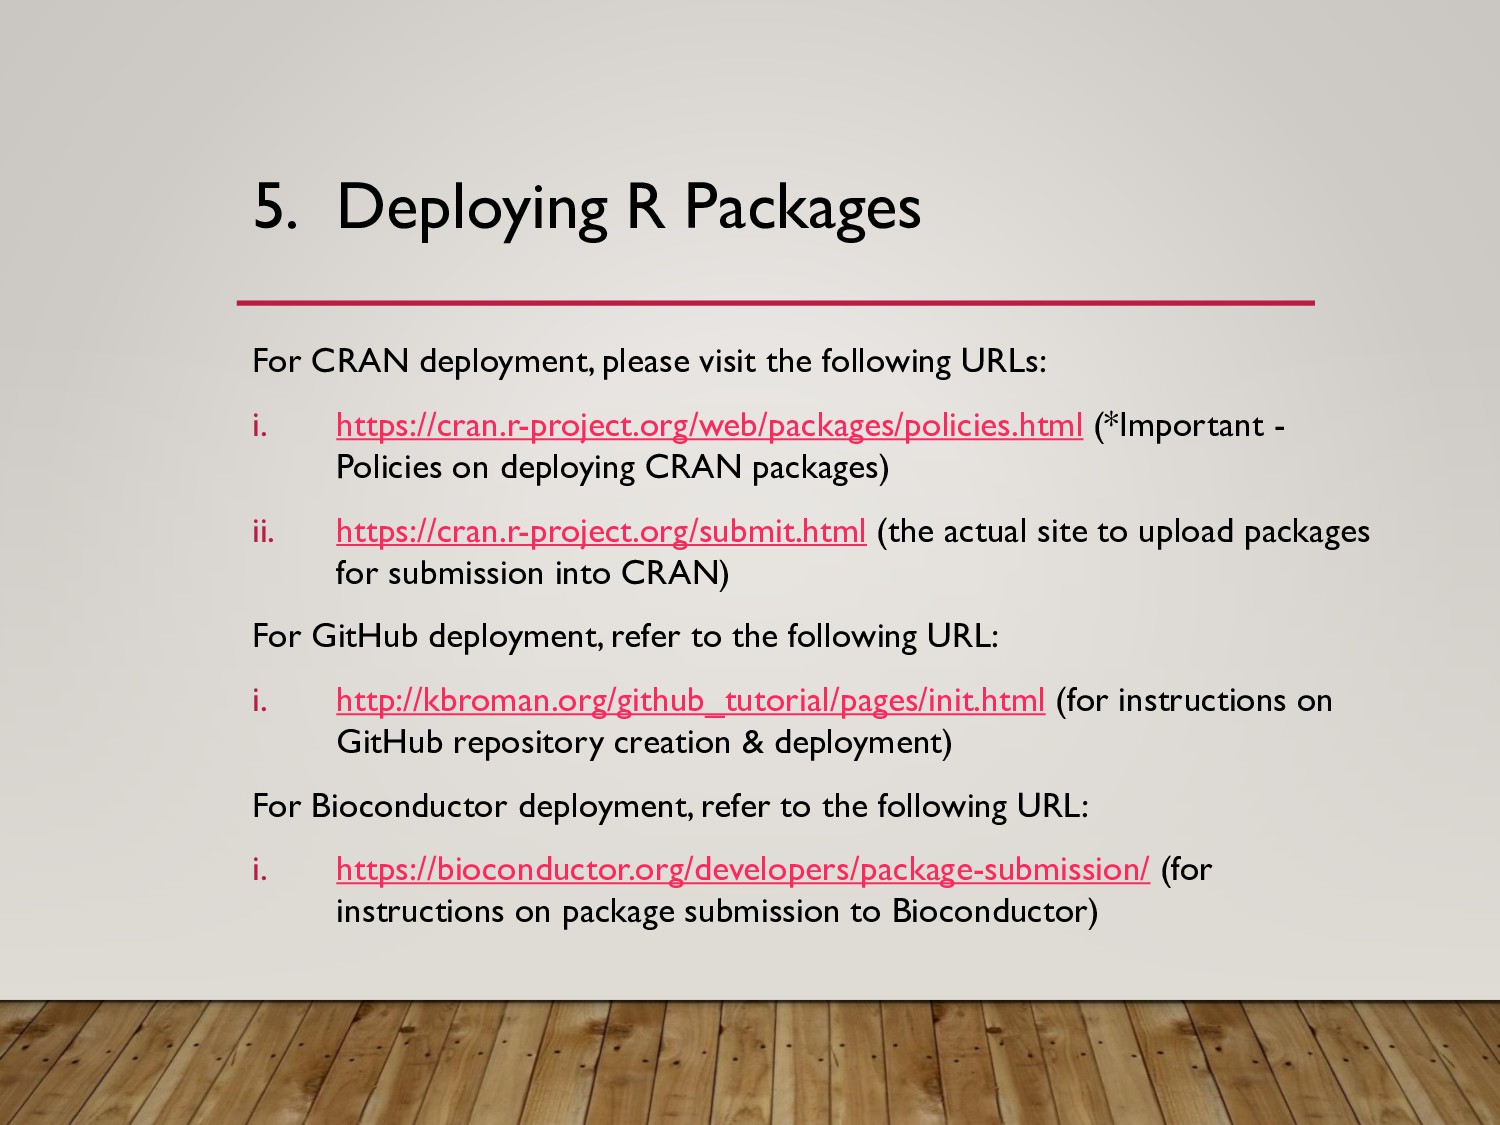
  8. 5. Deploying R Packages For CRAN deployment, please visit the

    following URLs: i. https://cran.r-project.org/web/packages/policies.html (*Important - Policies on deploying CRAN packages) ii. https://cran.r-project.org/submit.html (the actual site to upload packages for submission into CRAN) For GitHub deployment, refer to the following URL: i. http://kbroman.org/github_tutorial/pages/init.html (for instructions on GitHub repository creation & deployment) For Bioconductor deployment, refer to the following URL: i. https://bioconductor.org/developers/package-submission/ (for instructions on package submission to Bioconductor)