Upgrade to Pro — share decks privately, control downloads, hide ads and more …

Family Guy - "Tea Peter"

Family Guy - "Tea Peter"

Steve Fonti

July 16, 2023
Tweet

More Decks by Steve Fonti

Other Decks in Storyboards

Transcript

  1. Scene 1_5 Panel A Action Notes Act one EXT./ESTAB. GOLDMAN'S

    PHARMACY - DAY There is a sign hanging which reads, "Grand Re-Opening!" Scene 1_5 Panel B NO PANEL Page 1
  2. Scene 3_1 Panel A Action Notes INT. GOLDMAN'S PHARMACY -

    SAME The GRIFFINS and various other QUAHOGIANS browse MORT's store. Scene 3_1 Panel B NO PANEL Page 2
  3. Scene 3_1 Panel E Dialogue 1 MORT Welcome, Scene 3_1

    Panel F Dialogue everybody! Scene 3_1 Panel G Dialogue Help yourself Page 4
  4. Scene 4_3 Panel A Dialogue (THEN) We are Scene 4_3

    Panel B Dialogue asking four dollars Scene 4_3 Panel C Dialogue for the bag. Page 6
  5. Scene 5_1 Panel A Dialogue 2 LOIS Congratulations Scene 5_1

    Panel B Dialogue on your Grand Scene 5_1 Panel C Dialogue Re-Opening, Mort. Looks like your customers are comin' back. Page 7
  6. Scene 5_1 Panel D Dialogue 3 PETER Yeah, I hated

    goin' Scene 5_1 Panel E Dialogue to that other pharmacy. Scene 5_1 Panel F Dialogue They are not discreet at all. Page 8
  7. Scene 6 Panel A Action Notes INT. DIFFERENT PHARMACY -

    DAY (FLASHBACK) Peter stands at the front counter. The PHARMACIST has several magazines in a rack behind him. Scene 6 Panel B Dialogue 4 PETER (SOFTLY, INDICATING MAGAZINES) Ah, Scene 6 Panel C Dialogue One issue of "Ramrod". Page 9
  8. Scene 6 Panel G Dialogue 5 PHARMACIST (PLACING DOWN MAGAZINE

    DISCREETLY) Ah, Scene 6 Panel H Dialogue good Scene 6 Panel I Dialogue month. Page 11
  9. Scene 6 Panel J Dialogue 6 PETER Uh, Scene 6

    Panel K Dialogue "Tip to Tip". Scene 6 Panel L Page 12
  10. Scene 6 Panel M Scene 6 Panel N Scene 6

    Panel O Dialogue 7 PHARMACIST (PLACING DOWN MAGAZINE DISCREETLY) No disappointments Page 13
  11. Scene 6 Panel P Dialogue there. Scene 6 Panel Q

    Dialogue 8 PETER Uh, Scene 6 Panel R Dialogue "Power Tool". Page 14
  12. Scene 6 Panel V Scene 6 Panel W Dialogue 9

    PHARMACIST (PLACING DOWN MAGAZINE DISCREETLY) Bingo. Scene 6 Panel X Dialogue 10 PETER And a pack Page 16
  13. Scene 6 Panel Y Dialogue of Tums. Scene 6 Panel

    Z Dialogue of Tums. Scene 6 Panel AA Dialogue 11 PHARMACIST (PLACING DOWN PACK OF TUMS LOUDLY) One pack Page 17
  14. Scene 6 Panel AB Dialogue of Tums! Scene 6 Panel

    AC Dialogue 12 PETER (QUICKLY) Never mind! Scene 6 Panel AD Action Notes Peter ducks his head and quickly exits. Page 18
  15. Scene 7_1 Panel A Action Notes INT. GOLDMAN'S PHARMACY -

    DAY (BACK TO SCENE) Peter browses the gum rack. Scene 7_1 Panel B Scene 7_1 Panel C Page 20
  16. Scene 7_1 Panel D Scene 7_1 Panel E Scene 7_1

    Panel F Dialogue 13 PETER Oh, wow, Page 21
  17. Scene 7_1 Panel G Dialogue Jewish gum! Scene 7_1 Panel

    H Scene 7_1 Panel I Dialogue (READING) "Bubble Yuk". Page 22
  18. Scene 7_1 Panel J Scene 7_1 Panel K Scene 7_1

    Panel L Dialogue (TRIES A PIECE) Page 23
  19. Scene 7_1 Panel S Scene 7_1 Panel T Scene 7_1

    Panel U Dialogue Tastes like herring and coffee breath. Page 26
  20. Scene 9 Panel A Action Notes ANGLE ON another part

    of the store, where Chris stands before a rotating rack of sunglasses, Scene 9 Panel B Action Notes trying on different pairs. Scene 9 Panel C Page 27
  21. Scene 9 Panel P Action Notes WIDEN TO INCLUDE SEAMUS

    standing at a similar rack that has a variety of eye patches. Scene 9 Panel Q Page 32
  22. Scene 11 Panel A Dialogue 14 SEAMUS Hm, Scene 11

    Panel B Dialogue maybe this one. Scene 11 Panel C Page 33
  23. Scene 11 Panel G Scene 11 Panel H Action Notes

    He puts on the patch, Scene 11 Panel I Action Notes which gives him the appearance of a guy with one freakishly large eye. Page 35
  24. Scene 9_1 Panel A Action Notes Scene 9_1 Panel B

    Dialogue 15 SEAMUS Hey. Action Notes He turns to Chris. Scene 9_1 Panel C Dialogue Lookin' at you pretty normal, Action Notes Page 37
  25. Scene 9_1 Panel D Dialogue huh? Action Notes Scene 9_1

    Panel E Action Notes Scene 9_1 Panel F Action Notes Page 38
  26. Scene 9_1 Panel G Action Notes Scene 9_1 Panel H

    Dialogue 16 CHRIS (FREAKED OUT) No! Action Notes Scene 9_1 Panel I Action Notes Page 39
  27. Scene 11_1 Panel A Dialogue 17 SEAMUS Aw, fudge. Scene

    11_1 Panel B Scene 11_1 Panel C Dialogue (THEN) Wait, Page 41
  28. Scene 11_1 Panel G Action Notes Seamus grabs an identical

    patch Scene 11_1 Panel H Action Notes and puts it over his other eye. Scene 11_1 Panel I Action Notes He now appears to have two freakishly large eyes. Page 43
  29. Scene 11_2 Panel A Scene 11_2 Panel B Action Notes

    He turns to exit NO PANEL Page 44
  30. Scene 11_2 Panel C Scene 11_2 Panel D Action Notes

    and walks into a shelf, jostling it slightly. Page 45
  31. Scene 11_2 Panel H Dialogue 18 SEAMUS I'll figure this

    out. Scene 11_2 Panel I Dialogue The pieces are Scene 11_2 Panel J Dialogue all there. Page 47
  32. Scene 11_2 Panel K Dialogue I'll go home and figure

    this out. NO PANEL NO PANEL Page 48
  33. Scene 11_3 Panel A Action Notes ANGLE BACK ON Peter.

    Scene 11_3 Panel B Scene 11_3 Panel C Action Notes He notices a sign hanging in the window. Page 49
  34. Scene 11_3 Panel D Scene 11_3 Panel E Action Notes

    He turns it around, Scene 11_3 Panel F Action Notes revealing that it's Mort's "Come In, We're Open!" sign. Page 50
  35. Scene 11_3 Panel G Scene 11_3 Panel H Dialogue 19

    PETER (RE: SIGN) Aw, cool. Scene 11_3 Panel I Dialogue Hey Mort, Page 51
  36. Scene 11_3 Panel J Dialogue what's this thing? Scene 11_3

    Panel K Dialogue 20 MORT Oh, that? Page 52
  37. Scene 11_3 Panel L Dialogue That's my "Come In, We're

    Open!" sign. Scene 11_3 Panel M Dialogue It's the only thing Scene 11_3 Panel N Dialogue that survived the fire. Page 53
  38. Scene 11_3 Panel O Dialogue And it's my last connection

    to my Scene 11_3 Panel P Dialogue dear, departed Muriel. Scene 11_3 Panel Q Dialogue 21 PETER Wish I had one of those. Page 54
  39. Scene 11_3 Panel R Dialogue 22 MORT (QUICKLY) I'll sell

    it Scene 11_3 Panel S Dialogue to you. Scene 11_3 Panel T Page 55
  40. Scene 11_5 Panel A Dialogue 23 TV ANNOUNCER (V.O.) We

    now return to "Law and Order: Extra Special Victims Unit". Action Notes INT. GRIFFINS' LIVING ROOM - SAME The Griffins, minus Peter, sit on the couch watching television. NO PANEL NO PANEL Page 57
  41. Scene 11_6 Panel A Dialogue 24 POLICE OFFICER #1 Can

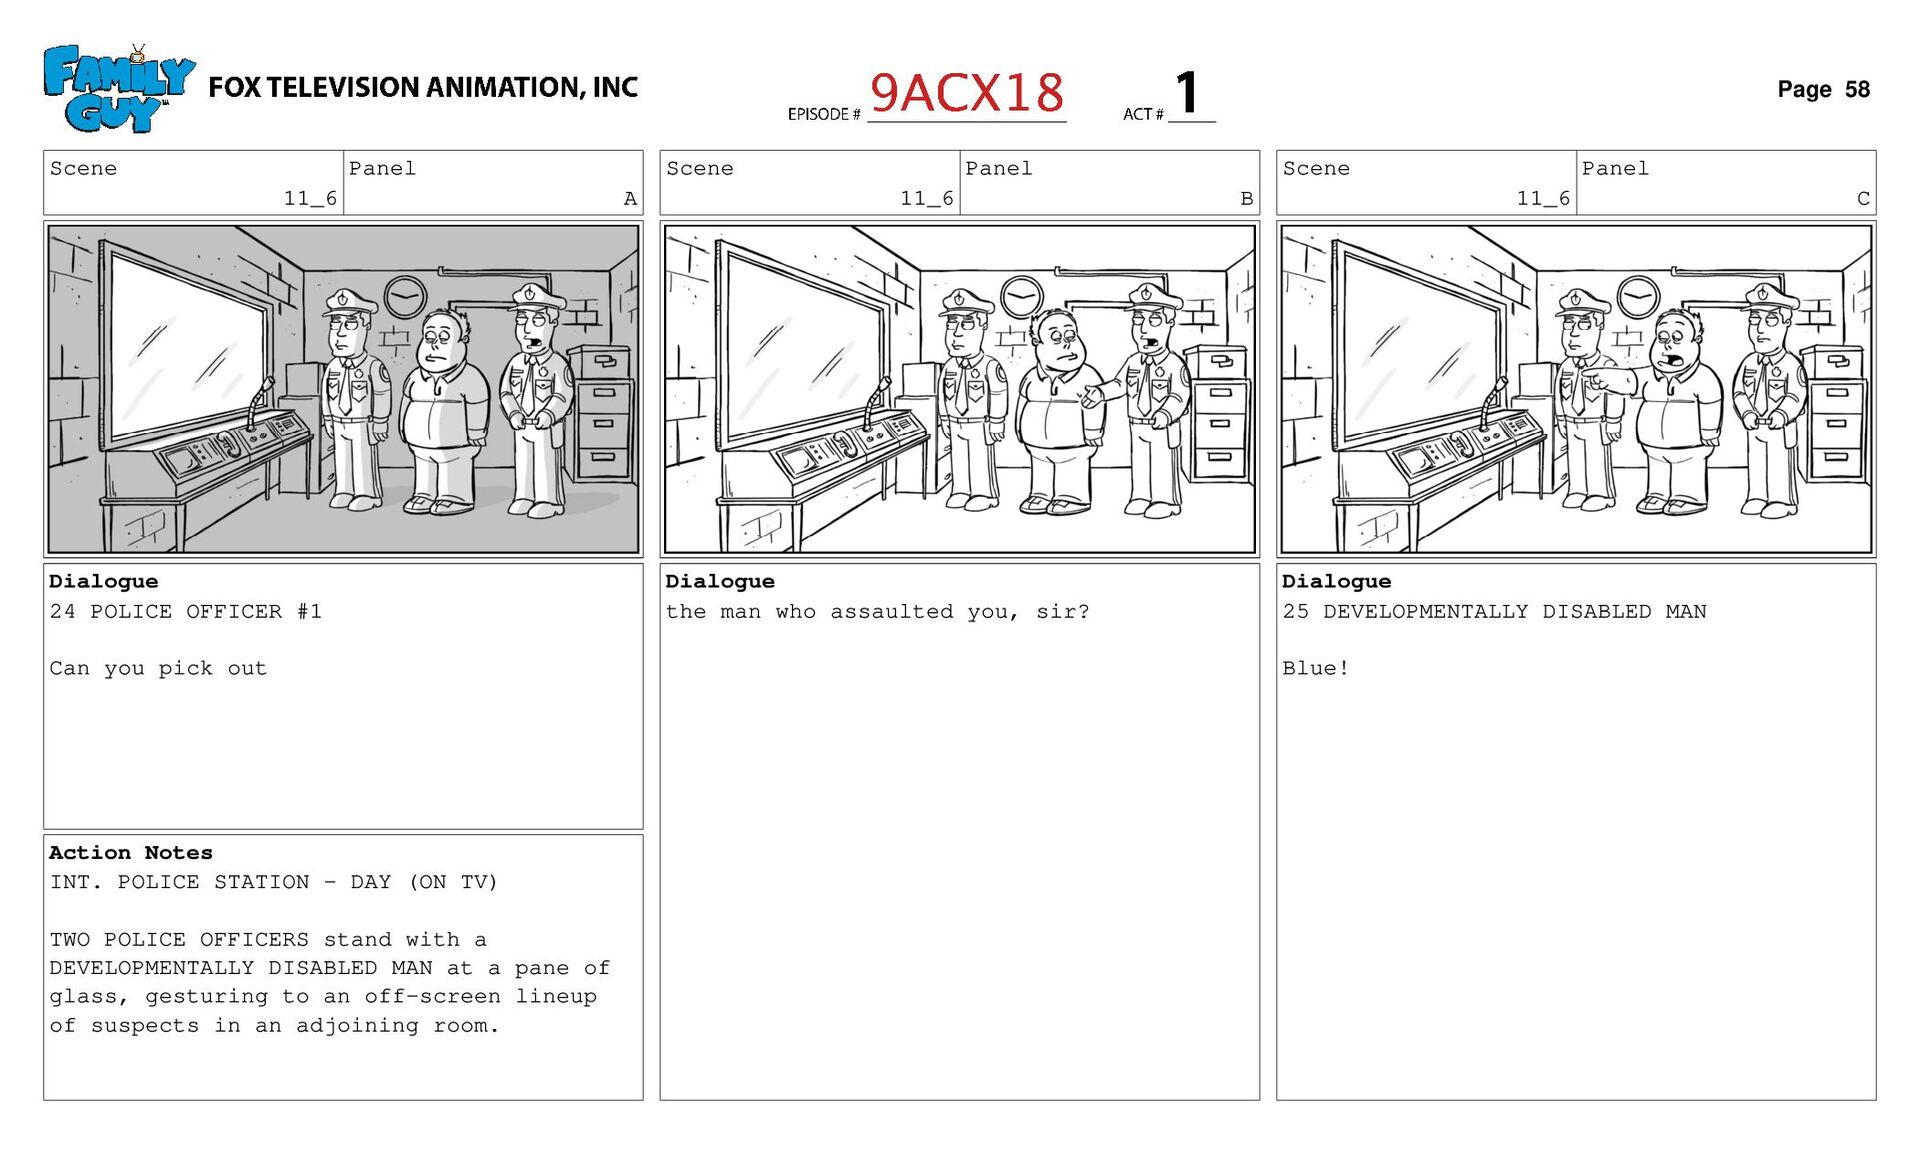
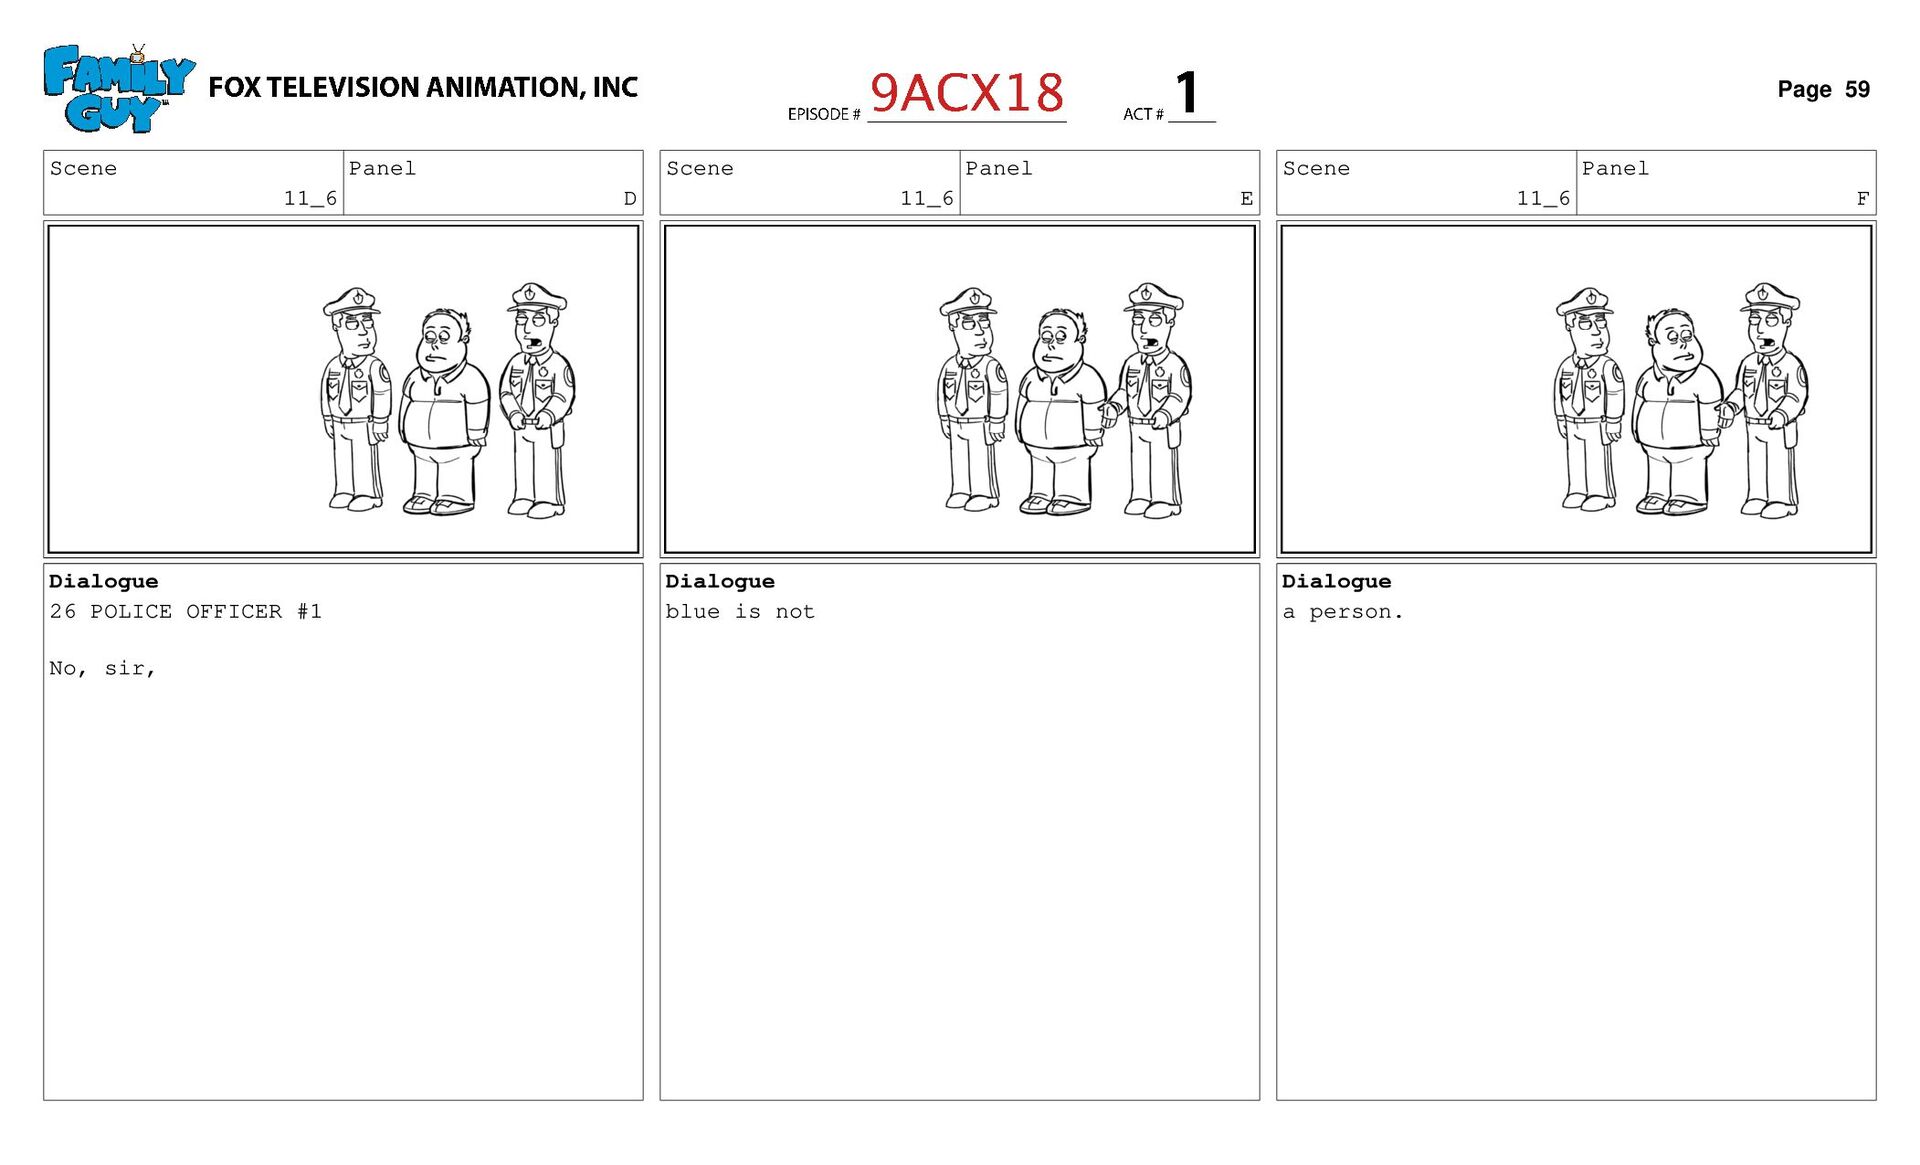
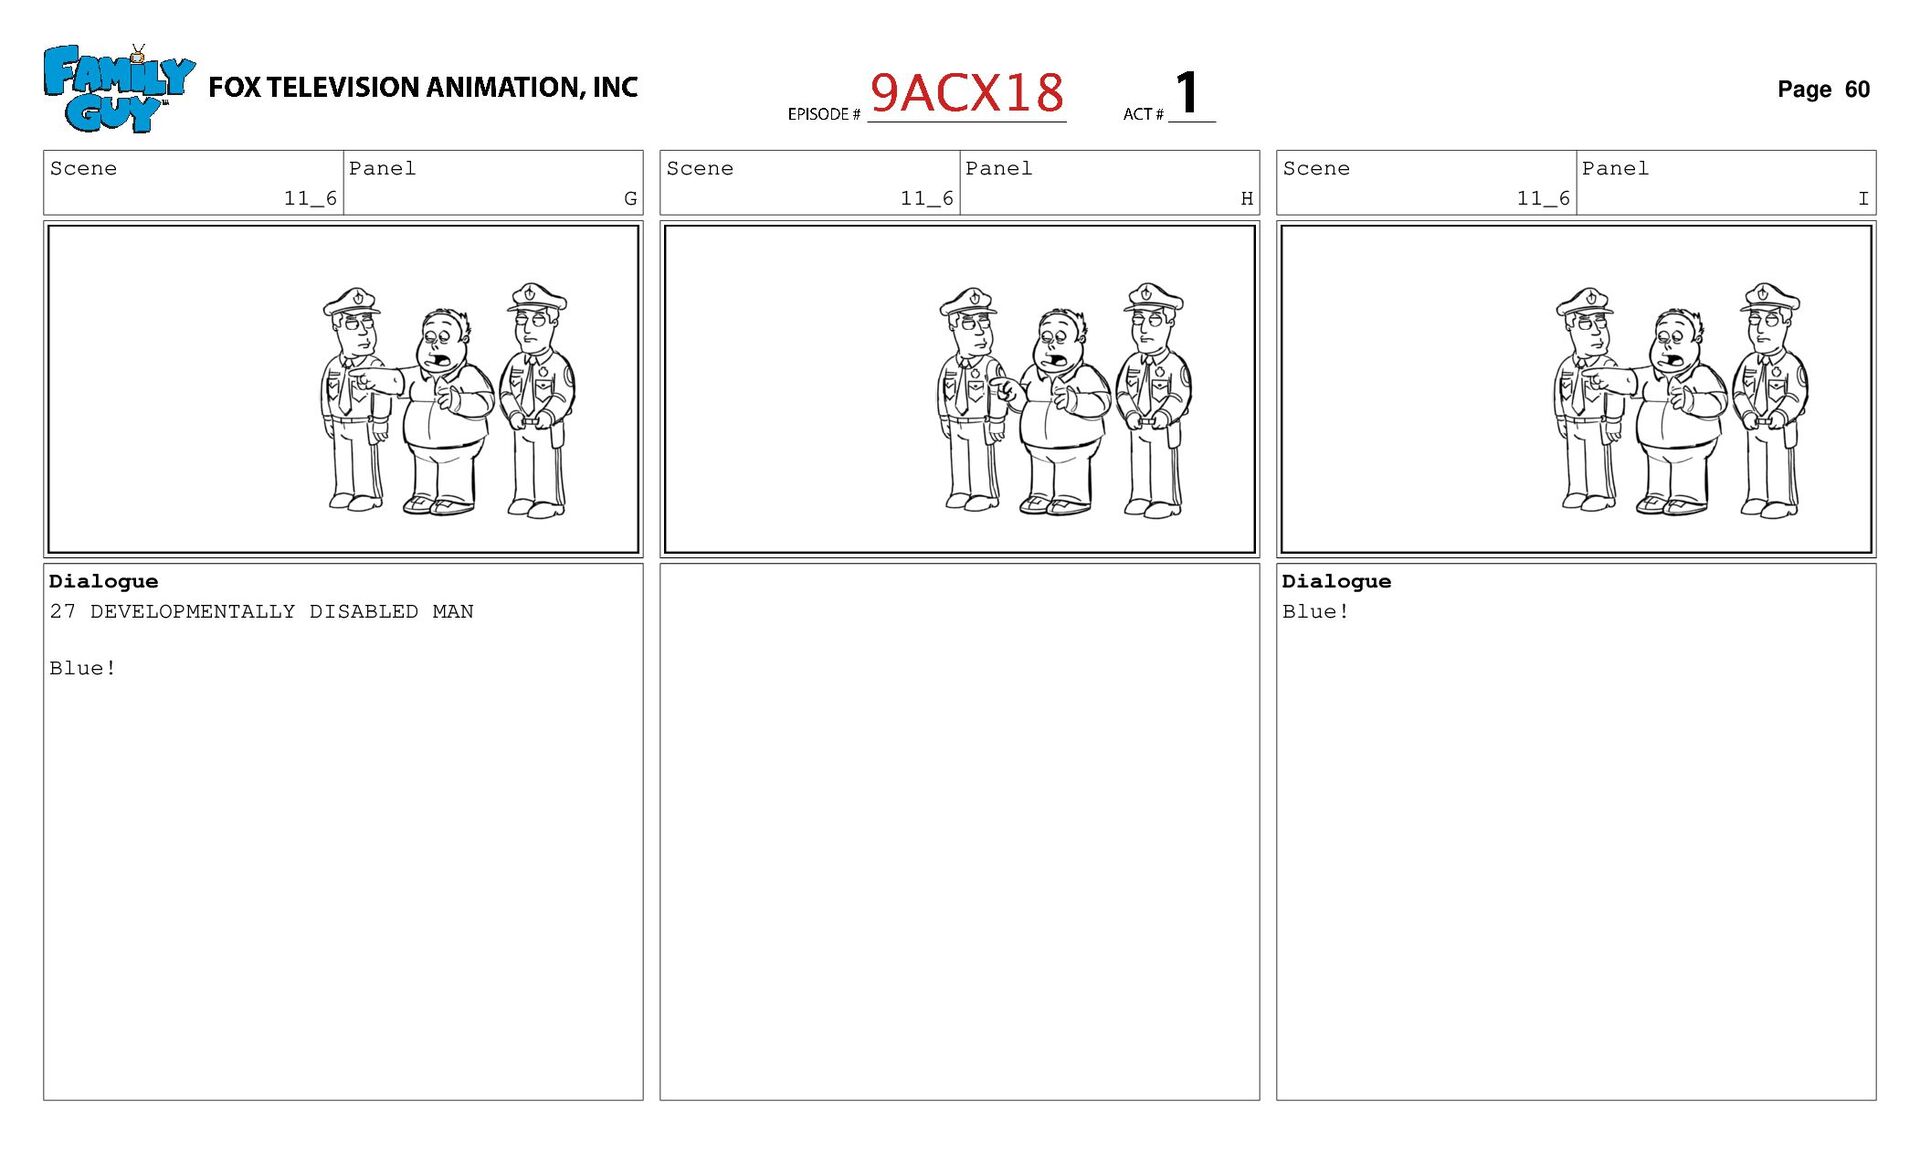
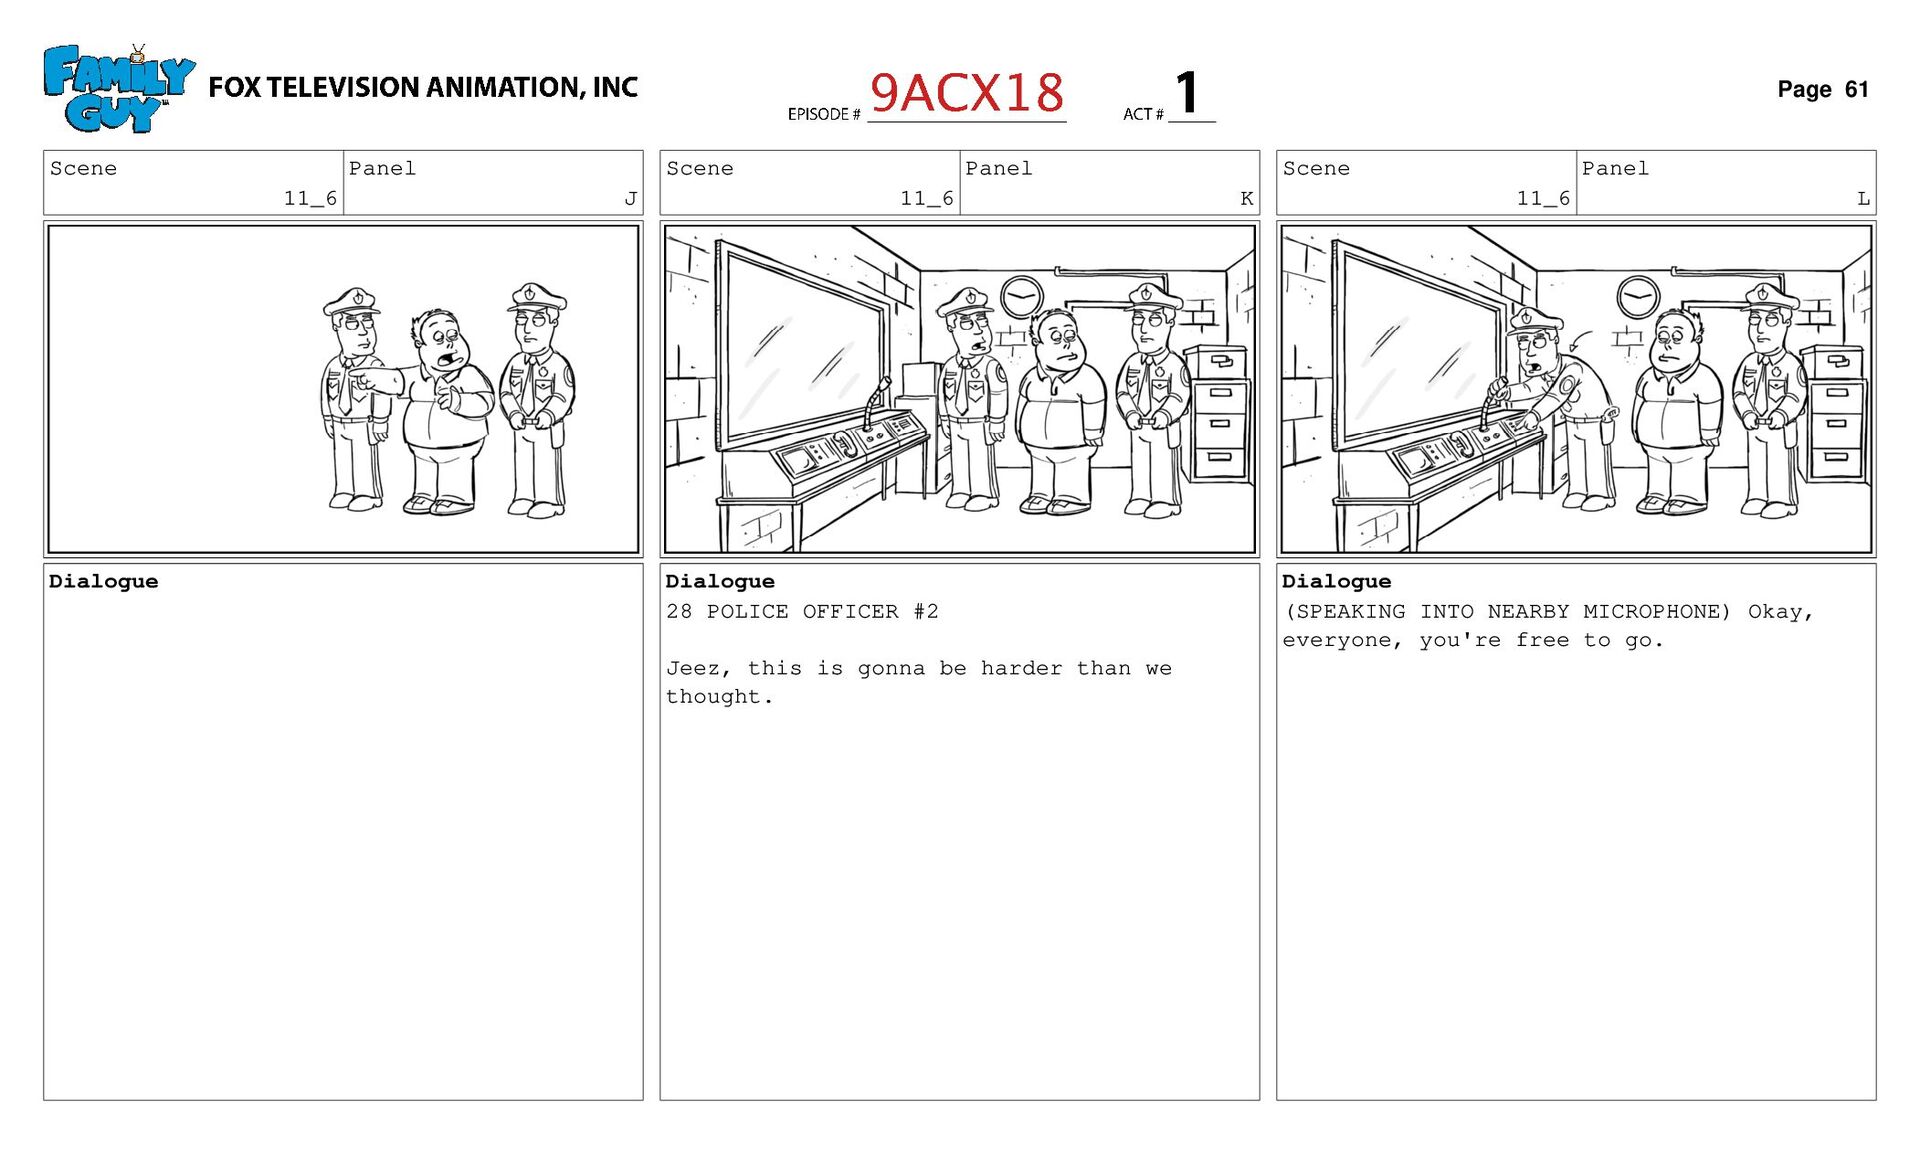
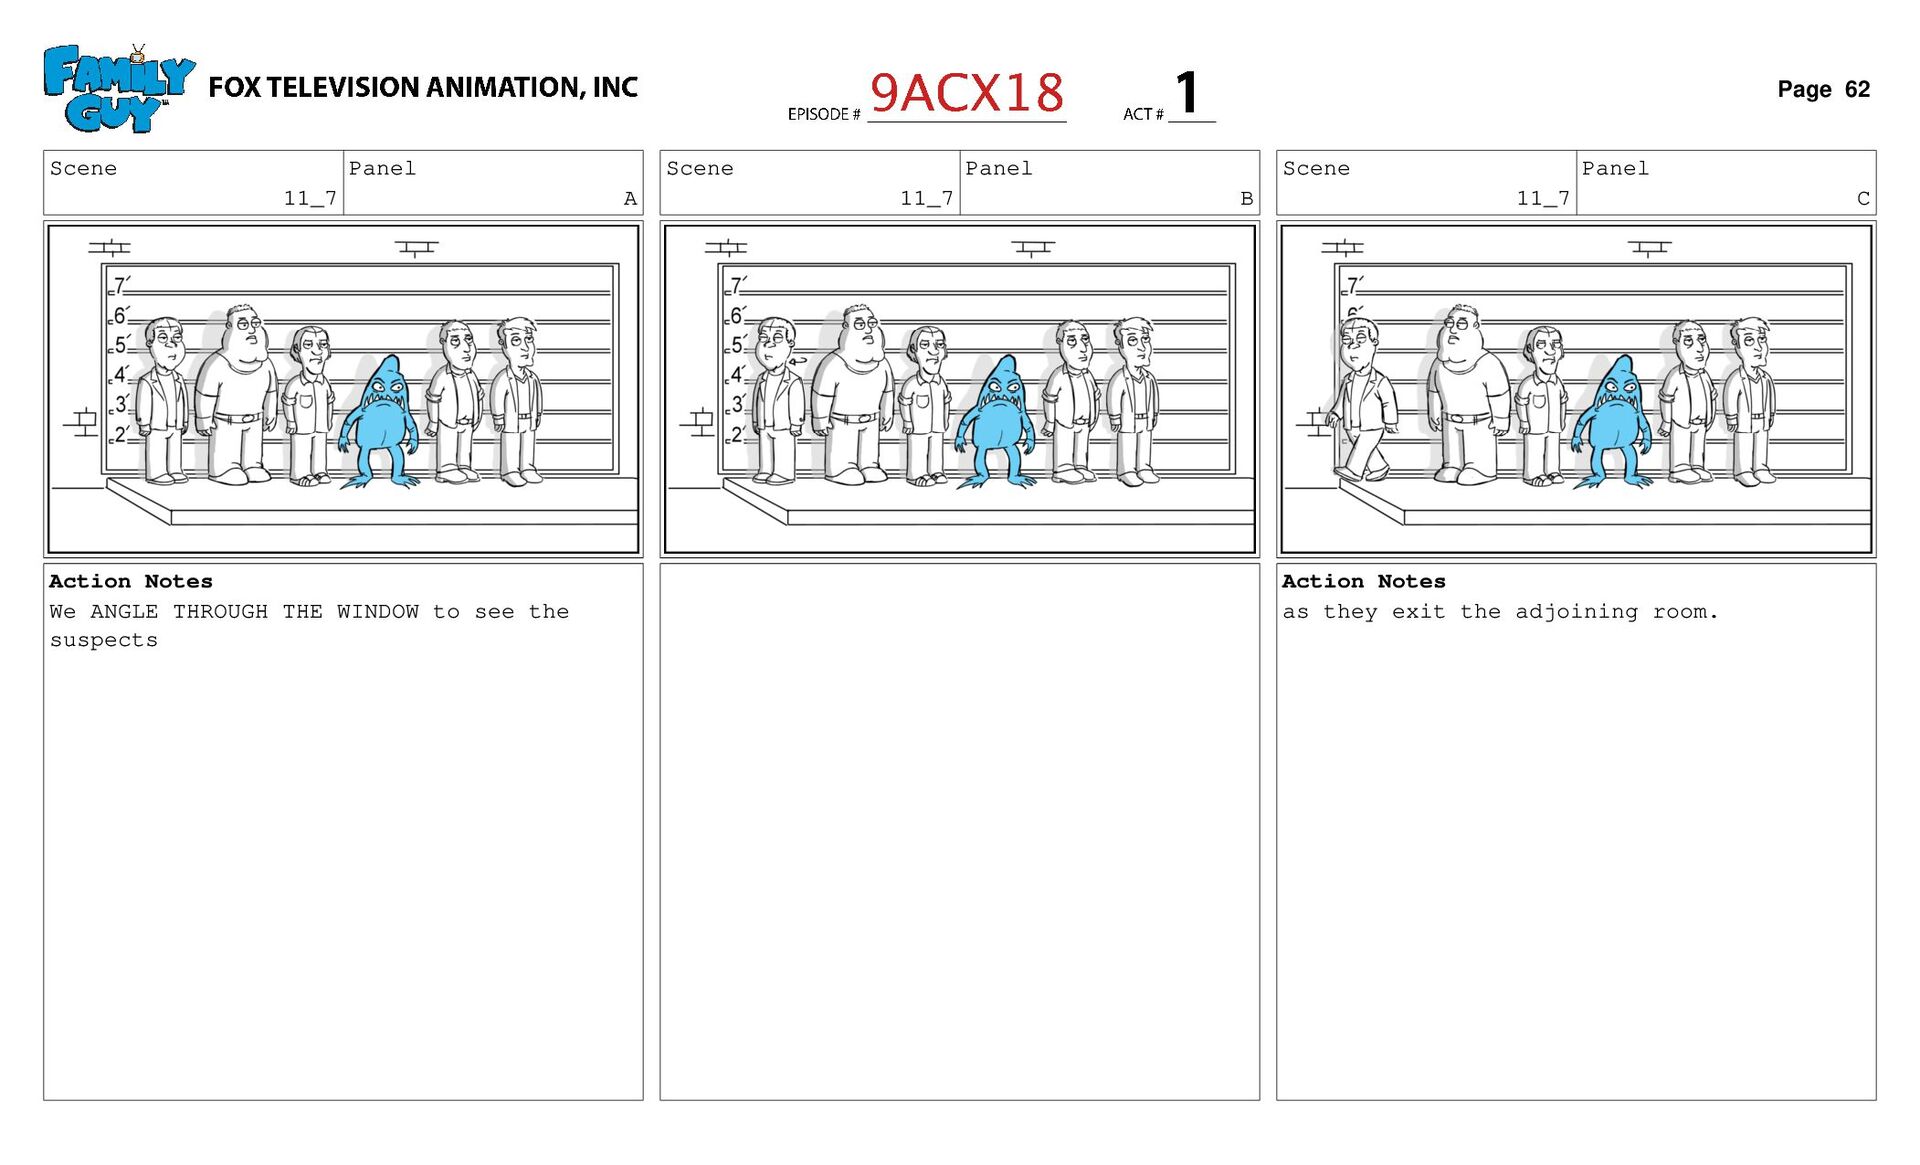
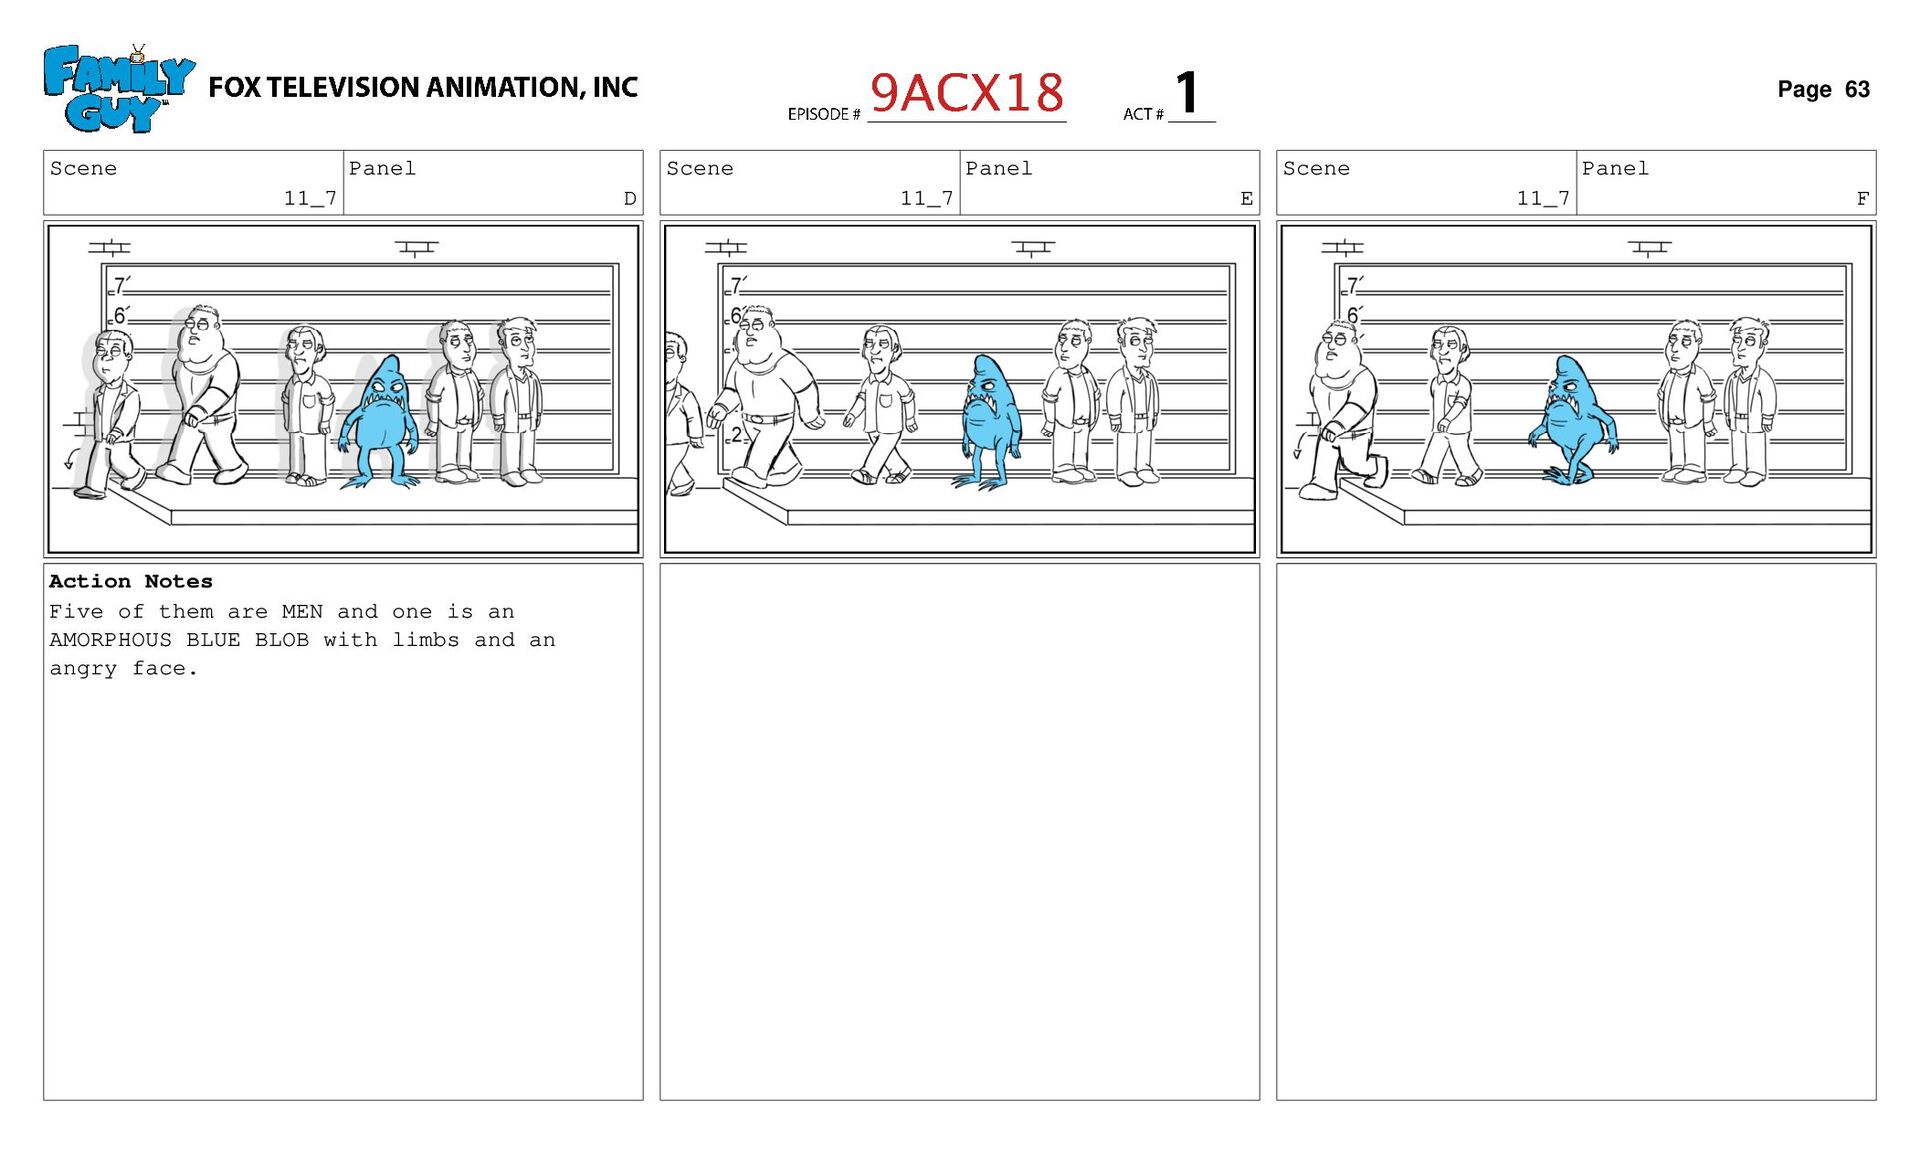
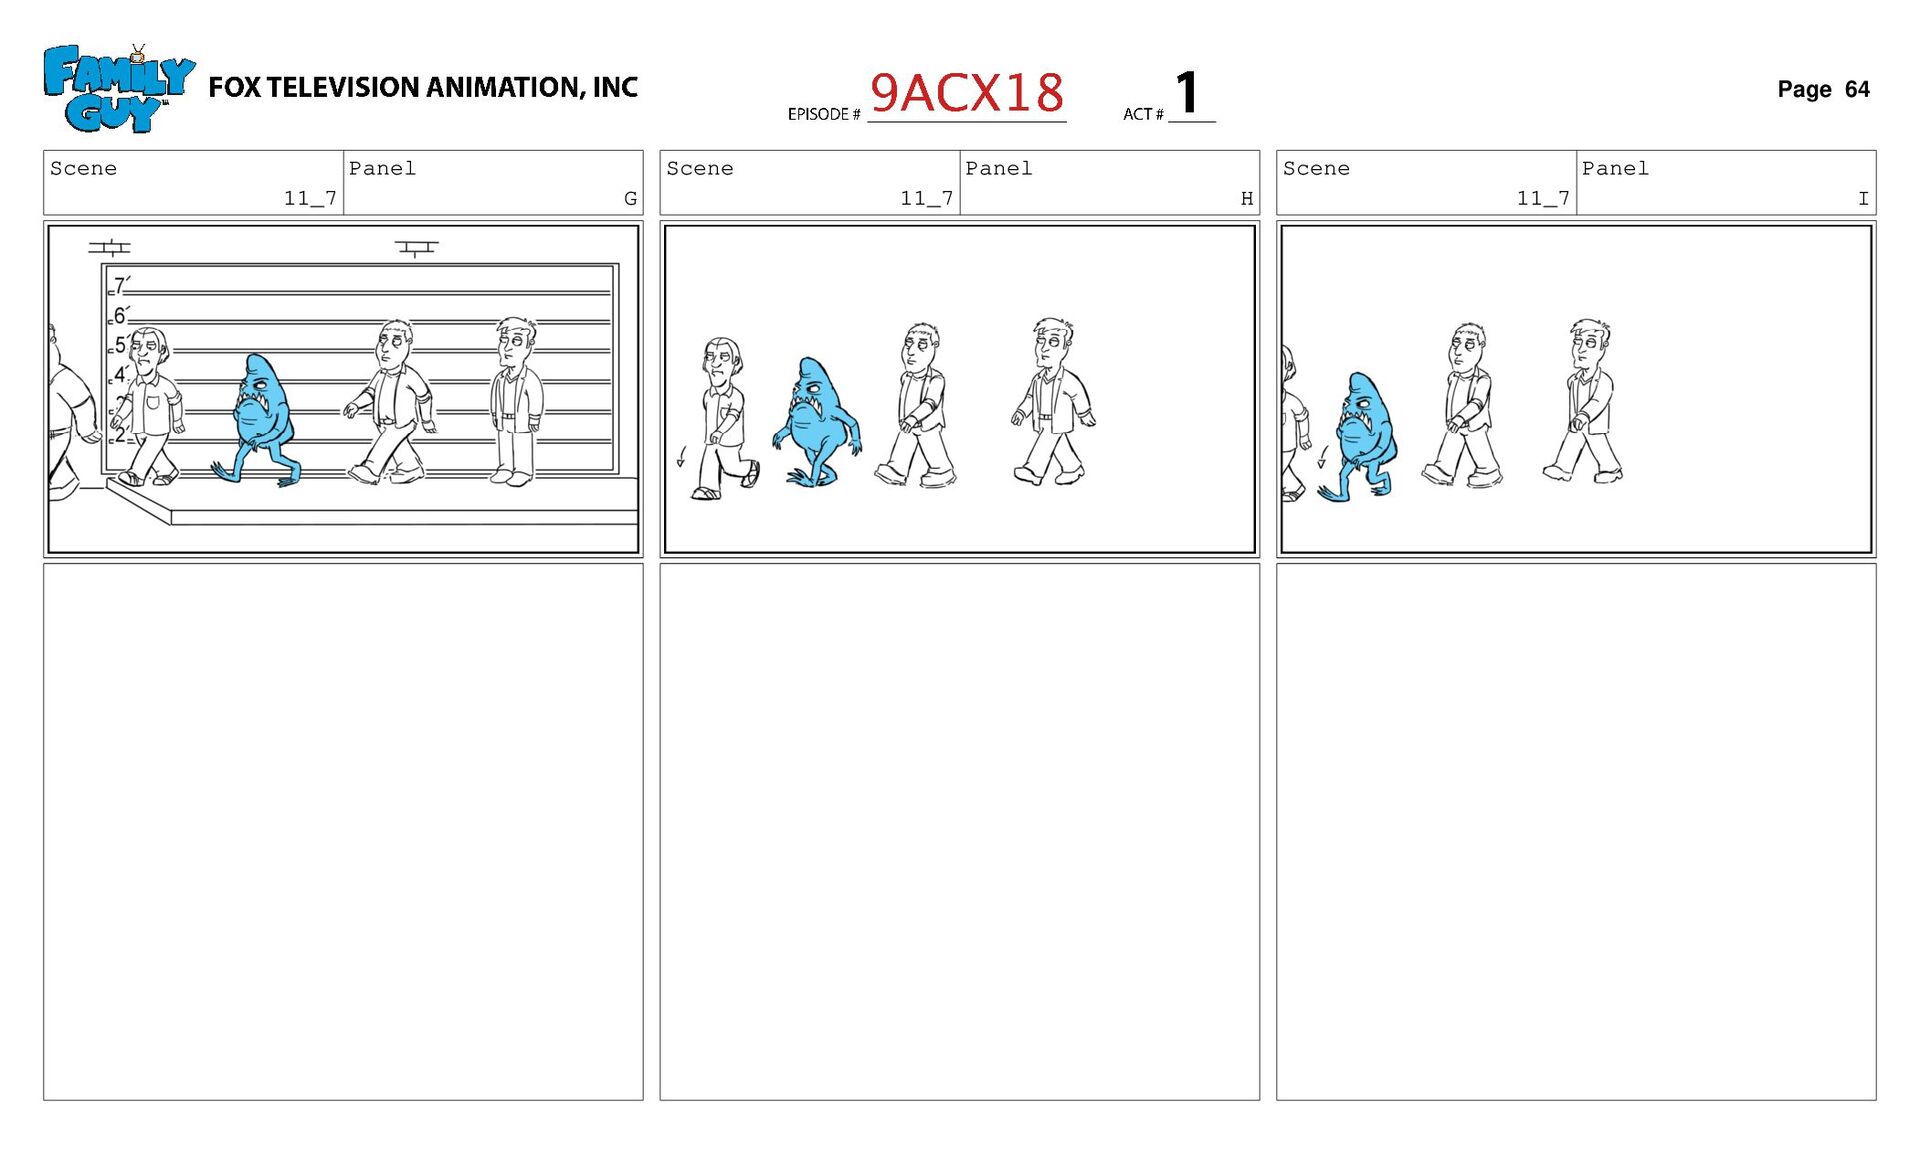
    you pick out Action Notes INT. POLICE STATION - DAY (ON TV) TWO POLICE OFFICERS stand with a DEVELOPMENTALLY DISABLED MAN at a pane of glass, gesturing to an off-screen lineup of suspects in an adjoining room. Scene 11_6 Panel B Dialogue the man who assaulted you, sir? Scene 11_6 Panel C Dialogue 25 DEVELOPMENTALLY DISABLED MAN Blue! Page 58
  42. Scene 11_6 Panel D Dialogue 26 POLICE OFFICER #1 No,

    sir, Scene 11_6 Panel E Dialogue blue is not Scene 11_6 Panel F Dialogue a person. Page 59
  43. Scene 11_6 Panel G Dialogue 27 DEVELOPMENTALLY DISABLED MAN Blue!

    Scene 11_6 Panel H Scene 11_6 Panel I Dialogue Blue! Page 60
  44. Scene 11_6 Panel J Dialogue Scene 11_6 Panel K Dialogue

    28 POLICE OFFICER #2 Jeez, this is gonna be harder than we thought. Scene 11_6 Panel L Dialogue (SPEAKING INTO NEARBY MICROPHONE) Okay, everyone, you're free to go. Page 61
  45. Scene 11_7 Panel A Action Notes We ANGLE THROUGH THE

    WINDOW to see the suspects Scene 11_7 Panel B Scene 11_7 Panel C Action Notes as they exit the adjoining room. Page 62
  46. Scene 11_7 Panel D Action Notes Five of them are

    MEN and one is an AMORPHOUS BLUE BLOB with limbs and an angry face. Scene 11_7 Panel E Scene 11_7 Panel F Page 63
  47. Scene 11_8 Panel A Action Notes INT. GRIFFINS' LIVING ROOM

    - DAY (BACK TO SCENE) Scene 11_8 Panel B Action Notes We hear a pounding sound on the door. Scene 11_8 Panel C Action Notes Lois gets up to investigate. Page 67
  48. Scene 11_9 Panel A Scene 11_9 Panel B Scene 11_9

    Panel C Dialogue 29 LOIS Peter, Action Notes She opens the door, revealing Peter standing on the front step with a hammer. He has just hung the "Come In, We're Open!" sign on the front door. Page 69
  49. Scene 11_9 Panel D Dialogue what are you doing? Scene

    11_9 Panel E Dialogue 30 PETER Eh, I'm Scene 11_9 Panel F Dialogue just Page 70
  50. Scene 11_9 Panel G Dialogue puttin' up Action Notes (Peter

    hooks hammer onto belt) Scene 11_9 Panel H Dialogue my new Scene 11_9 Panel I Dialogue sign. Page 71
  51. Scene 11_9 Panel J Scene 11_9 Panel K Action Notes

    (Peter adjusts/straightens sign) Scene 11_9 Panel L Dialogue 31 LOIS Don't put that thing on our door. Page 72
  52. Scene 11_9 Panel M Dialogue If you wanna hang it

    somewhere, Scene 11_9 Panel N Dialogue hang it in the basement. Scene 11_9 Panel O Dialogue 32 PETER Oh, why? Page 73
  53. Scene 11_9 Panel P Dialogue So you can hog it

    Scene 11_9 Panel Q Dialogue while you're doin' laundry? NO PANEL Page 74
  54. Scene 11_9 Panel T Dialogue 33 LOIS Peter, we're not

    Scene 11_9 Panel U Dialogue a business. Action Notes A MAN approaches up the walkway. Scene 11_9 Panel V Dialogue 34 MAN #1 Hey, Page 76
  55. Scene 11_9 Panel W Dialogue I saw your sign. Scene

    11_9 Panel X Dialogue So, you're open? Scene 11_9 Panel Y Dialogue 35 PETER That's right. Page 77
  56. Scene 11_9 Panel Z Dialogue 36 MAN #1 What do

    you do? Scene 11_9 Panel AA Dialogue 37 PETER What do you need? Scene 11_9 Panel AB Dialogue 38 MAN #1 Milk. Page 78
  57. Scene 1 Panel A Action Notes EXT./ESTAB. GRIFFINS' HOUSE -

    DAY There are numerous cars parked along the street, and PEOPLE are entering and exiting the house. Scene 1 Panel B NO PANEL Page 80
  58. Scene 020 Panel A Action Notes INT. GRIFFINS' LIVING ROOM

    - SAME There are now many PEOPLE in the Griffins' living room, browsing the Griffins' belongings. Scene 020 Panel B Page 81
  59. Scene 4 Panel F Dialogue I told you, Scene 4

    Panel G Dialogue I don't like all these strangers walkin' around Scene 4 Panel H Dialogue in our house. Page 86
  60. Scene 4 Panel I Dialogue 41 PETER They're not strangers,

    Lois. They're our valued customers. Scene 4 Panel J Dialogue And if we don't show them we appreciate their loyalty, Scene 4 Panel K Dialogue they're gonna go someplace else. Page 87
  61. Scene 4 Panel L Dialogue 42 LOIS For what?! Scene

    4 Panel M Dialogue 43 STEWIE Not to Page 88
  62. Scene 4 Panel N Dialogue alarm anyone, Scene 4 Panel

    O Dialogue but some guy took me in the closet and tried me on. Scene 4 Panel P Dialogue 44 MEG She's right, Dad. Page 89
  63. Scene 4 Panel Q Dialogue None of this makes any

    sense. Scene 4 Panel R Dialogue 45 PETER Meg, go take your ten. And you may consider this a verbal warning. Scene 4 Panel S Dialogue Page 90
  64. Scene 4 Panel T Scene 4 Panel U Dialogue 46

    LOIS Peter, I want these people to leave. Scene 4 Panel V Dialogue 47 STEWIE I fit, by the way. Page 91
  65. Scene 7 Panel A Dialogue 48 PETER Lois, I'd love

    nothin' more than to sit here and Scene 7 Panel B Dialogue chat with you, but I have a Scene 7 Panel C Dialogue business to run. Page 92
  66. Scene 7 Panel D Dialogue 49 PETER Hi there. Action

    Notes Peter turns to a nearby MAN, who holds a piece of paper. Scene 7 Panel E Dialogue What can I Page 93
  67. Scene 7 Panel F Dialogue do for you? Scene 7

    Panel G Dialogue 50 MAN #2 (HANDING PAPER TO PETER) I'd like Scene 7 Panel H Dialogue fifty Page 94
  68. Scene 7 Panel I Dialogue photocopies. Scene 7 Panel J

    Dialogue 51 PETER I'll get those for you right away. Scene 7 Panel K Page 95
  69. Scene 8 Panel A Action Notes INT. GRIFFINS' KITCHEN -

    A BIT LATER Peter sits at the kitchen table, copying the flyer laboriously by hand. He is surrounded by other pieces of paper, many of which are crumpled up. Scene 8 Panel B Action Notes Brian enters. Page 98
  70. Scene 8 Panel C Scene 8 Panel D Dialogue 52

    BRIAN Peter, what are you Scene 8 Panel E Dialogue doing in Page 99
  71. Scene 8 Panel F Dialogue here? Scene 8 Panel G

    Dialogue 53 PETER Makin' photocopies. Scene 8 Panel H Dialogue Hey, do me a favor and tell that guy in the livin' room his order will be ready in February Page 100
  72. Scene 8 Panel I Dialogue and it'll be nine hundred

    dollars. Scene 8 Panel J Dialogue Dammit! Scene 8 Panel K Page 101
  73. Scene 8 Panel L Dialogue (THEN, CRUMPLING UP PAPER) Tell

    him Scene 8 Panel M Dialogue March. Scene 8 Panel N Page 102
  74. Scene 026 Panel A Action Notes INT. GRIFFINS' LIVING ROOM

    - SAME Peter is in the living room as CUSTOMERS mill about. Scene 026 Panel B Notes HOOKUP PETER NO PANEL Page 105
  75. Scene 1_2 Panel C Dialogue 54 PETER May I help

    Scene 1_2 Panel D Dialogue you folks? Scene 1_2 Panel E Dialogue 55 FATHER Yes, Page 107
  76. Scene 1_2 Panel F Dialogue my Scene 1_2 Panel G

    Dialogue family and I Scene 1_2 Panel H Dialogue would like our portrait painted. Page 108
  77. Scene 1_2 Panel I Dialogue 56 PETER Well, you came

    to the right place. Scene 1_2 Panel J Scene 1_2 Panel K Action Notes Peter produces a blank canvas and some paints. Page 109
  78. Scene 1_3 Panel A Action Notes We CUT TO BLACK,

    with a chyron which reads "TWO HOURS LATER..." NO PANEL NO PANEL Page 110
  79. Scene 1_4 Panel A Action Notes We then CUT BACK

    TO SCENE to see the family holding their pose as Peter paints. Scene 1_4 Panel B Scene 1_4 Panel C Dialogue 57 PETER (WHILE PAINTING) Looking Page 111
  80. Scene 1_4 Panel D Dialogue good. Scene 1_4 Panel E

    Scene 1_4 Panel F Dialogue Almost Page 112
  81. Scene 1_4 Panel J Scene 1_4 Panel K Dialogue And...

    Scene 1_4 Panel L Dialogue there! Page 114
  82. Scene 1_4 Panel M Dialogue Done! Scene 1_4 Panel N

    Scene 1_4 Panel O Action Notes Peter displays the portrait. Page 115
  83. Scene 1_10 Panel A Action Notes It's a perfect likeness

    of the family, except Peter has painted the Attractive Daughter and Wife in just bras and panties, making out with each other. NO PANEL NO PANEL Page 117
  84. Scene 1_6 Panel A Dialogue 58 FATHER What have Scene

    1_6 Panel B Dialogue you Scene 1_6 Panel C Dialogue done?! Page 118
  85. Scene 1_6 Panel D Dialogue 59 PETER (IMPORTANT) I painted

    Scene 1_6 Panel E Dialogue the truth. Scene 1_6 Panel F Page 119
  86. Scene 1_6 Panel G Dialogue I painted Scene 1_6 Panel

    H Dialogue my truth. NO PANEL Page 120
  87. Scene 1_7 Panel A Action Notes INT. GRIFFINS' LIVING ROOM

    - SAME Peter kneels in front of a YOUNG GIRL wearing a bridal gown. He has several pins in his mouth. The Young Girl's MOTHER stands next to them. Scene 1_7 Panel B Action Notes Scene 1_7 Panel C Page 122
  88. Scene 1_7 Panel D Dialogue 60 PETER (WITH PINS IN

    MOUTH) Gimme a Scene 1_7 Panel E Dialogue spin, sweetie. Scene 1_7 Panel F Dialogue Page 123
  89. Scene 1_7 Panel G Dialogue Action Notes The Young Girl

    twirls Scene 1_7 Panel H Dialogue Action Notes as Peter sticks the pins into his wrist pin cushion. Scene 1_7 Panel I Dialogue Page 124
  90. Scene 1_7 Panel M Dialogue 61 PETER What do you

    think, Mom? Scene 1_7 Panel N Dialogue Is that the most beautiful bride you've ever seen? Scene 1_7 Panel O Dialogue 62 YOUNG GIRL I love Page 126
  91. Scene 1_7 Panel P Dialogue it! Scene 1_7 Panel Q

    Dialogue 63 MOTHER Oh, it's just Scene 1_7 Panel R Dialogue so much money. Page 127
  92. Scene 1_7 Panel S Dialogue 64 PETER It's true. It's

    true. Scene 1_7 Panel T Dialogue (THEN, HARSH) Take the dress off, sweetheart. Your mother says you can't have it. Scene 1_7 Panel U Dialogue 65 MOTHER W-wa-wait...wait a minute. Page 128
  93. Scene 1_7 Panel V Dialogue Do you really Scene 1_7

    Panel W Dialogue love it? Scene 1_7 Panel X Dialogue 66 YOUNG GIRL I do. Page 129
  94. Scene 1_7 Panel Y Dialogue It just feels like my

    wedding dress. Scene 1_7 Panel Z Dialogue 67 PETER Aw. (PRESSURING) Mom, Scene 1_7 Panel AA Dialogue she loves it. Page 130
  95. Scene 1_7 Panel AB Dialogue 68 MOTHER Okay. We'll take

    it. Scene 1_7 Panel AC Dialogue 69 LOIS Peter, Action Notes Lois enters. Page 131
  96. Scene 1_7 Panel AD Dialogue what is that girl Scene

    1_7 Panel AE Dialogue doin' in my Scene 1_7 Panel AF Dialogue wedding dress?! Page 132
  97. Scene 1_7 Panel AG Dialogue 70 PETER (TO MOTHER) Oh,

    don't Scene 1_7 Panel AH Dialogue mind her. Scene 1_7 Panel AI Dialogue That's just our crabby seamstress, Page 133
  98. Scene 1_7 Panel AJ Dialogue Ms. Stitch-n-sew. Scene 1_7 Panel

    AK Dialogue (TO LOIS) Back Scene 1_7 Panel AL Dialogue upstairs, Page 134
  99. Scene 1_7 Panel AM Dialogue Ms. Stitch Scene 1_7 Panel

    AN Dialogue n-sew. Scene 1_7 Panel AO Page 135
  100. Scene 1_7 Panel AS Scene 1_7 Panel AT Dialogue (TO

    MOTHER, WHISPERING) Never found Scene 1_7 Panel AU Dialogue a husband, Page 137
  101. Scene 1_A Panel A Action Notes INT. GRIFFINS' LIVING ROOM

    - SAME Peter stands at a makeshift counter as a few CUSTOMERS mill about. Scene 1_A Panel B Scene 1_A Panel C Page 140
  102. Scene 2 Panel A Action Notes He wraps a small

    item in paper Scene 2 Panel B Scene 2 Panel C Dialogue 71 PETER There you go. Page 142
  103. Scene 2 Panel D Dialogue A half pound of Scene

    2 Panel E Dialogue honey maple turkey, sliced Action Notes Scene 2 Panel F Dialogue thin. Action Notes and hands it to a MALE CUSTOMER. Page 143
  104. Scene 2 Panel G Action Notes Scene 2 Panel H

    Action Notes Scene 2 Panel I Dialogue 72 MALE CUSTOMER I wanted a Action Notes Page 144
  105. Scene 2 Panel J Dialogue duplicate key Action Notes Scene

    2 Panel K Dialogue made. Action Notes Scene 2 Panel L Dialogue 73 PETER You have a good one. Action Notes Page 145
  106. Scene 2 Panel M Action Notes Scene 2 Panel N

    Action Notes Scene 2 Panel O Action Notes Page 146
  107. Scene 2 Panel P Action Notes Scene 2 Panel Q

    Dialogue 74 PETER Oh, hey, Joe. Action Notes Scene 2 Panel R Dialogue What's goin' on? Action Notes Page 147
  108. Scene 2 Panel S Dialogue 75 JOE Peter, I'm afraid

    I'm here Action Notes Scene 2 Panel T Dialogue to shut down your business. Action Notes NO PANEL Page 148
  109. Scene 2_2 Panel A Dialogue 76 PETER What?! Scene 2_2

    Panel B Dialogue That's crazy! I'm providing important goods and services Scene 2_2 Panel C Dialogue to the community. Page 149
  110. Scene 3 Panel A Dialogue 77 JOE You've been running

    an Scene 3 Panel B Dialogue unlicensed business in your home. Scene 3 Panel C Dialogue That's against city law. Page 150
  111. Scene 2_1 Panel A Dialogue 78 PETER Aw, Scene 2_1

    Panel B Dialogue that is such bullcrap. NO PANEL Page 151
  112. Scene 4_2 Panel A Dialogue 79 JOE Yeah, the law

    says Scene 4_2 Panel B Dialogue you need a business license. Scene 4_2 Panel C Dialogue Takes about thirty seconds. Page 152
  113. Scene 4_2 Panel D Dialogue Just gotta fill out a

    form. Scene 4_2 Panel E Dialogue Doesn't cost anything. NO PANEL Page 153
  114. Scene 5 Panel A Dialogue 80 PETER Oh, Scene 5

    Panel B Dialogue come Scene 5 Panel C Dialogue on! Page 154
  115. Scene 5 Panel D Dialogue 81 JOE Yeah, I Scene

    5 Panel E Dialogue brought you the form. (HOLDS UP FORM) Scene 5 Panel F Dialogue And I took the liberty of filling it out for you Page 155
  116. Scene 5 Panel G Dialogue ahead of time, Scene 5

    Panel H Dialogue so all you have Scene 5 Panel I Dialogue to do is just Action Notes (Joe reaches in shirt pocket for pen.) Page 156
  117. Scene 5 Panel J Dialogue sign it, and we're good

    Scene 5 Panel K Dialogue 82 PETER Son of a Scene 5 Panel L Dialogue bitch! Page 157
  118. Scene 5 Panel M Dialogue 85 JOE Yeah, Scene 5

    Panel N Dialogue so I already signed it Scene 5 Panel O Dialogue on your behalf, Page 158
  119. Scene 5 Panel P Dialogue so all you gotta do

    is mark an "X" next to my signature Scene 5 Panel Q Dialogue and you'll be all set. Scene 5 Panel R Dialogue 84 PETER This is an Page 159
  120. Scene 5 Panel S Dialogue outrage! Scene 5 Panel T

    Dialogue 85 JOE Yeah, Scene 5 Panel U Dialogue so I already put half of the "X" down on the page Page 160
  121. Scene 5 Panel V Dialogue so I already put half

    of the "X" down on the page Scene 5 Panel W Dialogue for you, Scene 5 Panel X Dialogue so all you have to do is just take this pen Page 161
  122. Scene 5 Panel Y Dialogue and put a single diagonal

    slash here, Scene 5 Panel Z Dialogue in such a way as to bisect this other diagonal slash, Scene 5 Panel AA Dialogue and you are good to go. Page 162
  123. Scene 5 Panel AE Action Notes Joe places a pen

    into Peter's limp hand Scene 5 Panel AF Action Notes and closes Peter's fingers around it. Scene 5 Panel AG Page 164
  124. Scene 5 Panel AH Dialogue 86 PETER How'm I supposed

    to run a business Scene 5 Panel AI Dialogue with all this Scene 5 Panel AJ Dialogue red Page 165
  125. Scene 5 Panel AK Dialogue tape?! Scene 5 Panel AL

    Scene 5 Panel AM Dialogue You know what, forget it! Page 166
  126. Scene 5 Panel AN Dialogue Just take Scene 5 Panel

    AO Dialogue the damn sign! Action Notes Peter hands the "Come In, We're Open!" sign to Joe. Scene 5 Panel AP Dialogue 87 JOE I'm sorry, Page 167
  127. Scene 5 Panel AQ Dialogue Peter. Scene 5 Panel AR

    Dialogue 88 PETER I don't believe this, Joe. Scene 5 Panel AS Dialogue This is like Page 168
  128. Scene 5 Panel AT Dialogue livin' in Russia. Scene 5

    Panel AU Dialogue I might as well Scene 5 Panel AV Dialogue just move Page 169
  129. Scene 5 Panel AW Dialogue there. Scene 5 Panel AX

    Dialogue 89 JOE You don't want to do that. Scene 5 Panel AY Dialogue It's dark, it's cold, Page 170
  130. Scene 5 Panel AZ Dialogue and hooking up is Scene

    5 Panel BA Dialogue just a crapshoot Scene 5 Panel BB Dialogue 'cause of all the Page 171