libraries built according to their own project settings. Dependencies are dynamic frameworks and supported by OS X and iOS 2. 2 All versions of OS X, iOS 8+
party projects yourself. You need to integrate the code into your project manually. Doesn’t (and probably won’t) do a lot of cool stuff that Cocoapods can do.
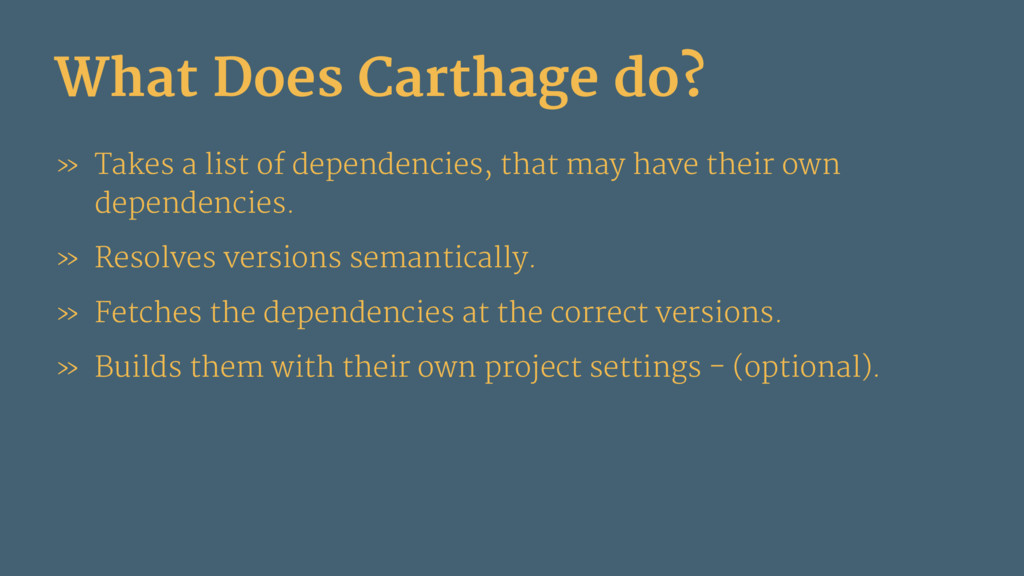
that may have their own dependencies. » Resolves versions semantically. » Fetches the dependencies at the correct versions. » Builds them with their own project settings - (optional).
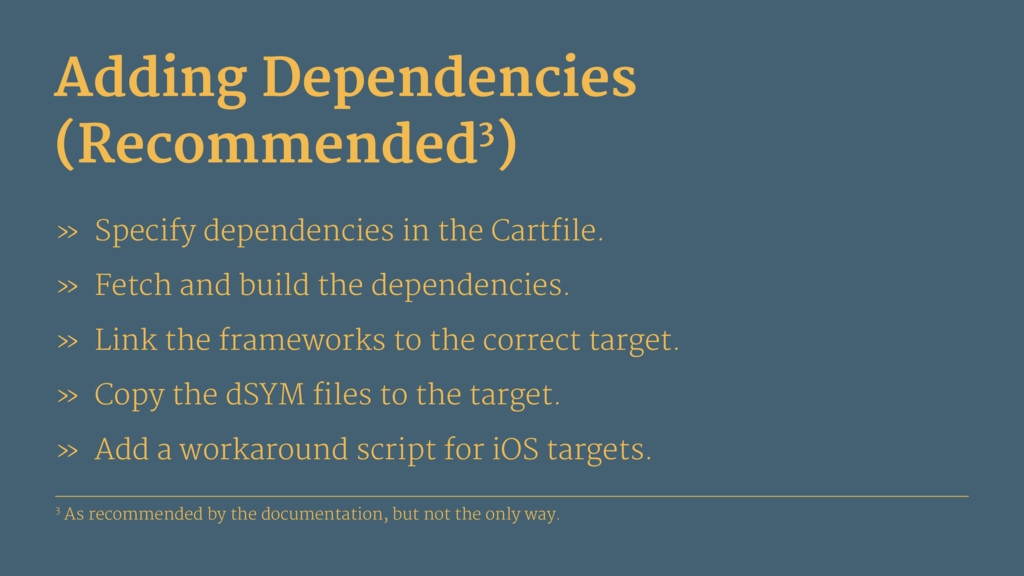
Fetch and build the dependencies. » Link the frameworks to the correct target. » Copy the dSYM files to the target. » Add a workaround script for iOS targets. 3 As recommended by the documentation, but not the only way.
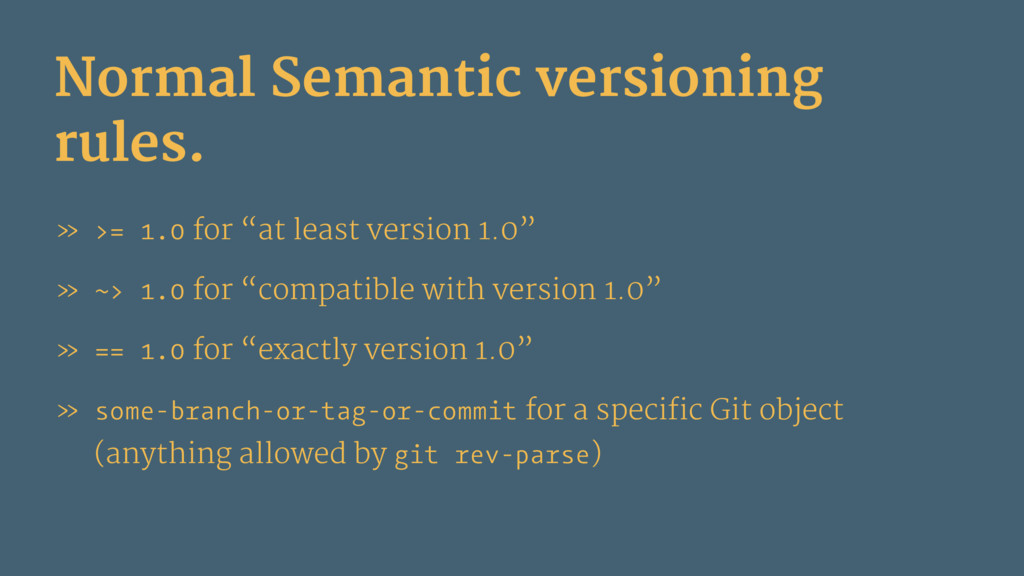
version 1.0” » ~> 1.0 for “compatible with version 1.0” » == 1.0 for “exactly version 1.0” » some-branch-or-tag-or-commit for a specific Git object (anything allowed by git rev-parse)
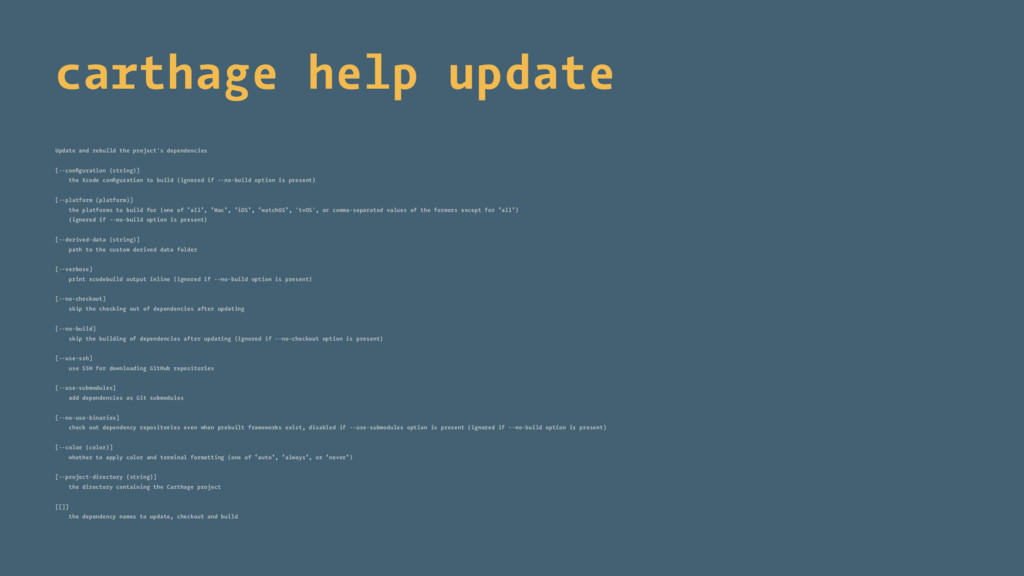
(string)] the Xcode configuration to build (ignored if --no-build option is present) [--platform (platform)] the platforms to build for (one of ‘all’, ‘Mac’, ‘iOS’, ‘watchOS’, 'tvOS', or comma-separated values of the formers except for ‘all’) (ignored if --no-build option is present) [--derived-data (string)] path to the custom derived data folder [--verbose] print xcodebuild output inline (ignored if --no-build option is present) [--no-checkout] skip the checking out of dependencies after updating [--no-build] skip the building of dependencies after updating (ignored if --no-checkout option is present) [--use-ssh] use SSH for downloading GitHub repositories [--use-submodules] add dependencies as Git submodules [--no-use-binaries] check out dependency repositories even when prebuilt frameworks exist, disabled if --use-submodules option is present (ignored if --no-build option is present) [--color (color)] whether to apply color and terminal formatting (one of ‘auto’, ‘always’, or ‘never’) [--project-directory (string)] the directory containing the Carthage project [[]] the dependency names to update, checkout and build
is usually used when checking out a project. Note: If you are using submodules update the submodules first and then run build: git submodule update --init carthage build
namespace "carthage" do desc "Bootstrap carthage dependencies" task :bootstrap do |t| run "git submodule update --init" run "carthage bootstrap --use-submodules --platform ios" end desc "Update carthage dependencies" task :update do |t| run "carthage update --use-submodules --platform ios" end end task :default do system "rake -T" end
dependencies, don’t add them to the bundle. » When writing a Foundation module, create a separate target for iOS and Mac, tvOS, watchOS (takes some tweaking, but it can be done).
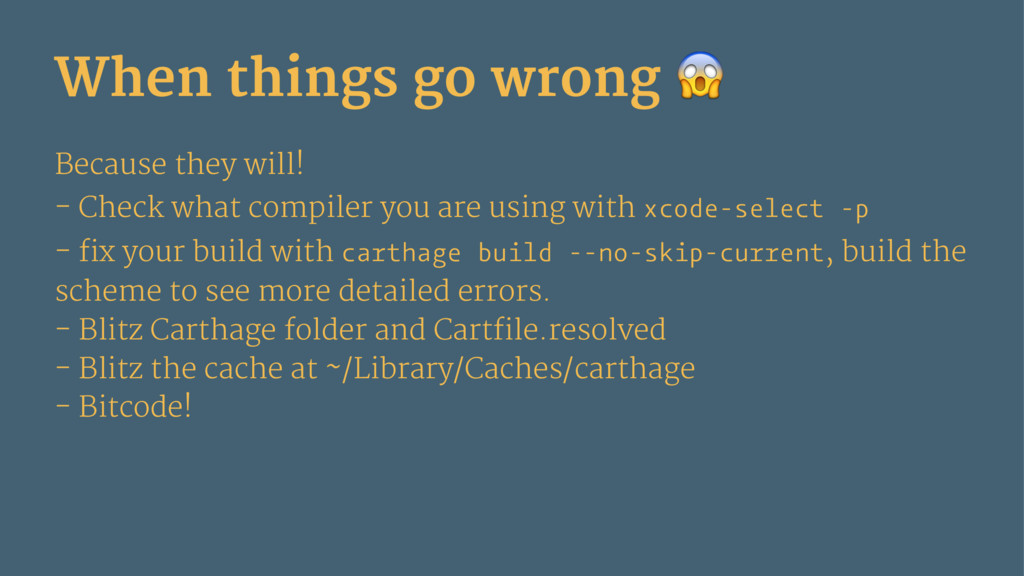
what compiler you are using with xcode-select -p - fix your build with carthage build --no-skip-current, build the scheme to see more detailed errors. - Blitz Carthage folder and Cartfile.resolved - Blitz the cache at ~/Library/Caches/carthage - Bitcode!
» Change the Carthage update method to use submodules and not build. » Remove the linked frameworks. » Drag the dependency project files into your project and build it “old school”.