Upgrade to Pro — share decks privately, control downloads, hide ads and more …

Сам себе режиссер: по ту сторону iOS

Сам себе режиссер: по ту сторону iOS

Сергей Боричев

Alexander Saenko

September 28, 2019
Tweet

More Decks by Alexander Saenko

Other Decks in Programming

Transcript

  1. Configure Your App's Info.plist File • If your app uses

    device cameras, include the NSCameraUsageDescription key in your app’s Info.plist file. • If your app uses device microphones, include the NSMicrophoneUsageDescription key in your app’s Info.plist file. Verify and Request Authorization for Capture switch AVCaptureDevice.authorizationStatus(for: .video) { case .notDetermined: // The user has not yet been asked for camera access. AVCaptureDevice.requestAccess(for: .video) { granted in if granted { self.setupCaptureSession() } } … }
  2. AVCaptureSession предназначен для координации потока данных между входными и выходными

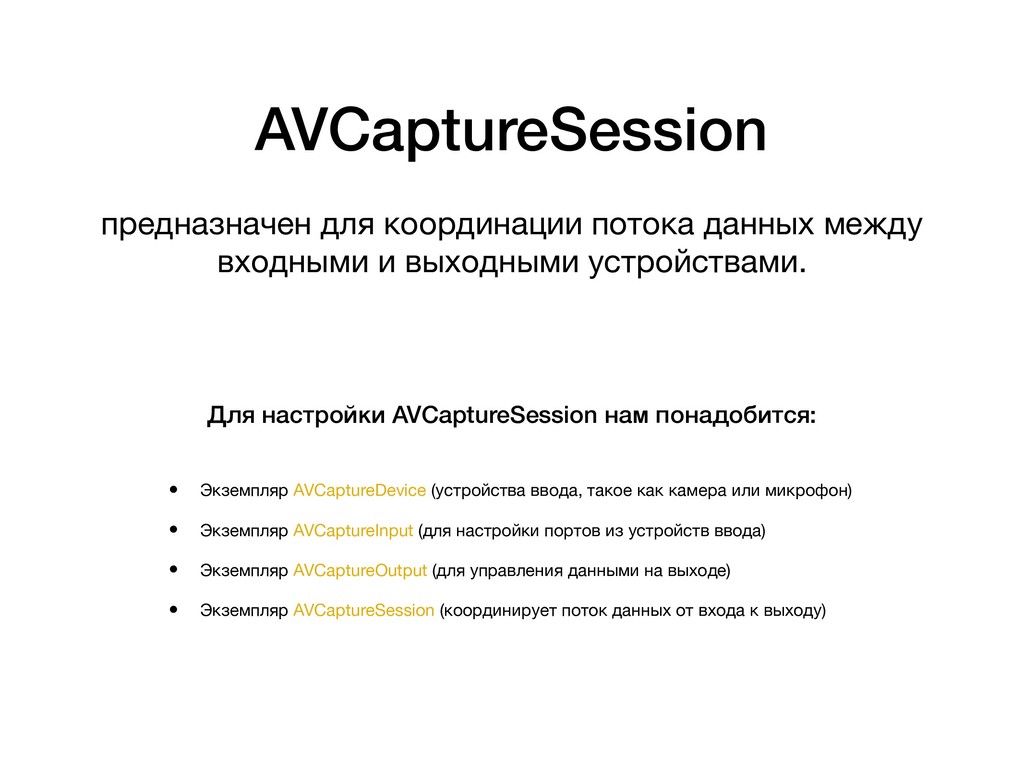
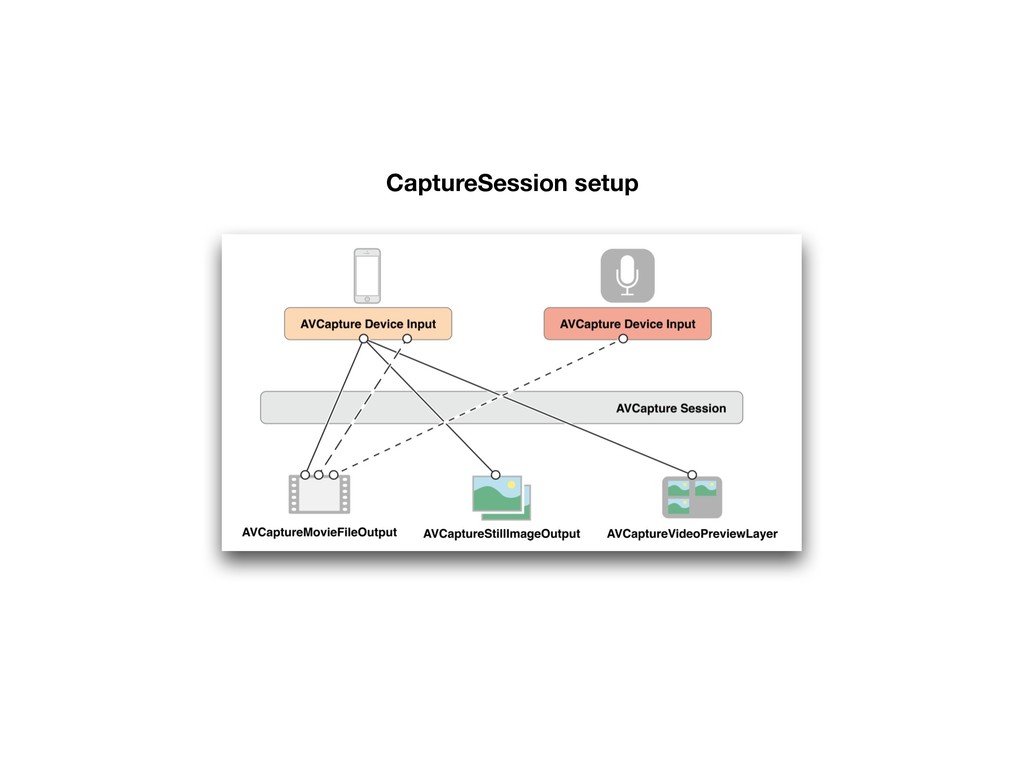
    устройствами. • Экземпляр AVCaptureDevice (устройства ввода, такое как камера или микрофон) • Экземпляр AVCaptureInput (для настройки портов из устройств ввода) • Экземпляр AVCaptureOutput (для управления данными на выходе) • Экземпляр AVCaptureSession (координирует поток данных от входа к выходу) Для настройки AVCaptureSession нам понадобится:
  3. Use Capture Outputs to Get Output from a Session •

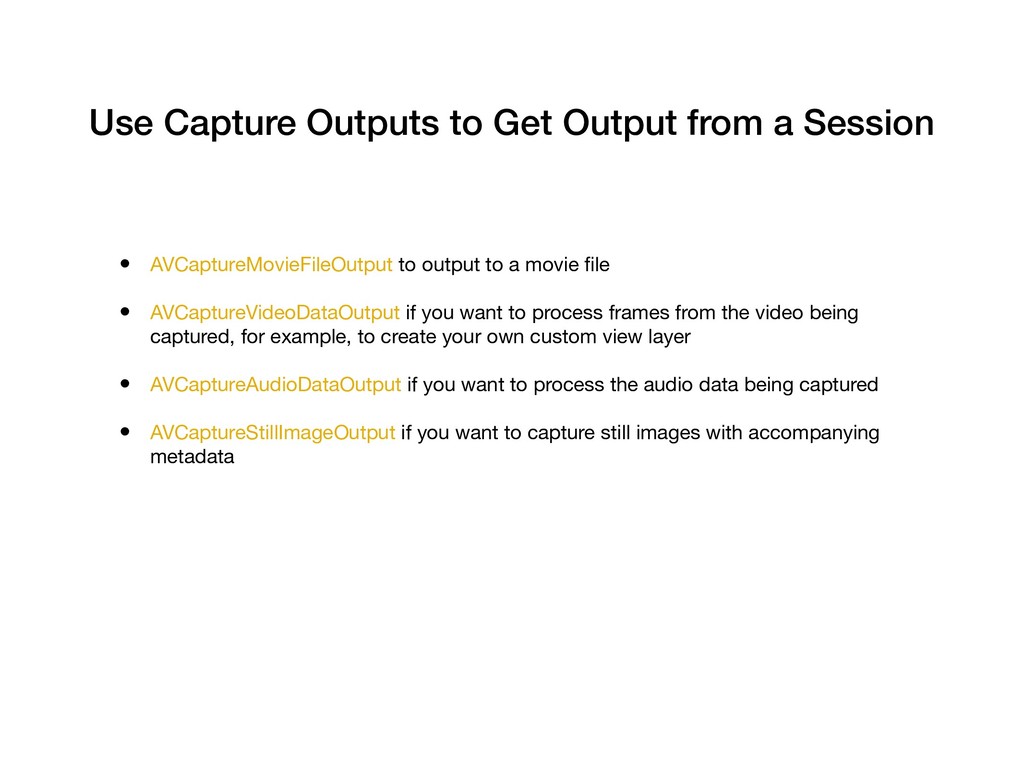
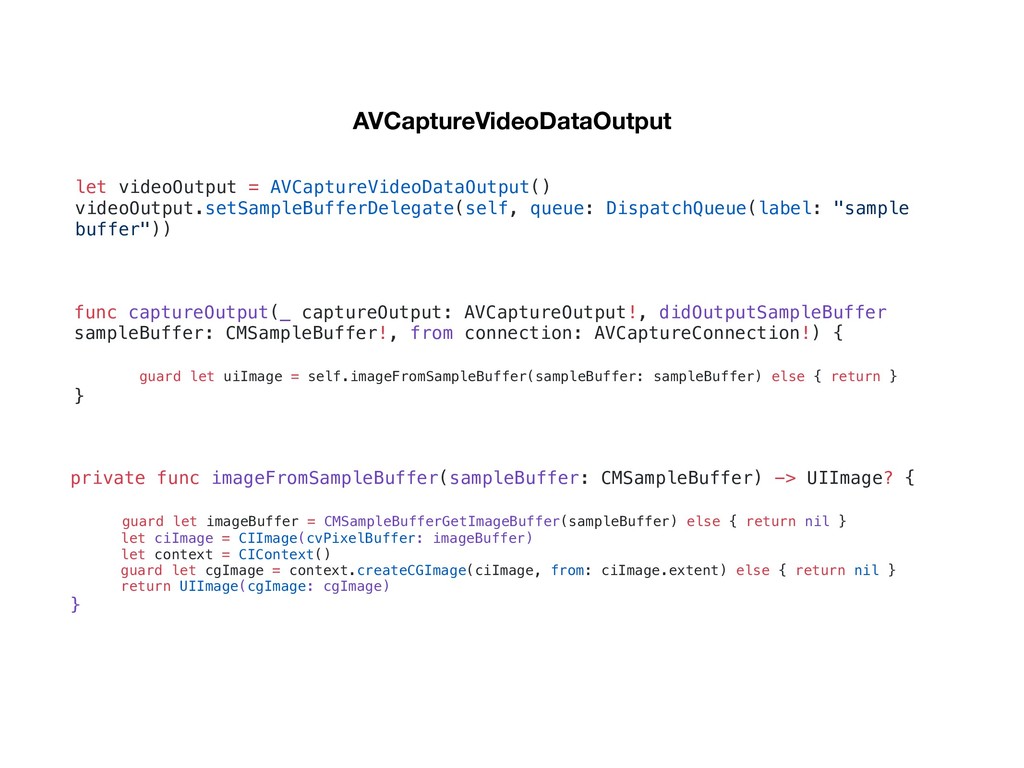
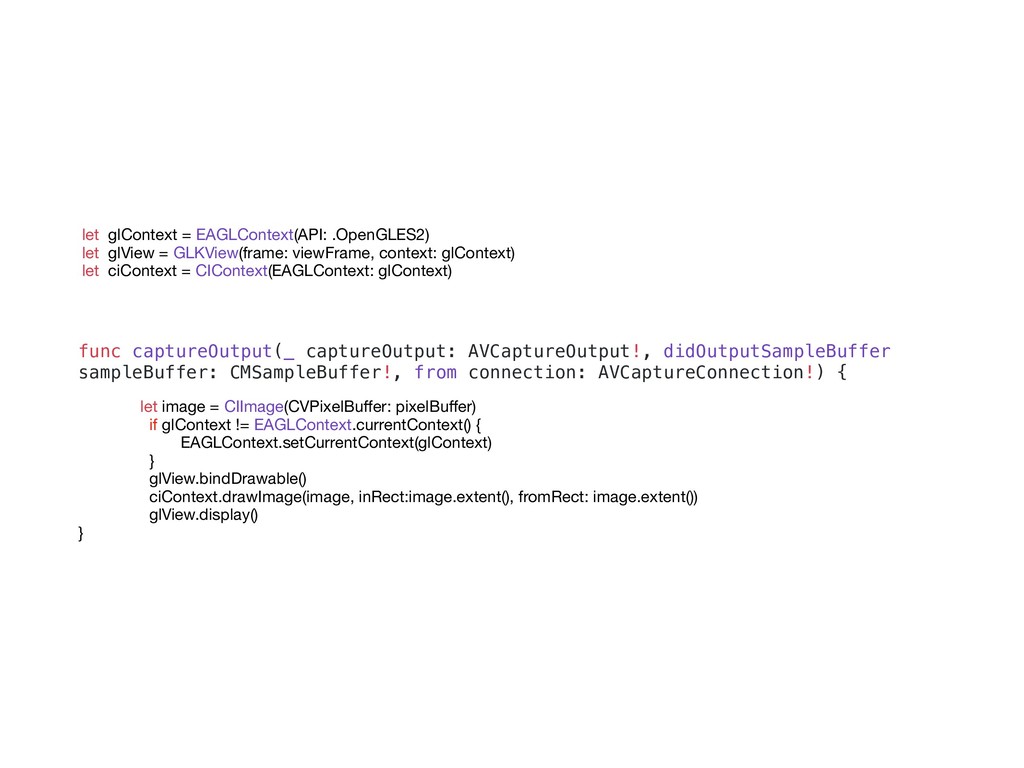
    AVCaptureMovieFileOutput to output to a movie file • AVCaptureVideoDataOutput if you want to process frames from the video being captured, for example, to create your own custom view layer • AVCaptureAudioDataOutput if you want to process the audio data being captured • AVCaptureStillImageOutput if you want to capture still images with accompanying metadata
  4. AVCaptureVideoDataOutput let videoOutput = AVCaptureVideoDataOutput() videoOutput.setSampleBufferDelegate(self, queue: DispatchQueue(label: "sample buffer"))

    func captureOutput(_ captureOutput: AVCaptureOutput!, didOutputSampleBuffer sampleBuffer: CMSampleBuffer!, from connection: AVCaptureConnection!) { guard let uiImage = self.imageFromSampleBuffer(sampleBuffer: sampleBuffer) else { return } } private func imageFromSampleBuffer(sampleBuffer: CMSampleBuffer) -> UIImage? {
 guard let imageBuffer = CMSampleBufferGetImageBuffer(sampleBuffer) else { return nil } let ciImage = CIImage(cvPixelBuffer: imageBuffer) let context = CIContext() guard let cgImage = context.createCGImage(ciImage, from: ciImage.extent) else { return nil } return UIImage(cgImage: cgImage) }

  5. func captureOutput(_ captureOutput: AVCaptureOutput!, didOutputSampleBuffer sampleBuffer: CMSampleBuffer!, from connection: AVCaptureConnection!)

    { let image = CIImage(CVPixelBuffer: pixelBuffer) if glContext != EAGLContext.currentContext() { EAGLContext.setCurrentContext(glContext) } glView.bindDrawable() ciContext.drawImage(image, inRect:image.extent(), fromRect: image.extent()) glView.display() } let glContext = EAGLContext(API: .OpenGLES2) let glView = GLKView(frame: viewFrame, context: glContext) let ciContext = CIContext(EAGLContext: glContext)
  6. AVMultiCamPiP: Capturing from Multiple Cameras • An iPhone with an

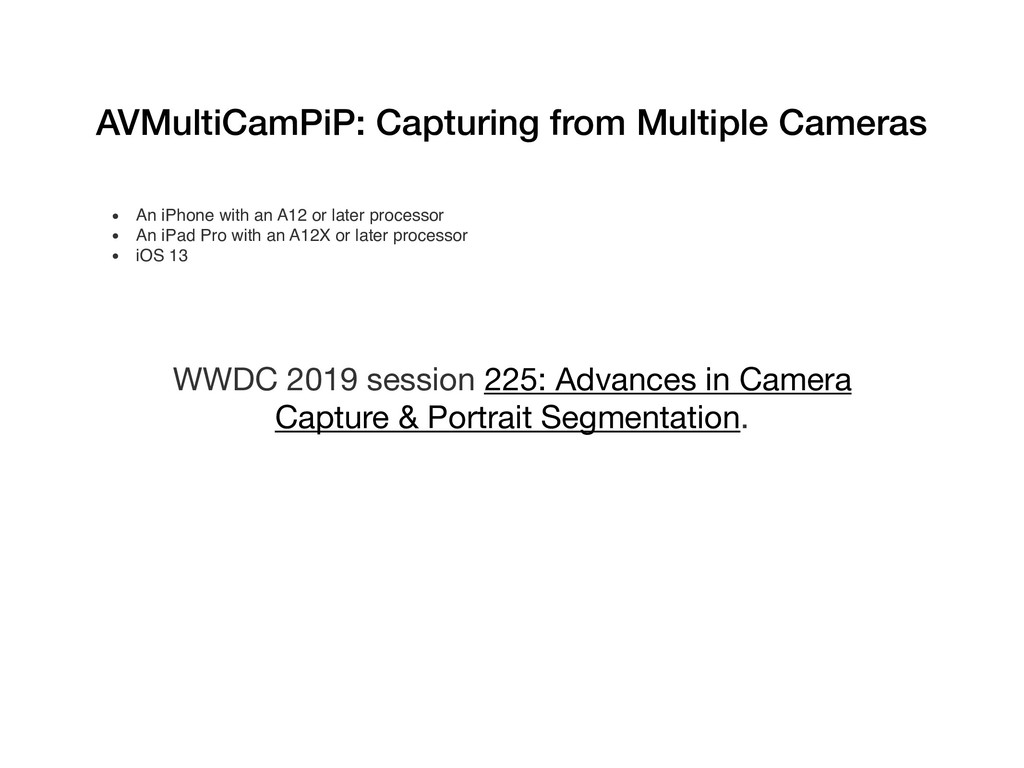
    A12 or later processor • An iPad Pro with an A12X or later processor • iOS 13 WWDC 2019 session 225: Advances in Camera Capture & Portrait Segmentation.
  7. First asset Second asset Audio asset AVMutableComposition First track Second

    track Audio track Add video track Add video track Add audio track inserеTimeRange inserеTimeRange inserеTimeRange AVAssetExportSession OutputURL OutputFileType
  8. AVMutableVideoCompo sition AVMutableVideoCompositio nInstruction AVMutableVideoCompositio nInstruction AVMutableVideoCompositio nInstruction AVMutableVideoComposition LayerInstruction

    AVMutableVideoComposition LayerInstruction AVMutableVideoComposition LayerInstruction layerInstructions instructions timeRange frameDuration renderSize AVAssetExportSession videoComposition